I am so excited to be able to be a part of the 12 months of Martha Stewart Crafts! When the box came in the mail I couldn’t wait to see what was inside. I opened it up and spotted a 6 pack of glitter and knew just what I wanted to do with it. I have seen so many fun nail ideas floating around Pinterest and thought what fun I could have coming up with some Valentines inspired glitter nails.
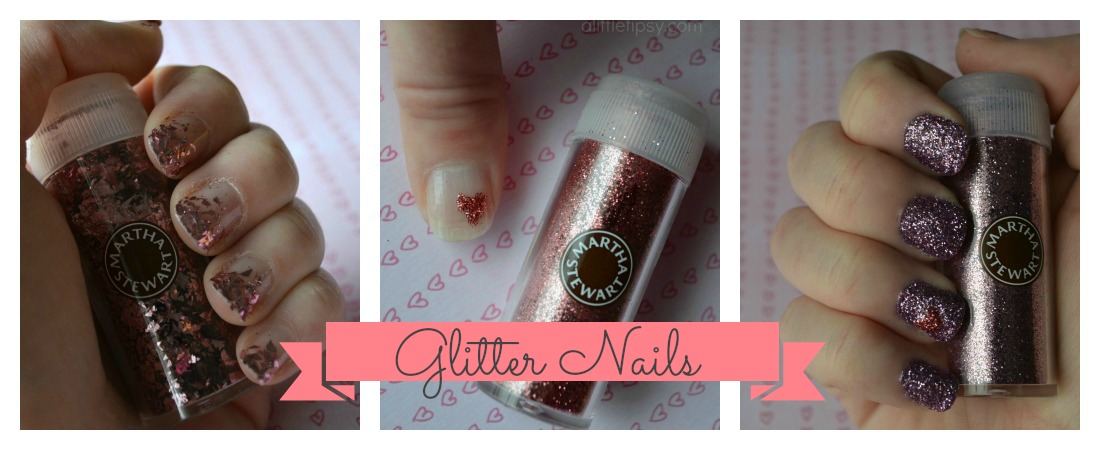
I came up with three glitter nail ideas, each to match different styles:
sassy, sweet, and fun.
SASSY
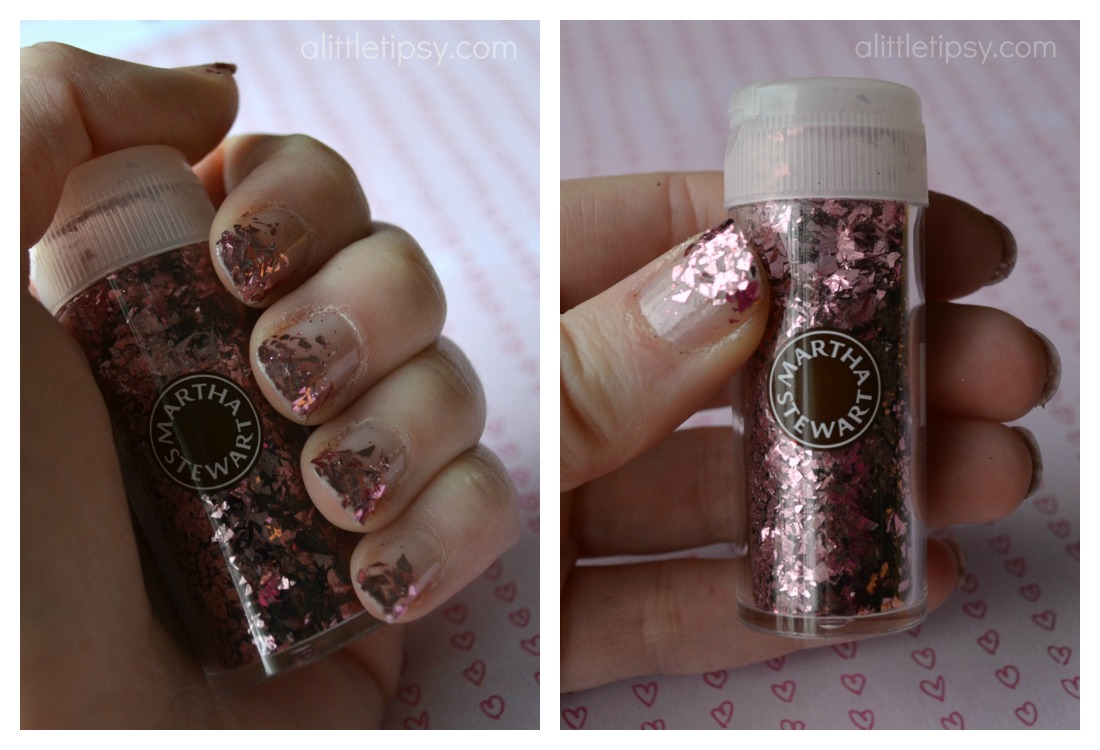
Paint the nail with clear or light pink coat and let dry. Paint just the french tip area and sprinkle with the chunky shattered looking glitter near the end of the nail. It will naturally have a lot of glitter toward the bottom and a few strays going up the nail. Have a toothpick handy to move glitter pieces around to your liking. Let it dry. Carefully apply a few clear coats until the nail feels smooth, letting them dry between. I love how it gives that shattered glass look!
SWEET
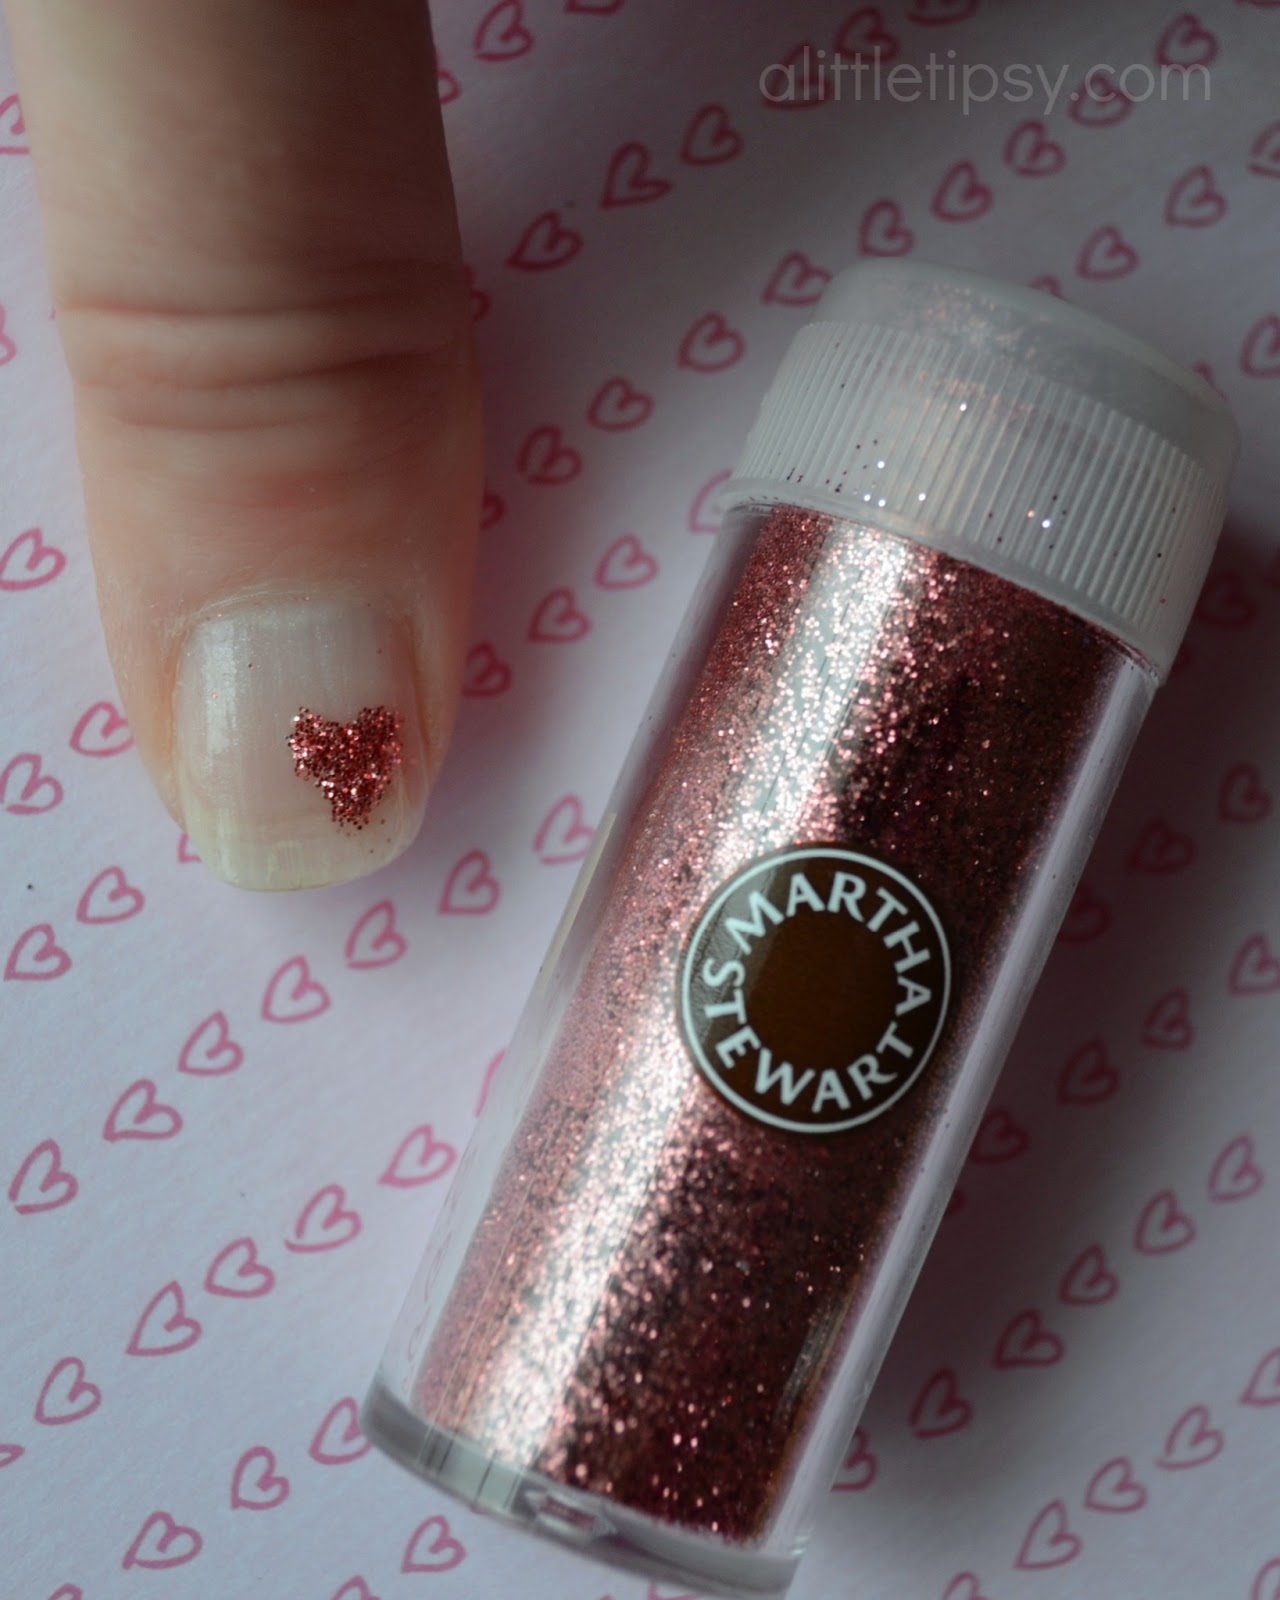
Take a piece of clear tape and punch it with the Martha Stewart Punch All Over Pattern Heartbeat (shown in pic below). Place the medium sized heart opening on you nail where you want the glitter heart and press down to seal the tape to the nail using it as a stencil. Paint over the heart opening with clear nail polish. While still wet, cover the polish with glitter. Remove the tape and fix any stray sparkles with a toothpick. When dry go over it with a few clear coats to seal and enjoy your new glitter nail art!
FUN

Paper in background is from the Martha Stewart Handmade Valentines 12×12 paper pad.
Paint your nail with a clear coat and dip in the glitter. Clean stray glitter around edges and cuticles with a toothpick. Let dry. Take a piece of clear tape and punch it with the Martha Stewart Punch All Over Pattern Heartbeat (shown in pic above). Place the medium sized heart opening on you nail where you want the glitter heart and press down to seal the tape to the nail using it as a stencil. Paint over the heart opening with clear nail polish. While still wet, cover the polish with glitter. Remove the tape and fix any stray sparkles with a toothpick. You may have to let it dry and repeat the stencil process to make the contrasting glitter heart stand out enough. When dry go over it all the nails with a few clear coats to seal.
As a side note, the Sweet version lasts the longest. It is still in great condition two days, showers, dishes, and laundry loads later. The Sassy version lasted about a day and a half and the Fun version lasted about day before significant chipping. Granted, I am VERY hard on nail polish and probably did not use as many clear coats as I should have.
Disclosure: Martha Stewart Crafts provided supplies to complete this project.
We have decided to truncate our feed to help protect against stolen content. I apologize for any inconvenience. Please love us anyway. 🙂