A Little Tipsy

Creative Tips & Ideas

  • home
  • About Me
  • the tipsy top
  • press
  • projects
  • contact me
[print_thumbnail_slider]

Printable Thanksgiving Place Cards

October 29, 2013 By Michelle Barneck Leave a Comment

Amy from The Happy Scraps here again.  I’m excited to share this simple Thanksgiving Place Card Printable with you today.
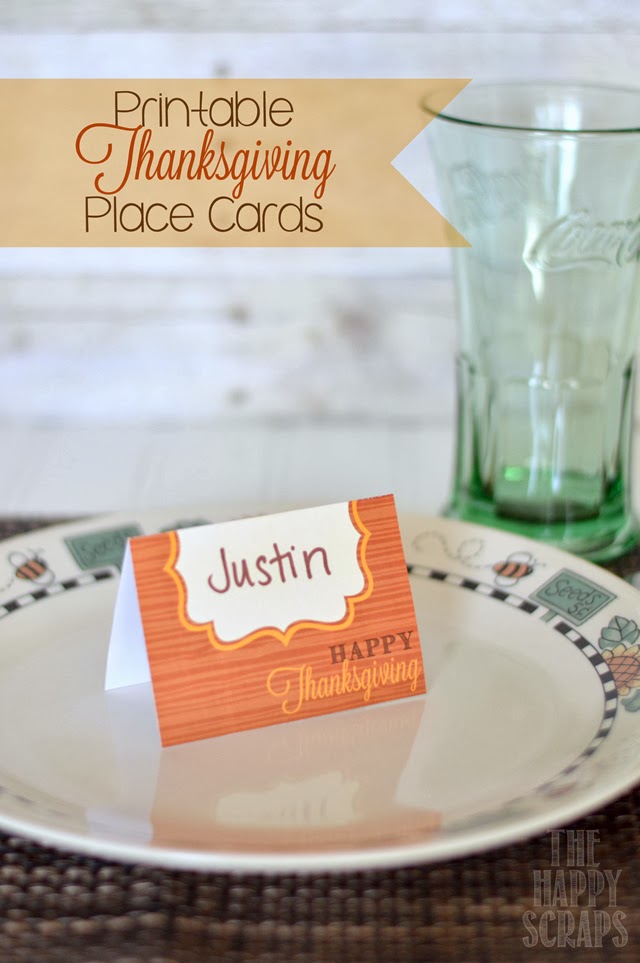
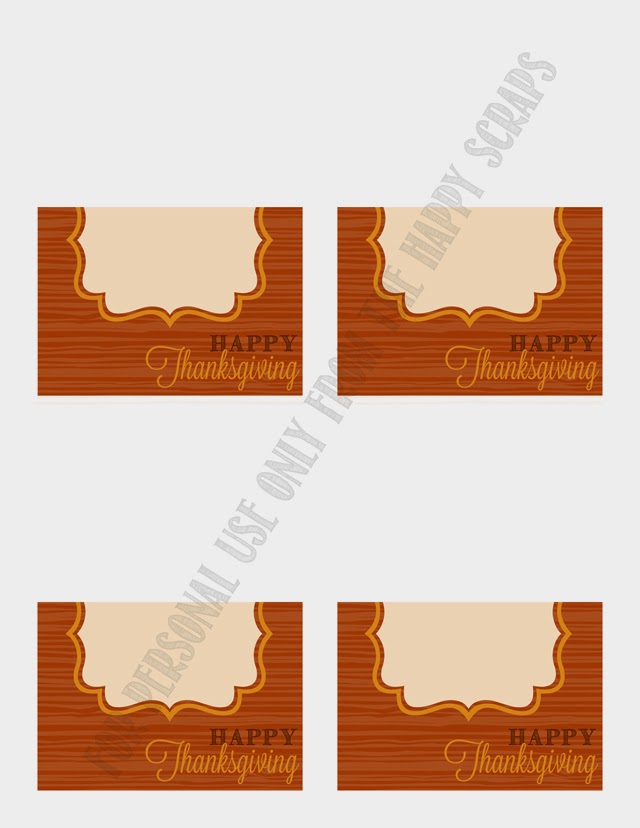
The Thanksgiving place cards come four to a sheet, and when cut they are 3 1/2 x 5.  You will need to trim all sides, and the middle horizontally and vertically. If you would like to download the printable file, watermark free, you can do so here.
Once you have the place cards cut, you can write the names on them.  I opted to score mine on the line to make folding easier. 
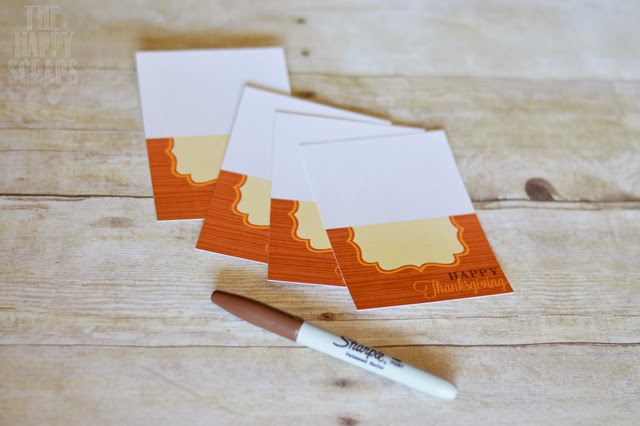
And that is it!  They are ready to use. 
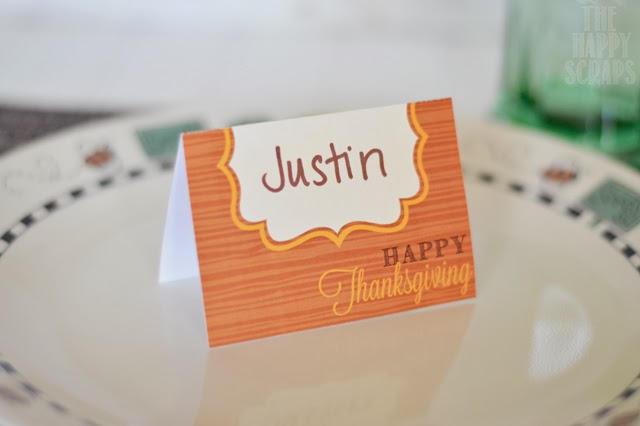
So very simple and easy.
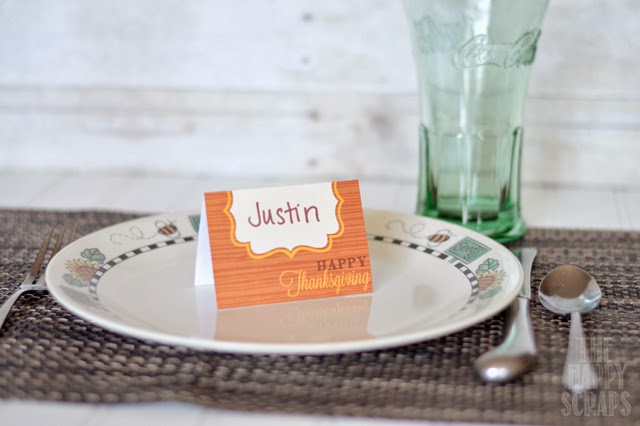
And everyone will be excited to find their names. 

If you are looking for my Thanksgiving decorating ideas, come on over to The Happy Scraps and see what I have to share!

——————————————————————-
Thanks Amy these are great! I feel like we are always scrambling to decide who sits where keeping couples together and lefties together, etc. These will be great to create some order and add some charm!
We have decided to truncate our feed to help protect against stolen content. I apologize for any inconvenience. Please love us anyway. 🙂

Chocolate Bones Halloween Treat

October 23, 2013 By Michelle Barneck 1 Comment

We made caramel apples the other night and with the leftover ingredients made these fun chocolate bones. They are super easy and the perfect last minute spooky Halloween treat for a get together or class party.
Chocolate Bones Supplies:
  • White Candy Melts
  • Water
  • Silicone Bone Ice Cube Mold*

*ours was from Dollar Tree and had fingers and bones
1. Melt a caramel for each bone in the microwave with a few drops of water for 30 seconds at a time. Stir until smooth. Put the caramel in the refrigerator to harden for 15-20 minutes or until you can pick up a little and roll it in your hand without it sticking too much. You can spray your hands with cooking spray to prevent sticking.
2. While the caramel is in the fridge, melt about 1/8 cup of candy melts in the microwave according to package instructions. Using a spoon put a little dob of chocolate candy in the bottom of each bone. Tap the mold on the counter until it spreads edge to edge. Let the candy set up a few minutes so the caramel won’t sink to the bottom.
3. Roll about a teaspoon of the caramel into a cylinder shape and place in the middle of the bone not touching any sides. Repeat for each bone.
4. Melt more candy melts to spread on the top of the caramel covering it completely. Let the candy set up until it is hard. Pop the bones out of the mold and enjoy!
Our ice cube trays had fingers as well as bones. We made fingers the same way by mixing a few pink candy melts in with the white. The boys loved the gross/spooky Halloween treats!
You may also like these fun Halloween treats:
Halloween Spider Cupcakes
Pumpkin Caramel Apples
Pumpkin Caramels
We have decided to truncate our feed to help protect against stolen content. I apologize for any inconvenience. Please love us anyway. 🙂
Vintage Inspired Poison Bottles

October 15, 2013 By Michelle Barneck 3 Comments

Happy Fall, ya’ll!  I’m back from House Vintage, with a free and easy decoration to celebrate my favorite holiday… Halloween.  This project only takes a few minutes and can be made by recycling things you already have.

Step 1:

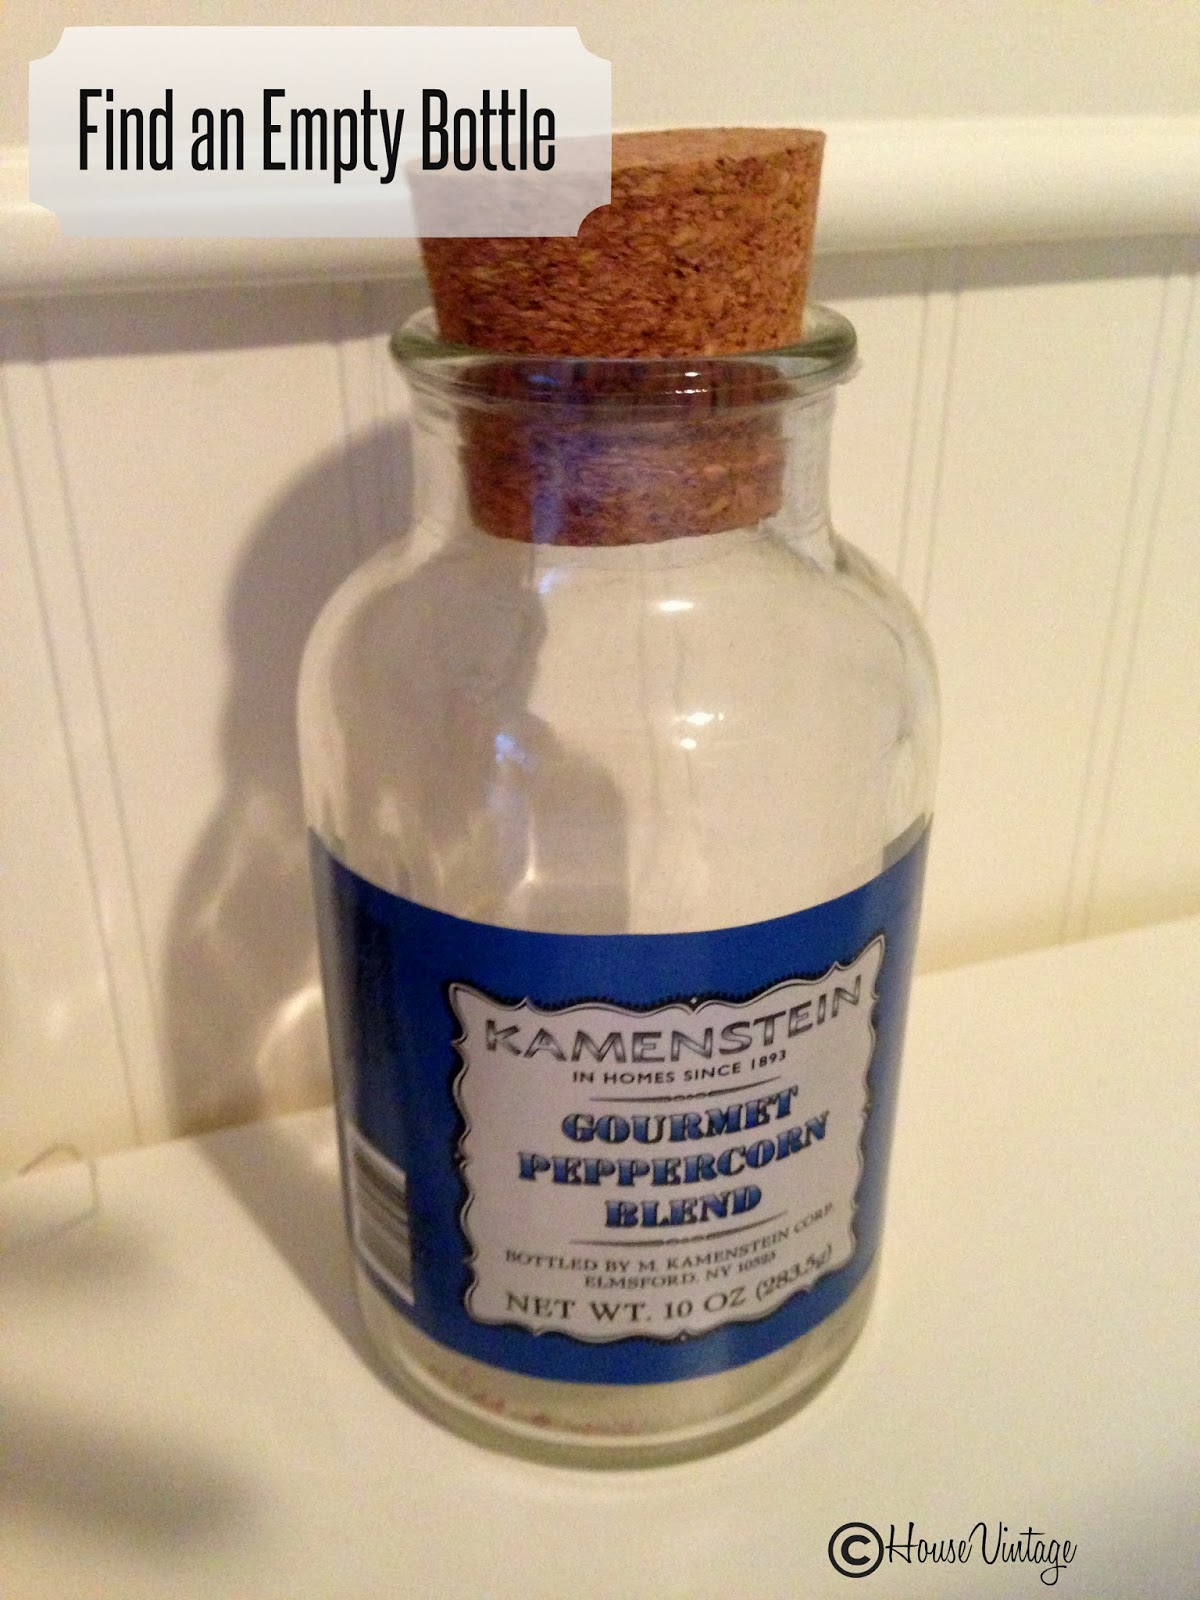
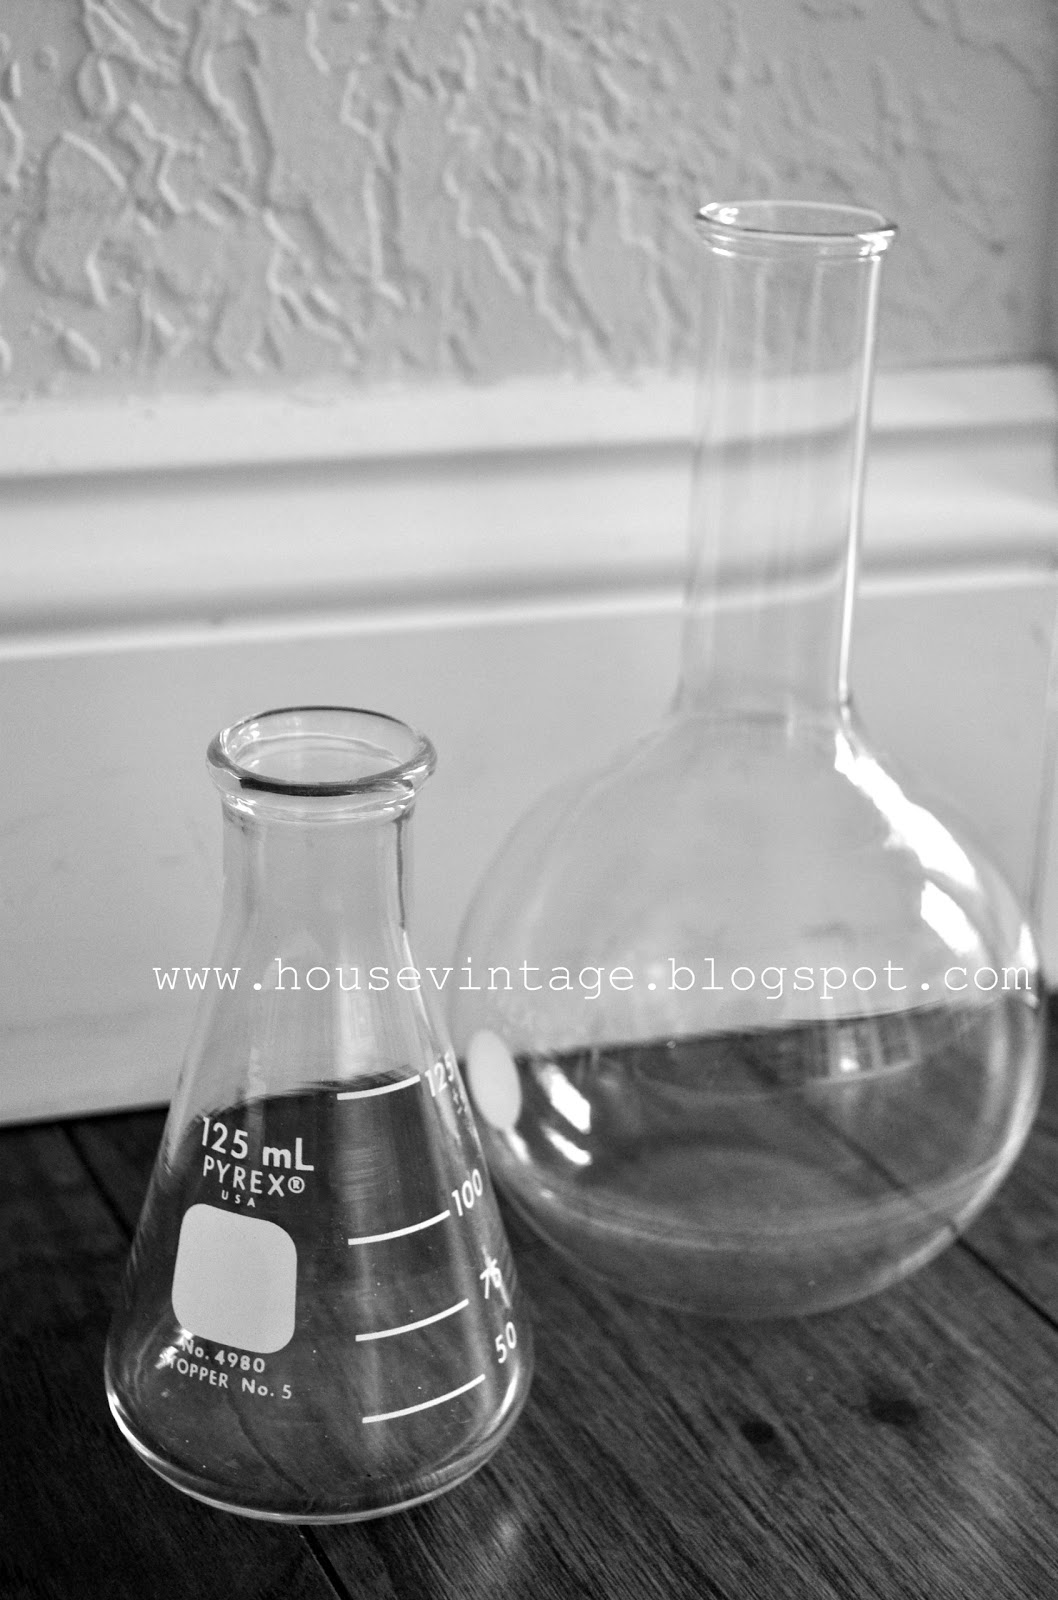
Look around the house.  Chances are you have some empty bottles that could use some up-cycling.  Make sure the bottles are clean, and remove any existing labels.  I find a soak in warm water or an adhesive remover works well for this.  I like to look for interesting glass containers like these beakers when I am out thrifting.  They are great for this project, but also look pretty with flowers in them other times of the year.


Step 2:

The Graphics Fairy

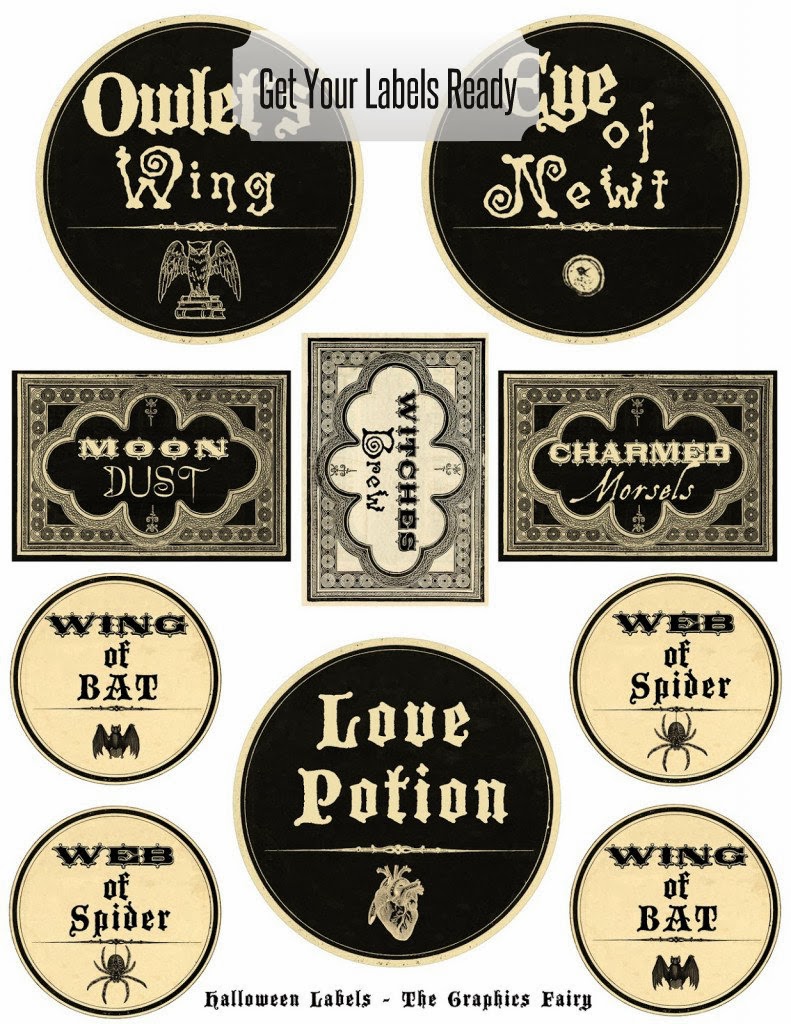
There are many sites online where you can download Halloween labels for free.  The labels above are from The Graphics Fairy, but a quick Pinterest search will yield other options as well.  Download your labels and print them on adhesive backed paper.  If you don’t have adhesive backed paper, double-sided tape works too.  Cut each label out, and position onto your bottles.

Step 3: Fill and Display

I like to fill the bottles with water and food coloring to make them extra spooky.  Then set them among your Halloween decor for a great vintage inspired look, that won’t break the bank.

———————————————————————-
I am starting my search for bottle right now! These are so perfect for a little spooky Halloween decor! Thanks Ali!

We have decided to truncate our feed to help protect against stolen content. I apologize for any inconvenience. Please love us anyway. 🙂
Halloween Spider Cupcakes #12monthsofmartha

September 26, 2013 By Michelle Barneck 3 Comments

Sponsored by Martha Stewart Crafts.

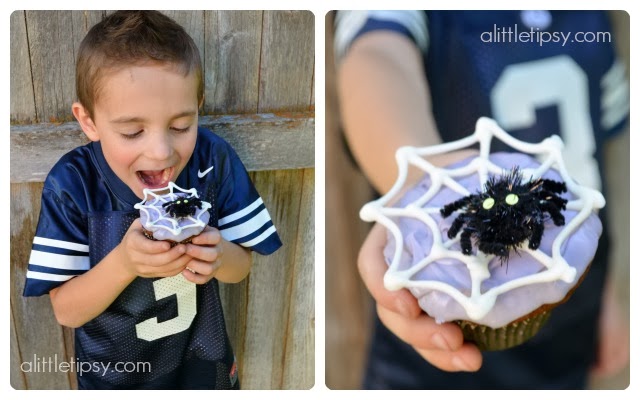
Halloween is on it’s way and that means parties, treats and well more treats. It is fun to have some Halloween themed goodies up your sleeve for class parties and other get togethers and these spider cupcakes are so perfect! They look impressive, but are so easy!
SPIDER CUPCAKE SUPPLIES:
  • Favorite Cake Recipe
  • Martha Stewart Treat Wrappers
  • Favorite Frosting Dyed Purple
  • White Candy Melts
  • Ziploc Bag
  • Martha Stewart Spider Stickers

1. Prepare cupcakes, bake, and while letting them cool prepare the spider webs. 
2. Melt the candy melts 30 seconds at a time in the microwave. Put the candy melts in a ziploc bag and cut a tiny hole in the end. Draw some spider webs on a piece of paper and cover the sketches with wax paper. 
3. Trace the drawings with the chocolate and let them harden while you frost the cupcakes with purple.

4. Carefully remove the spider webs from the wax paper and place on top of the frosted cupcakes. Place a spider sticker on each spider web.

I love these Martha Stewart Treat Wrappers! They are lined with foil so the designs stay perfectly bright!

We had so much fun making these spider cupcakes and probably even more fun sharing them with our friends and neighbors!

This treat was created as part of the 12 months of Martha program.

ST_12_months_of_Martha_Logo-1

See our other 12 months of Martha projects by checking out the links below:

  • January – Glitter Nails
  • February – Shamrock Banner
  • March – Stenciled Glass Vase
  • April – Gifts for Mom: Easy Photo Magnets
  • May – Flower Sash
  • June – Bottle Piggy Banks
  • July – Glittered Wine Glasses
  • August – Little Star: highlinghting your child’s special day

I also wanted to let you know about a movement sweeping the creation nation. It’s called Cre8time and it is all about reclaiming your time to do the things you love. Check out all the details and share your creations at cre8time.org.

Disclaimer: Martha Stewart Crafts provided product for review.

We have decided to truncate our feed to help protect against stolen content. I apologize for any inconvenience. Please love us anyway. 🙂
« Previous Page
Next Page »

  • Bloglovin
  • Facebook
  • Google+
  • Instagram
  • Pinterest
  • RSS
  • Twitter

Hi there! I'm Michelle. Mother of three little boys and one little princess. Welcome to A Little Tipsy, a place for exploring creativity and sharing inspiration.

Follow on Bloglovin


Visit Michelle Barneck {A Little Tipsy}'s profile on Pinterest.

Tutorials by Category


15 Family Reunion Games

Family Reunion Games Collage

15 Sprinkle Party Ideas

Sprinkle Birthday Party
Creative Commons License

© Copyright 2014 A Little Tipsy · Site Designed by The Fairy Blogmother · Web Hosting by RFE Hosting

This website uses cookies to improve your experience. We'll assume you're ok with this, but you can opt-out if you wish.Accept Read More
Privacy & Cookies Policy