A Little Tipsy

Creative Tips & Ideas

  • home
  • About Me
  • the tipsy top
  • press
  • projects
  • contact me
[print_thumbnail_slider]

Warm Chocolate Bread Pudding with Turtle Topping

November 15, 2013 By Michelle Barneck 2 Comments


Post sponsored by


We all have holiday events to attend. For some it may be a work party, others a wedding, but we like to look our best. For some this means dieting or sugar altogether. I say let yourself indulge in moderation, or even better, learn to make those treats with less calories and sugar! 


My husband is a lover of bread pudding. The only time he gets it was on our recent trip to Ireland and when we end up at the dreaded buffet. He has been working his tail off finishing his Master’s degree so I decided to surprise him with a little treat, warm chocolate bread pudding with turtle topping. The secret is, I used Truvia® Baking Blend with sugar which took away 19% of the calories and 70% of the sugar! Did I mention that besides three small servings for the rest of us he ate the whole pan?! I guess he couldn’t tell the difference! The best part is, it was sooo easy!


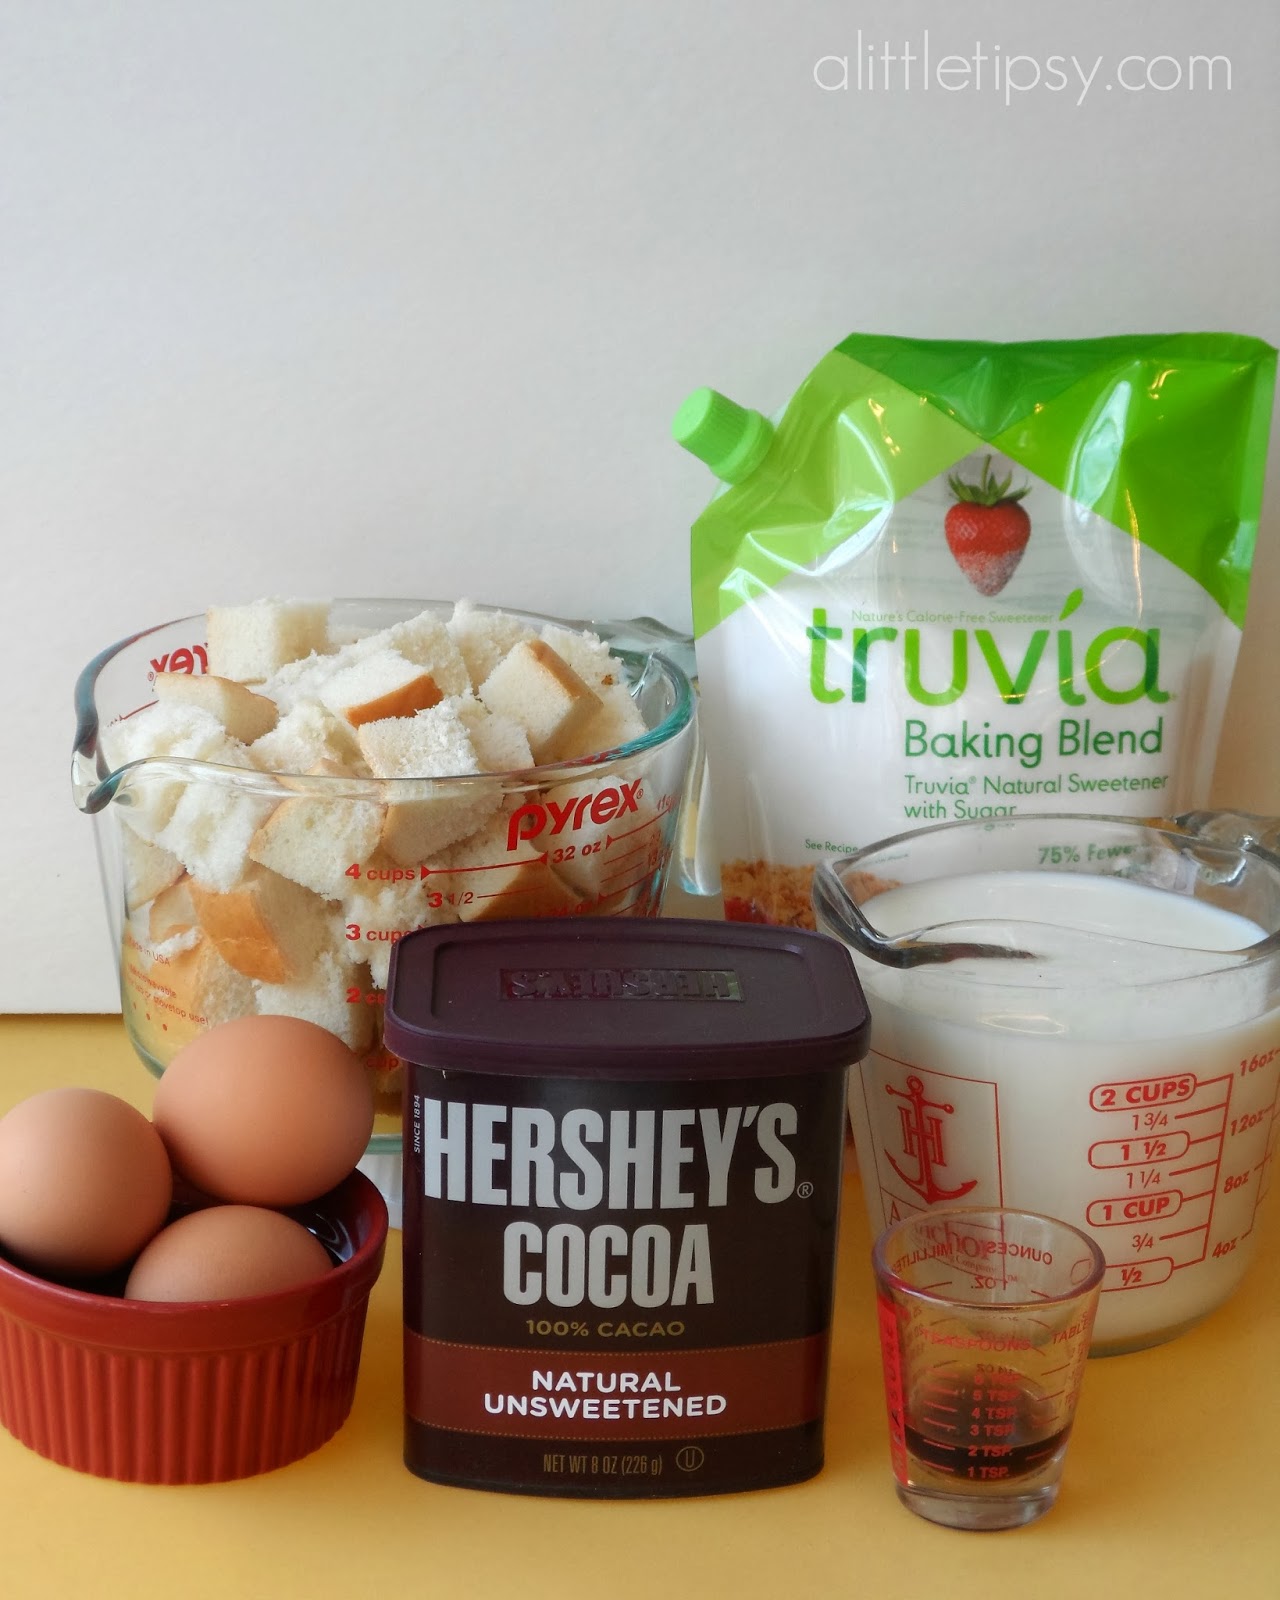
  • INGREDIENTS
  • 21 ⁄ 2 cups skim milk
  • 1 ⁄ 3 cup Truvía® Baking Blend with sugar
  • 1 ⁄ 4 cup unsweetened cocoa
  • 2 tsp vanilla extract
  • 3 large eggs, lightly beaten
  • 1 large egg white
  • 5 cups (1-inch) cubed day-old French bread
  • Cooking spray
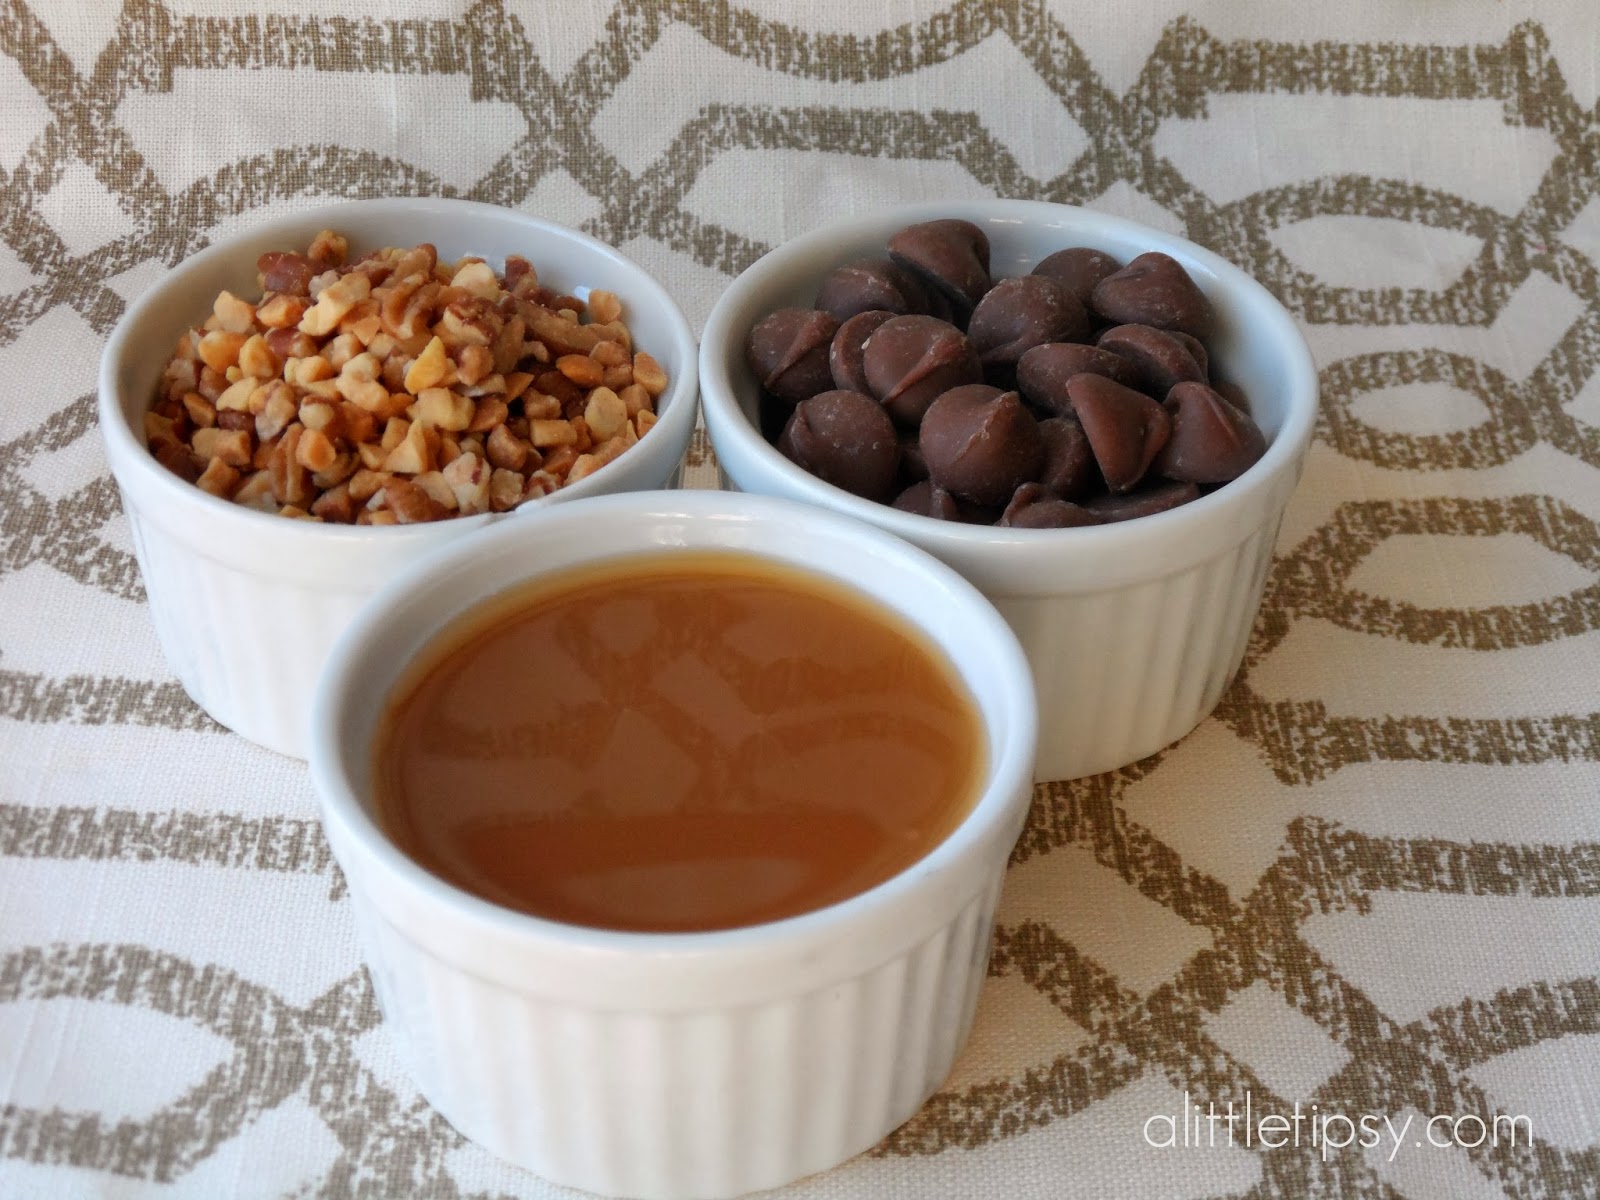
  • 1 ⁄ 4 cup caramel sundae syrup
  • 1 ⁄ 4 cup chopped pecans
  • 1 ⁄ 4 cup milk chocolate chips


DIRECTIONS

  • Preheat oven to 350° F.
  • Combine first 6 ingredients in a large bowl, stirring with a whisk. Add bread, pressing down with a spatula to soak. Spoon bread mixture into a 2-quart baking dish coated with cooking spray. Bake at 350° for 50 minutes. Drizzle with caramel syrup, and sprinkle with nuts. Bake an additional 5 minutes or until caramel syrup is bubbly.
  • Place chocolate chips in a small glass bowl or heavy-duty zip-top bag; microwave at high for 30 seconds or until melted. Drizzle over the bread pudding. Serve warm.
  • For more reduced calorie recipes, check out my Reduced Calorie Holiday Sweets pinterest board.

    Also, be sure to run over to the Truvia® brand Facebook page and enter their #HealthierHolidays Baking Sweepstakes for your chance to win a Healthier Holidays Baking Kit!

    Truvia® natural sweetener is a great tasting, zero-calorie sweetener made with the best tasting part of the stevia leaf. One packet provides the same sweetness as two teaspoons of sugar, and is great in coffee, tea, or even your morning grapefruit. The sweetener is available in 40-, 80- and 140-count boxes, and in a spoonable jar. Truvia® Baking Blend blends Truvia® natural sweetener and sugar to provide a sugar-like taste and texture for recipes, with 75% fewer calories than sugar. For more info, check out Truvia.com/recipes or our Facebook, Pinterest, Twitter, and YouTube channels.

    Disclosure: Compensation was provided by Cargill® via Glam Media. The opinions expressed herein are those of the author and are not indicative of the opinions or positions of Cargill®.
    We have decided to truncate our feed to help protect against stolen content. I apologize for any inconvenience. Please love us anyway. 🙂

    Fun Felt Christmas Gift Embellishments

    November 12, 2013 By Michelle Barneck 2 Comments

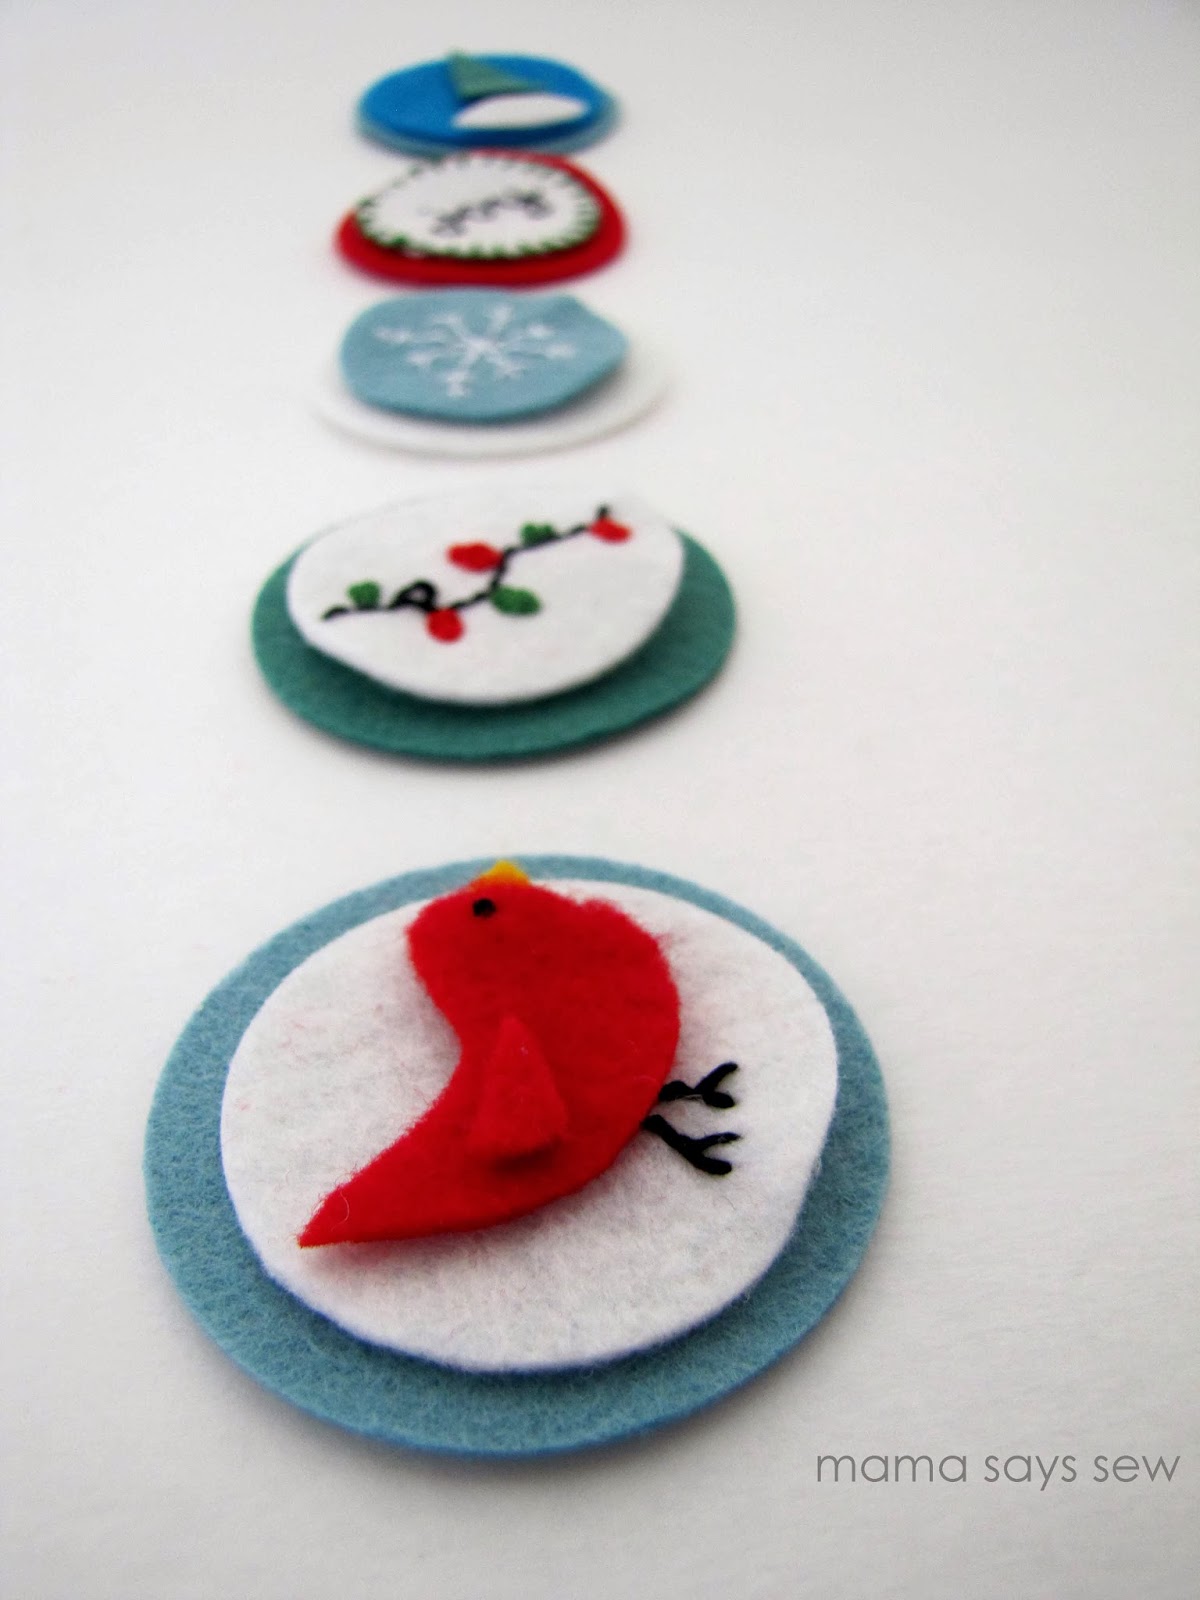
    Hi everyone! I’m Terra from mama says sew, and I’m going to be sharing a Christmas craft today.
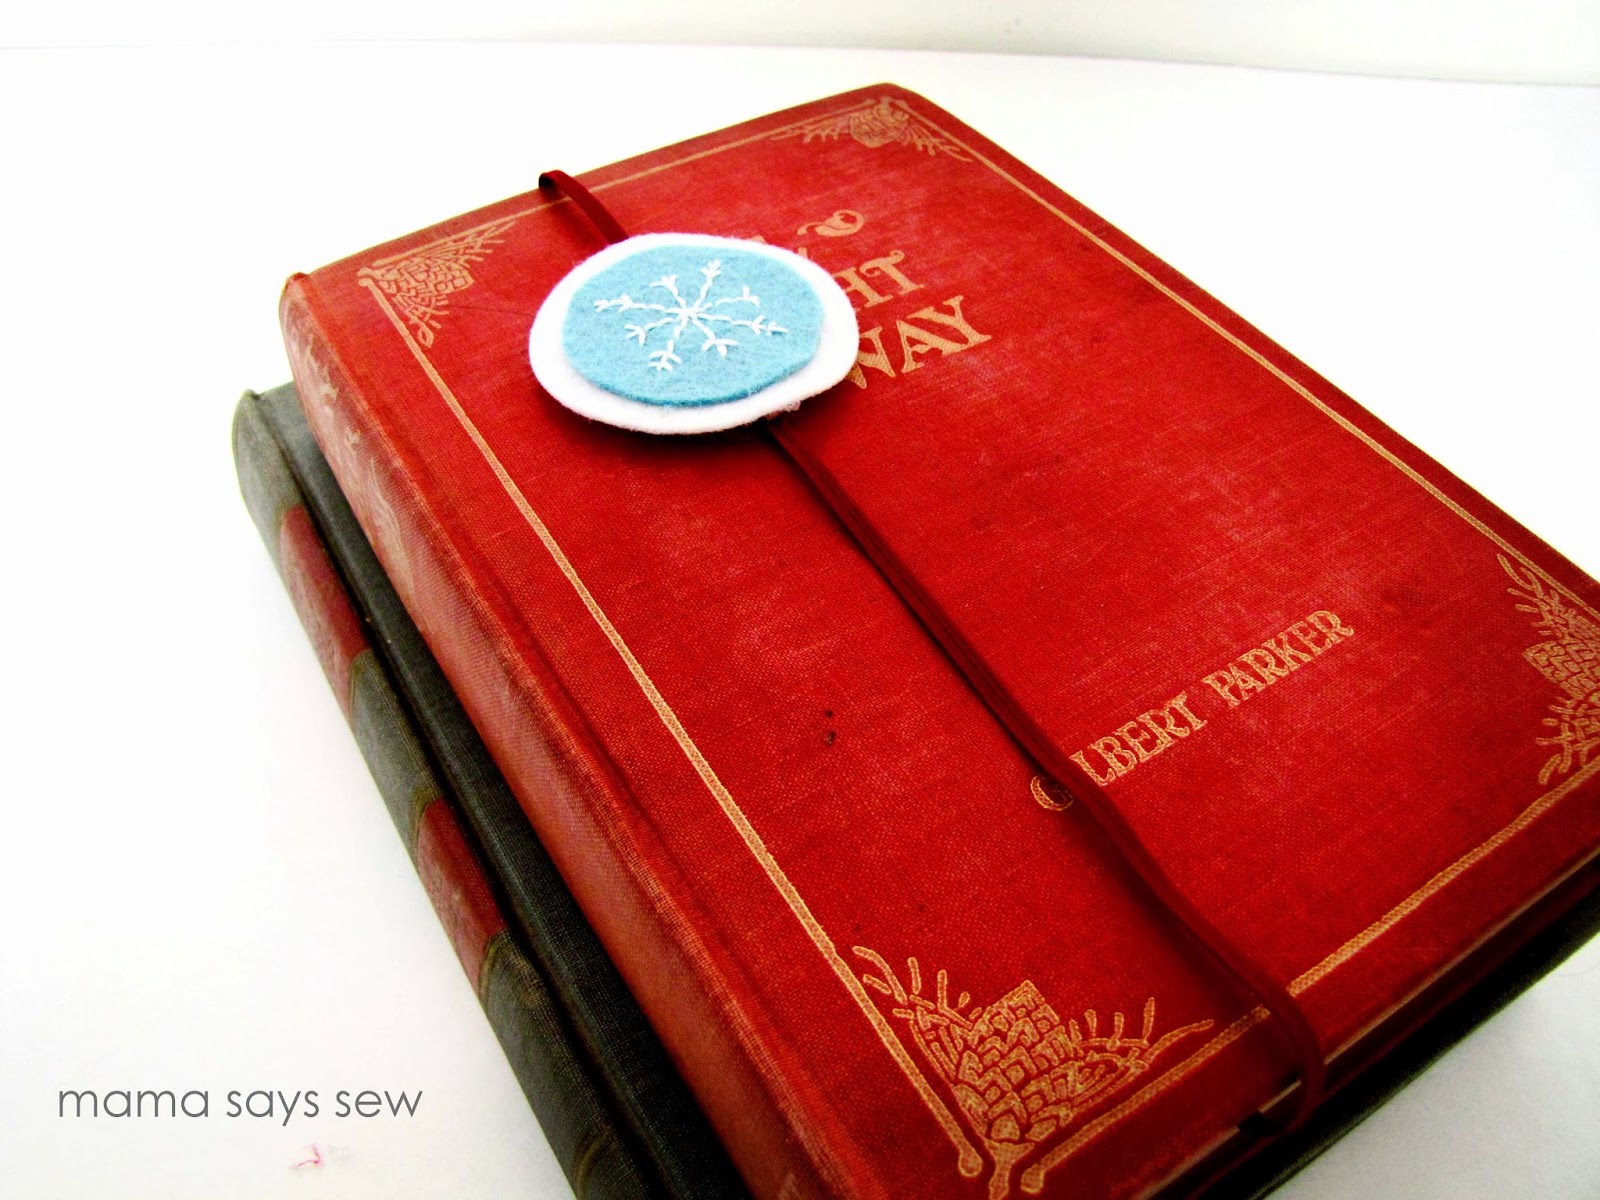
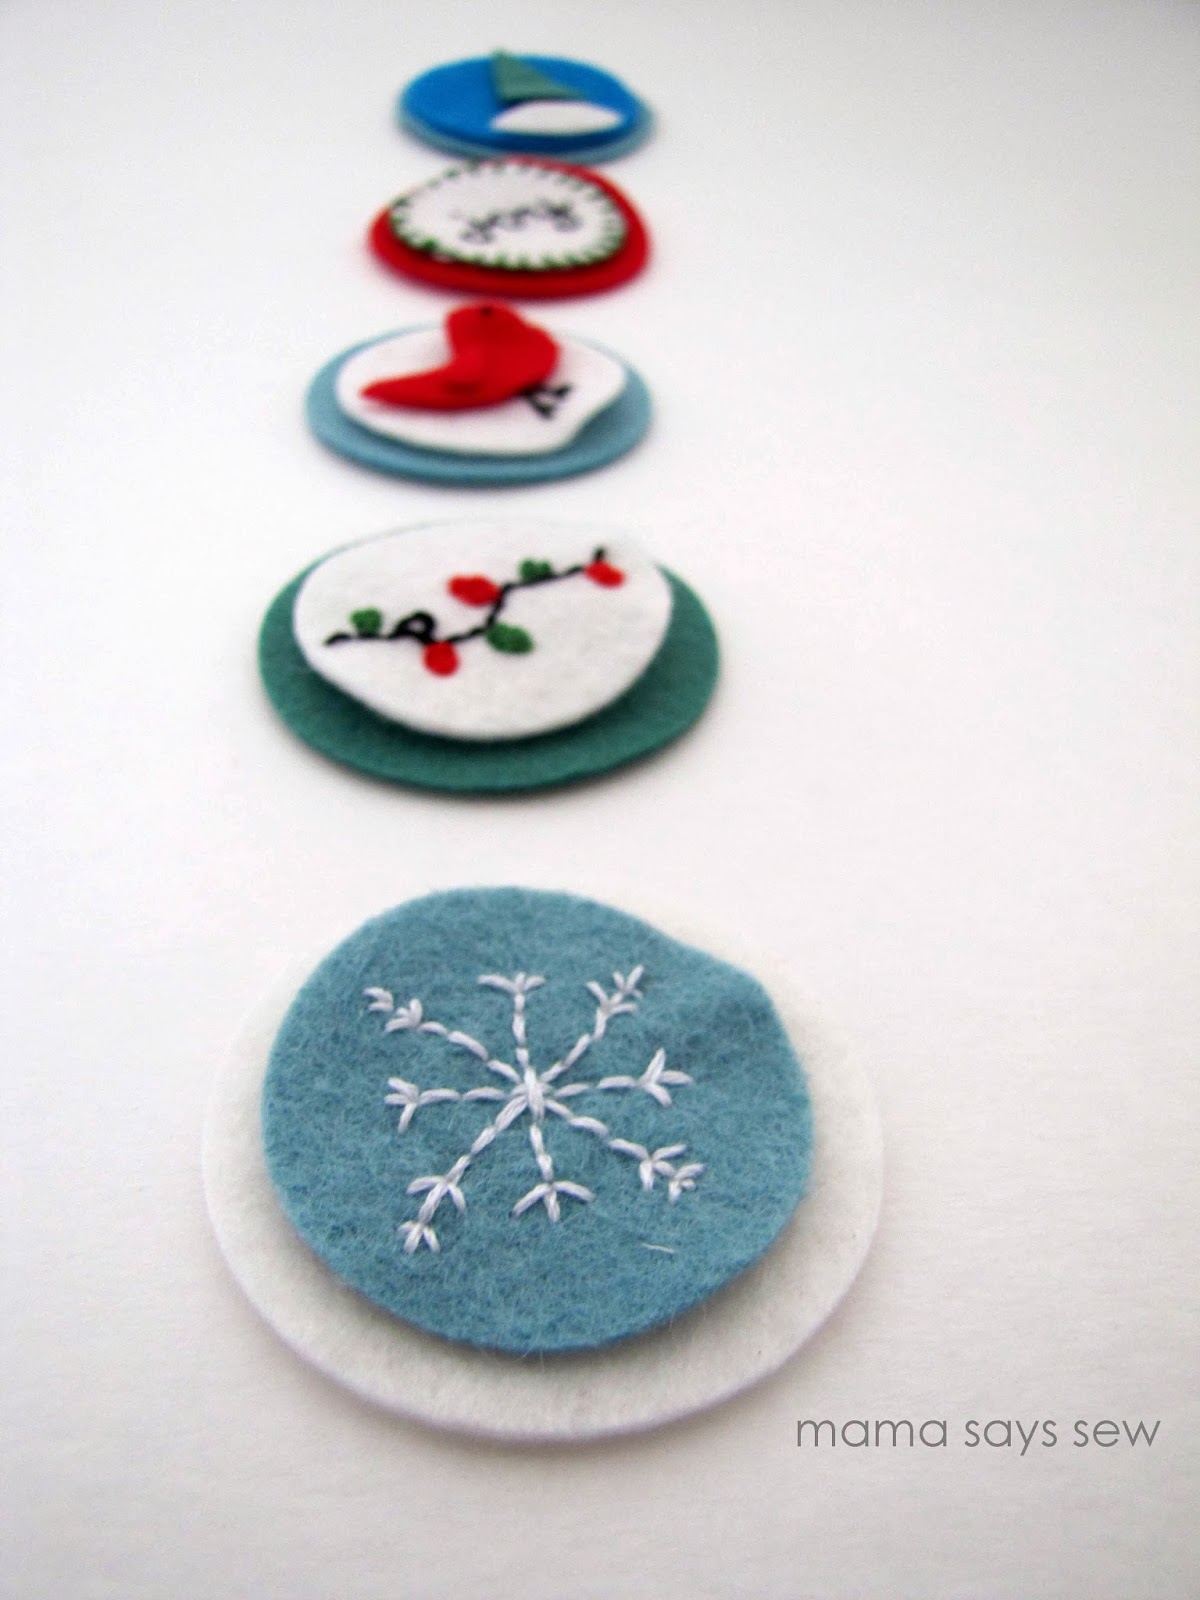
    This is a really versatile project. You can use them to make bookmarks, which would be a fun addition if you’re gifting a book.
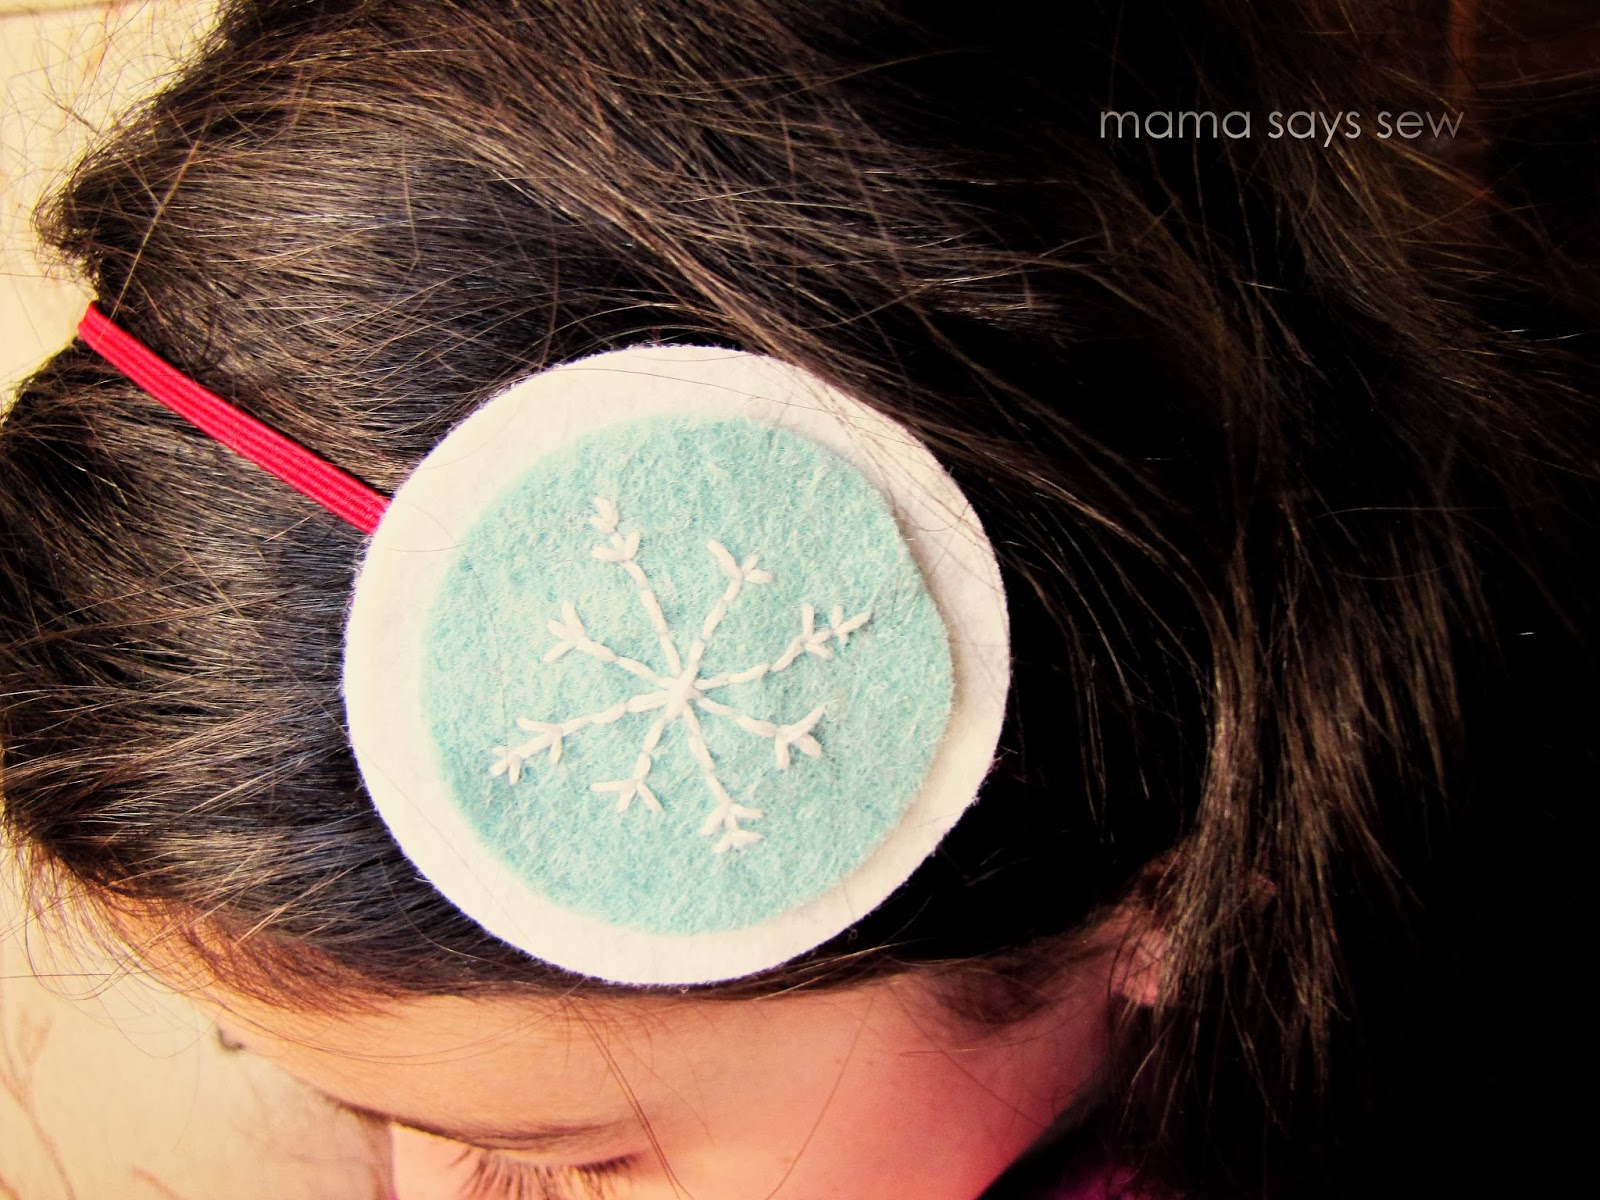
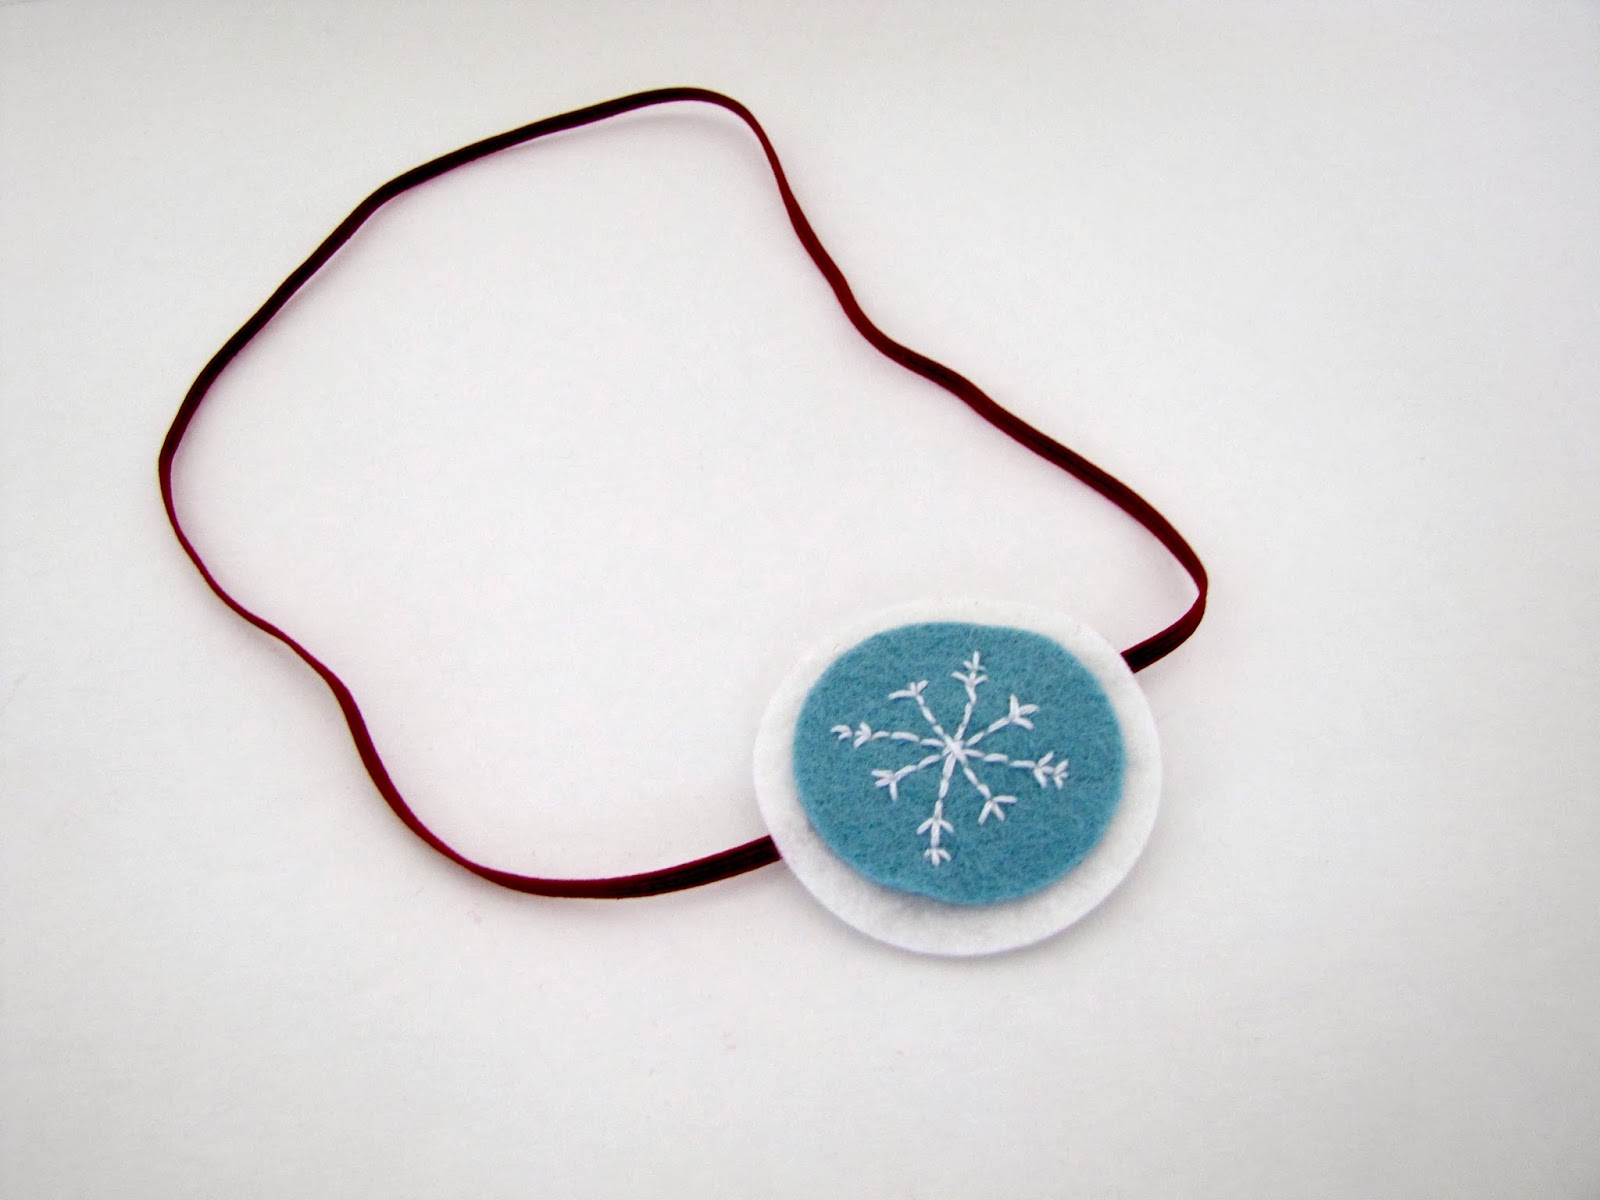
    They also make fun hair accessories. You can attach them to a clip or skinny elastic for a headband like I did here.
    They would also be fun attached to a tag for gifts or a fun little something extra in a Christmas card.
    They are pretty simple to put together. Here’s how.
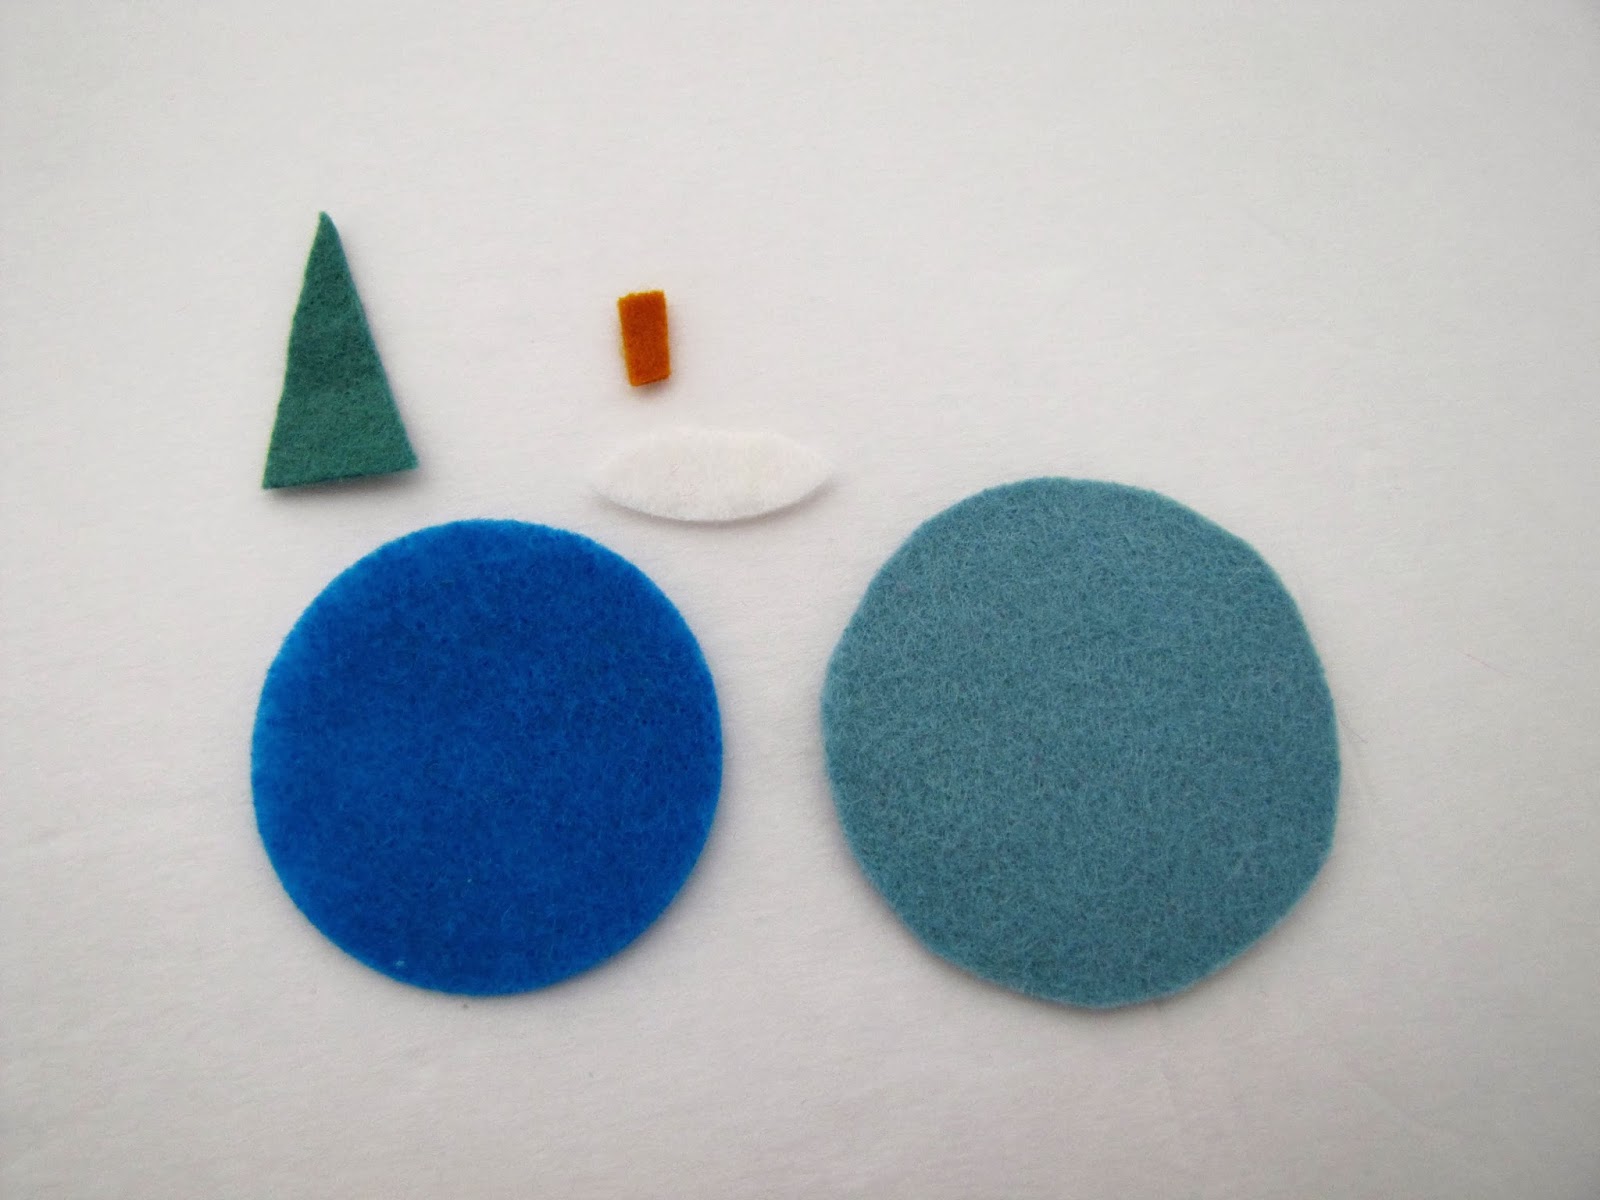
    First, cut out your shapes. I have a die cut machine that I used to cut out the circles, and everything else I just free-handed.
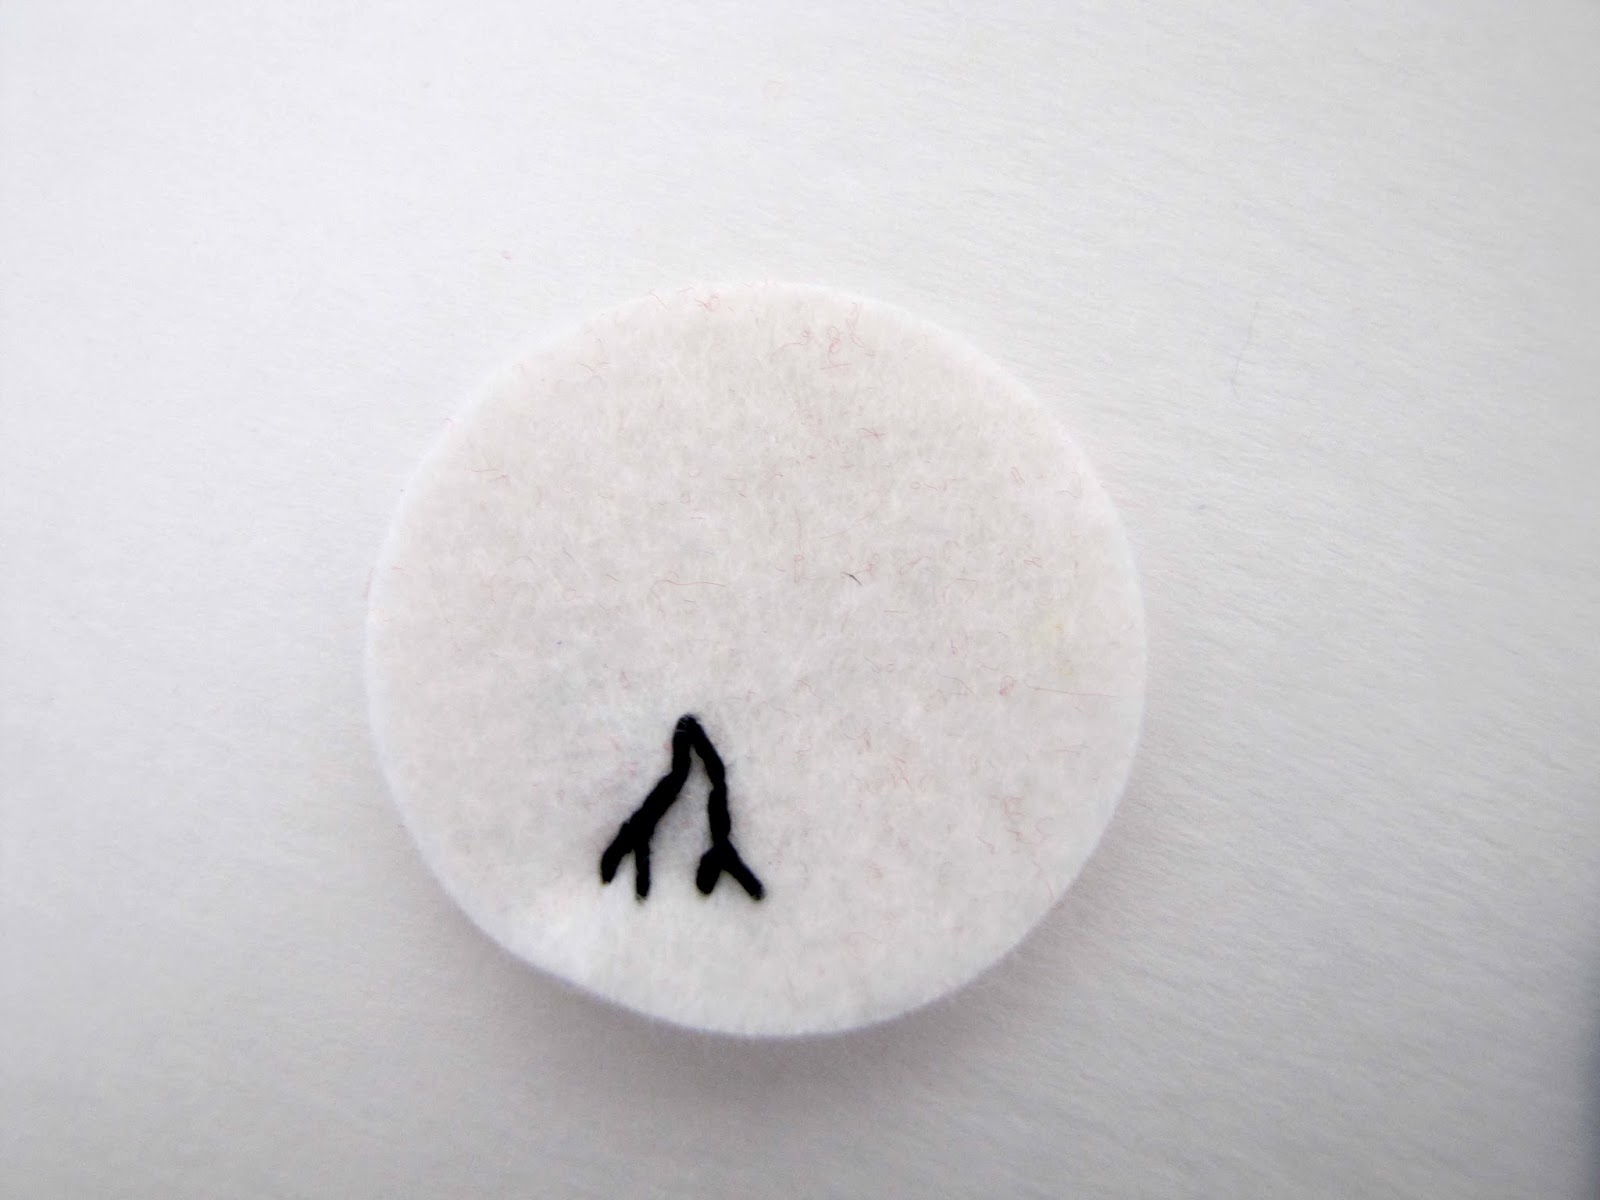
    Add any embroidery you’d like to embellish them.
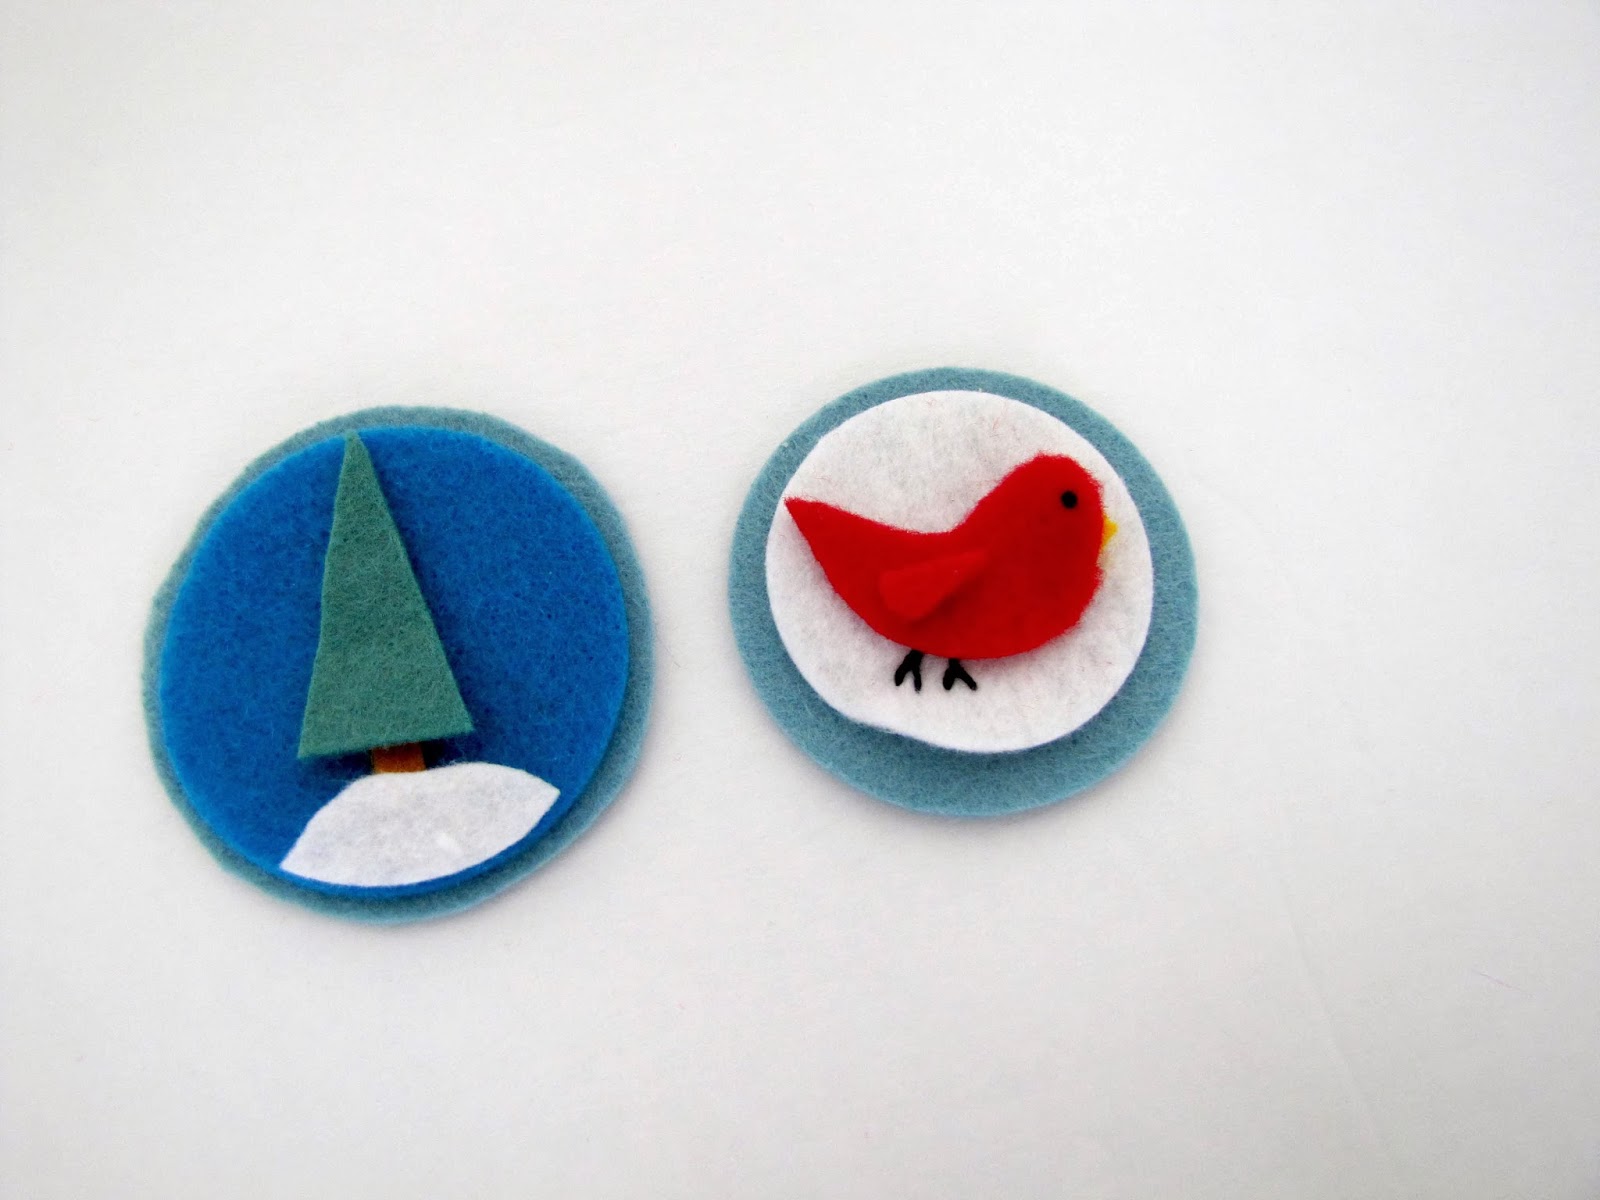
    Then put all your pieces together. I used a glue gun.
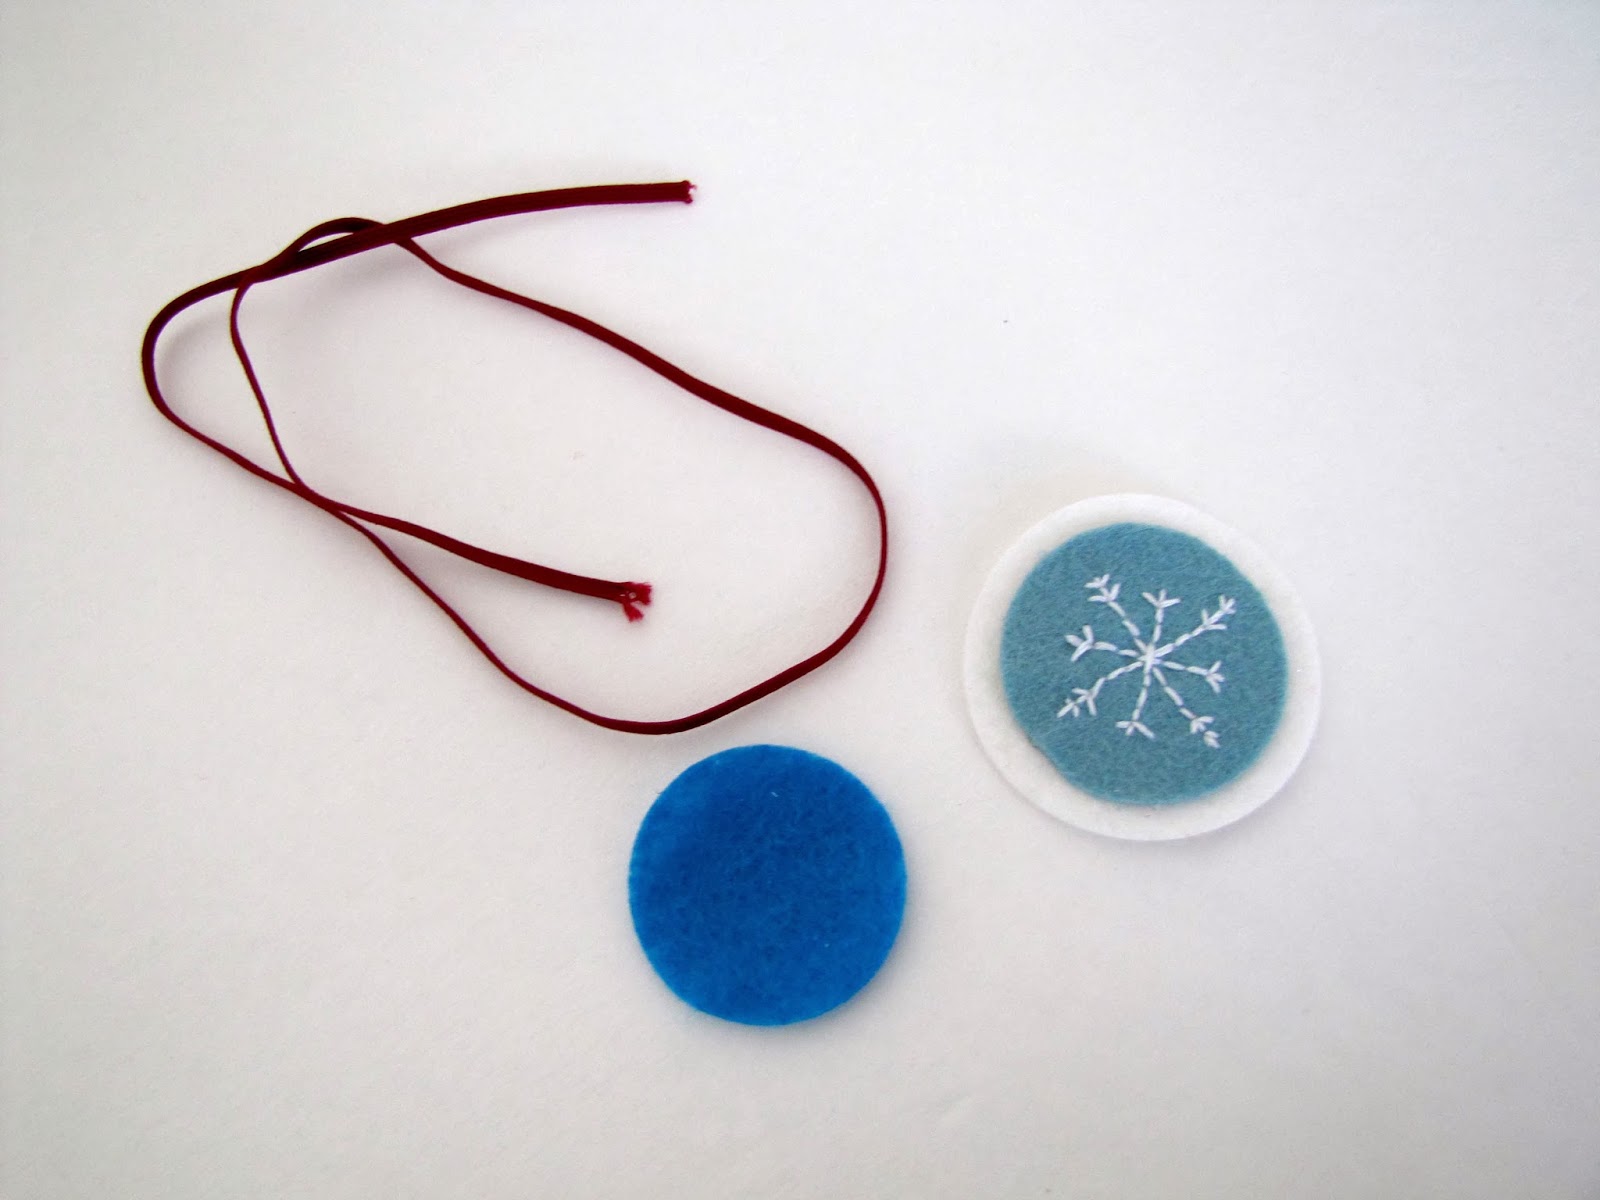
    To attach to elastic, you’ll need your felt circle, a smaller circle, and some skinny elastic.
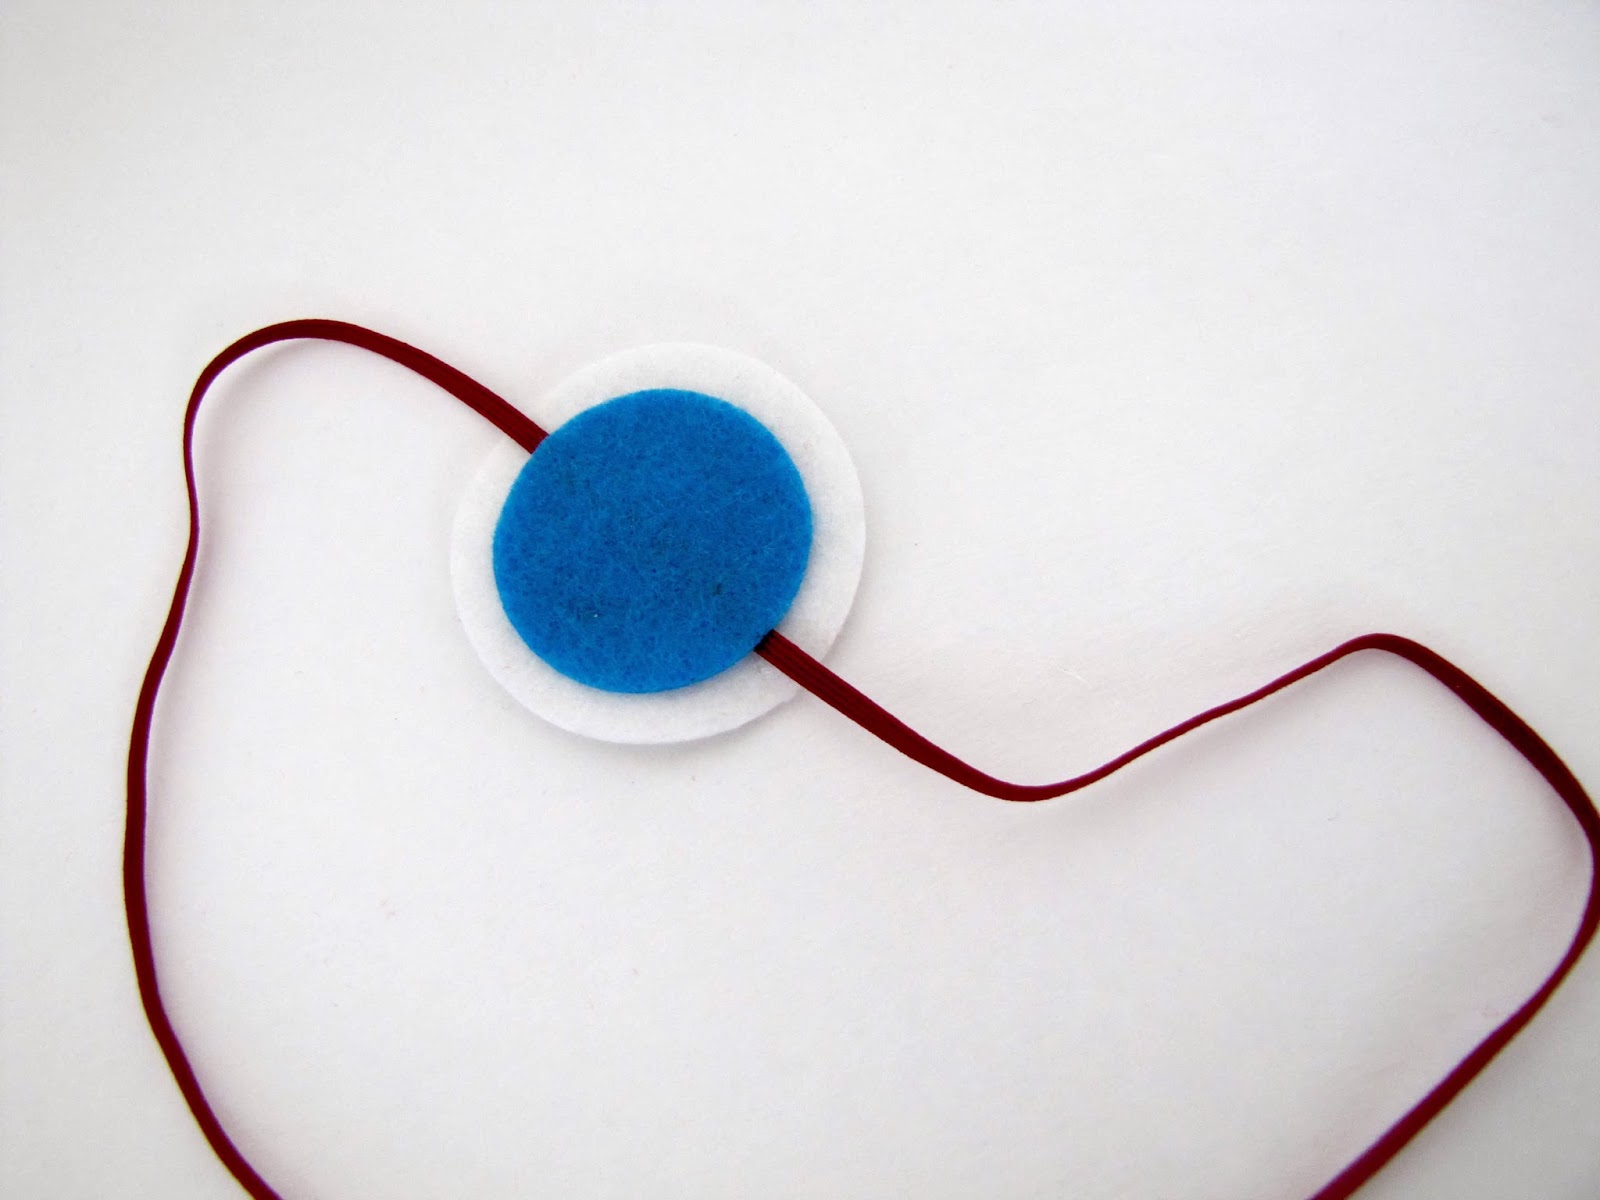
    Glue the elastic on the back.
    Then add your felt circle to hide the messiness and to help keep the elastic in place.
    And there it is!
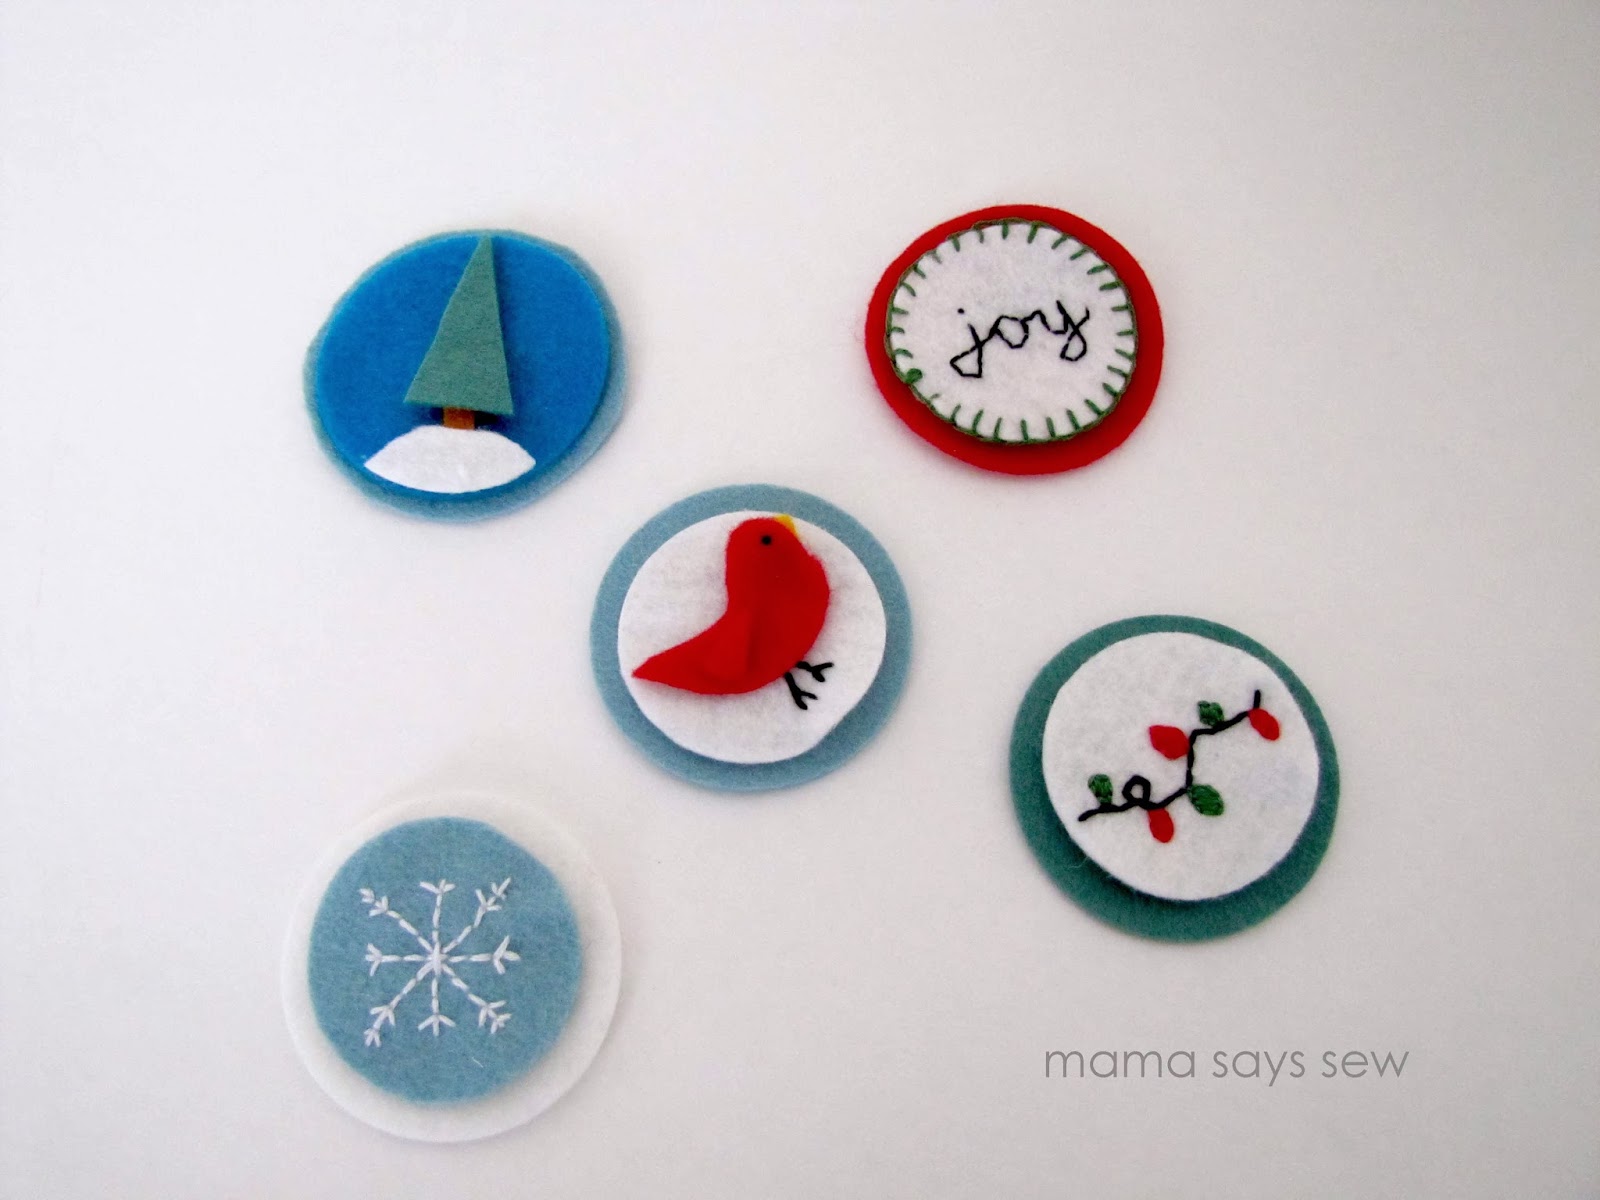
    These are the ones I made.
    —————————————————————-
    Thanks Terra! What a fun way to embellish gifts. I LOVE the bookmark idea!
    We have decided to truncate our feed to help protect against stolen content. I apologize for any inconvenience. Please love us anyway. 🙂

    Printable Thanksgiving Crossword For Kids

    November 4, 2013 By Michelle Barneck 7 Comments

    Post sponsored by Alpha-Bits as part of the Mom It Forward Blogger Network.
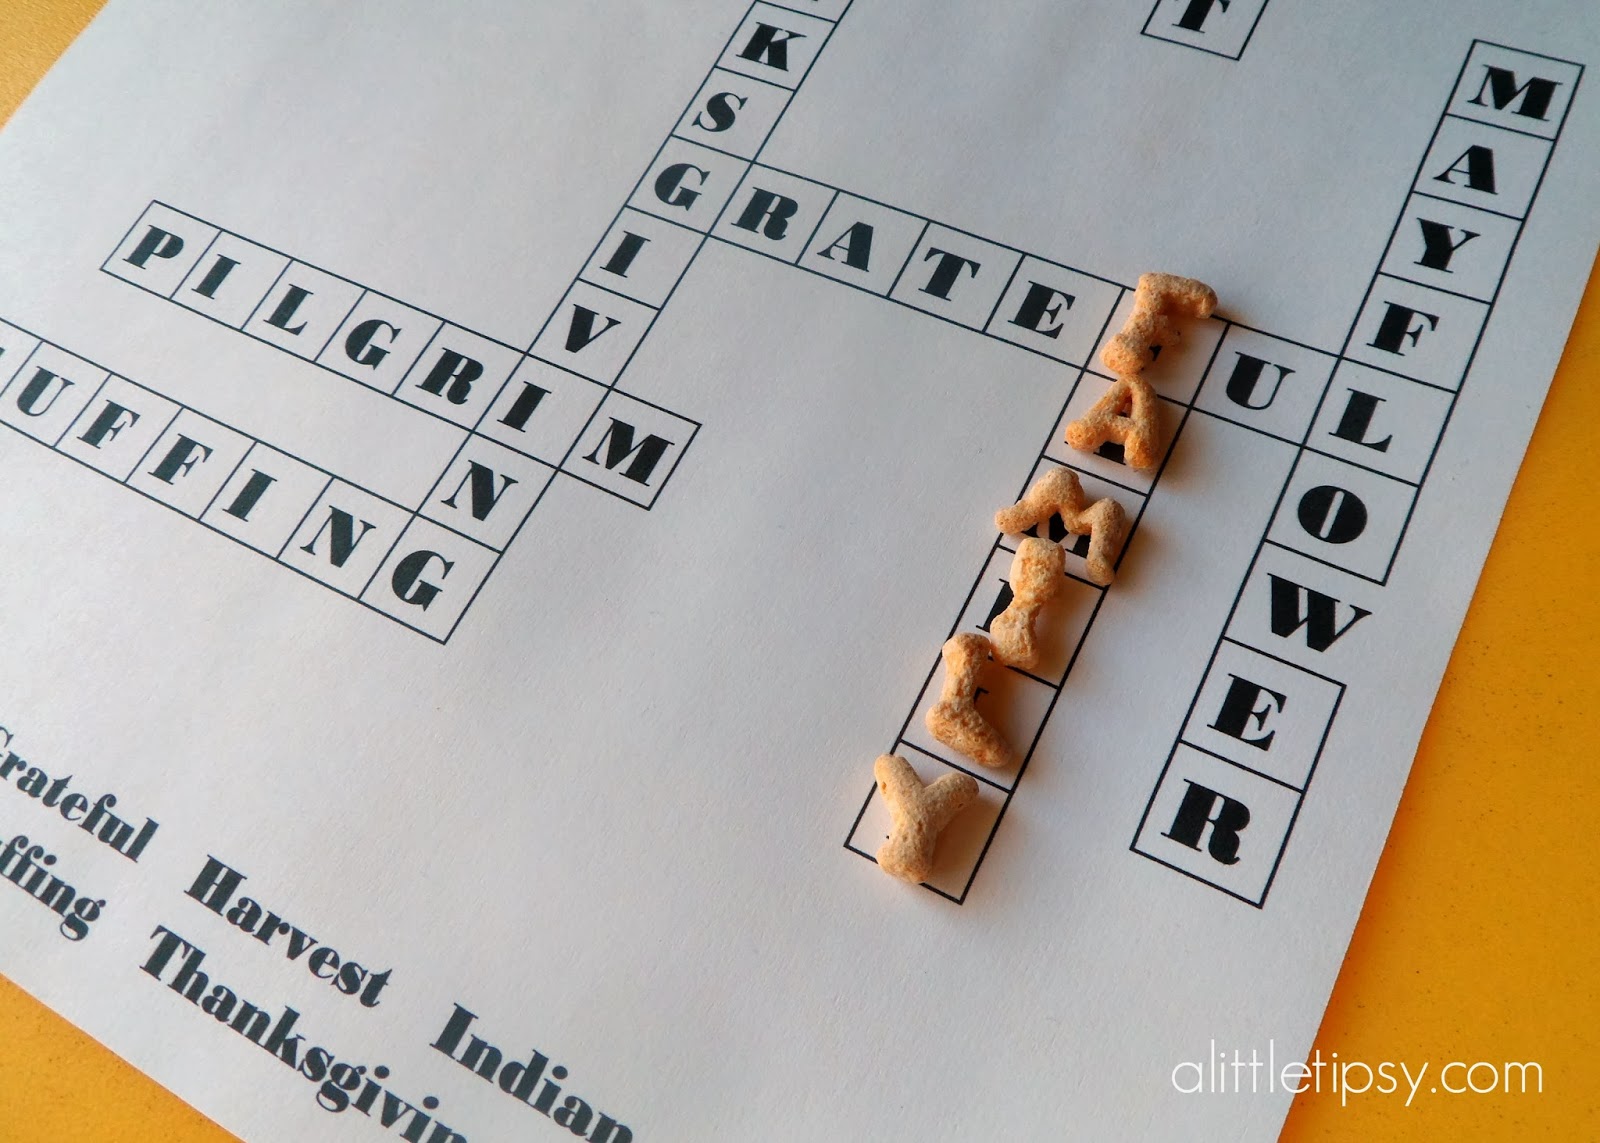
    Family Traditions are so important and with Thanksgiving coming up it is nice to find ways to involve everyone, even those tiny hands. Sometimes they get bored waiting for dinner to be prepared or come in looking to sneak a snack for their patient little tummies. A Thanksgiving game that combines snacks, fun, and learning is just the ticket!
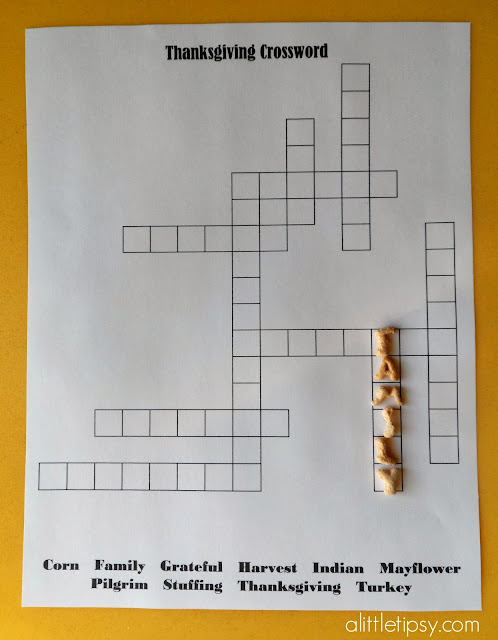
    Download the Free Thanksgiving Crossword Puzzle Key Printable.
    This Thanksgiving crossword will keep the kids at bay until you can get that bird that perfect golden. Just print it out and give them a cup full of Alpha-Bits cereal to see how many letters they can match up. It will keep them busy searching and they can eat the letters that aren’t on the page. The letter shaped cereal helps them learn their letters while they think they are just having fun! Plus, with 20g of whole grains and 12 essential vitamins and nutrients (per 30g serving) you can feel good that you aren’t filling them up with junk.

    It also seems that the older kids like to have a game too, even though they might not like to admit it, so here’s a blank template to make it a little more challenging for the older kids.

    Download the Blank Thanksgiving Crossword.
    You’ll find that some of the letters are easier to find in the Alpha-Bits than others so give the kids fair warning so they don’t get frustrated. You can give them a pen to fill in any missing letters they could not find in their cup.
    Let them loose and watch their minds work their magic!
    Other fun Alpha-Bits Thanksgiving games:
    See how many Thanksgiving words you can spell with the letters in your cup of Alpha-Bits.
    Play Thanksgiving Bingo using the cereal as space markers.
    String Alpha-Bits to make edible necklaces.
    Let the kids make up their own games. I am always amazed at the creative things they come up with!
    We have decided to truncate our feed to help protect against stolen content. I apologize for any inconvenience. Please love us anyway. 🙂

    Thanksgiving Place Setting

    November 1, 2013 By Michelle Barneck 7 Comments

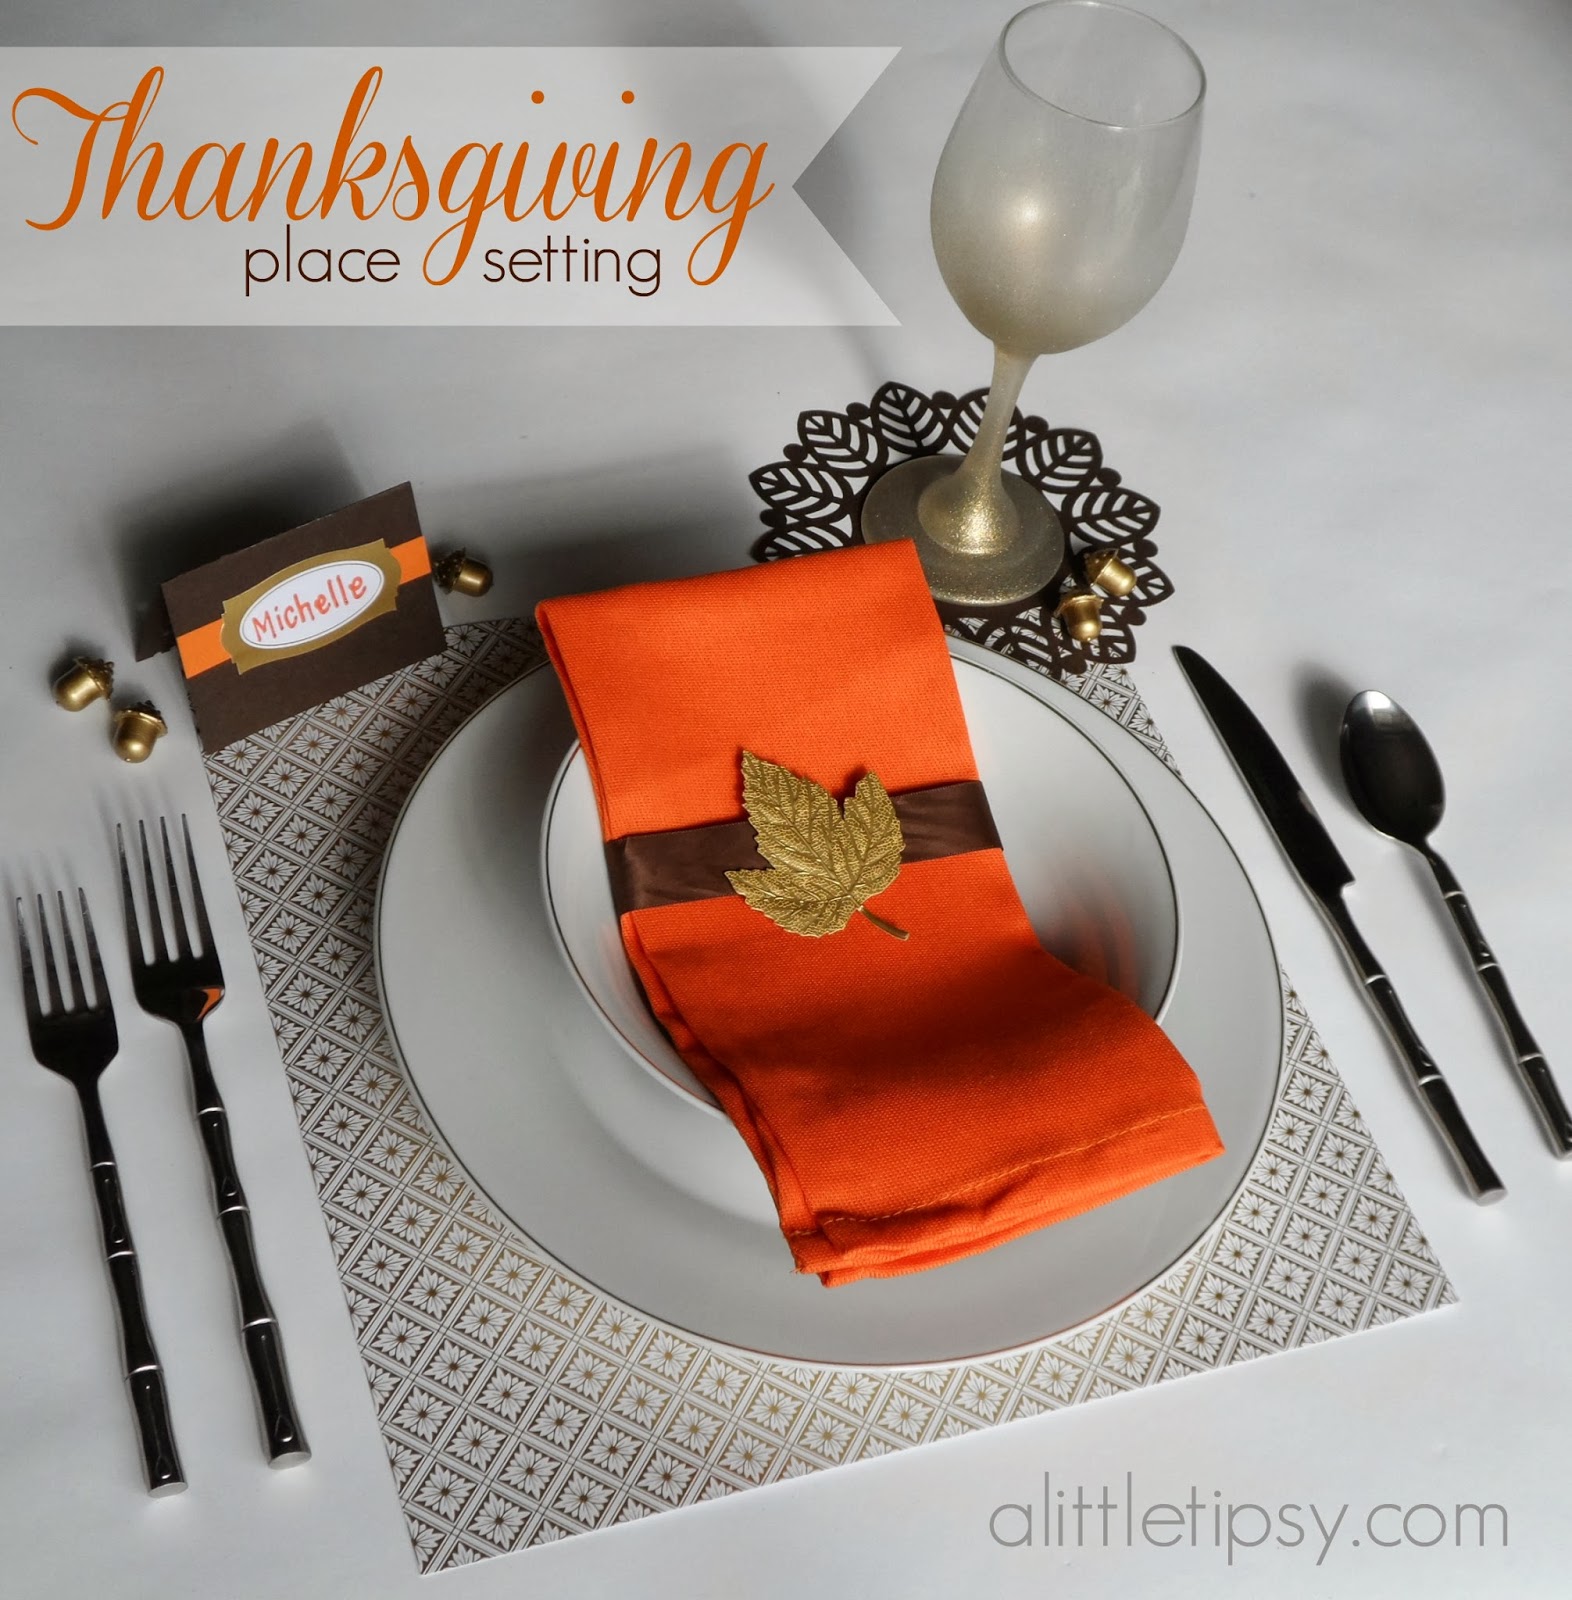
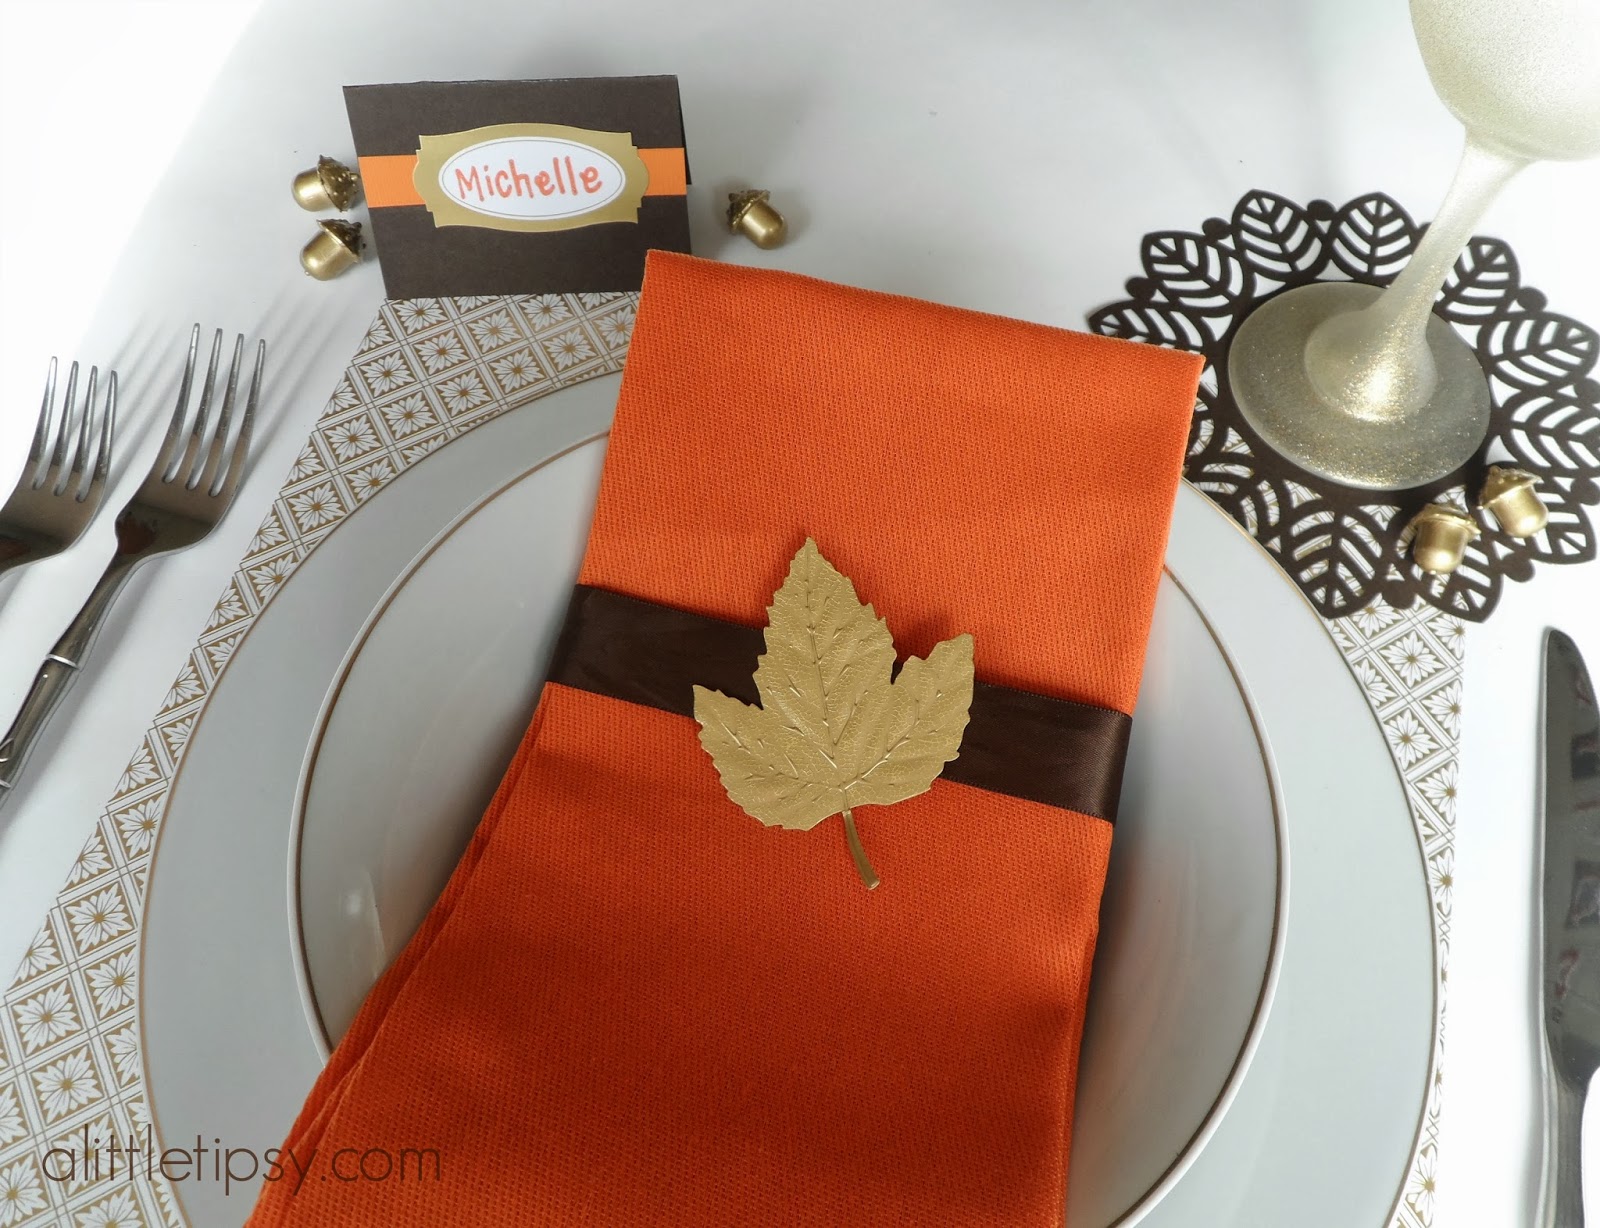
    November is here and soon it will be time for Thanksgiving! A holiday all about family, food, and giving thanks? I’m there! It’s fun to have a beautiful table and even better to have one that does not break the bank. Here’s a pretty place setting using simple items like paper, ribbon and stickers to take your Thanksgiving table up a notch.

    Supplies to create place setting:
    • Silverware
    • 12×12 patterned paper*
    • Plate & Bowl
    • Orange Fabric Napkin
    • Brown Satin Ribbon
    • Gold Leaf Stickers*
    • Glittered Goblets
    • Brown Cardstock
    • Rounded Leaf Circle Edge Punch*
    • Circle Edge Punch Starter Set*
    • Gold Acorns (Plastic ones from Target dollar spot painted with brass liquid guilding*)
    • Orange Cardstock
    • Gold Edged Labels*
    • Glitter Markers*

    *Martha Stewart Crafts Products 

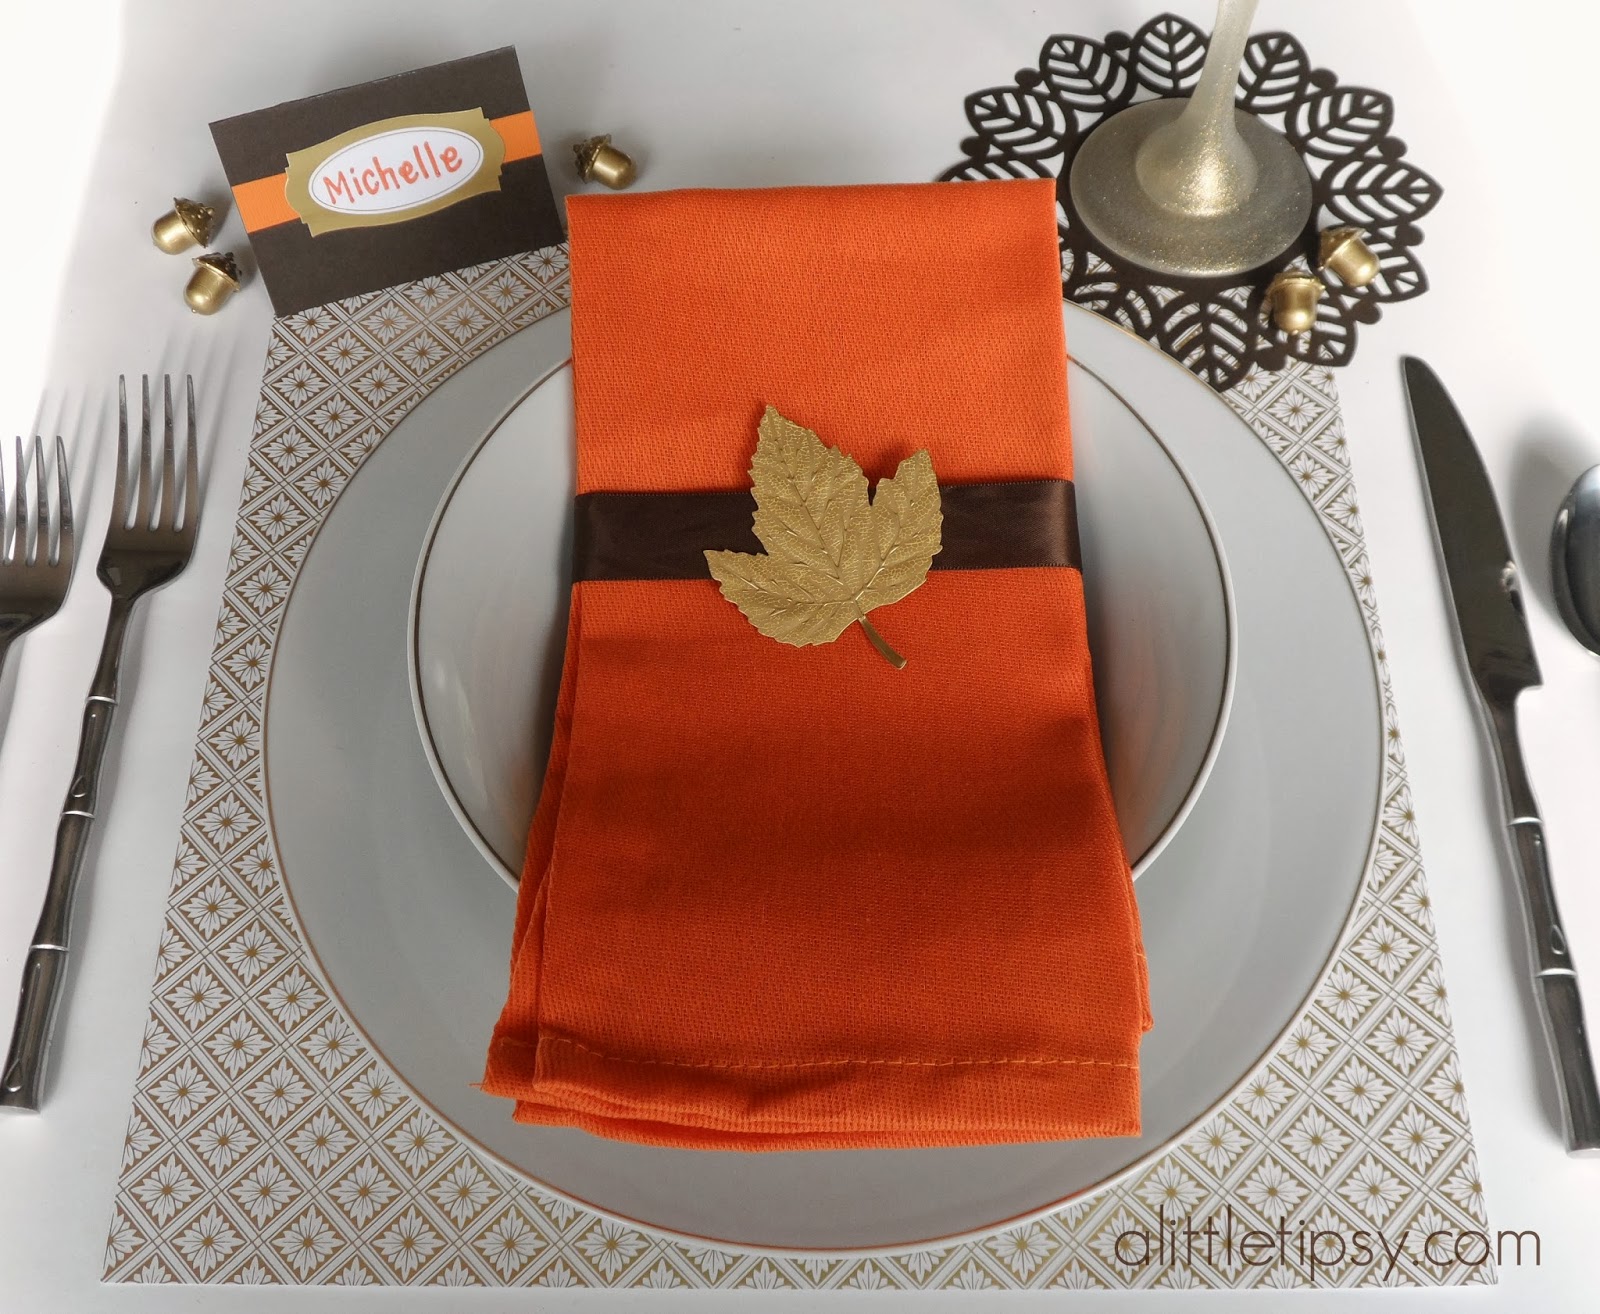
    1. Place a 12×12 paper at each place. Top with plate and bowl and place silverware on the sides. Put brown ribbon around orange napkin and embellish with a gold leaf sticker. Place napkin on top of bowl.

    2. Make the place card by cutting a rectangle out of brown cardstock. Fold it in half to make it stand up. Cut a strip of orange cardstock to make a stripe. Write names on gold labels with orange glitter marker. Place the label on the orange stripe. Surround with gold acorns made by painting plastic acorns with gold liquid guilding.

    3. Make the paper coaster by punching brown cardstock with the rounded leaf circle edge punch on the 6 inch setting. Place the glittered glass on the coaster and surround with more gold acorns.

    A little extra effort can go a long way for your Thanksgiving table! And the best part is that much of it can be thrown away after dinner. No washing stains out of placemats!

    Disclosure: Martha Stewart Crafts provided product for this post.

    We have decided to truncate our feed to help protect against stolen content. I apologize for any inconvenience. Please love us anyway. 🙂
    « Previous Page
    Next Page »

    • Bloglovin
    • Facebook
    • Google+
    • Instagram
    • Pinterest
    • RSS
    • Twitter

    Hi there! I'm Michelle. Mother of three little boys and one little princess. Welcome to A Little Tipsy, a place for exploring creativity and sharing inspiration.

    Follow on Bloglovin


    Visit Michelle Barneck {A Little Tipsy}'s profile on Pinterest.

    Tutorials by Category


    15 Family Reunion Games

    Family Reunion Games Collage

    15 Sprinkle Party Ideas

    Sprinkle Birthday Party
    Creative Commons License

    © Copyright 2014 A Little Tipsy · Site Designed by The Fairy Blogmother · Web Hosting by RFE Hosting

    This website uses cookies to improve your experience. We'll assume you're ok with this, but you can opt-out if you wish.Accept Read More
    Privacy & Cookies Policy