A Little Tipsy

Creative Tips & Ideas

  • home
  • About Me
  • the tipsy top
  • press
  • projects
  • contact me
[print_thumbnail_slider]

The Great Craft Stash Giveaway

July 21, 2014 By Michelle Barneck 1 Comment

Oh man do we have a giveaway for you today! Do you like craft supplies? Would you like a bundle of pretty things to stuff your craft room/closet full to the brim?

the great craft stash giveaway 1

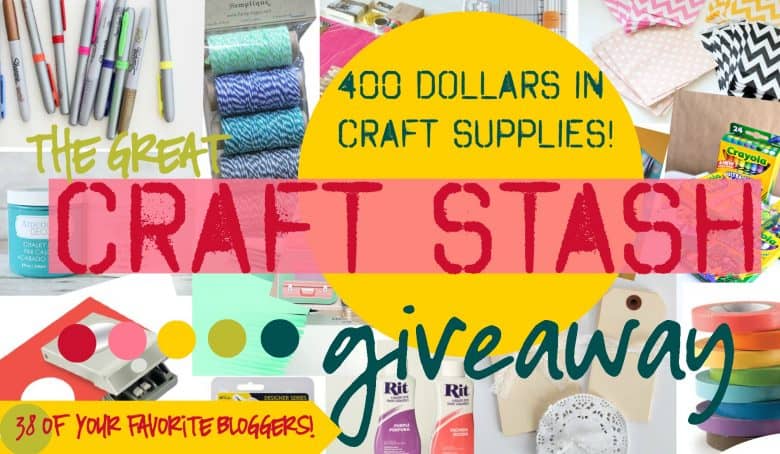
38 AWESOME bloggers have all joined forces to give you the GREAT craft Stash GIVEAWAY! Each blogger has picked one of their favorite crafting tools to give to ONE lucky winner (AND IT COULD BE YOU!!!!) WE have everything from washi tape, to chalk paint, to baker’s twine, to sharpies! Everything a crafter’s heart could desire!!!!
craft stash giveaway
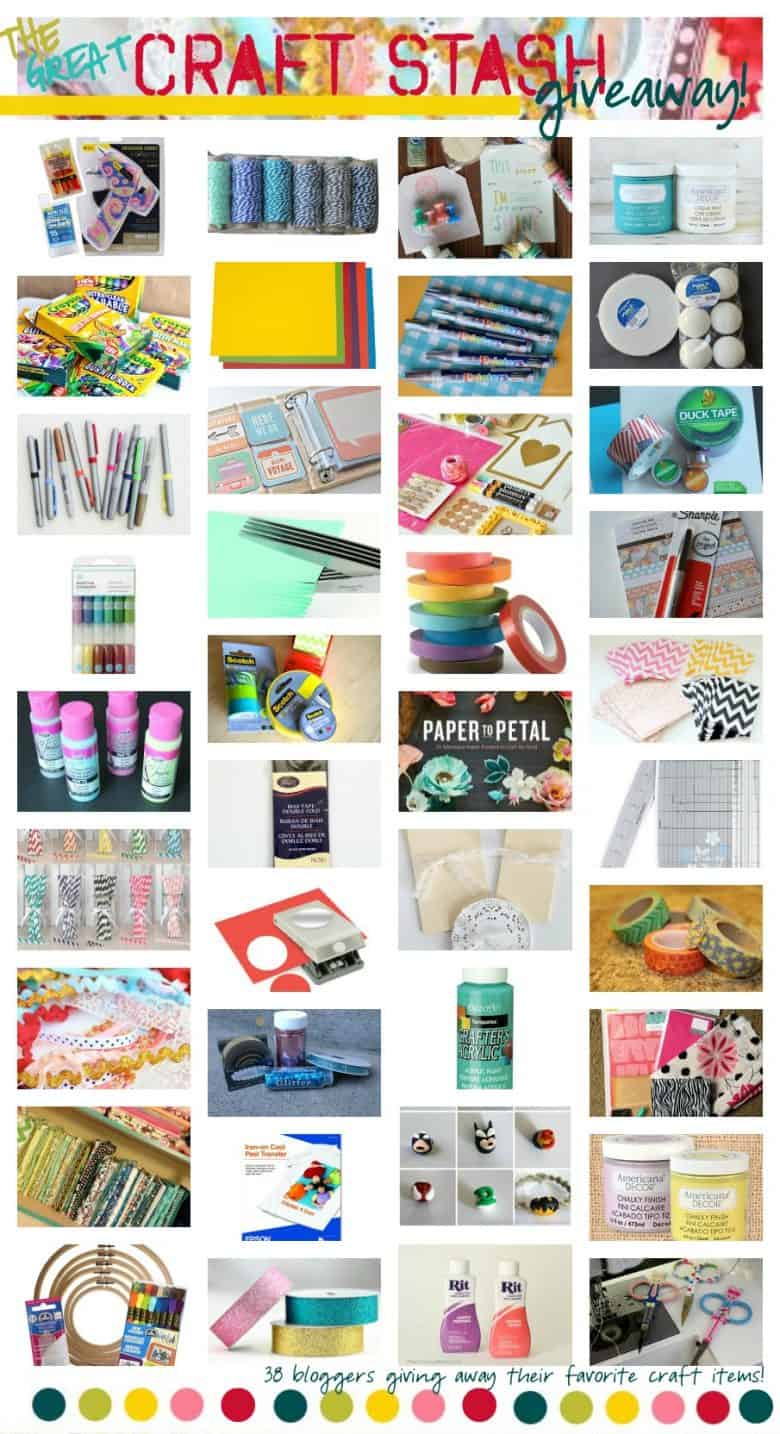
Here’s what you will get (your mailman is going to hate you!!!) Click on the links to see up close and personal what their favorite craft item is (if you get an error just click the home button!!!)

1st Column:

a glue gun and glue sticks from a girl and a glue gun–crayons from Thirty handmade days –fun markers and pens from delia creates–glitter glue from eighteen 25— fabric paint from One Krieger Chick–Pick three colors of paper straws from Capturing Joy with Kristen Duke–Fun ribbons and trims from Sweet Charli–mystery bundle of fabric from sugar bee crafts–embroidery set from Flamingo Toes—

2nd column:

bakers twine from Over the big moon–sheets of vinyl from A glimpse inside–mini instagram album from Making the world cuter–Martha Stewart fringe scissors from Dolen Diaries–decorative scotch tape from Bombshell Bling–bias tape from Melly Sews—-circle punch from My Sister’s suitcase–glitter pack from R &R workshop–iron on heat transfer from design, dining and diapers–glitter tape from SNAP—

3rd column:

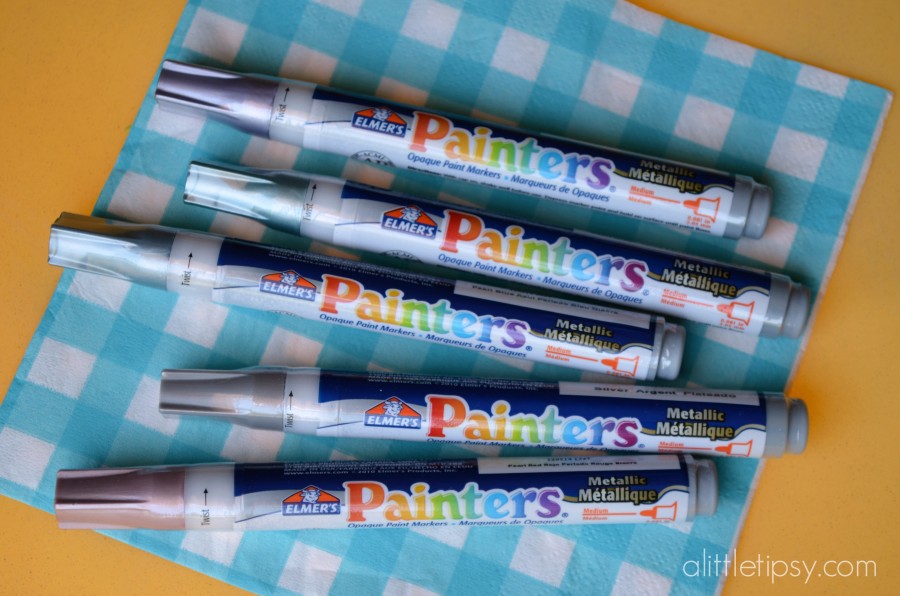
acrylic paint, wood tags, jumbo pins from Lolly Jane–metallic painter markers from A little tipsy–random fun craft supplies from Craft-o-Maniac–rainbow washi from pretty providence–Paper to Petal handmade flower book from kiki & company–manila tags and doiles from Smashed peas and carrots–Craft Paint and foam bushes from Simply Designing— superhero beads from twin dragonfly designs–Rit Dye from The Creative mom—

4th column:

Americana chalk paint and varnish from the Crafting Sparrow–styrofoam from Mad in Crafts–Duck brand prize pack from The Country chic cottage–scrapbook paper and sharpie from Simple Simon and Co– patterned treat bags from Girl Loves Glam–Paper trimmer from Ucreate–Washi Tape from Keeping it Simple–Craft odds and ends from Made to be Momma–Americana Chalk paint and varnish from I should be mopping the floor — cute embroidery scissors from Rae Gun ramblings—

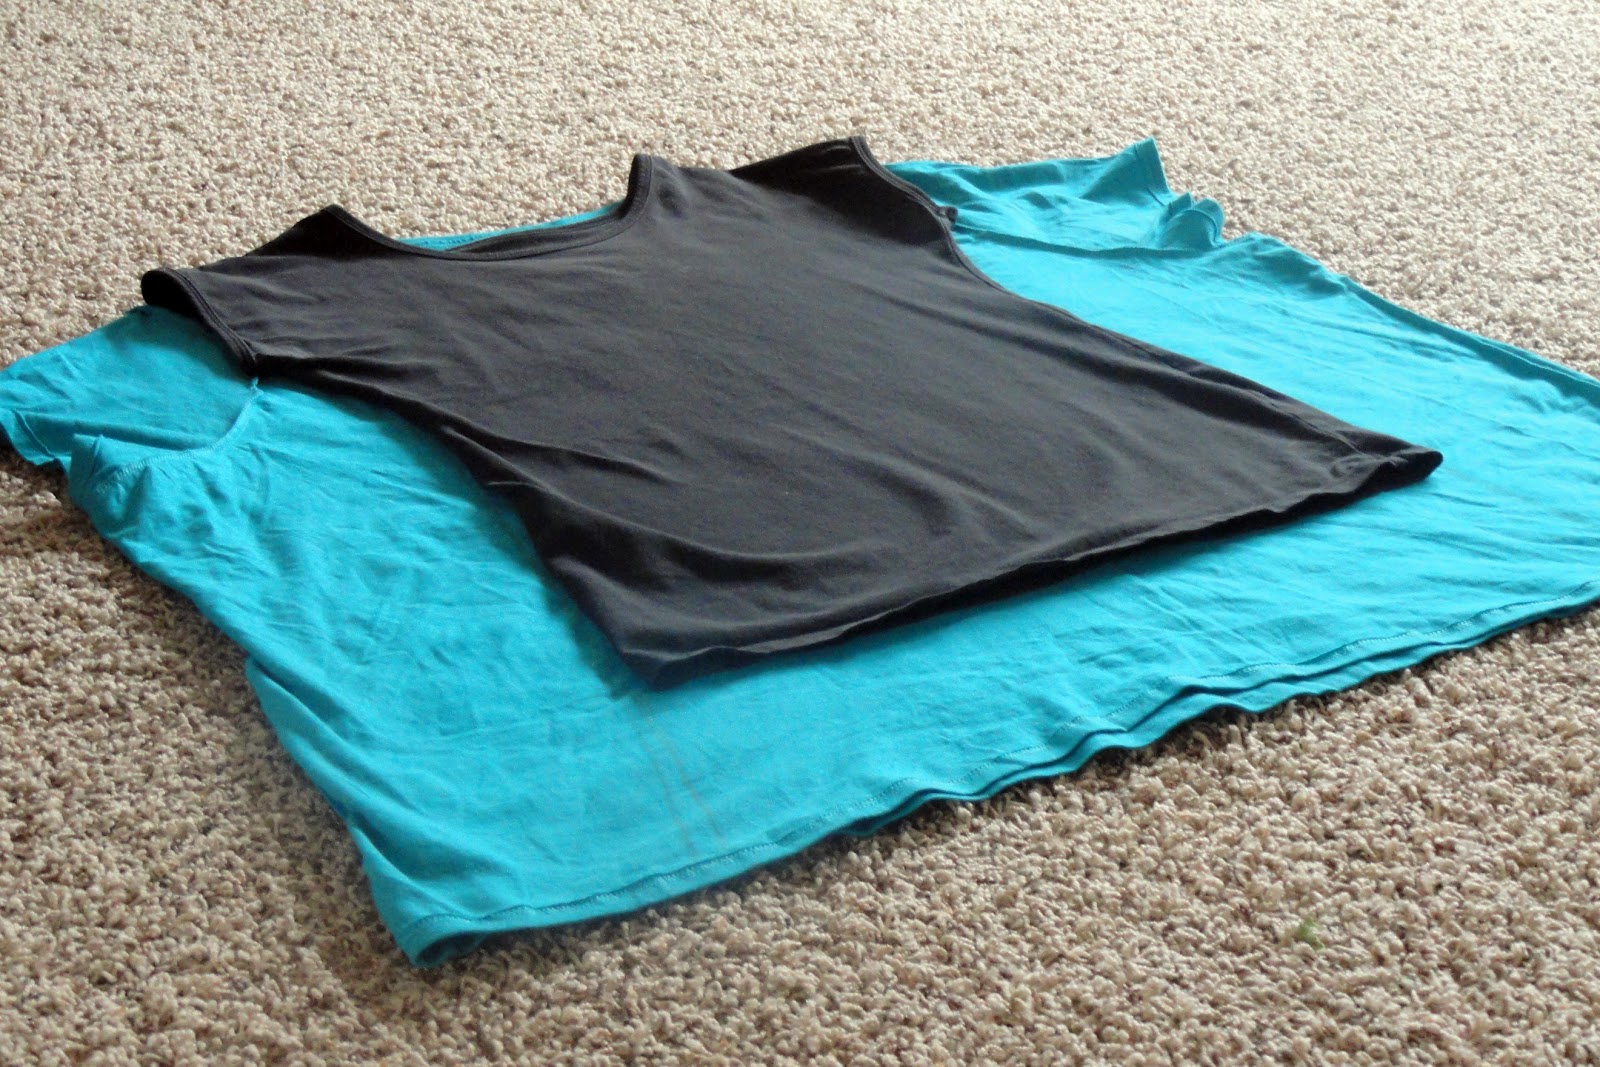
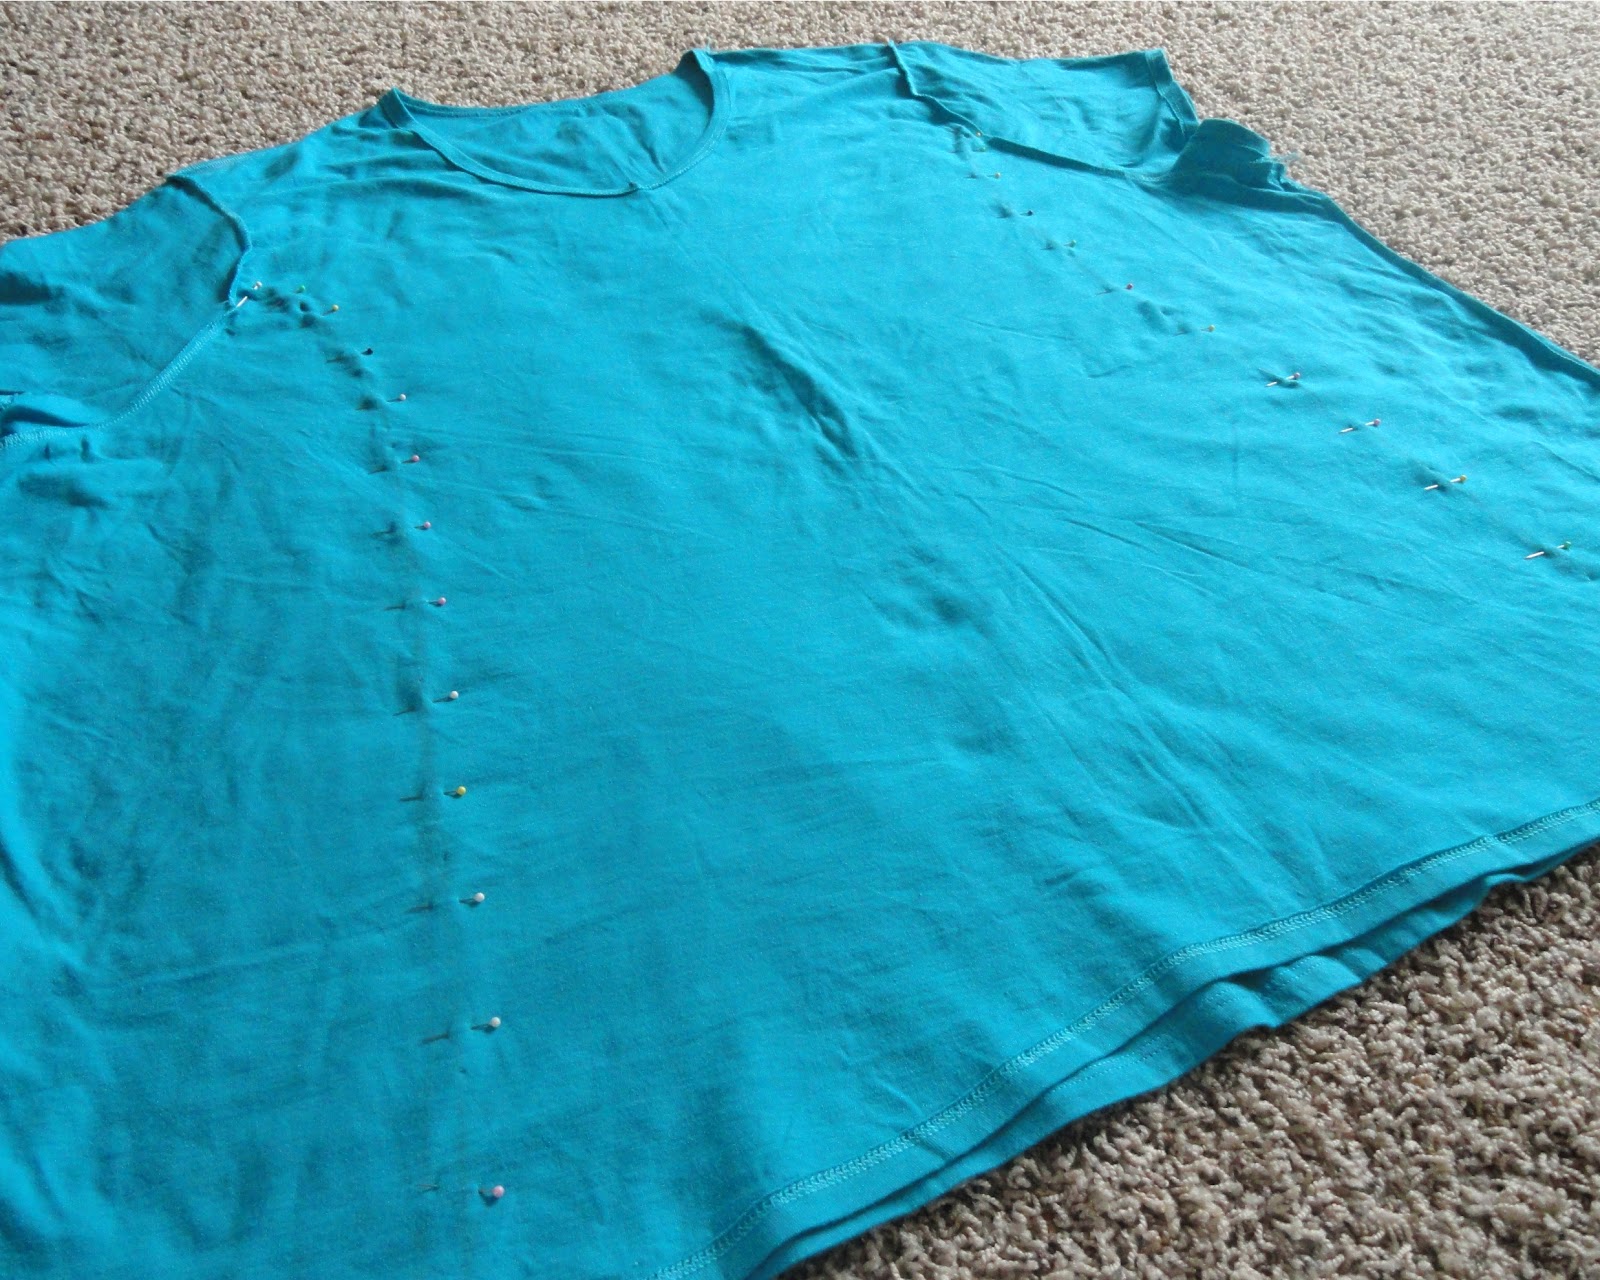
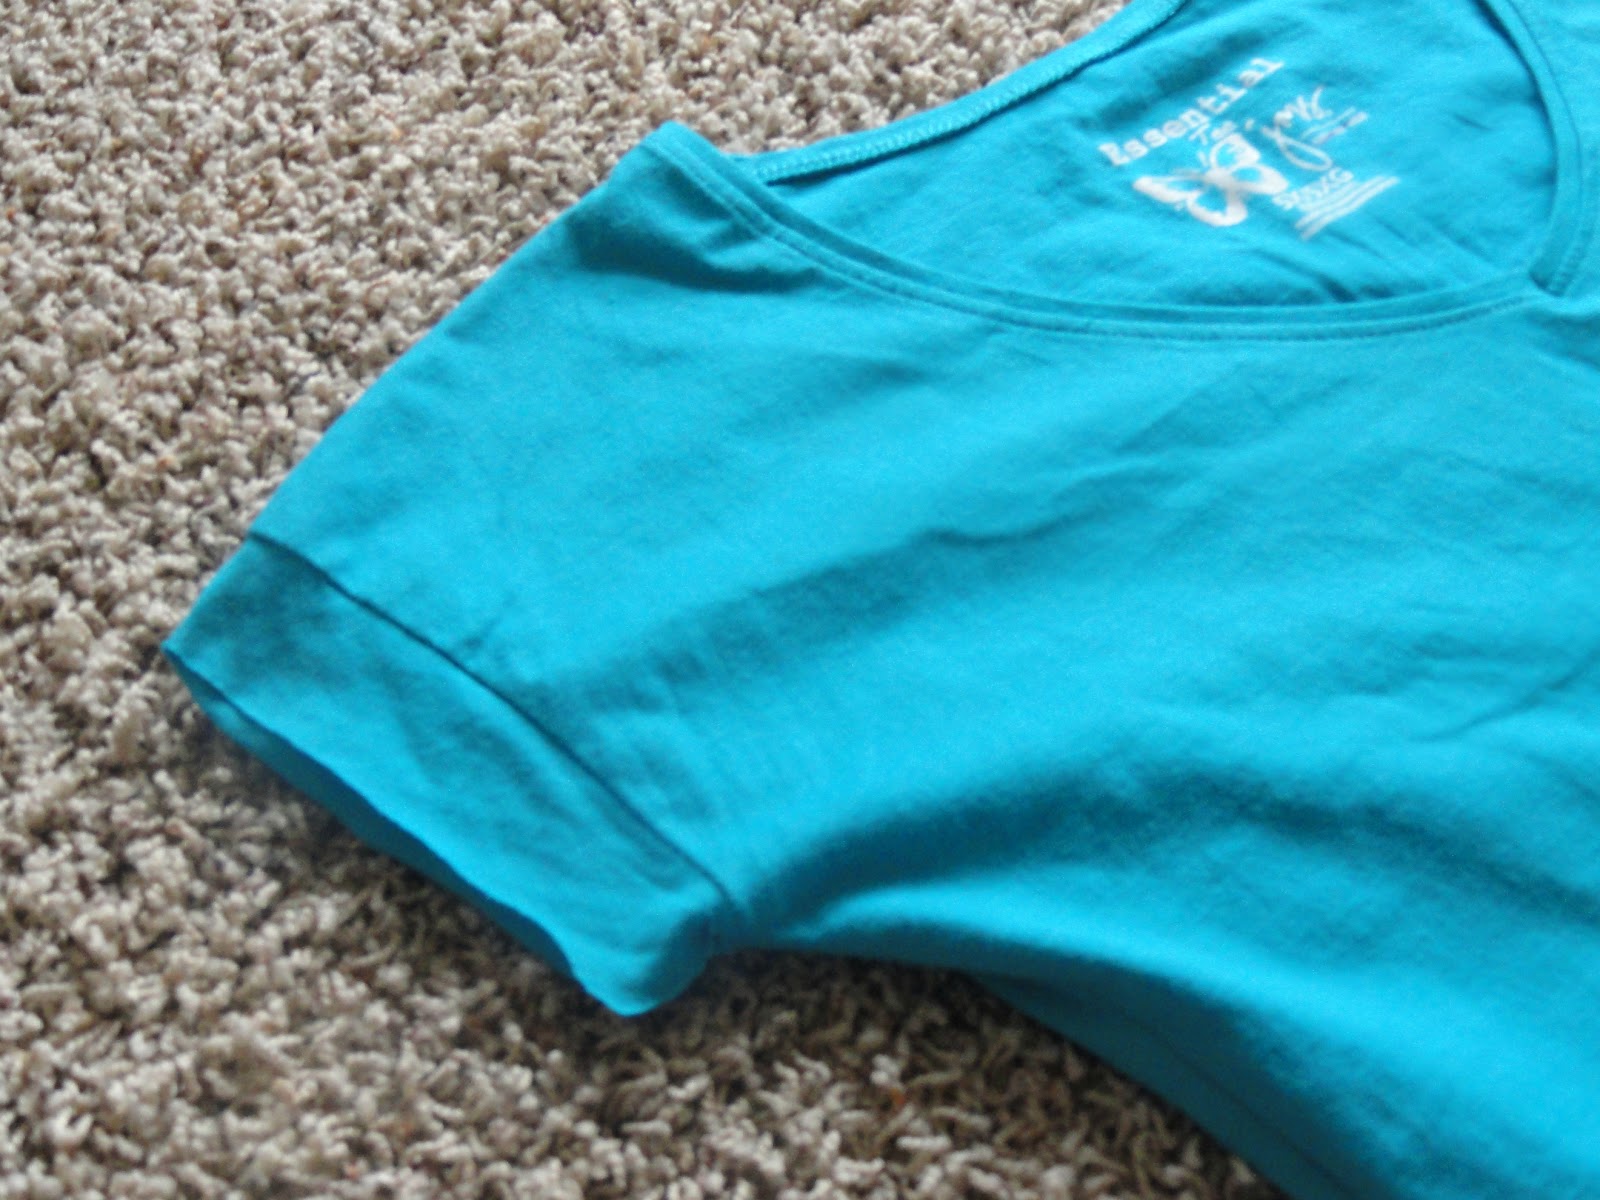
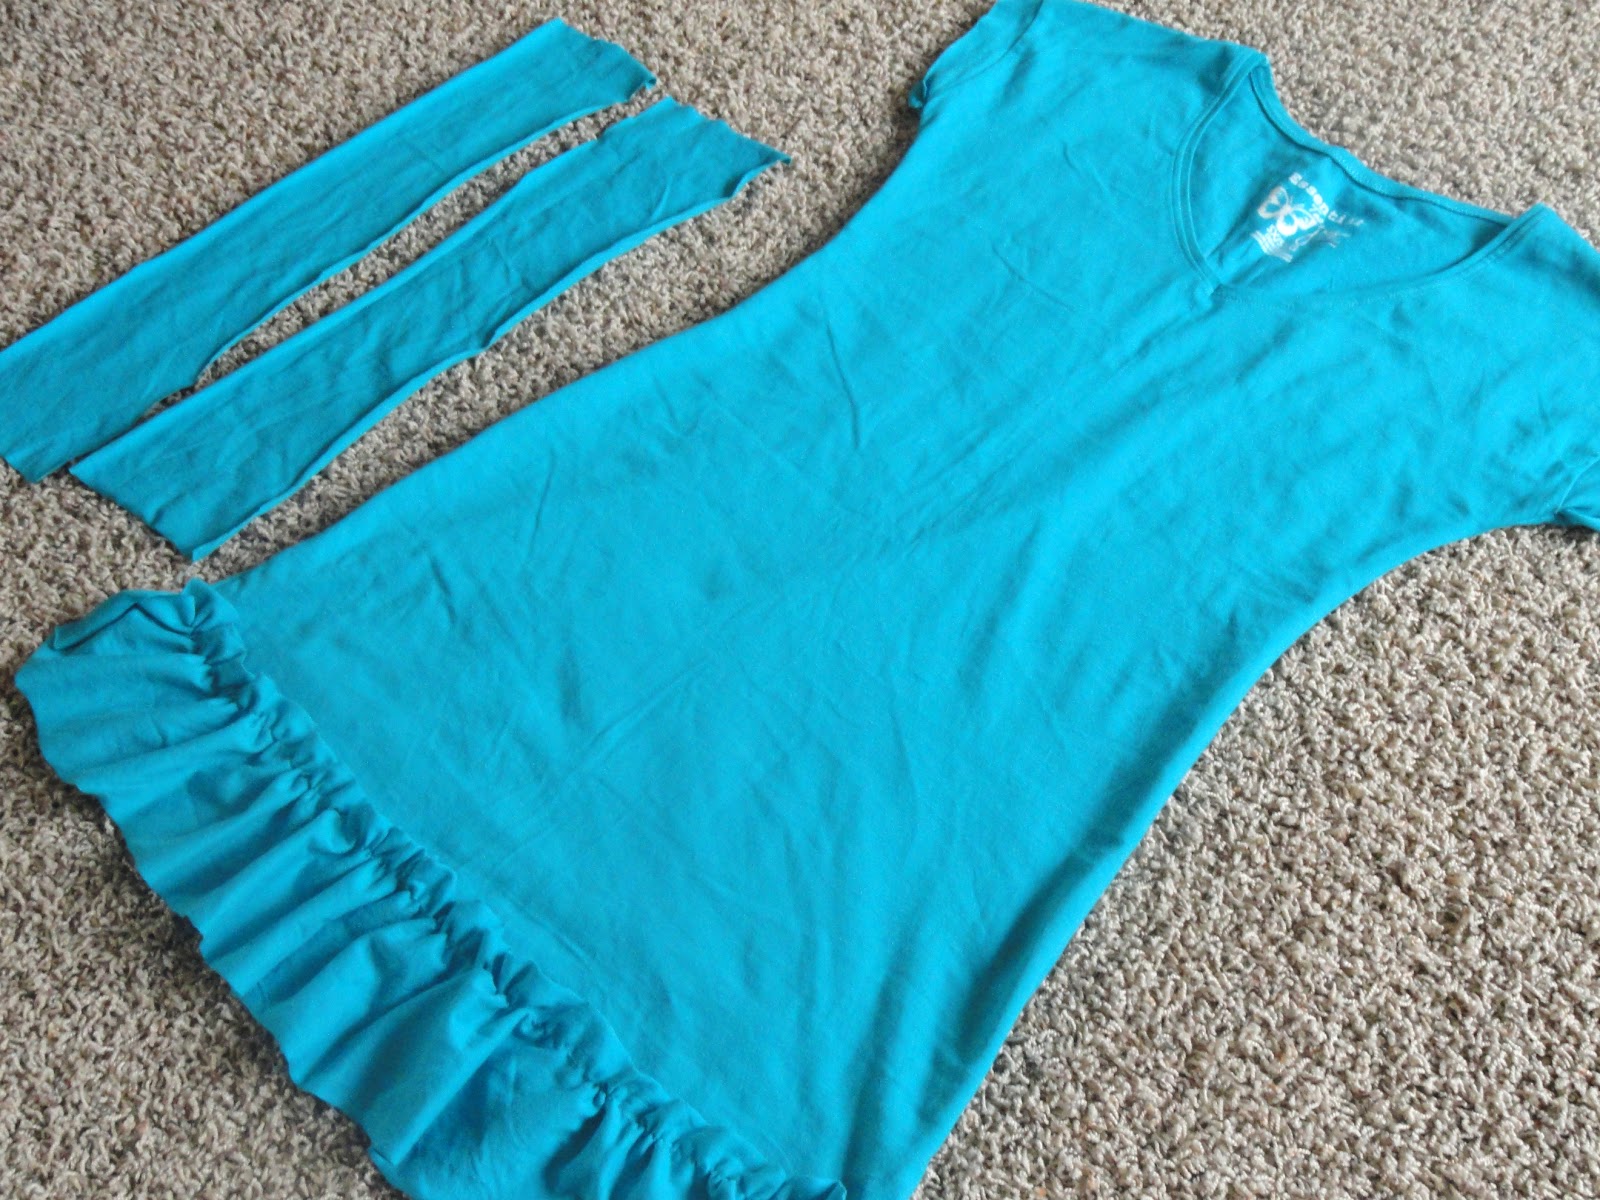
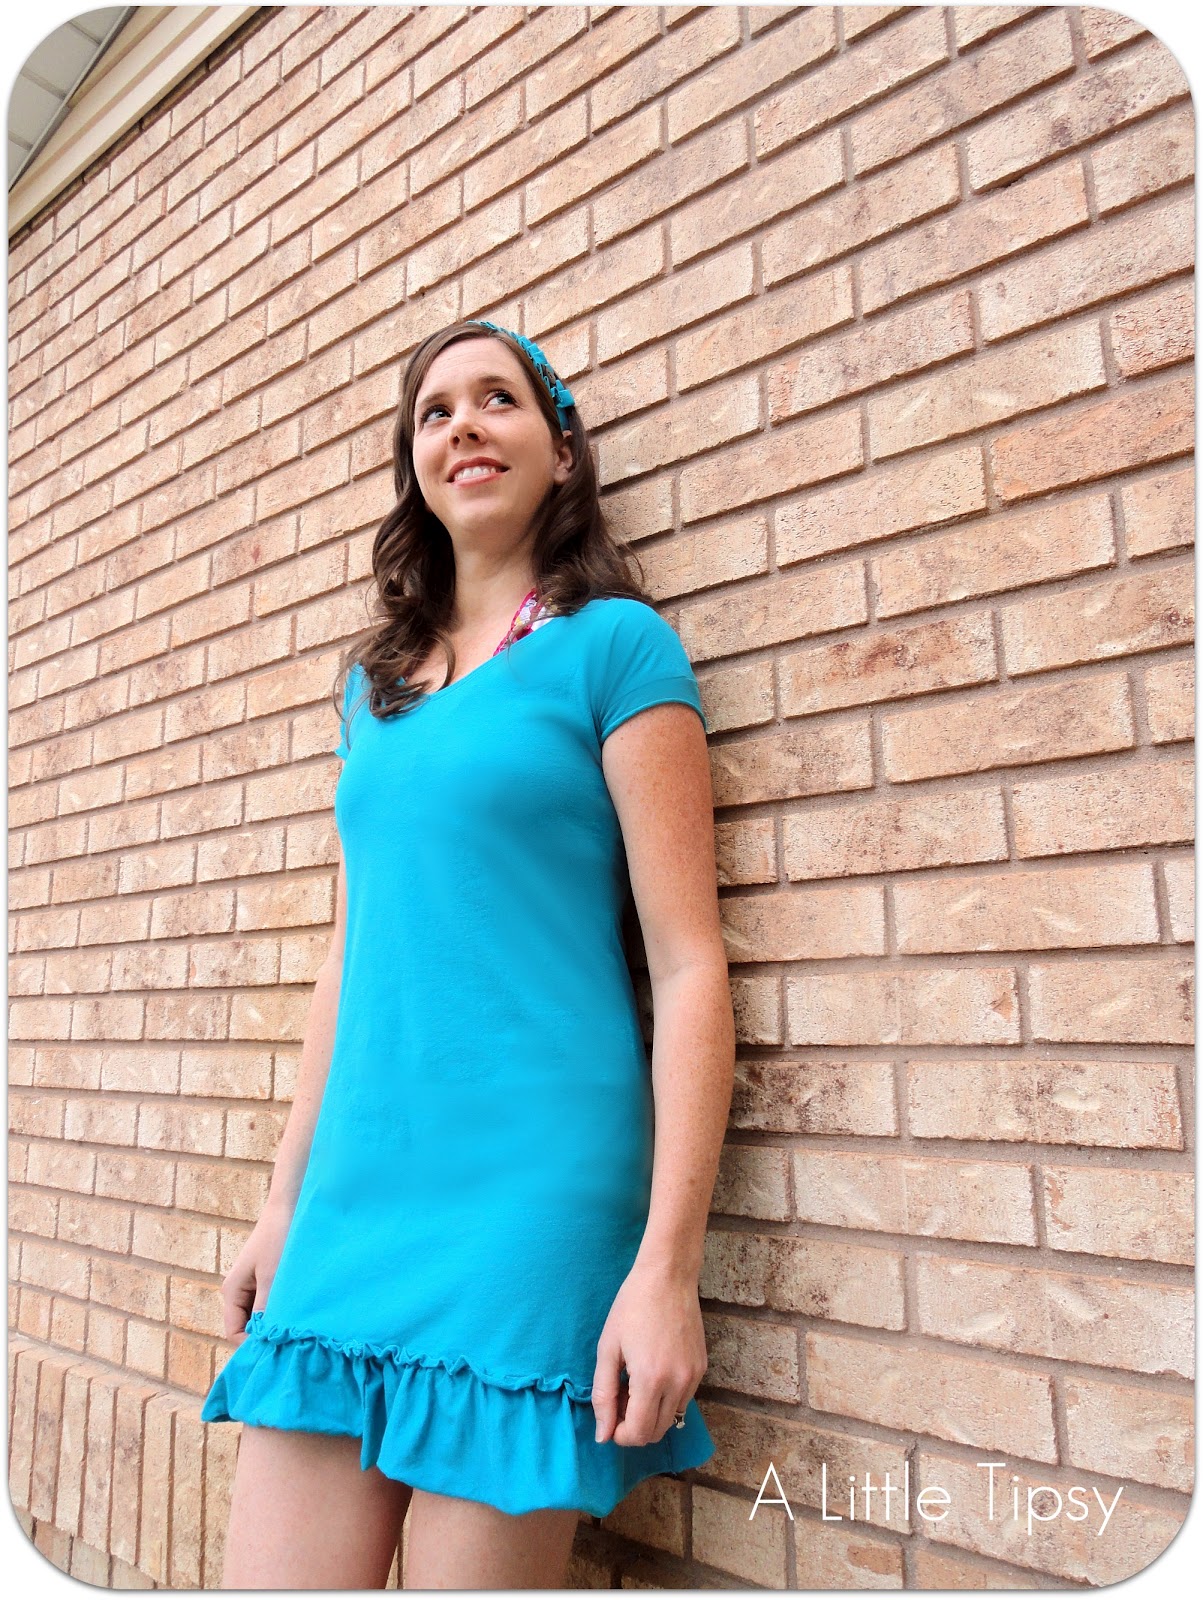
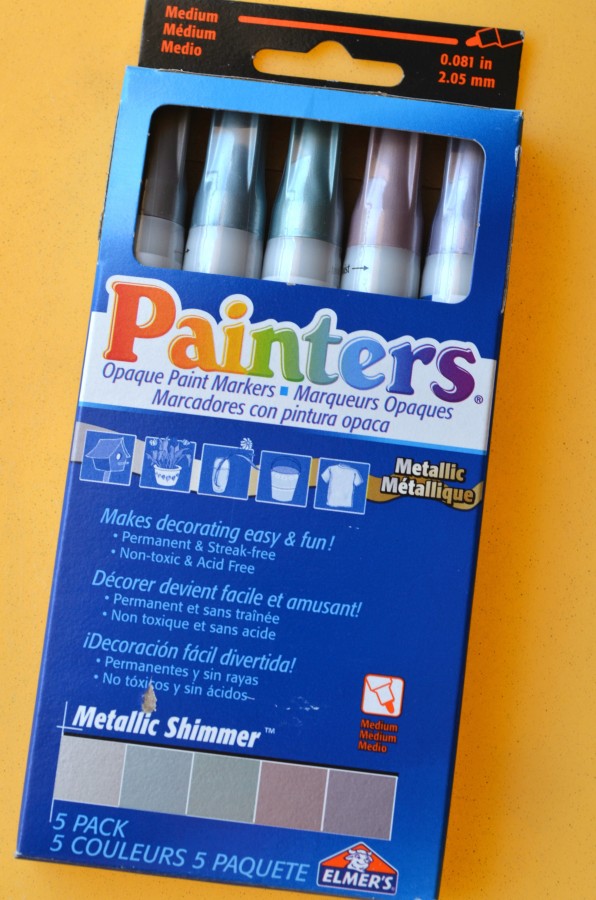
I am giving away a set of these fun Metallic Painters Markers. They can be used to spruce up anything from glass to pottery to clothing! I love how easy they are to use!

Elmer's Painters Metallics Markers

You can even combine them with stencils like I did on this Flynn Rider Wanted Poster Shirt to make them even more versatile! So many possibilities!

Elmer's Painters Markers Metallics

You can enter to win the whole stash here. There is just a basic entry (Just click enter!) Then loads of other ways to up your odds!!!
a Rafflecopter giveaway

good luck and happy crafting!!!

Bottle Piggy Banks #12MonthsofMartha Giveaway

June 28, 2013 By Michelle Barneck 27 Comments

Disclosure: Martha Stewart provided the books for review/giveaway. The strong opinions are as always my own. 
We have been having so much fun this summer with field trips and crafts. It is the perfect time to enjoy time with the kids and create which is why I was thrilled when I received Martha Stewart’s Favorite Crafts for Kids to try out. I heard tons of oohs and aahs and “I want to make that!” as we flipped through the book. We plan on making many of the items from the book, but settled on bottle piggy banks to start out.
Aren’t they the cutest little oinkers? I am loving this book!
The instructions are simple and the pictures are of course fabulous.
SUPPLIES NEEDED:
  • Scissors
  • Colored & Patterned Paper
  • Mini Water Bottles
  • Double Sided Tape (optional)
  • White Craft Glue
  • Utility Knife
  • Template for ears from pg. 340
  • Hole Punch
  • Sharpie (optional)
  • Wooden Beads
  • Acrylic Paint (optional)

INSTRUCTIONS:
1. We opted to paint our feet aka wooden beads to match our paper. If you are going to do this, paint them first to allow time to dry.
2. Cut long strips of paper to go around the bottles. You can glue them in place, or if you have little hands helping opt for double sided tape.

3. ADULTS: use a utility knife to cute a slot in the top for coins.

4. Use templates to cut out inner and outer ear. Glue together, bend back bottom of ear, glue to bottle.

5. Glue beads to the bottom of the piggy bank for feet.
6. Use a hole punch to make nostrils and (if you have a tiny punch) eyes and glue them in place. If you only have the standard punch you can color on eyes with a Sharpie.

Let the glue dry completely and feed those little piggies some coins. My little guys love doing tasks to earn coins to put in their banks! It’s always nice to have a new form of motivation!

Want a Martha Stewart’s Favorite Crafts for Kids book of your own? Enter below to win!

a Rafflecopter giveaway

Follow my blog with Bloglovin

We have decided to truncate our feed to help protect against stolen content. I apologize for any inconvenience. Please love us anyway. 🙂

Top 12 of 2012

December 27, 2012 By Michelle Barneck 3 Comments

Here they are! The top 12 reader favorites of 2012 (based on traffic). You may spot some trends here, mainly things made out of t-shirts. It has been a great year and I can’t wait to share all the things I have lined up for 2013. Without further adieu, the top 12…

1. DIY SHOE


2. DIY JEWELRY ORGANIZER


3. T-SHIRT DIY NECKLACE


4. MAKE FABRIC NECKLACE


5. RED VELVET WAFFLES


6. HOW TO CURL HAIR WITHOUT HEAT


7. POLKA DOT FRUIT STAND


8. DIY SWIM SUIT COVERS


9. HOW TO STENCIL PATTERNS


10. CHALKBOARD REFRIGERATOR USING VINYL


11. DIY SHIRT


12. DIY CHRISTMAS DECORATIONS


P.S. Don’t forget to sign up for free Tipsy updates via RSS or email.

We have decided to truncate our feed to help protect against stolen content. I apologize for any inconvenience. Please love us anyway. 🙂

DIY Swim Suit Covers

March 27, 2012 By Michelle Barneck 10 Comments

I am that girl who buys the 5XL t-shirt from the dollar store because she likes the color. You know, you figure what the heck it’s $1, you’ll do something with it someday. Well my friends, today I am vindicated. Not only did I use that 5XL shirt from my stash, but I used a sewing machine without breaking something. 

For some reason the only swim suit covers I could find last month for our trip either didn’t cover much of anything, or they were long sleeved (which I honestly don’t understand). Those of you who are fair skinned and farmer tanned know that it doesn’t take long for our shoulders to completely sizzle, thus began (and ended) my search for cute swim suit covers that had sleeves, but also covered enough that when I bend down with my kids I’m not embarrassing myself.
How to Make Your Own Swim Suit Covers

Supplies:
5XL (or very large) shirt
Pins
Scissors
Sewing Machine
Thread
1. Turn the 5XL shirt inside out and lay your fitted t-shirt on top of it.

OPTIONAL: pin out about 3/4-1 inch on each side using safety pins. This makes it so you can turn it right side out and try it on to make sure it will fit right. Remember if you did not pre-wash the shirt it will probably shrink a bit.
2. Once you know where you want the seam pin with straight pins. I continued the flare of the fitted shirt all the way to the bottom so the skirt would be a short A line.
3. Trim off the excess material from the sides. 
4. My seams lined up with the shoulder seams on the large shirt so if I cut it off right on the seam it would have been a cap sleeve. I wanted the sleeves a tad longer so I just left about an inch outside the seam.
5. Sew along the pins and stop when you get to the sleeve seams to finish the sides for a plain t-shirt dress.
6. Use strips of the excess material to form your ruffle. I had 4 strips about 3 1/2-4 inches wide and 13 inches long. You can sew all four strips together for one long strip or do two at a time to make it easier. 
7. Sew a loose stitch all along one edge of the strip about 1/2 inch from the edge leaving strings on each end. Pull one of the strings, holding the other in place to gather the fabric. 
8. Pin the gathered strips on to the skirt. I ended up with seams on the right and left sides and in the middle of the front and the back, but they are not visible because of the gathering.
9. Sew a straight stitch right down the line where you gathered to attach the ruffle.
Congrats you made your very own swim suit cover! 
I wore this all day on the dive boat in Maui and it was so comfortable! I borrowed my mom’s sewing machine  (cause well I killed mine after 3 uses) and when I told her what I was doing she gave me the courtesy smile and nod like “this should be interesting.” When I told her in Maui that this was the one I made, couldn’t believe it.
I also made the matching ruffly headband from the shirt material, but this post was getting massive, so we’ll save that for another day.
I hope your having as much fun with the De-stash Bash as I am!
If you like this post you may like these projects made with t-shirts:
  • DIY Shoe
  • DIY Shirt to wear over your suit
  • DIY flip flops
  • T-shirt DIY Necklace

P.S. Don’t forget to sign up for free Tipsy updates via RSS or email.

We have decided to truncate our feed to help protect against stolen content. I apologize for any inconvenience. Please love us anyway. 🙂
Next Page »

  • Bloglovin
  • Facebook
  • Google+
  • Instagram
  • Pinterest
  • RSS
  • Twitter

Hi there! I'm Michelle. Mother of three little boys and one little princess. Welcome to A Little Tipsy, a place for exploring creativity and sharing inspiration.

Follow on Bloglovin


Visit Michelle Barneck {A Little Tipsy}'s profile on Pinterest.

Tutorials by Category


15 Family Reunion Games

Family Reunion Games Collage

15 Sprinkle Party Ideas

Sprinkle Birthday Party
Creative Commons License

© Copyright 2014 A Little Tipsy · Site Designed by The Fairy Blogmother · Web Hosting by RFE Hosting

This website uses cookies to improve your experience. We'll assume you're ok with this, but you can opt-out if you wish.Accept Read More
Privacy & Cookies Policy