I always enjoy having DIY Christmas decorations in my holiday decor. It adds a personal touch and I love displaying things I have created. This year I saw the cutest 3D polka dot presents at Tai Pan Trading and instantly fell in love until I saw the price tag at $40. Granted they are a good 3 feet high, but $40 for foam core?! I knew then and there what my DIY Christmas decorations would be.
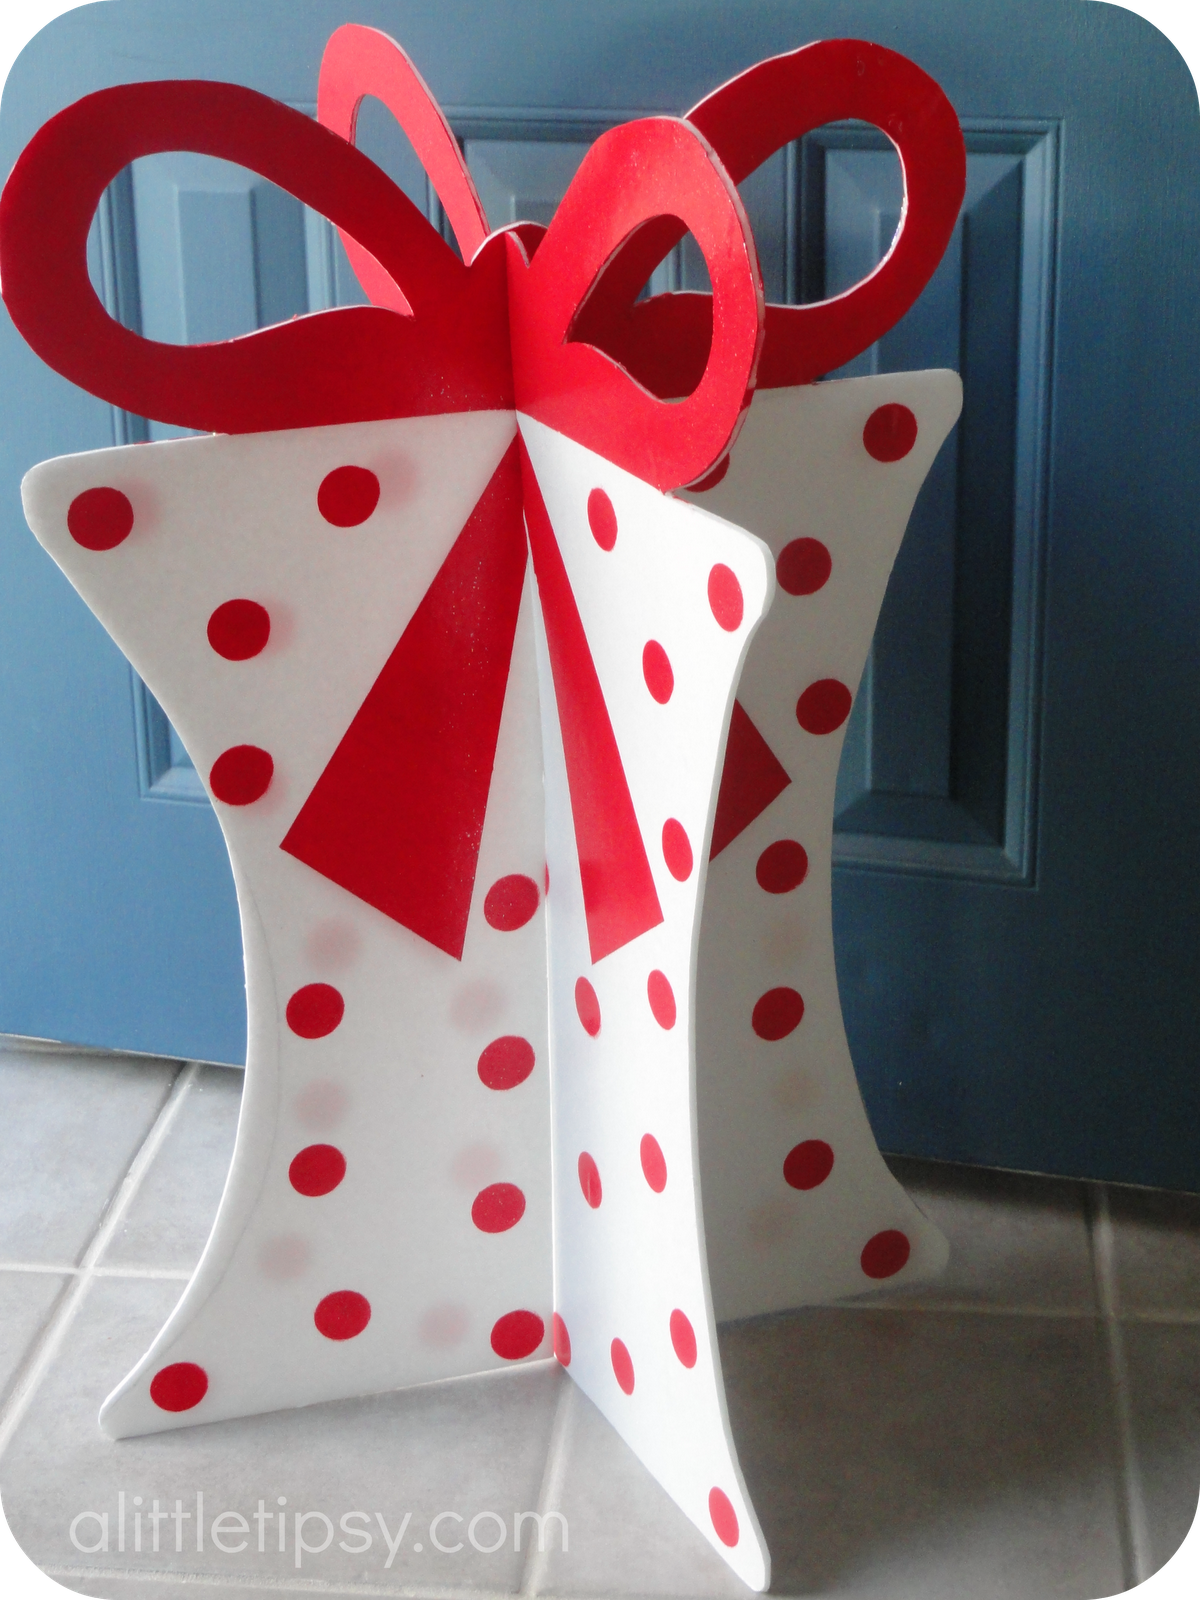
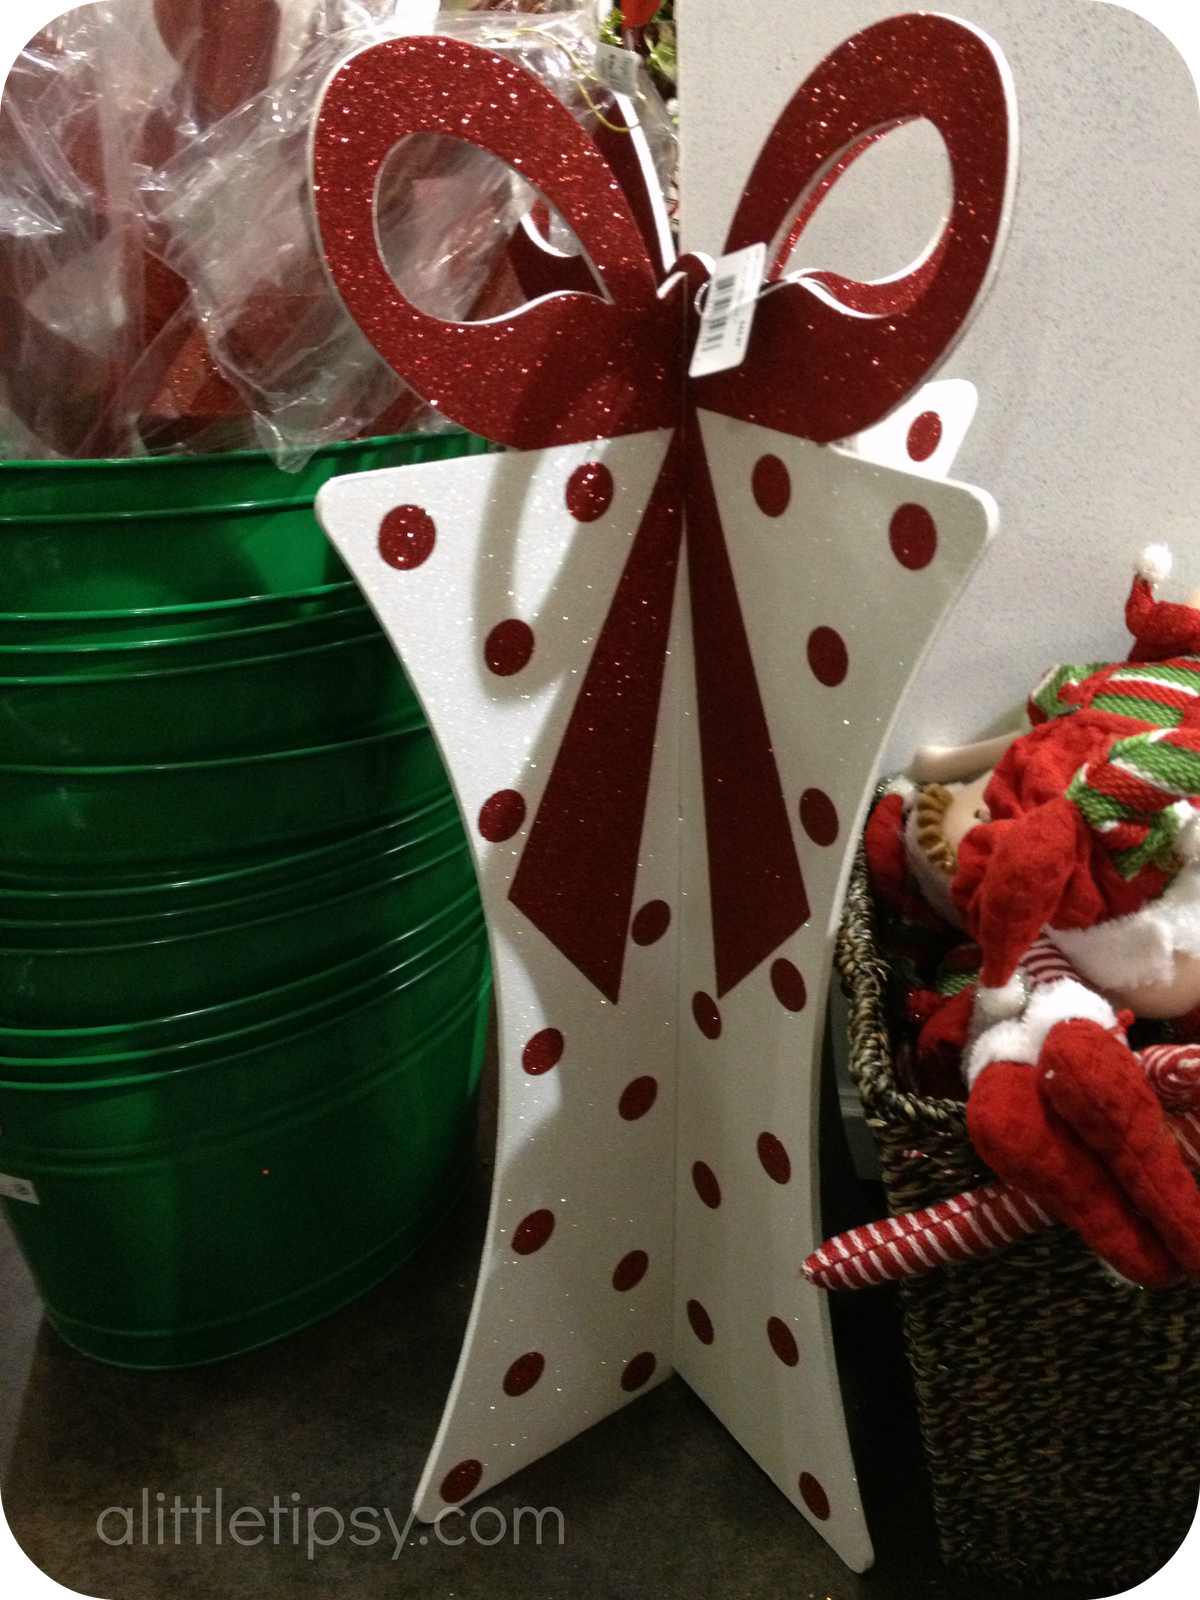
Our Version $10 <------------------------> Tai Pan Trading’s Version $40
SUPPLIES:
- 2 sheets foam core (Do not buy at the dollar store! It has a paper finish and will bubble.)
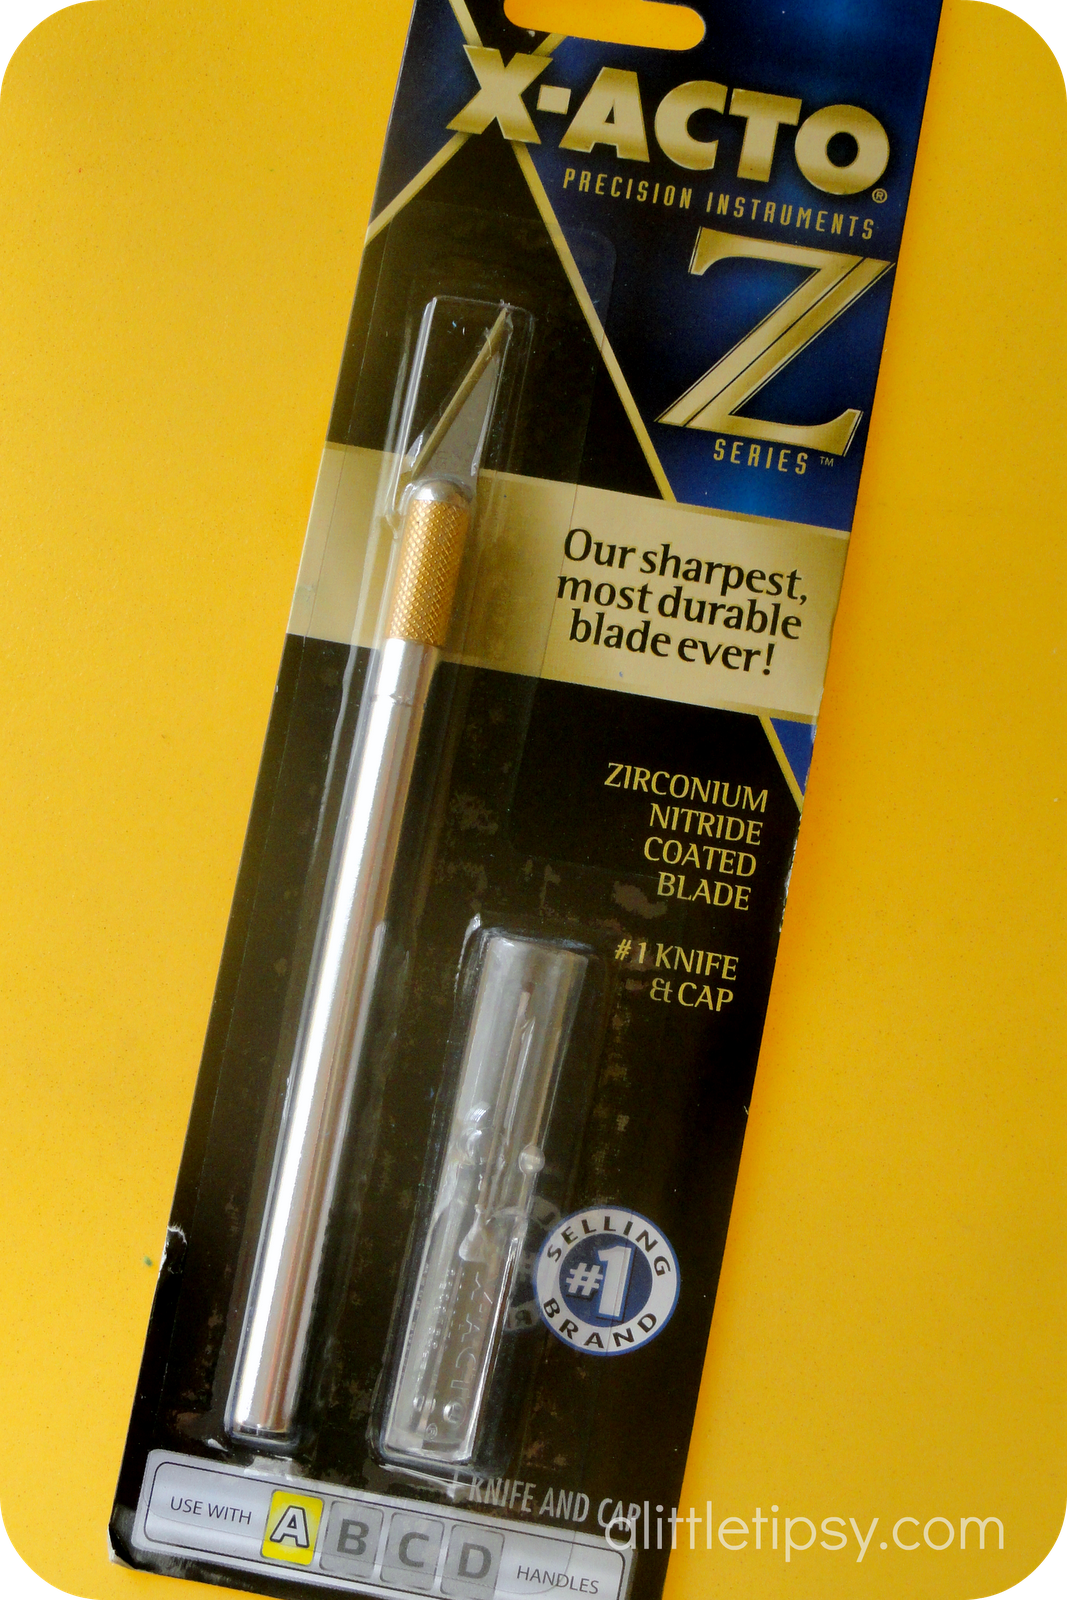
- X-ACTO Z series blade (This baby was awesome! It cut like a charm.)
- Pencil
- X-ACTO Self Healing Cutting Mat
- Painter’s tape
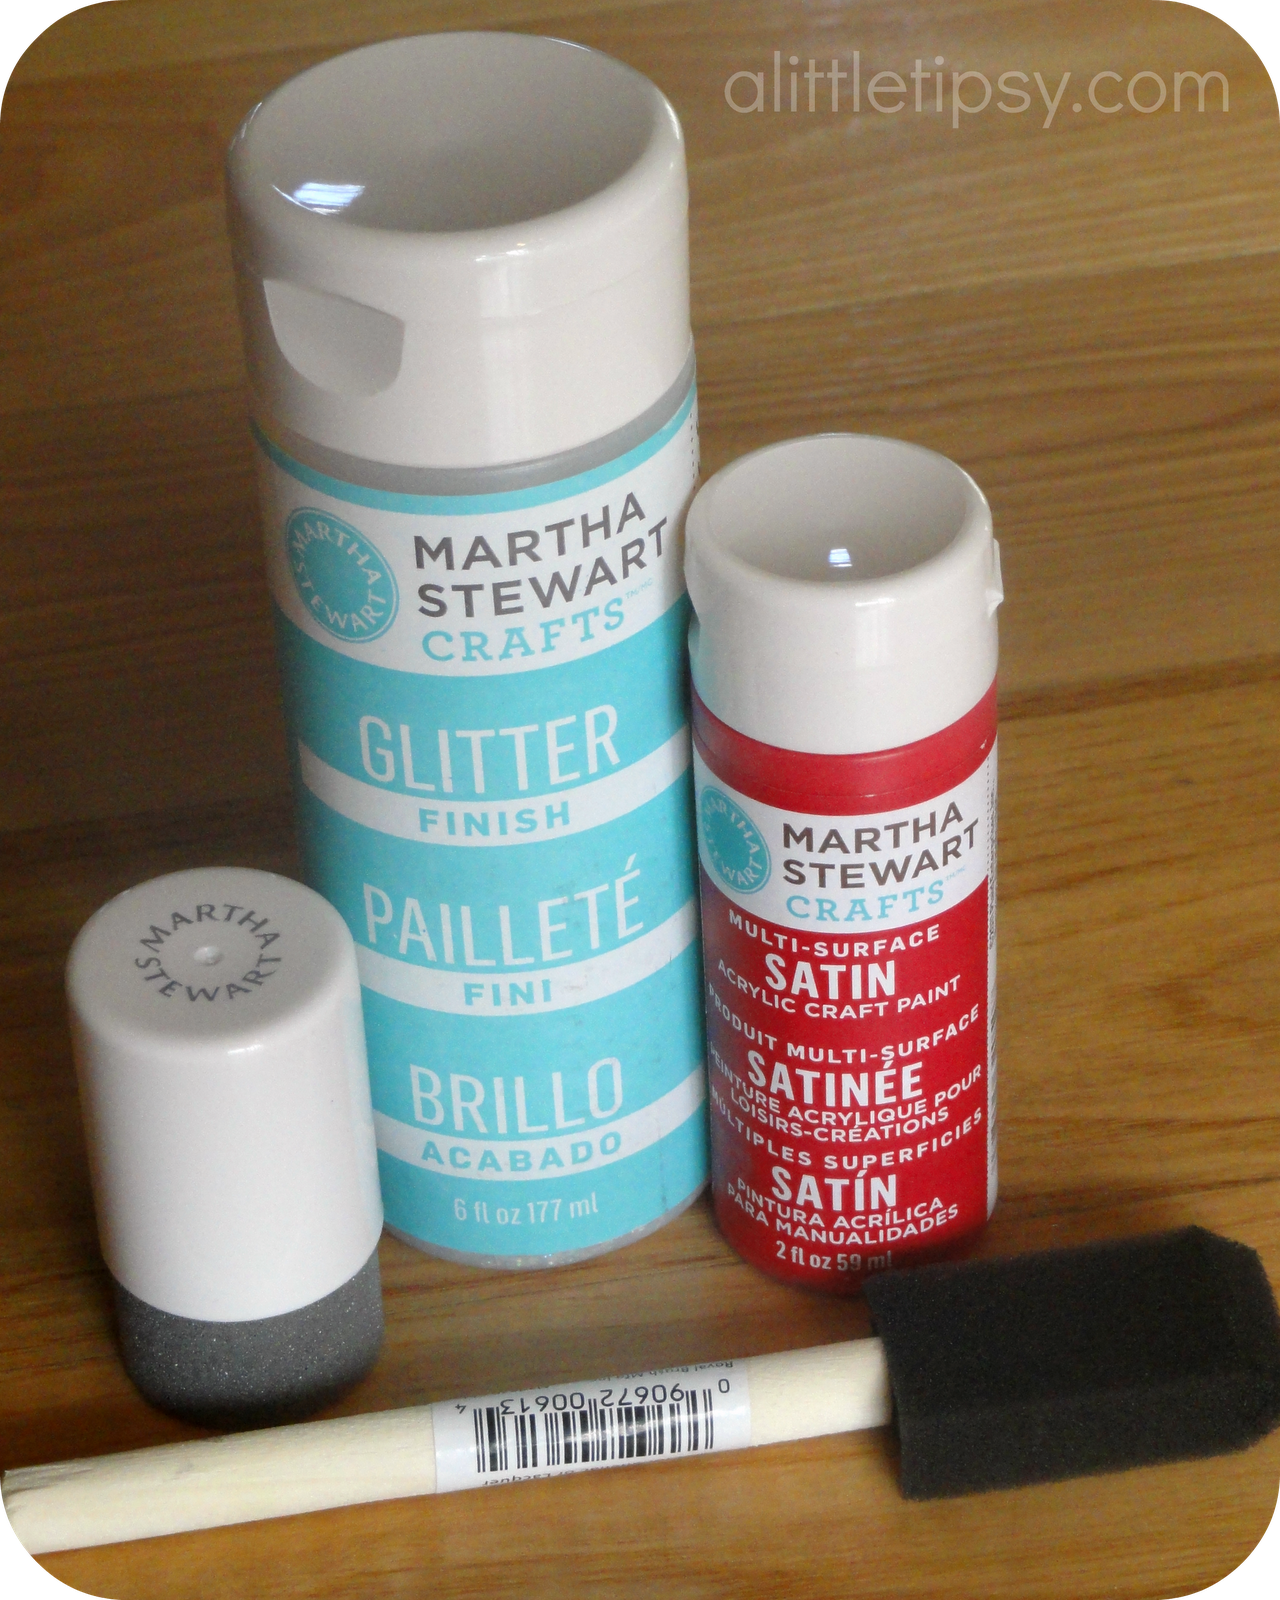
- Red Satin Craft Paint
- Foam Brush
- Foam Pouncer (for polka dots)
- Clear Glitter Finish (Martha Stewart’s is indoor/outdoor if you want to put them on the porch)
DIY Christmas Decorations
INSTRUCTIONS:
1. Lay the foam core on the cutting mat and using your pencil hand sketch the shapes from the template below. Cut along the pencil lines with the Xacto Z-series.

2. Using your pencil, draw the ribbon tails as illustrated below on both sides of the present.

3. Tape around the ribbon tails and paint the ribbon area red.

4. While that is drying, paint red dots with the foam pouncer. Once the paint is dry turn the present over and paint the ribbon area and dots on the opposite side. Let that dry and repeat painting the ribbon area and dots with a second coat on each side.
5. Once all the paint is dry paint the whole thing with the glitter finish. I did two coats. If you squint with all your might you may see the shimmer on the ribbon loop. It is sparkly in person I promise.

6. Once dry, slide the two pieces together and stand up. The best part is when you are one with it take it apart and it stores flat! Gotta love big impact but space smart DIY Christmas Decorations!

I also love that this can double as birthday decor, especially since my son’s birthday is in December. With a 3 foot present on the porch, people are bound to know it is the birthday party house.
OOOh, and guess what?!
X-ACTO is giving away TWO $25 Wal-Mart Gift Cards so you can try out their new blade and pick up supplies you need for your own DIY Christmas decorations!
Enter via Rafflecopter form below.
Disclosure: Xacto provided product to use, but the project and thoughts are all mine.
We have decided to truncate our feed to help protect against stolen content. I apologize for any inconvenience. Please love us anyway. 🙂
What a cute idea! I love making knock-offs for a fraction of the price of the original. 🙂
I would use it for card making.
TBD. I haven’t started thinking about Christmas yet!
Making your DIY Christmas Decoration. It looks so fun!
I would use it for applique on pillows and pouches.
I would use it for my crafting! and probably this project!
First I would use it to make this cute decoration, 3D polka dot present, then I have alot of projects on my to do list that it would come in handy for!
I would use it for this project and maybe a 3D Christmas Tree too!
I would use it for this project! I didn’t realize how big it was til a saw the mini foam brush :-). How fun!
Jeanmarie80(at)hotmail(dot)com
I’d use it for crafts with my kids (only mom could use the blade).
I would use this for my crafting! Sometimes just need a little blade and that is when you cannot find them.
I’d like to use it for some decorations for Christmas! Thanks!
I would totally make THIS! It is SO cute! Love everything about it!
I love it when you can make something simple and effective and save money in the process! soooo coooool!
to be honest I’m seeing me try out this little project and maybe some other fun foam and felt projects! I love that stuff
rheanna
missrhe81 at yahoo dot com
I LOVE my Xacto blades! I have found so many uses fir them. I would love to make this present and some snowflakes too!
I’d like to use them to make cards.
Name on rafflecopter: Mary Happymommy
I would totally use the x-acto blade for this. We will definitely be making these on a smaller scale for a display under a small tree!
I would use the xacto blade to cut out paper for different projects I have – like a family tree wall hanging.
I’m not sure yet but those cute presents you made might be a great place to start!
Christmas decorations 🙂
rafflecopter: alaine
I would use it to make ornaments. Something I do every year.
I can’t wait to try this idea. I have been wanting to make Christmas advent trees that were 3-d like this, but haven’t quite worked it out. I am going to give it a go with the foam core board and see how that works. Thanks for the inspiration!
Love this tutorial! Will be making these for my Christmas party!
Just adorable! Gotta try it!
I would use it to make your cute box.
I would use it to make my Christmas cards and gift labels
neiddyruiz@gmail.com
I would use it for scrapbooking and Christmas cards!
To make collages for my kids room…we are merging the 14yo & the 6yo…eek!
FYI I don’t have much crafting time these days, but I totally made time to make one of these this past December!! My porch looked so cute and I got so many comments about it. Thanks so much for the inspiration!
I love these presents, but I cannot seem to locate the template. Would you be able to send it to me in an email, Califun4me@aol.com. I cannot wait to get started on these…. Thank you…
@Adrienne Terry Unfortunately, there is not a template for the boxes. I took a picture and freehanded the shape. I was not sure how to make a 3 foot printable template. Sorry. 🙁 Just draw it with a pencil on the foam core, then you can erase and fix the shape if it does not look right.
would you be able to make a template that I could print. I am absolutely terribly at drawing. I can not even make a straight line or even draw stick people. I would really appreciate it. Thanks in advance. You can email it to me. I love your version of the present so much better. I would like to try this in wood for an outdoor lawn decoration.