A Little Tipsy

Creative Tips & Ideas

  • home
  • About Me
  • the tipsy top
  • press
  • projects
  • contact me
[print_thumbnail_slider]

Spice Up Your Life!

February 23, 2009 By Michelle Barneck Leave a Comment

How many random things can you find in your spice cabinet? I found some Crisco cubes that expired in 2006! I decided to finally tackle this monster and organize my spice cabinet since every time I opened it it seemed like an unavoidable avalanche. I found this wood spice rack at DI for $1.50 and that was the beginning.
I sorted everything by how often I used it, threw out anything that was old and washed the shelves. Then, I put it back in with things I use most often in the front. I put all the little packets in a Tupperware to “contain” them with anything that was open on the left to be used first. It may not look like much of a difference, but believe me, IT IS! Can you believe that I have a rotating spice rack under this cabinet too? Good grief.

Before After

We have decided to truncate our feed to help protect against stolen content. I apologize for any inconvenience. Please love us anyway. 🙂

DIY Wall Art

February 23, 2009 By Michelle Barneck 8 Comments

Aren’t these great? One Saturday morning, $15 (if you have to buy everything) in supplies, and a little creativity is all you need! Come on, let’s make you some too!

I stole this idea from EightCrazy and modified it for my skill level and budget. I in no way claim to be a master crafter and so I will word this tutorial to those like me who would like to be crafty, but sadly are just taking baby steps. For you master crafters, this project will be a breeze. Ready, set, baby steps:

Items you will need:
Foam Core Board 20″x 30″
Box cutter (aka utility knife)
Something to raise the foam core or cut it on
Scrapbook Paper (the thicker papers work best trust me on this one)
Something to cover your work space
Modge Podge (I had gloss, but would recommend matte if you are buying it)
Sponge Brushes (about 1-2 inches wide)
Acrylic Craft Paint (little bottles at the craft store)
Hair Dryer
Scissors/paper cutter

1. Start by measuring and cutting your foam core into six 10″ x 10″ squares. I made my husband do this. (I am still scarred from a grade school pop bottle bird feeder experience with a box cutter. Who gives a kid a box cutter to cut a 2-liter with anyway?) He put the four corners on my son’s little books to raise it off the carpet and used the level to guide the edge.

2. Then I painted the edges brown. I did two thick coats letting them dry thoroughly after the first coat so I could see where they might need special attention on the second coat.

3. Then I tried cutting the paper to match the size, but found it easier to just match up two sides of the paper to the edge of the foam and modge podge it on. Using the sponge brush I coated the face of the foam with modge podge, placed the paper on top lining up two edges and pressed down firmly everywhere to make sure that it stuck. Let this dry for about 5 minutes.

4. Then place your foam on something (I used an old board) to trim the paper. (I got brave and did it myself this time) The trick is to go kind of quick and not press too hard with the cutter.

5. Some of my edges were not perfectly straight so I sanded them a little. That took a little paint off the edges, so I ran along the corner with the side of my paint brush that was still wet with the brown. This gave it an inked look that I liked, so I did it to all the edges.

5. Using the sponge brush, I put a thin layer of modge podge on the paper and covered it completely. I also put a layer of modge podge on the sides over the paint. As it dries the paper may begin to wrinkle or bubble a bit, check the edges closely (especially if you didn’t use the thick paper). That’s where your handy dandy hair dryer comes in! Once your piece is no longer sticky, use your hair dryer to warm the bubbles and wrinkles with heat and smooth them down with your fingers at the same time. I used the low setting, so it would not get as hot.

6. Voila! By using the foam core instead of canvas they weigh next to nothing, so I just stuck them up with the 3/4 inch glue dots. That way they do not damage the walls and you can move them around.

Yay for a successful project!!

We have decided to truncate our feed to help protect against stolen content. I apologize for any inconvenience. Please love us anyway. 🙂

What a Bargain!

February 21, 2009 By Michelle Barneck 3 Comments

So Friday I headed out to buy some diaper disposal bags from the dollar store…and I came home with THIS!

A TRUNK FULL OF STUFF!
Uh, er, try explaining that one to hubby. He was not pleased when he heard I went shopping, but once he saw everything I got for $65 he calmed down a bit. So here is the documentation of my haul.


First, Dollar tree. I swear they must put something in the air there that hypnotizes you to think, “hey, it’s just a dollar, you can have it.” Then, as you ring up 30+ items at the register you wonder what in the world just happened. I am actually very pleased with everything I got. I stocked up on things for Easter, organization, and home decor projects I have in the works. Stay tuned for Photos of items here used in future posts!

As for my next stop, this was totally out of character for me. I have been reading a few blog posts about repurposing things for use in creative ways. They all talk about the bargains they found at the thrift store and how they used it so I decided to stop at D.I. It usually freaks me out a little to think of getting other people’s stuff, but I thought I would give it a whirl to see if I found anything I could paint. JACKPOT!! I could not believe my eyes, I went crazy and came home with the following:

As a side note, everything has since been washed and sanitized. 😉 This is also a great way to be eco-friendly you know! Once again, watch for guest appearances of this stuff in future posts! I have big plans for many of these pieces!

If you were not aware, I am a compulsive bargain shopper. It is a sickness really. One of the many confessions and acceptances I will share here on Tipsy.

We have decided to truncate our feed to help protect against stolen content. I apologize for any inconvenience. Please love us anyway. 🙂

The Tipsy Top

February 21, 2009 By Michelle Barneck 9 Comments

Welcome to The Tipsy Top where we share a quick look at some of our most popular posts. It will give you a peek in to what we have to offer! We have also put together a list of tutorials by category which makes it easy to find what interests you most.

Many of our LDS, General Conference Activity, Young Women, and Visiting Teaching posts are on top, but since all our readers are not Mormon we’ll just link to them.


 http://4.bp.blogspot.com/-0hYZNBNizDs/Tna5zNID-FI/AAAAAAAAGpc/a-hi9hkt9n8/s1600/general%2Bconference%2Bpackets.jpgSalt Lake Temple Sewing Card

Top 20 Reader Favorites
(based on traffic and social media)

 1. 15 Fun Family Reunion Games 15-Fun-Family-Reunion-Games

2. 30 Valentines for Kids

Valentines for Kids 1

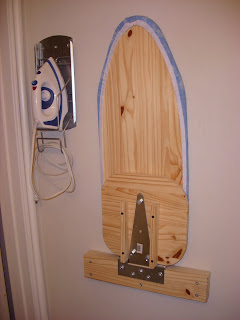
3. DIY Wall Mounted Ironing Board

4. 50 Nature Inspired Holiday Decor Ideas

50 Nature Inspired Holiday Decor Ideas

5. 15 Sprinkle Party Ideas

15 Sprinkle Party Ideas

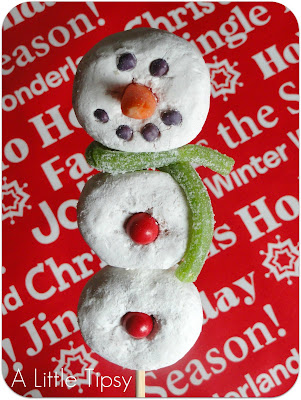
6. Once there was a Snowman {Doughnut Skewers}

7. The Best Burger – Mozzarella Burgers

The Best Burger Recipe - Mozzarella Burgers (2)

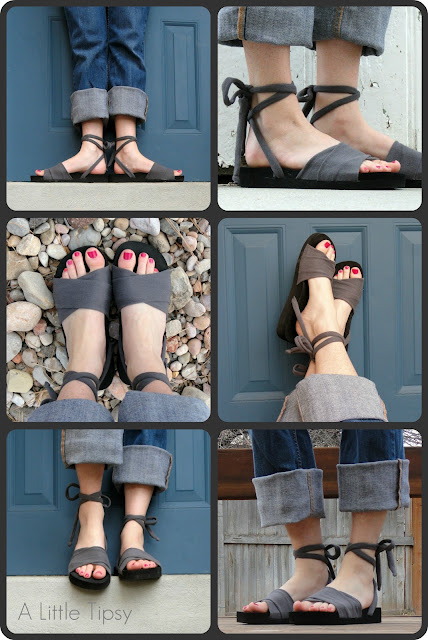
8. DIY Shoe

9. Glitter Candle

Snow Glitter Candle

10. Bottle Piggy Banks

11. Easter Printables {I Know That My Redeemer Lives}

12. 90 St. Patrick’s Day Ideas – crafts, food, printables and more

st patrick craftsRainbow Food

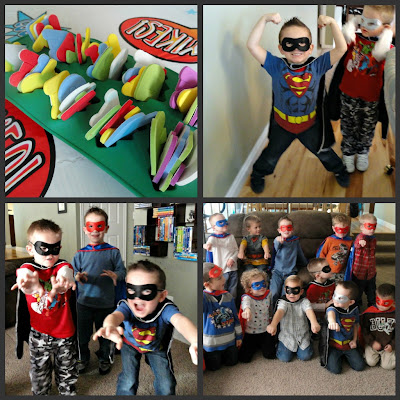
13. Super Hero Squad Party Activities

14. Red Velvet Waffles

valentines recipe red velvet waffles 1

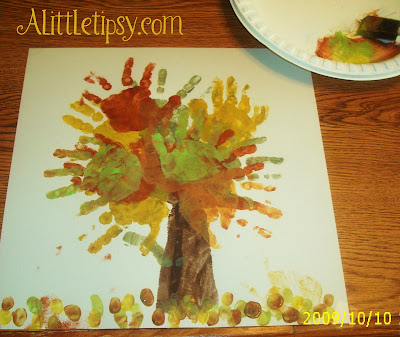
15. Fall Handprint Tree

16. Mickey Mouse Party

Mickey Mouse Oreos Dessert

17. Fun Patches for Boys Pants

 12 fun patches for boys

18. Ruching Refashion

ruching

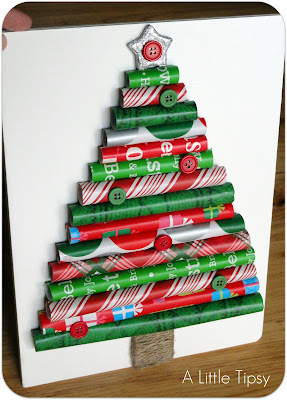
19. Wrapping Paper Christmas Tree

20. DIY Polka Dot Fruit Stand

fruit stand

Hope you enjoyed browsing the Tipsy Top!

We love sharing our tips and ideas with you! Let us know if there is something you would like to see!

As of February 2019

« Previous Page
Next Page »

  • Bloglovin
  • Facebook
  • Google+
  • Instagram
  • Pinterest
  • RSS
  • Twitter

Hi there! I'm Michelle. Mother of three little boys and one little princess. Welcome to A Little Tipsy, a place for exploring creativity and sharing inspiration.

Follow on Bloglovin


Visit Michelle Barneck {A Little Tipsy}'s profile on Pinterest.

Tutorials by Category


15 Family Reunion Games

Family Reunion Games Collage

15 Sprinkle Party Ideas

Sprinkle Birthday Party
Creative Commons License

© Copyright 2014 A Little Tipsy · Site Designed by The Fairy Blogmother · Web Hosting by RFE Hosting

This website uses cookies to improve your experience. We'll assume you're ok with this, but you can opt-out if you wish.Accept Read More
Privacy & Cookies Policy