A Little Tipsy

Creative Tips & Ideas

  • home
  • About Me
  • the tipsy top
  • press
  • projects
  • contact me
[print_thumbnail_slider]

Last Minute Teacher Gift Idea – Cash Treats

December 18, 2013 By Michelle Barneck 7 Comments

Post sponsored by Martha Stewart Crafts.
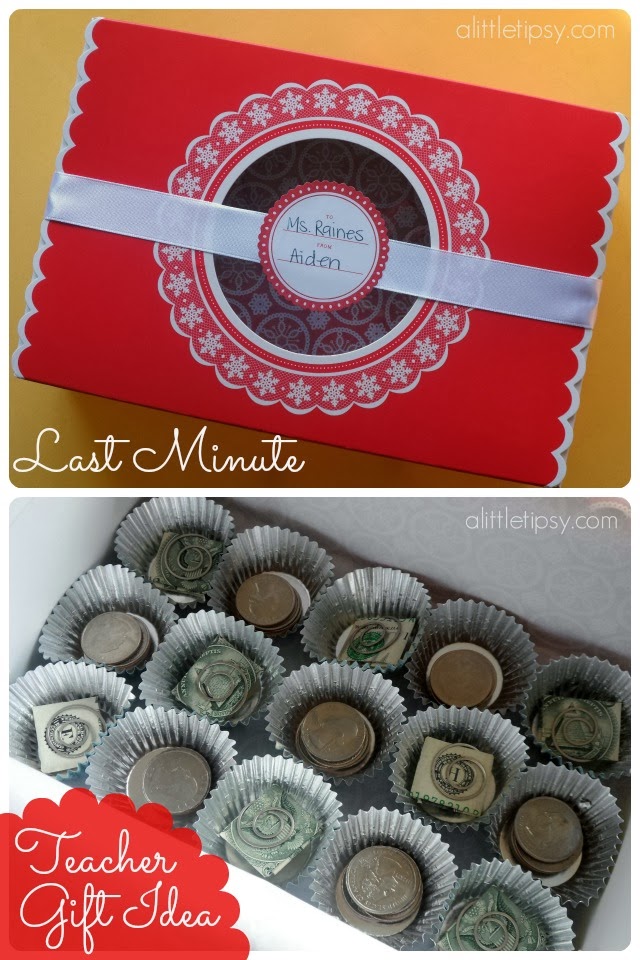
I feel like December was getting away from us, but I wanted to be sure my son’s teacher knew how much we appreciated her. This gift is so fast and easy to put together, but is perfect for any teacher or anyone else who is hard to buy for. Cash pleases everyone right? And this giving it this way is sure to make it memorable.
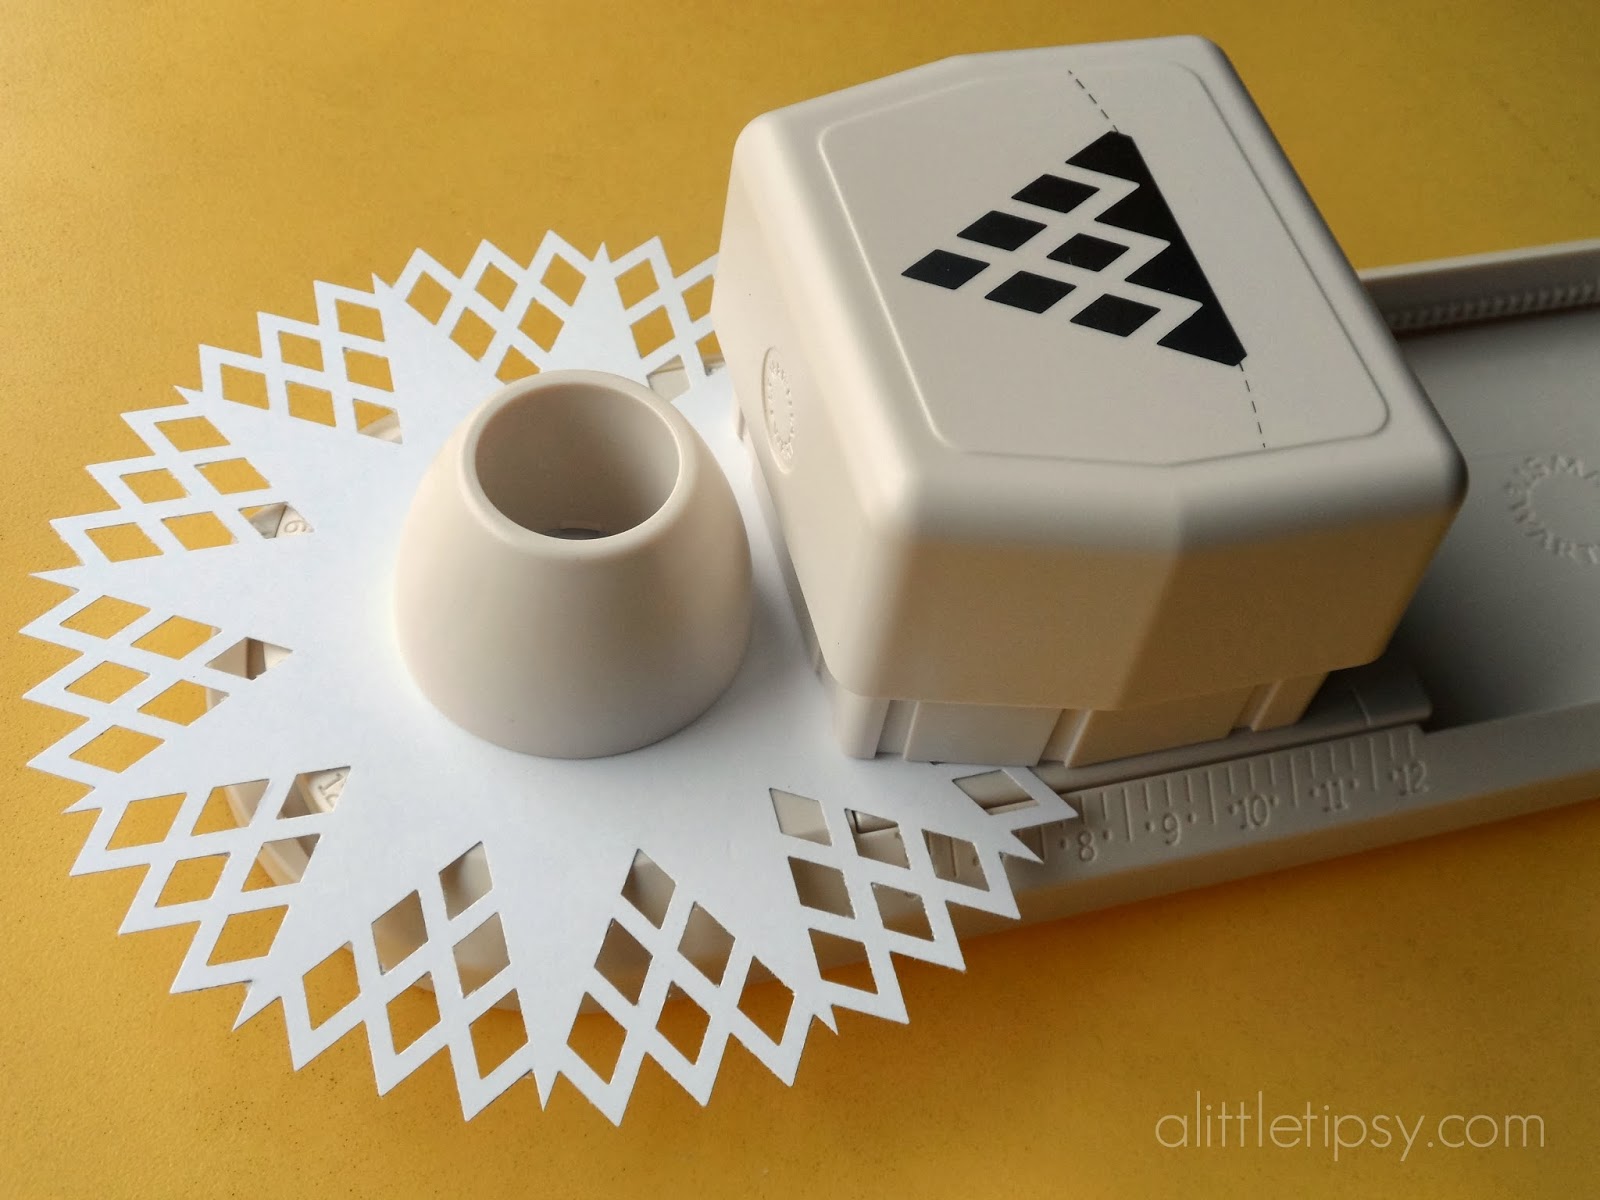
I got the idea for making them look like treats from Life as Mom who dresses the cash in a box of chocolates. I had these cute Martha Stewart treat boxes and wrappers and knew they would work perfectly to make it more fitting for Christmas.
Supplies:
  • Martha Stewart Treat Boxes
  • Martha Stewart Treat Wrappers
  • Swirl Paper Clips
  • Money
1. Open a treat box and place the printed tissue in with the patterned side down. Place 15 treat wrappers inside in three rows of five. 

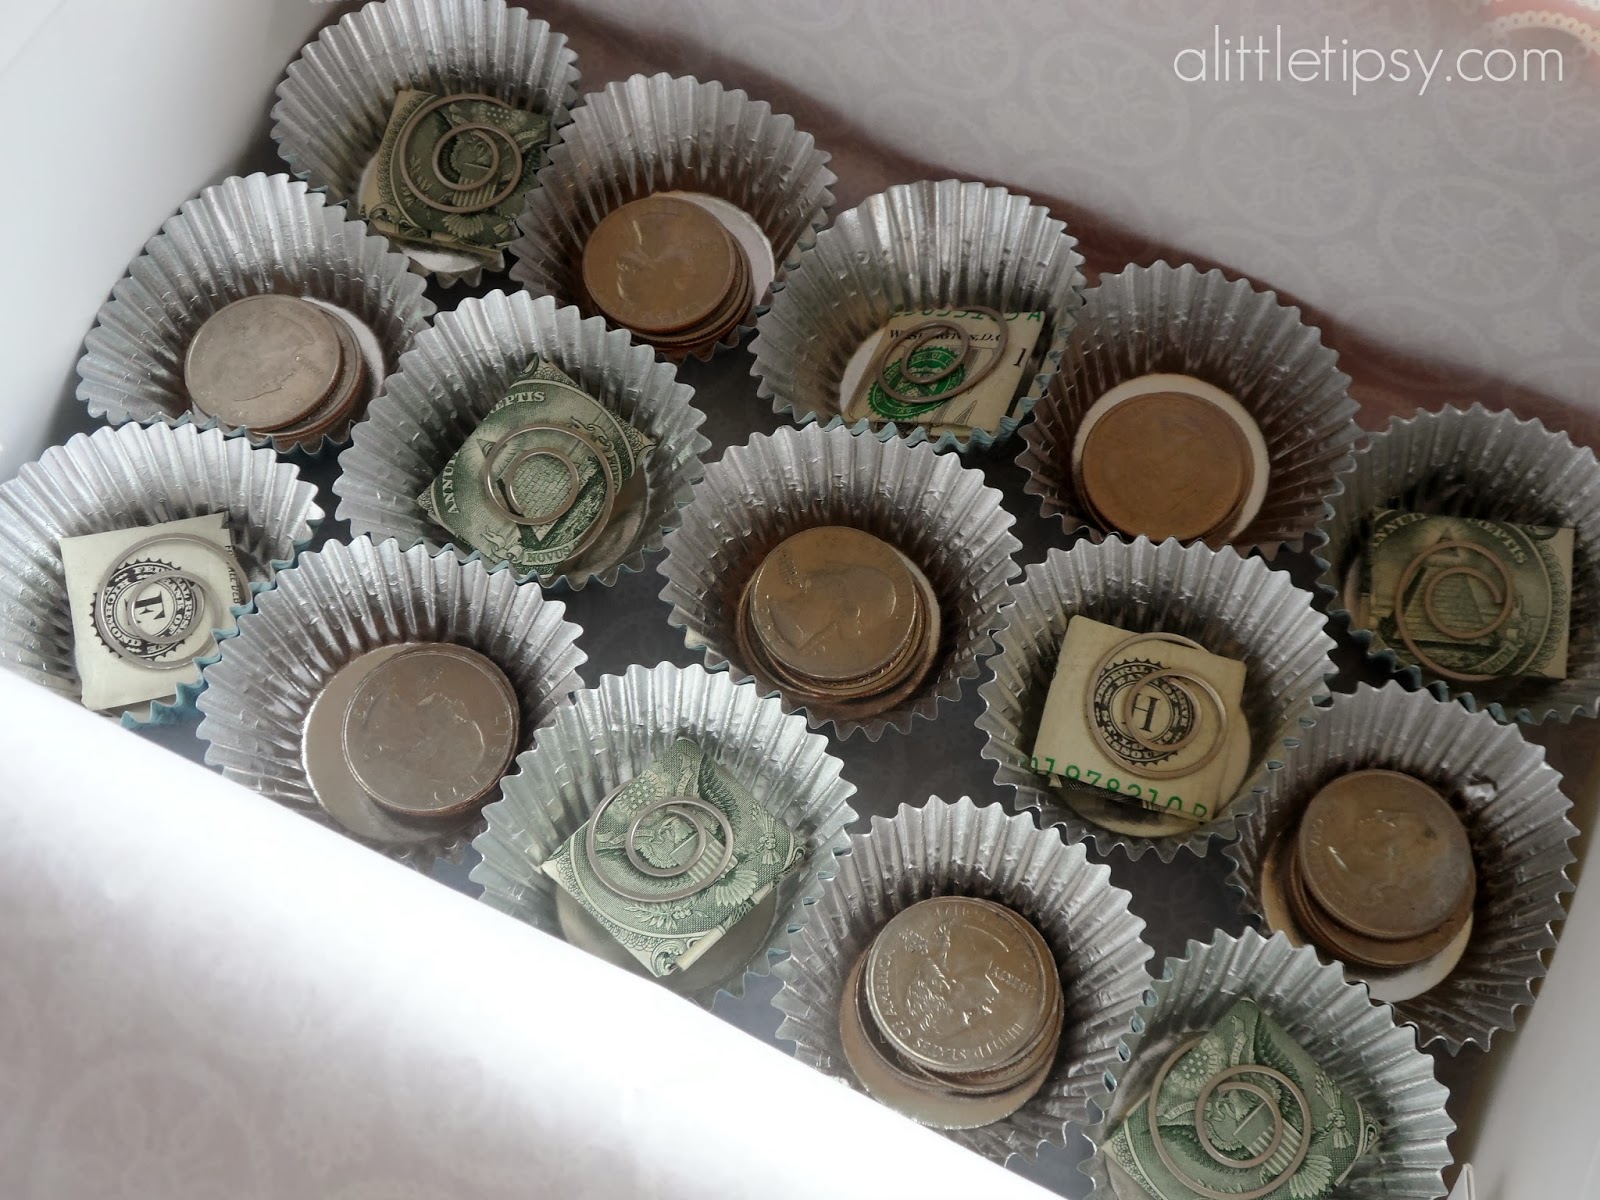
2. Fold your dollars in half and then in thirds and in thirds again. Secure with a swirl paper clip to mimic the design on the top of a chocolate. 
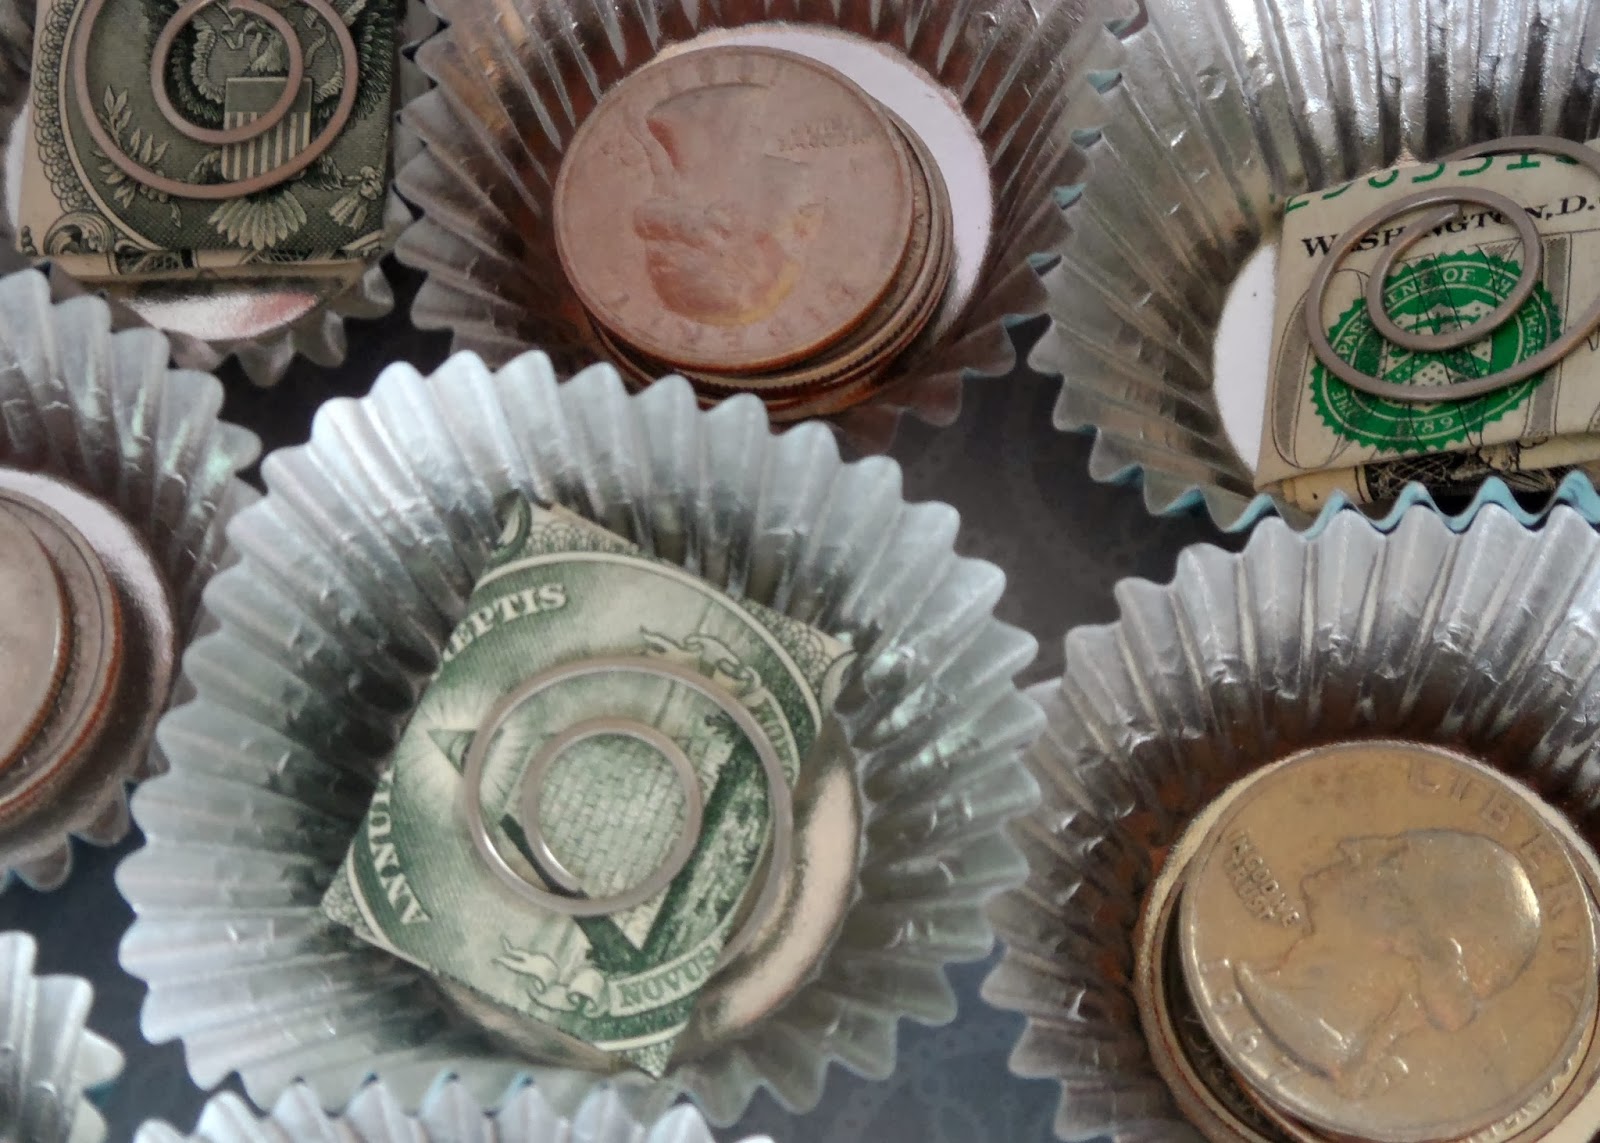
3. Fill each wrapper money. I did every other alternating a dollar and four quarters so it would end up being $15. You can do any combination of bills and coins.
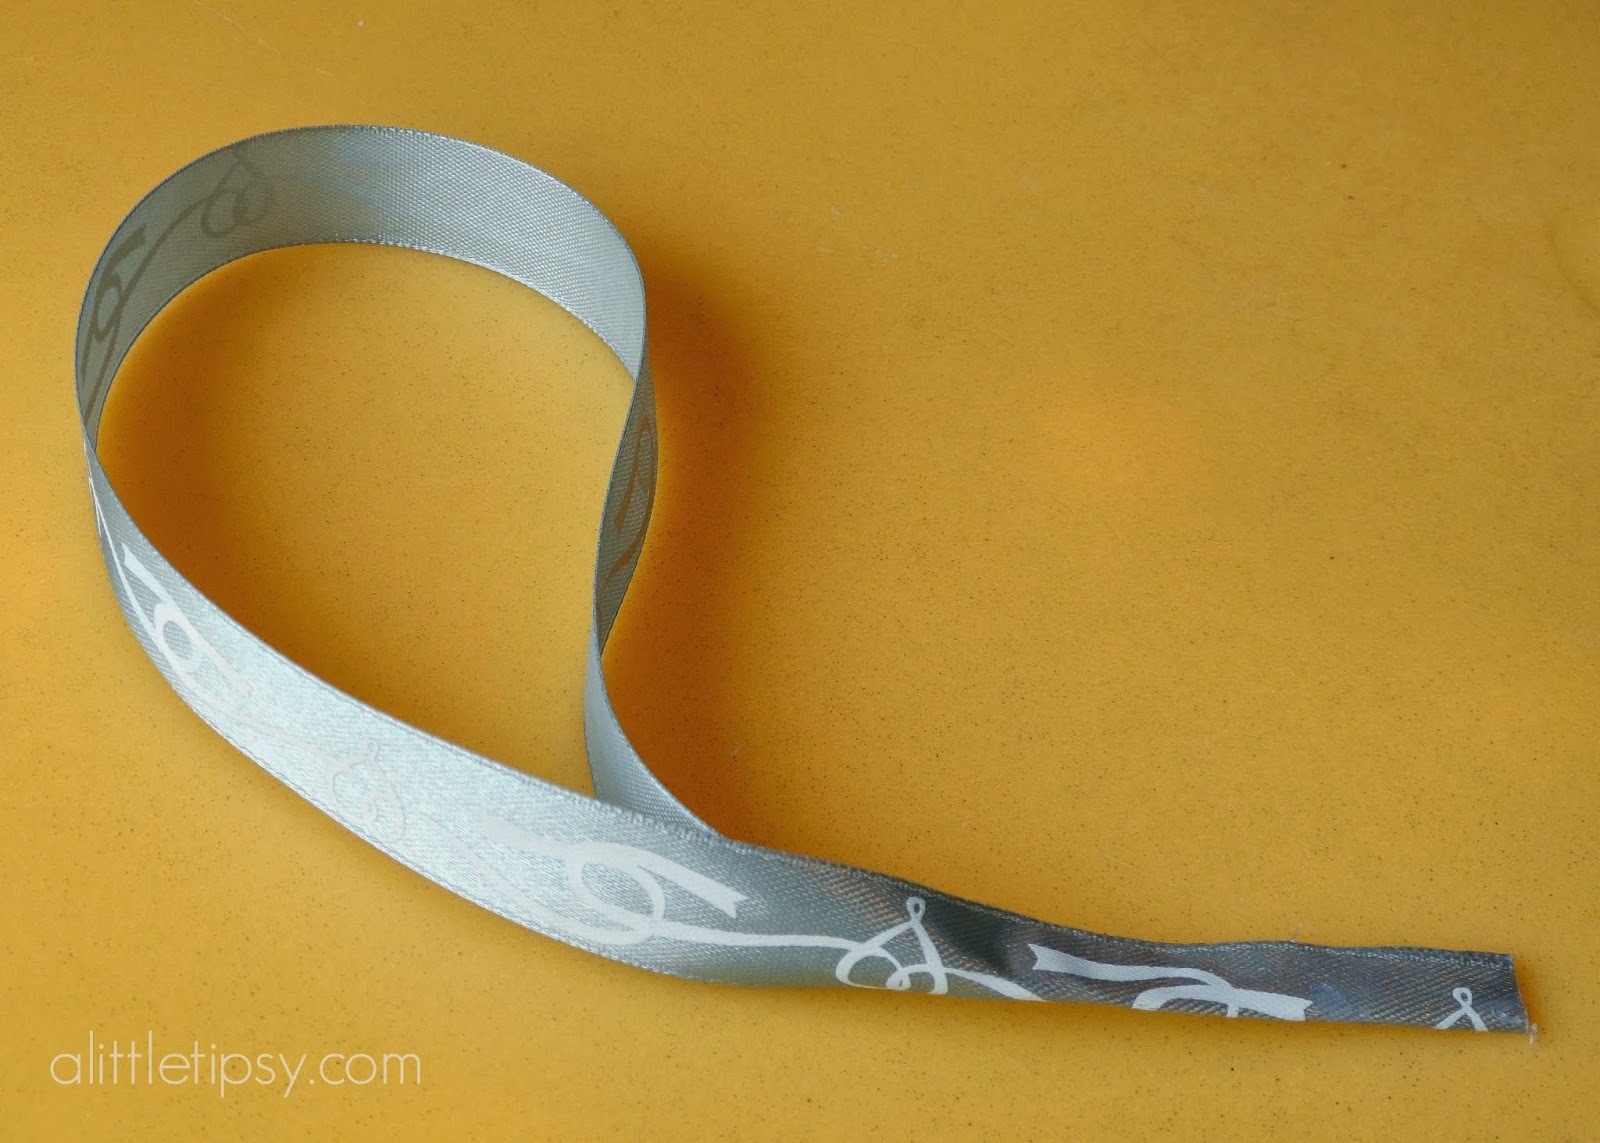
4. Fold the tissue down over the money to help hold it in place. Then add the box cover, ribbon and tag.

Now, beware, this is not a gift to shove in a backpack for the bus ride or it will be a big mess by the time it arrives. It has to be held still for obvious reasons.
What did you do for teacher gifts this year?
Disclosure: Martha Stewart Crafts provided the product for this post. The idea and cash was all my own.

We have decided to truncate our feed to help protect against stolen content. I apologize for any inconvenience. Please love us anyway. 🙂

Sparkle Snowflake Ornament Tutorial

December 17, 2013 By Michelle Barneck 1 Comment

I originally shared this post on Ucreate, but wanted to post it here in case you missed it. 

At our house I’m the only girl, so I love the chance to add in glitter and Christmas time is the perfect time to sparkle it up. I love those large statement ornaments in the stores, but they usually come with a big price tag so I set out to create some of my own.


SUPPLIES:
  • Ribbon
  • White Cardstock*
  • Circle Edge Punch Starter Set*
  • Circle Edge Punch in Diamond Lace*
  • Glue Gun
  • Krylon Glitter Blast Glitter Spray in Silver Flash
*could be replaced by purchased doilies
First, cut 6 inch squares out of the cardstock. Place the square on the Circle Edge punch set to six inches and punch all around. Repeat until you have four.


Fold the snowflakes in half.


Take a piece of ribbon and loop it around and then fold the end in half and glue the ends together.

Glue the folds of the snowflakes together in the center with the ribbon in the middle so the pointy parts fan out equally.


Hold the ornament hanging from the ribbon in one hand and spray with glitter blast from the side about 10 inches away. The force of the spray will spin the ornament making it easy to coat evenly.


Hang to dry for a few hours.


That’s it! So simple, right?! I love how they make a big statement without denting your budget. The glitter looks beautiful reflecting the lights on the tree!


For more fun holiday ideas (like our DIY Green Sprig Ornaments) be sure to catch us on FB, Pinterest, Twitter and Instagram. 
We have decided to truncate our feed to help protect against stolen content. I apologize for any inconvenience. Please love us anyway. 🙂

3D Snowflake Gift Wrap

December 7, 2013 By Michelle Barneck 3 Comments

Post sponsored by Martha Stewart Crafts.
Are you an early bird? Do you have all your Christmas shopping done? I love to have all the shopping done early so I can focus on enjoying family time and focus on the fun parts of the holidays. Wrapping presents is one of my favorite things about Christmastime. I love using fun papers and big colorful bows to make them look beautiful. This year our tree has a nostalgic snow theme, so I thought it would be fun to wrap some packages to match with a little 3D snowflake gift wrap.
Brown paper packages are not just one of Julie Andrews favorite things. I love the simplicity and the blank canvas it gives for patterned ribbon or in this case snowflakes.
  • Brown Paper
  • Tape
  • Martha Stewart Crafts Bright Star Double Punch, Medium
  • Martha Stewart Crafts Icelandic Snowflake Large Double Punch
  • Mini Glue Dots
  • Foam Adhesive Squares
  • Martha Stewart Crafts Peppermint Winter Label Sticker Book

Wrap up your packages in brown paper. Then embellish by punching snowflakes out of white cardstock. Alternate small and large snowflakes, placing the small with glue dots and large with foam squares to give it more dimension. Add a tag and your done! It’s as easy as that!


Now just sit back and watch smiles you get from taking a little extra time on your packages.
See our other 12 months of Martha projects by checking out the links below:
  • January – Glitter Nails
  • February – Shamrock Banner
  • March – Stenciled Glass Vase
  • April – Gifts for Mom: Easy Photo Magnets
  • May – Flower Sash
  • June – Bottle Piggy Banks
  • July – Glittered Wine Glasses
  • August – Little Star: highlighting your child’s special day
  • September – Spider Cupcakes
  • October – Thanksgiving Place Setting
Disclosure: Martha Stewart Crafts provided product for this post. The idea is entirely my own.
We have decided to truncate our feed to help protect against stolen content. I apologize for any inconvenience. Please love us anyway. 🙂

Lavender Bubbles

November 5, 2013 By Michelle Barneck Leave a Comment

Hello there! I’m Kelly from Smart School House and it is always such a privilege to be here! Today I have a beautiful craft to share with you and your kids will love it too. That’s right, it’s beautiful and kids will love it. Introducing: DIY Lavender Bubbles!

DIY Lavender Bubbles by Smart School House

See the full tutorial…

Now, I realize that the weather has cooled off a bit in some places (and it might even be snowing where you are). However, here on the coast of California, the weather is still lovely! So, in celebration of Halloween being over and the crisp skies outside, I decided to create something that was inspired by nature. Plus, you can’t eat it! Let’s be honest here, after all of that Halloween candy, doesn’t it sound nice to go outside and play? Exactly! DIY lavender bubbles are perfect to relax your kiddos while playing outdoors.
I have a lot (a lot) of lavender growing! Here is a picture of the lavender in my front yard. This lavender has inspired me to make so many things on my blog!

Lavender Driveway

 To make the DIY Lavender Bubbles, you only need a few simple ingredients:

  • A Bubble Container 
  • Pipe Cleaners 
  • Lavender Scented Dish Soap (I found mine at the dollar store!) 
  • Sugar 
  • Food Coloring 

To make the Lavender Bubbles:

Combine 4 cups of warm water with 1/2 cup of sugar. Once the sugar is completely dissolved, add 3/4 cup of the lavender dish soap Add 1 drop of blue food coloring and 3 drops of red food coloring Store in an air tight container.

To make the DIY bubble wand:

Create a circle near one end of the pipe cleaner and twist any extra around the stem of the pipe cleaner (so easy!).

Have you ever made your own bubble solution? There are so many ways you can do it. Keep in mind that your dish soap might be a little different than mine and that’s ok! Simply add more or less as you see needed. The same goes with the food coloring! Some lavender dish soaps are more purple than others, so if you just add a little at first, it can’t go wrong! Have fun and happy fall!

———————————————————————
Thanks Kelly! I adore the idea of a gift that can be both beautiful and so much fun!
We have decided to truncate our feed to help protect against stolen content. I apologize for any inconvenience. Please love us anyway. 🙂
« Previous Page
Next Page »

  • Bloglovin
  • Facebook
  • Google+
  • Instagram
  • Pinterest
  • RSS
  • Twitter

Hi there! I'm Michelle. Mother of three little boys and one little princess. Welcome to A Little Tipsy, a place for exploring creativity and sharing inspiration.

Follow on Bloglovin


Visit Michelle Barneck {A Little Tipsy}'s profile on Pinterest.

Tutorials by Category


15 Family Reunion Games

Family Reunion Games Collage

15 Sprinkle Party Ideas

Sprinkle Birthday Party
Creative Commons License

© Copyright 2014 A Little Tipsy · Site Designed by The Fairy Blogmother · Web Hosting by RFE Hosting

This website uses cookies to improve your experience. We'll assume you're ok with this, but you can opt-out if you wish.Accept Read More
Privacy & Cookies Policy