Hi friends! I am happy to be visiting while Michelle snuggles her new little baby! (Though I would rather be snuggling a new little baby like her!) I am Amber from Crazy Little Projects where I show off all of the craziness that keeps me busy-sewing, baking, crafting and having fun!
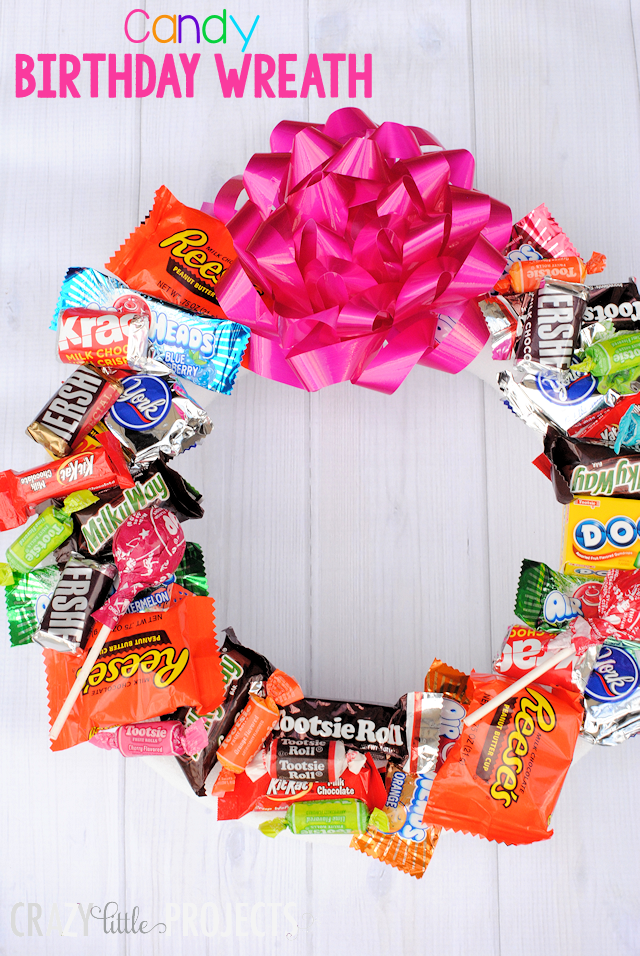
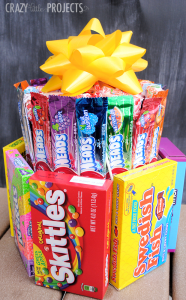
Now, Fall is coming and here at A Little Tipsy Michelle is featuring Fall projects. When I think of Fall I often think of wreaths. But-I confess I am not that big of a wreath fan. (That almost seems to be blasphemy in the blogging world!) I AM a fan of candy though. And birthdays. So I decided to take the classic wreath and add a twist…of candy! Here’s a Candy Birthday Wreath:
I did a candy birthday cake a few months back and it was such a big hit and I have had so much fun giving candy birthday cakes to friends and family that I thought it would be fun to try this wreath.
Let’s make one!
Candy Birthday Wreath:
Supplies Needed:
- Wreath Form
- Large bow
- Hot glue
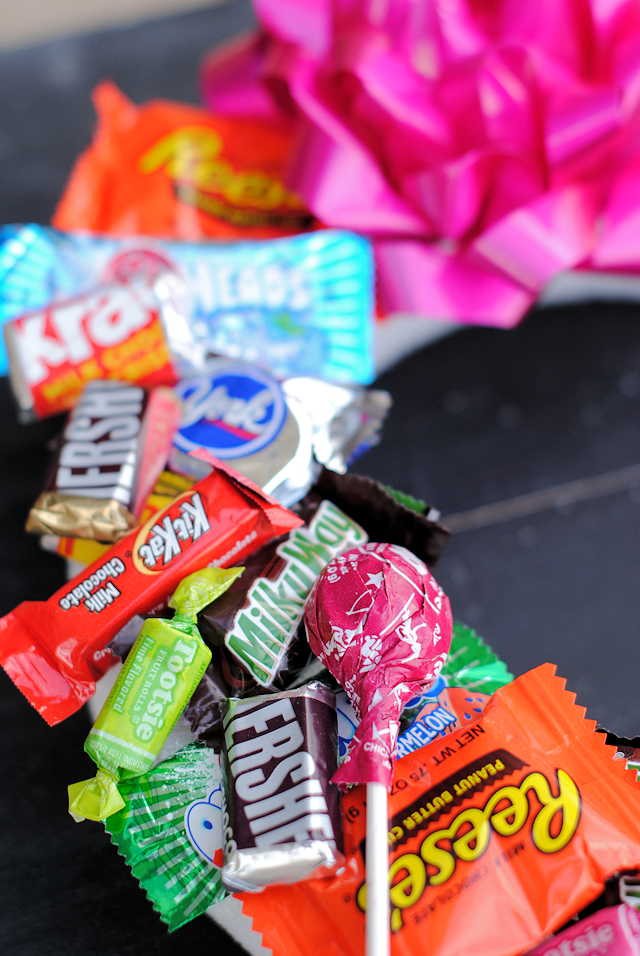
- Candy-get a variety
- Small piece of ribbon
Instructions:
I started by gluing the big bow to the top of the wreath:

Then, simply begin gluing candy to the wreath all the way around overlapping as needed.
If you are using chocolate just be careful that the glue isn’t so hot that is is melting the chocolate.
One the back add a small loop of ribbon to hang the wreath. You can pin or hot glue it in place:

And then hang it somewhere for the birthday kid to see!
Join me over at Crazy Little Projects or find me on Facebook, Instagram and Pinterest!
You Might Also Like:
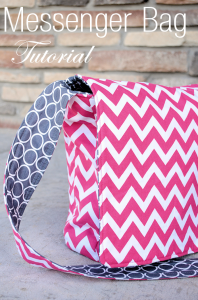
Messenger Bag: