A Little Tipsy

Creative Tips & Ideas

  • home
  • About Me
  • the tipsy top
  • press
  • projects
  • contact me
[print_thumbnail_slider]

Ruffles and Burlap Fall Wreath with Flamingo Toes

September 10, 2014 By Michelle Barneck Leave a Comment

Hello A Little Tipsy Readers! My name is Bev and I blog over at Flamingo Toes. I’m so excited to be here visiting today!

Bev-at-Flamingo-Toes

At Flamingo Toes I love sharing sewing and jewelry projects – as well as things I make for my home. We just moved across the country this summer from California to Tennessee so I am having a lot of fun setting up our sweet little farmhouse and exploring the area. I am so ready to experience our first real Fall – we don’t exactly get much of a season change in CA.

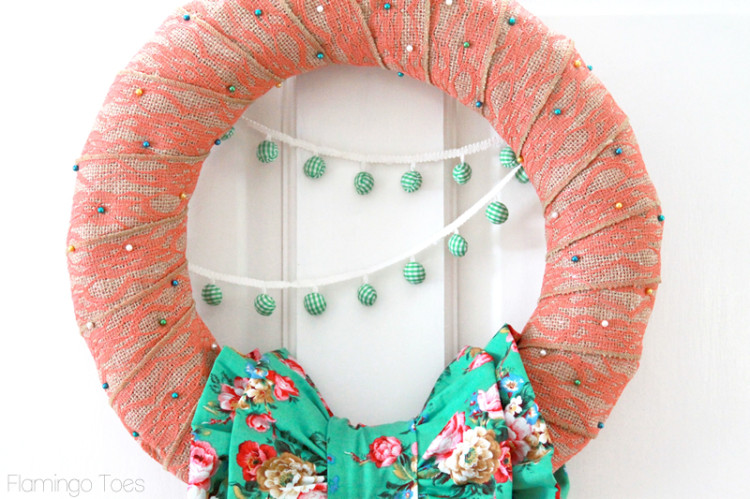
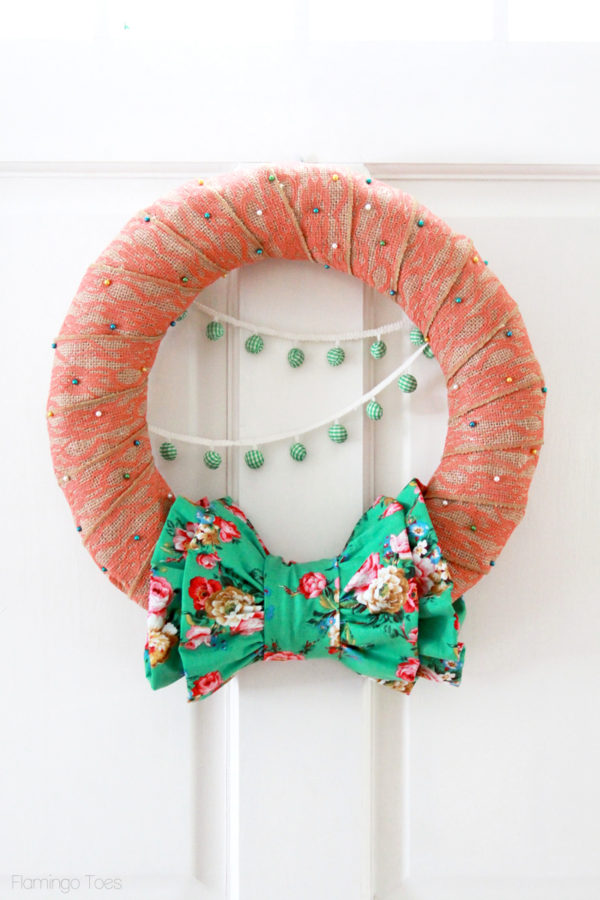
Today I’ve made up a Ruffles and Burlap Fall Wreath, inspired by the colors of Fall and all these pretty pots of mums I am seeing everywhere. I think I’m going to get some for our front porch!
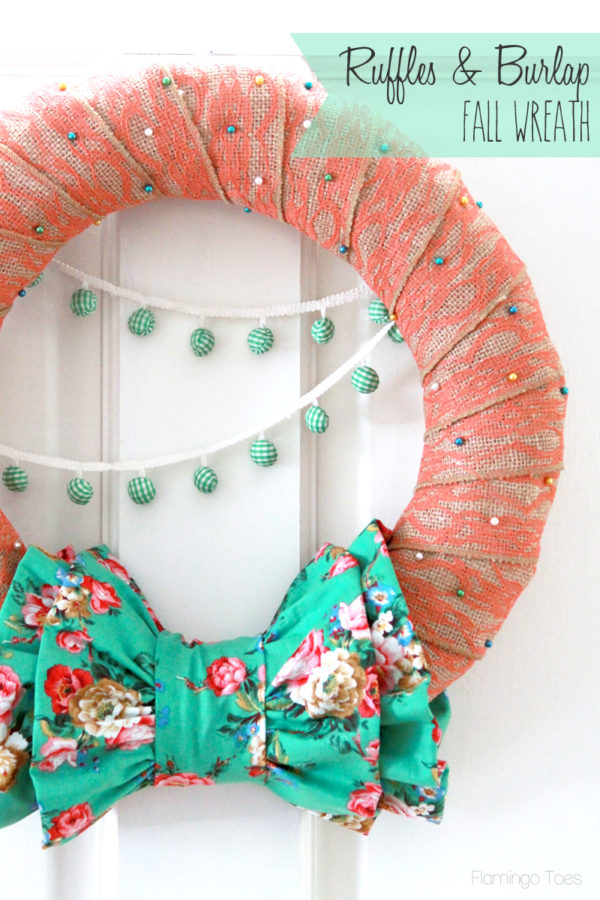
Ruffles and Burlap Fall Wreath

Isn’t it fun? I paired up some fun fabric ruffles with this super cute lace covered burlap ribbon that I picked up at Walmart. The whole thing is so easy to put together, and since I’m kind of fickle with my decor, I’ve made it so it’s super easy to change up whenever you want!
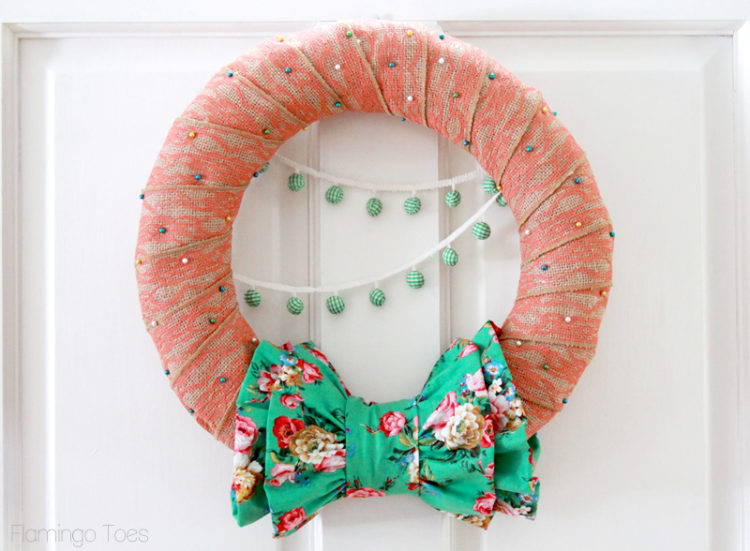
Burlap Lace and Ruffles Wreath

Won’t it look pretty with some pots of mums around the door?
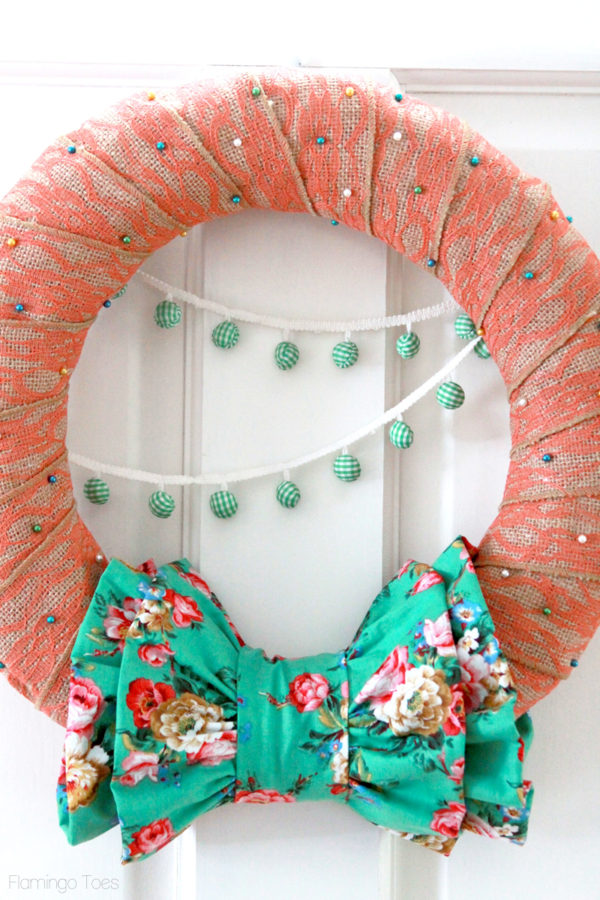
Fall Wreath DIY

So let’s get started. Here’s what you’ll need:

  • Straw Wreath (mine is 14″)
  • Burlap Ribbon – I used 1 1/2 spools
  • Fabric for ruffles
  • Needle and Thread
  • Pearl head pins in different colors
  • Gingham ball trim, or something similar

Begin by wrapping the burlap ribbon around the wreath. I left the plastic wrapper on but you can take it off.
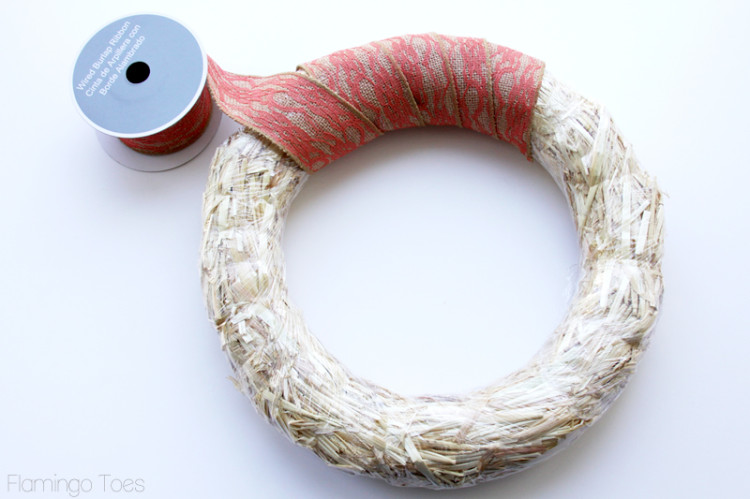
wrapping wreath with burlap ribbon

Continue until the entire wreath is wrapped. Pin the ends in place on the back, or you can hot glue it.
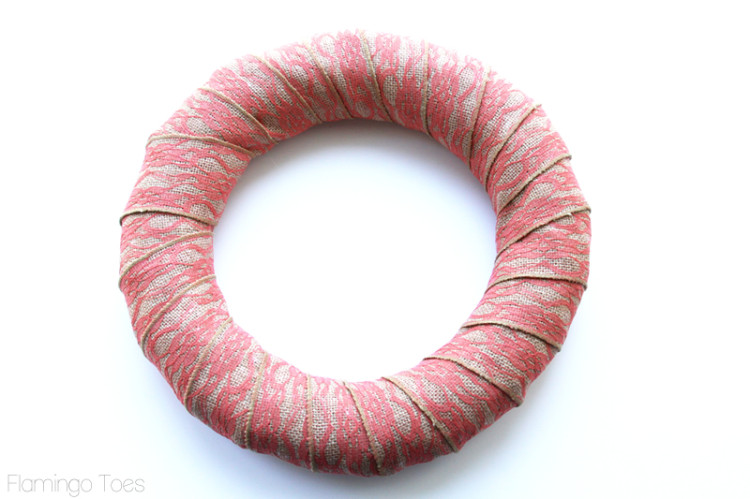
wreath wrapped with burlap ribbon

Measure around the wreath, then double that amount. Cut four pieces of fabric 5″ x that measurement – so about 5″ x 10″ or so. Fold the fabric pieces in half, then sew a running stitch along the top raw edge. Gather up the fabric ruffles so they fit around the bottom of the wreath.
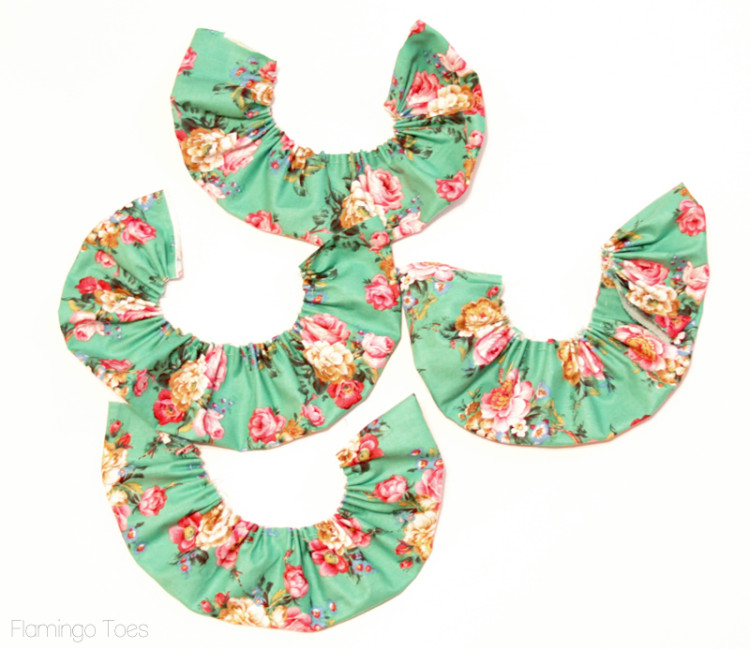
fabric ruffles for wreath

Wrap the ruffles around the bottom section of the wreath as in the picture, leaving a space of about 2 inches between the middle two ruffles. Pin in place. Cut a piece of fabric about 3″ wide and long enough to wrap around the center of the wreath once. Fold the long sides in and wrap this around the middle of the wreath, covering up the raw edges of the two inside ruffles. Pin the piece in place on the back.
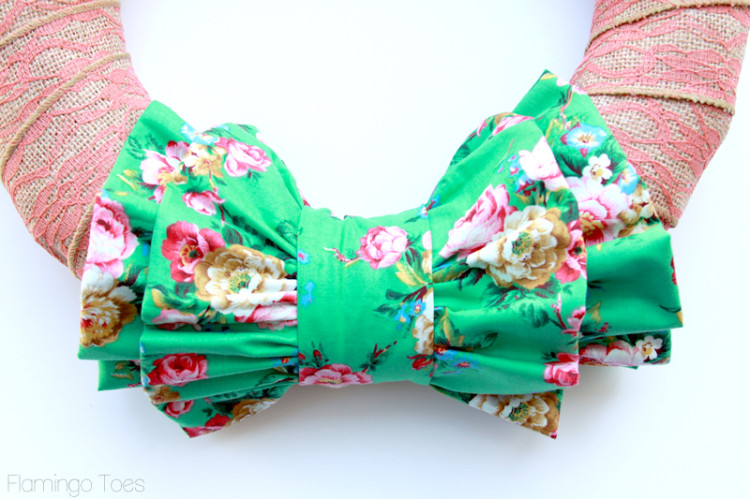
ruffles on burlap wreath

Add some decorative touches by placing pins in the burlap.
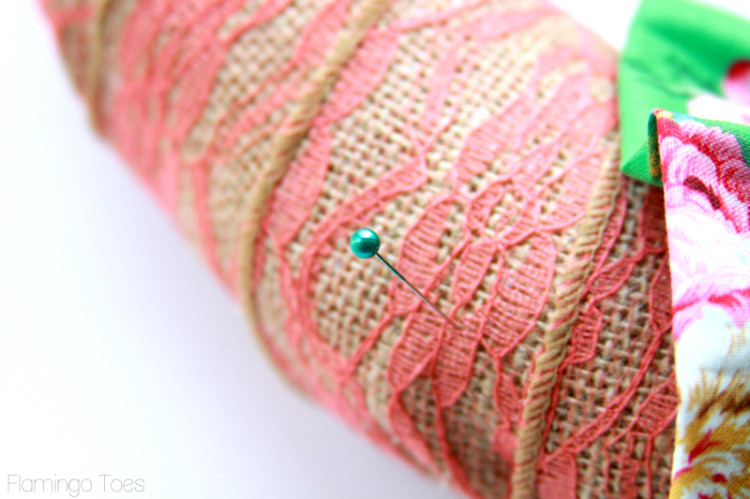
Pearl Pins in Wreath

Mix and match your colors and scatter them around the wreath.
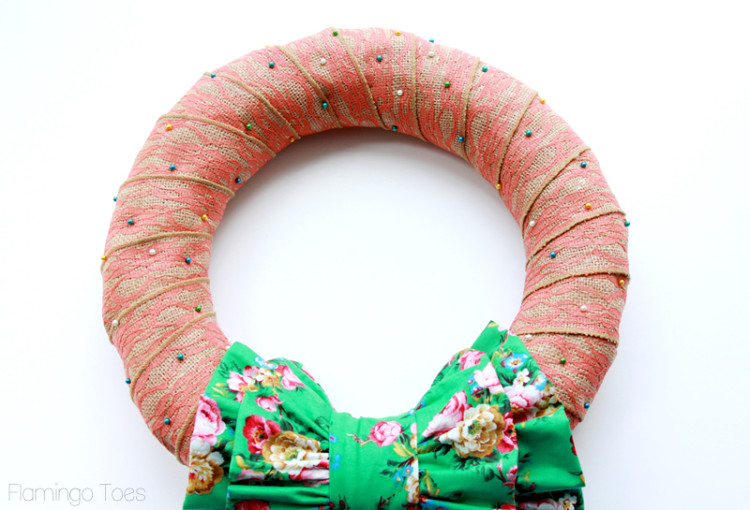
lace burlap wreath

Add a couple of little strands of cute gingham pom pom trim, or something else that looks great with your fabric. Pin it in place in the back of the wreath.
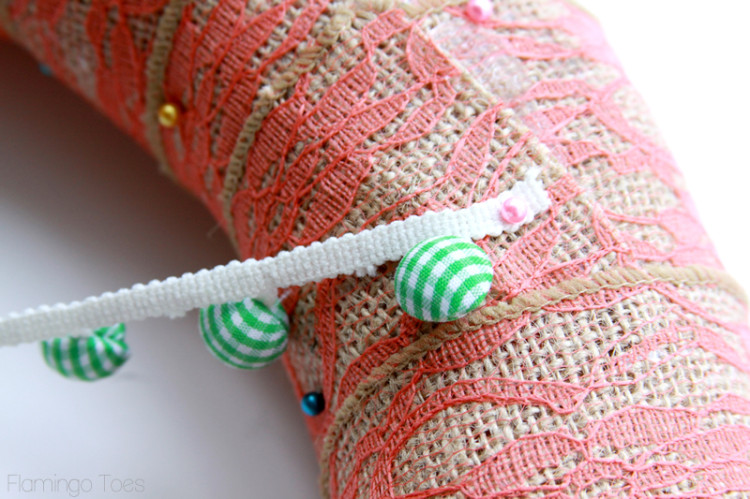
gingham pom poms on wreath

I love that since the pieces to the wreath are all pinned in place, you can easily change it out if you want to update it or just make something else entirely. You can definitely glue everything down though if you want something more permanent.
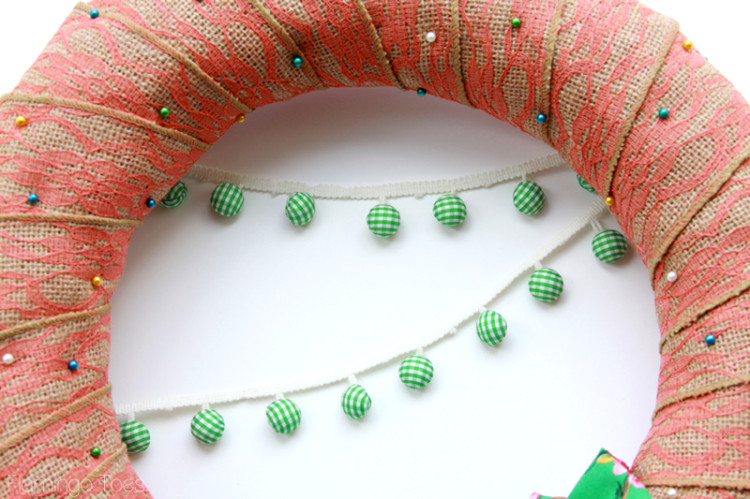
gingham ball trim

That’s it! So easy right?!

Ruffles and Burlap Wreath

Easy Fall Wreath

I hope you give it a try!

I’d love for you to come visit Flamingo Toes sometime!  Here are some of my other favorite projects!

Huge Fabric US Map Hoop Art

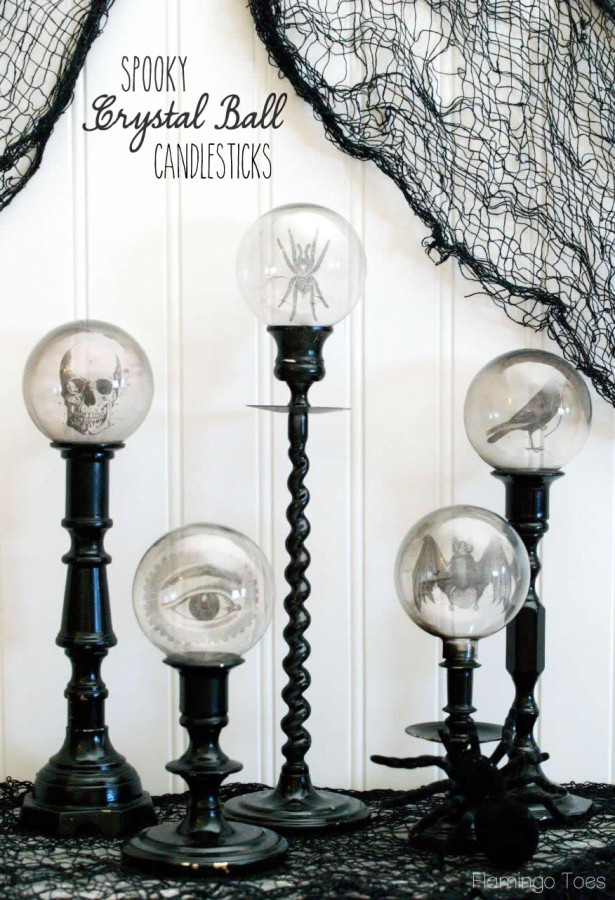
Spooky Crystal Ball Candlesticks

Thanks for having me Michelle!

Arm Warmers from Brassy Apple

September 5, 2014 By Michelle Barneck Leave a Comment

DIY arm warmers REfashion - BrassyApple.com

Fall Fashion is my favorite time of year! Over on Brassy Apple I love upcycling and RE-fashioning items for me and my kiddos to wear! Take the chill off of the winter season without over roasting your kids in a bulky sweater or too many layers. Or if you kids are like mine they are cold one minute and “So HOT” the next they are running to change into a tank top! Here’s the solution – pair a t-shirt up with some inexpensive arm warmers made from tube socks! So easy to slip them on and off quickly.
The basic shape and construction are SUPER easy to do and anybody can do it!
DIY arm warmers REfashion - BrassyApple.com
SUPPLIES:

A pair of long socks (or tube socks) Pick out your favorite pattern/color, etc
Sewing Machine
Scissors
Thread
measuring tape (optional)

EMBELLISHMENTS:

Buttons
Rhinestones
grommets
scrapbooking brads
ribbons – all different widths
lace
rep gathered ruffles
tulle
ric rac
zippers
pre-made appliques
faux fur
jingle bells
rosettes
snaps (if you want to change out your embellishments)
etc., etc., etc.
Step 1: Pick out your favorite pair of socks. They can be Holiday, solid colored, patterned etc. Make sure to buy the Knee Length or Tube Sock style.
Step 2: Measure the length you want your arm warmers to be. You can measure out how long you want them to extend up your child’s arm by placing the sock on their arm and eyeing it out. You want the sock to reach to or just past their first knuckles. Or you can measure with a tape.
diy arm warmers - BrassyApple.com #refashion #fashion #kids
Step 3: Measure and cut off your socks to the desired length. Be sure to cut from the toe end. We want to keep the other finished end intact.
Step 4: Turn your socks inside out and find the “heel” spot. *(note: some socks are made without a built in heel. If yours do NOT have a rounded heel in them please proceed to step 7)* Pull the heel up as shown in the picture making sure the other sock fabric is separated. We will be sewing and cutting the heel out to create one long tube.
Step 5: Pin the heel area as close as you can to the “bottom” of it to create a straight “tube” when it is sewn together and cut off.
diy arm warmers

Step 6: Sew a straight line across the bottom of the heel to close this section and cut off the excess.

Step 7: Turn your socks right side out and lay them flat placing the “heel” seam on the underside. This will ensure that the seam isn’t on top of their arm when they wear the warmers. Cut a small slit for the thumb. **One slit on the right inside and one slit on the left inside.

Cut your slits on opposite side of each other so the heel seams remain on the underside.

diy armwarmers for kids - BrassyApple.com

The basic shape and function of the arm warmers is done. Now it’s time to EMBELLISH!!! (if you want to) You can add embellishments to any part of the arm warmers you’d like to – the top, the bottom, along the top or all over!!! Just have fun with it! This is a great project to do with your girls or a group of girls too! Here are photos of some I created to give you a jump start with your own ideas! If you create some – tag me on Instagram (@BrassyApple) so I see your creations!

diy embellished arm warmers or kids - brassyApple.com

Make them Different lengths too! Full length, 3/4 sleeve and even wrist cuffs!

DIY arm warmers for kids - BrassyApple.com

And these make great baby LEG warmers!

DIY baby leg warmers - BrassyApple.com

Your girls will be the trend setters and look adorable in their chic yet inexpensive new accessory!

DIY girls arm warmers from socks - BrassyApple.com

Check out my other RE-fashion tutorials plus lots of NO SEW options too on BrassyApple.com!

Refashion tutorials - BrassyApple.com

Fall Yarn Wreath with A Glimpse Inside

September 3, 2014 By Michelle Barneck 1 Comment

Hello everyone!
I’m Allison and I’m the blogger behind the blog A Glimpse Inside.
 I’m an Army wife and momma to two little girls with a creative side.
I blog about crafts, diy projects, recipes, and our military and everyday life.
I’m happy to be here today to help out Michelle while she snuggles with that adorable new bundle of joy of hers.
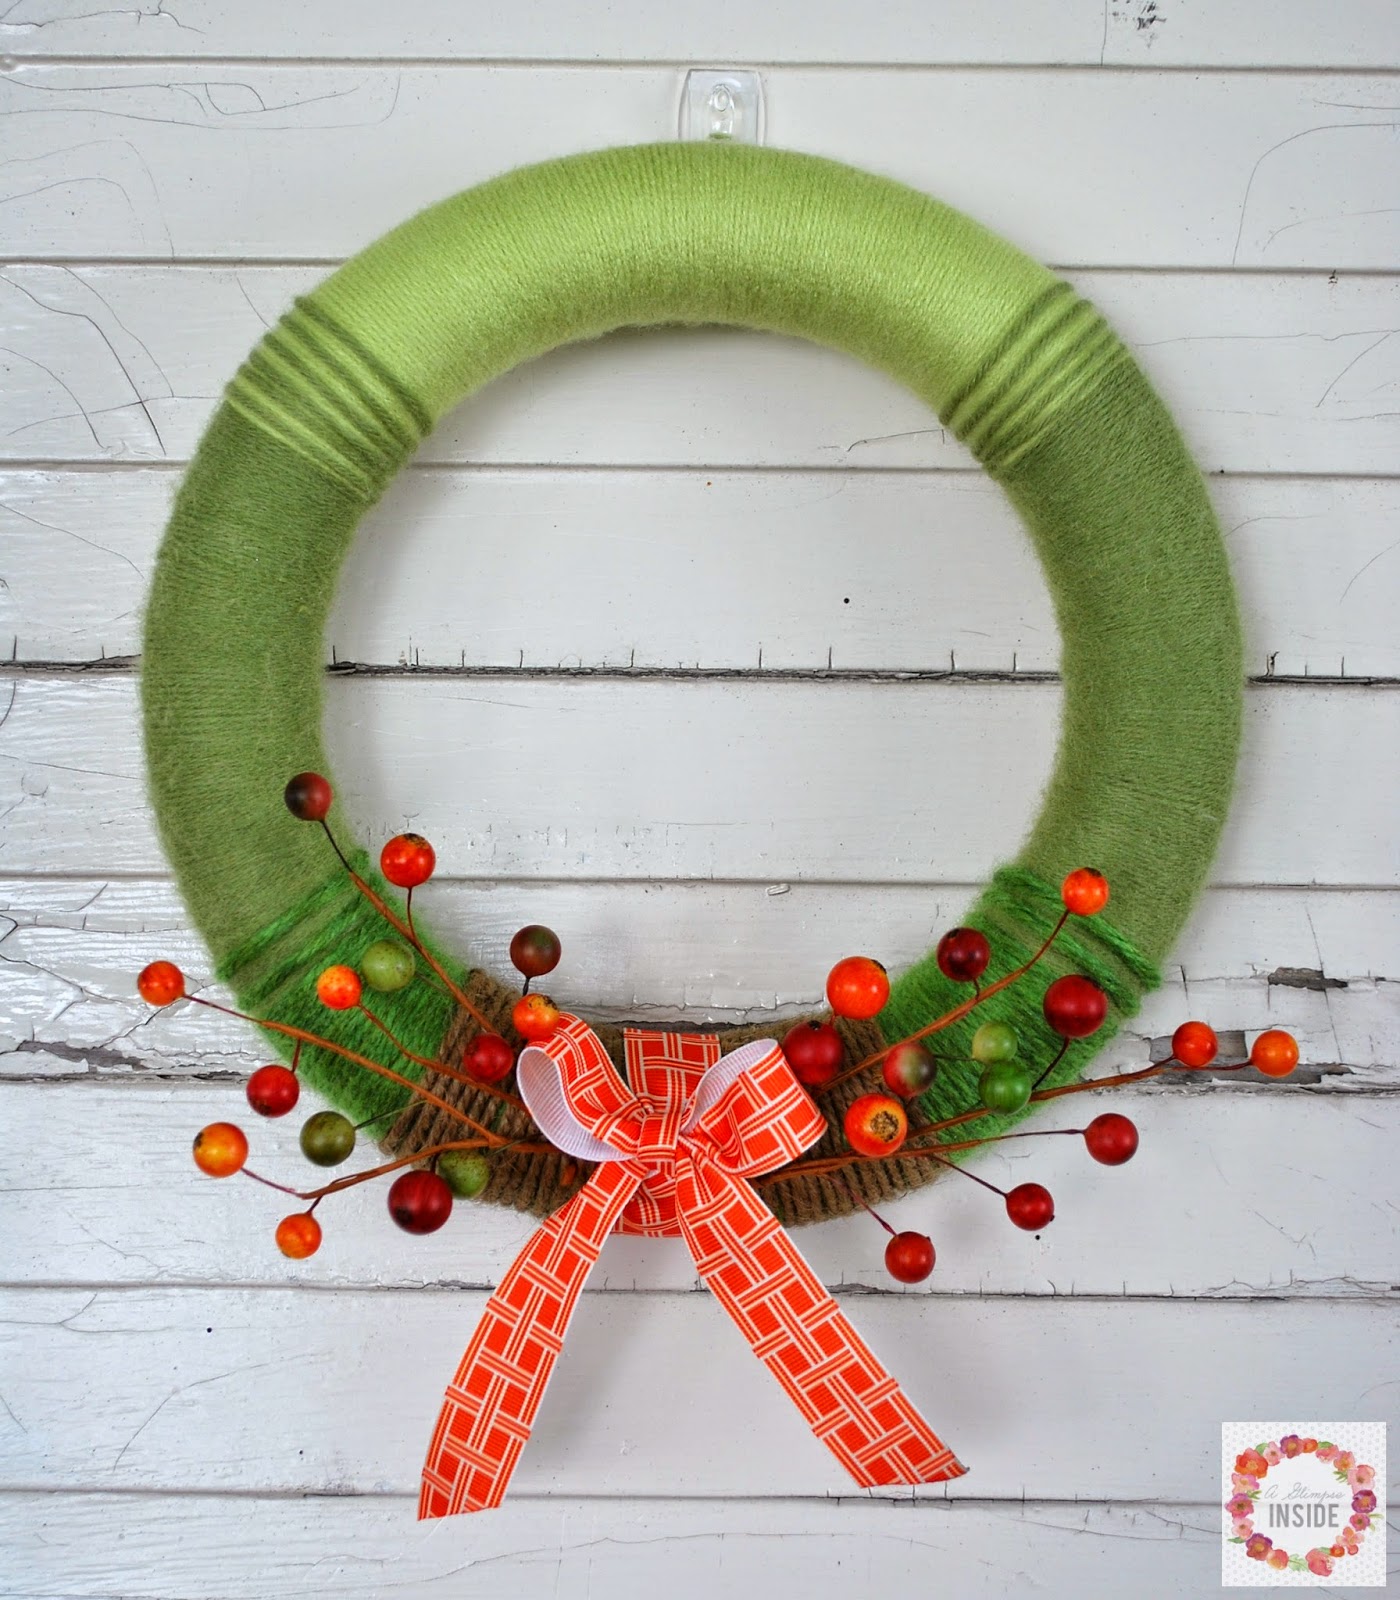
Today, I am here to share with you an easy fall wreath!
 Here is how you can make a fall yarn wreath for yourself.
Supplies: 
-Wreath Form
-Yarn- 3 in the color of your choice- light, medium and dark in shade
-Twine
-Ribbon
-Fall Berry Picks
-Other fall picks (optional)
-Hot Glue Gun
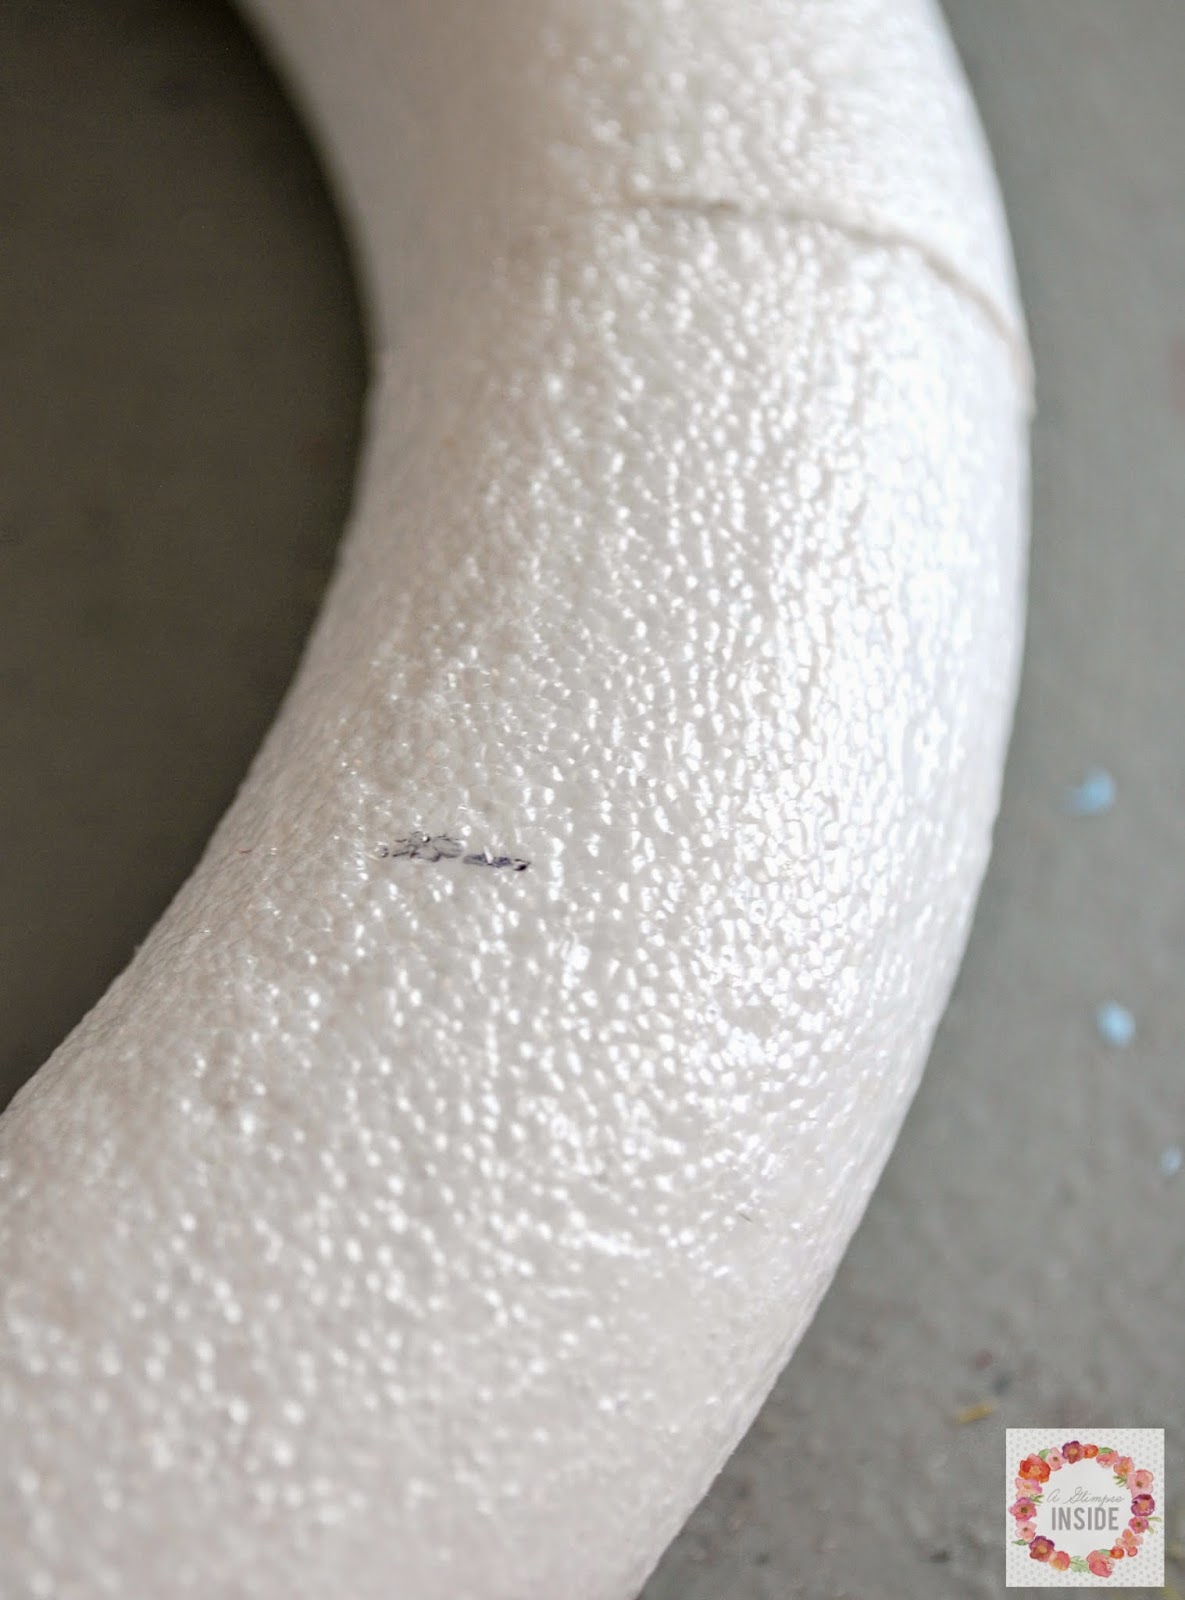
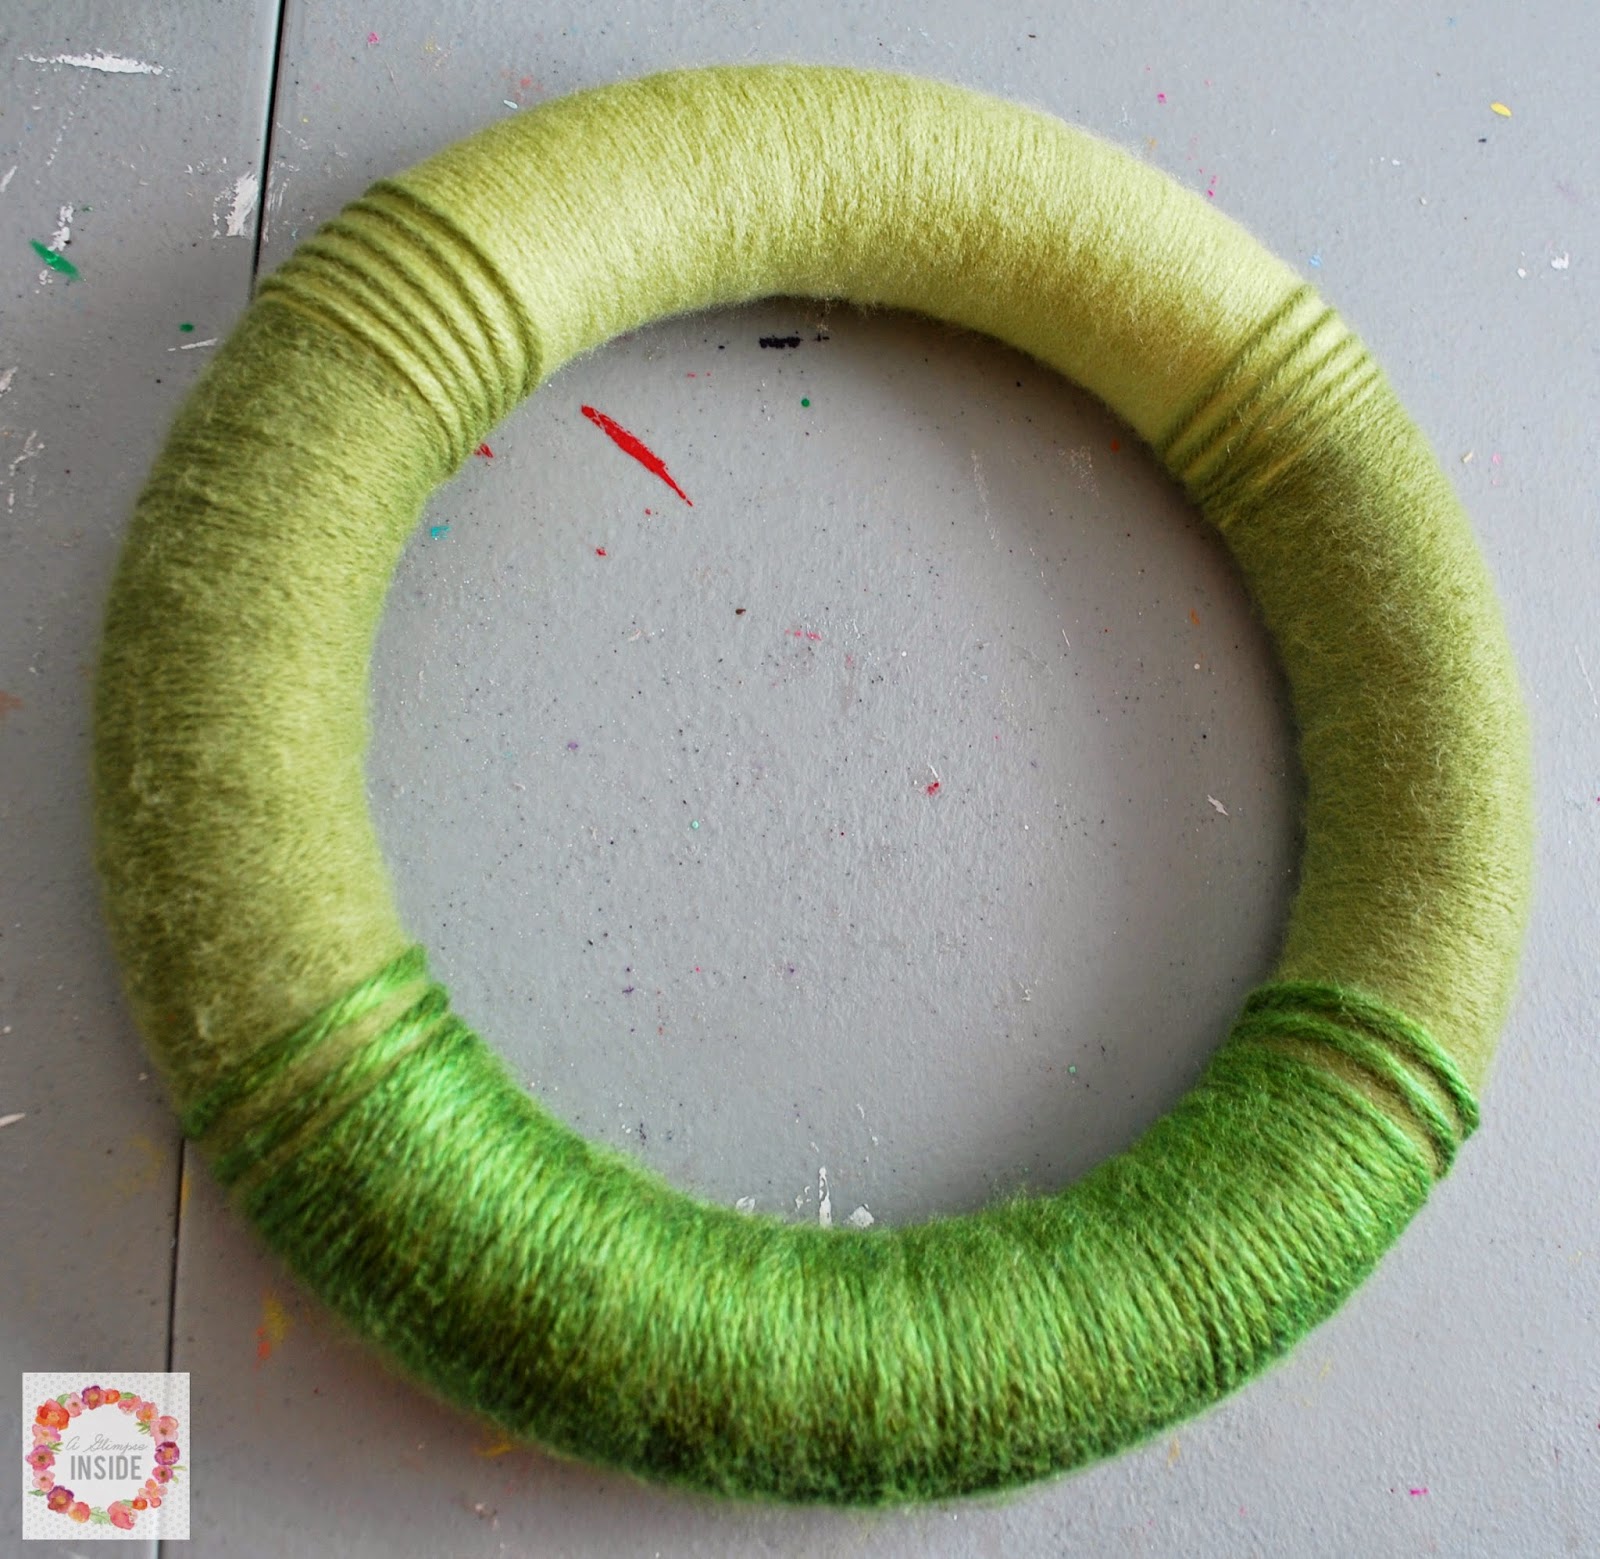
I began by marking the wreath form in four spots where I wanted to start and stop each color of yarn.
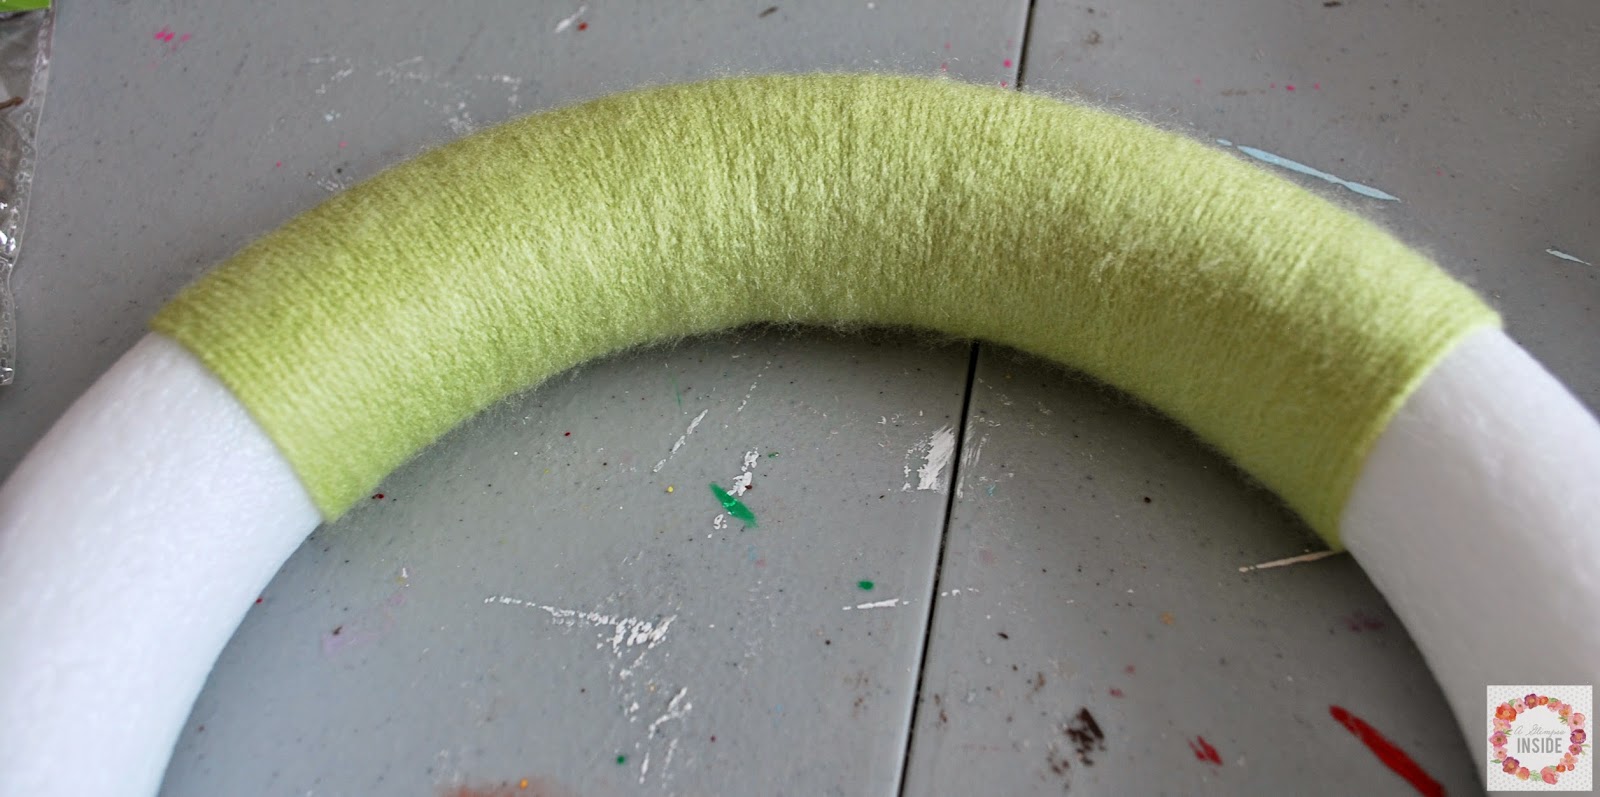
Start by wrapping the lightest yarn color first on the top portion of the wreath.
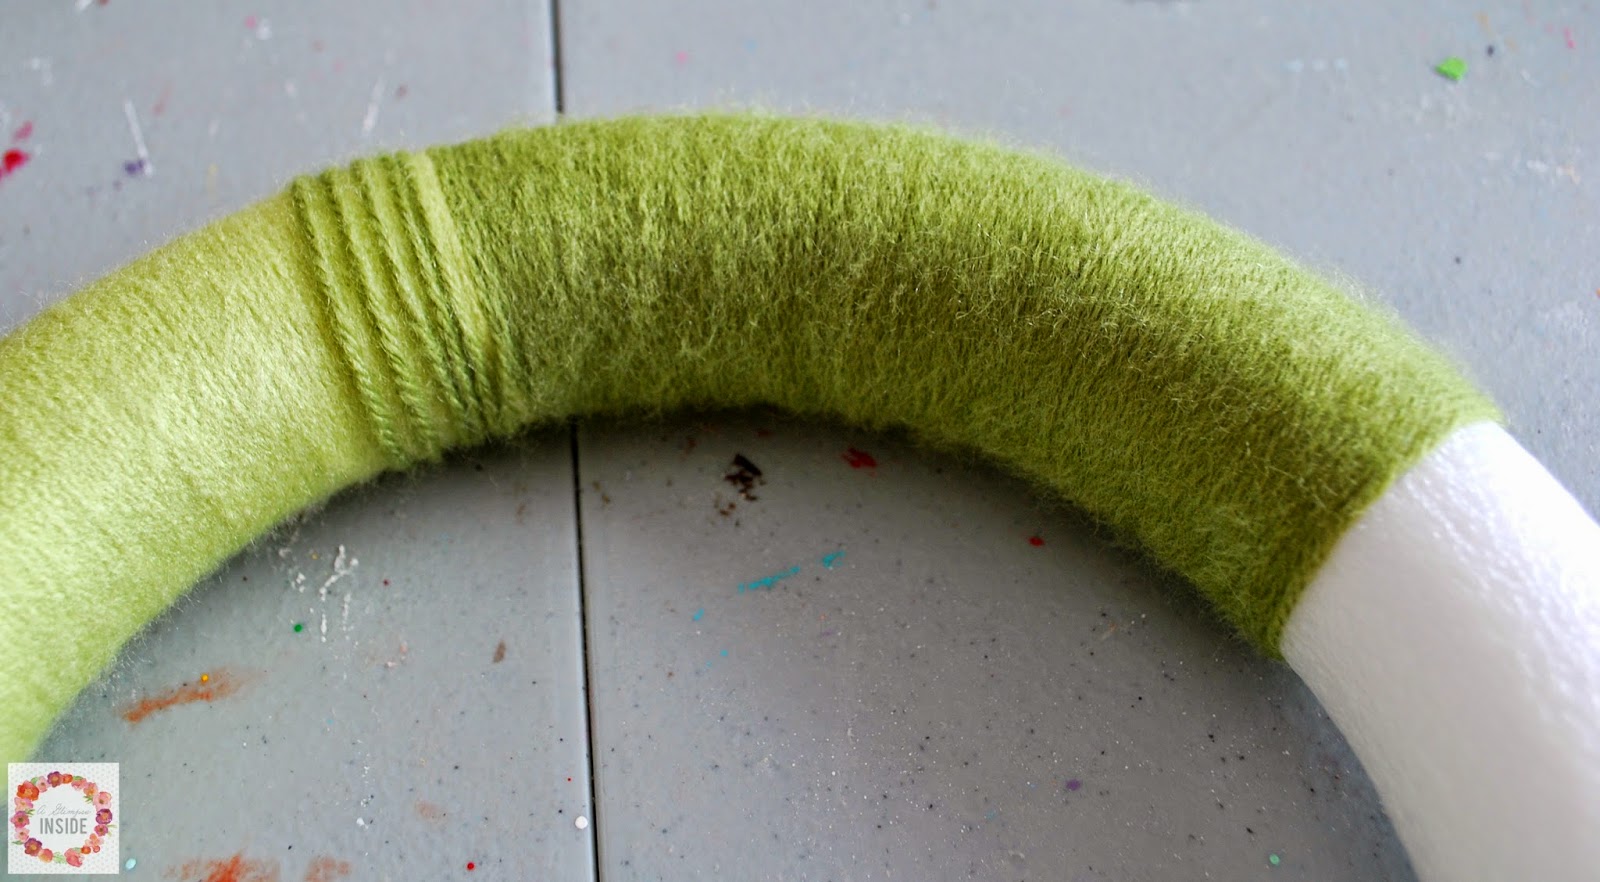
When it is time to start the second, medium color of yarn, overlap the first color slightly leaving space between the the new color yarn so you can see the light shade through.
Wrap the second color yarn down both sides of the wreath form.
Then wrap the third, darkest color across the bottom of the form again overlapping the previous color.
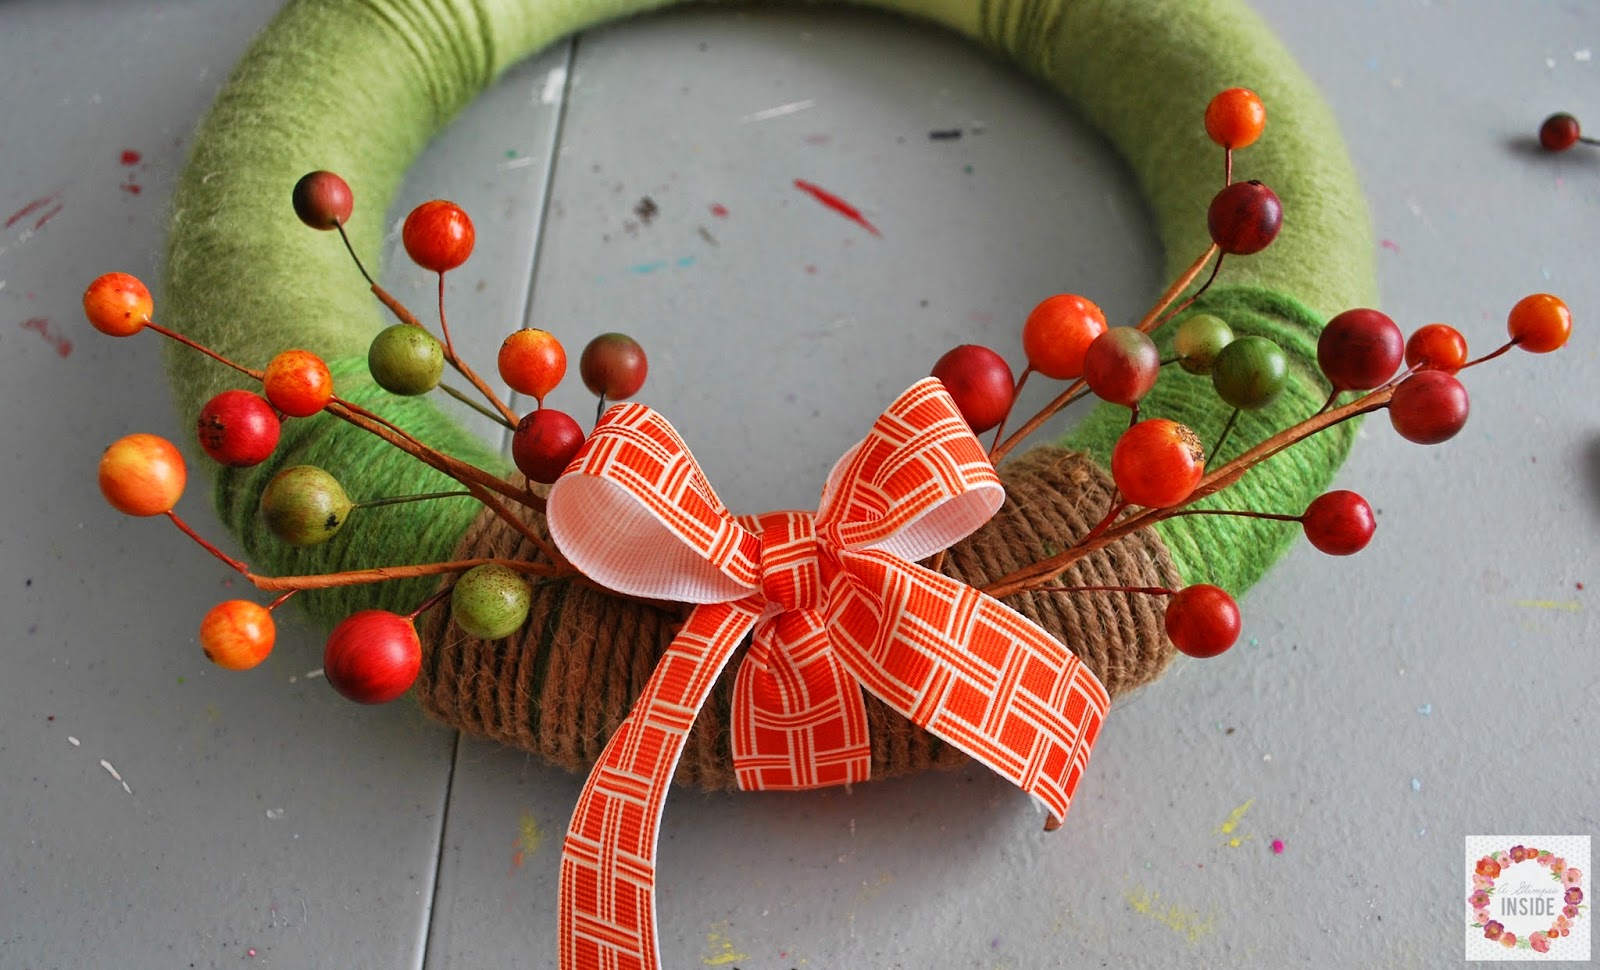
I wanted to add more texture, so I took some twine and wrapped it in the center of the darkest green on my wreath.
I then tied a ribbon and bow in the center of the twine and added some fall colored berries.
I just pushed the berry picks through and behind the twine behind the ribbon so the bow would cover it up.
I used a small piece of yarn to create a loop on the top to hang it.
 And that’s it!!
You now have a pretty new fall yarn wreath to display!
Thanks for letting me share Michelle!
Feel free to stop by my bloggy neck of the woods sometime!
And come hang out with me on social media as well!
FACEBOOK // TWITTER // INSTAGRAM // PINTEREST

Scrap Wood Pumpkins with The Contractor Chronicles

August 25, 2014 By Michelle Barneck Leave a Comment

Hello Little Tipsy Readers!! It is good to be here again sharing a fun little project while Michelle is out with her sweet new baby! I know Michelle in real life so I am so excited for her and cannot wait to hold her little one! For those that don’t know me, I am Amanda and I blog alongside my husband over at The Contractor Chronicles. We love to share our knowledge of tools, our fun projects and our house remodels with our readers! Since we are going into cooler fall weather, I wanted to share a fun and simple Fall project that anyone can make with wood from your scrap pile, scrap wood pumpkins!

Scrapwood Pumpkins (12) copy

All you need for this project is a couple pieces of 2×4 wood and 2×6 wood! I found both in my scrap pile – but feel free to swing by Home Depot and grab a one of each a make a few of these for your home! Cut your pieces down – I cut two 2×4’s at 6 inches and two 2×6’s at 7.5 inches. I just did what I thought looked best – but make some bigger and smaller if you want too!

Scrapwood Pumpkins (16) copy

I used Rustoleum Cinnamon and sprayed the wood down.

Scrapwood Pumpkins (1) copy

When they were dry, I used my cornercat and sanded the edges a bit.

Scrapwood Pumpkins (3) copy

Lastly – and the thing that makes the pumpkin – I tied the whole thing up with green ric rac! I love it! It makes it look wavy – sort of like a real pumpkin!

Scrapwood Pumpkins (5) copy

I tied the top in a bow to look like “leaves.”

Scrapwood Pumpkins (8) copy

And you’re done! So simple but super cute!!

Scrapwood Pumpkins (14) copy

Thanks so much for having me today and please stop by and say hello and see what other projects we have been working on!

Faux Drawer Console Table (44) copy Toy Truck Book Ends (63) copy Easy One Hour Rustic Blanket Ladder
Faux Drawer Console Table – Toy Truck Bookends – Blanket Ladder

You can also follow us here on our social media as I am always showing sneak peeks at the projects we are working on!

Follow Us On Facebook Follow Us On Twitter Follow Our Feed Follow Us On Instagram Follow Us On Pinterest

« Previous Page
Next Page »

  • Bloglovin
  • Facebook
  • Google+
  • Instagram
  • Pinterest
  • RSS
  • Twitter

Hi there! I'm Michelle. Mother of three little boys and one little princess. Welcome to A Little Tipsy, a place for exploring creativity and sharing inspiration.

Follow on Bloglovin


Visit Michelle Barneck {A Little Tipsy}'s profile on Pinterest.

Tutorials by Category


15 Family Reunion Games

Family Reunion Games Collage

15 Sprinkle Party Ideas

Sprinkle Birthday Party
Creative Commons License

© Copyright 2014 A Little Tipsy · Site Designed by The Fairy Blogmother · Web Hosting by RFE Hosting

This website uses cookies to improve your experience. We'll assume you're ok with this, but you can opt-out if you wish.Accept Read More
Privacy & Cookies Policy