Hello everyone!
I’m Allison and I’m the blogger behind the blog A Glimpse Inside.
I’m an Army wife and momma to two little girls with a creative side.
I blog about crafts, diy projects, recipes, and our military and everyday life.
I’m happy to be here today to help out Michelle while she snuggles with that adorable new bundle of joy of hers.
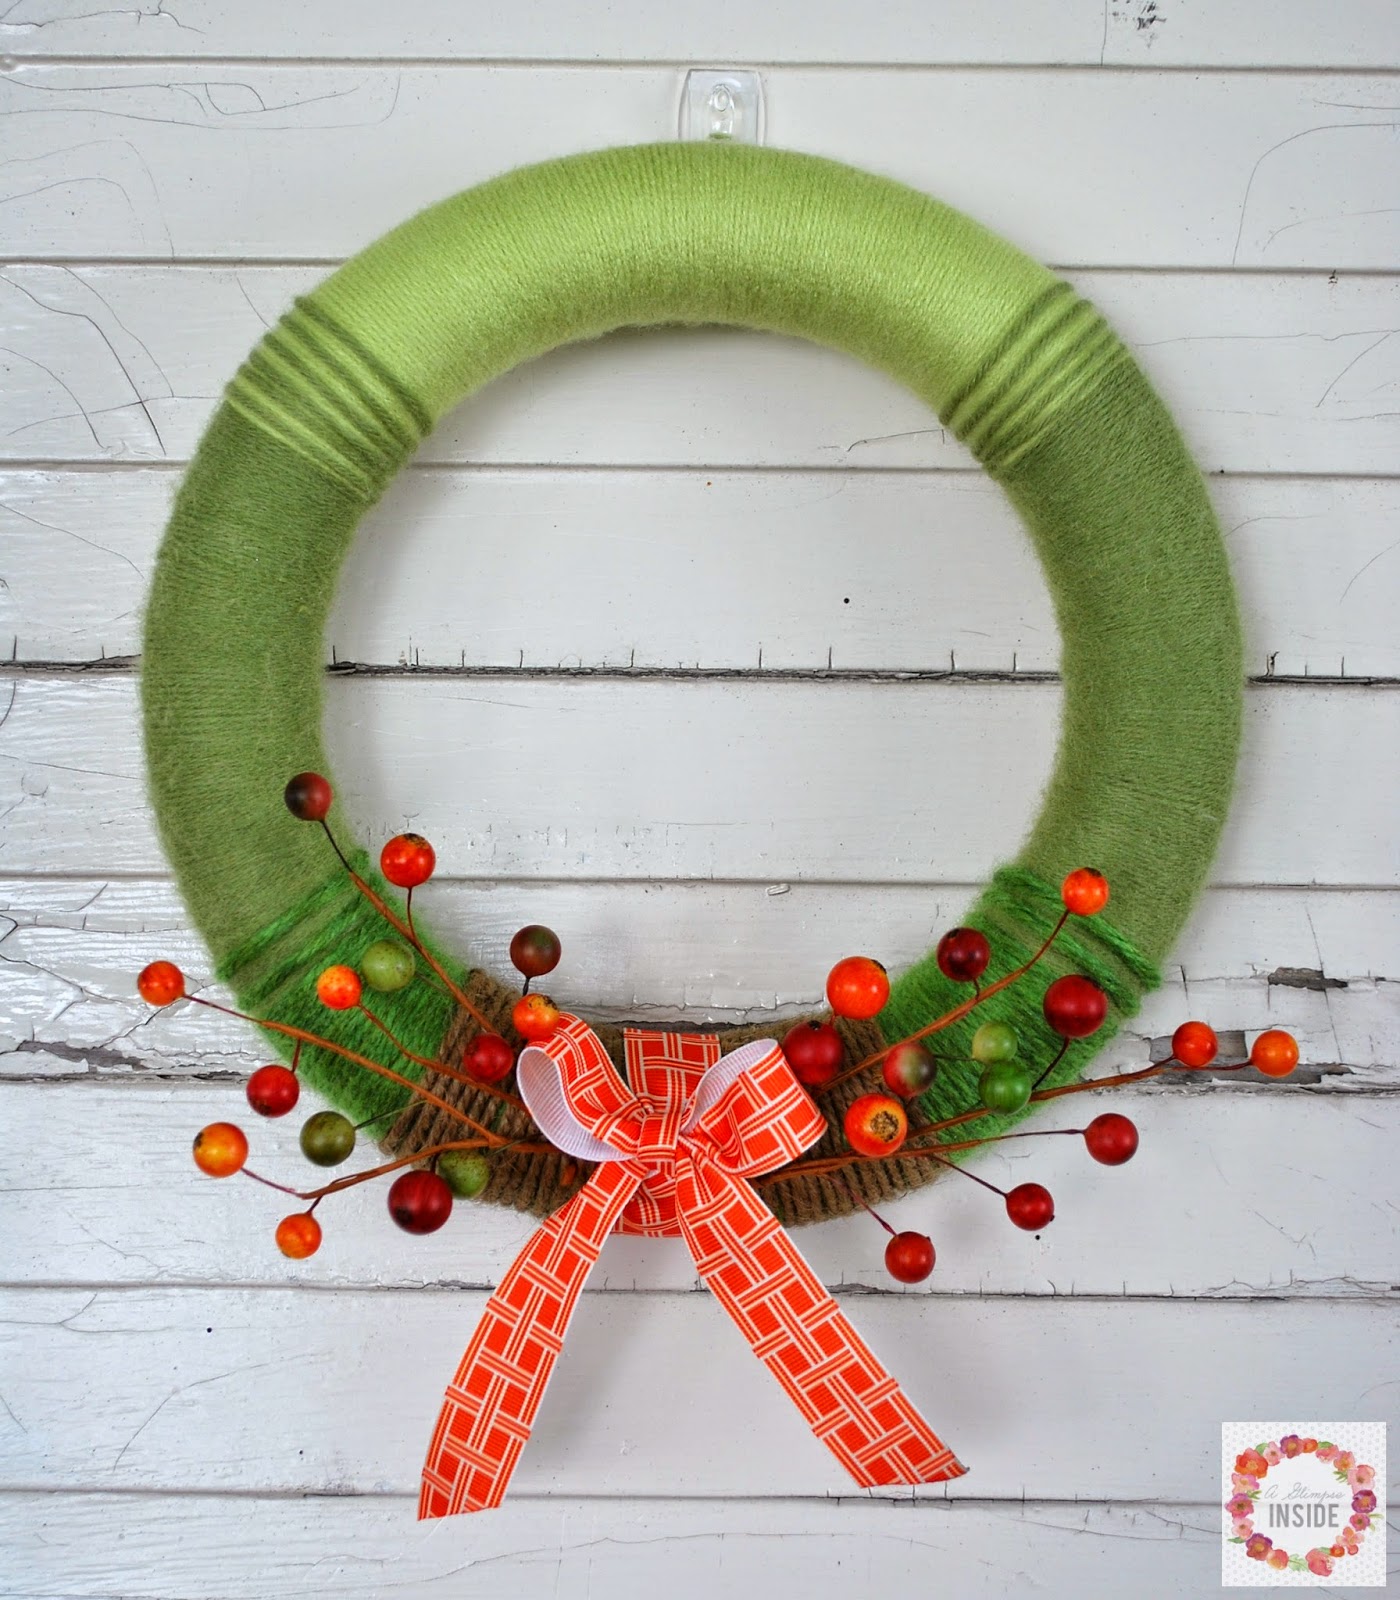
Today, I am here to share with you an easy fall wreath!
Here is how you can make a fall yarn wreath for yourself.
Supplies:
-Wreath Form
-Yarn- 3 in the color of your choice- light, medium and dark in shade
-Twine
-Ribbon
-Fall Berry Picks
-Other fall picks (optional)
-Hot Glue Gun
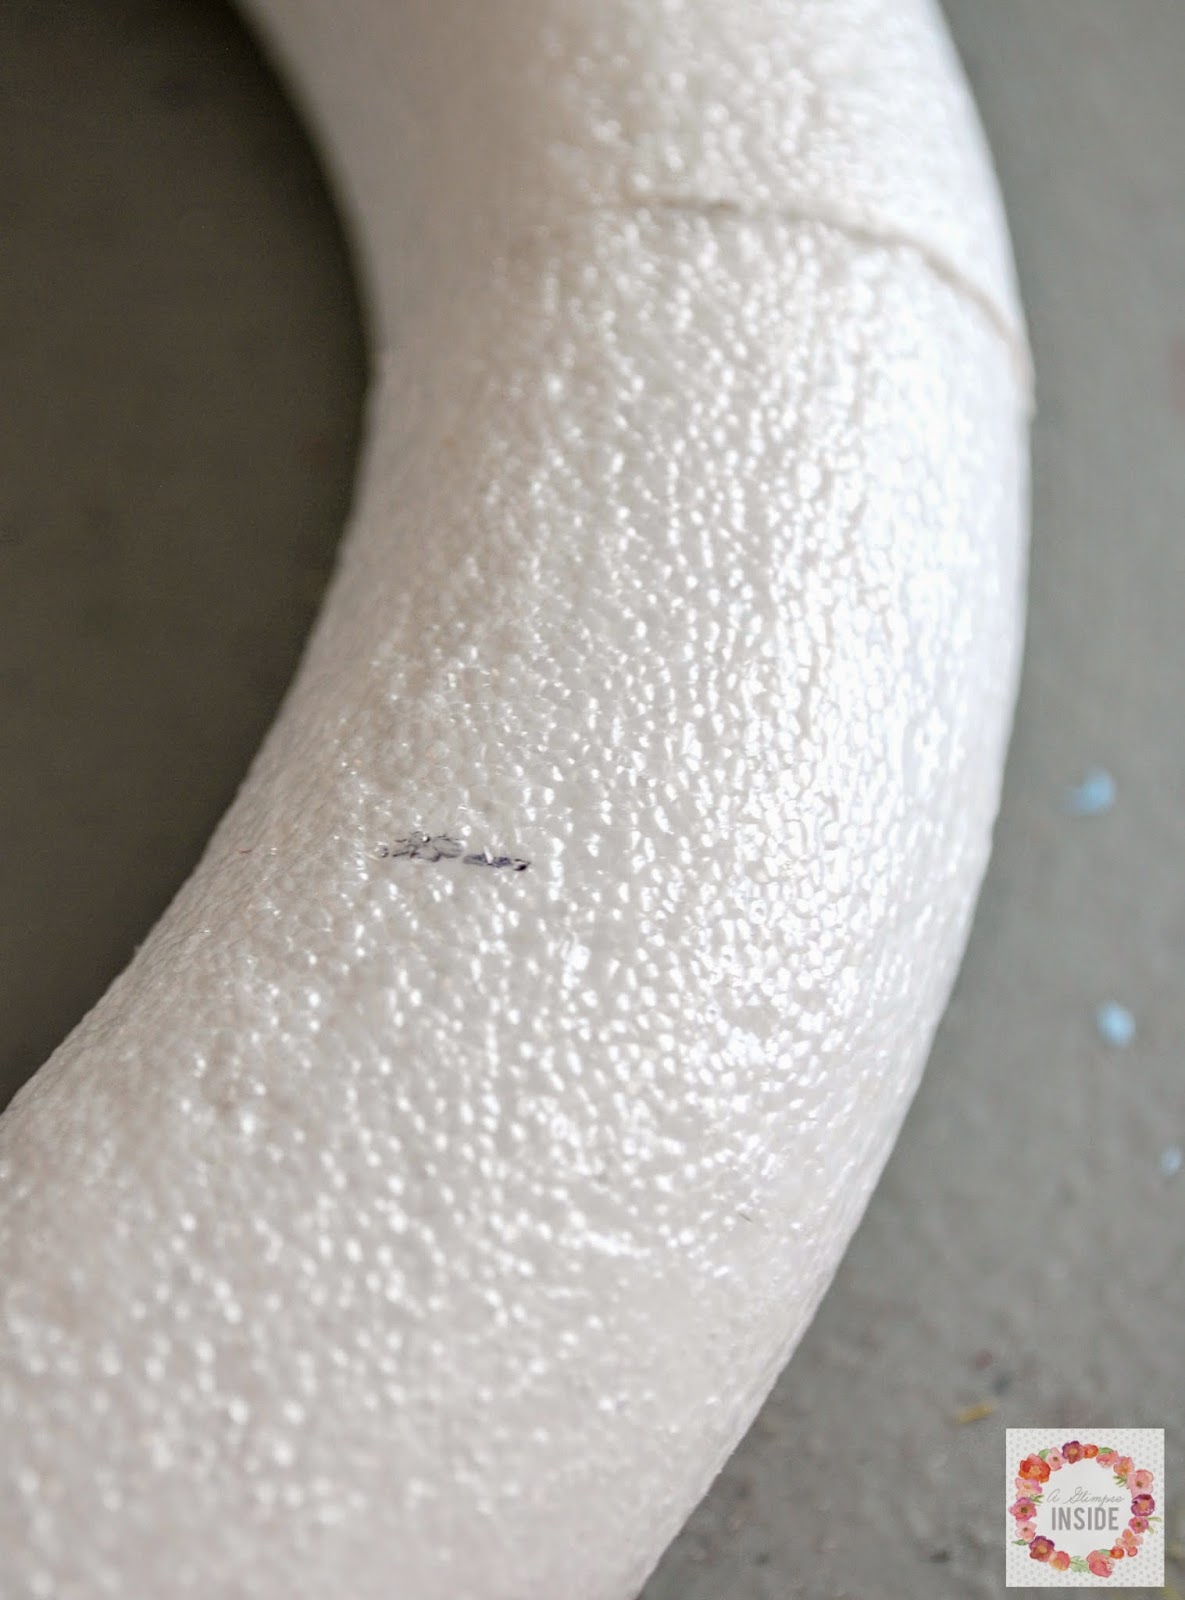
I began by marking the wreath form in four spots where I wanted to start and stop each color of yarn.
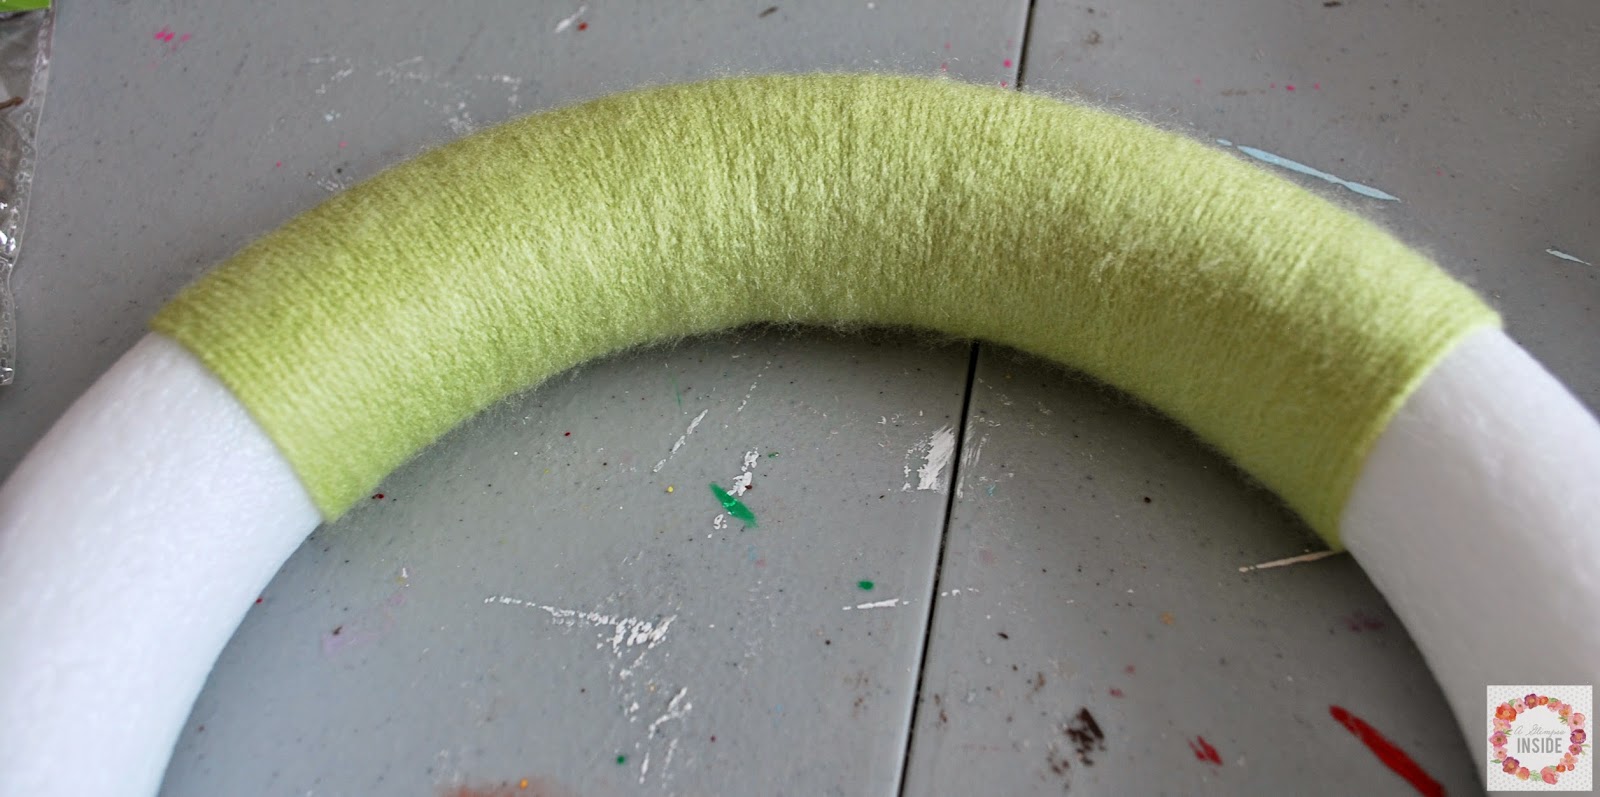
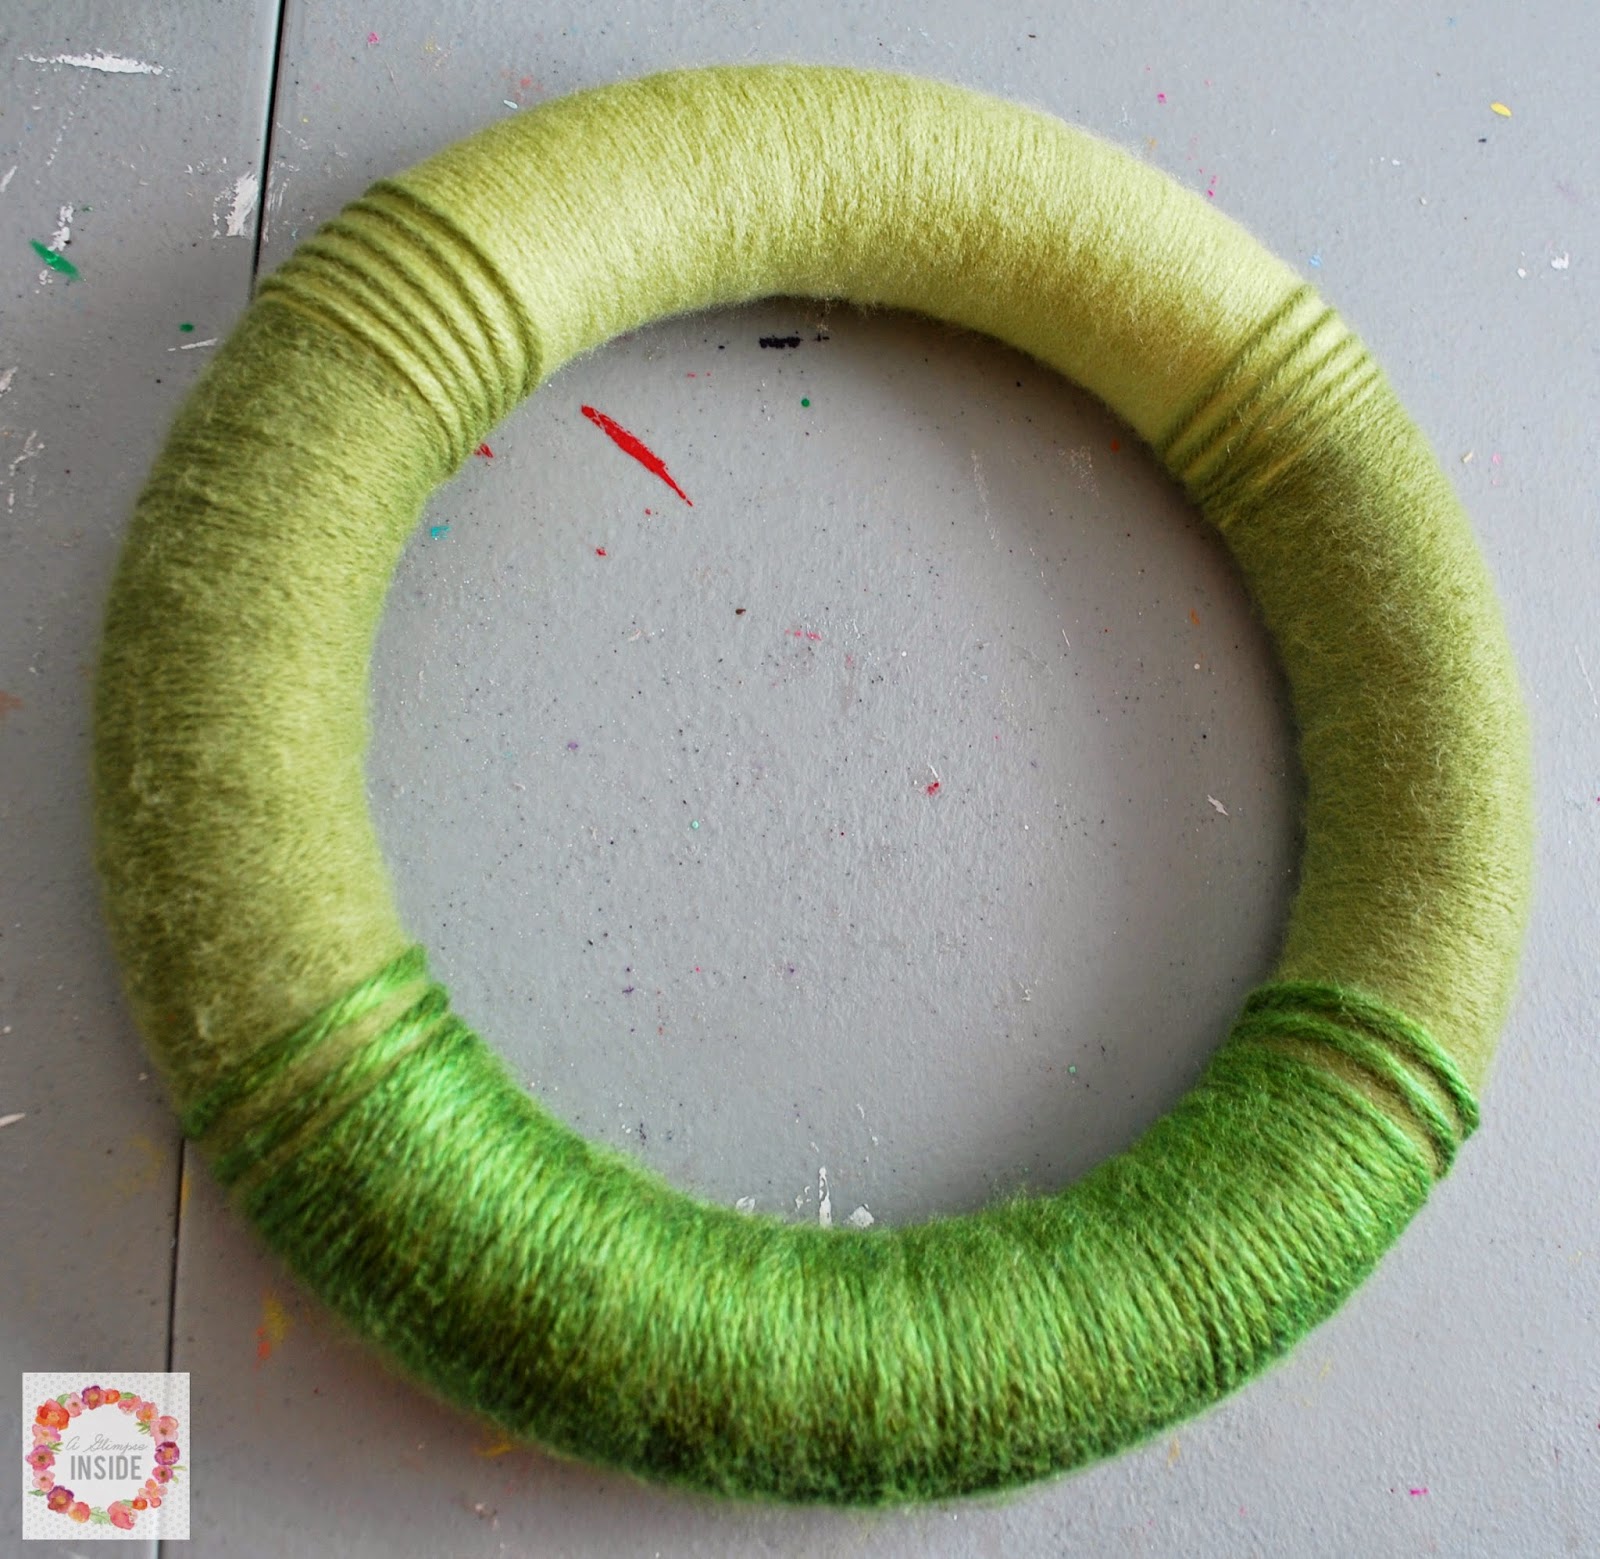
Start by wrapping the lightest yarn color first on the top portion of the wreath.
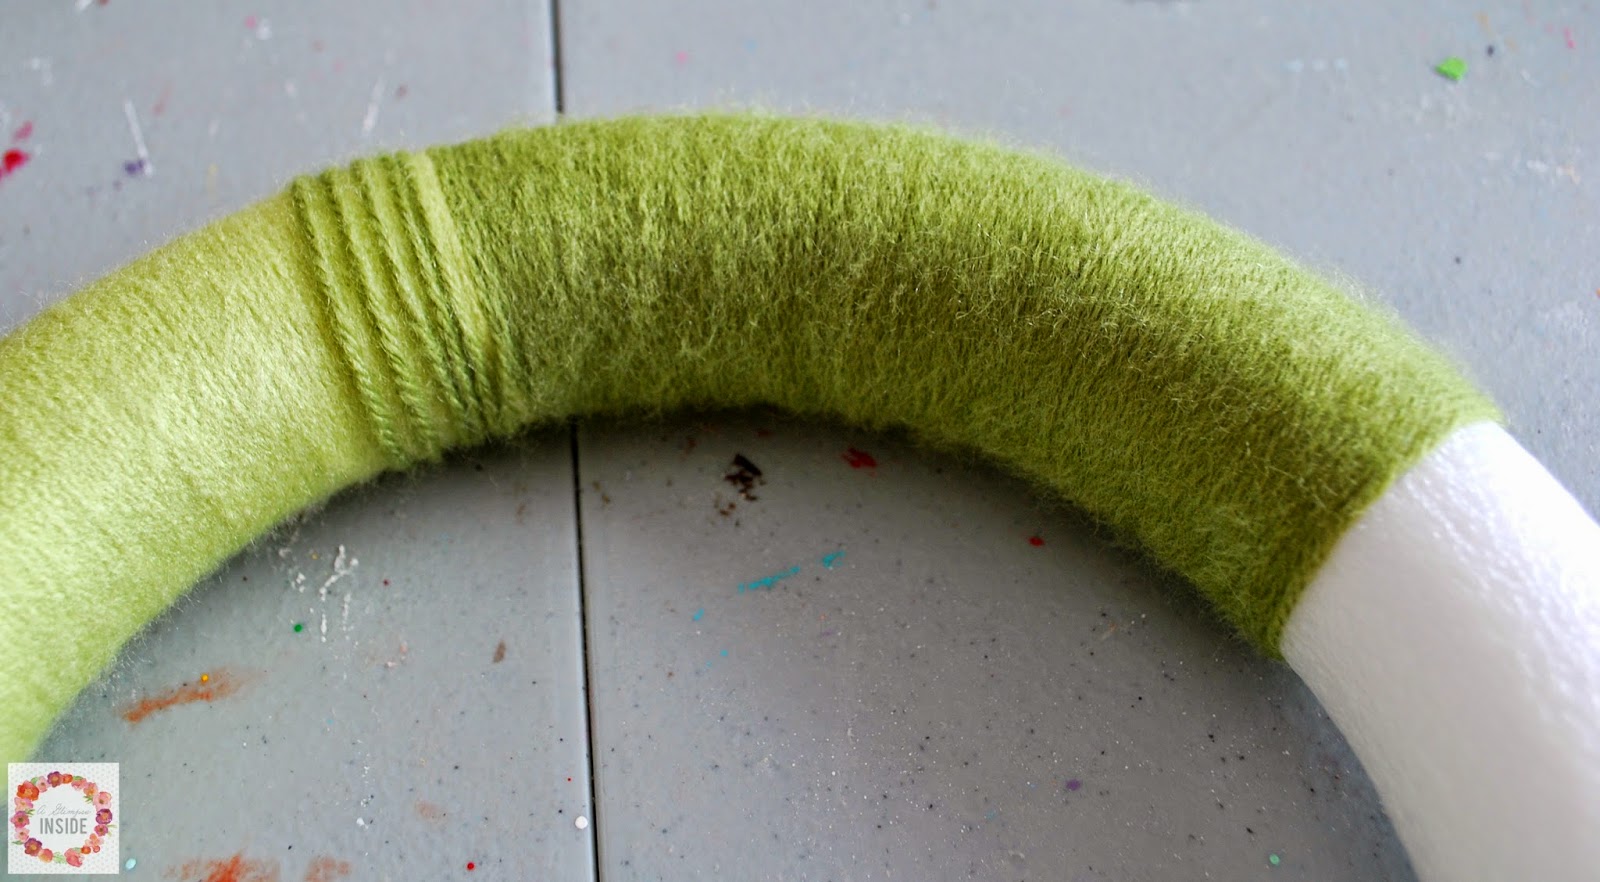
When it is time to start the second, medium color of yarn, overlap the first color slightly leaving space between the the new color yarn so you can see the light shade through.
Wrap the second color yarn down both sides of the wreath form.
Then wrap the third, darkest color across the bottom of the form again overlapping the previous color.
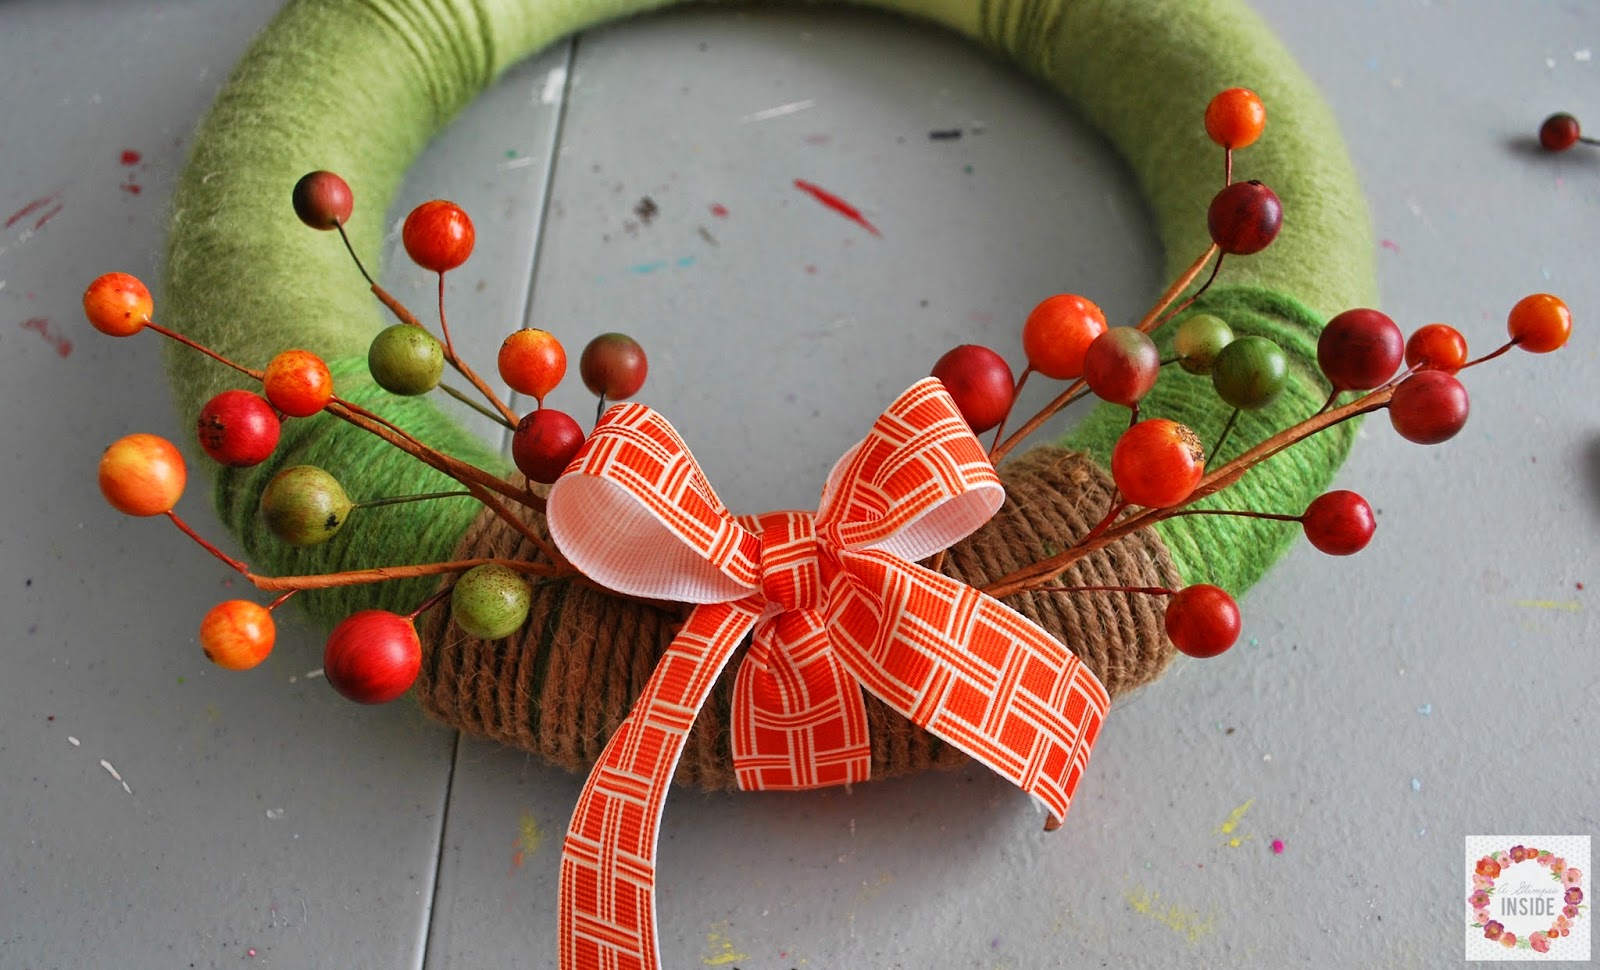
I wanted to add more texture, so I took some twine and wrapped it in the center of the darkest green on my wreath.
I then tied a ribbon and bow in the center of the twine and added some fall colored berries.
I just pushed the berry picks through and behind the twine behind the ribbon so the bow would cover it up.
I used a small piece of yarn to create a loop on the top to hang it.
And that’s it!!
You now have a pretty new fall yarn wreath to display!
Thanks for letting me share Michelle!
Feel free to stop by my bloggy neck of the woods sometime!
And come hang out with me on social media as well!






Thanks for letting me share my wreath! Give that baby a snuggle for me!