Welcome to anyone visiting from Studio 5! We had a great time on the 5 Ways 1 Day Ornament segment today! Here the clip if you missed it.
It was great to be on to share ideas for DIY Ornaments with some of my favorite bloggers! I loved seeing all the different creations from a simple glass ornament.
Sometimes it is the simple things that can make the biggest impact. My ornament project takes a simple green sprig and transforms it in to something interesting and beautiful.

As you saw in the video, it is so simple to make it literally takes about a minute, but here are the instructions just in case.
All you need is a clear glass ornament, a sprig of greenery, a chopstick, and a red ribbon.

Slowly remove the metal ornament top to reveal the opening to the glass bulb. Carefully insert the greenery with the needles pointing in to the bulb. This will seem unnatural, but it is so the bare end of the sprig will be hidden. Use your chopstick to push all the needles through and in to place. Replace the metal ornament top and tie a bow around it with the red ribbon.
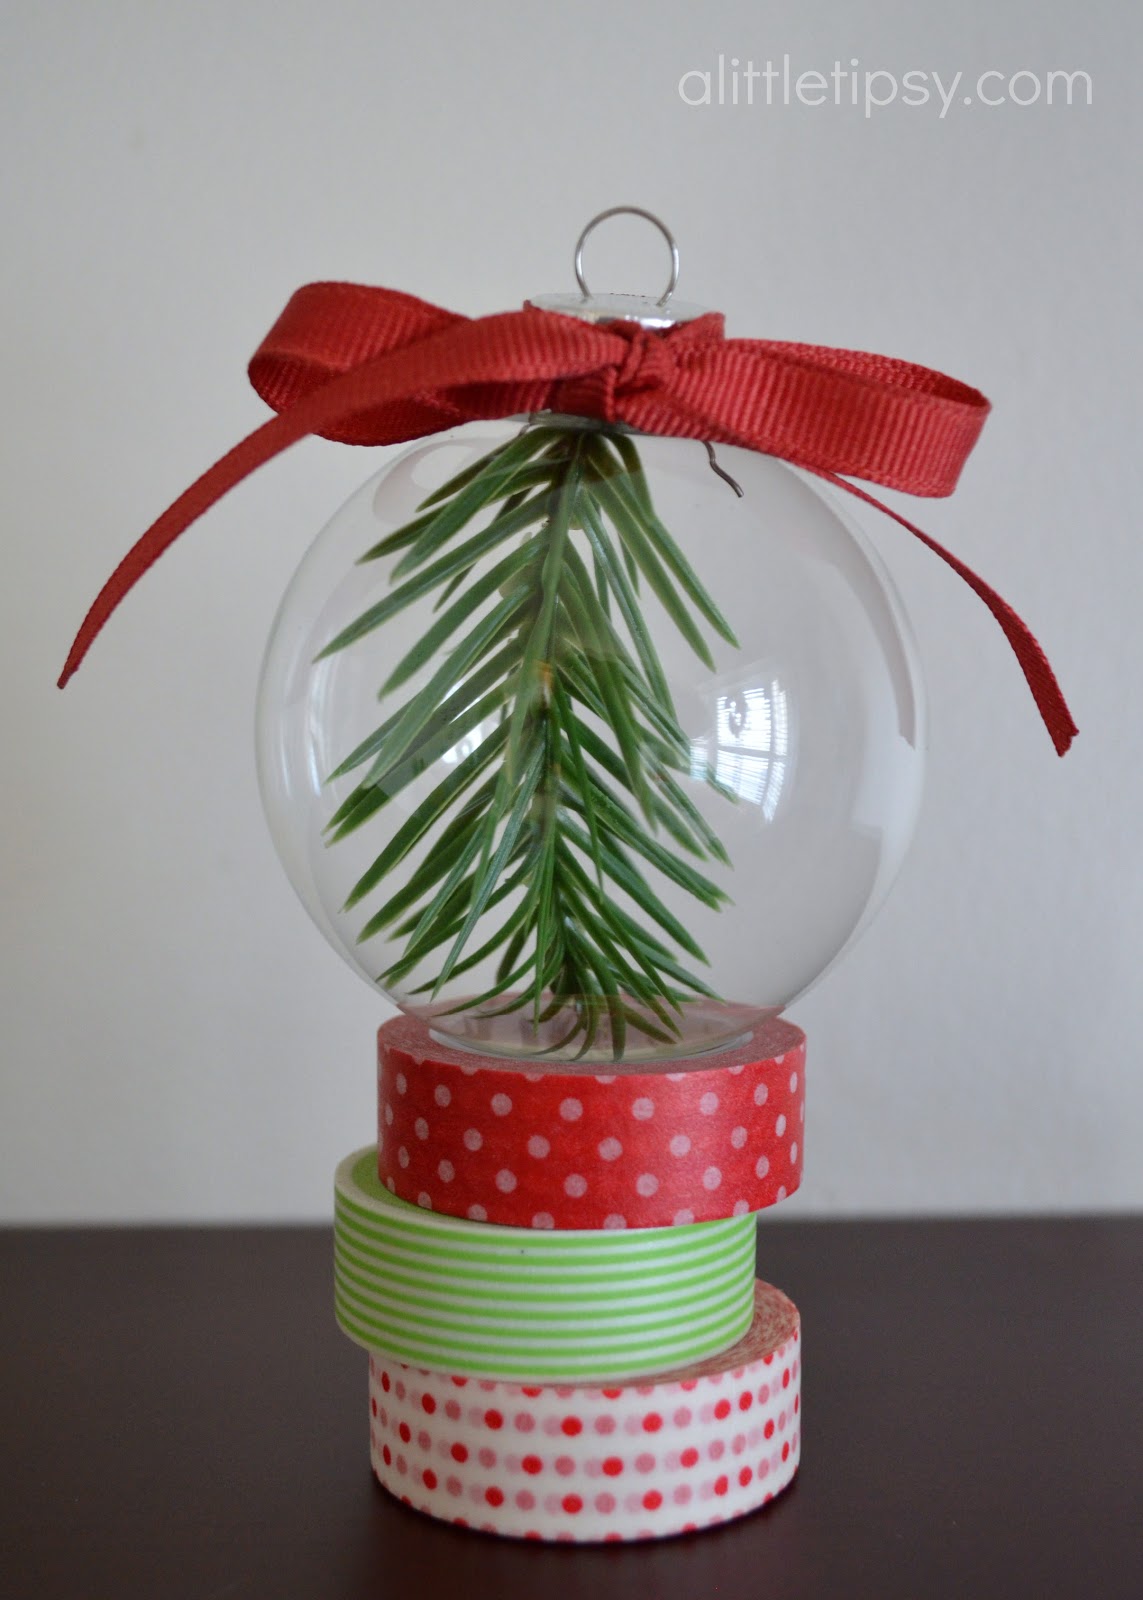
These DIY ornaments are not only great for the tree, but are also fun to hang in frames, line up on rolls of washi tape, or use as filler for a lantern or bowl.
P.S. Don’t forget to sign up for free Tipsy updates via RSS or email.
We have decided to truncate our feed to help protect against stolen content. I apologize for any inconvenience. Please love us anyway. 🙂
You did an awesome job Michelle! And I love your ornament. So simple, but so pretty!
Great job!
I really love this idea!! You did a great job today and I’m so glad I got to meet you!
Hello! I simply want to offer you a big thumbs up for your excellent information you have right here on this
post. I am returning to your blog for more soon.
Also see my webpage > how to play piano
Will this last more than one year? Will the green turn brown? Thanks!
@Froggy Lover I used a sprig from my artificial tree so it will stay green for years and years. I imagine a real sprig would only last a season.