A Little Tipsy

Creative Tips & Ideas

  • home
  • About Me
  • the tipsy top
  • press
  • projects
  • contact me
[print_thumbnail_slider]

Chocolate Bones Halloween Treat

October 23, 2013 By Michelle Barneck 1 Comment

We made caramel apples the other night and with the leftover ingredients made these fun chocolate bones. They are super easy and the perfect last minute spooky Halloween treat for a get together or class party.
Chocolate Bones Supplies:
  • White Candy Melts
  • Water
  • Silicone Bone Ice Cube Mold*

*ours was from Dollar Tree and had fingers and bones
1. Melt a caramel for each bone in the microwave with a few drops of water for 30 seconds at a time. Stir until smooth. Put the caramel in the refrigerator to harden for 15-20 minutes or until you can pick up a little and roll it in your hand without it sticking too much. You can spray your hands with cooking spray to prevent sticking.
2. While the caramel is in the fridge, melt about 1/8 cup of candy melts in the microwave according to package instructions. Using a spoon put a little dob of chocolate candy in the bottom of each bone. Tap the mold on the counter until it spreads edge to edge. Let the candy set up a few minutes so the caramel won’t sink to the bottom.
3. Roll about a teaspoon of the caramel into a cylinder shape and place in the middle of the bone not touching any sides. Repeat for each bone.
4. Melt more candy melts to spread on the top of the caramel covering it completely. Let the candy set up until it is hard. Pop the bones out of the mold and enjoy!
Our ice cube trays had fingers as well as bones. We made fingers the same way by mixing a few pink candy melts in with the white. The boys loved the gross/spooky Halloween treats!
You may also like these fun Halloween treats:
Halloween Spider Cupcakes
Pumpkin Caramel Apples
Pumpkin Caramels
We have decided to truncate our feed to help protect against stolen content. I apologize for any inconvenience. Please love us anyway. 🙂

The Best Banana Bread Recipe

September 9, 2013 By Michelle Barneck Leave a Comment

No, really. It’s the best. I didn’t even like banana bread until I found this recipe in a favorite things swap a few years ago and now I love it! It is moist and has the perfect balance of sweetness and nuttiness. Trust me, you will never need another banana bread recipe.

Thanks to Collins Kilgore for sharing the recipe with me and without further adeiu I’ll share it with you!

Banana Bread

1 cup mashed bananas (very ripe)
1 cup sour cream
1/4 cup softened butter
1 1/3 cup white sugar
2 eggs
1 teaspoon vanilla
2 cups all-purpose flour
1 teaspoon baking soda
1 teaspoon baking powder
1/4 teaspoon salt
1 cup chopped pecans (optional)

1. Preheat oven to 350 degrees. Grease and flour two loaf pans.
2. Combine mashed banana and sour cream. Set aside. I a large bowl, cream together butter and sugar until smooth. Beat in eggs one at a time. Now stir in vanilla and banana mixture.
3. Combine flour, baking soda, baking powder, and salt in a bowl. Stir in to banana mixture.
4. If you want, add 1 cup pecans at this time.
5. Spread evenly in to pans. Bake for 45 minutes or until toothpick comes out clean. Cool on rack.

At least one loaf of ours is gone before it even has a chance to cool. But that’s ok because then it melts the butter just perfectly. 😉

We have decided to truncate our feed to help protect against stolen content. I apologize for any inconvenience. Please love us anyway. 🙂
Harvest Salad

August 28, 2013 By Michelle Barneck Leave a Comment

I love this time of year with all the fresh produce at your fingertips. I have tried dozens of salad recipes, but this one is totally yummy and perfect for picky little eaters. Who doesn’t love turkey, bacon, cheddar, and apples?! It is super quick to throw together for those nights when you don’t have much time.

Harvest Salad

8 Tbsp. Ranch Dressing
2 cup Granny Smith Apple pieces
16 Slices Turkey Breast (cut in to strips)
8 Cups Mixed Salad Greens
1 Cup Cheddar Cheese Cubes
8 Strips of Bacon Crumbled

Put the bacon on an aluminum foil covered cookie sheet and place in pre-heated 400 degree oven for 17-20 minutes until crispy. While it cooks, cut up the other ingredients. Layer in four bowls or mix it all in one large bowl. Top with dressing and crumbled bacon.

What are your favorite salad recipes? Do you have a few go to salads or do you like to mix it up all the time?

We have decided to truncate our feed to help protect against stolen content. I apologize for any inconvenience. Please love us anyway. 🙂
Baked Apple Chips

August 9, 2013 By Michelle Barneck 8 Comments

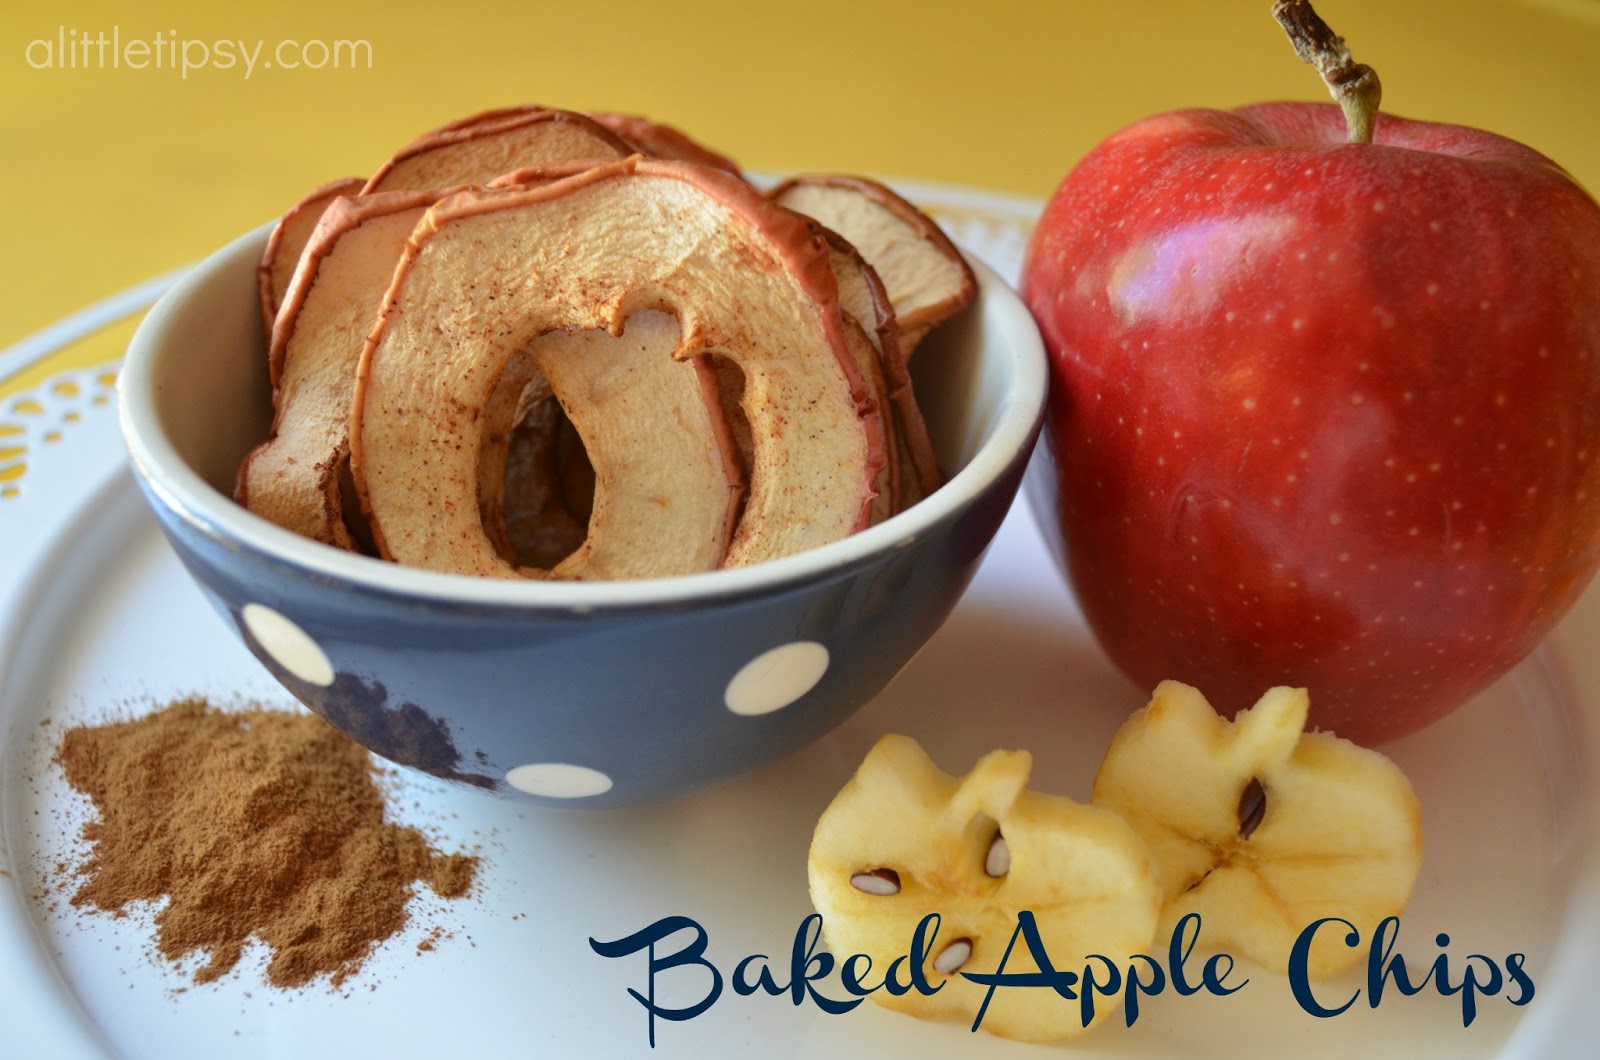
I found a healthy snack that the kids love and makes the house smell scrumptious. What more could you ask for right? I shared this over on DIY Dreamer a few weeks ago, but couldn’t resist sharing here too. Check out these baked apple chips.
Are they not the cutest and so perfect for back to school?! You’ll be surprised how very simple it is to make your very own baked apple chips getting rid of preservatives and other gunk that comes with the packaged ones. Let’s get started.
Supplies:
Apples
Cinnamon
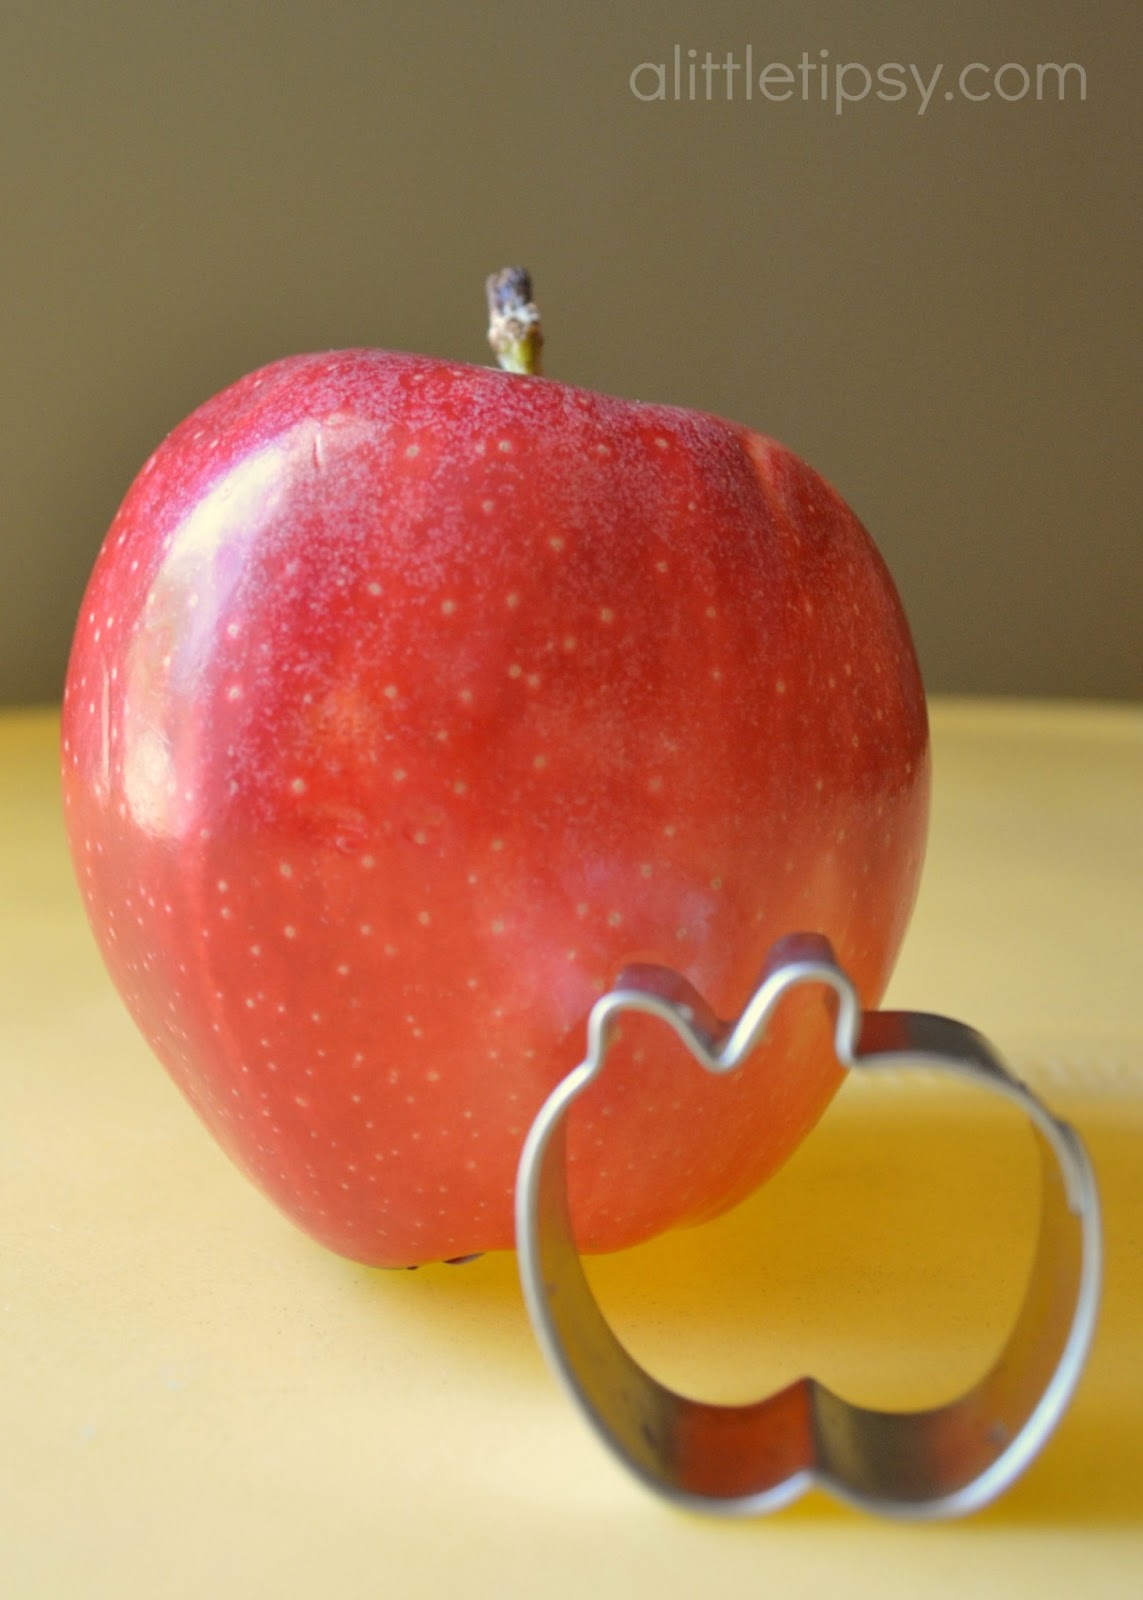
Mini Cookie Cutter (optional)
Knife
Parchment Paper
Cookie Sheet

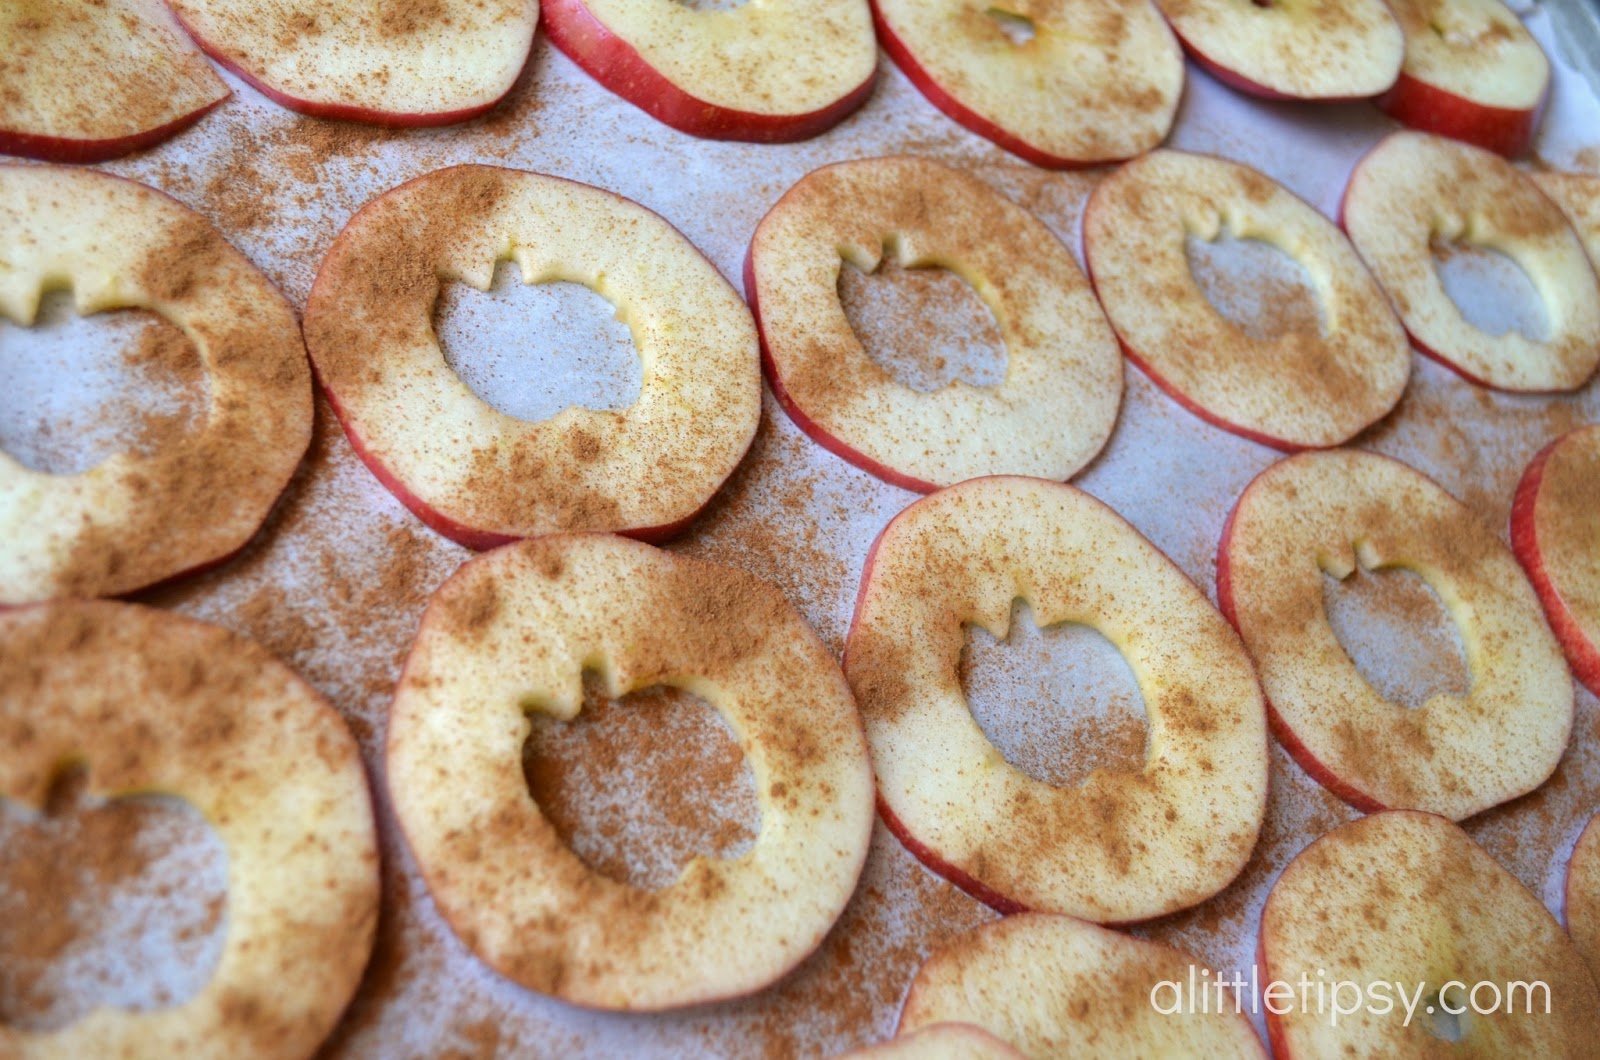
1. Slice your apples into thin slices. The thinner you cut the crunchier they will be. 
2. Grab the nearest kiddo and have them cut out the cores with a mini cookie cutter.

3. Line your cookie sheet with parchment paper and spread apple slices on to pan. You can fit about two sliced apples per pan. Shake cinnamon over them.

4. Bake at 275 for about 2 hours 15 minutes. Flip them over after an hour so they bake evenly and then check them every half an hour thereafter until they look crispy. If you want to make a large batch, just do one pan at a time. They get too hot too close to the bottom.

It made the house smell divine and the kiddos gobbled them right up! They were the perfect healthy snack both kid and mom approved!
    We have decided to truncate our feed to help protect against stolen content. I apologize for any inconvenience. Please love us anyway. 🙂
    « Previous Page
    Next Page »

    • Bloglovin
    • Facebook
    • Google+
    • Instagram
    • Pinterest
    • RSS
    • Twitter

    Hi there! I'm Michelle. Mother of three little boys and one little princess. Welcome to A Little Tipsy, a place for exploring creativity and sharing inspiration.

    Follow on Bloglovin


    Visit Michelle Barneck {A Little Tipsy}'s profile on Pinterest.

    Tutorials by Category


    15 Family Reunion Games

    Family Reunion Games Collage

    15 Sprinkle Party Ideas

    Sprinkle Birthday Party
    Creative Commons License

    © Copyright 2014 A Little Tipsy · Site Designed by The Fairy Blogmother · Web Hosting by RFE Hosting

    This website uses cookies to improve your experience. We'll assume you're ok with this, but you can opt-out if you wish.Accept Read More
    Privacy & Cookies Policy