A Little Tipsy

Creative Tips & Ideas

  • home
  • About Me
  • the tipsy top
  • press
  • projects
  • contact me
[print_thumbnail_slider]

Fruit Smoothie Popsicles

August 1, 2013 By Michelle Barneck 2 Comments

My kiddos love spinach, but for those who don’t this is the perfect way to sneak it in to their diets! When I placed it in the blender for a smoothie my kids were amazed that I was putting leaves in with the fruit. 
Click for the full recipe.

I am amazed at how delicious and refreshing healthy can be!

INGREDIENTS:

  • 1 C. Baby Spinach
  • 1 C. Blueberries
  • 1 C. Frozen Mango
  • 1/2 C. Frozen Strawberries
  • 1 Banana
  • 1/2 C. Apple Juice

Use a combination of fresh and frozen fruits to give it a nice smoothie consistency and blend away! If it won’t mix evenly add a little more juice. It should blend like a smooth whirlpool.

Recognize this shot from instagram?
You can drink it right away and then use the extra for popsicles! Kids love frozen treats especially on these hot days and you can feel good that these are packed with vitamins and antioxidants. 

We have decided to truncate our feed to help protect against stolen content. I apologize for any inconvenience. Please love us anyway. 🙂

ABC Letter Chips

July 30, 2013 By Michelle Barneck Leave a Comment

Hello Little Tipsy readers! I’m Kelly from Smart School House and, as I’m sure you can imagine, I love educational crafts. The other day my toddlers (2 and 3 years old) were playing with their play-dough while I was preparing their lunch. My daughter, Stella, absolutely LOVES those unbaked tortillas that you can find in the refrigerator section of any grocery store (or Costco in our case). It dawned on me that I could combine the play-dough activity with lunch for an educationally fun experience!

Read more of this fun tutorial…

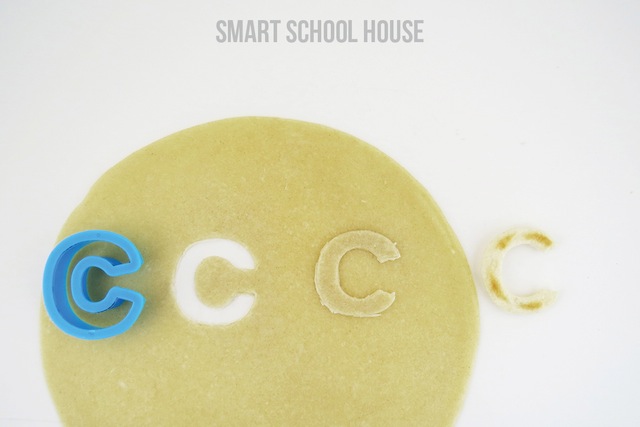
These fun chips are made from play-dough letter cutters! The play-dough cutters make creating shapes and letters in uncooked tortillas so easy. In fact, the dough of the uncooked tortillas is thinner than play-dough, so this educational craft is as easy as can be for mommies. Be sure to scrub off any play-dough with some soap and water before making your ABC chips (play-dough is not fun to eat hehe!).

To make the ABC chips, simply place the letters on the tortilla like so:

Next, place the letters on a griddle and cook the letters according to the directions on the tortilla package. In this case, I cooked the letters for about 30 seconds on each side (so easy!!).

The neat thing about these chips is that they aren’t too crunchy for the little mouths of toddlers. Yet, they are crisp enough to dip into any fun dips that your toddlers may like. My little ones, Stella & Mitch, absolutely loved “playing with their food” so to speak. It was the perfect time for me to sit with them and teach them letters.

Stella is 3 and recognizes most of her letters. So for her, I would say things like, “Where is the letter T, can you find the T?” Mitch is 2 and still learning to identify the letters of the alphabet. So for him, I lined up a series of about 4-5 letters and pointed to each one while saying its name. For example, “This is the letter I and this is the letter L.” What I love about these ABC chips is that the activities can be modified for different ages. If your child is having a difficult time learning their letters (or maybe reversing their letters), then this is a perfect activity for them!

You can even use the letters to form a series of words that will put a smile on any beginning readers face:

If you are looking for more educational activities for your little ones, feel free to stop by Smart School House and say hello! Check out this other fun DIY activity that can help children learn their letters:

Thank you for having me here!

——————————————————————————
My kiddos love helping cook and my little guy starts kindergarten this week so it is the perfect back to school activity! Thanks Kelly!
We have decided to truncate our feed to help protect against stolen content. I apologize for any inconvenience. Please love us anyway. 🙂
Refreshing Summer Salad

July 16, 2013 By Michelle Barneck Leave a Comment

Hi! I’m Christine! I blog over at The DIY Dreamer, where I share DIY projects, crafts and lots of tutorials! Michelle kindly invited me over here today and I will be sharing a Refreshing Summer Salad with you. After a hot and humid day I often don’t feel like cooking something complicated for supper. We usually throw something onto the BBQ and I make summer salads to accompany whatever we are grilling that day. My go to YUMMY and easy salad is this Spinach Salad with fresh berries drizzled with a Maple Vinaigrette.

  Refreshing Summer Salad

Continue for the Summer Salad recipe.


We’ll start off by making the Maple Vinaigrette (Salad Dressing).

Maple Vinaigrette

Ingredients:
3/4 cup Olive Oil
1/4 cup Balsamic Vinegar
1/2 cup of Maple Syrup
Basil (If I don’t have fresh basil on hand, I use dry basil.) – To taste
Salt and Pepper – To taste
P.S. This makes a good size batch of vinaigrette, you might want to cut the recipe in half.

Instructions:
Gather your ingredients and mix them all together. I don’t recommend you keep the salad dressing longer than a day, it’s meant to be used right away or within the day. It can be refrigerated while you are not using it.

  Homemade-Salad-Dressing

 Next lets start the salad.

Spinach Salad

Ingredients:
Spinach
Berries (You can use a mixture of berries or just one kind.)
Almond Slices

Instructions: Place the spinach into the bowl or plate you would like to serve the salad in. Layer the berries and almond slices on top of the salad.

  SaladSpinach-Fruit

The salad is now ready, you can drizzle the yummy Maple Vinaigrette over it.

Spinach-Salad-Dressing

Enjoy!

Summer-Salad

 I hope you enjoyed this simple yet delicious summer salad recipe. It’s my all time favorite salad, plus the dressing can be used on different types of salads too.

Want to see more from The DIY Dreamer, check these projects out:
Hand-Drawn Stuffed Monster Create your own Jewelry Shutter Headboard Tutorial
Hand-Drawn Stuffed Monster ~ Create your own Statement Jewelry ~ Shutter Headboard Tutorial
Have a FABULOUS day! Stop by The DIY Dreamer ANYTIME!
Christine-theDIYdreamer.com
Pinterest ~ Facebook ~ Twitter ~ Google+ ~ Hometalk
——————————————————————————–
Thanks Christine! This salad looks delicious and beautiful. Can’t wait to try the dressing!
We have decided to truncate our feed to help protect against stolen content. I apologize for any inconvenience. Please love us anyway. 🙂

Grilled Artichokes with Garlic Butter

July 11, 2013 By Michelle Barneck 2 Comments

I love artichokes! Up until about a month ago I would just boil them for about an hour, then dunk the leaves in butter and enjoy. Then, something happened. I had them grilled and oh how that changed my life. Don’t get me wrong artichokes are good boiled, but they are delicious grilled! And it takes about the same amount of time!


INGREDIENTS:

  • 4 Artichokes
  • 1/4 cup butter
  • 1 clove garlic
INSTRUCTIONS:
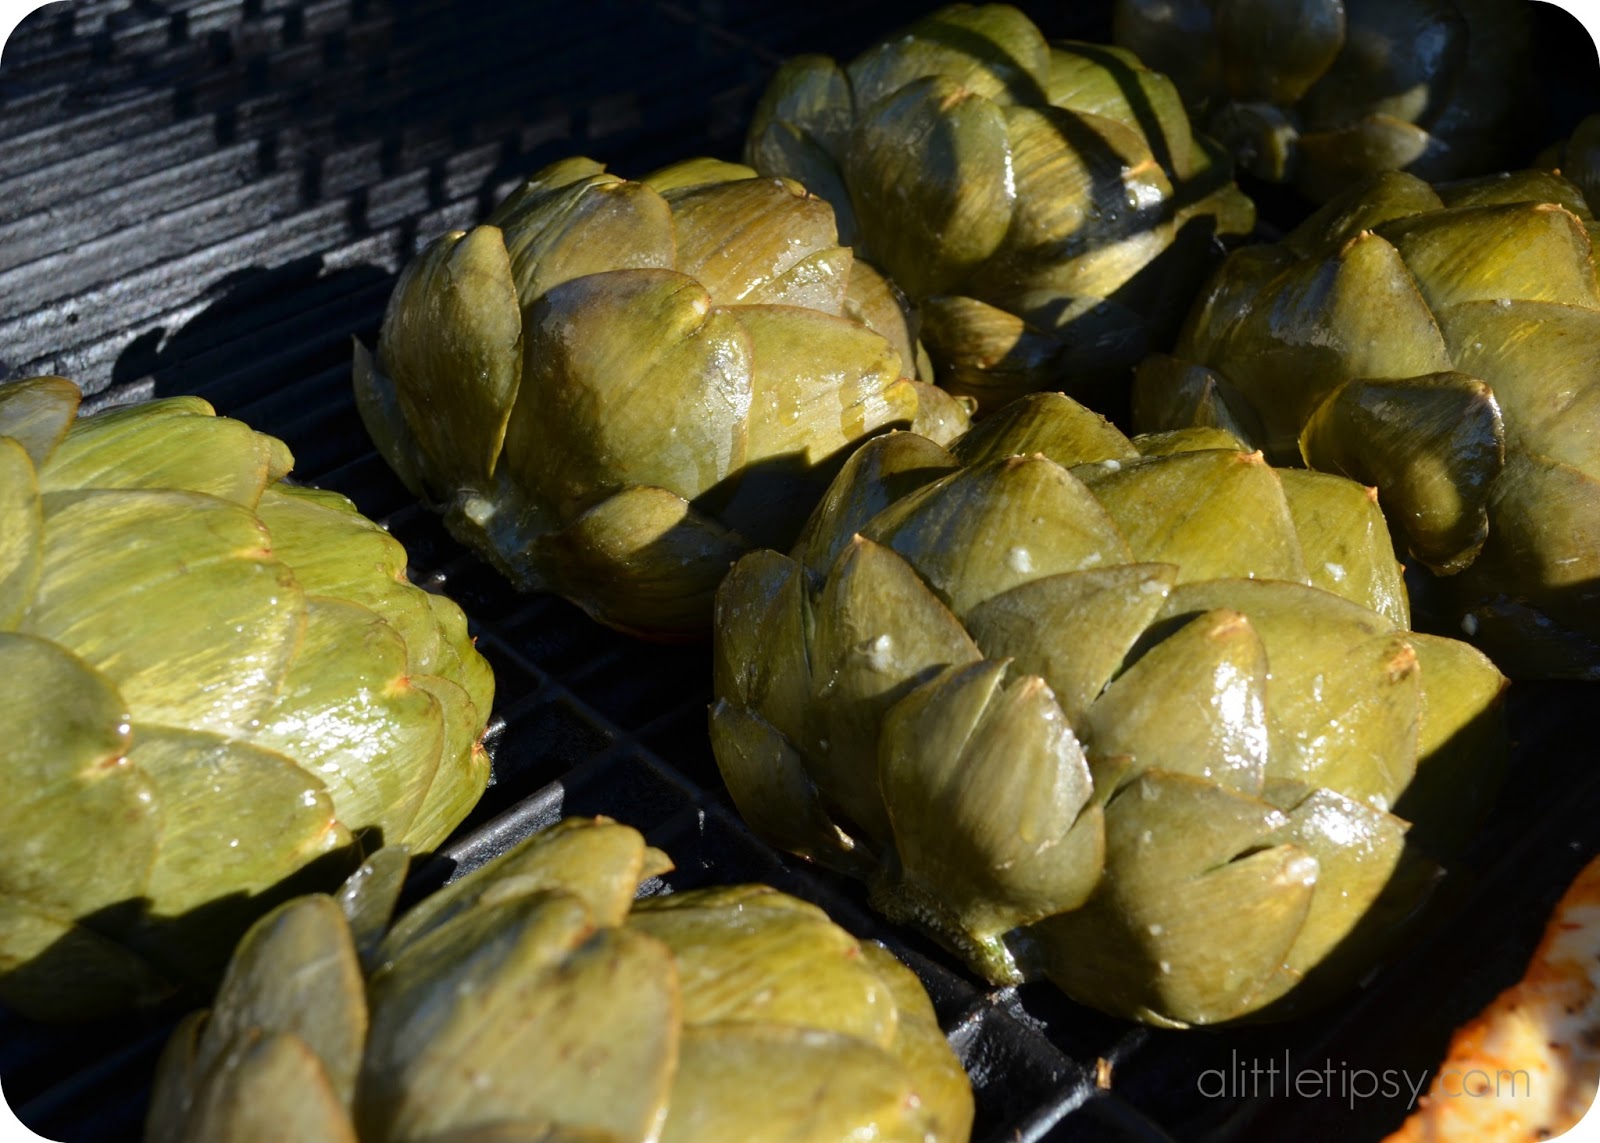
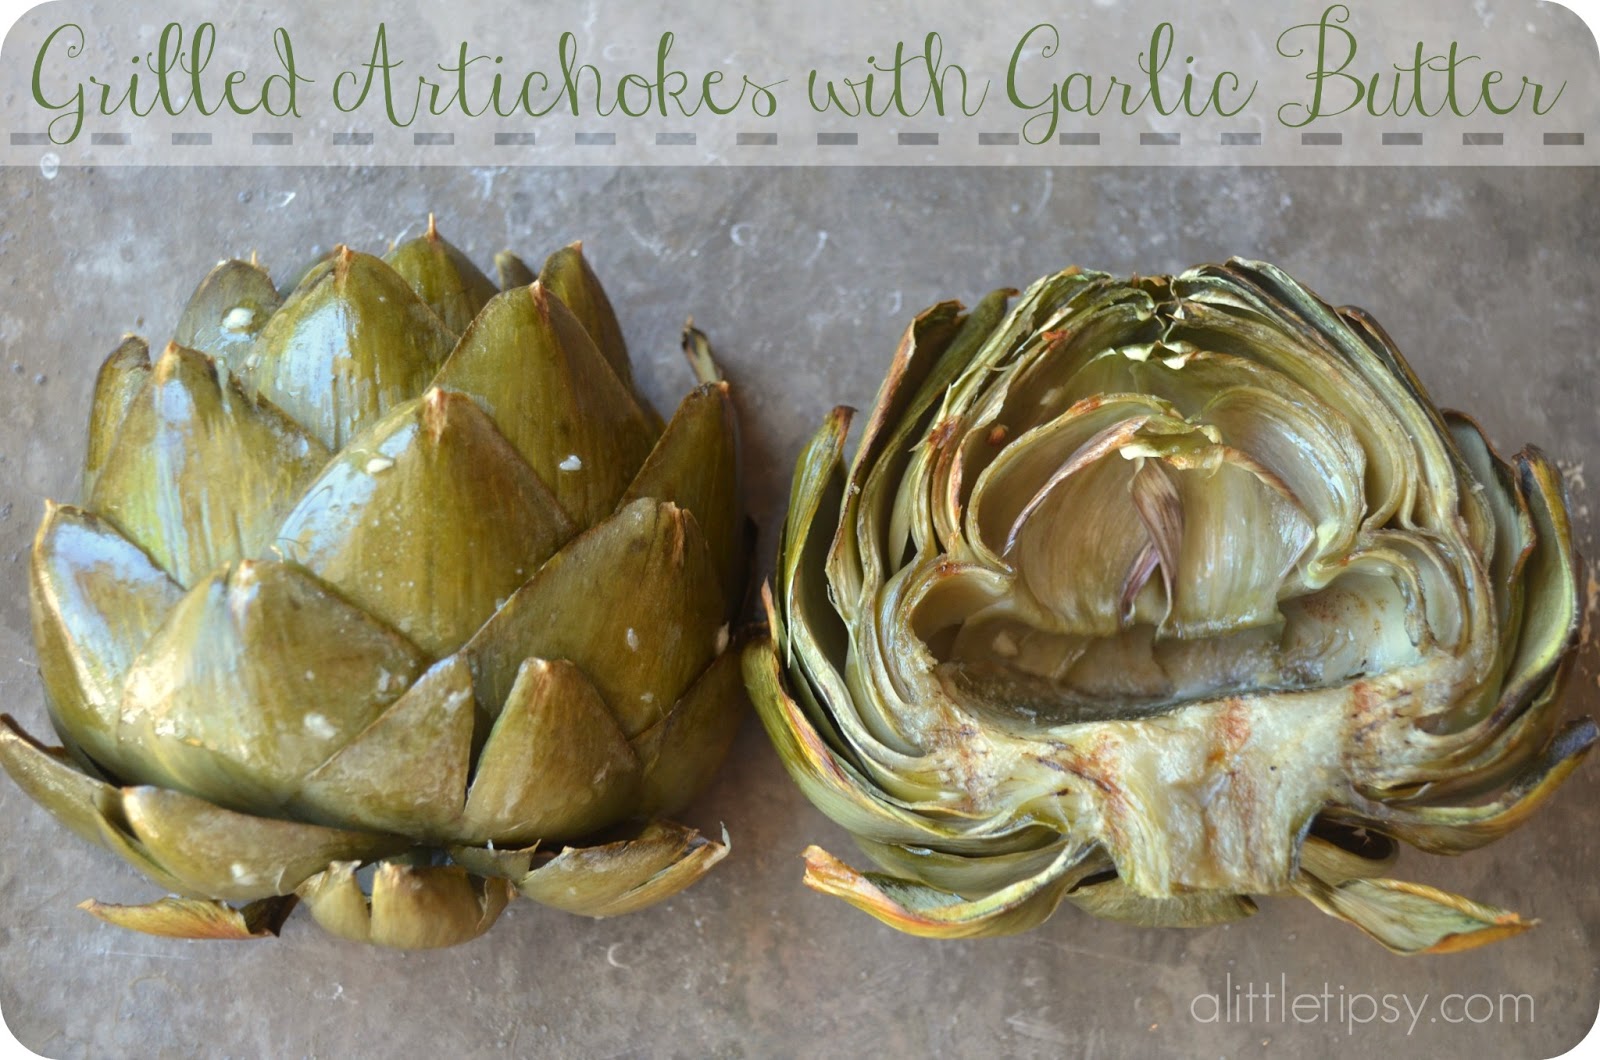
Cut off the stems and slice each artichoke in half vertically. Cut curving below the “hair” and then pull the first few middle leaves to pull out the hair. They will now look like the photo above. Boil in a large stock pot for 25 minutes. This will help them stay moist on the grill. Melt your butter and use a garlic press on your clove. Mix the garlic and butter, pull the artichokes out and brush some of the garlic butter onto the insides of the artichokes. Place your artichokes with the inside down on the grill. Brush the outside of the artichokes with butter. Grill for about 20-25 more minutes keeping watch so they don’t dry out. They will look like the picture at the bottom of this post. 

For those who have never tried artichokes, here’s how to eat them. Pull the leaves off, dunk the leaves in more garlic butter (you can add a little lemon to the butter if you like) and scrape the “meat” off the bottom of the leaf with your teeth. MMmmm!

What’s your favorite thing to grill?
We have decided to truncate our feed to help protect against stolen content. I apologize for any inconvenience. Please love us anyway. 🙂
« Previous Page
Next Page »

  • Bloglovin
  • Facebook
  • Google+
  • Instagram
  • Pinterest
  • RSS
  • Twitter

Hi there! I'm Michelle. Mother of three little boys and one little princess. Welcome to A Little Tipsy, a place for exploring creativity and sharing inspiration.

Follow on Bloglovin


Visit Michelle Barneck {A Little Tipsy}'s profile on Pinterest.

Tutorials by Category


15 Family Reunion Games

Family Reunion Games Collage

15 Sprinkle Party Ideas

Sprinkle Birthday Party
Creative Commons License

© Copyright 2014 A Little Tipsy · Site Designed by The Fairy Blogmother · Web Hosting by RFE Hosting

This website uses cookies to improve your experience. We'll assume you're ok with this, but you can opt-out if you wish.Accept Read More
Privacy & Cookies Policy