A Little Tipsy

Creative Tips & Ideas

  • home
  • About Me
  • the tipsy top
  • press
  • projects
  • contact me
[print_thumbnail_slider]

Mom’s Guacamole

April 23, 2013 By Michelle Barneck 1 Comment

With both Cinco de Mayo and Mother’s Day approaching, I think it’s a perfect time to share one of my favorite recipes with you!
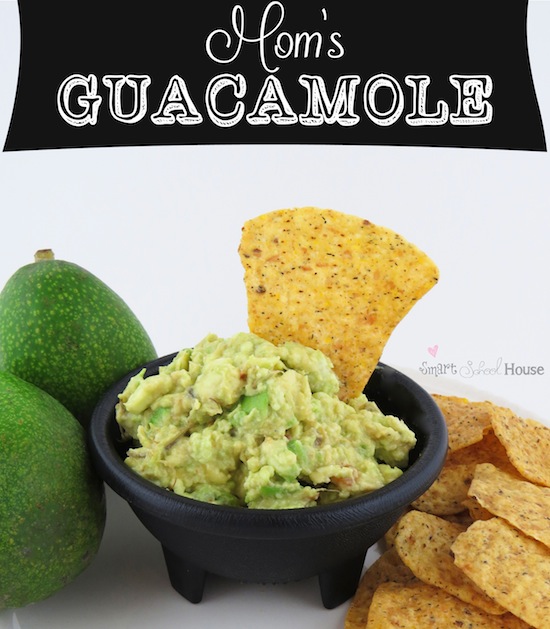
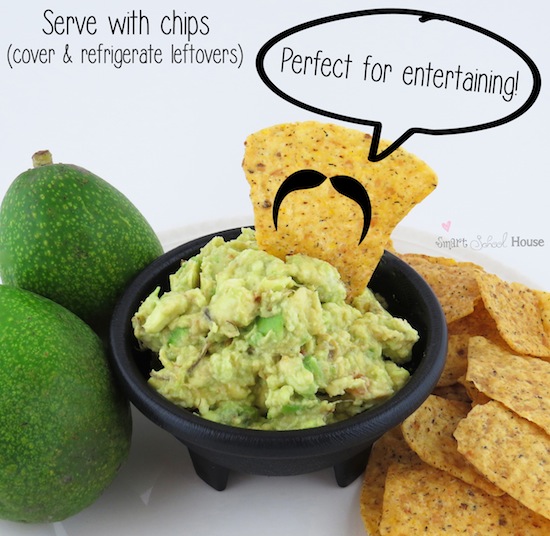
Why is it called Mom’s Guacamole? Well, the answer to that is as simple as the recipe itself. My mom taught me how to make this exact guacamole years (and years) ago, and because of the great big avocado tree I have in my front yard, I make it constantly! 

Since the recipe and ingredients are so simple and easy, I just know you’re going to love it too!
Here’s what you need: 
(Note: get this stuff together first!! Making guacamole can get a little messy, so it’s best to have everything you need right at your fingertips.)
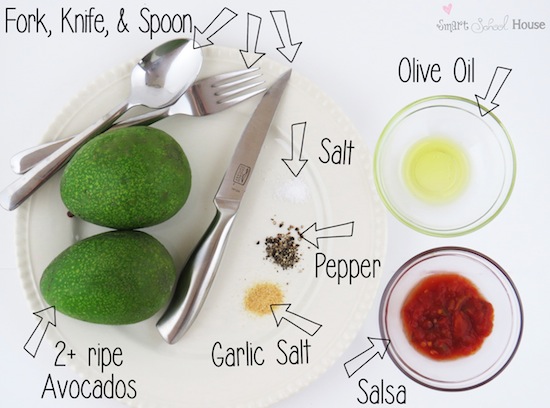
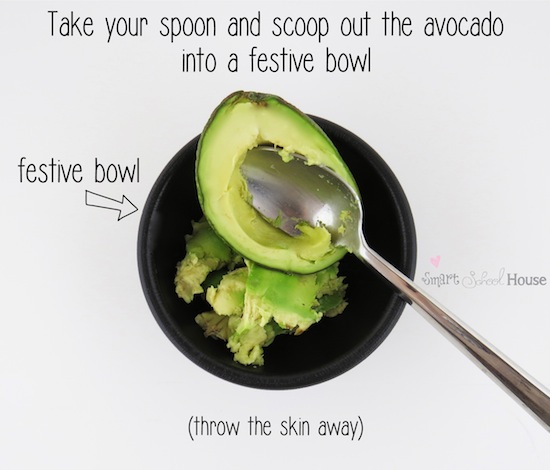
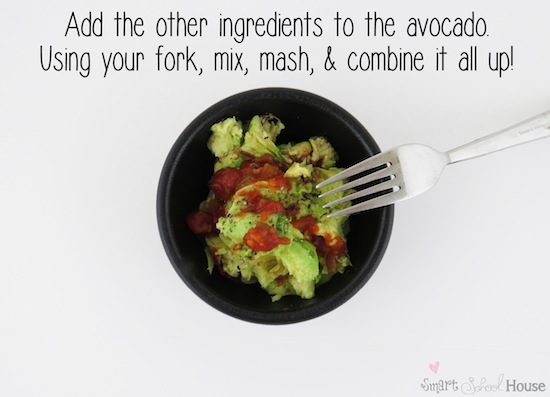
How much of each ingredient do I need, you ask? Well, in the wise words of my mom, “However much you like!” Oooohh let me tell you how much that frustrated me in the past. As a borderline perfectionist, that’s not a sufficient answer! But, she’s completely right. Using these ingredients, season it to taste just as you like. Start with a little and add more after a taste test. I find that a dash of the dry ingredients will do. I usually add a tablespoon of salsa and I find it to be just the right amount of spicy “kick”. OH- and here’s an awesome tip! The olive oil not only makes the guacamole a little creamier, it also helps prevent the leftover guacamole from turning brown! 
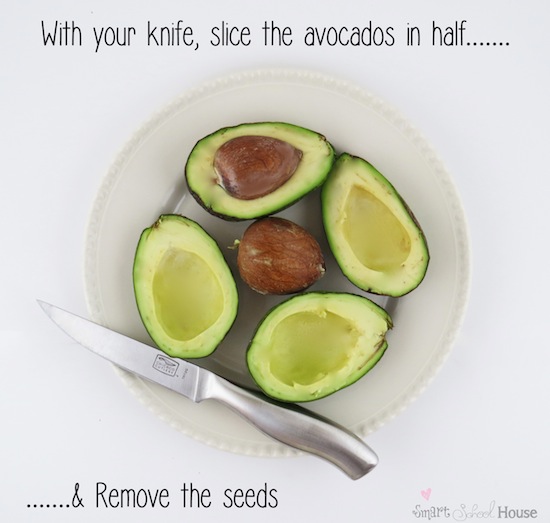
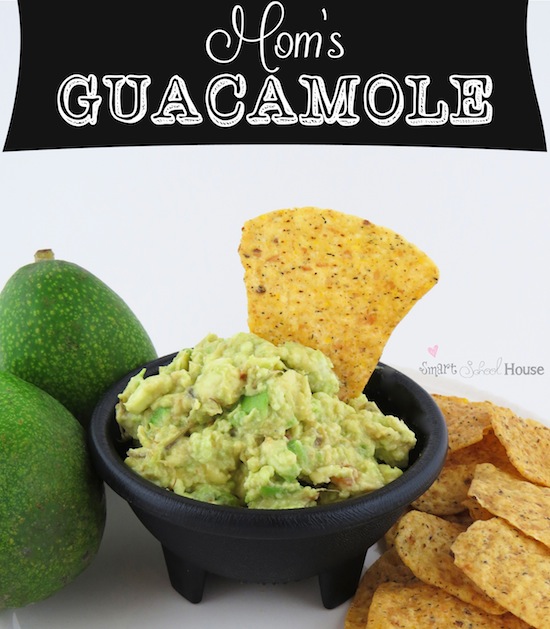
There you have it! Mom’s Guacamole is an easy recipe with simple ingredients that you most likely already have in your kitchen. Are you eager to make the guacamole but your grocery store only has unripened avocados for sale? Well, take a brown paper bag and let the avocados sit in there for a few days. The darkness helps them ripen faster! 
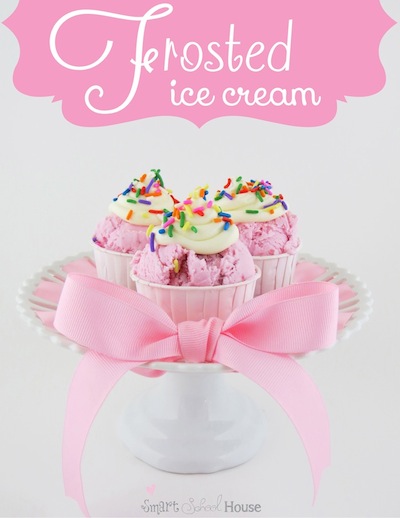
Thank you so much for having me again here at A Little Tipsy! I’d love for you to swing by my blog Smart School House to see what other crafts and treats I’ve been up to lately, like this picture perfect pink treat called Frosted Ice Cream:
Thanks Kelly! I love the tip about the olive oil! DYK if you leave the big avocado seed in the guacamole until ready to serve it keeps it green?! Can’t wait to try this recipe!
We have decided to truncate our feed to help protect against stolen content. I apologize for any inconvenience. Please love us anyway. 🙂

Chicken Bacon Ranch Cups

March 20, 2013 By Michelle Barneck 3 Comments

This recipe was created because I found some wonton wrappers on sale for 75 cents and boy am I glad. It is so fast and easy and tasted yummy. That’s the best combination right?!

Chicken Bacon Ranch Cups
by Michelle Barneck
Prep Time: 10 Minutes
Cook Time: 15 Minutes

Print


Ingredients (about 16 cups)
  • Nasoya Wonton Wrappers
  • Can of Chicken (drained)
  • 8 oz. Cream Cheese (softened)
  • 2 Tbs Ranch Dressing
  • 1 Slice Cooked Bacon (crumbled)
  • 1/2 – 3/4 cup Grated Parmesan Cheese
  • Cooking Spray
Instructions
  • Preheat the oven to 400 degrees. Spray each cup in a muffin tin with cooking spray. Place a wonton wrapper in each cup. Mix cream cheese, chicken, ranch and bacon. Place a scoop in each cup and top with parmesan. Bake 10-15 minutes watching closely until edges are brown.

We have decided to truncate our feed to help protect against stolen content. I apologize for any inconvenience. Please love us anyway. 🙂

Easter Treats for Kids

March 13, 2013 By Michelle Barneck 3 Comments

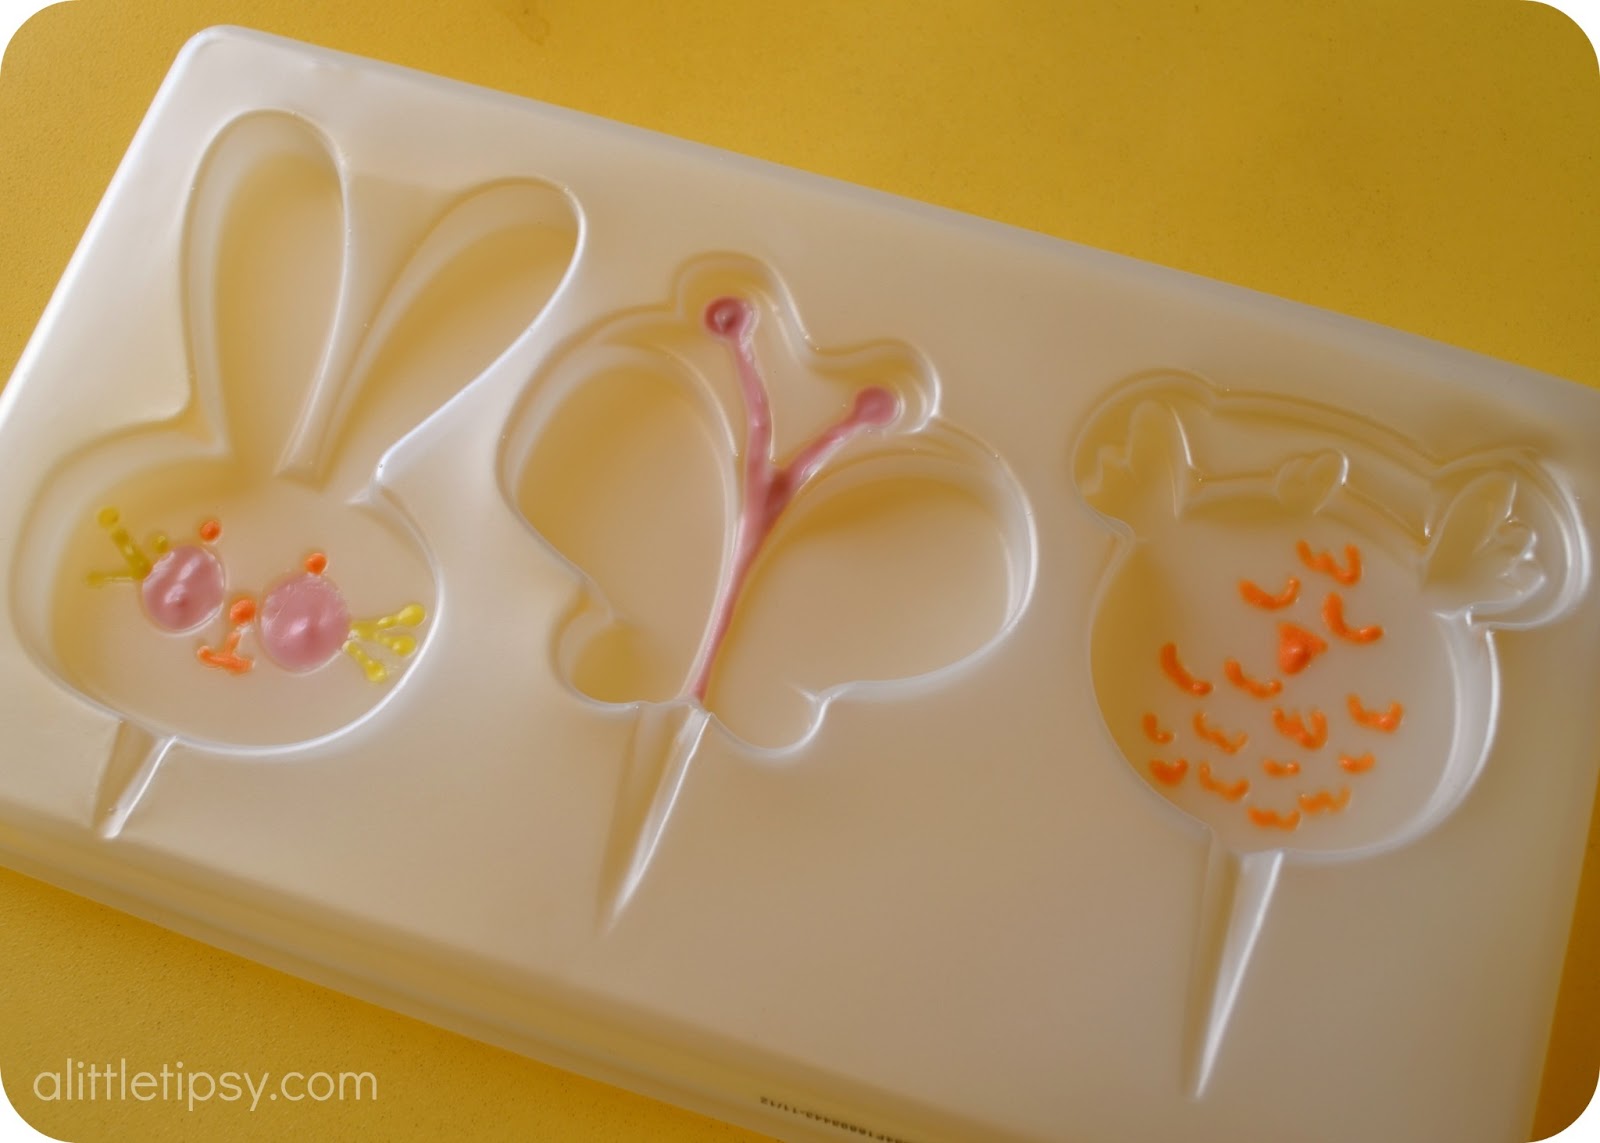
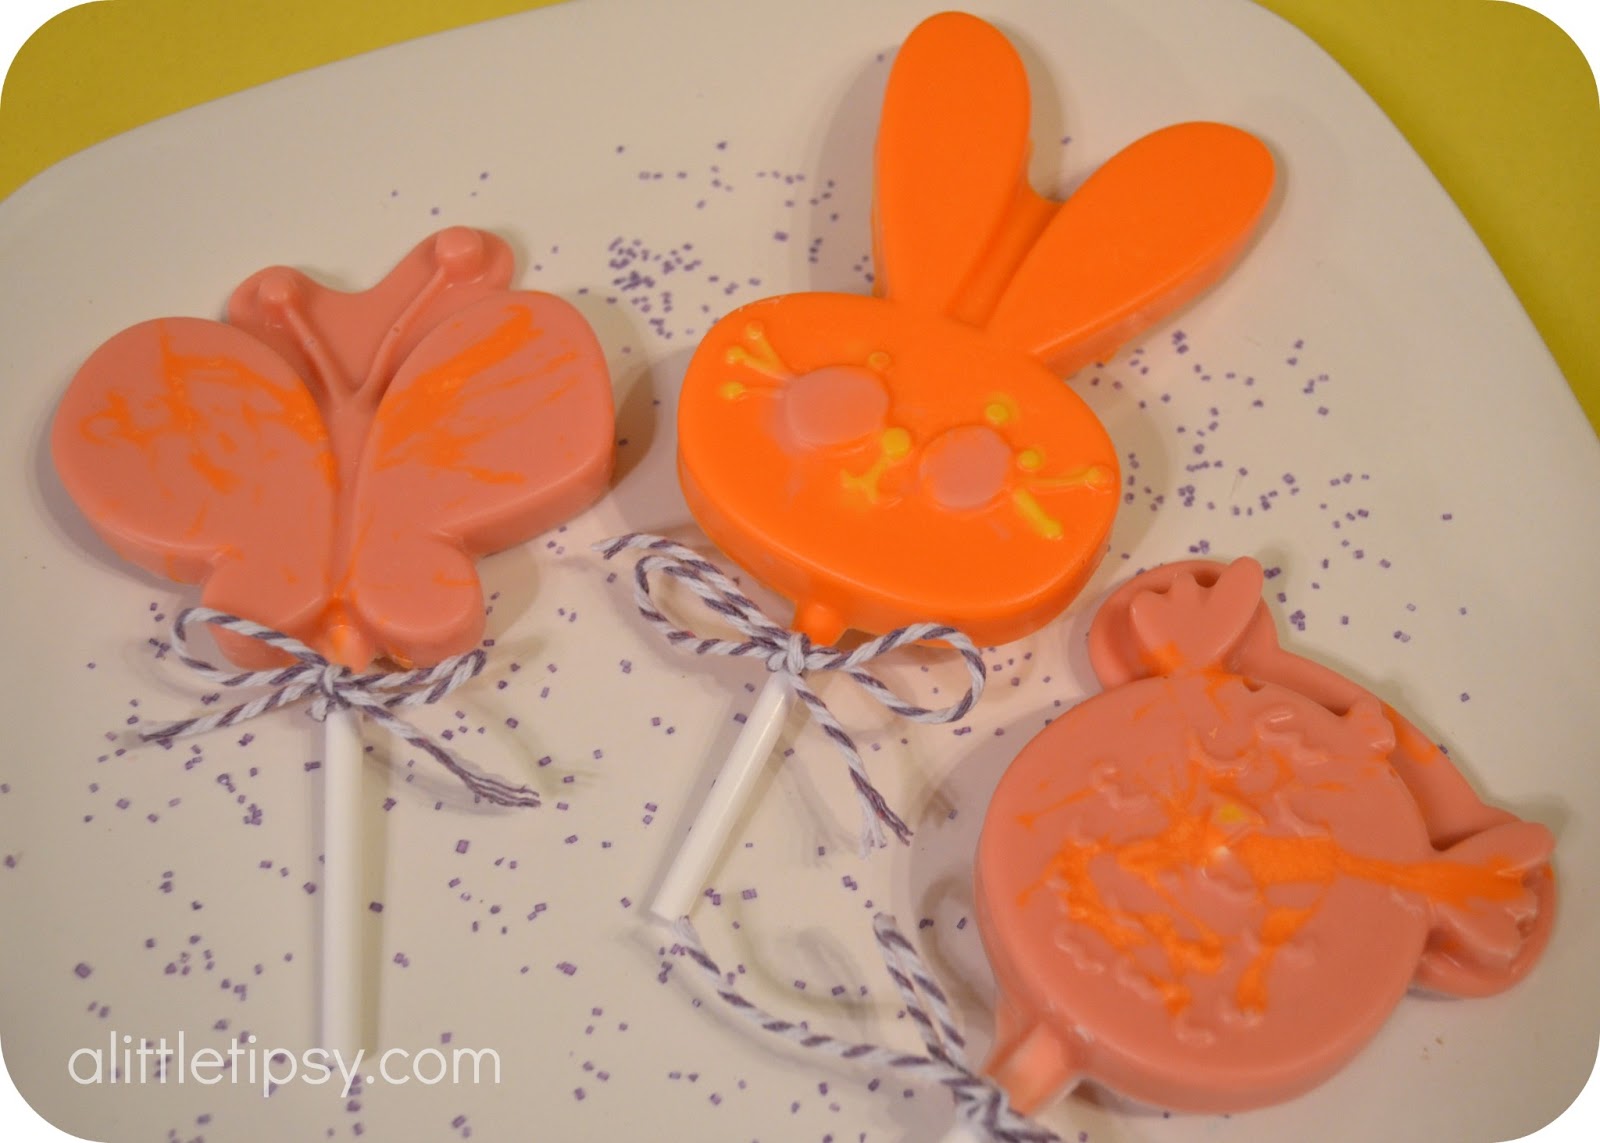
We found the cutest candy molds in the Target Dollar Spot. They had bunnies, butterflies, chicks, eggs and flowers. I remembered making lollipops with my mom when I was young and how fun it was to make your own candy. I knew it would be the perfect Easter treats for kids.

Easter Treats for Kids
SUPPLIES:
  • Candy Mold and sucker sticks (both in the Target dollar spot kit)
  • Colored candy melts
  • Small bowls
  • Spoons
  • Toothpicks

1. Melt down the candy melts you want for your first layer of color according to package directions. You’ll only need a little bit for this step. Use a toothpick to “paint” the melts in to the detailed grooves in the mold. Let dry.

2. Melt down the colors for your second layer. Spoon the melts into the molds and move in to grooves as necessary with toothpick. Add the sucker sticks and cover them. Let this dry until the top layer is set.
3. Add your last layer (white behind butterfly antennae and chick wings) and make sure there is a thick enough layer behind the sticks to hold them securely. Let them dry completely. You can put them in the fridge if you you need to speed it up.

4. To remove from mold, turn them over and carefully wiggle them out.
These easter treats are easy for the kids to do themselves too. This bunny was made by my 5 year old and the other two by my two year old. They LOVED painting with candy!
They are totally kid approved, which means they may not last long!

We have decided to truncate our feed to help protect against stolen content. I apologize for any inconvenience. Please love us anyway. 🙂

Saltine Toffee

December 20, 2012 By Michelle Barneck 3 Comments

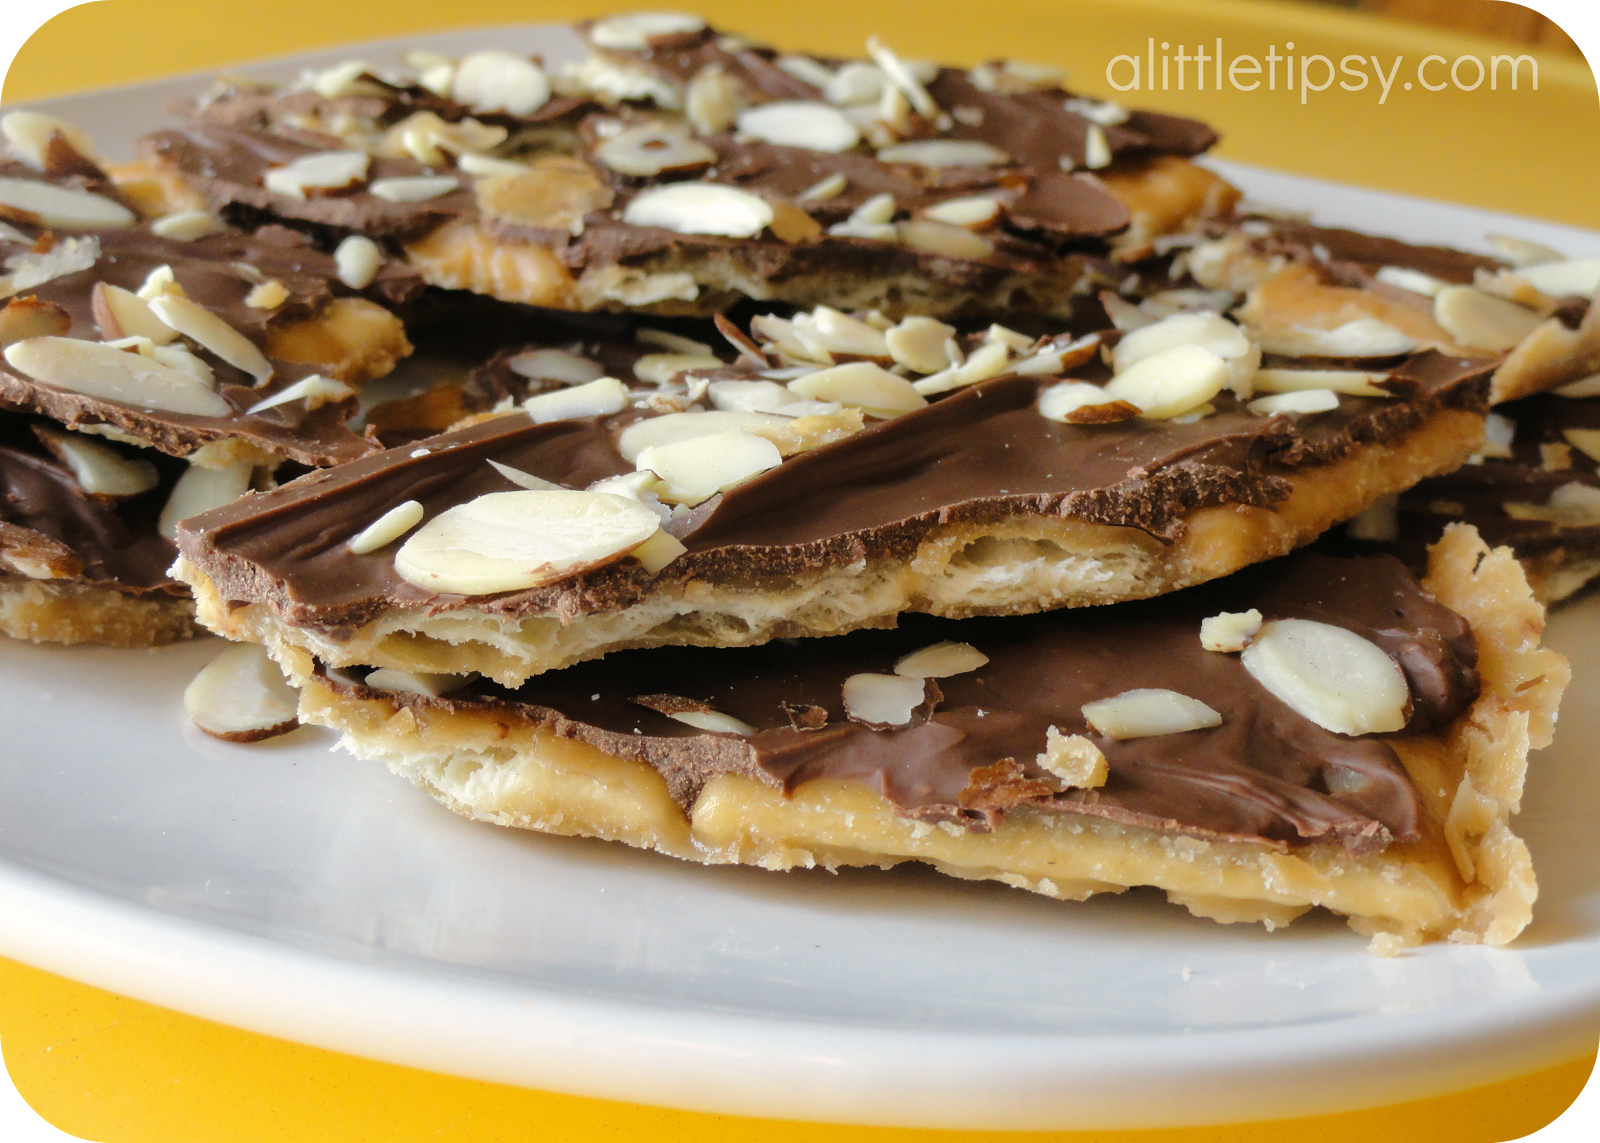
Be warned…you will not be able to put this down! I took dinner to a friend with this for dessert and she said she hid it from her kids so she could eat it all. It’s that good. And the best part? It is so fast and sooo easy! Perfect for when you need a last minute gift or treat to take to a party.

A huge thanks to my friend Kara for sharing and getting me hooked on this recipe!
SALTINE TOFFEE
1- 1 1/2 sleeves of saltine crackers
1 cup butter
1 cup brown sugar
2 cups chocolate chips
3/4 cup sliced almonds or chopped pecans, toasted

Line a 15×10″ jelly roll pan with foil. Spray with non-stick spray. Arrange saltines in a single layer over the bottom of the pan. Combine butter and brown sugar in a heavy saucepan and bring to a boil, stirring frequently. Boil for 3 minutes. Pour over the saltines and spread evenly. Bake at 400° for 6 minutes or until hot and bubbly. Remove from the oven and sprinkle with chocolate chips. Let sit for a few minutes until the chocolate melts, then spread it over the top. Sprinkle with nuts. Cool completely and break into pieces. It could take a few hours, so you can put it in fridge to speed things up.
MMMmmmm!


P.S. Don’t forget to sign up for free Tipsy updates via RSS or email.

We have decided to truncate our feed to help protect against stolen content. I apologize for any inconvenience. Please love us anyway. 🙂
« Previous Page
Next Page »

  • Bloglovin
  • Facebook
  • Google+
  • Instagram
  • Pinterest
  • RSS
  • Twitter

Hi there! I'm Michelle. Mother of three little boys and one little princess. Welcome to A Little Tipsy, a place for exploring creativity and sharing inspiration.

Follow on Bloglovin


Visit Michelle Barneck {A Little Tipsy}'s profile on Pinterest.

Tutorials by Category


15 Family Reunion Games

Family Reunion Games Collage

15 Sprinkle Party Ideas

Sprinkle Birthday Party
Creative Commons License

© Copyright 2014 A Little Tipsy · Site Designed by The Fairy Blogmother · Web Hosting by RFE Hosting

This website uses cookies to improve your experience. We'll assume you're ok with this, but you can opt-out if you wish.Accept Read More
Privacy & Cookies Policy