A Little Tipsy

Creative Tips & Ideas

  • home
  • About Me
  • the tipsy top
  • press
  • projects
  • contact me
[print_thumbnail_slider]

Magnetic Paper Dolls

December 10, 2012 By Michelle Barneck 4 Comments

Remember that time when I flew to Arkansas to share a really fun project on KATV for Cricut? Well, I am finally posting the how-to for those super cute paper dolls. They are easy to put together using the Cricut Mini and the possibilities are endless with patterns, colors and textures to mix and match.
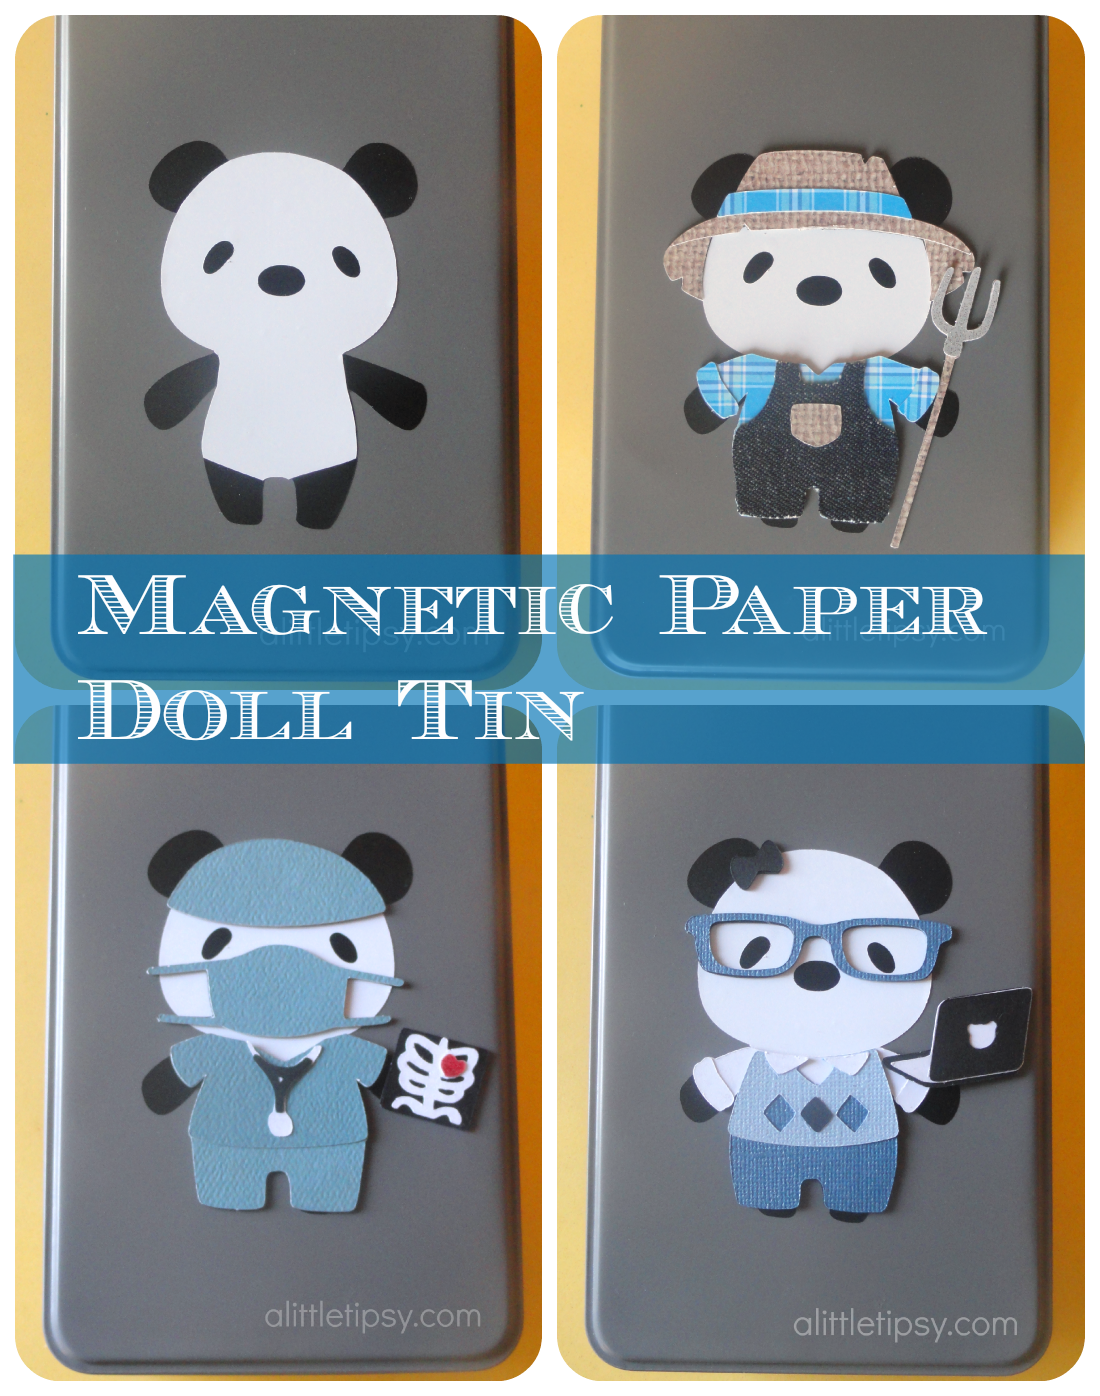
Are they not adorable? Did you spot the blogger bear? πŸ™‚
Magnetic Paper Dolls
SUPPLIES:
  • Tin
  • Spray Paint
  • Cricut Mini
  • Teddy Bear Parade or Snow Friends cartridge
  • Cricut Vinyl
  • Cricut Magnet Material
  • Deep Cut Blade
  • Paper
DIRECTIONS:

1. Start off by finding a tin you like. This is a great way to use a thrifted or holiday cookie tin. I love these rectangle game tins you can find for $1 at the thrift store. Give it a couple of coats of spray paint and let dry completely.

2. Now cut your base image out of vinyl and place it slightly below center on the tin.
  • Panda Bear – In the free Cricut Craft Room software, drag Teddy Bear Parade Cartridge image TddyBear on to the mat. Click “hide contour” and click all of the lines, except the eyes, within the bear outline. Add an oval for the nose. Cut in white vinyl. Then cut just the bear outline hiding the eyes and nose in black vinyl. Trim the arms, legs and ears from the white bear and layer it on top of the black.
  • Snowman – In the free Cricut Craft Room software, drag Snow Friends Cartridge image Snowman1 on to the mat. Click “hide contour” and click all of the lines within the snowman outline so it will just cut a blank snowman body outline. There are multiple faces to choose from. I added some coal eyes and a carrot nose in vinyl. I added it after the pics, but you can see it in the news clip.

3. Use the coordinating outfits on each cartridge to create outfits for your “paper dolls.” Just keep the default height (at the bottom of the craft room screen by the image selection window) the same as the dolls for all the clothes and they will fit just right.

I loved including papers with different patterns and textures like sparkle and denim (DYK the cricut cuts fabric?). We even made a cute Santa outfit that I didn’t get a picture of, but it is in the news segment.
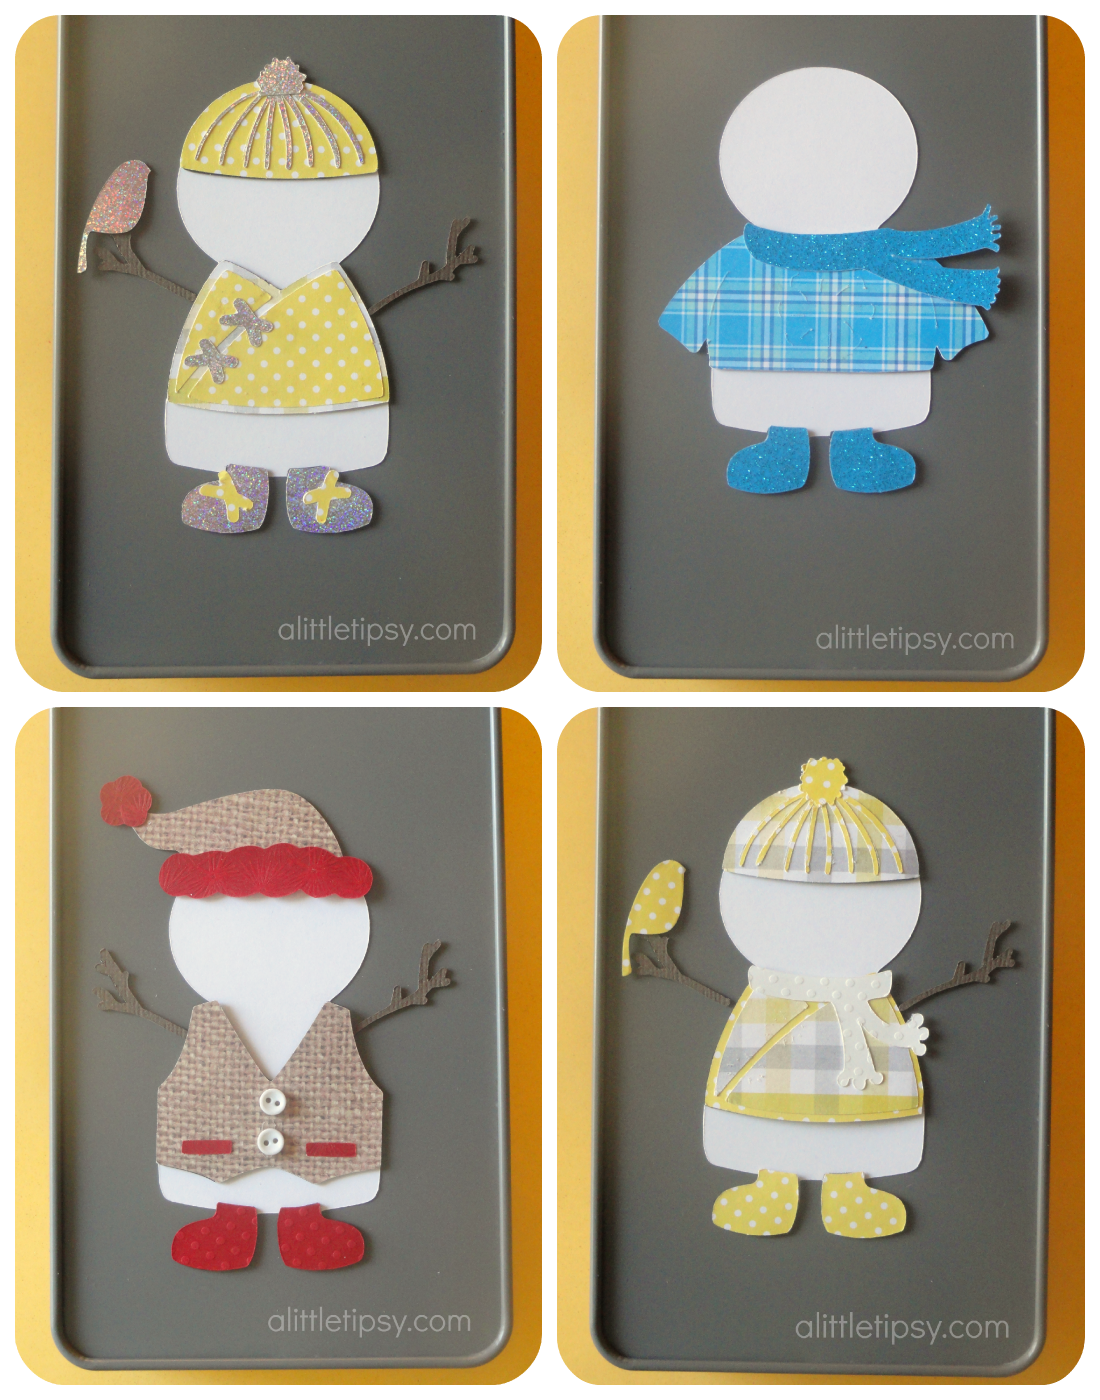
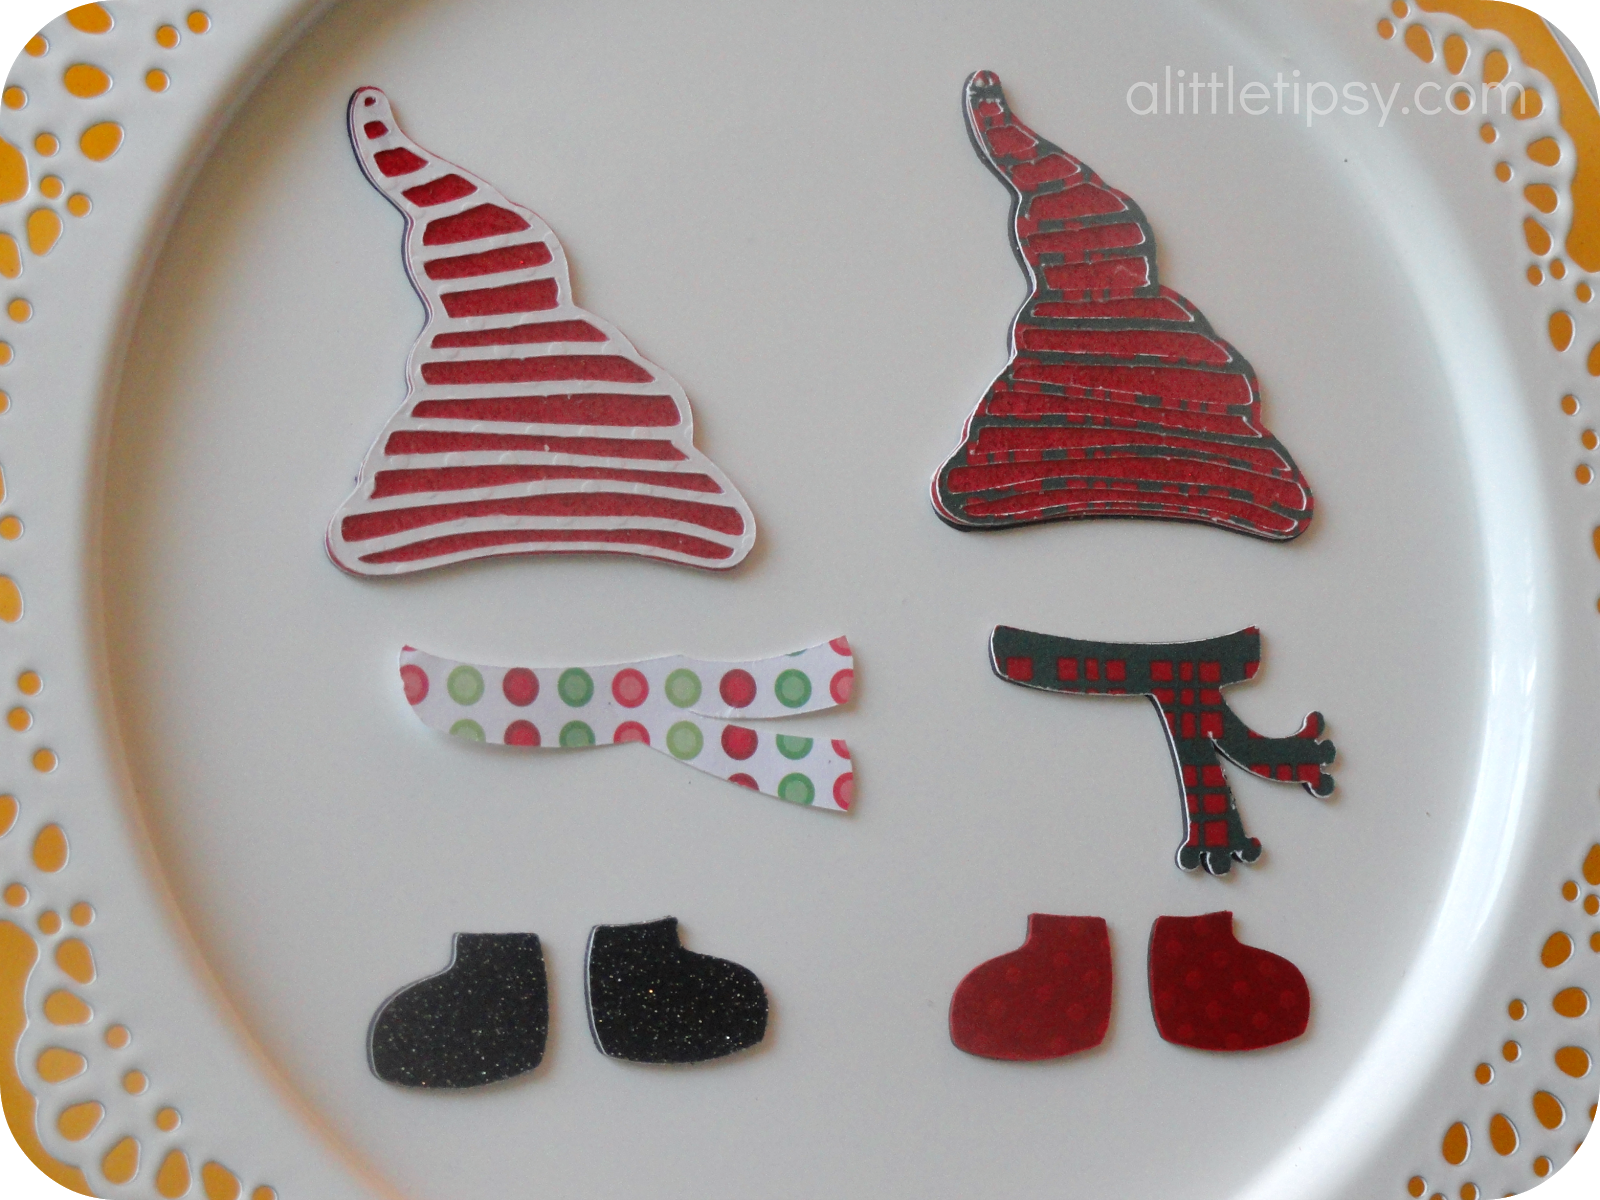
4. Make them magnetic paper dolls by cutting the most basic layer of each outfit image in the magnet material. I used the deep cut blade with Speed 3, Pressure 5, Depth 6, and 4 cuts which worked beautifully. Then, just peel off the white vinyl backing and use the existing adhesive to stick the clothes to the magnet pieces.
5. Store all the pieces inside the tin for a fun gift or great quiet activity for the kiddos in the car or at church. These two tins are under my tree for two lucky little ones.
What outfit was your favorite? 
If you could choose anything, what outfits would you make for paper dolls?

P.S. Don’t forget to sign up for free Tipsy updates via RSS or email.
We have decided to truncate our feed to help protect against stolen content. I apologize for any inconvenience. Please love us anyway. πŸ™‚

Disney Ad Shirts

November 28, 2012 By Michelle Barneck 2 Comments

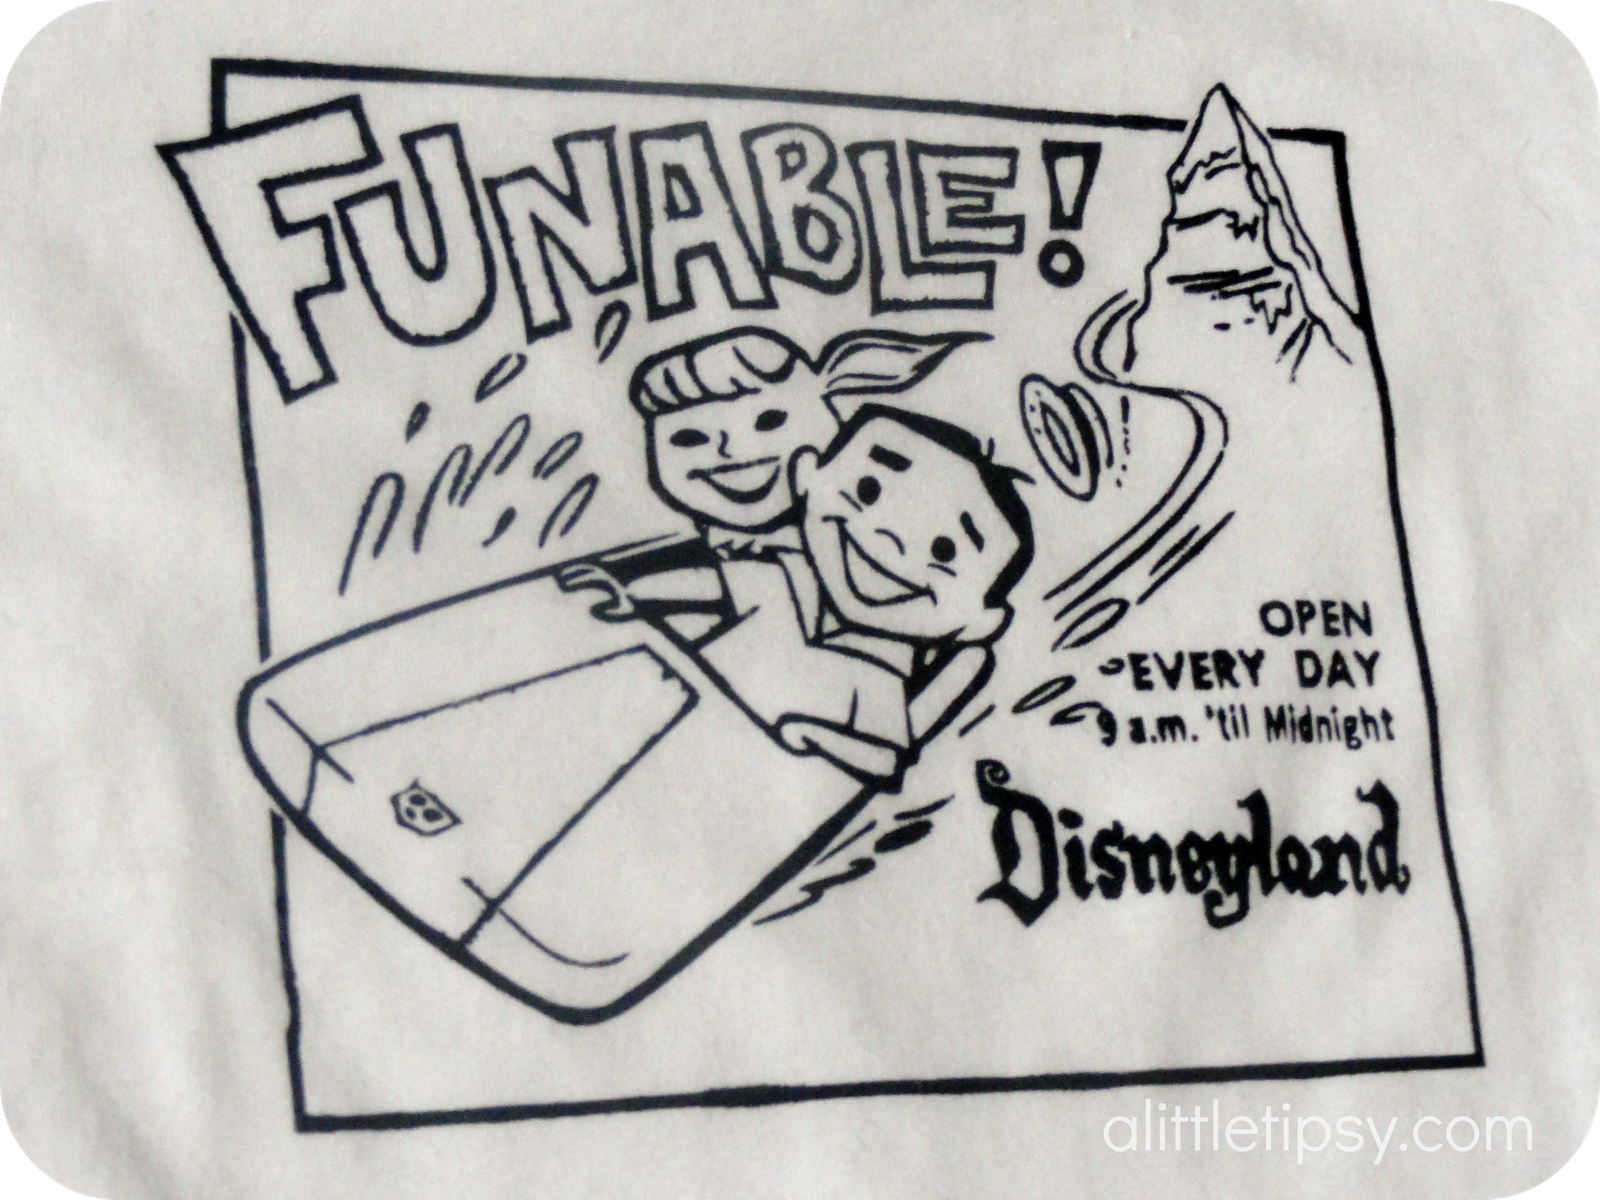
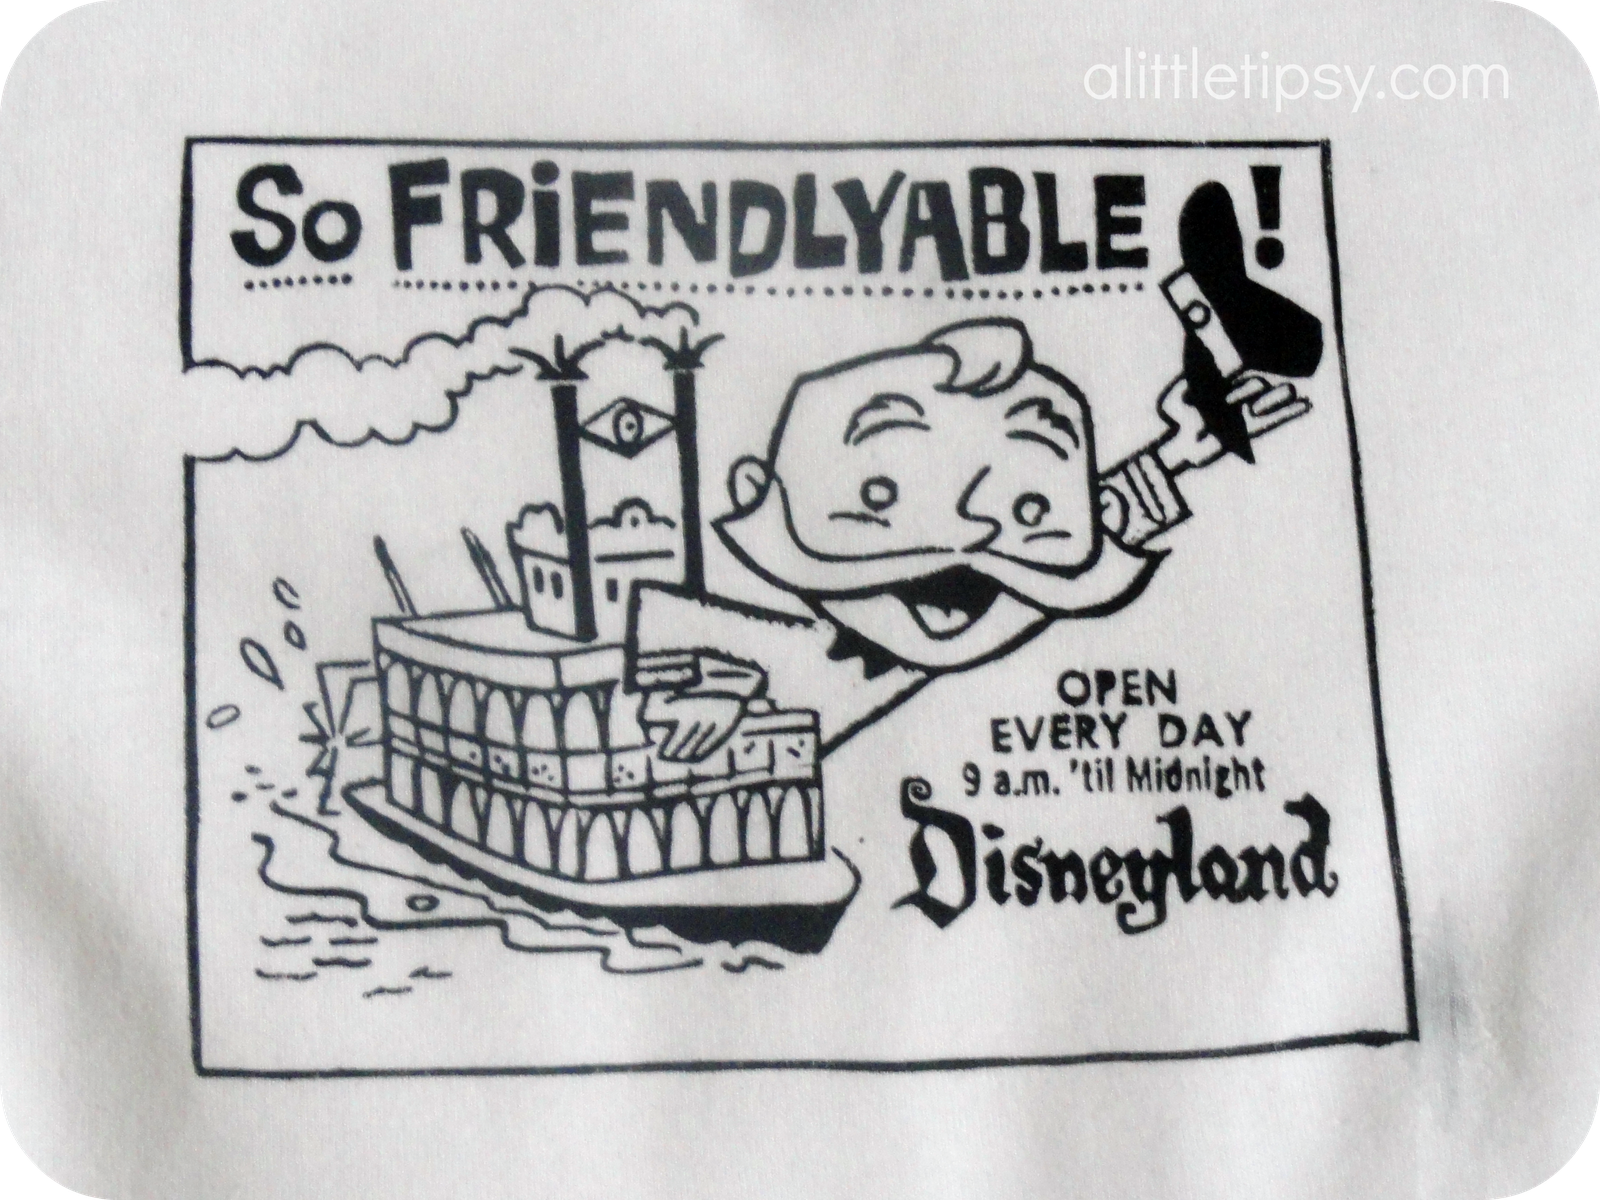
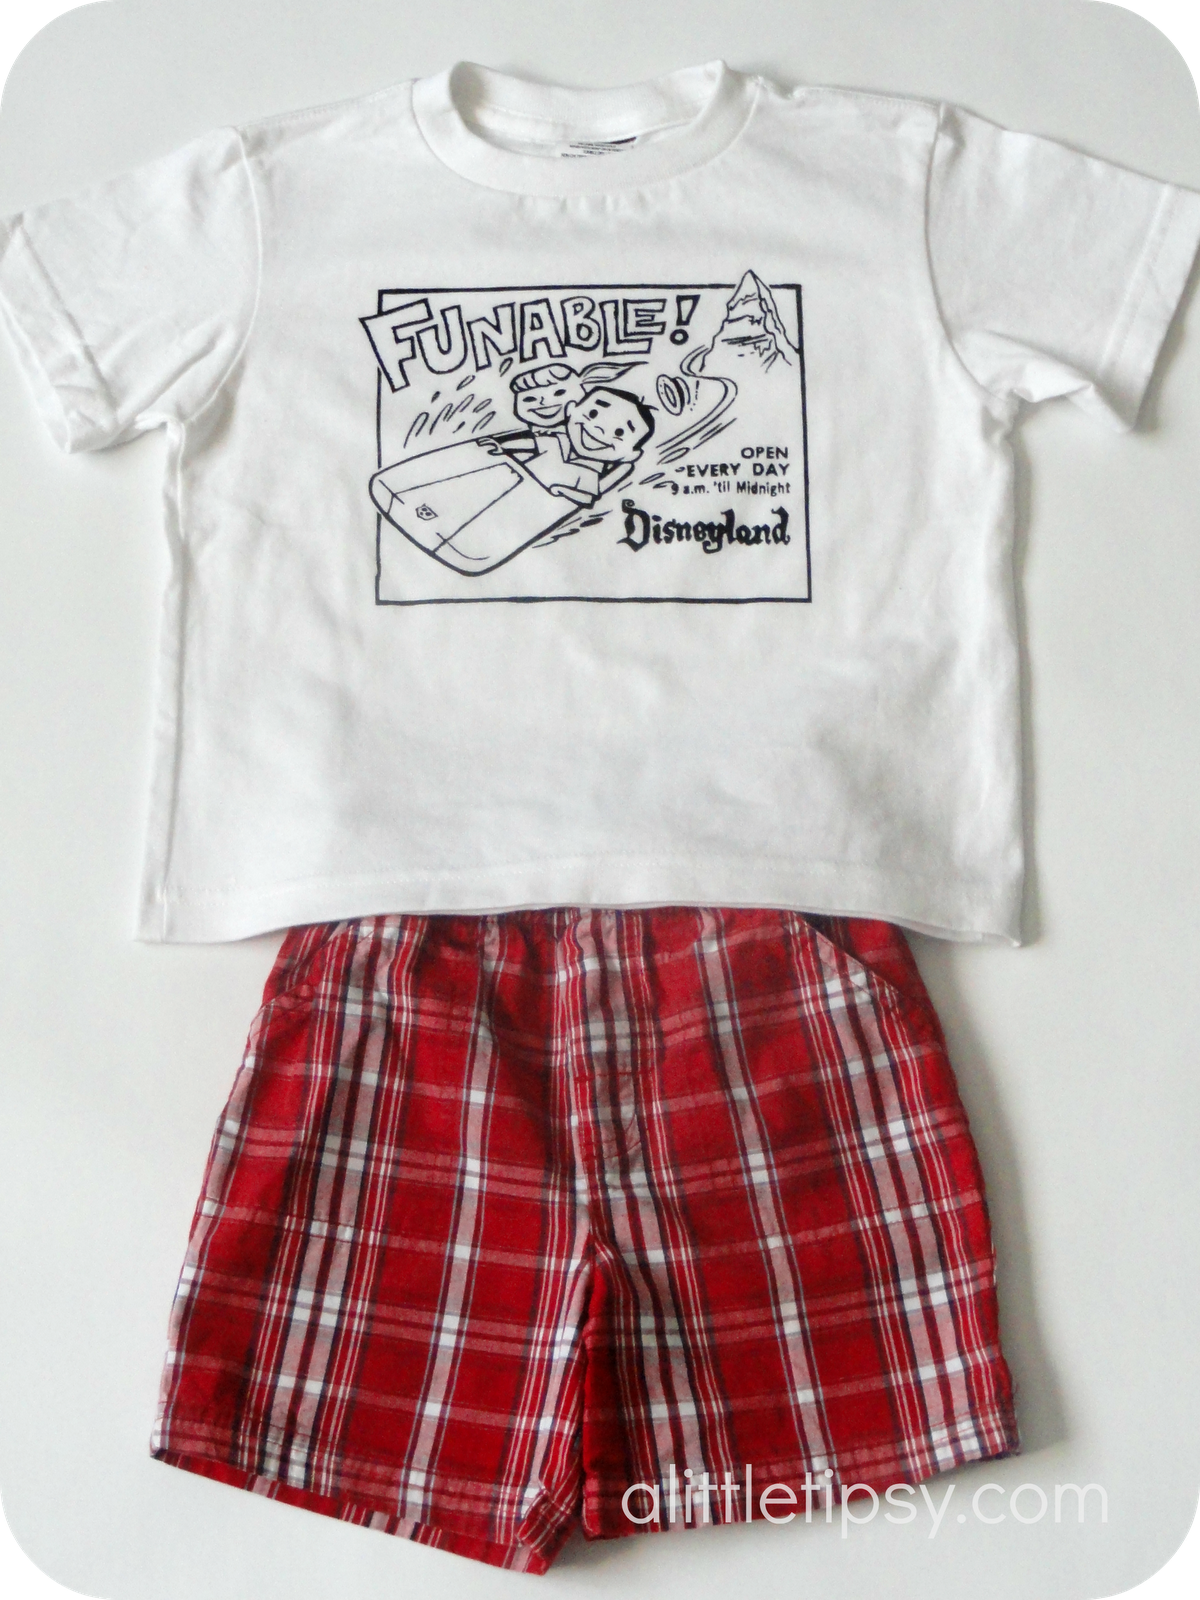
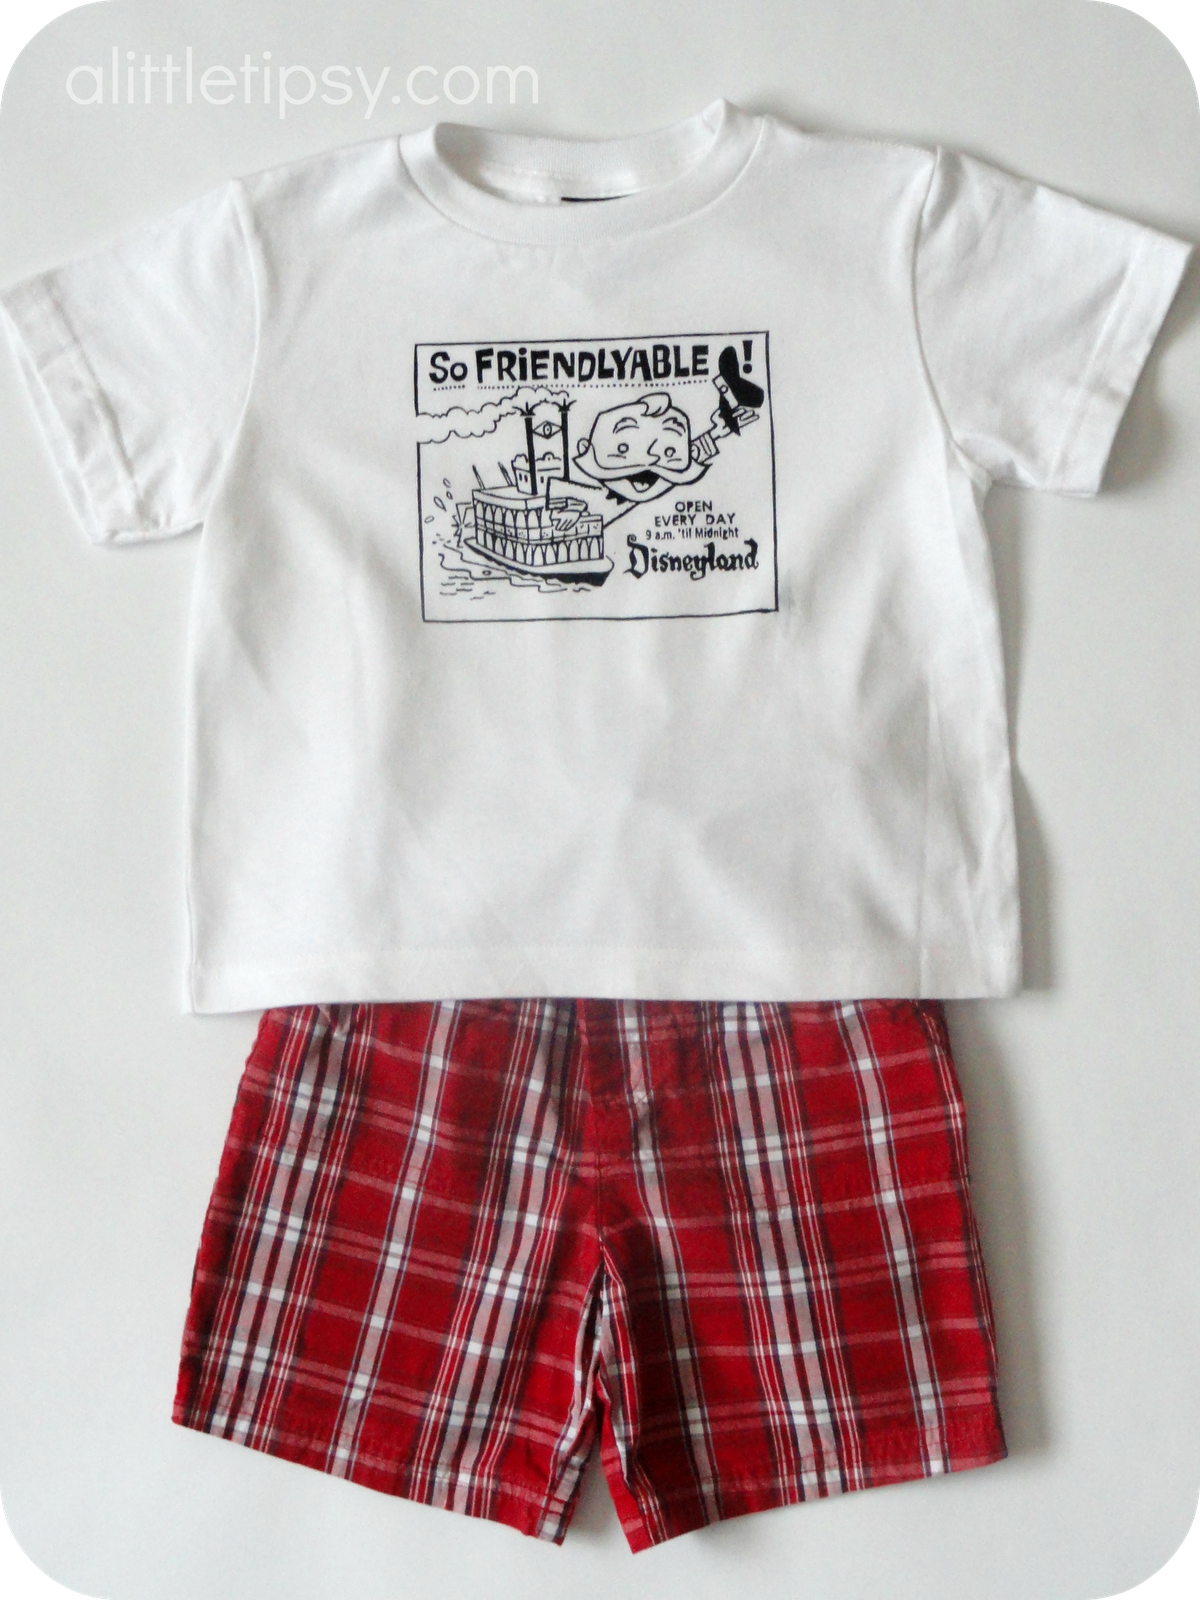
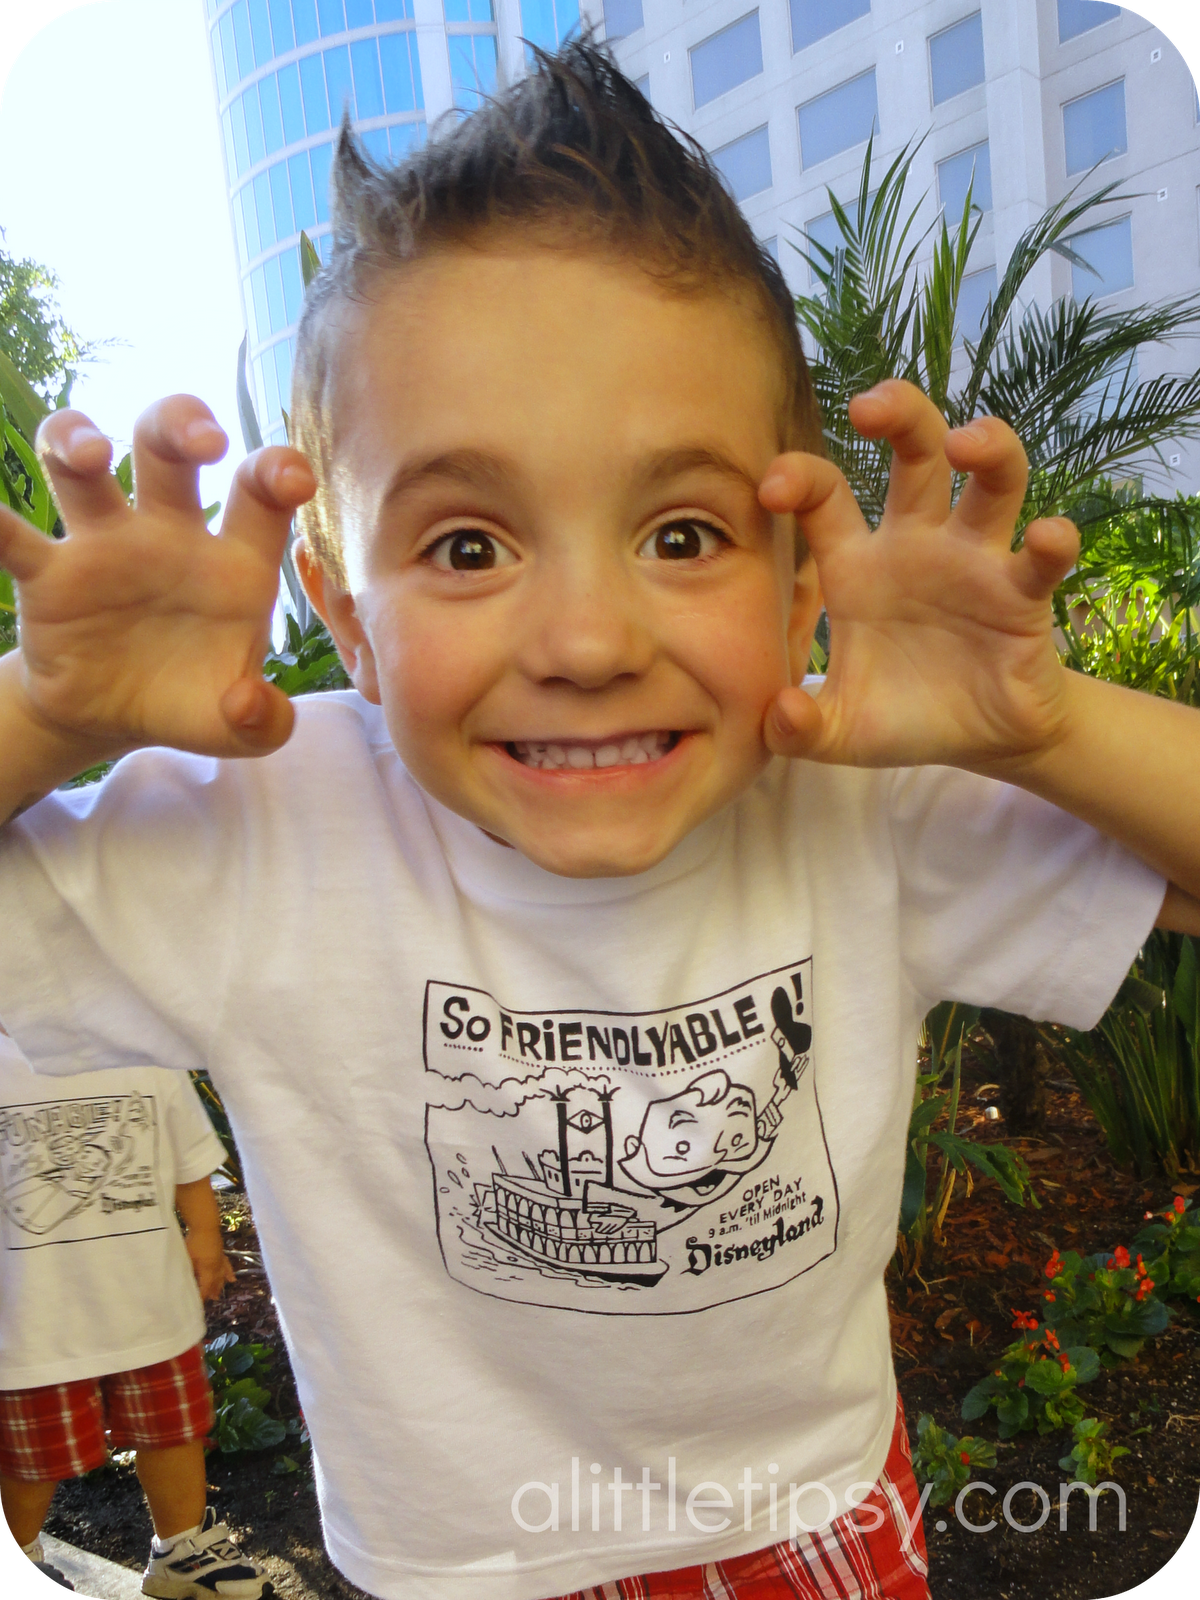
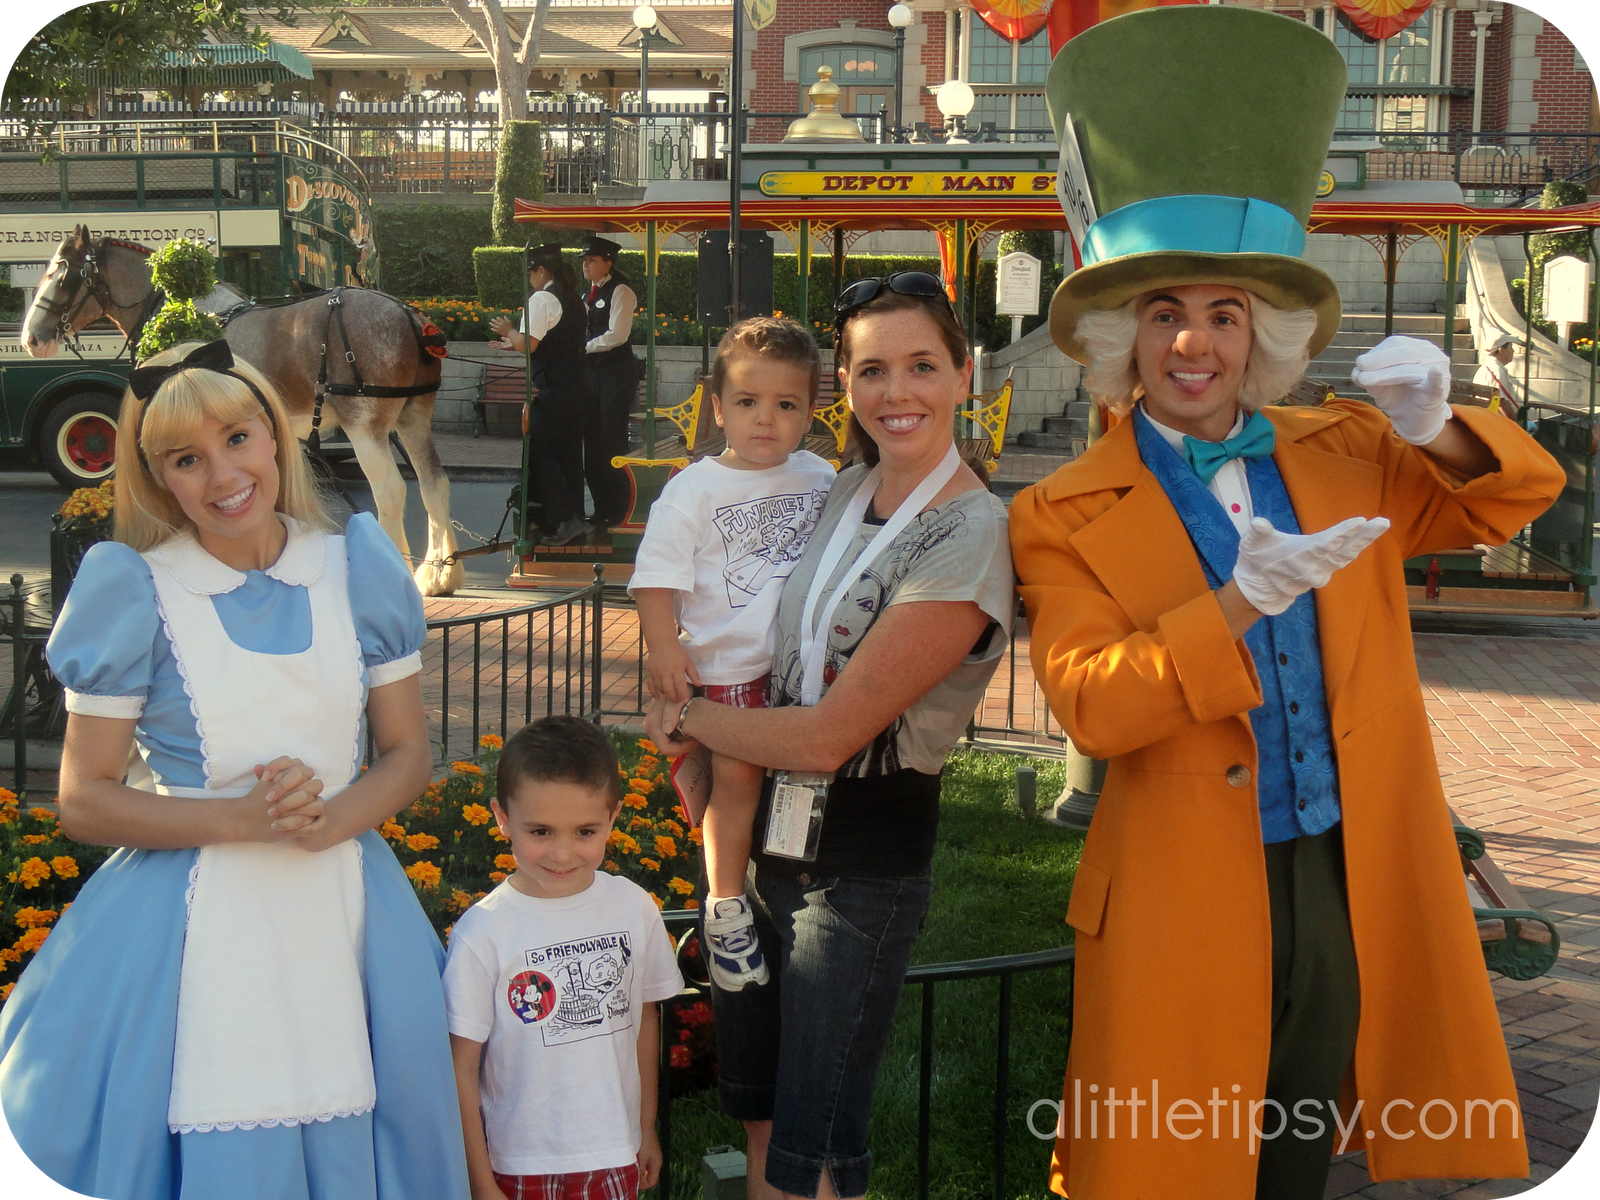
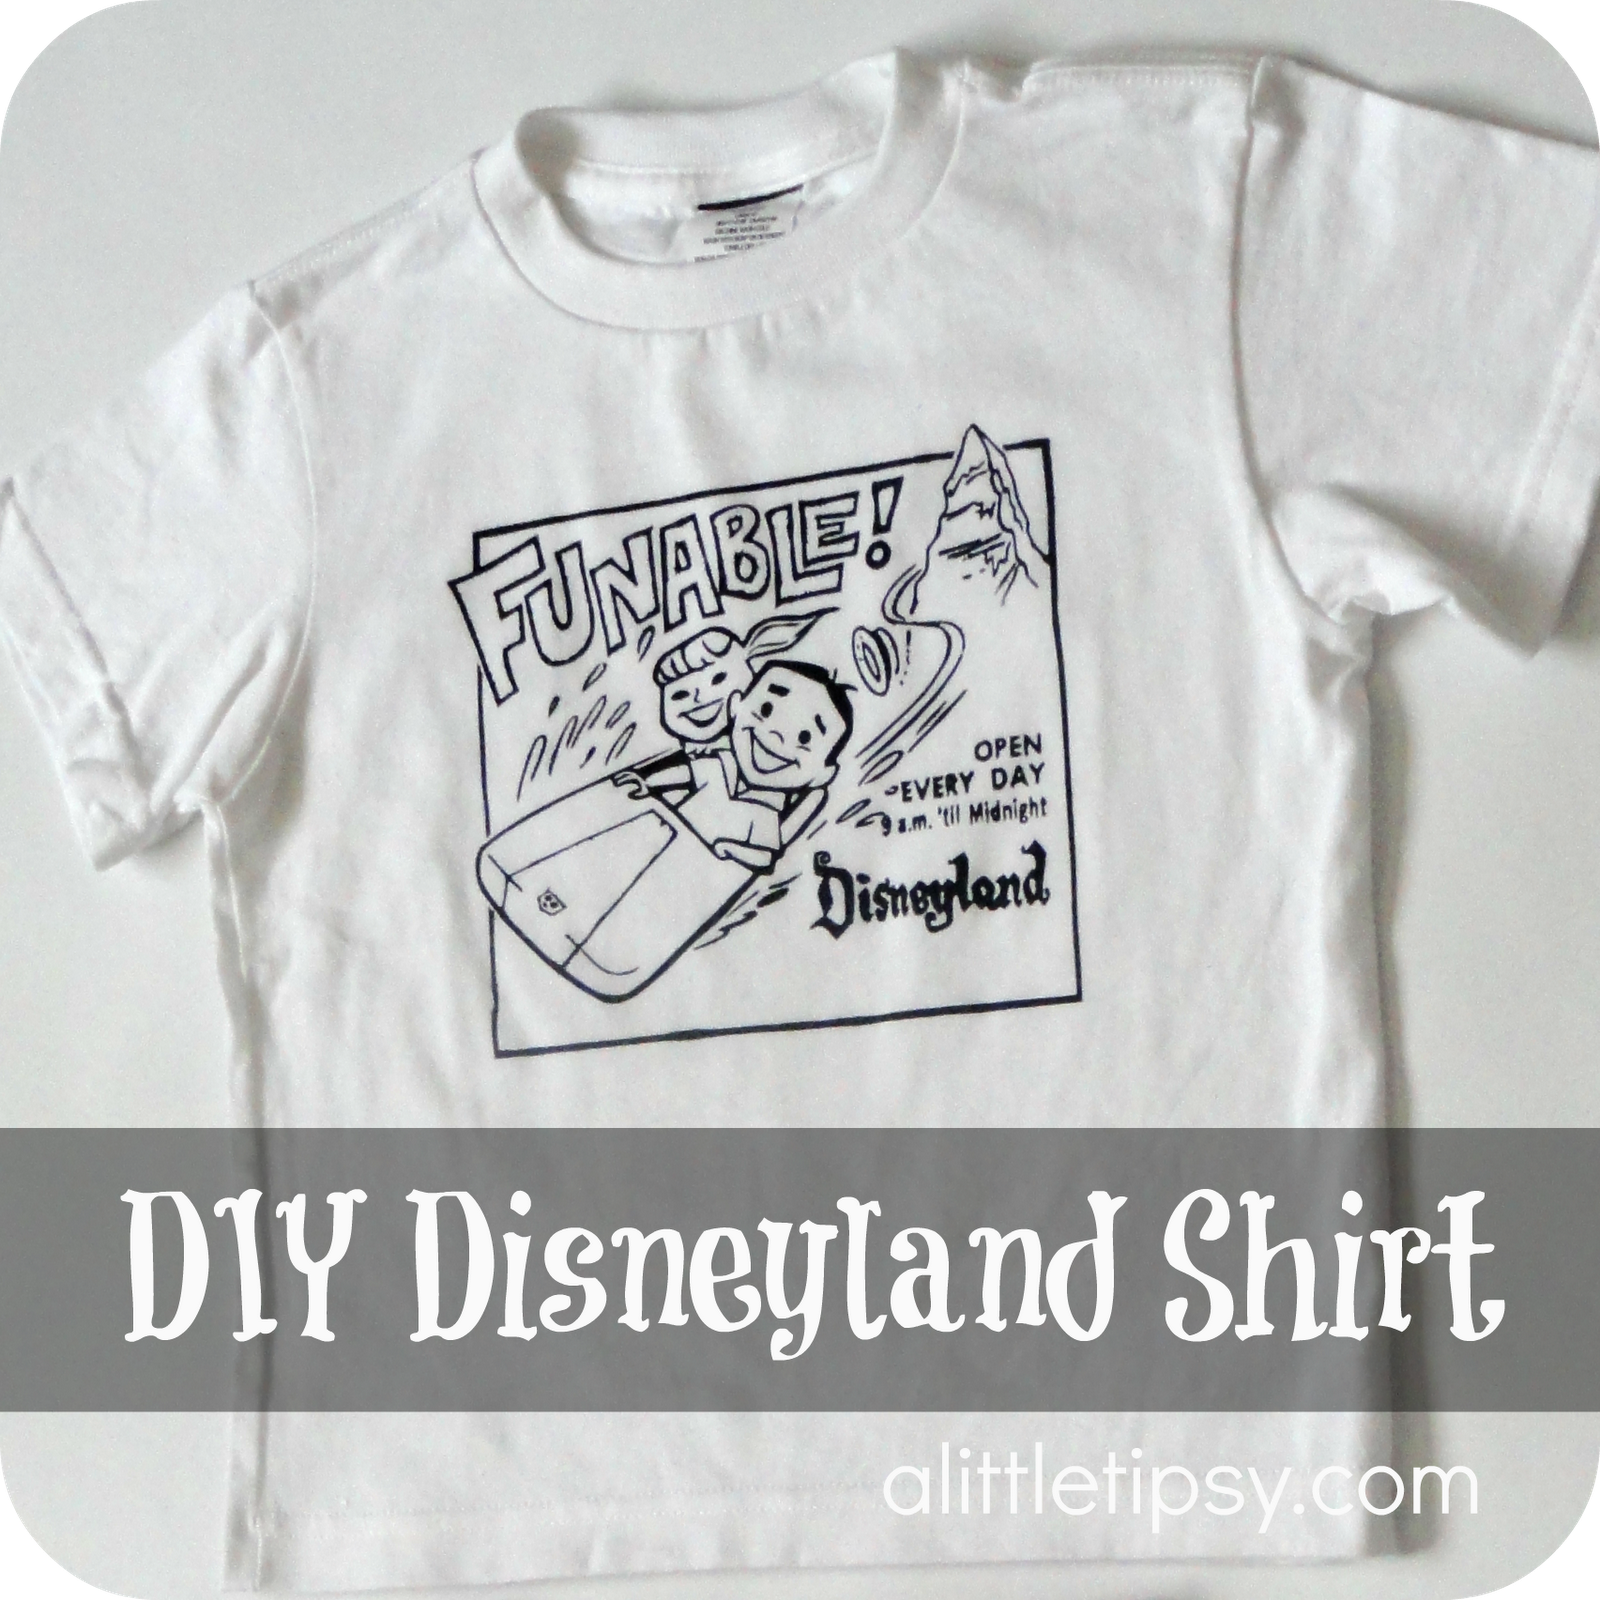
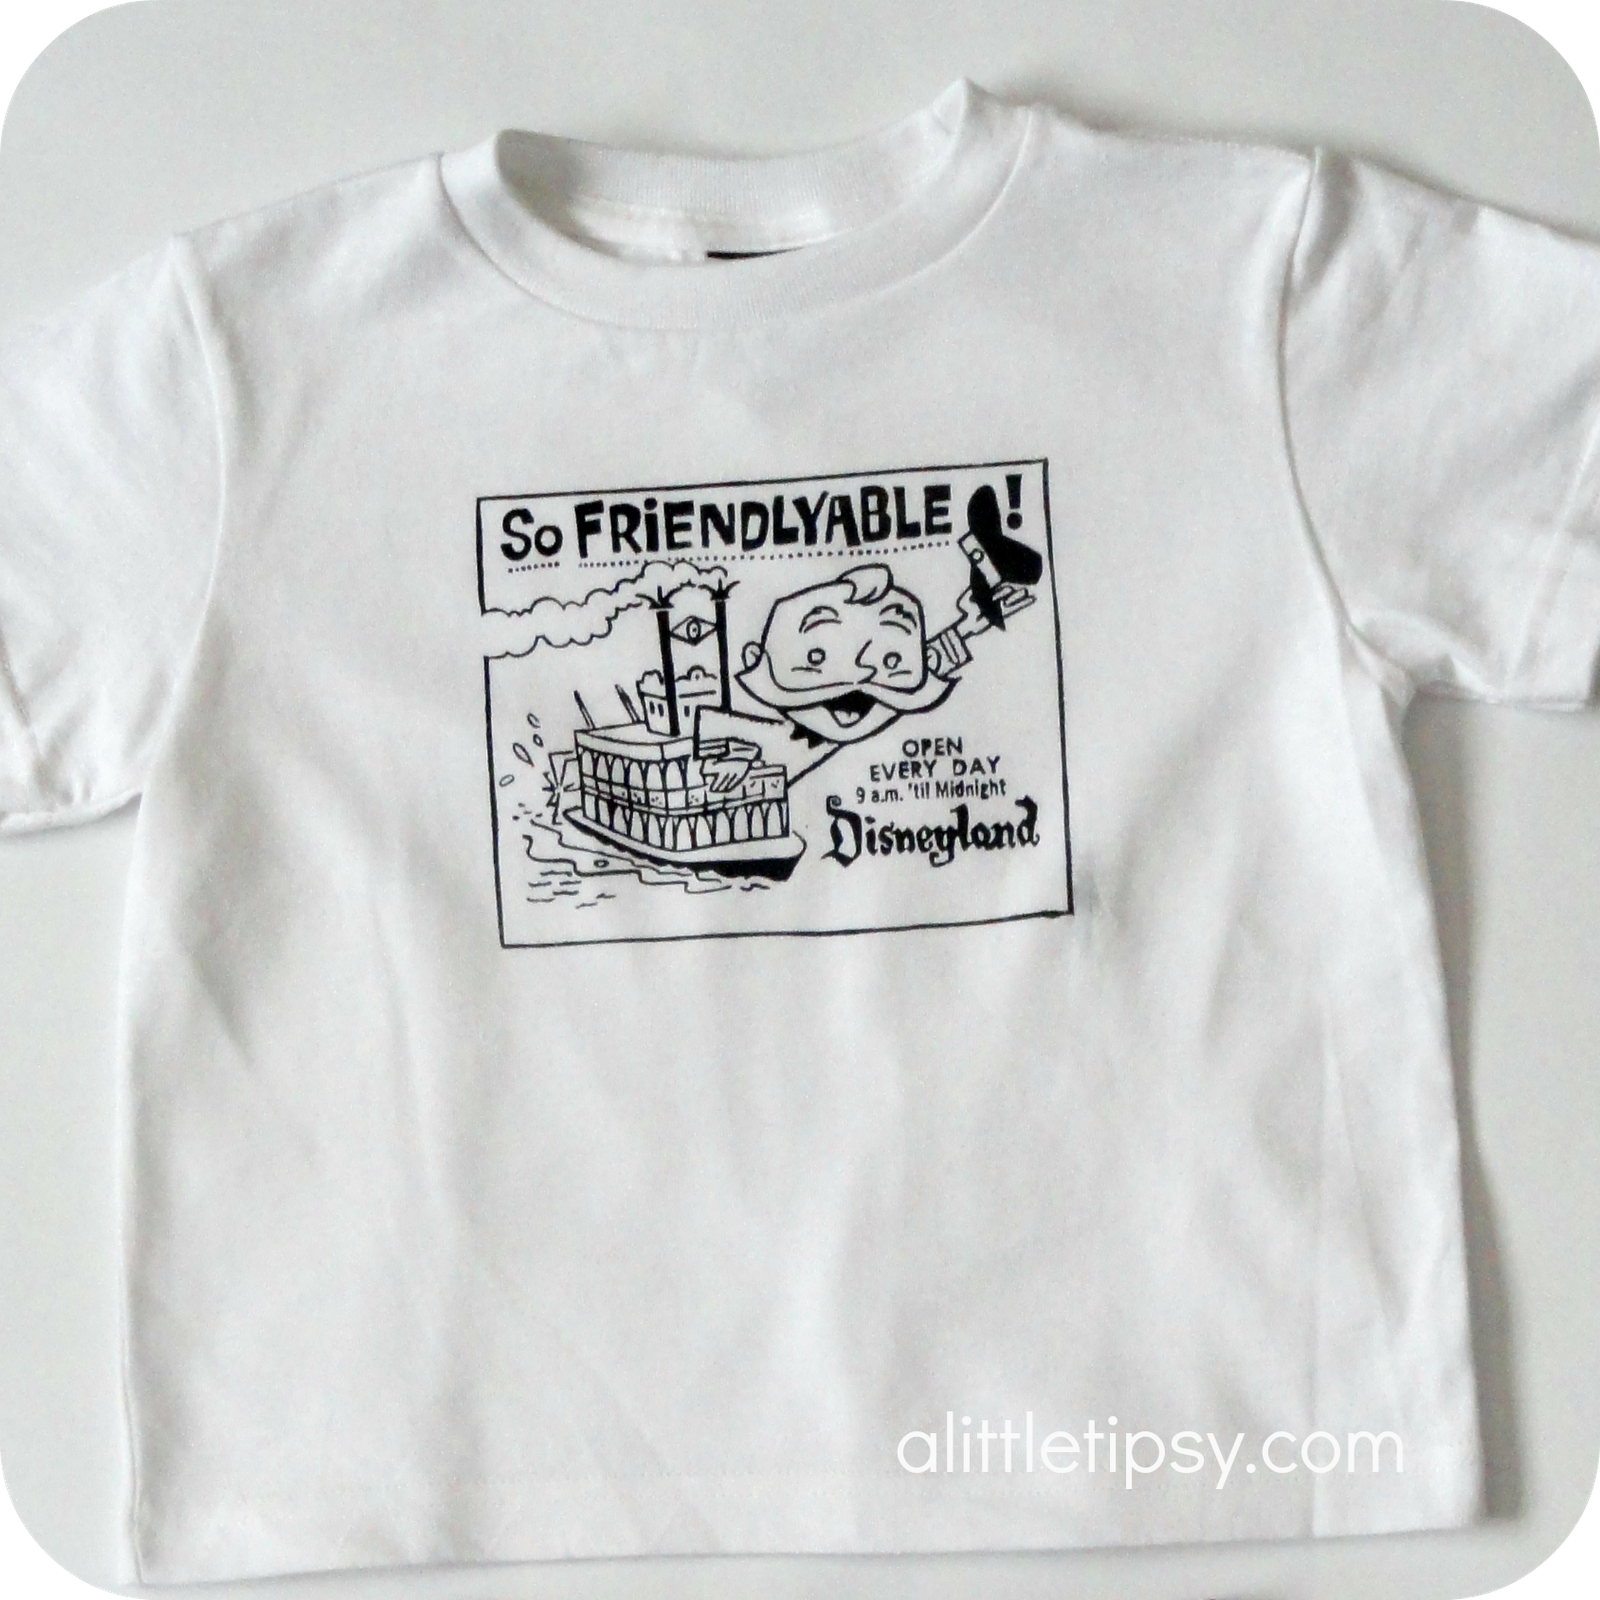
If you have been following me for a while you know that I have a thing for making Disney shirts for my kiddos. There is just something about going to Disneyland knowing that no other kids will have the same shirts. I saw these fun vintage looking ads and knew they had to be part of our Disneyland ensemble.

SUPPLIES:
  • T-shirt
  • Cardboard
  • Silhouette
  • Contact Paper
  • Transfer Tape
  • Silhouette Fabric Ink
  • Iron
INSTRUCTIONS:

They are actually quite simple to make. Follow the tutorial here to create a stencil of the image in the silhouette software. Since you are creating a stencil and not using heat transfer do not flip it horizontally. Just cut the image as is once it is traced to your liking.
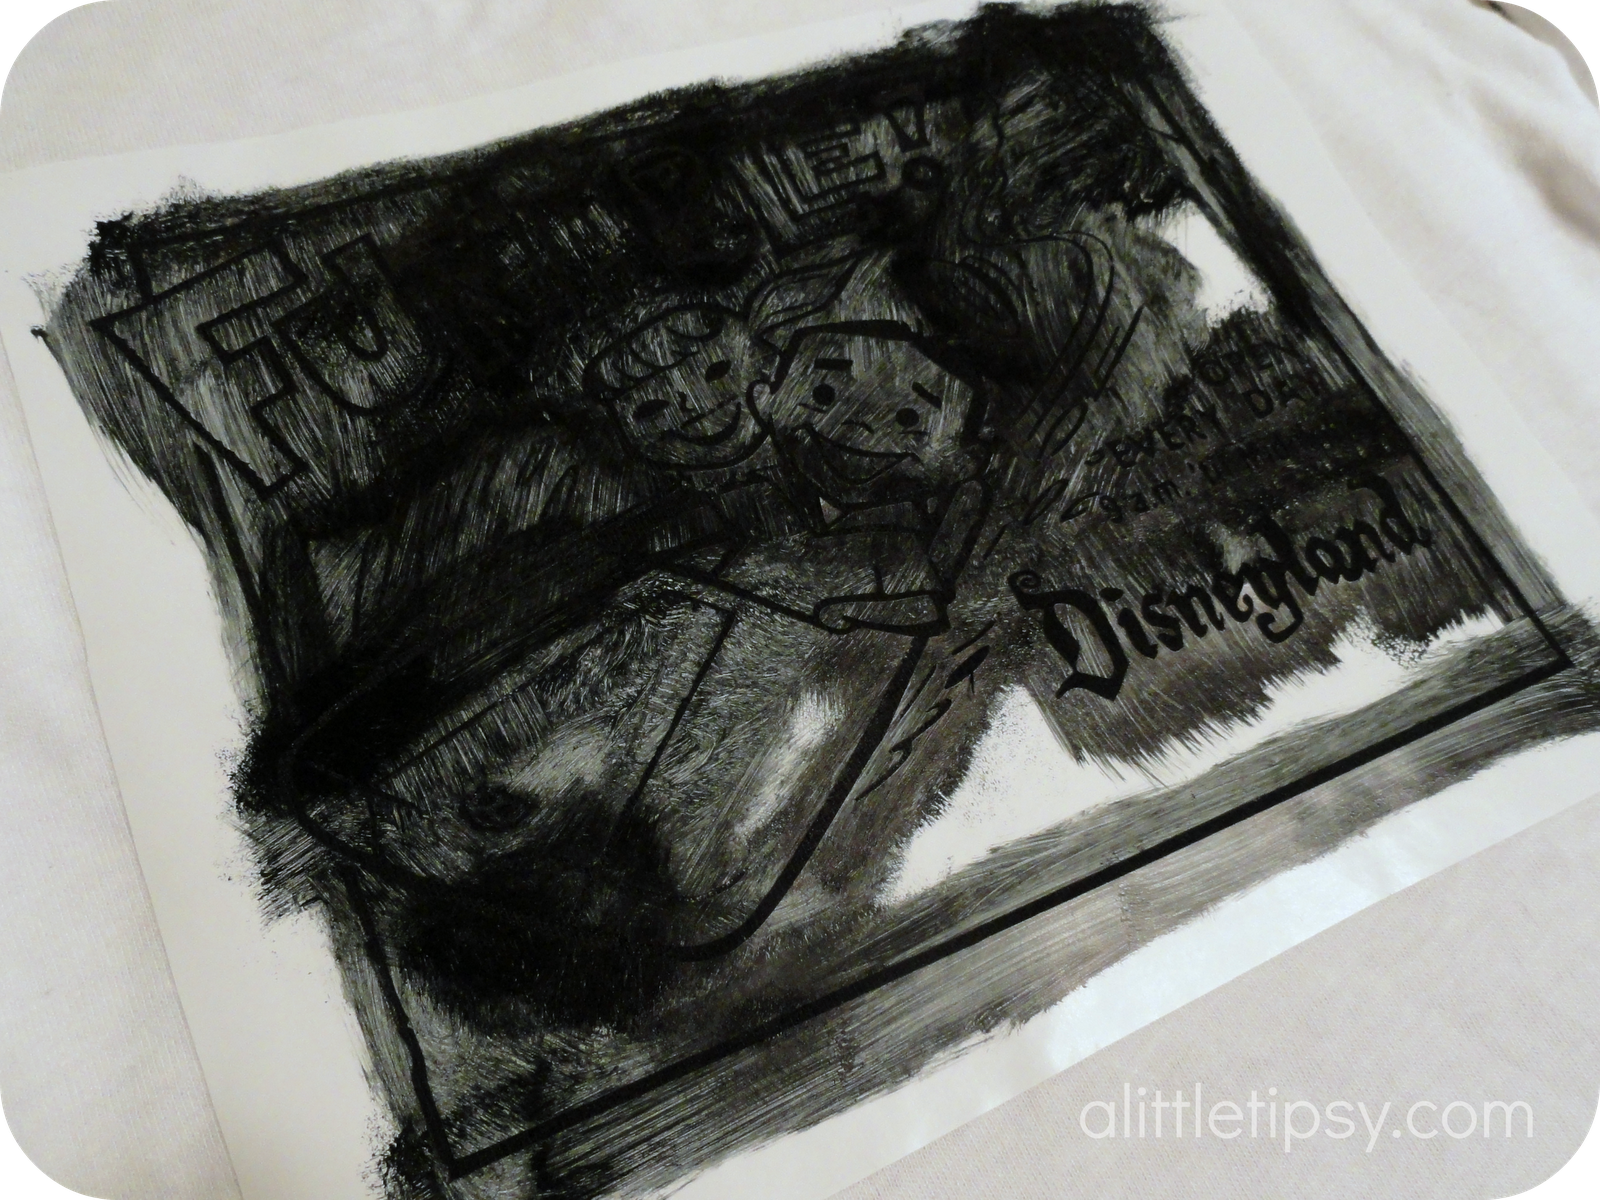
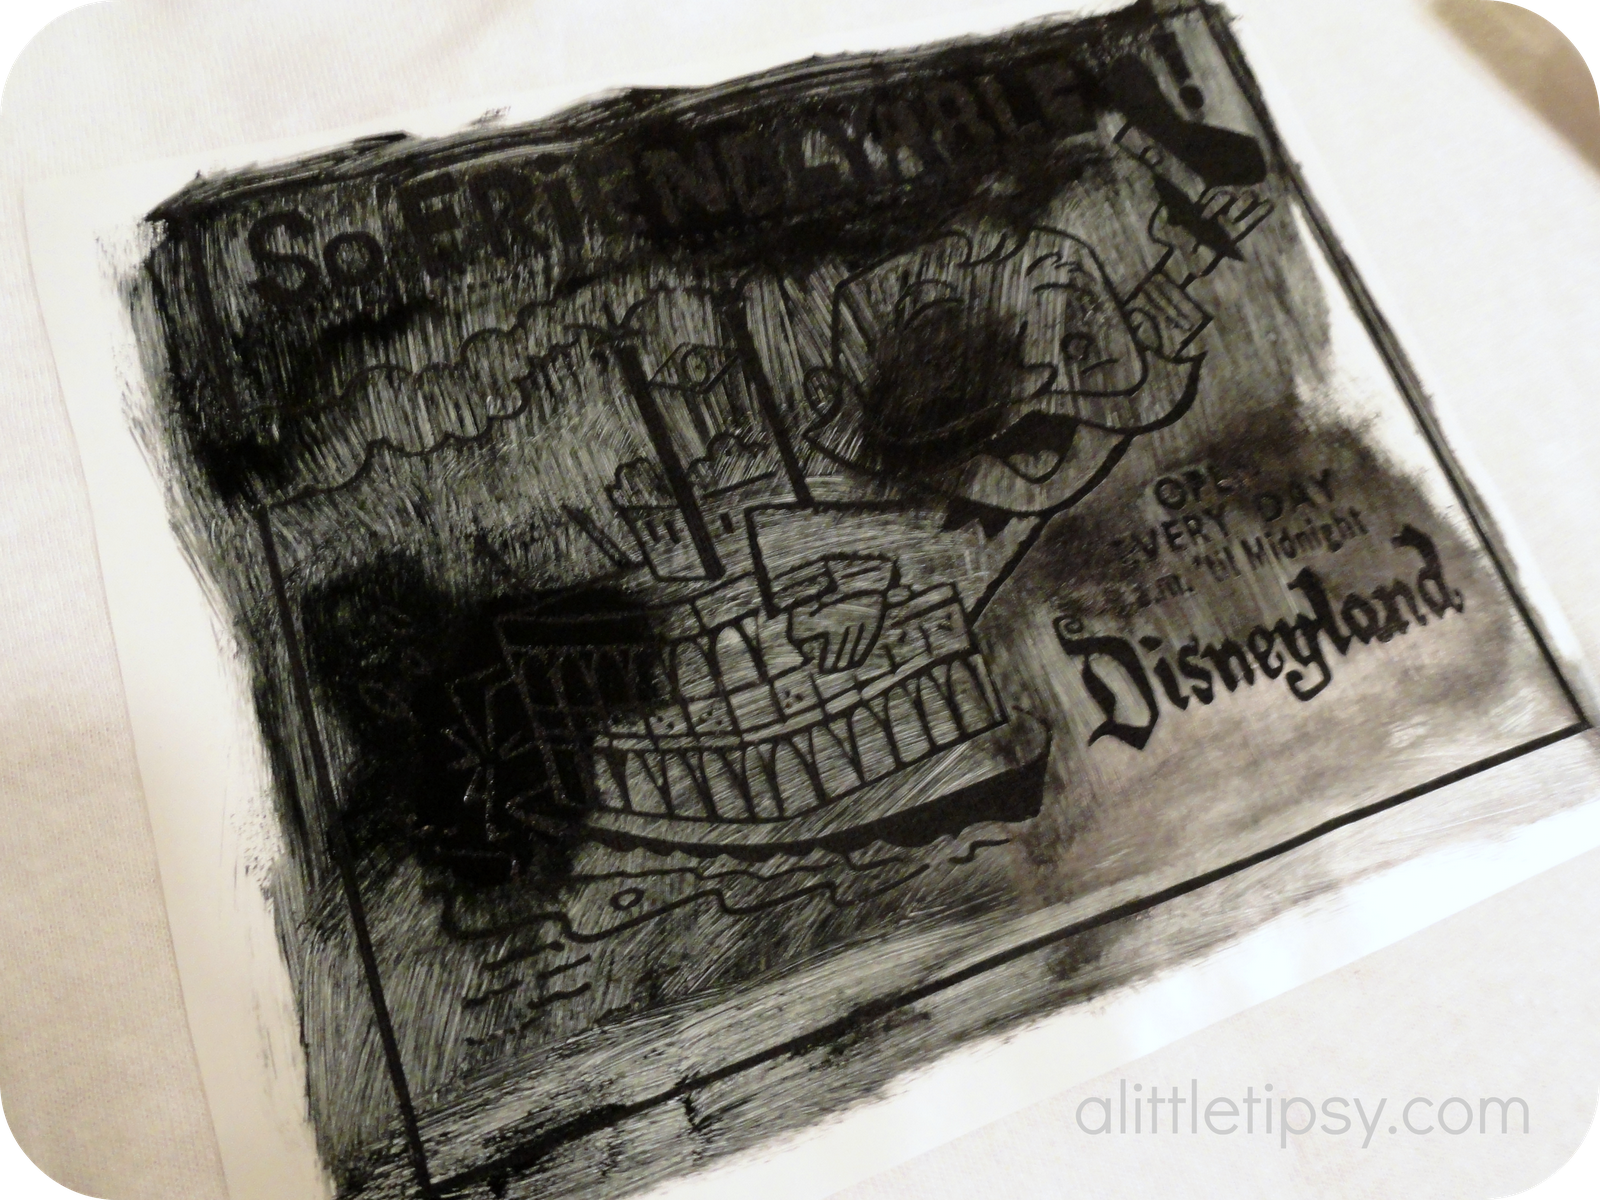
I wanted to save some money and decided to try using contact paper for the stencil rather than the stencil vinyl. It totally worked! Just be careful because the contact paper is very thin, even thinner than regular vinyl so cut accordingly.
Once you have the stencil cut, transfer to your shirt using transfer tape to keep everything aligned correctly. Place a piece of cardboard inside the shirt to prevent bleeding. Then, with a foam brush blot over the stencil with black fabric ink. 

 Once the ink dries, remove the stencil and bask in your success.

Iron the design to set the ink and now it’s ready to wear!
You’re kids are one of a kind, why shouldn’t their shirts be?

These have been washed several times and are holding up wonderfully!
Wednesdays through January
If you liked this project you may also be a fan of our DIY Disney Tattoos for Kids, Mickey Shirts, or Disney Countdown.

P.S. Don’t forget to sign up for free Tipsy updates via RSS or email.
We have decided to truncate our feed to help protect against stolen content. I apologize for any inconvenience. Please love us anyway. πŸ™‚

Disney Countdown

November 14, 2012 By Michelle Barneck 10 Comments

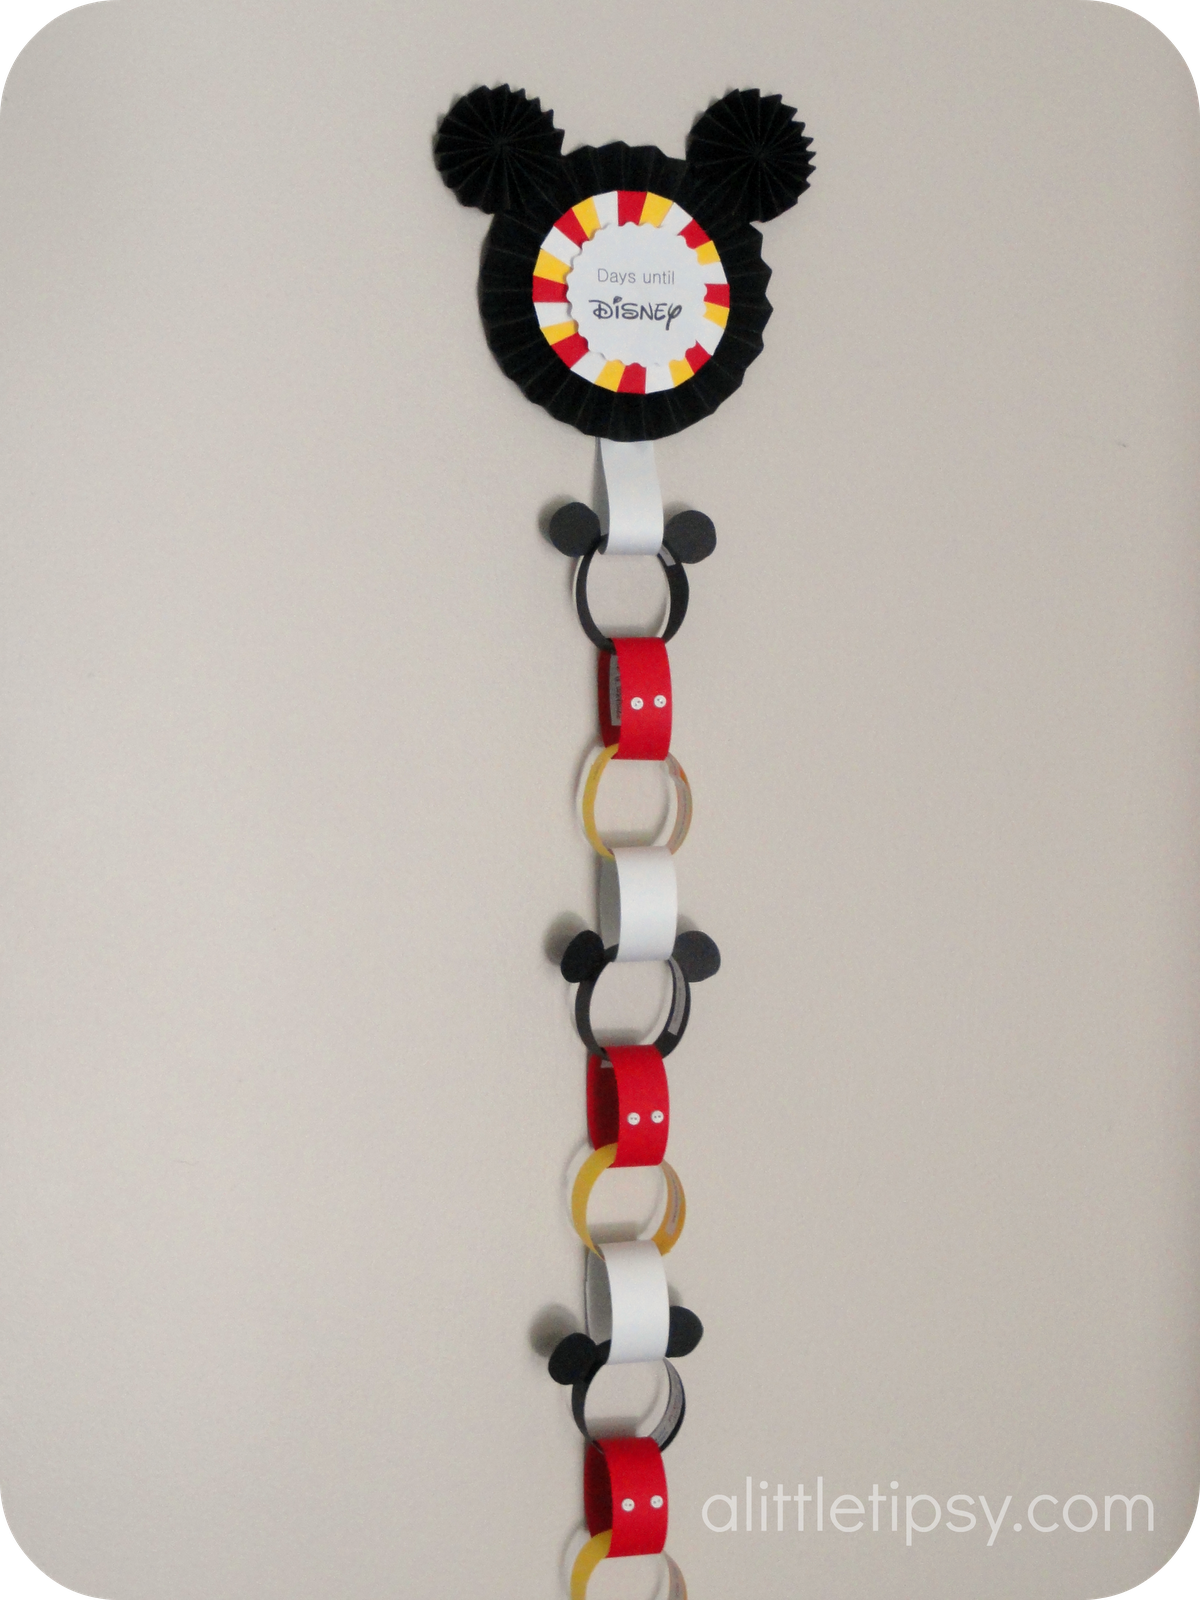
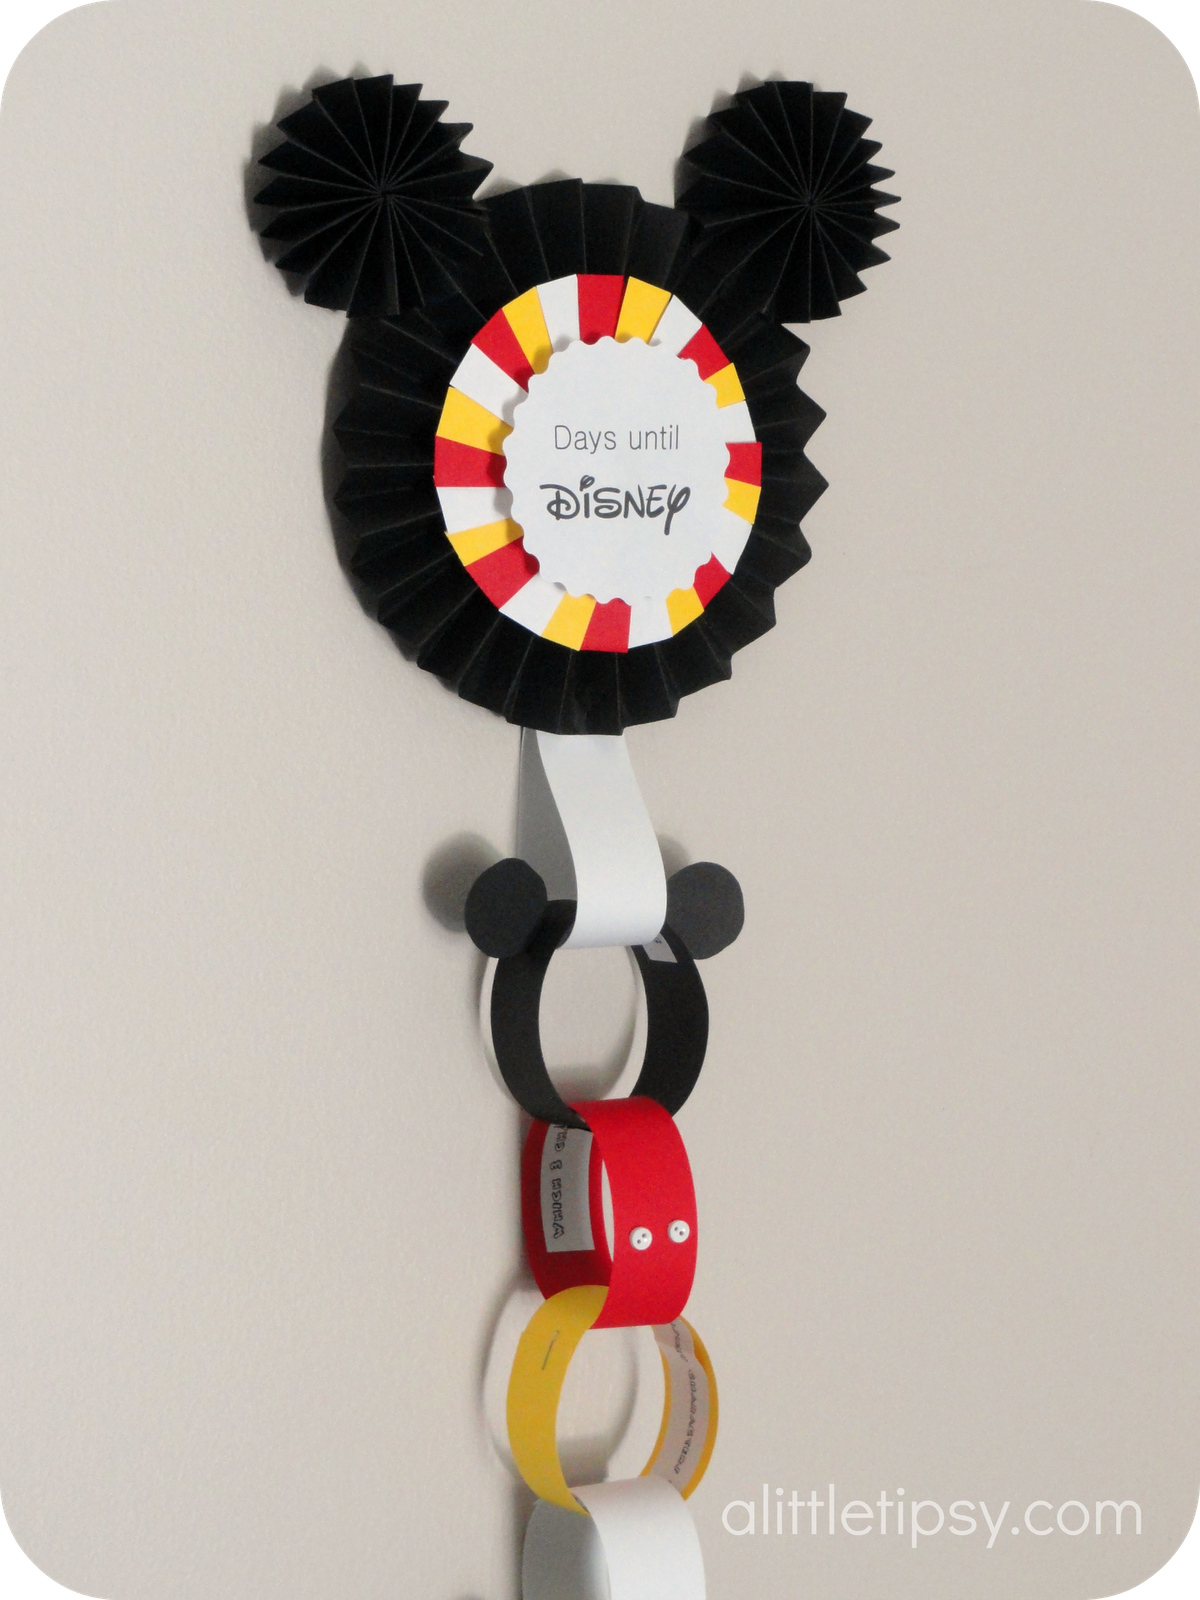
A Disney trip is definitely something to look forward to so we created a fun countdown to turn up the excitement, but also help prepare us for the trip. I saw this fun Disney countdown and put my own spin on it.

DISNEY COUNTDOWN


Each chain link on the Disney countdown had an activity for the day. You can download the printable Disney countdown activity list here.
  1. Color a Disney picture
  2. Which 3 characters do you most want to meet?
  3. Make Disney characters out of playdough
  4. Play Disney scene it
  5. Choose a light up toy for parades & fireworks
  6. Sing your favorite Disney song
  7. Write a letter to your favorite Disney character
  8. Play Disney games on the computer
  9. Dress like pirates and dance to yo ho a pirate’s life for me & the jake & the neverland pirates theme song
  10. Make mickey oreos
  11. Find the hidden mickeys around the house (cut them out with my cricut and hung them around the basement)
  12. Make a Disney water bottle
  13. Watch Disney videos on you tube
  14. Play Disneyland or rush on xbox Kinect
  15. Make tags for the stroller and luggage
  16. Name the 3 rides you are most looking forward to.
  17. Make mickey mousse. 
  18. Have a Disney Pajama party and watch a Disney movie.
  19. What should we do if we get lost? Make tattoos with phone number.
  20. Make mickey pancakes
The kids loved having fun activities everyday and I loved that it kept me on task to get some trip preparations done in advance. This really did create a great atmosphere in our home before leaving on our trip!

Inspired by:
Mickey Mousse We used Oreo pudding and added the chocolate mickey on top.
Mickey Oreos We used Nerds for buttons.

Wednesdays through January

Linking with:

P.S. Don’t forget to sign up for free Tipsy updates via RSS or email.
We have decided to truncate our feed to help protect against stolen content. I apologize for any inconvenience. Please love us anyway. πŸ™‚

Sesame Street Birthday Party

November 13, 2012 By Michelle Barneck 12 Comments

My little guy has a big thing for Elmo and Cookie Monster. So when birthday time rolled around it was an easy choice to do a Sesame Street birthday party. The primary colors were great and I had a blast adding faces to everything I could.


Elmo loves his crayons so we set up a coloring table and a bubble machine to entertain the guests while everyone arrived. I had no idea what a hit the bubble machine would be!

Each games prize coordinated with the character. Pin the nose on Elmo gave goldfish crackers (like Elmo’s pet Dorothy) in a fish bowl. Oscar’s trash toss players received gummy worms (like his pet Slimey). Ernie’s duck pond players kept their rubber ducky and also got  silly straw or punch ball depending on what number their duck said on the bottom.

Each guest got also took home Sesame Street character playdough, Cookie Monster’s cookies, an Elmo book and Sesame Street character bubbles.

Hints for creating a budget friendly yet swanky Sesame Street party:

HINT #1 Use your (or your friends) craft cutter to your advantage!

This is the first party I have done with my Cricut mini and it was a huge help! Choose from TONS of Cricut Cartridges! I used the Cricut Sesame Street – Friends Cartridge to make:

  • Lincoln Street sign (Sans Serif font)
  • Playdough, bubble and drink Sesame Street character faces
  • Cookie Monster Shirts – heat transfer on blue shirts
  • Dorothy on fish bowls
I used other cricut shapes like scallops, circles, and labels to make:
  • Lincoln is Two banner
  • Sesame Street character faces (Scallop-Snowflke from Best images of 2009 cartridge)
  • Food, game, and prize labels (DnceTeam Label from Twinkle Toes cartridge with Sesame Street Elmo’s Party font)
Want to know my other secret weapon? 
HINT #2 Discount stores! Shopping smart at budget friendly stores for your party does not have to look well…cheap.
Dollar Tree supplies:
  • Playdough
  • Elmo Books
  • Bubbles
  • Mondo drinks
  • Cookie Monster juice
  • Clear fruit & veggie platters
  • Silly Straws
  • Punch balls
Wal-mart supplies:
  • Bubble machine
  • Chips Ahoy individual packs
  • Crayons
  • Cupcakes (ordered cupcakes with blue grass tip frosting and finished myself with candy melts and chocolate chips for eyes and a chips ahoy mini cookie)
Ikea:
  • Mini canister “fish bowls”
  • Oscar’s trash bucket
HINT #3 Tie it all together with a fun color scheme or pattern. We stuck with primary colors and tied all the areas together using red polka dot wrapping paper. It was 50% off in the Christmas section at Hobby Lobby and cost me $4. I think it took the party to another level.
HINT #4 You don’t have to reinvent the wheel. Be inspired by other parties with similar themes and put your own spin on it.
I was inspired by many other parties as you can see on my Perfect Party Pinterest board. Here are the references I used specifically…
Ernie’s Duck Pond and Oscar’s Trash Toss
Cookie Monster Cupcakes
Fruit and Veggie Sesame Street Character Faces
Sesame Street Character Faces on take homes
Chocolate covered Elmo Oreos
Scallop Sesame Street Character Heads
Dorothy Fish Bowls

Good luck planning your own Sesame Street Party! 
I’d love to see it!

Linking with:
Thirty Handmade Days
We have decided to truncate our feed to help protect against stolen content. I apologize for any inconvenience. Please love us anyway. πŸ™‚
« Previous Page
Next Page »

  • Bloglovin
  • Facebook
  • Google+
  • Instagram
  • Pinterest
  • RSS
  • Twitter

Hi there! I'm Michelle. Mother of three little boys and one little princess. Welcome to A Little Tipsy, a place for exploring creativity and sharing inspiration.

Follow on Bloglovin


Visit Michelle Barneck {A Little Tipsy}'s profile on Pinterest.

Tutorials by Category


15 Family Reunion Games

Family Reunion Games Collage

15 Sprinkle Party Ideas

Sprinkle Birthday Party
Creative Commons License

© Copyright 2014 A Little Tipsy · Site Designed by The Fairy Blogmother · Web Hosting by RFE Hosting

This website uses cookies to improve your experience. We'll assume you're ok with this, but you can opt-out if you wish.Accept Read More
Privacy & Cookies Policy