This Mickey shirt literally took me a few minutes and was so easy! I used Silhouette heat transfer and used my craft cutter to make a Mickey using a free image I found online. Then just iron it on and you are good to go!
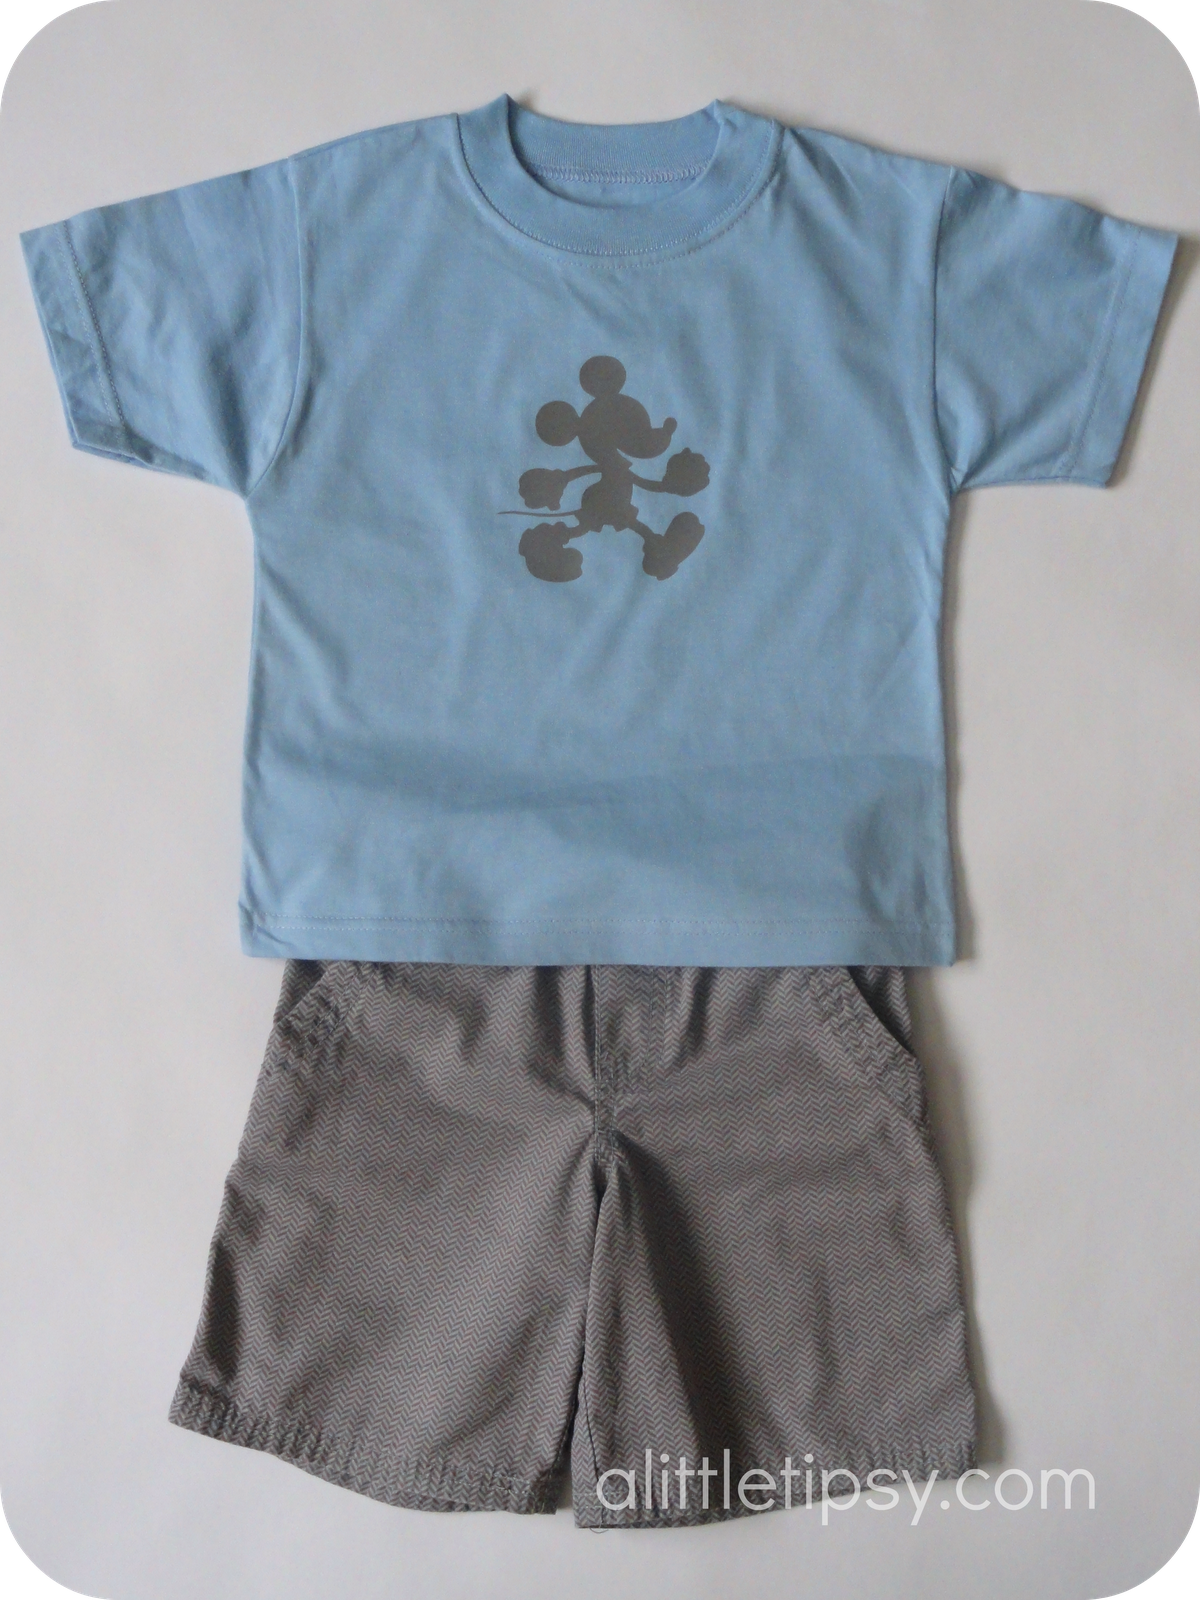
I got the t-shirts at the dollar store and here’s the comical part they only had size 3T in this color, but it fit both my four year old and my two year old. We lovingly refer to them as stick and brick.
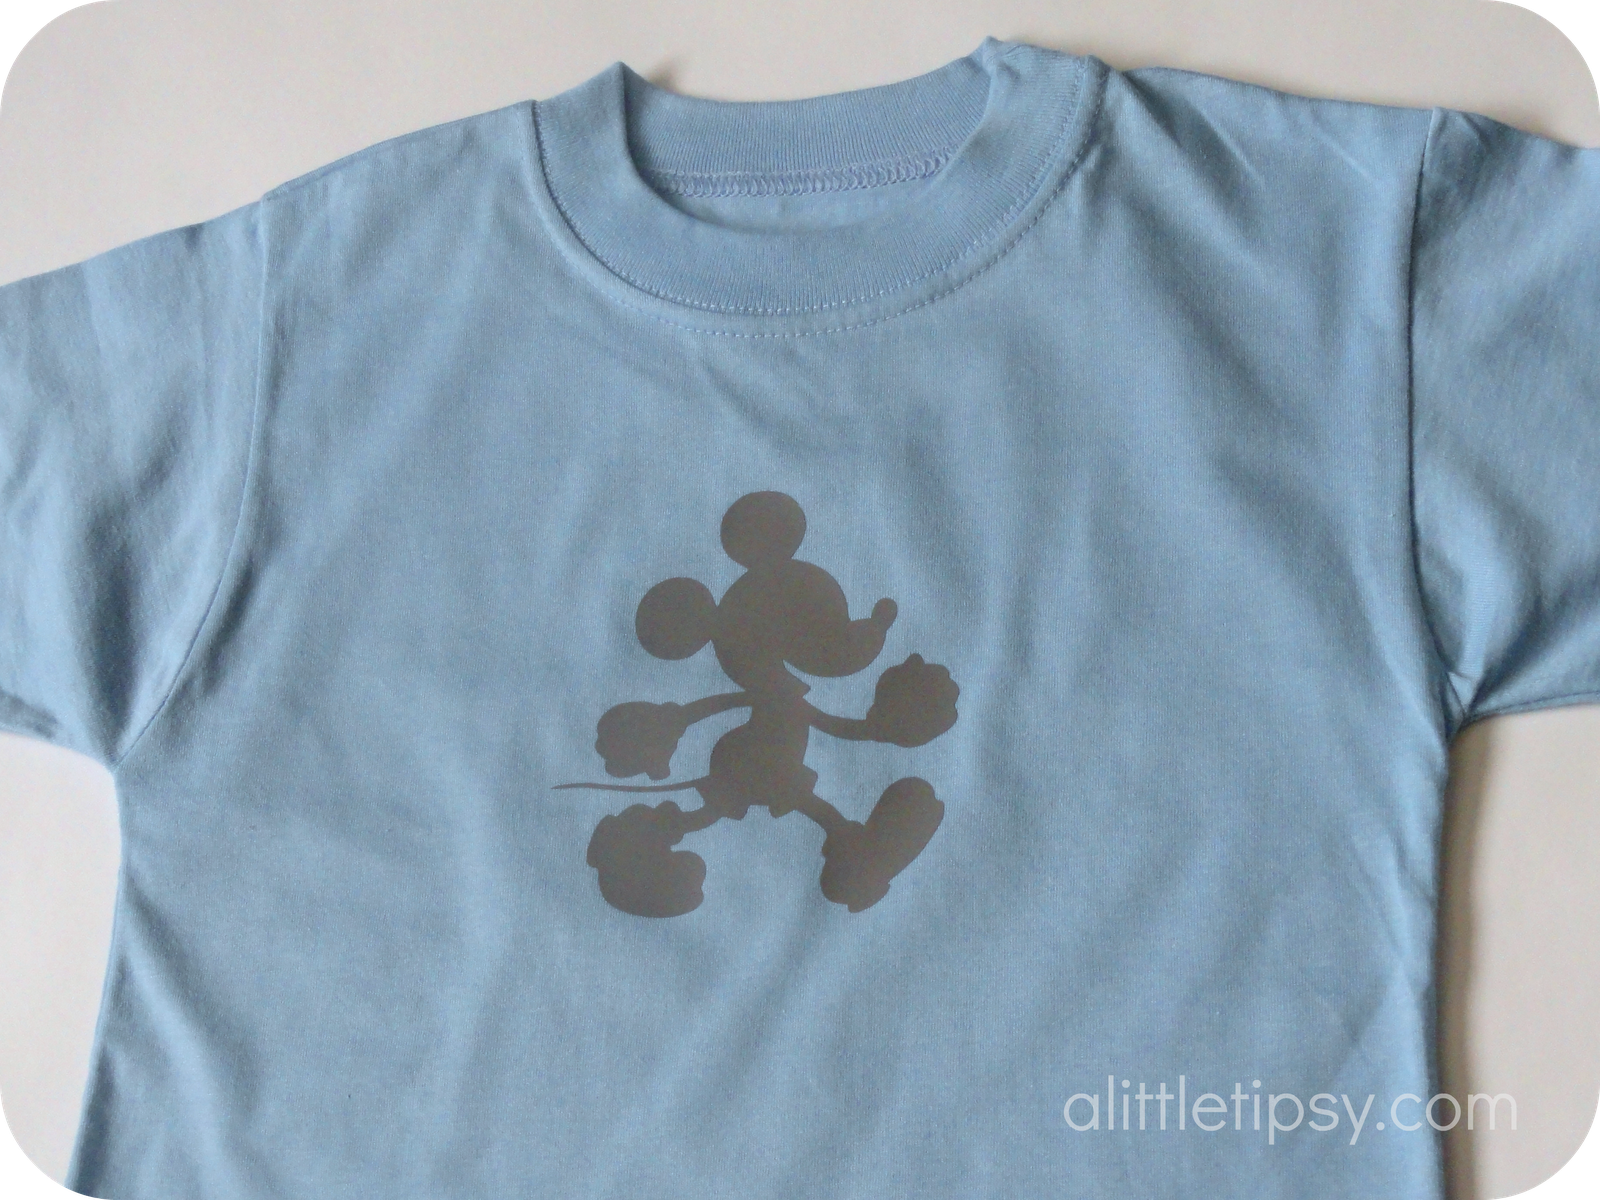
I did find that the gray heat transfer was a bit more temper mental than the black and white. I had to go over it with the iron several times especially on the edges to get it to adhere properly.

I love the simplicity and had multiple tourists at Disneyland ask where we got them. It was one of our most popular shirts from the trip (we made 13 shirts), second only to the Tangled shirts that will be debuting next month.
For more fun Disney projects, be sure to visit others in our Disney DIY series including Disney countdown with activity ideas, DIY Disney tattoos, Mike Wazowski shirt and more.
P.S. Don’t forget to sign up for free Tipsy updates via RSS or email.
I LOVE this shirt!! I think I need to do some searching for that Mickey silhouete. 🙂 We leave Feb 1st for WDW!!
I haven’t had any luck finding a Mickey shape to cut with my silhouette. Can you share where you found the one you used? Thanks!