A Little Tipsy

Creative Tips & Ideas

  • home
  • About Me
  • the tipsy top
  • press
  • projects
  • contact me
[print_thumbnail_slider]

Valentine Crafts: Framed Heart Art

January 26, 2012 By Michelle Barneck 8 Comments

I needed a little something for my Valentine’s shelf. We whipped up this heart art that is a fun Valentine craft for the kids while doubling as a piece of home decor.

Valentine Crafts: Framed Heart Art
Supplies:
Paper or cardstock
Scissors
Stapler
White glue
Plate
8×10 frame
1. Cut paper in to strips (about 4 inch x 1/2 inch).
2. Make in to hearts by putting two strips together, stapling the top, pulling the bottom out and around to make a heart shape and stapling the bottom. We alternated having the pattern on the outside and inside of the hearts.
3. Dip the edge of the heart in white glue.

4. Place heart on your piece of cardstock cut to fit your frame. Repeat until you have your desired look.
5. Take glass out of frame and put your Valentine craft in.
Display your Valentine Crafts for all to see! My little guy is so proud to have something he helped with displayed so prominently in our front room.
Linking up:
Get Your Craft On

P.S. Don’t forget to sign up for free Tipsy updates via RSS or email.

We have decided to truncate our feed to help protect against stolen content. I apologize for any inconvenience. Please love us anyway. 🙂

Valentines Recipe: Red Velvet Waffles

January 24, 2012 By Michelle Barneck 9 Comments

If you’ve been with us a while, you are probably aware of my love of themey food. I saw this red velvet crepe recipe on Pinterest and loved it, but I’m kinda lazy and thought it was made with a cake mix (I know, blasphemy for some of you). Not so. So I decided to take things in to my own hands and make a Valentine’s recipe using a red velvet cake mix. Oh yes, I did.

Valentines Recipe {Red Velvet Waffles}

How you do it depends on how you want it. We made a breakfast version and a dessert version.
Dessert Waffle (Soft & cake like)
Mix up the cake mix according to package directions and pour in to waffle maker. Cook as usual. It comes out as a waffle shaped piece of cake in a few minutes! Tops with Strawberries and whipped cream or chocolate sauce or frosting and ice cream. Whatever you love!
Breakfast Waffle (Waffle like: crunchy outside with cake inside)
Mix up Bisquick and Cake mix separately according to package directions.
Mix together 1 part prepared cake batter to 4 parts Bisquick batter. (We did 1 cup Bisquick to 1/4 cup cake mix)
Pour in Waffle Maker and cook as usual.

We topped ours with homemade Strawberry jam (warmed to a syrupy state) and whipped cream. Daddy likes a little…
But, mommy likes a LOT!
MMmmm!
We have a small family, so after making our breakfast style waffles I poured the rest of the batter into a square pan and baked it up as a cake for later that night.
What’s your favorite Valentines recipe?

P.S. Don’t forget to sign up for free Tipsy updates via RSS or email.

We have decided to truncate our feed to help protect against stolen content. I apologize for any inconvenience. Please love us anyway. 🙂

New Years Eve

December 27, 2011 By Michelle Barneck 12 Comments

Hi everyone, I’m Angie and I’m really excited to be guest posting for Michelle!

I blog over at Burton Avenue where I love to share simple and inexpensive craft projects. I especially love all things vinyl! I have been blogging almost 4 years, but never really liked sharing craft projects on our family blog. So, earlier this year, Burton Avenue began.

I have been married for 10 years and we have 6 cute little kiddies (9 years and under). They keep me busy! I love blogging because it gives me a chance to take a break from the day to day tasks of being a mom and keeps my creative juices flowing.

With only a week between Christmas and the new year, there isn’t much time left to decorate for a New Year’s Eve bash. No worries, because I’ve got a project that’s quick and easy and is sure to add some pizazz to your party.

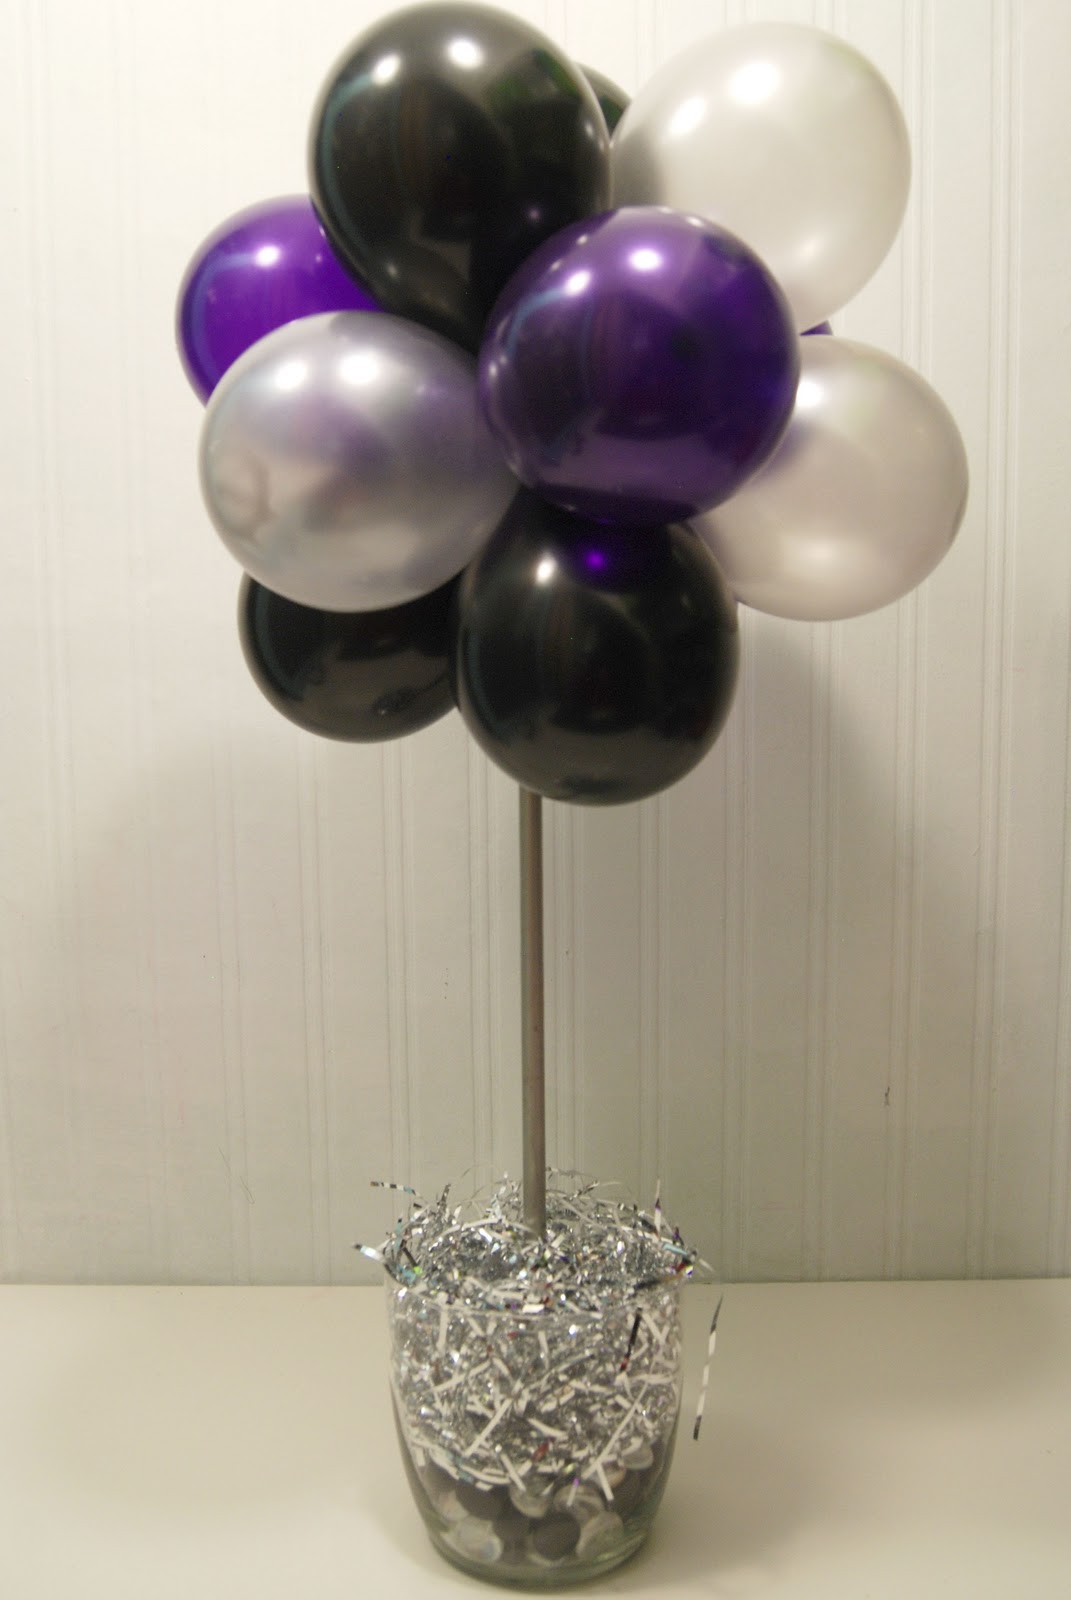
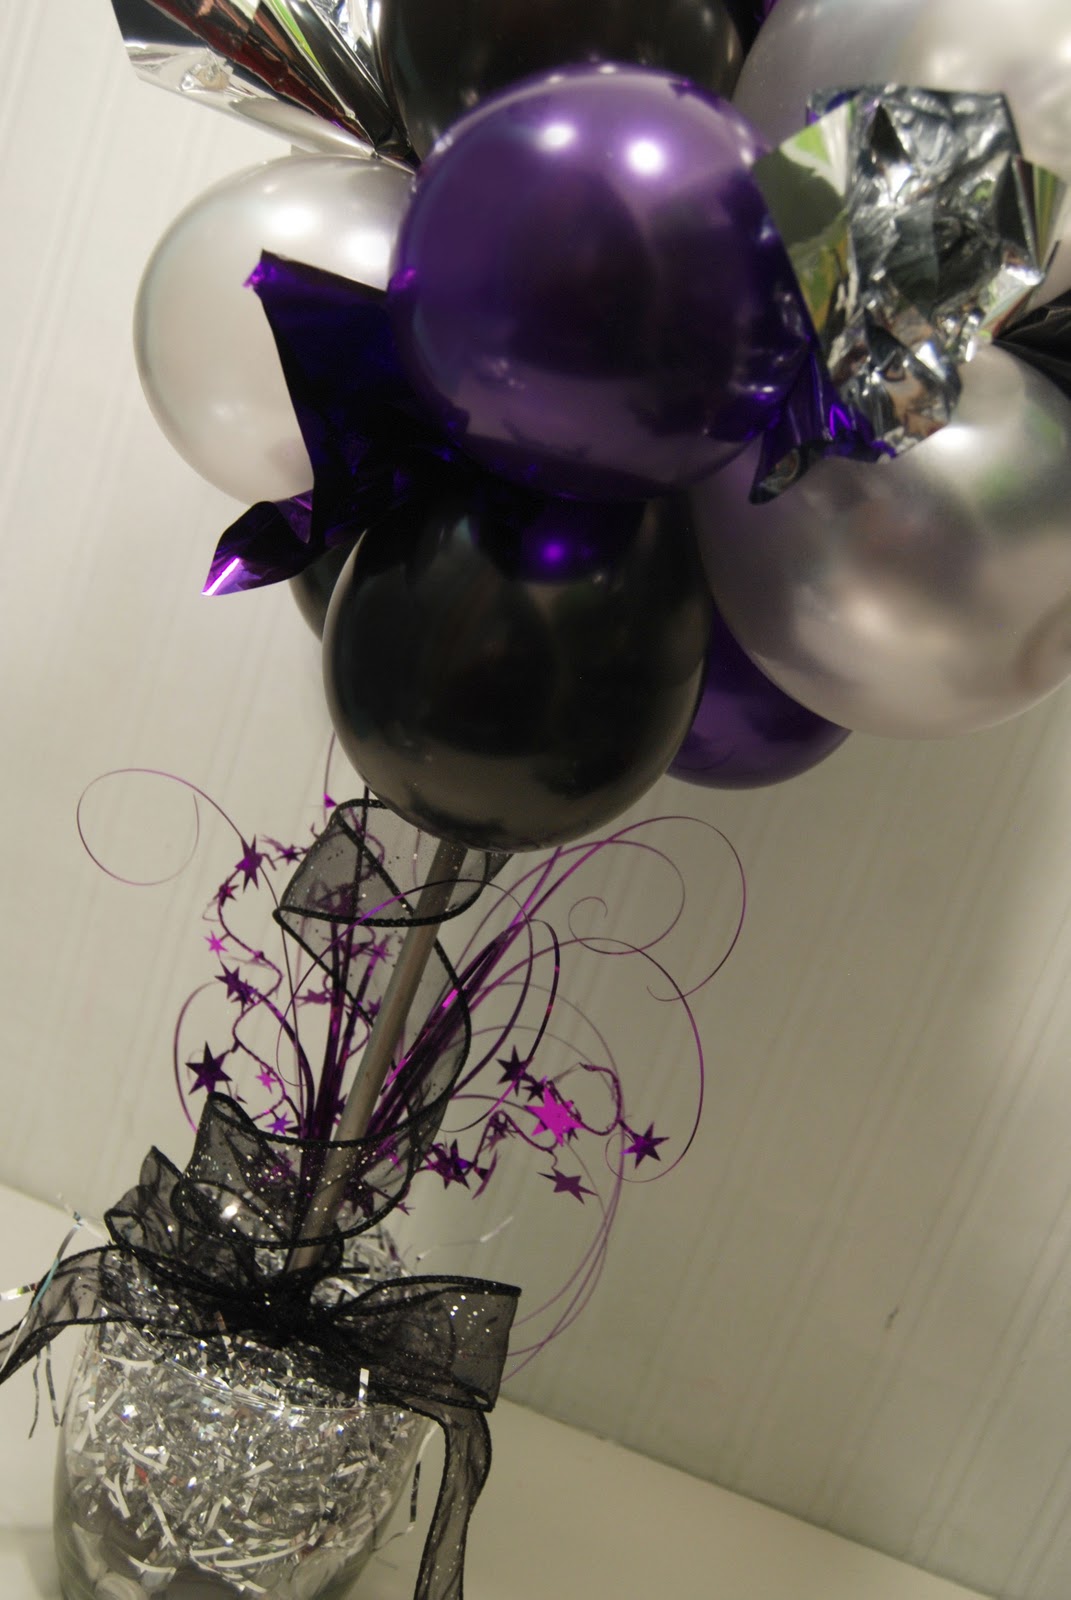
I’m going to show you how to make this cute balloon topiary.

Here is what you will need:

12 – Small Balloons (I used 5″ balloons)

16″ Dowel (painted to match your color scheme)

Styrofoam

Small Vase

Marbles, Shreds, or other Filler for the Vase

Foil Sheets (optional)

Star Sprays (optional)

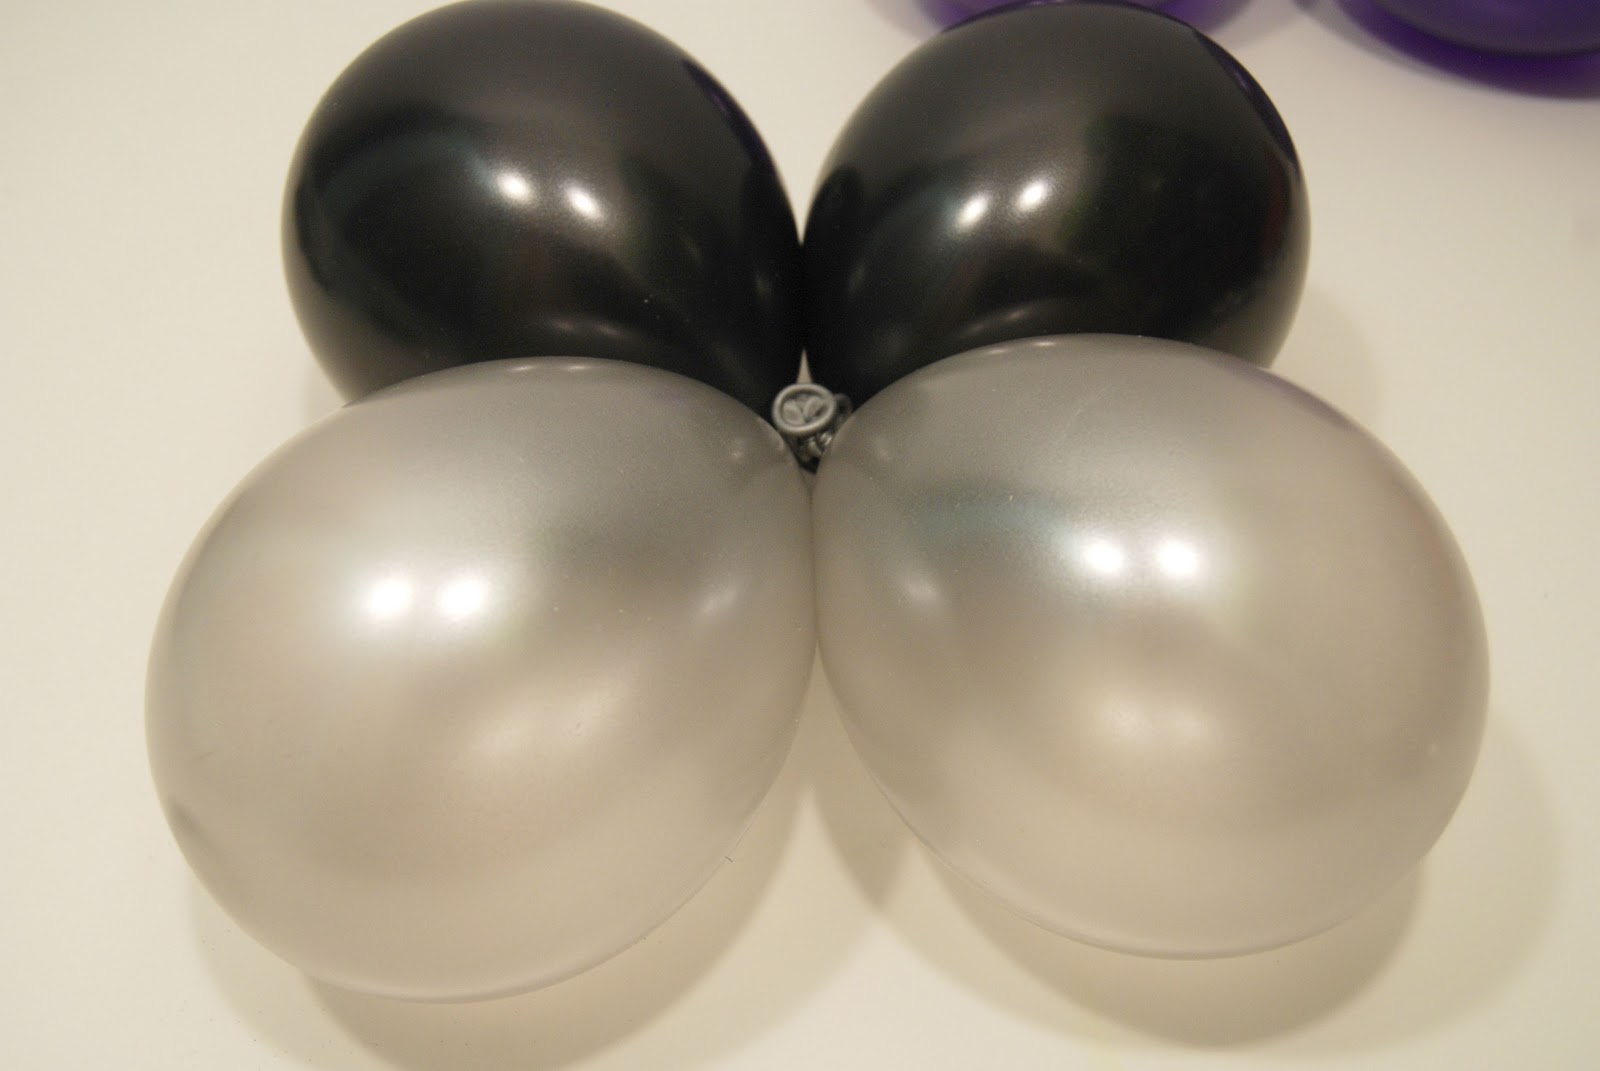
First, inflate the balloons (try to make them the same size). Tie the necks of two balloons together and repeat until you have six groups.

Next, place one group over another group. Lock the two together by twisting the necks around each other.

Repeat with a third group, there should now be six balloons in this cluster. Do the same with remaining groups, so you end up with two big clusters (each with 6 balloons).

Now, put the two clusters together and twist the necks of a couple balloons around each other. You will end up with a ball that looks like this. You can move the balloons around until the colors and shape look good. I hope that all made sense (it’s way easier than it sounds).

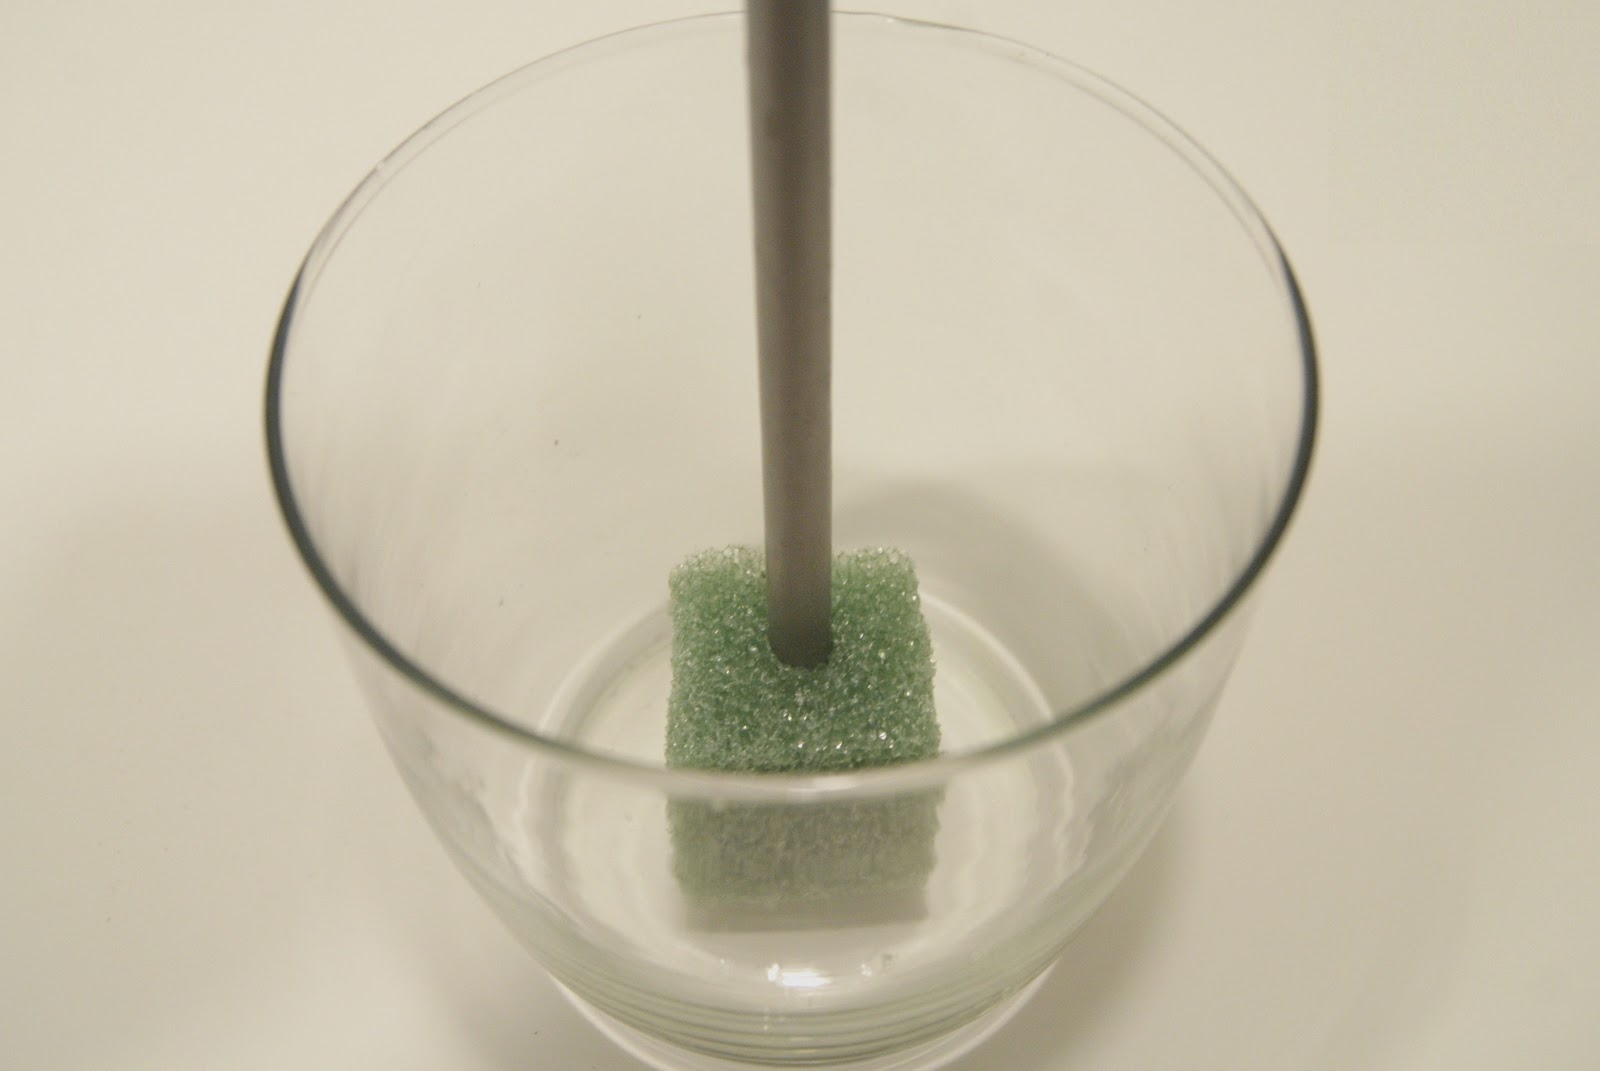
Set that aside for a bit and let’s start on the base. Stick your dowel into a piece of styrofoam and place it in the bottom of your vase. You may need to glue it down to keep it from tipping. Add marbles or other decorative items to fill the vase.

Place the top of the dowel in the center of your balloon cluster. You don’t need to glue it, just twist a couple of balloons around it to keep it in place.

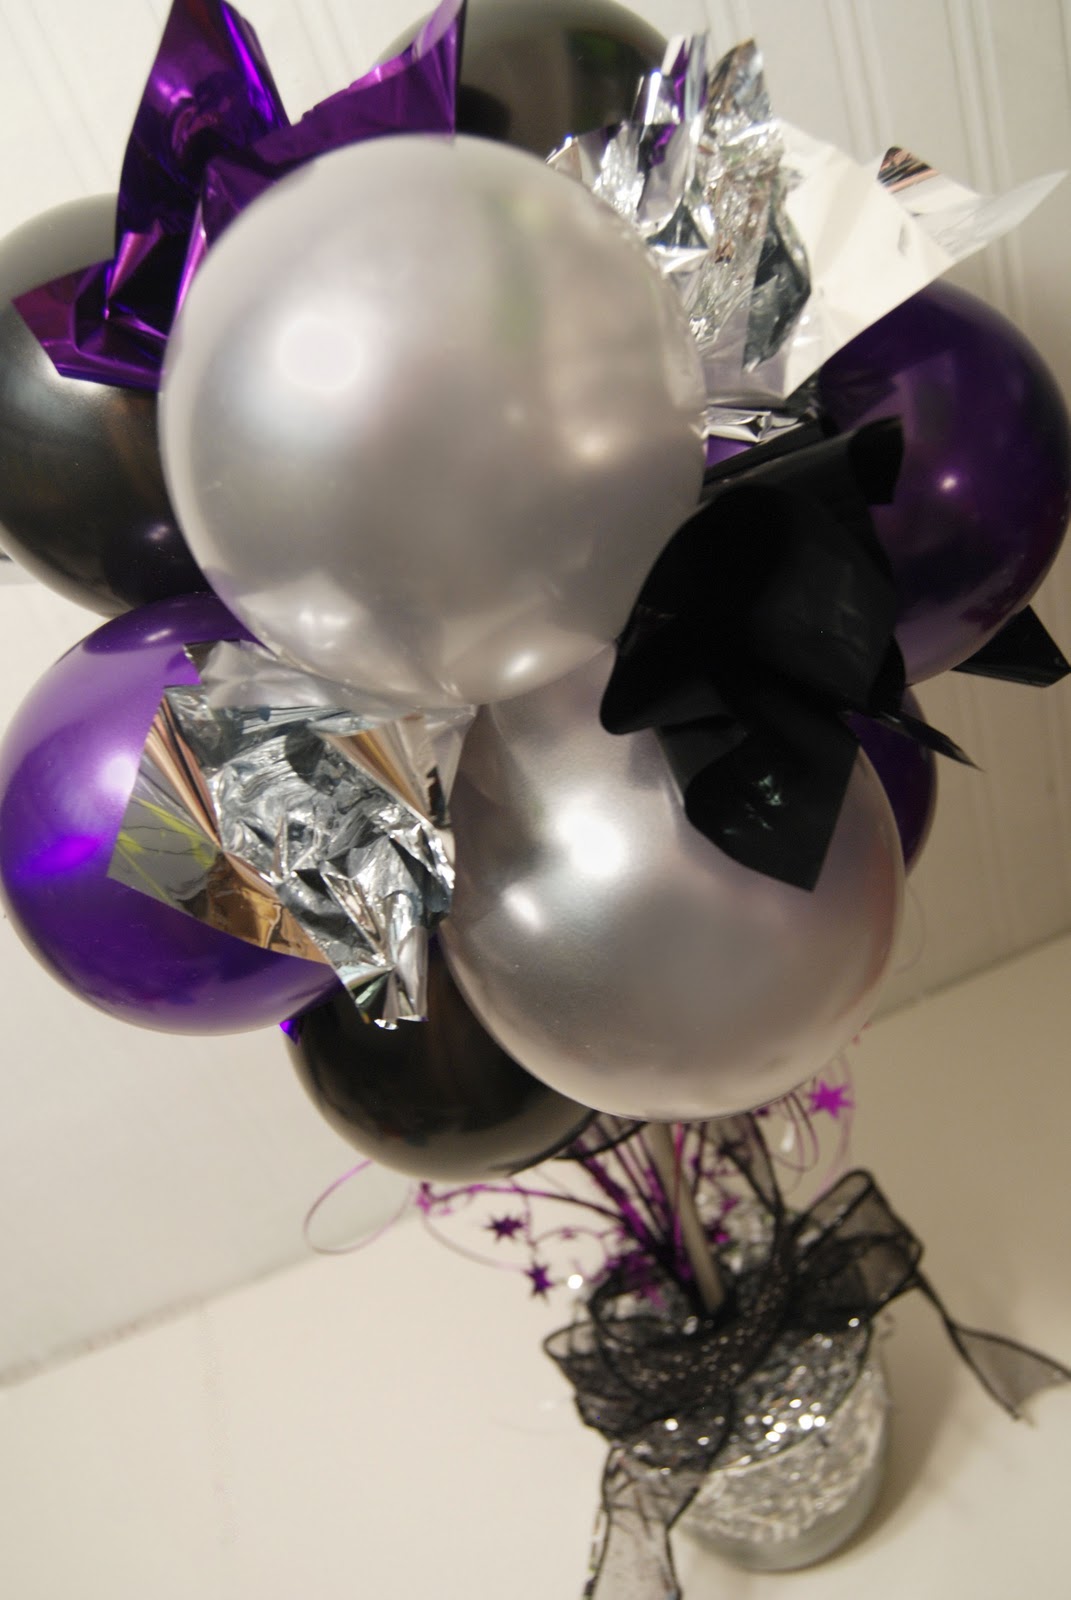
It’s cute and simple like this, but I like to dress it up a bit more. Tuck some ribbon into the center of the cluster and wrap it loosely around the dowel a few times. Tie down the other end with another piece of ribbon and then make a bow.

Cut 5-6″ squares from foil sheets or tissue paper and stick between the balloons. Repeat all over the ball and fluff until it looks good.

Finally, for some more color, add a cute star spray to the base.

Isn’t it fun and festive?

And, since balloons come in so many different colors, you can make a topiary to match any party decor!

Thanks, Michelle for inviting me! I hope you all enjoyed this tutorial and will come over and visit me at Burton Avenue.

———————————————————————-
Isn’t Angie great?! This is a totally fun idea for a New Year’s celebration. You could even disassemble it at the end of the party and let the kids pop the balloons as party to ring in the New Year! Thanks Angie for such a cute idea!

P.S. Don’t forget to sign up for free Tipsy updates via RSS or email.

We have decided to truncate our feed to help protect against stolen content. I apologize for any inconvenience. Please love us anyway. 🙂

Make a Tree Topper with A Law Student’s Journey

December 19, 2011 By Michelle Barneck 1 Comment

Happy Holidays and thank you Michelle for having me over to guest blogging today! I’m Kitty from A Law Student’s Journey . I’m a 2nd year law student, who blogs about crafting my way through law school. A few weeks into my first year, I realized I need an outlet that could completely take my mind off school…and I decided on blogging!

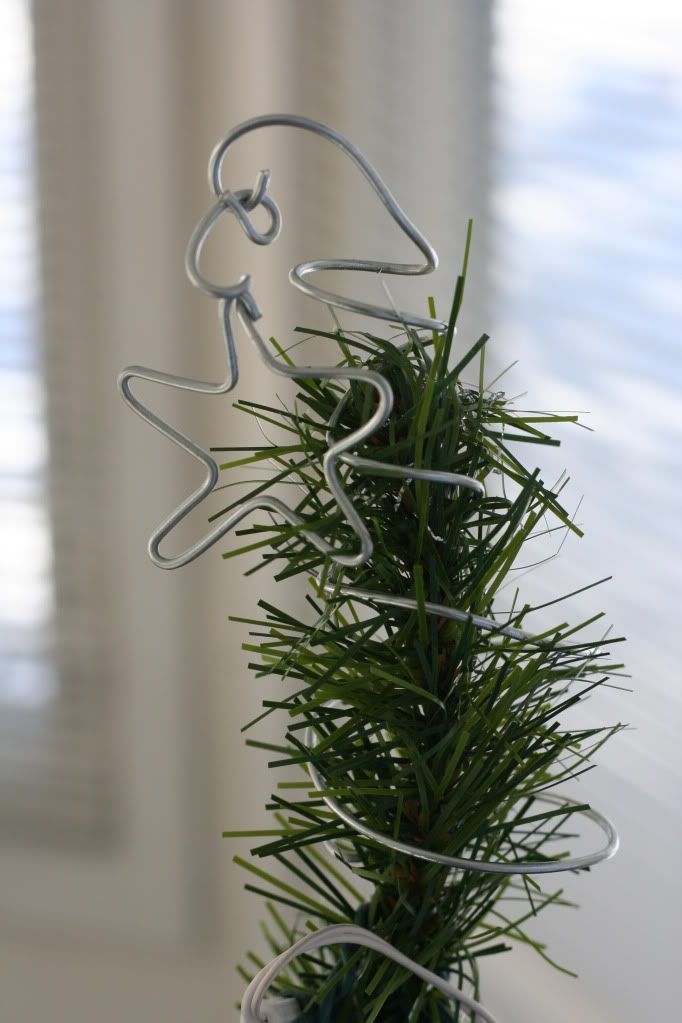
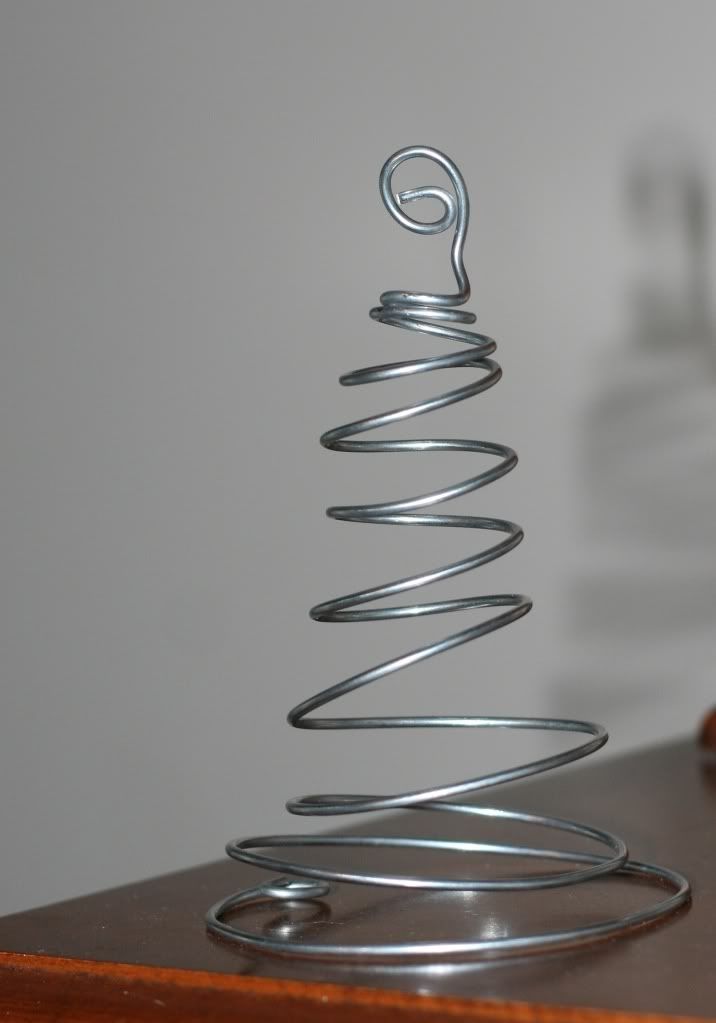
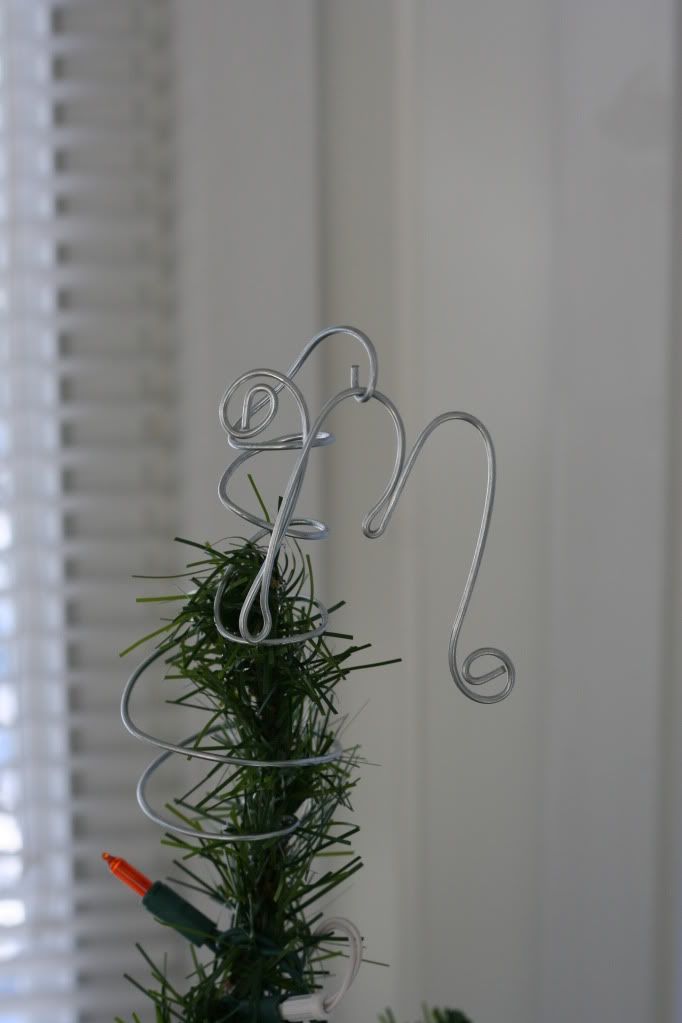
Today, I wanted to share a little holiday craft for your Christmas tree! I worked on this little Wire Tree Topper to share with you all!

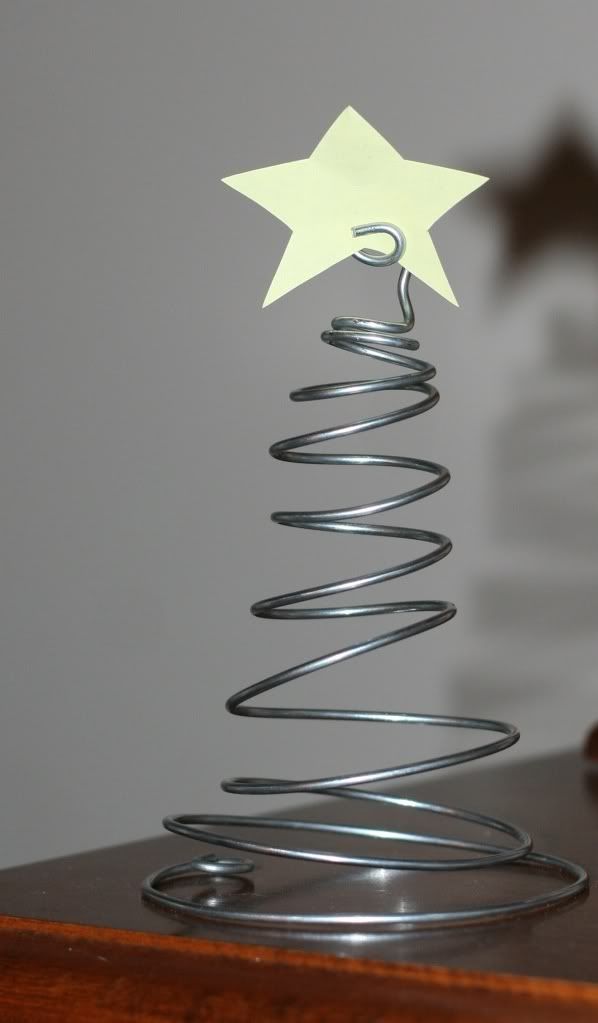
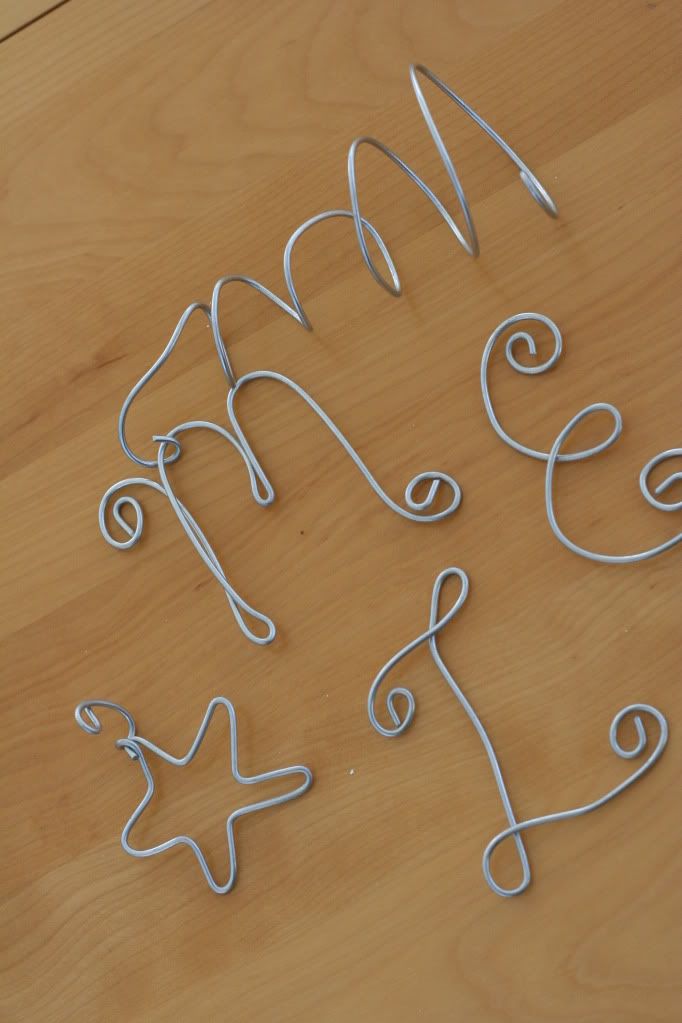
The fun part is- you can customize it and hang whatever you’d like from your topper- a wire monogram for your family, a star, a prized ornament or possibly an elf on the shelf (for those of you who have started that family tradition)
Make a Tree Topper
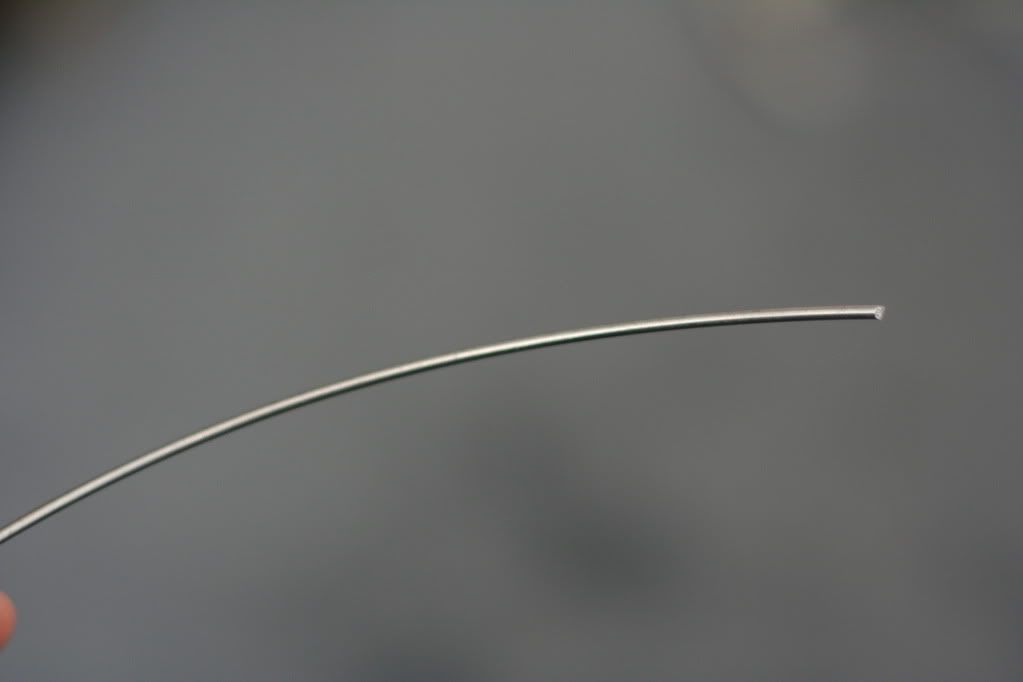
This works great with in thick wire. I had some laying around the house from other crafts, but you can pick some up at a craft store, hardware store, or use a wire hanger!

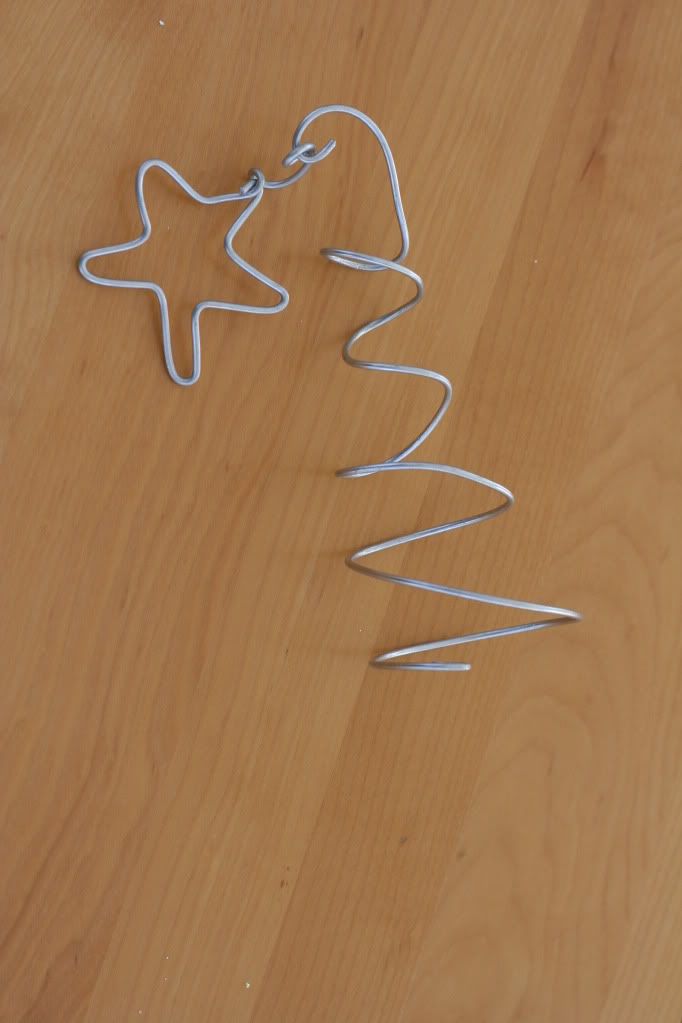
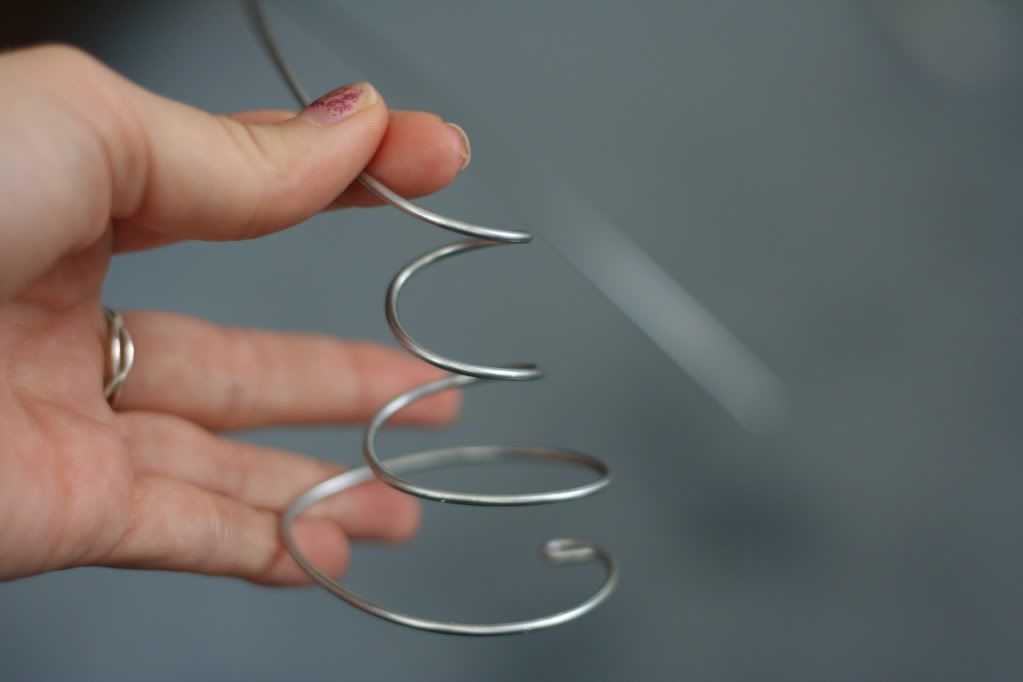
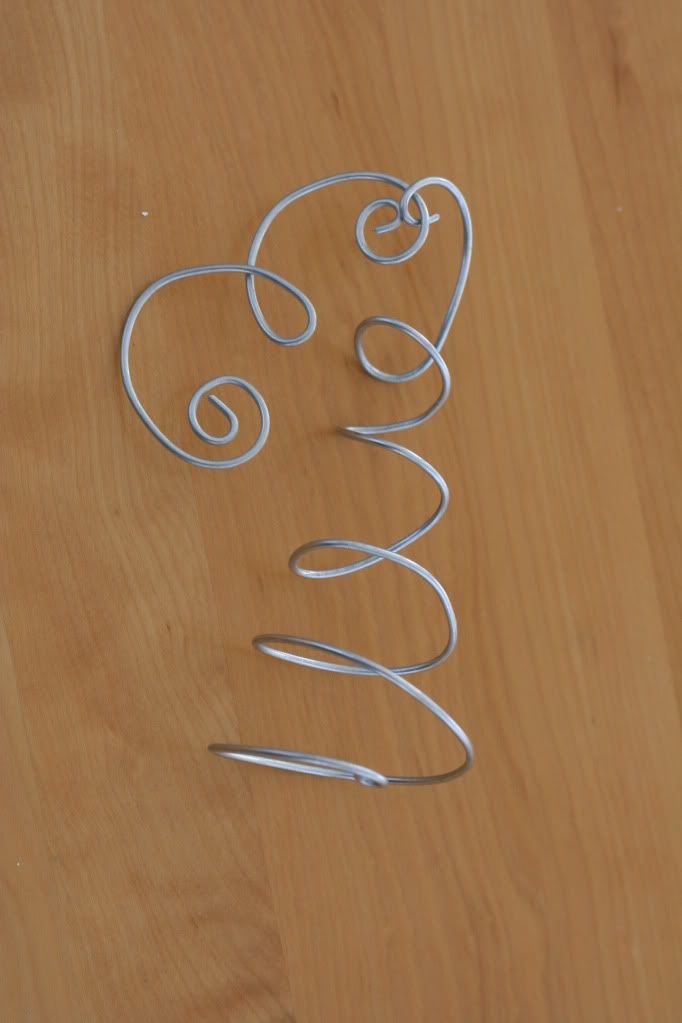
You’ll want to first make a long skinny wire cone shape to fit on the top branch of your tree. You can work with it to fit your tree particularly, but these are a pretty universal design to balance on the top of your tree!
I used pliers to bend it into the cone shape, but you can also find a cone shape around your house, and bent it around for a more symmetrical design.
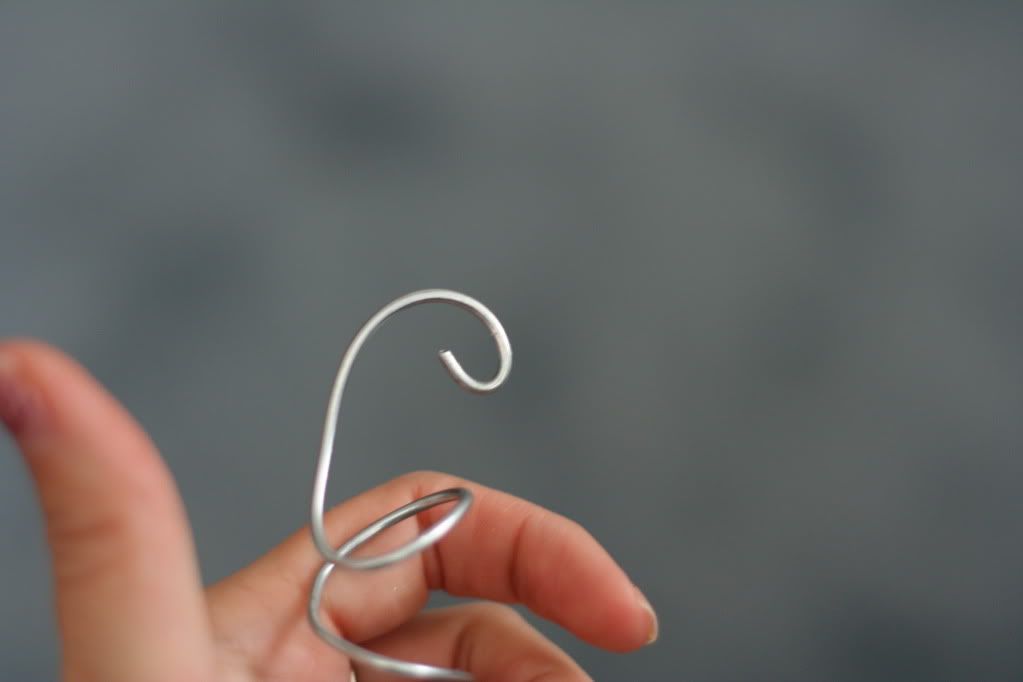
I always loop the bottom of my wire first, no need for anyone to be cut on the ends!

Then top it off with a hook. That way you can hang your designs from it!

Or if you’d rather, make a swirl, and you are able to stick photos, paper projects, or make a larger swirl and cut a star out of paper, and let your children decorate it!
You can use the spare wire to create other designs- spell out an inspirational Christmas word like “hope” or “faith” or you can make a monogram for your family!

Hope you all enjoyed the post and try to make a tree topper of your own! Thanks again Michelle for opening up your blog to me!
Please feel free to stop by A Law Student’s Journey to say “hi”! Check out other popular tutorials here, including the secret to the Starbucks Caramel Apple Spice, just in time for the holidays!
I’d love for you to visit my etsy as well- and use the code FRIENDS for 10% off your order!
———————————————————————–
Thanks Kitty! I feel a little bit of Whoville in those whimsical tree toppers! I love the idea of using them to hold photos too. I may have to make a tree topper of my own, oooh, or a slightly altered version with the monograms could be fun additions to my sweater stockings!

P.S. Don’t forget to sign up for free Tipsy updates via RSS or email.

We have decided to truncate our feed to help protect against stolen content. I apologize for any inconvenience. Please love us anyway. 🙂
« Previous Page
Next Page »

  • Bloglovin
  • Facebook
  • Google+
  • Instagram
  • Pinterest
  • RSS
  • Twitter

Hi there! I'm Michelle. Mother of three little boys and one little princess. Welcome to A Little Tipsy, a place for exploring creativity and sharing inspiration.

Follow on Bloglovin


Visit Michelle Barneck {A Little Tipsy}'s profile on Pinterest.

Tutorials by Category


15 Family Reunion Games

Family Reunion Games Collage

15 Sprinkle Party Ideas

Sprinkle Birthday Party
Creative Commons License

© Copyright 2014 A Little Tipsy · Site Designed by The Fairy Blogmother · Web Hosting by RFE Hosting

This website uses cookies to improve your experience. We'll assume you're ok with this, but you can opt-out if you wish.Accept Read More
Privacy & Cookies Policy