A Little Tipsy

Creative Tips & Ideas

  • home
  • About Me
  • the tipsy top
  • press
  • projects
  • contact me
[print_thumbnail_slider]

Boy Week: Turkey Craft

November 17, 2010 By Michelle Barneck 3 Comments

Hi. I’m Tauni from It’s a Tradition. I am so excited to be guest posting on A Little Tipsy today.

Its a Tradition

Like Michelle, I am surrounded by boys. I am always looking for fun things to create with them…Some of them, like the Halloween cookie house we created, fall flat. Others, like this fun turkey hat, are such a hit they become a tradition…

I think the kids table is more fun than ever with this playful turkey hat, with brightly colored feathers and the ever popular googly eyes!

Pottery Barn inspired turkey hat

This is a simple project that takes about an hour at most. Not only that, but most of the items can probably be found around the house…

Pottery Barn inspired turkey hat supplies

Start with a piece of fabric that wont fray. In the photo of the finished turkey hat above, I used brown felt. For this tutorial however, I used yellow fleece. The best thing about fleece is that it has a bit of stretch in it – you can make a one size fits all!

Pottery Barn inspired turkey hat Step 1

With your fabric folded, cut out a strip of fabric. For my headbands I cut the fleece a little big – 18 inches long – because I couldn’t measure all of the kids heads…I went with three inches wide.

Pottery Barn inspired turkey hat Step 2

Once your fabric is trimmed, sew around all of the edges. I went with a straight 1/4 inch seam (but I have also used a zig zag stitch). When finished, it should look like this:

Pottery Barn inspired turkey hat Step 3

Next, prepare the body of the turkey. I’ve tried this two ways. I created a pattern for the first set I made. You can pick it up over on my blog It’s a Tradition. For this set of hats however, I decided to wing it and see how hard it would be…

For the body of the turkey, I used two sides of a class as a guide.

Pottery Barn inspired turkey hat Step 4

Pottery Barn inspired turkey hat Step 5

Next up, the feathers. Again, I winged it 🙂 Just sketched the feathers out on some felt, but the patter is available over on my blog.

Pottery Barn inspired turkey hat Step 5

With felt, I like to do a lot of the sewing before I cut the shapes out. Sew around the edges of the body, leaving a little room at the bottom for stuffing. Sew all the way around the edge of the feathers and then straight up the center…

Once the items are sewn up, go a head and cut them out with scissors (don’t worry if the shapes aren’t perfect, it all works out).

Pottery Barn inspired turkey hat Step 6

Once everything is cut out, arrange the feathers on the headband.

Pottery Barn inspired turkey hat Step 7

I pinned the feathers down and then stitched along the bottom of each to secure them (with the bigger feathers in the pattern, it may be helpful to tack them down up higher as well).

Once the feathers are stitched on, go ahead and add the body. I simply stitched around the outside of the turkey’s body again. Glue on googly eyes, gobble gobble and beak (yes, I forgot the beak in this case).

Next, add a little velcro to the edges of the hat so that it can be adjusted and secured. You just need to use the rough side, as it will stick directly to the fleece.

Pottery Barn inspired turkey hat Step 8

Super great! You’re all done. Unless you want to add some embellishments…We added names to ours.

Pottery Barn inspired turkey hat Step 9

Even with the embellishments, these aren’t as fancy as some of Pottery Barn’s hats, but hey we’re talking boys here. Cutesy just doesn’t fly!

If you like this project stop by my blog. This week, I am posting alternate versions of the Thanksgiving hat. And, though I don’t have any girls, I’ve even come up with a girls hat…

Thanks Michelle. It was fun participating in your boys week!

————————————————————————

Thanks Tauni for such a fun turkey craft just in time for Turkey day!

P.S. Don’t forget to sign up for free Tipsy updates via RSS or email.

We have decided to truncate our feed to help protect against stolen content. I apologize for any inconvenience. Please love us anyway. 🙂

Cereal Treat Sunday-Pumpkin Spice Rice Krispie Treat

October 31, 2010 By Michelle Barneck 3 Comments

A little twist can make a big, big, difference! These are like no rice krispie treats you have ever tasted. So add a little spice to your life and give them a whirl!

Pumpkin Spice Rice Krispie Treats

Ingredients:

  • 3 tablespoons butter or margarine
  • 1 package (10 oz., about 40) regular marshmallows
  • 4 cups Rice Krispies
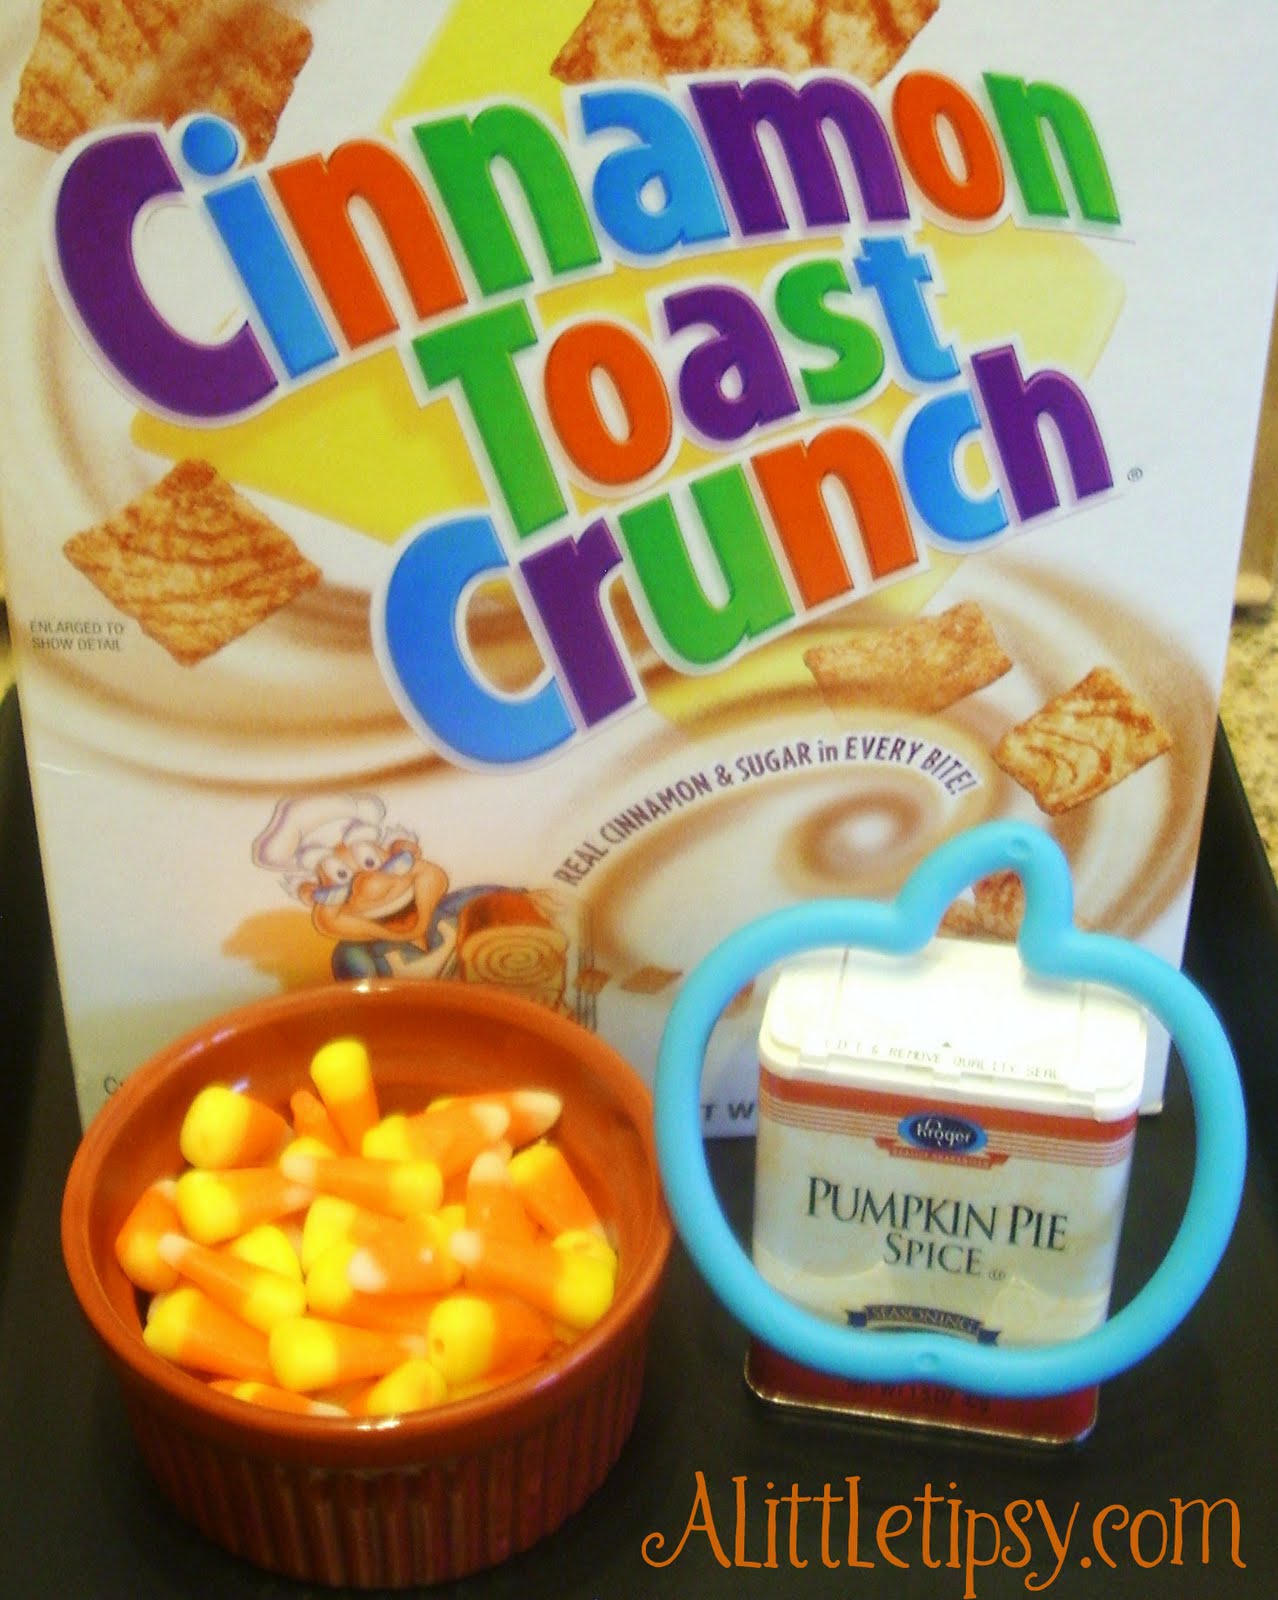
  • 2 cups Cinnamon Toast Crunch
  • 1 teaspoon Pumpkin Pie Spice
  • Candy corns optional

1. In microwave-safe bowl heat butter and marshmallows on high stirring once a minute, until smooth. Stir in Pumpkin Pie spice.

2. Add Rice Krispies and Cinnamon Toast Crunch cereal. Stir until well coated.

3. Using buttered spatula evenly press mixture into 13x9x2 pan coated with cooking spray. Cool.

4. Cut out with pumpkin cookie cutter and add candy corn faces if desired.

I think these are our favorite rice krispie treats yet! Our pan was half gone within the first two hours! Just leave the faces off and they would be great to have around for a Thanksgiving snack!

If you have a favorite cereal treat, please leave a link in the comments or send the recipe to me by email (tipsyblog@gmail.com) and maybe you will get featured.

Linking up:
Motivate me Monday
Market yourself Monday
Just Whipped Something Up
It’s So Very Creative
Fall Frenzy

P.S. Don’t forget to sign up for free Tipsy updates via RSS or email.
We have decided to truncate our feed to help protect against stolen content. I apologize for any inconvenience. Please love us anyway. 🙂

Cereal Treat Sunday-Nummy Mummy Recipe

October 17, 2010 By Michelle Barneck 6 Comments

Here’s a fun Halloween treat for you chocolate, marshmallow and peanut butter fans out there. This mummy recipe comes with a chewy crunch that will delight the taste buds and the eyes.

Nummy Mummy Recipe

Ingredients:
  • 7 cups Reese’s Puffs Cereal (I like it really gooey, use 8 cups if you like more cereal)
  • 2 bags marshmallows (1 bag to melt, 1 bag for mummy strips)
  • 1 bag milk chocolate chips
  • 5 Tablespoons butter
  • 1/4 cup light corn syrup
  • 1 teaspoon vanilla
  • powdered sugar
1. Pour cereal in to a large bowl. Butter or spray 13x9x2 pan.
2. Melt 1 bag marshmallows, chocolate chips, butter and corn syrup in a saucepan on medium low, stirring frequently until smooth. Remove from heat and add vanilla.
3. Pour marshmallow mixture over cereal and stir until well coated.

4. Press mixture into pan with buttered spoon or cooking spray coated hands.
5. Cut out circles using a glass or measuring cup. I used a 1 cup and they were huge.

6. Cover flat surface with powdered sugar and roll marshmallows until flat. Cut in to strips with kitchen shears.
7. Cover your cereal circle with strips until it looks like a mummy. (I used about 5 large marshmallows to cover one big treat.) Leave a slit for two Reese’s Puffs for eyes.

I guess that about wraps it up. ha ha ha.

MMmmm Nummy Mummy!

Linking up:
Motivate me Monday
Craftomaniac Monday
Market yourself Monday
Just Whipped Something Up
It’s So Very Creative

P.S. Don’t forget to sign up for free Tipsy updates via RSS or email.

We have decided to truncate our feed to help protect against stolen content. I apologize for any inconvenience. Please love us anyway. 🙂

Patriotic Ribbon Topiary

June 28, 2010 By Michelle Barneck 15 Comments

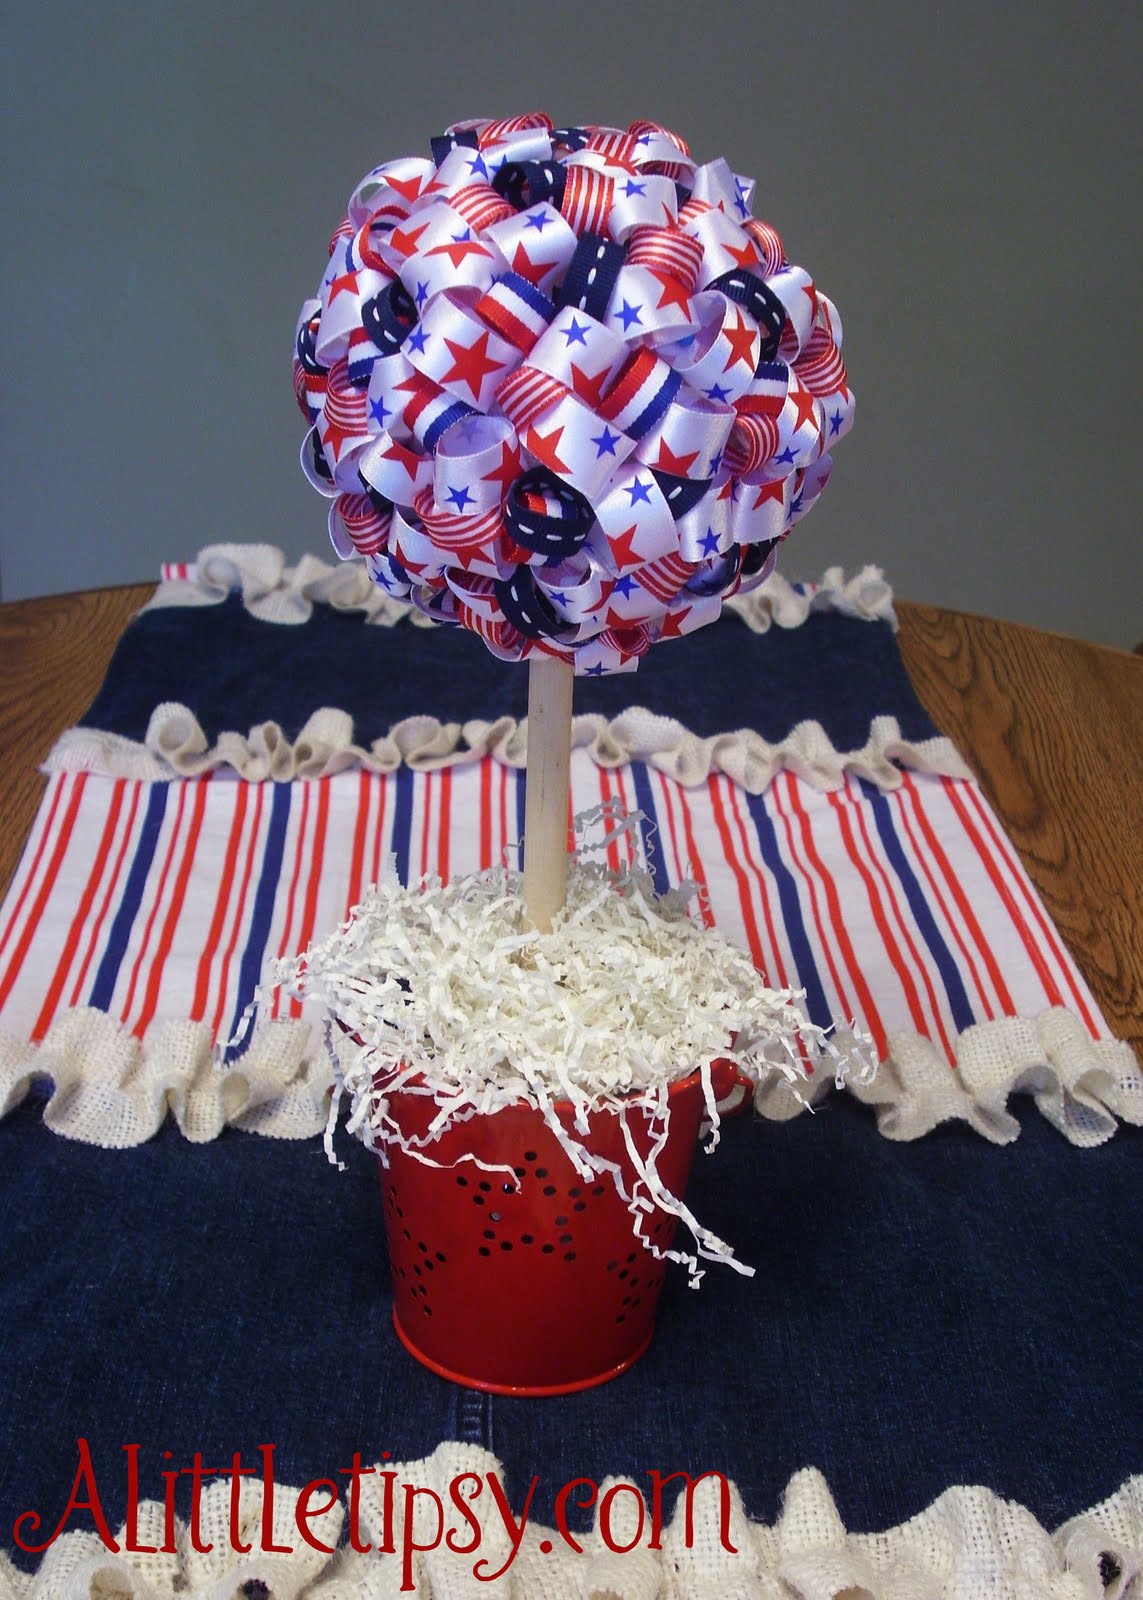
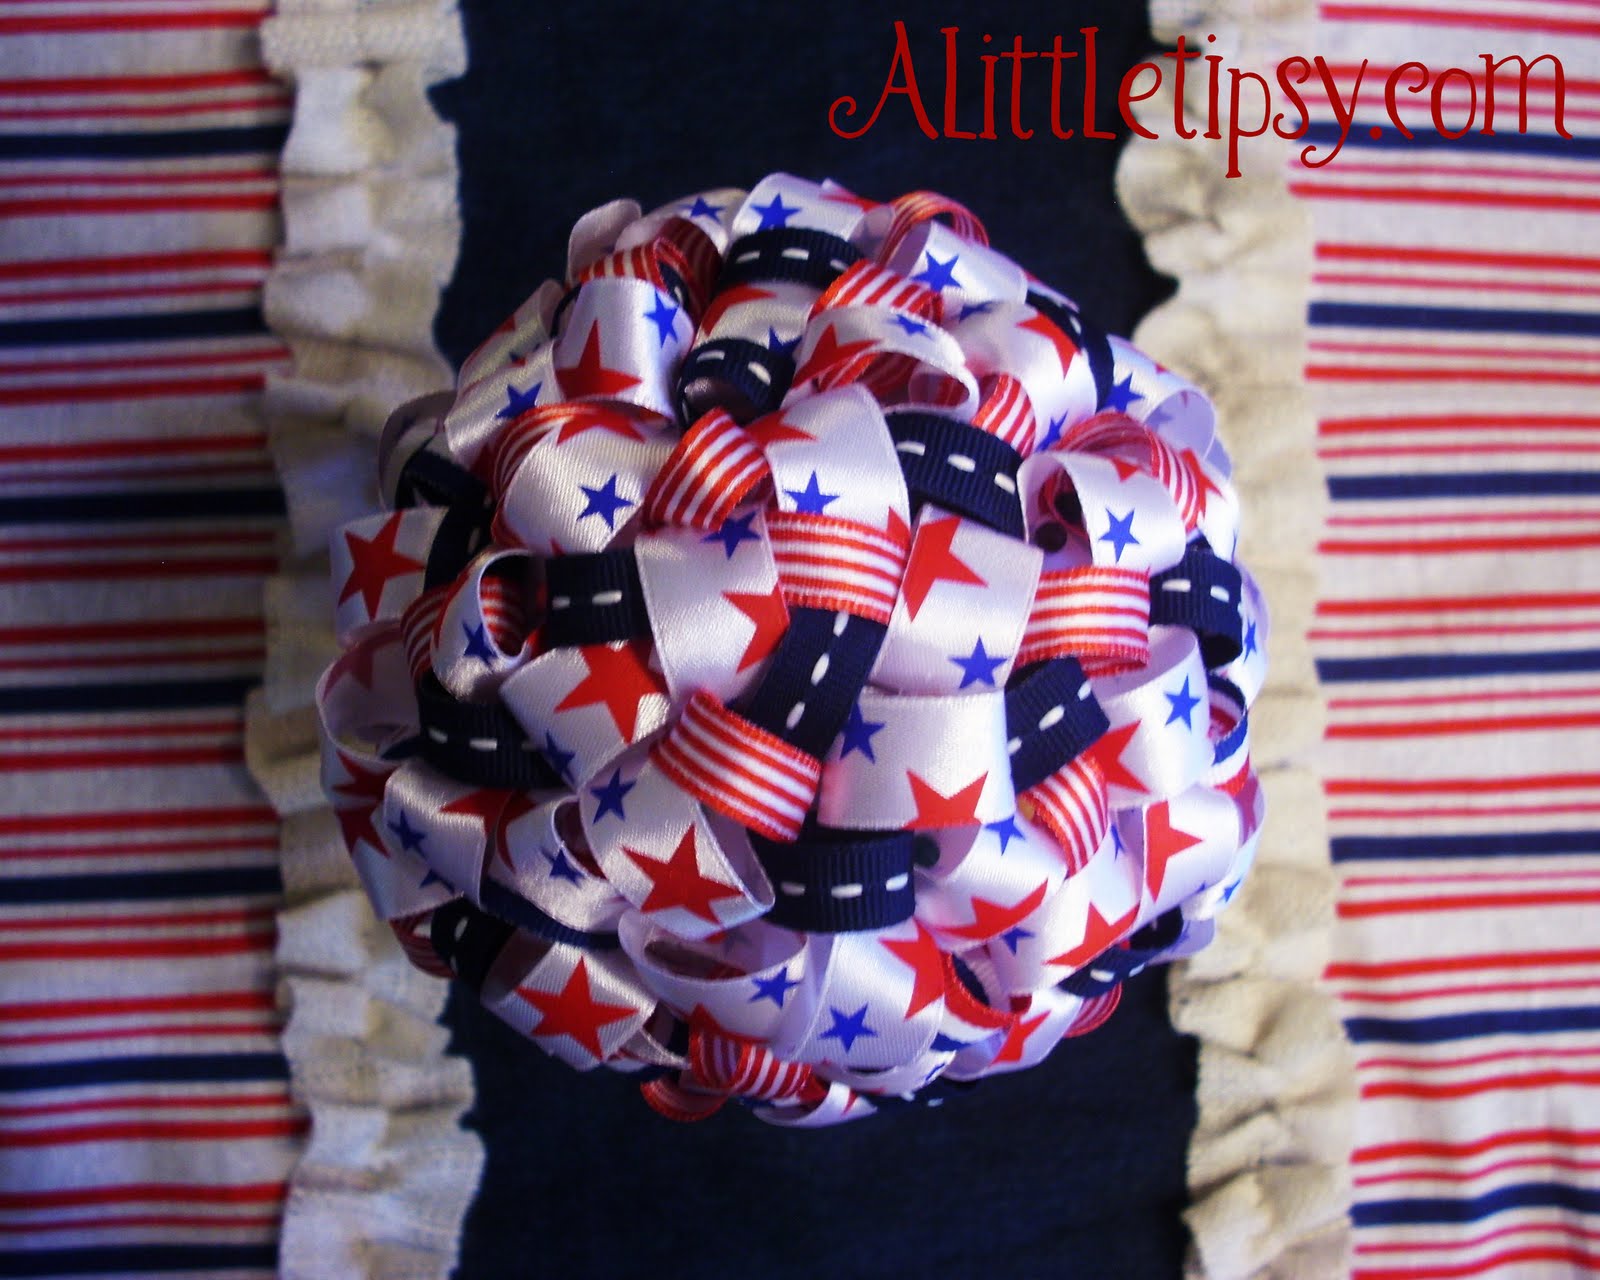
I love this Patriotic Ribbon Topiary as the centerpiece for my burlap ruffle table runner! I saw this topiary from Whitney Caroline Designs last year and got started making my own. I just didn’t finish it until this year. 😉 I am not only celebrating the freedom in this great country, but the freedom of finally having this project done!

It cost me about 5 bucks to make. I had a syrofoam ball left over from my DIY moss ball project. I bought three spools of dollar ribbon and a dowel. I recycled a piece of Styrofoam packaging to hold it up in the target dollar section bucket and topped with some paper filler that came decorating a gift from a client. Oh, and I already had the pins.

It took quite a while to cut and pin all those little ribbon circles which is why it took my short attention span one session last year and one session this year to complete it. I sure do love it now that it’s done!

Lucky for me, I live in Utah where we celebrate Pioneer Day on the 24th of July so I get to leave my Red, White and Blue up the whole month of July!

Linking Up:
Patriotic Parade
Get Your Craft On
Trash to Treasure
Toot Your Horn Tuesday
Anything Related

P.S. Don’t forget to sign up for free Tipsy updates via RSS or email.

We have decided to truncate our feed to help protect against stolen content. I apologize for any inconvenience. Please love us anyway. 🙂
« Previous Page
Next Page »

  • Bloglovin
  • Facebook
  • Google+
  • Instagram
  • Pinterest
  • RSS
  • Twitter

Hi there! I'm Michelle. Mother of three little boys and one little princess. Welcome to A Little Tipsy, a place for exploring creativity and sharing inspiration.

Follow on Bloglovin


Visit Michelle Barneck {A Little Tipsy}'s profile on Pinterest.

Tutorials by Category


15 Family Reunion Games

Family Reunion Games Collage

15 Sprinkle Party Ideas

Sprinkle Birthday Party
Creative Commons License

© Copyright 2014 A Little Tipsy · Site Designed by The Fairy Blogmother · Web Hosting by RFE Hosting

This website uses cookies to improve your experience. We'll assume you're ok with this, but you can opt-out if you wish.Accept Read More
Privacy & Cookies Policy