A Little Tipsy

Creative Tips & Ideas

  • home
  • About Me
  • the tipsy top
  • press
  • projects
  • contact me
[print_thumbnail_slider]

Feature Friday-Blog Swap with Fingerprints on the Fridge

December 3, 2010 By Michelle Barneck 5 Comments

Hi lovelies! I’m Rachelle

from the blog, Fingerprints on the Fridge

Photobucket

Today I’m swappin’ with Miss Michelle, she graciously let me come over and wreck up her blog. Isn’t that sweet!? 😉

If you’re not familiar with me let me introduce myself.

I’m a Mom & Wife with an obsession with decorating, crafting, and power tools. Along with a healthy dab of playing princess, putting together puzzles and listening to Hannah Montana.
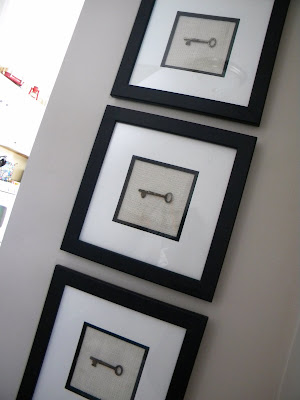
When we aren’t rockin’ out I can be found somewhere around the house simply fluffing things like:

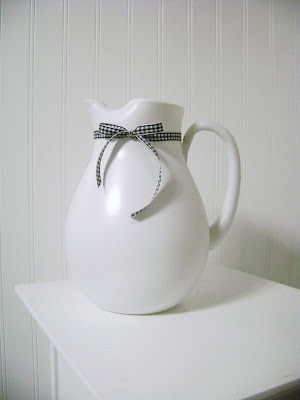
spray painting broken pitchers

Framing keys

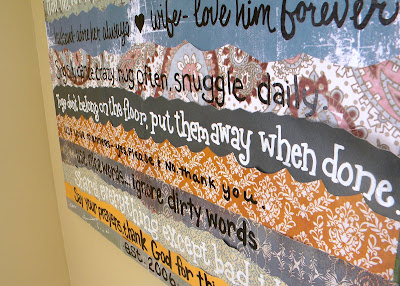
Making Family Rules

Sometimes I’m adventurous and want to dive into something a little tougher than fluffing. Just last year the Husband and I recently gutted our kitchen & dining room.

Quite a change eh?

Then there’s my most recent mudroom transformation I took on!

I’d love for you to come over and say hello sometime! Or, come over and Feature Yourself on Fridays for my super Linky party! Can’t wait to meet some new faces!

Yes this post is gettin’ pretty lengthy but I thought I’d end it with a sweet little Christmas decoration that’s extremely easy to make.

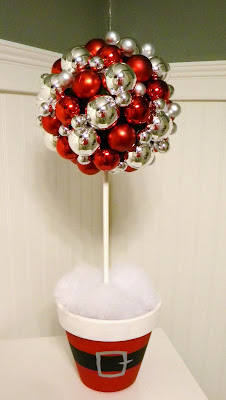
When I saw this photo over at BHG I knew I had to have it. No doubt, it had to be mine. I do love the colors but they wouldn’t go with much in my house at the moment, so I had to improvise.
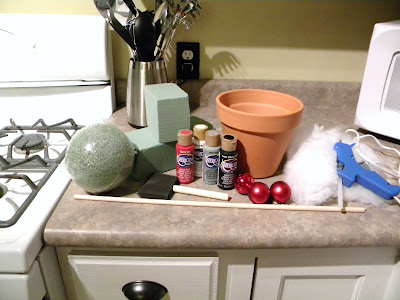

I made a ton of these Santa Jars last year to give Oreo truffles in so I just made another big ol’ one.


You can’t really mess this up, red body, white paint for fur, black belt and a silver buckle, last year the buckles were gold. This year, gold was not in my stash, which actually worked out because I used red and silver ornaments.

Fate I tell you. 😉

Now take your foam ball and heat up your glue gun. Put a rim of glue around each neck of the ornaments then stick them in place. I used mini ornaments to fill in the gaps.
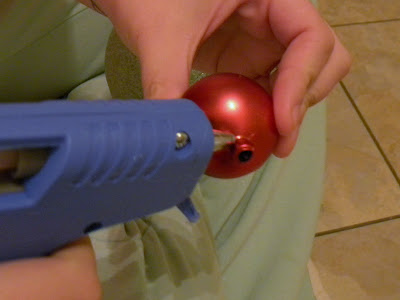
(Yes, I do my best work on the kitchen floor.)

Looking back on this project I would most definitely spray paint the ball first, you can still kind of see green, oh well live and learn.

Glue the top and bottom of the dowel and stick it in the foam ball and the foam blocks and stick it in your pot. Throw some left over fake snow from your mantel project in the pot to hide the the dusty devil green floral foam. Done and done! See how easy that was?

Thank you so much Michelle for letting me crash today! You’re the sweetest!

—————————————————-

Love that adorable topiary and when I grow up I totally want a mud room! Thanks for swappin’ it up Rachelle!

P.S. Don’t forget to sign up for free Tipsy updates via RSS or email.
We have decided to truncate our feed to help protect against stolen content. I apologize for any inconvenience. Please love us anyway. 🙂

You “Light” Up My Life!

November 29, 2010 By Michelle Barneck 36 Comments

Thanks to Scotch(R) Double Sided Tape for sponsoring my writing about crafts. Add your comment below to be entered for a chance to win free sample rolls to help with your upcoming holiday needs.

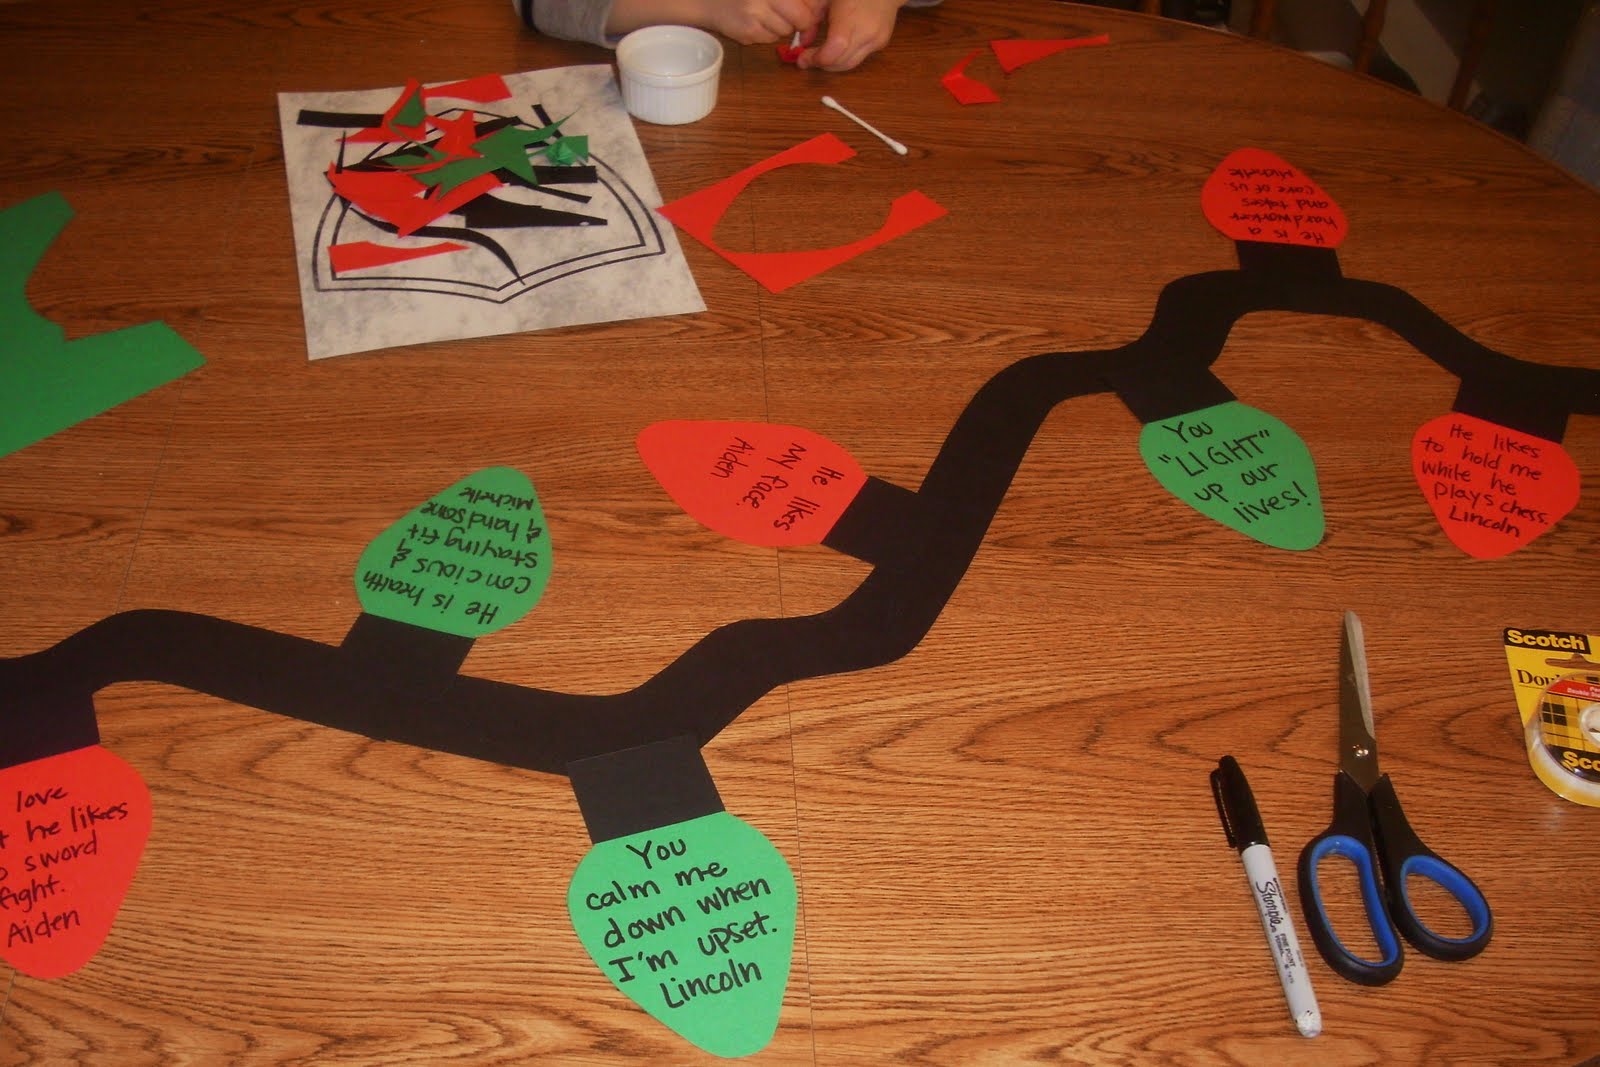
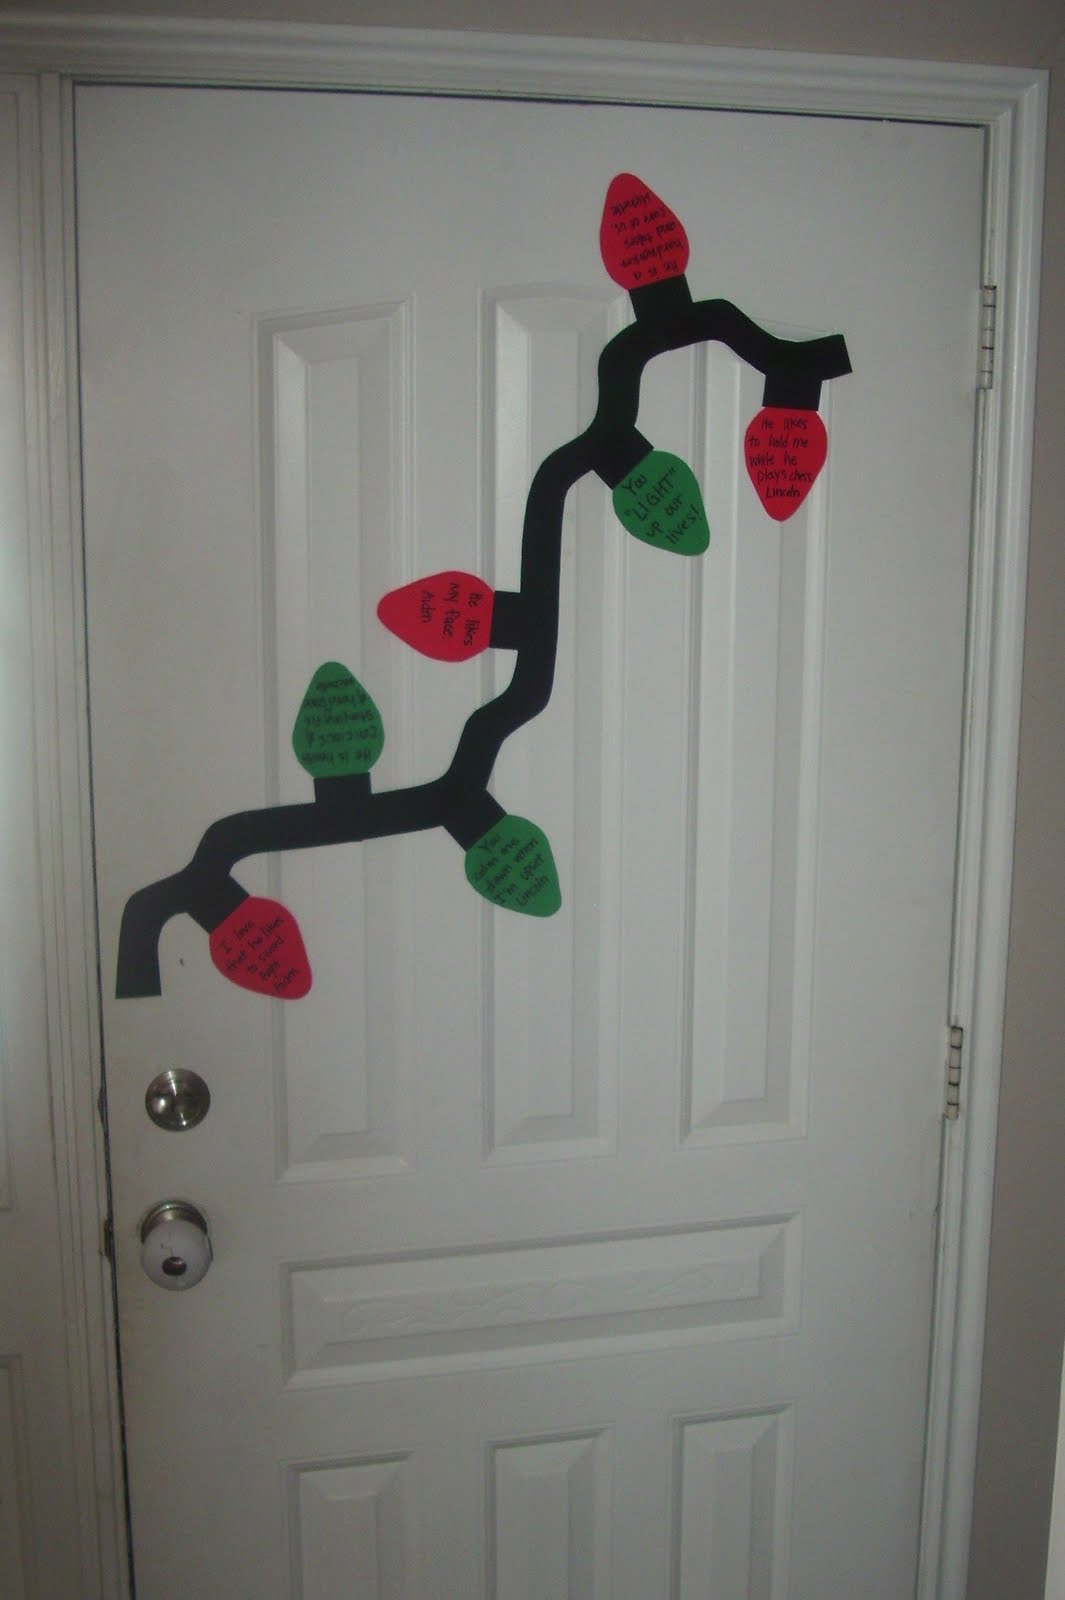
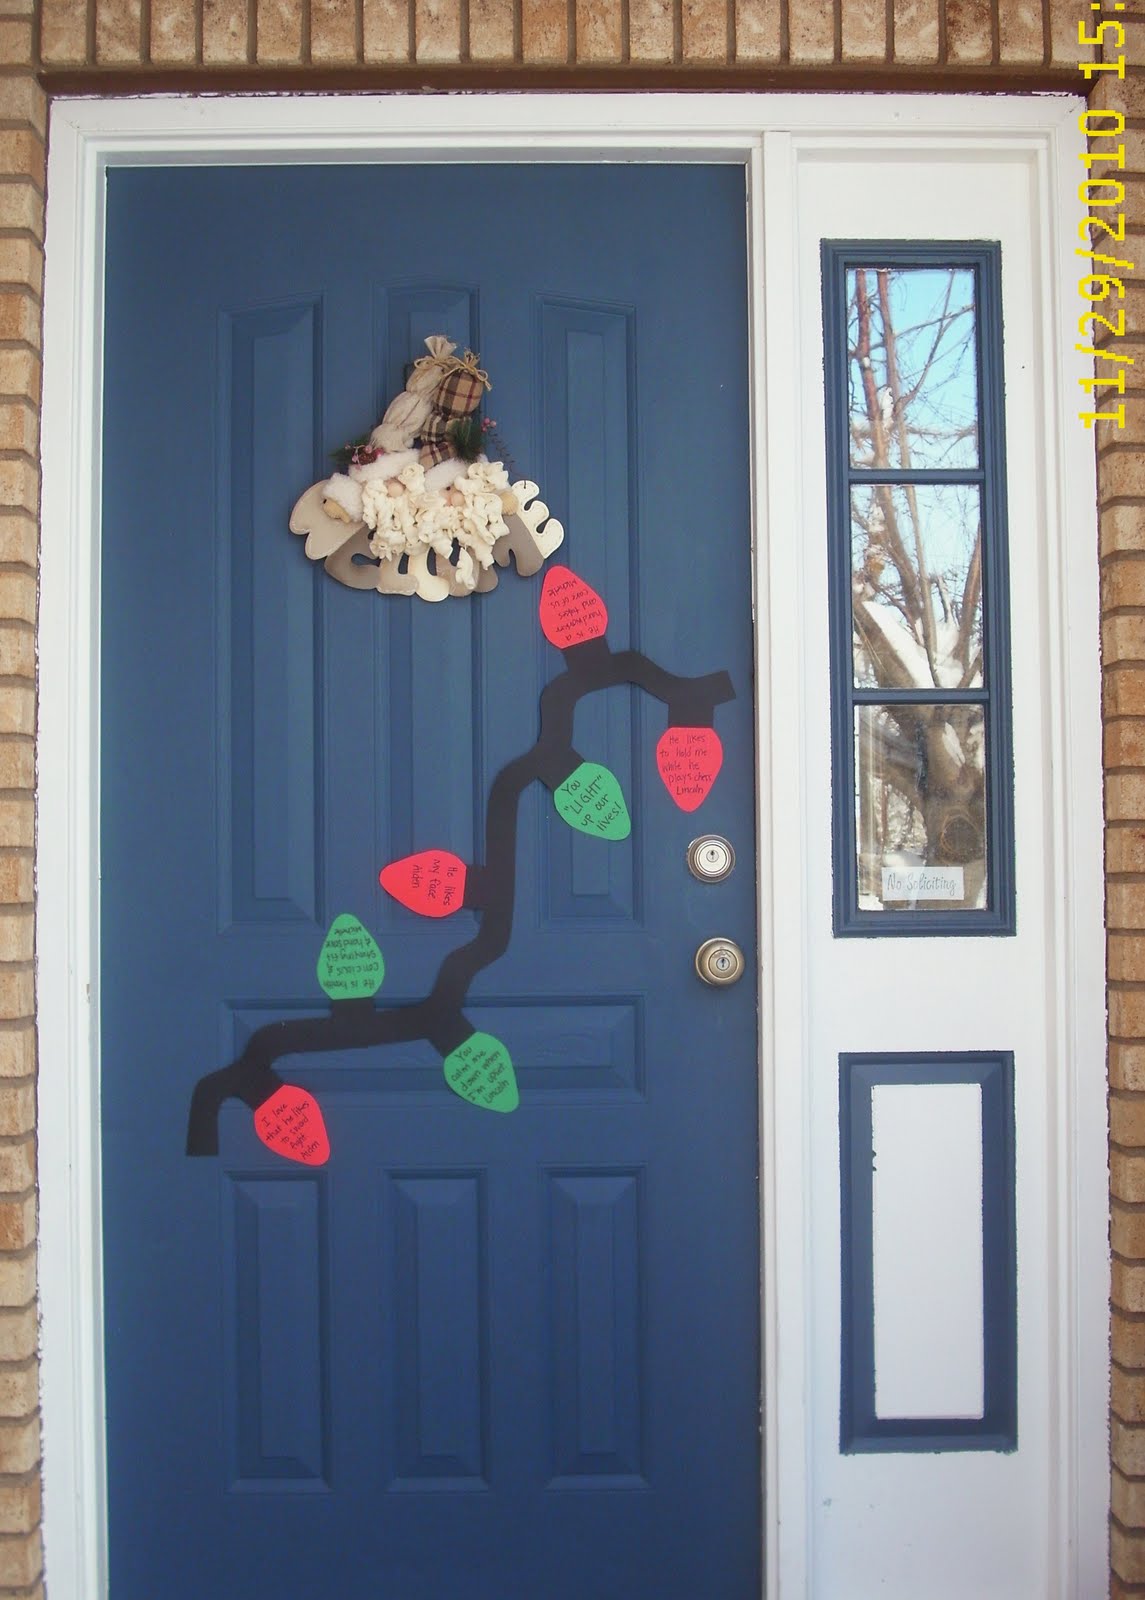
This project is so easy it can be done holding a baby. 😉 I have really wanted to have a focus more on gratitude and appreciating those around us this month. This is a fun idea to surprise someone who has made a difference in your life. I call it You “light” up my life.

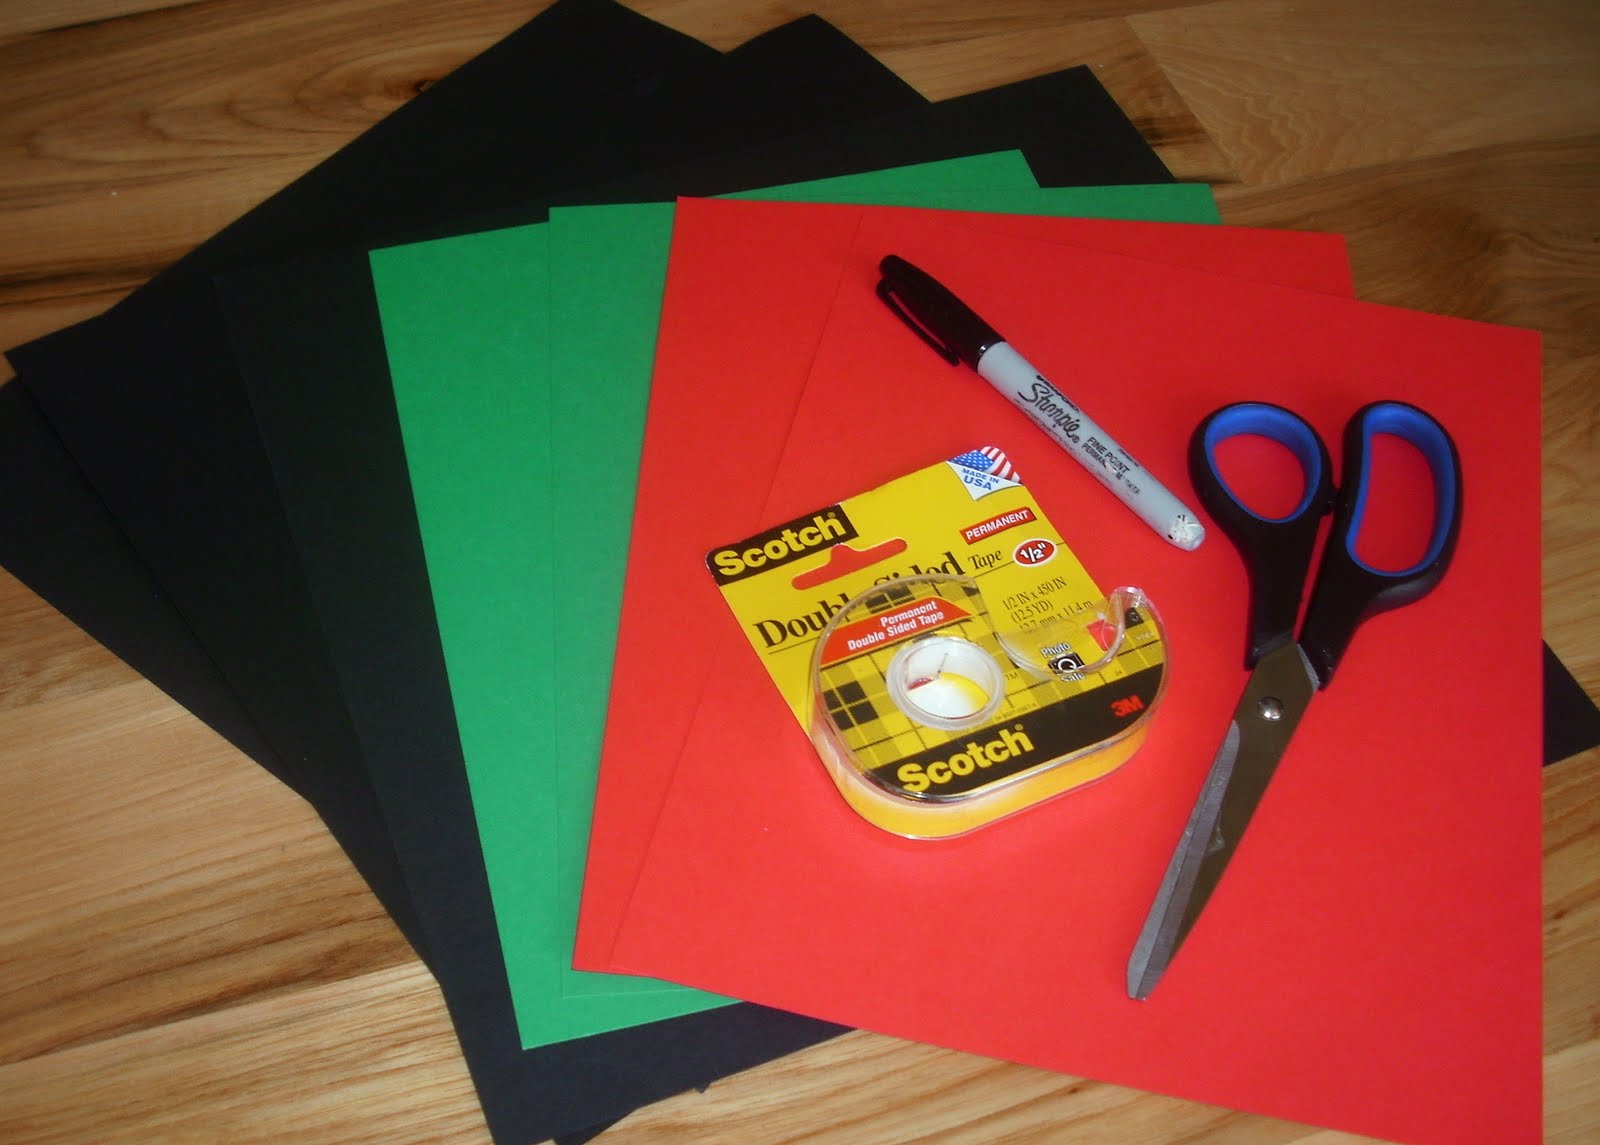
Supplies needed:

  • Black, red and green cardstock
  • Double sided tape
  • Scissors
  • Black marker

You can literally finish this in 15 minutes or less. It could be a fun mutual or family home evening activity where you could choose some family members, neighbors or community members you admire.

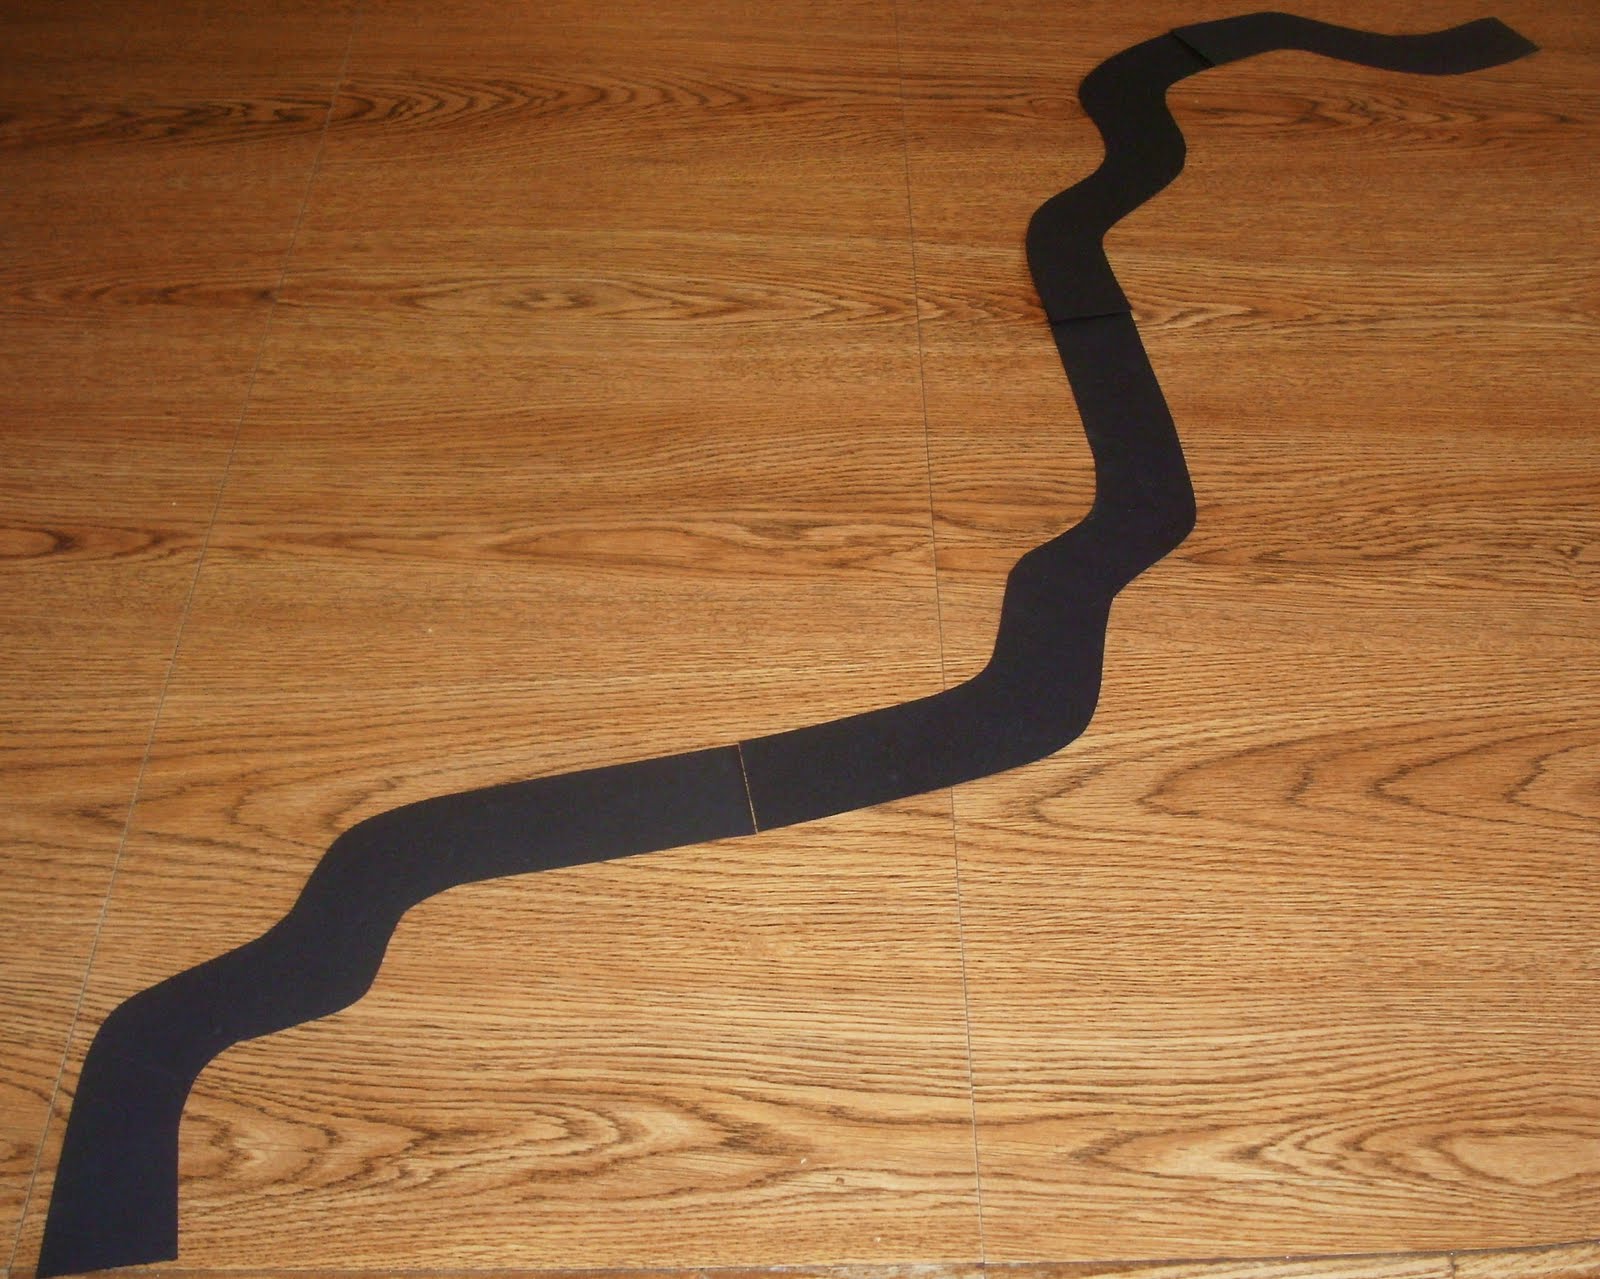
1. Start off by cutting the light string out of black paper. It can be any shape you like, just squiggle it around. I kept mine about 1.5 inches thick so it would be sturdy to lift once I got it all put together. I overlapped the edges about 1/2 inch and secured with tape.

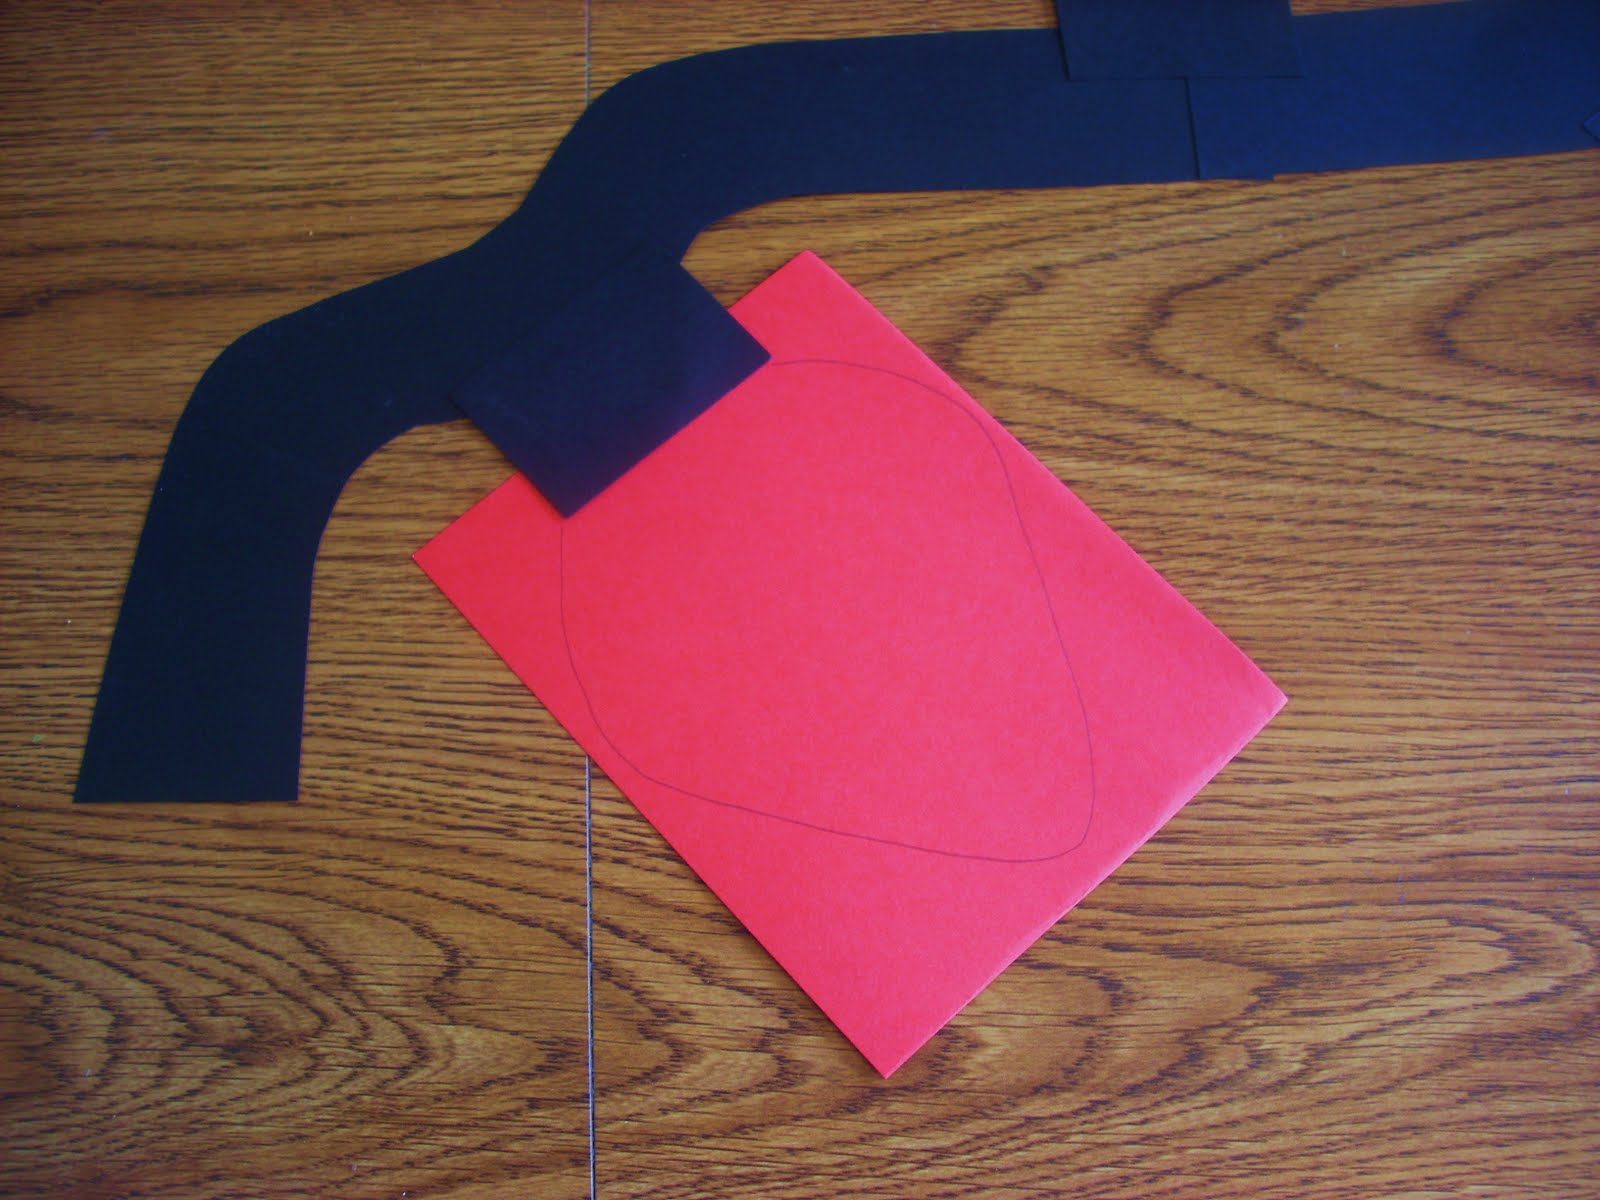
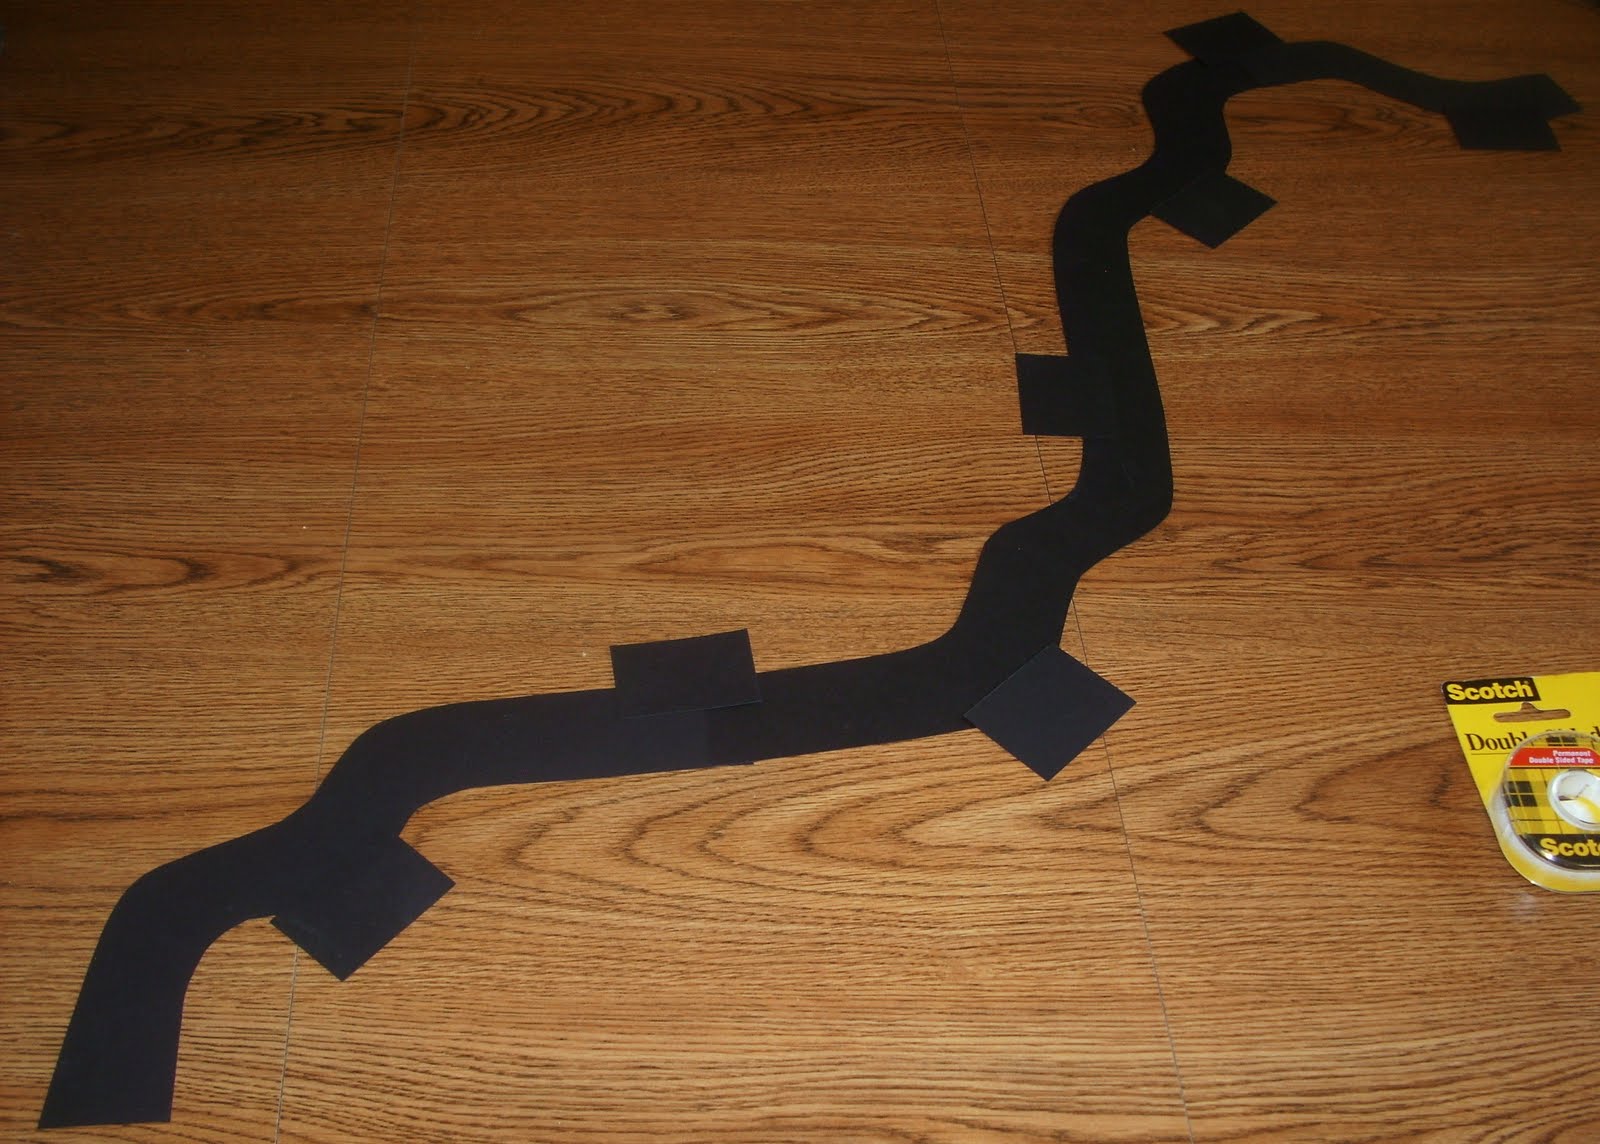
2. Next, add the little black rectangles where the lights will go. I made these about 1.5 x 2 inches so I could overlap them a 1/2 inch to secure with tape.

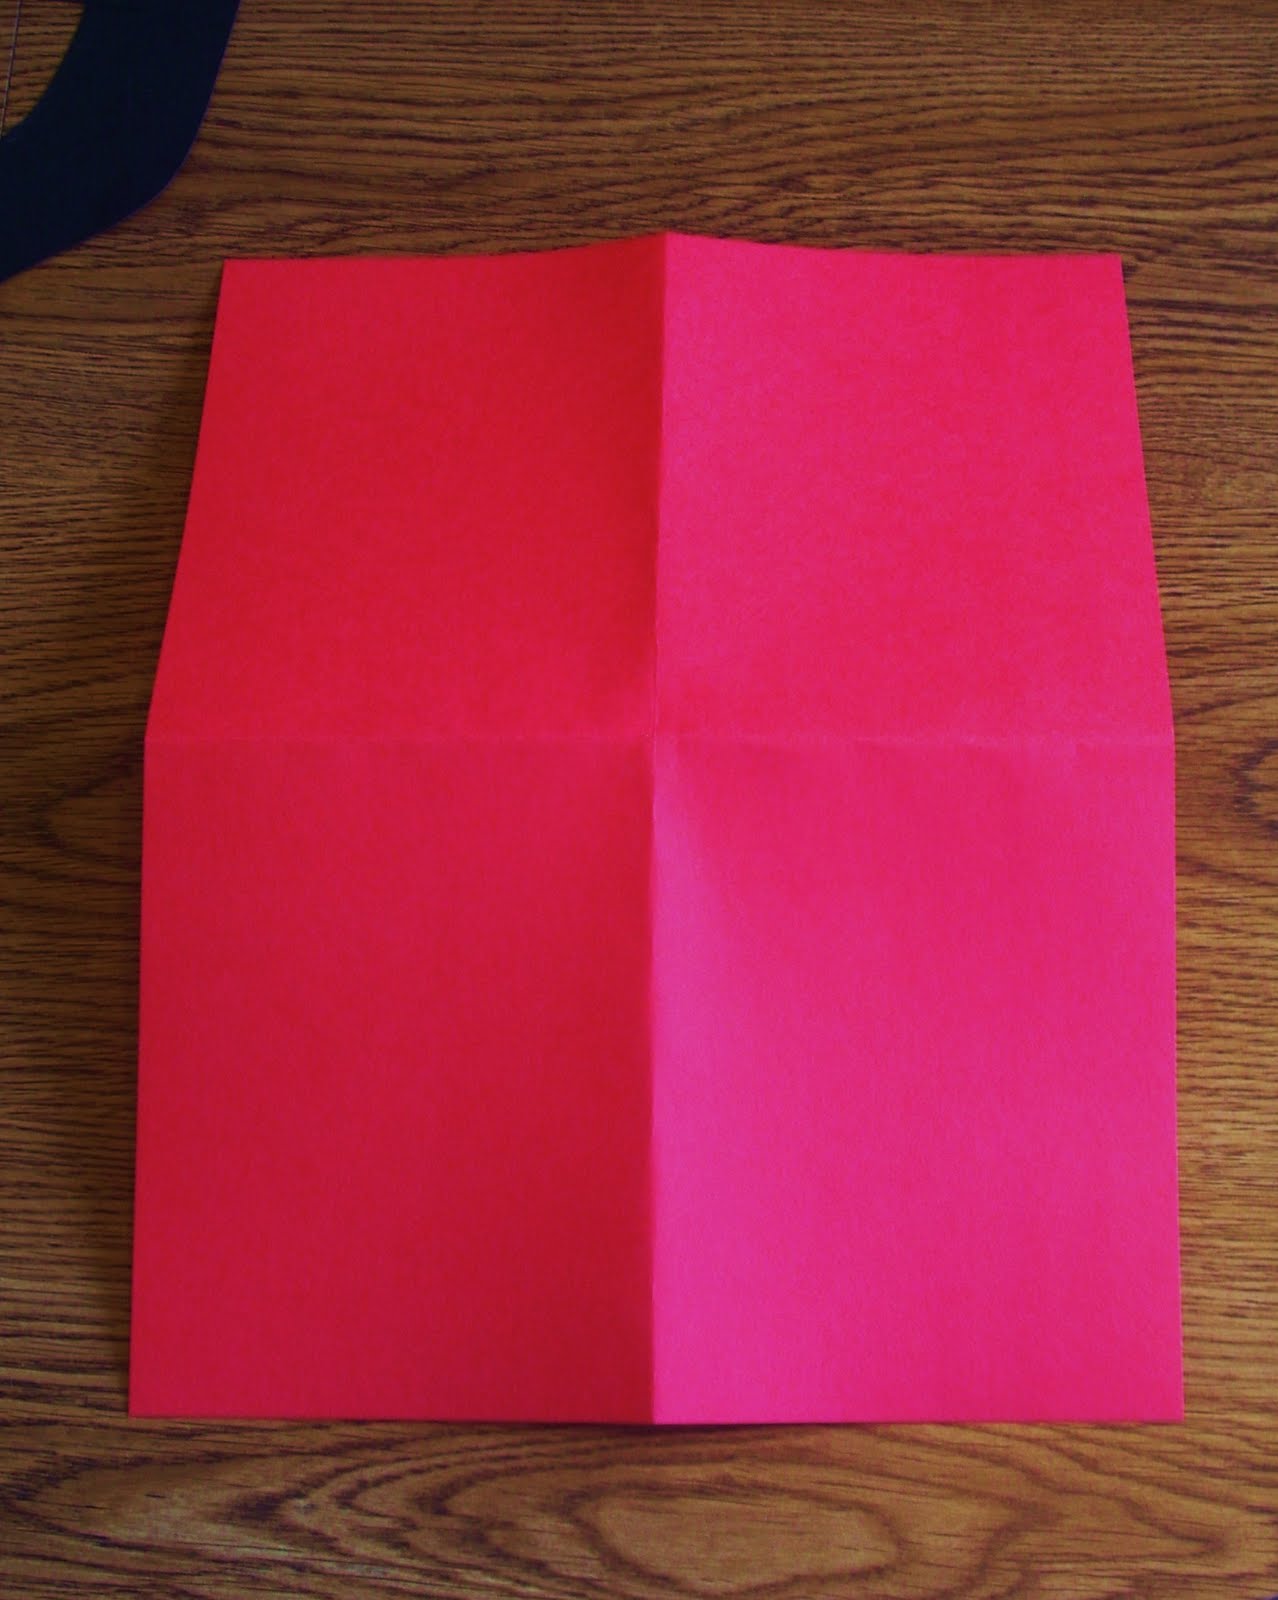
3. Now fold and cut your red and green paper in fourths. I placed the paper next to the rectangle and freehanded a light shape. Then, I cut it out and used it to trace the rest of the lights.

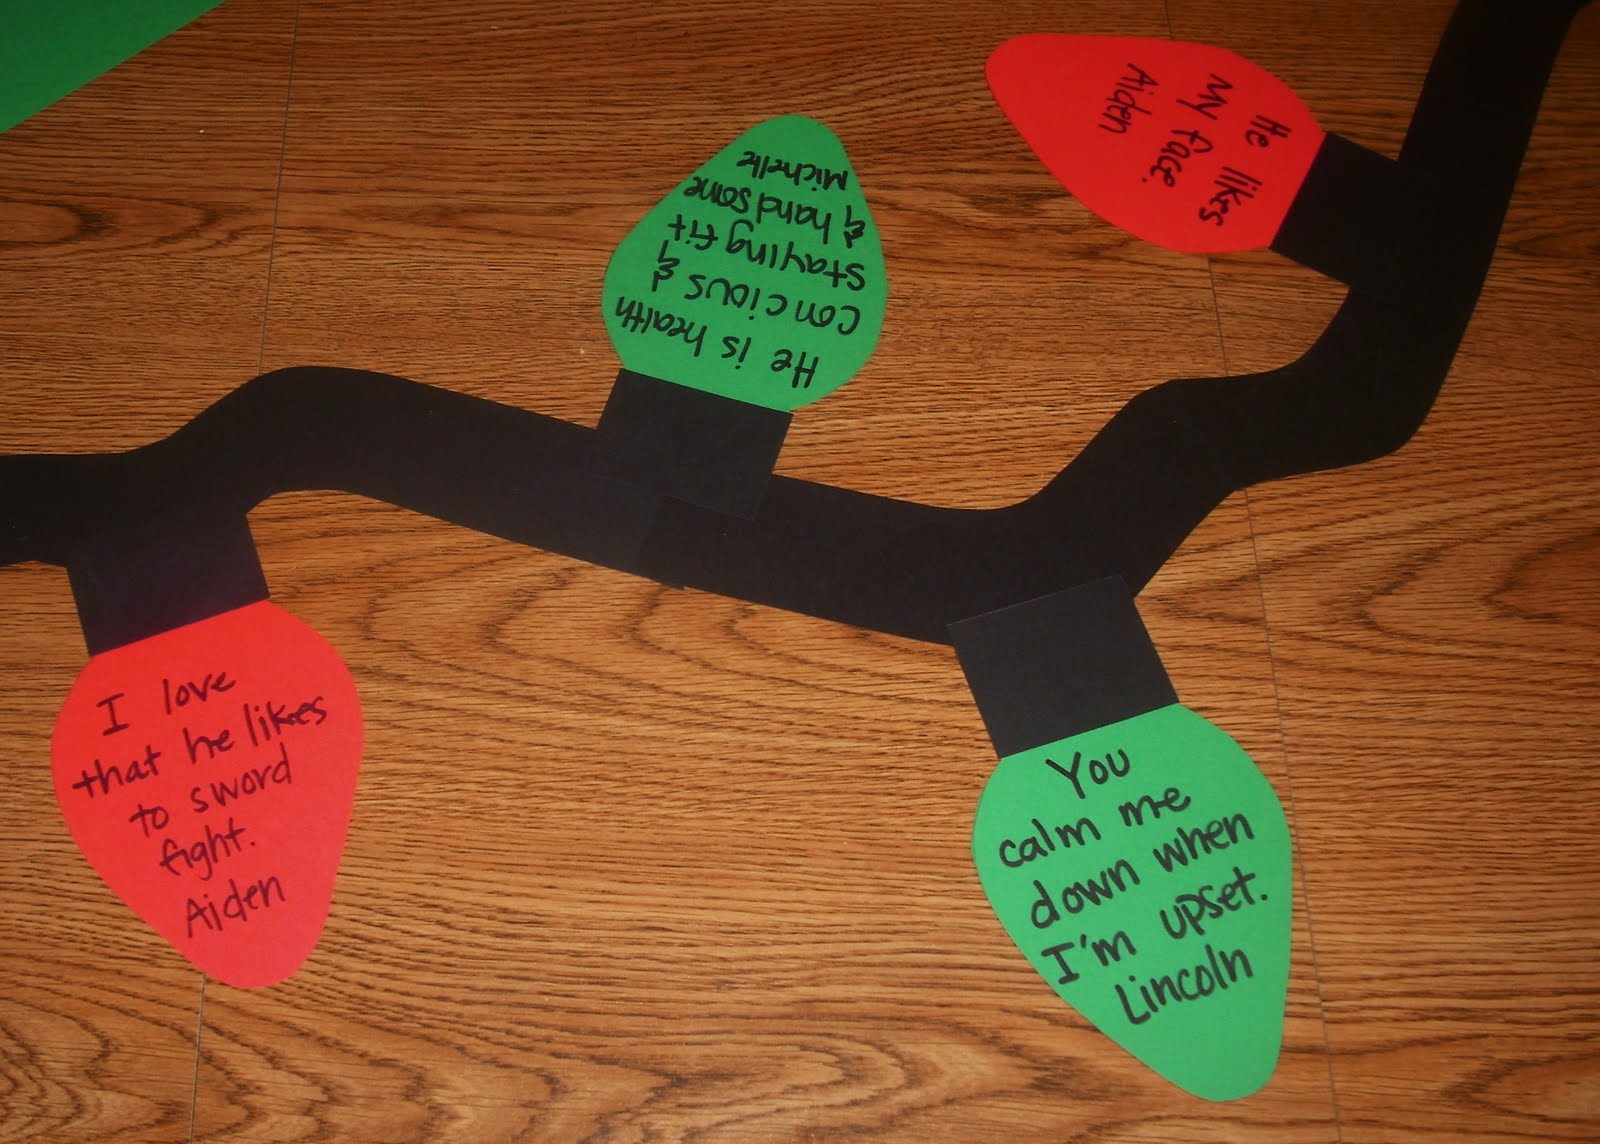
4. Once you have all the lights cut out write notes on each one about what you love and appreciate about that person. We did ours for daddy so I wrote notes from me and each of my boys. It could be fun to do this for grandparents, ward members, neighborhood elderly, etc. Also, be sure to write “You light up our lives!” on one of the lights.

5. Then comes the fun part, tape it to their door and let them know how much you appreciate them.

Want some free tape to get started with this and other holiday projects? Scotch(R) is giving away a roll of double sided tape to 10 lucky winners. Just leave a comment to enter!

Giveaway closes Friday, December 3rd. Good luck!

Please learn more about Scotch(R) Double Sided Tape and other Scotch(R) Products, and join the conversation on the Scotch(R) Brand Facebook Page and via Twitter. I was selected for this sponsorship by the Clever Girls Collective, which endorses Blog With Integrity, as I do.

———————————————————–

Winner of the Just Dance Kids Game is…

Nikki said…

My kids would love this. We have the just dance one. but this one would be perfect for my 4yr old.

Congrats!

P.S. Don’t forget to sign up for free Tipsy updates via RSS or email.
We have decided to truncate our feed to help protect against stolen content. I apologize for any inconvenience. Please love us anyway. 🙂

Feature Friday-Blog Swap with Joy Is At Home

November 26, 2010 By Michelle Barneck 4 Comments

Hello Little Tipsy Readers! I am Suzy and I have a little blog called Joy Is At Home. I am thrilled to be hanging out here today! Michelle’s blog is one of the very first (I mean like first 5!) that I started reading and she got me addicted to craft blogging! She’s amazing… even 2 weeks after having a baby! CONGRATS! So needless to say, I’m a HUGE fan & honored to be here!!

Photobucket

I am a {newly graduated} nurse and recently engaged, so wedding planning is right up there on my to do list! My fiance and I also built a house this year so I have been quite busy decorating {on a budget}! My blog is my creative outlet and it is full of tutorials for decorating, DIY gifts, accessories and crafts! I love to make stuff that is inexpensive… like this dishwasher magnet I made out of an old CD.

Photobucket

Or these felt flower headbands that cost under 25 cents each to make!

Photobucket

And these coasters that were made from terra cotta planters.

Photobucket

I also made this photo frame from a cabinet door I found for $1 at the Restore.

Photobucket

And replaced those icky, squirty bath & body works foam soap dispensers with these mason jars & a generic pump.

Photobucket

{I just realized that nothing I showed you in this post is over $5.00 and it’s really making me feel like a cheap-o!}

Now, since it’s the day after Thanksgiving and I just know you are all busy decorating your house for Christmas (wait, you did that 2 weeks ago like me?) I thought it was only fair to post a super quick & easy tutorial for you! So here goes!

When I saw this cutey-pie Christmas Tree in the Pier 1 adds, I knew I needed it! But $35.00? Really Pier 1? Since we’ve already established that I’m a cheapo, I’m sure you know what’s comin!

Photobucket

I started off with glitter paper (found@HobLob), white paint, wood plaque (49 cents at Michaels), glitter and a foam paintbrush.

Photobucket

I first cut out my random sized circles and then made them into little pacmen.

Photobucket

Photobucket

I then made them into little cones. If you weren’t using glitter paper, it’d be really easy to just glue or tape this. But since my paper had so much texture I had to use brads to keep them closed.

Photobucket

Once I did this, I stacked them and taped them on the inside. This is where it gets a bit messy. I painted the base and paintbrush handle white. After it dried I covered it in mod podge and then sprinkled with silver Martha Stewart glitter. I then used gorilla glue to attach the paintbrush to the base. My hands were so messy that I didn’t think handling my camera was a good idea. Once they were stacked, I stuck a piece of wire through the top and cut out a star from the paper.

To attach the base and the tree, I cut out a piece of cardboard into a circle and taped it from the inside. I poked a hole through with my paintbrush and stuck it right in.

Photobucket

And here you have it! My knock-off Pier 1 Christmas Tree!

PhotobucketPhotobucket

Thank you so much, Michelle, for having me! I hope you will stop by sometime soon! I love making new friends!

Have a wonderful day!

Suzy

joy is at home button
————————————————————
Um, that Christmas tree is super adorable! I feel a trip to Hobby Lobby coming on! Thanks for swappin’ it up Suzy!

BTW Happy Black Friday everyone!!

P.S. Don’t forget to sign up for free Tipsy updates via RSS or email.
We have decided to truncate our feed to help protect against stolen content. I apologize for any inconvenience. Please love us anyway. 🙂

Thanksgiving Recipes by The Culinary Queen

November 23, 2010 By Michelle Barneck 1 Comment

Well hello there, “A Little Tipsy” readers! My name is Ashlee and I have a blog in blog land
called, The Culinary Queen Bee.
I want to say thanks to Michelle for letting me guest blog today. This is actually my very first guest blogging experience, so I am grateful for the opportunity and I am very excited!!
First off, I am very lucky to have the very wonderful job of being a Domestic Engineer (aka SAHM). I am a mother of two beautiful children, Kaleb who is 5 1/2 and Karmindy who is 2 1/2. I also have a wonderful Husband, his name is Mark. I have to give a shout out to him because he is my tech support man behind my blog. So thanks to my better half!
When you visit my blog you will learn about a few of my passions that I love share with my readers…
like that I am obsessed with
Diet Coke and Deep Fried Sushi (because everything is better when it is DEEP fried).
On my blog, I love to share my love of sewing and a few of the projects that I complete.
Sewing Lil’ Guy ties, Making Beautiful Headbows and dresses for my princess …
I also love to share craft ideas/tutorials on how to make your house more of a home, like my

Lil’ Girl Bow Holder Tutorial
and my

Monogrammed Door Wreath Tutorial
My ALL-TIME favorite passion that I love to share is? (Hum the Jeopardy Theme Song just for fun) You guessed it! Food! I. LOVE. FOOD. The majority of my blog is dedicated to all things that involve FOOD.
Today, I wanted to share a couple of wonderful recipes for not only Thanksgiving morning but for the big feast as well! My first recipe is:
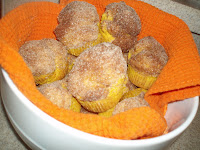
Pumpkin Doughnut Muffins!
(click on the link to see the full recipe)

This muffin recipe will be a sure fire way to impress your house guests with their cake like interior and their sugar coated exterior. These muffins are flavored with pumpkin puree and take on the feeling of fall. These muffins are very light and, served with an array of fruits, it would make for a healthy, light, but filling breakfast. These muffins will truly help tide your guests over until the big feast! This Muffin recipe is very easy to make and freezes well so you can enjoy the Holiday with your Family and Friends without the STRESS of cooking and fussing over everything on the BIG DAY. Who isn’t for eliminating stress during the holiday season? If you do make and freeze these muffins ahead of time, all you have to do is remove them from the freezer, reheat in the oven, and then brush on butter and sprinkle with a cinnamon and sugar mixture.
Viola! Your Breakfast is covered for Thanksgiving Morning- Bonus!
Now for my all time favorite Thanksgiving Side Dish recipe:
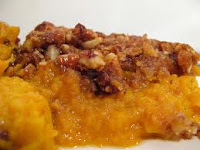
Scrumptious Sweet Potato Casserole!
(click on the link to see the full recipe)

This sweet potato casserole is more of a dessert than a side dish because of the pecans, brown sugar, flour and butter topping. I will guarantee that when you serve this scrumptious casserole that your guests will rave and even those NON-SWEET POTATO EATERS will be IMPRESSED!!

With that, I hope that you will take the time to swing on by and see me in my part of the blog world and check out my blog and see what I have “cooking” up in my kitchen as well as in my craft room!

Ashlee, The Culinary Queen

———————————————————
Thanks Ashlee! Those muffins look delicious and I just found out about a month ago that I actually do like sweet potatoes after 30 years of saying I don’t. I guess I have been missing out!

The winner of the Fall Down Tree print is …

tanya904 said… tweeted
http://twitter.com/starryeyed24/status/5436955915452416

Congrats!

P.S. Don’t forget to sign up for free Tipsy updates via RSS or email.
We have decided to truncate our feed to help protect against stolen content. I apologize for any inconvenience. Please love us anyway. 🙂
« Previous Page
Next Page »

  • Bloglovin
  • Facebook
  • Google+
  • Instagram
  • Pinterest
  • RSS
  • Twitter

Hi there! I'm Michelle. Mother of three little boys and one little princess. Welcome to A Little Tipsy, a place for exploring creativity and sharing inspiration.

Follow on Bloglovin


Visit Michelle Barneck {A Little Tipsy}'s profile on Pinterest.

Tutorials by Category


15 Family Reunion Games

Family Reunion Games Collage

15 Sprinkle Party Ideas

Sprinkle Birthday Party
Creative Commons License

© Copyright 2014 A Little Tipsy · Site Designed by The Fairy Blogmother · Web Hosting by RFE Hosting

This website uses cookies to improve your experience. We'll assume you're ok with this, but you can opt-out if you wish.Accept Read More
Privacy & Cookies Policy