A Little Tipsy

Creative Tips & Ideas

  • home
  • About Me
  • the tipsy top
  • press
  • projects
  • contact me
[print_thumbnail_slider]

Burlap Ruffle Table Runner

June 23, 2010 By Michelle Barneck 16 Comments

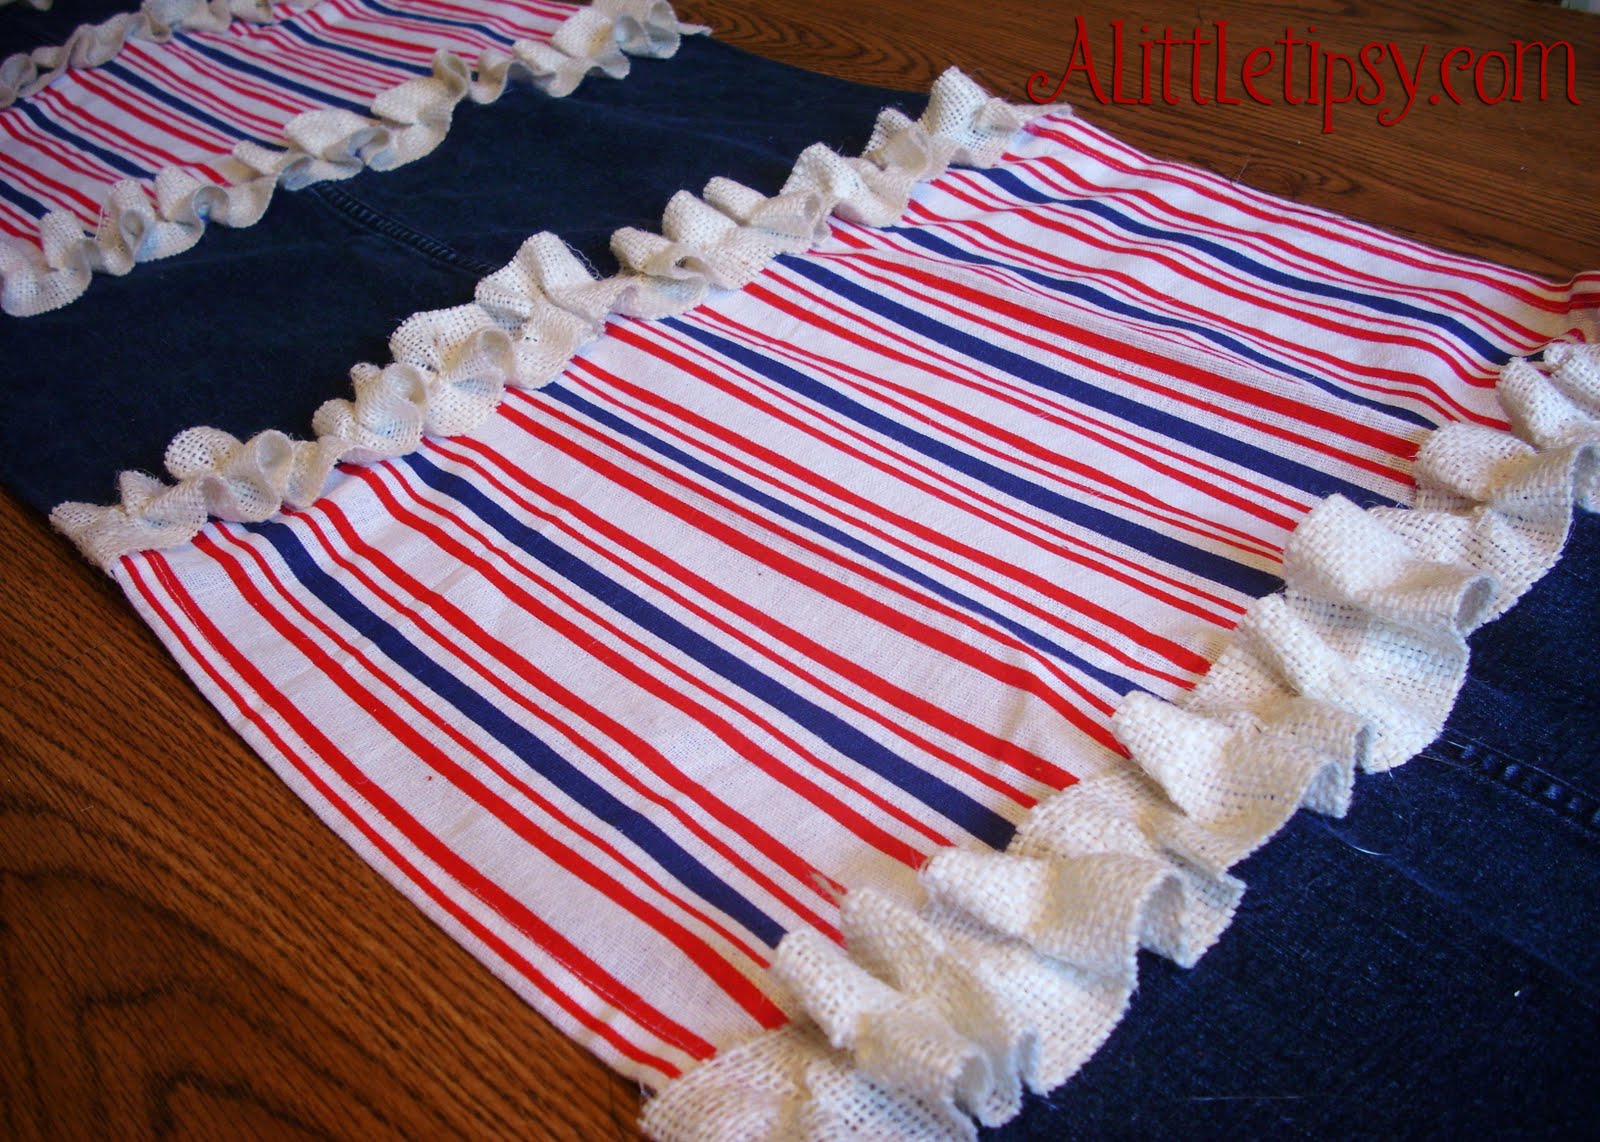
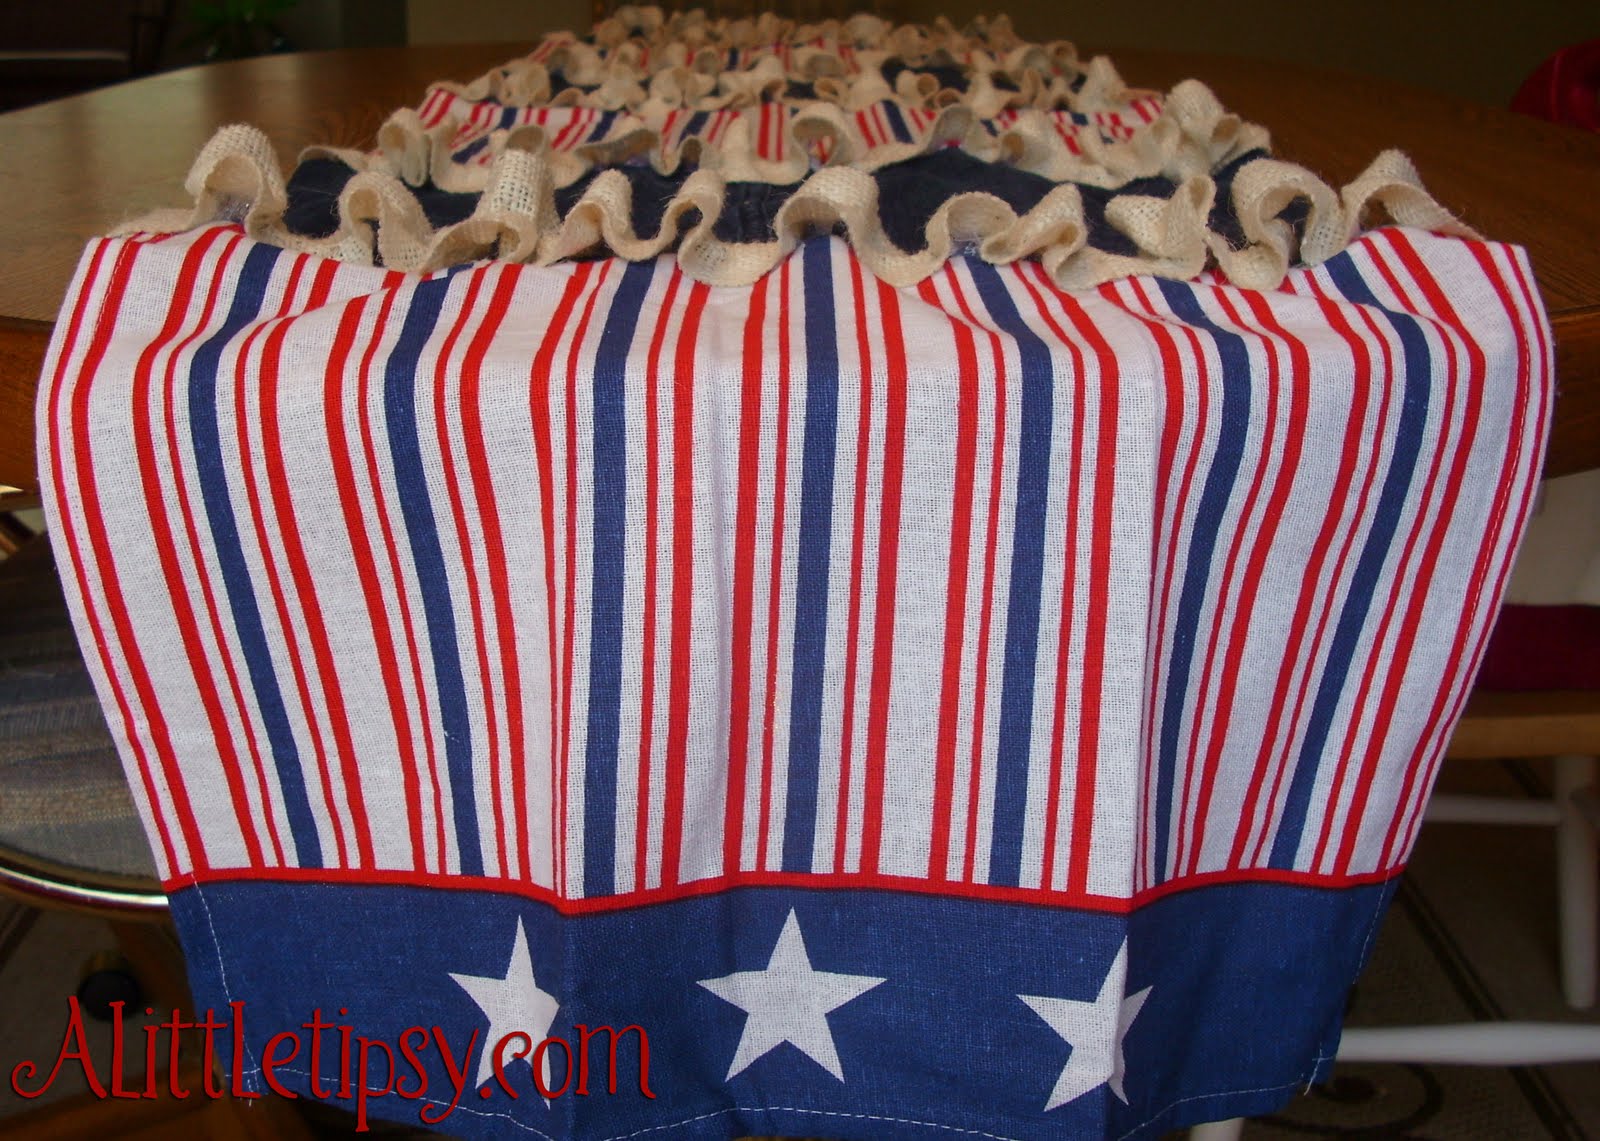
This is a fun patriotic table runner with a little burlap ruffle for added cuteness. I made it for the 4th of July, but it can easily be done with alternate fabric for any occasion.
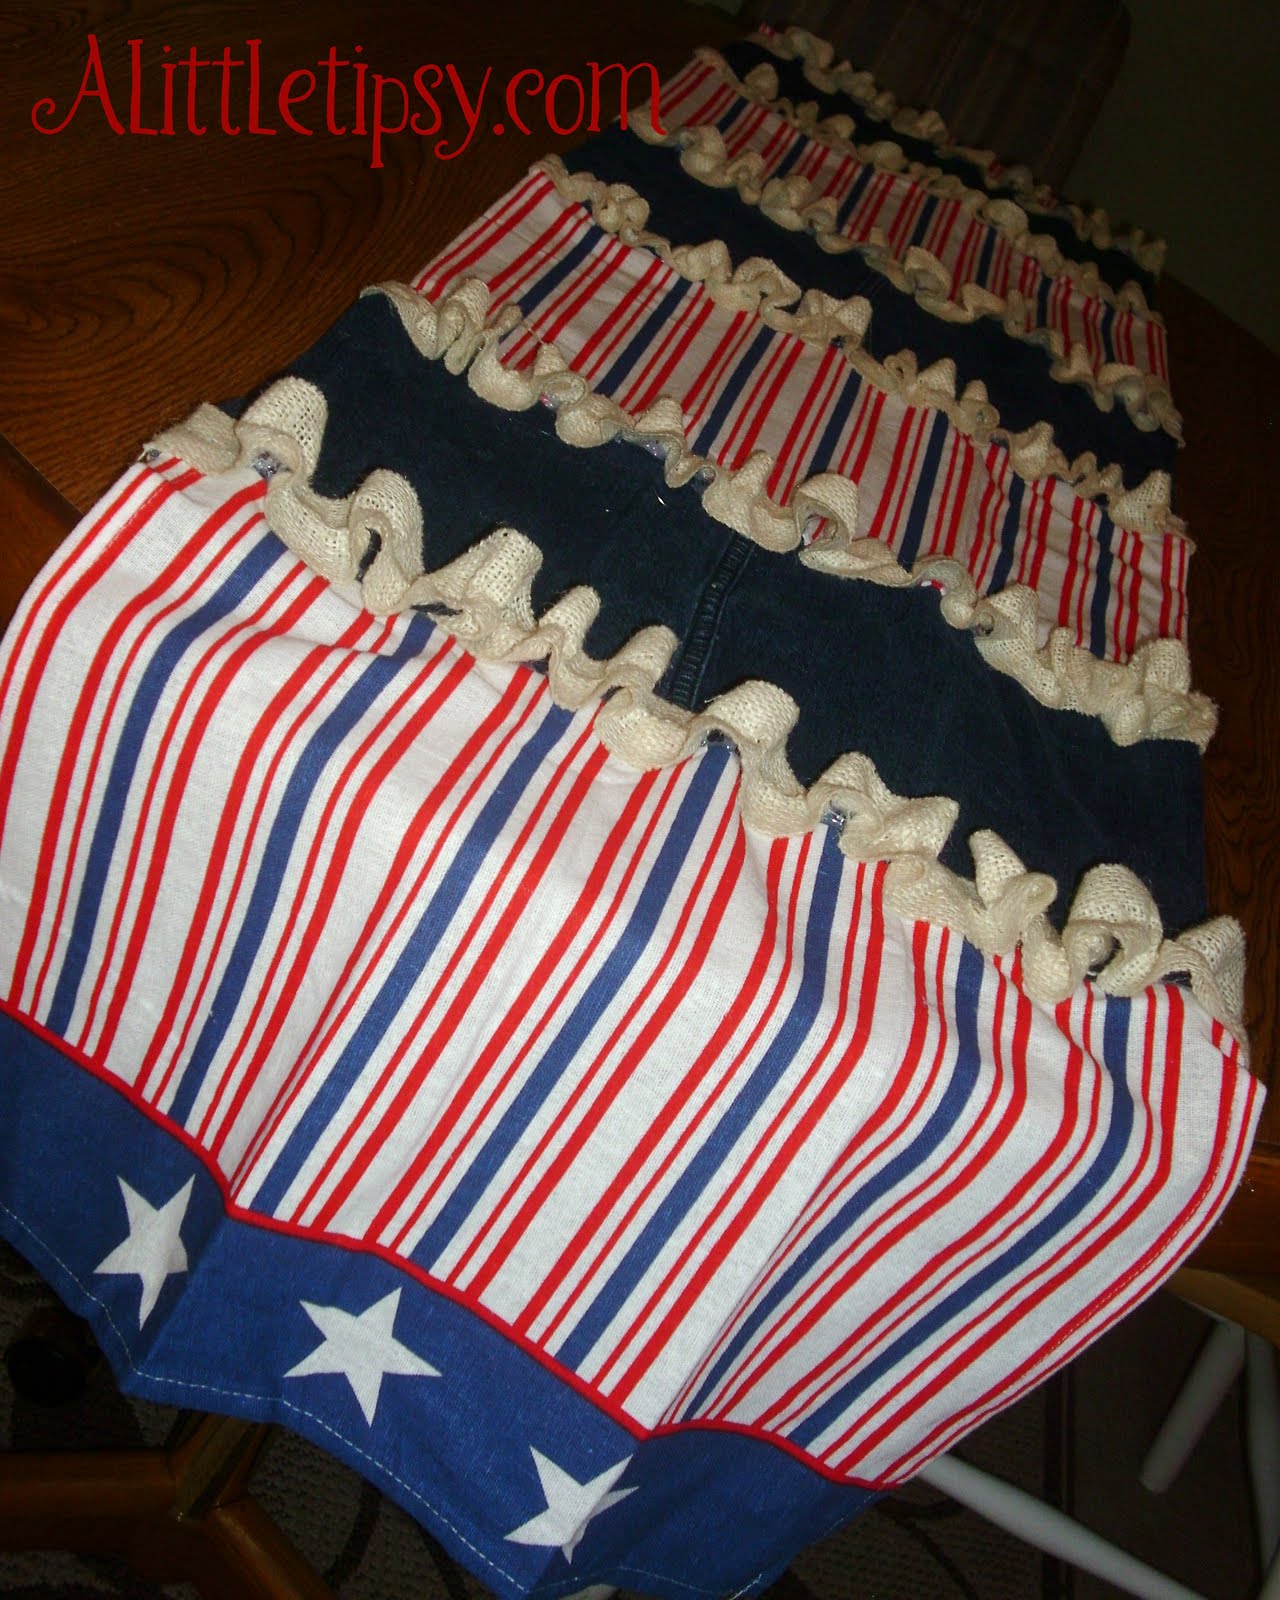
Supplies needed:
Scissors
2 cotton towels or fabric
Denim (slightly more than 1 pant leg)
Burlap (at least 1 ft x 4 ft, preferably more)
Sewing Machine
Thread
Glue Gun
Hot Glue


My patriotic cotton towels are from Dollar Tree.

1. Cut towels in half. Measure how long your table is to see how much denim you will need to make the runner long enough. Alternate material.

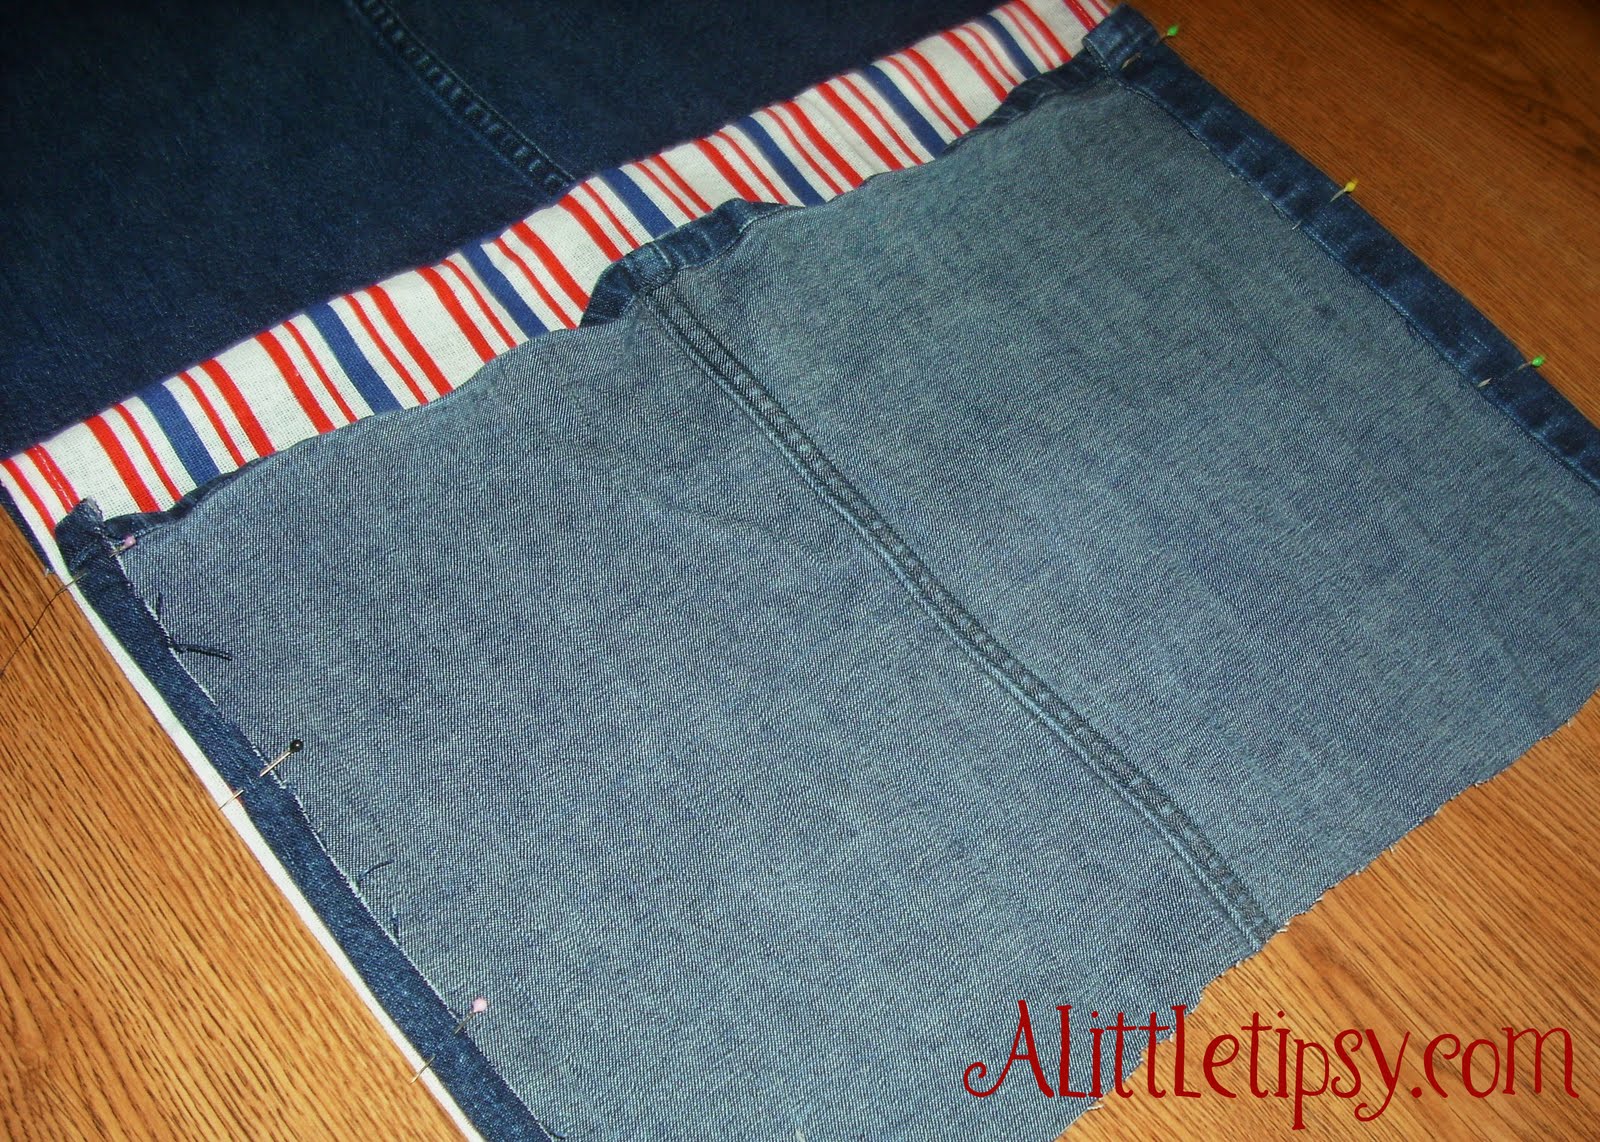
2. Pin and sew the edges of the denim to match the towel width.
3. Put the bright sides of the fabric together. Pin and sew the edge together to connect the two fabrics. Continue until all the pieces are sewn together in a strip.
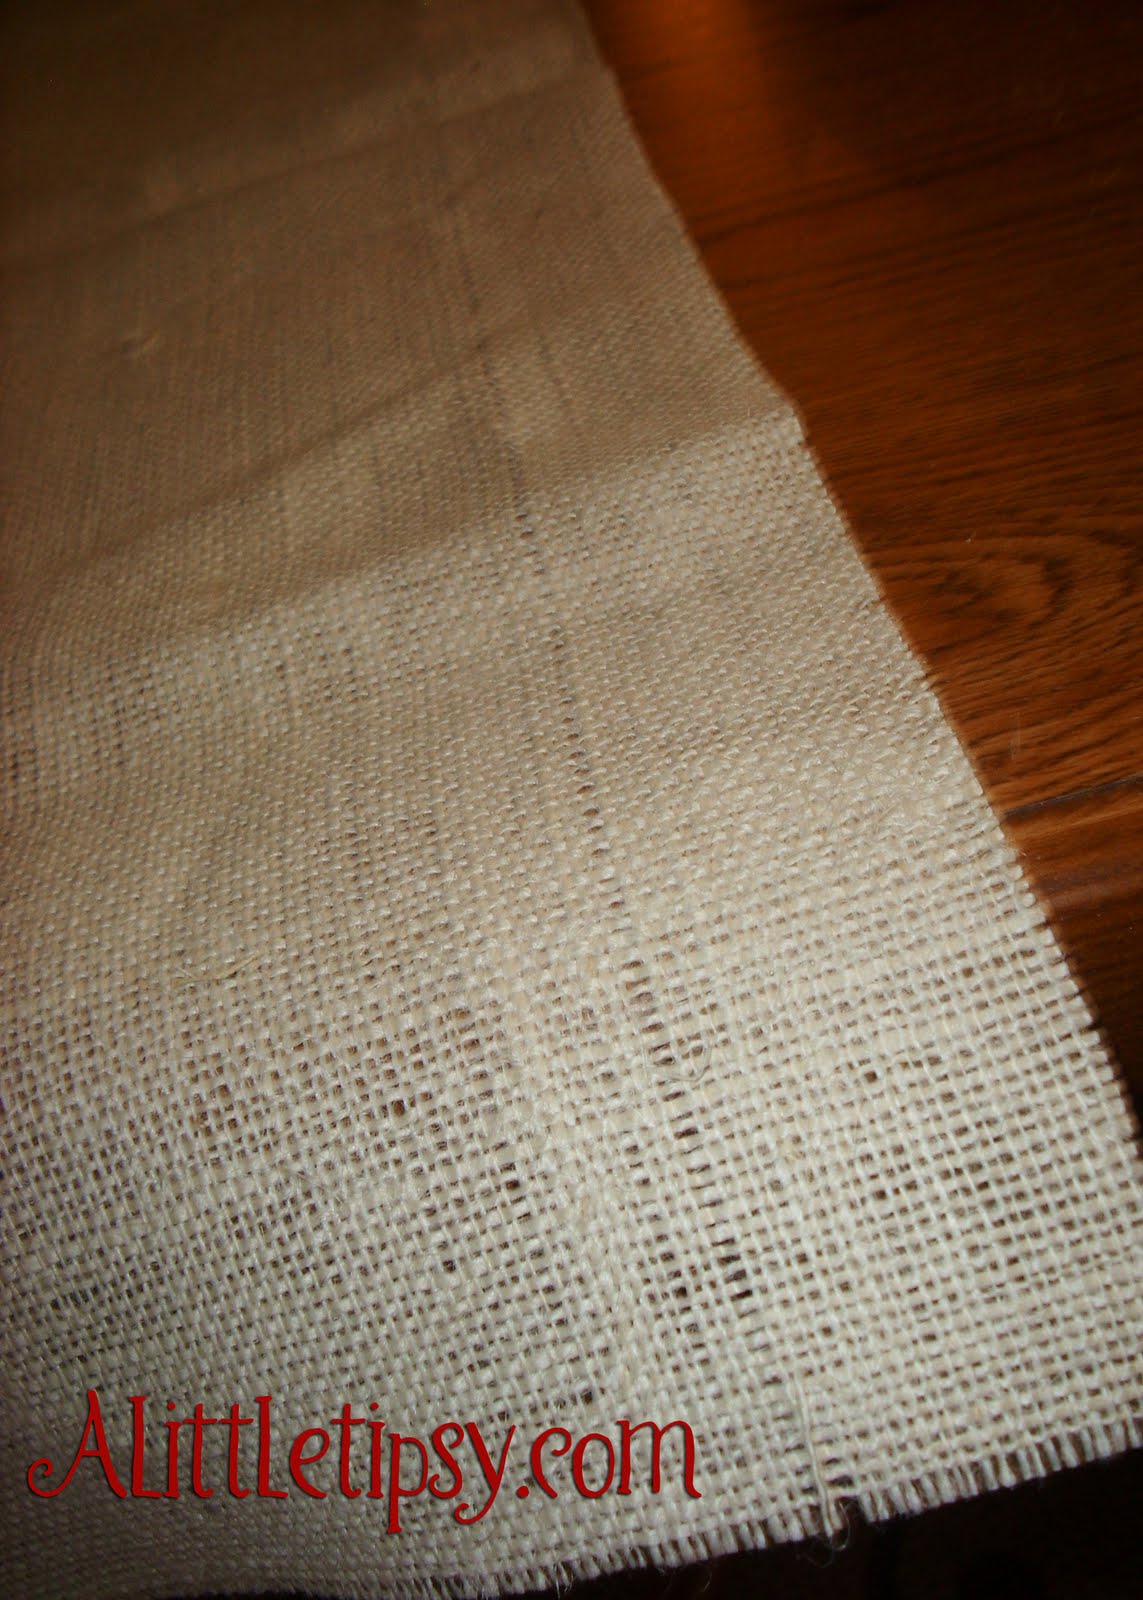
4. Cut burlap in to six 2 inch wide and about 4 foot long strips. Snip and pull out one of the burlap strands to make cutting straight a snap.
5.To make ruffles, hold on to the strand in the middle of the end a burlap strip and CAREFULLY push the material to gather. Do this from each end until the gathering meeting in the middle and you have a ruffle. Be extremely gentle with the strand. I broke mine multiple times. When you are happy with the amount of gathering, tie knots on the end of each strand to keep the ruffle in place.
6. Now hot glue your ruffles on each seam. Wrap the edges of the burlap around the runner and glue down for a finished look.
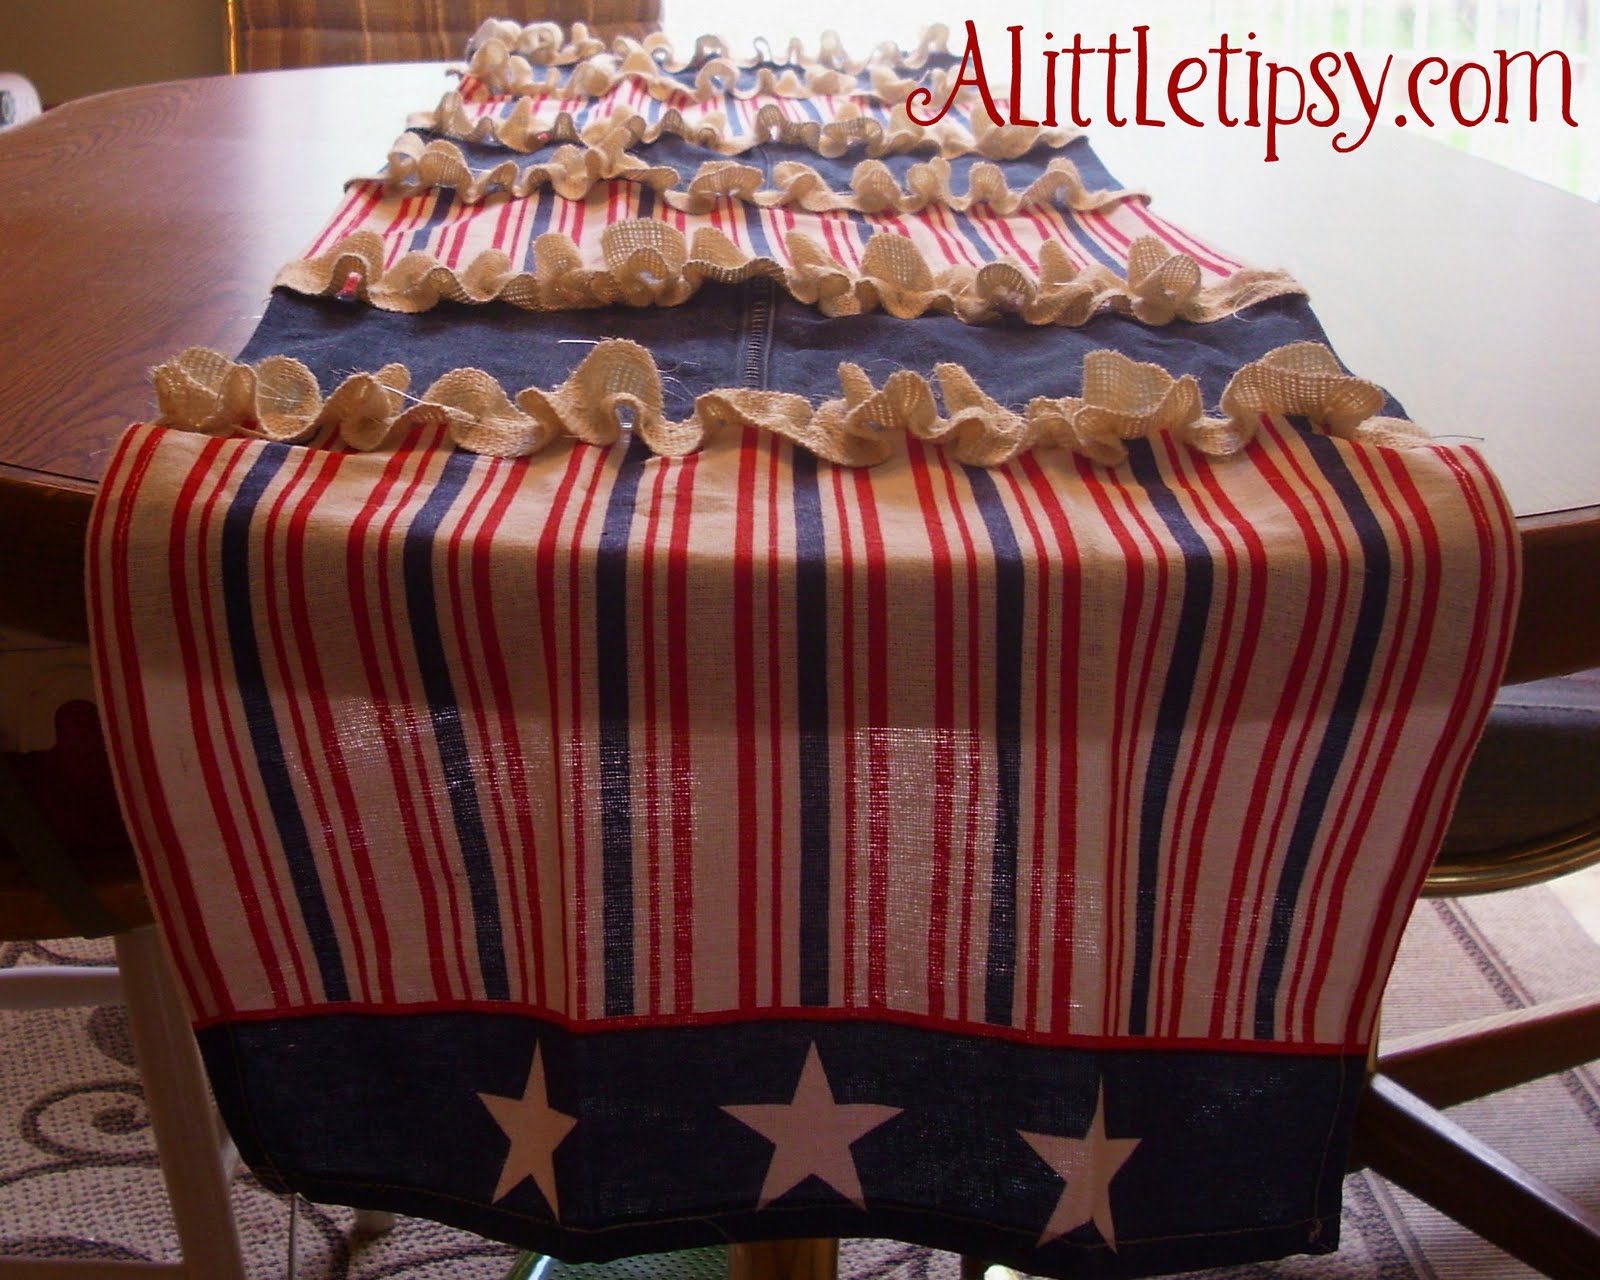
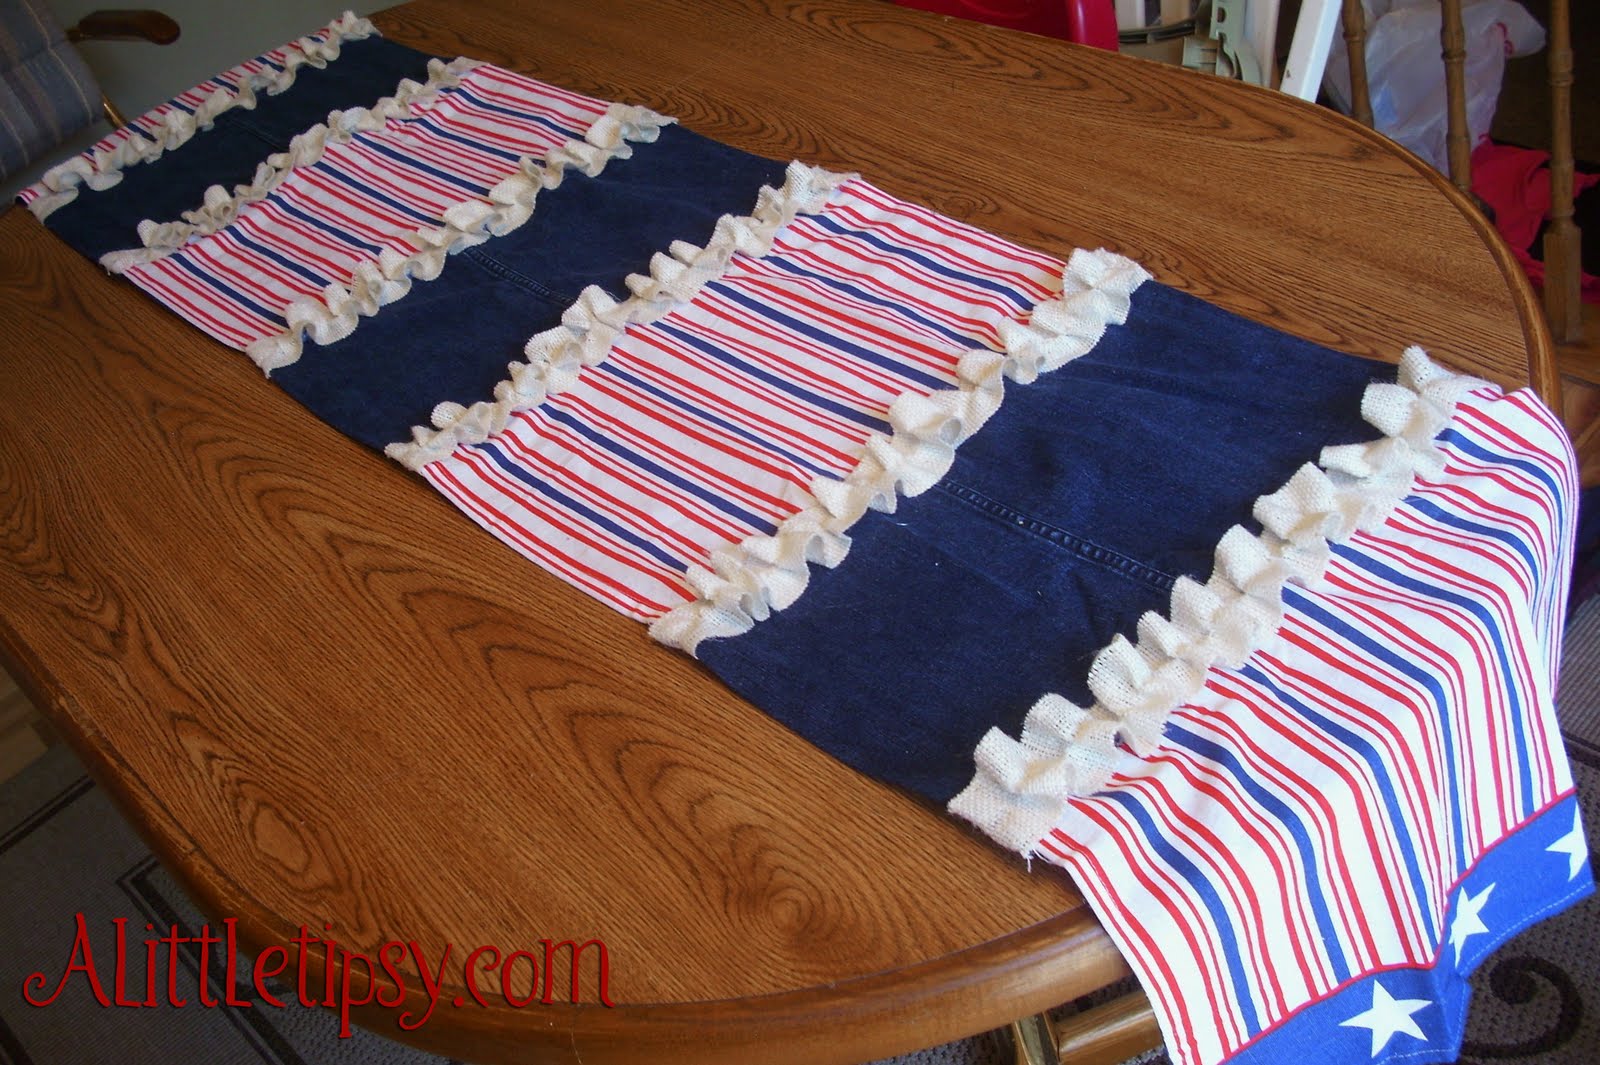
I was so proud to show off my Denim and burlap ruffle table runner to the hubs when he got home. Too bad he asked what it was and was confused. He claims he has never seen a table runner before. I know he has seen them tons of times at my moms house. Such a man.

Linking Up:
Patriotic Parade
Get Your Craft On
Transformation Thursday
Strut Your Stuff
Show Off Your Stuff
Show and Tell
Whatever Goes Wednesday
Look What I Made

P.S. Don’t forget to sign up for free Tipsy updates via RSS or email.

We have decided to truncate our feed to help protect against stolen content. I apologize for any inconvenience. Please love us anyway. 🙂

Father’s Day Art Project and Gift Wrap Idea

June 18, 2010 By Michelle Barneck 5 Comments

My little one wanted to paint today, so I turned it into a Father’s Day Art Project. It turned out so cute that the art project then turned in to the gift wrap for our Father’s and Grandfather’s Day Presents.

I just drew the outline of a tie on a big sheet of white paper and let him have at it with the finger paint. We did one color and let it dry for a bit, then added a second color.


Once he was done I traced the outline with a Sharpie to make it stand out and cut the tie out. We wrote a little note on the one being sent in the mail and attached the other two to blue gift bags.

Happy Father’s Day!!

Linking up:
Join  us Saturdays at tatertotsandjello.com for the weekend wrap up  party!

P.S. Don’t forget to sign up for free Tipsy updates via RSS or email.

We have decided to truncate our feed to help protect against stolen content. I apologize for any inconvenience. Please love us anyway. 🙂

Feature Friday-Blog Swap with Aly&Ash

June 4, 2010 By Michelle Barneck 1 Comment

Hello you gorgeous Tipsy readers! I am so excited to be guest posting over here today! I’m Jax from Aly&Ash and I have a really fun Father’s Day gift tutorial for you today! But first a little about me in-case you’re interested…if not feel free to scroll to the tutorial! 😉

I am a SAHM of the sweetest little sweet sweet you have ever seen! His name is Asher and he is 8 months next week…how did that happen? He really is the whole reason I got into this craft blogging stuff! I caught the bug once I made a few things for him and just ran with it! I started Aly&Ash just a few short months ago and am now thoroughly addicted! I am even co-hosting an event here in Arizona this month!

Click {HERE} for all the details!

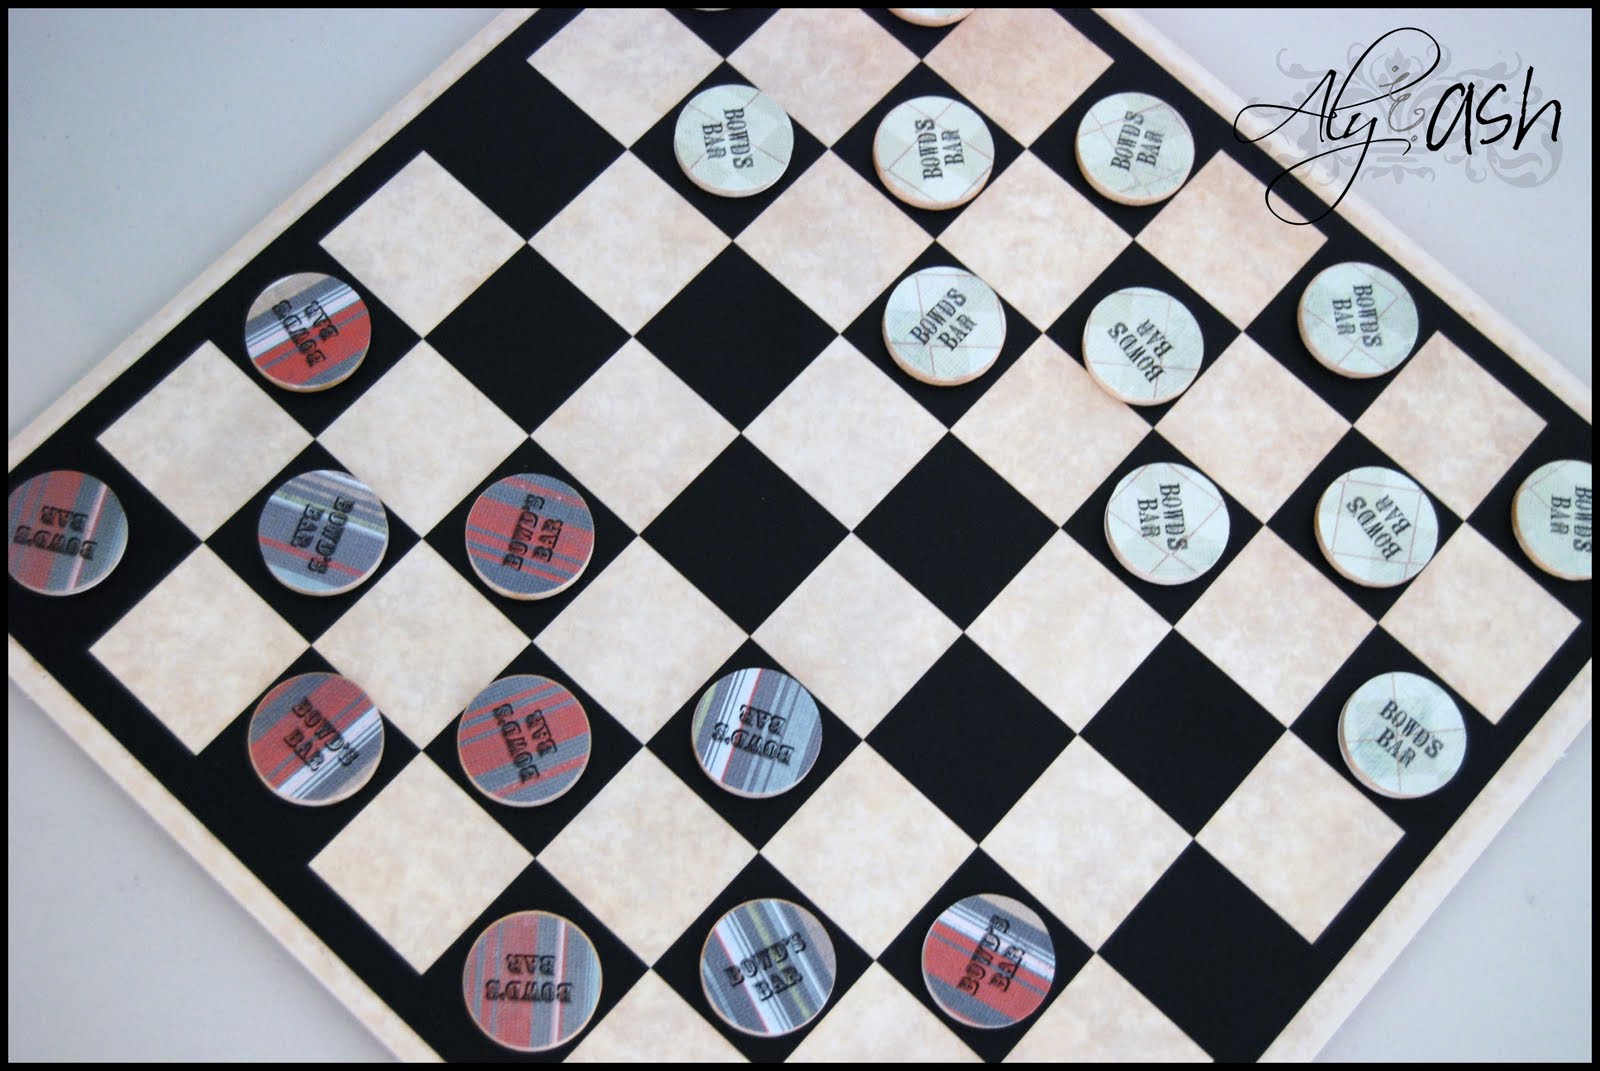
Alright well enough about me let’s get to this tutorial shall we! I wanted to come up with a personalized gift for my Dad for Father’s Day this year. Promptly upon my moving out they remodeled the basement into a Bar for get togethers and parties. They call it Bowd’s Bar (Last name Bowden) and they love it! I had been thinking about using tile and vinyl to make a checkers board for a while and thought, “This is the perfect opportunity!”

Tutorial:

Custom Checkers Board

What you need:
  • 16×16 Piece of Tile
  • 15×15 Vinyl Checkerboard Pattern
  • 24 Wooden Circles
  • Scrapbook Paper
  • Mod Podge & Foam Brush
  • Circle Punch
  • Felt & Hot Glue

Step One:

Adhere your vinyl to the tile. Luckily tile is a forgiving surface so when I laid it crooked the first time I was able to carefully peel it back up and try again! Whew! I get my vinyl from Marni at{Choose the Writing}!

Step Two:

Measure, cut and hot glue felt to the bottom of the tile. Do a little bit at a time since the glue drys fast.

Step Three:
I printed words onto scrapbook paper to customize, but plain scrapbook paper would work great too!

Step Four:

Grab your circle punch and start punching!

Step Five:

Mod Podge your circles of scrapbook paper to the wooden circles one side at a time. When I finished all 24 circles the first one was dry and ready for me to start again on the other side.

Step Six:When I was done the 2nd side the 1st side was dry and I could apply more Mod Podge to the top to seal…and so on.

Step Seven:

Allow to dry completely! I used a crown graphic from {The Graphics Fairy} on one side for the “King Me!”

Now you’re ready to Play!

Well thanks for having me today! I hope you enjoyed today’s tutorial and be sure to come visit me at Aly&Ash for other tutorials, ideas and fun! Here is a quick sampling of just a few!

www.alyandash.com

———————————————————————–

Isn’t she great! My hubs would love a personalized checkers set! I love her cute lace hair pin too! Thanks Jax for swappin’ it up with me today!

P.S. Don’t forget to sign up for free Tipsy updates via RSS or email.

We have decided to truncate our feed to help protect against stolen content. I apologize for any inconvenience. Please love us anyway. 🙂

11 Ways to Decorate Plastic Easter Eggs

March 29, 2010 By Michelle Barneck 7 Comments

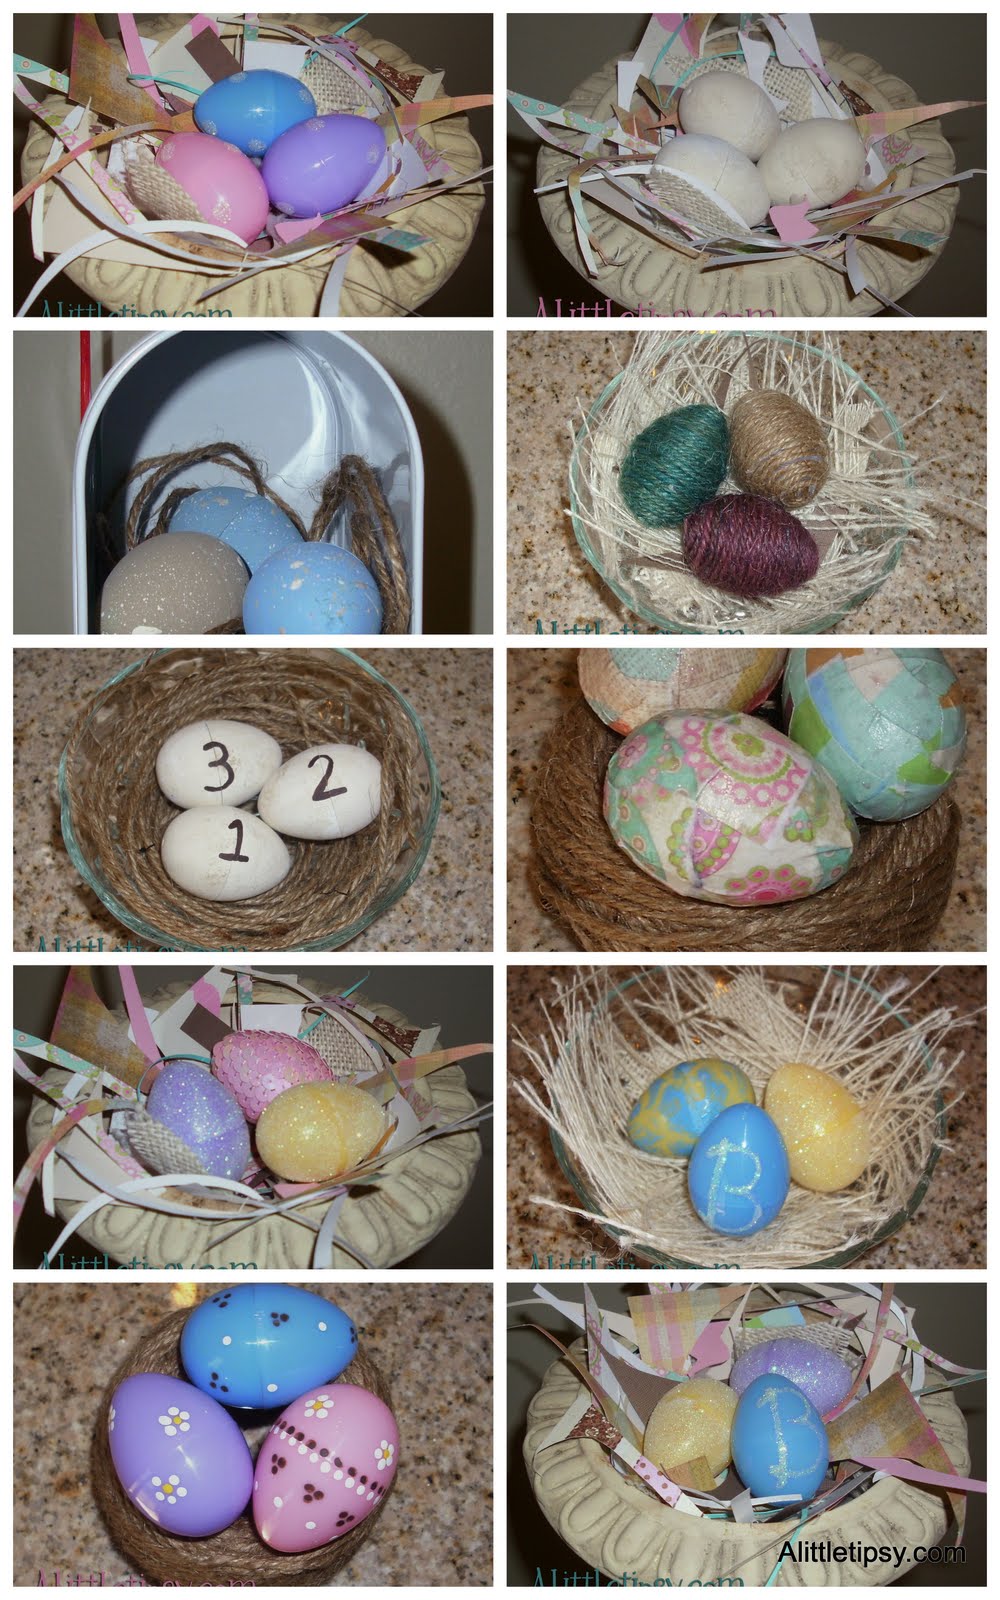
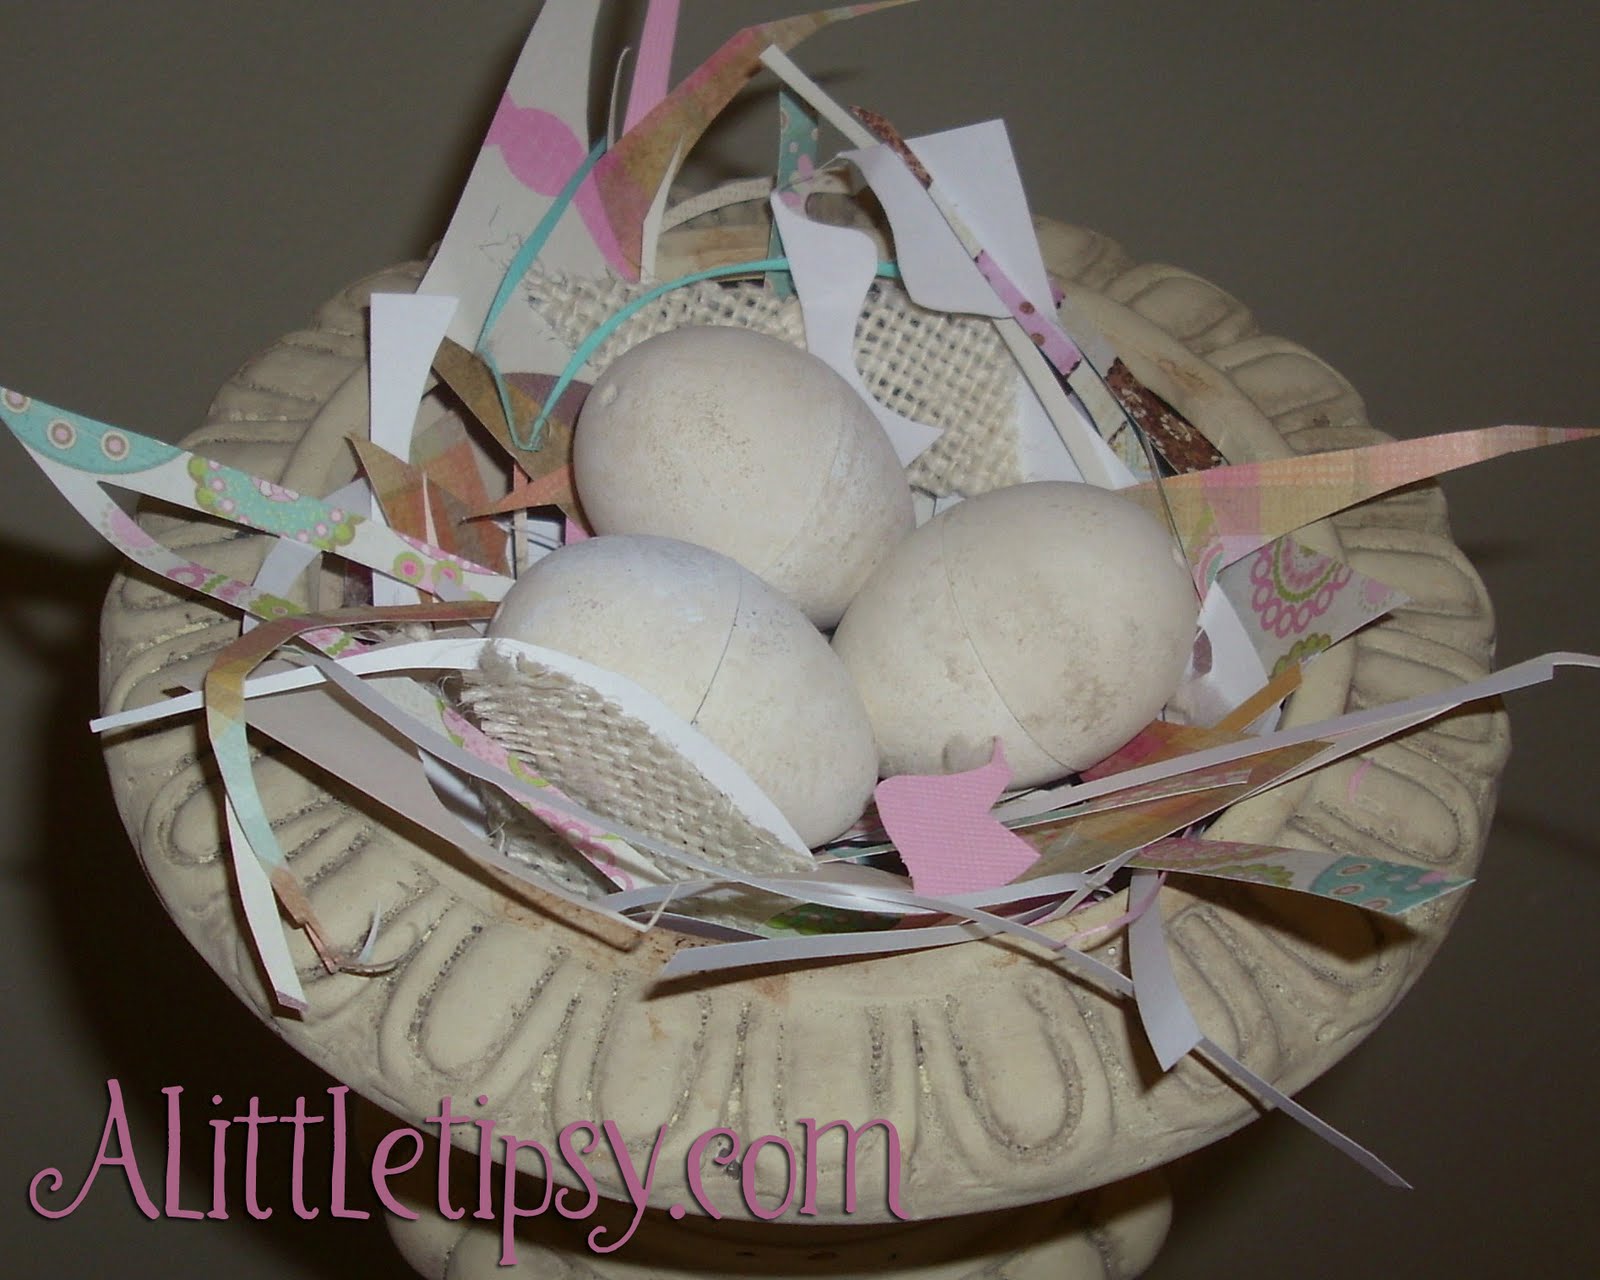
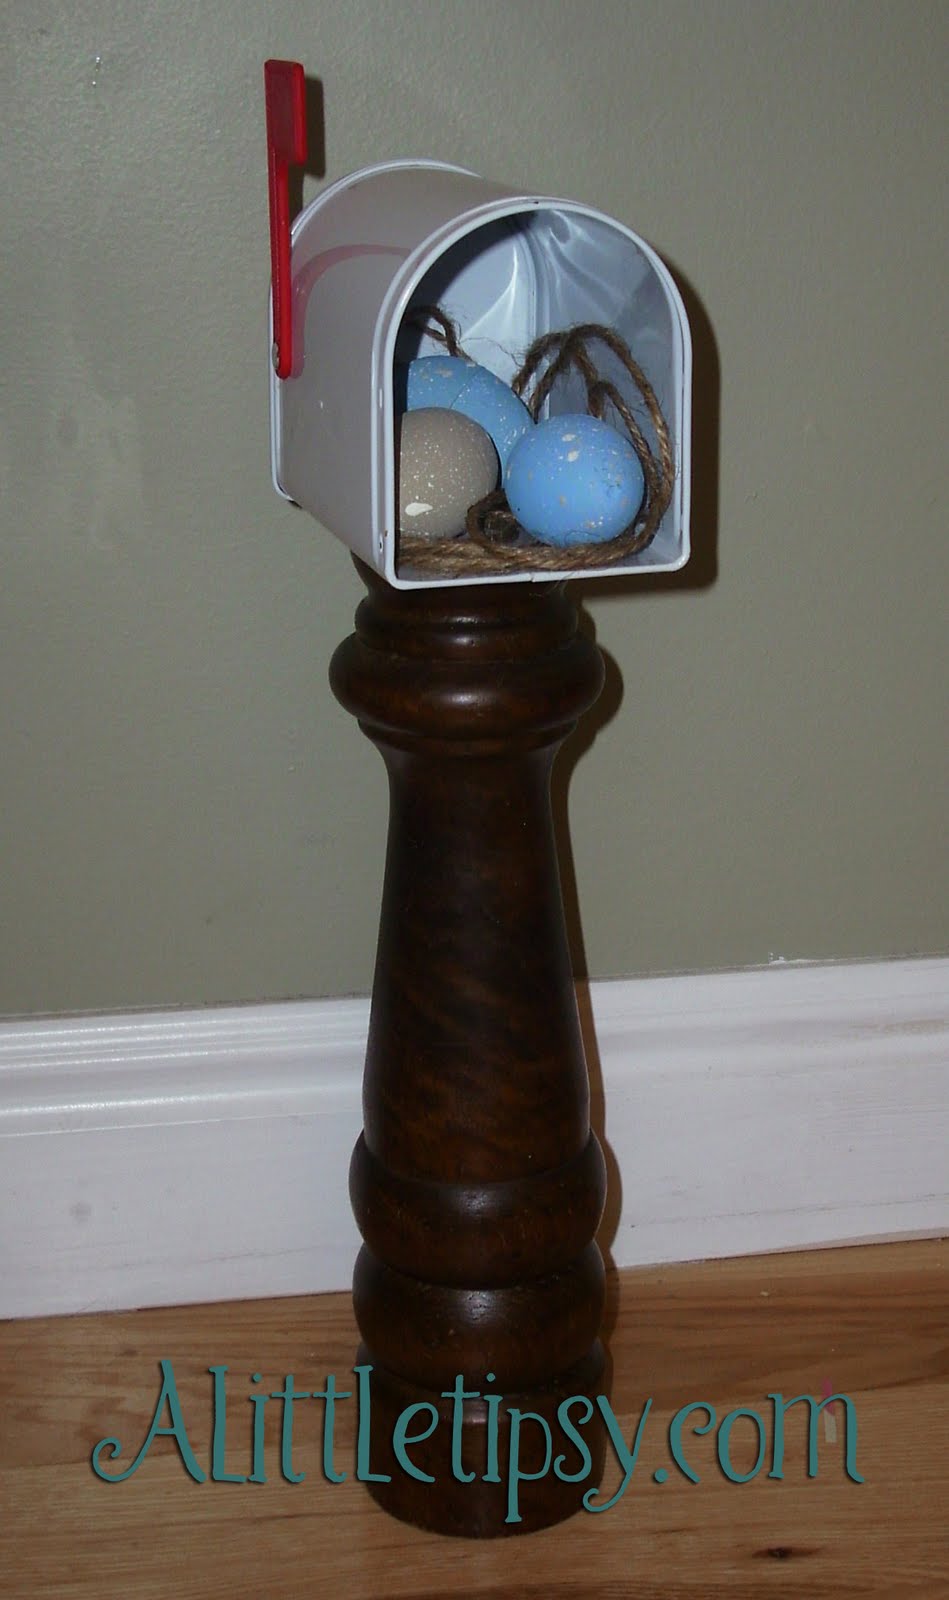
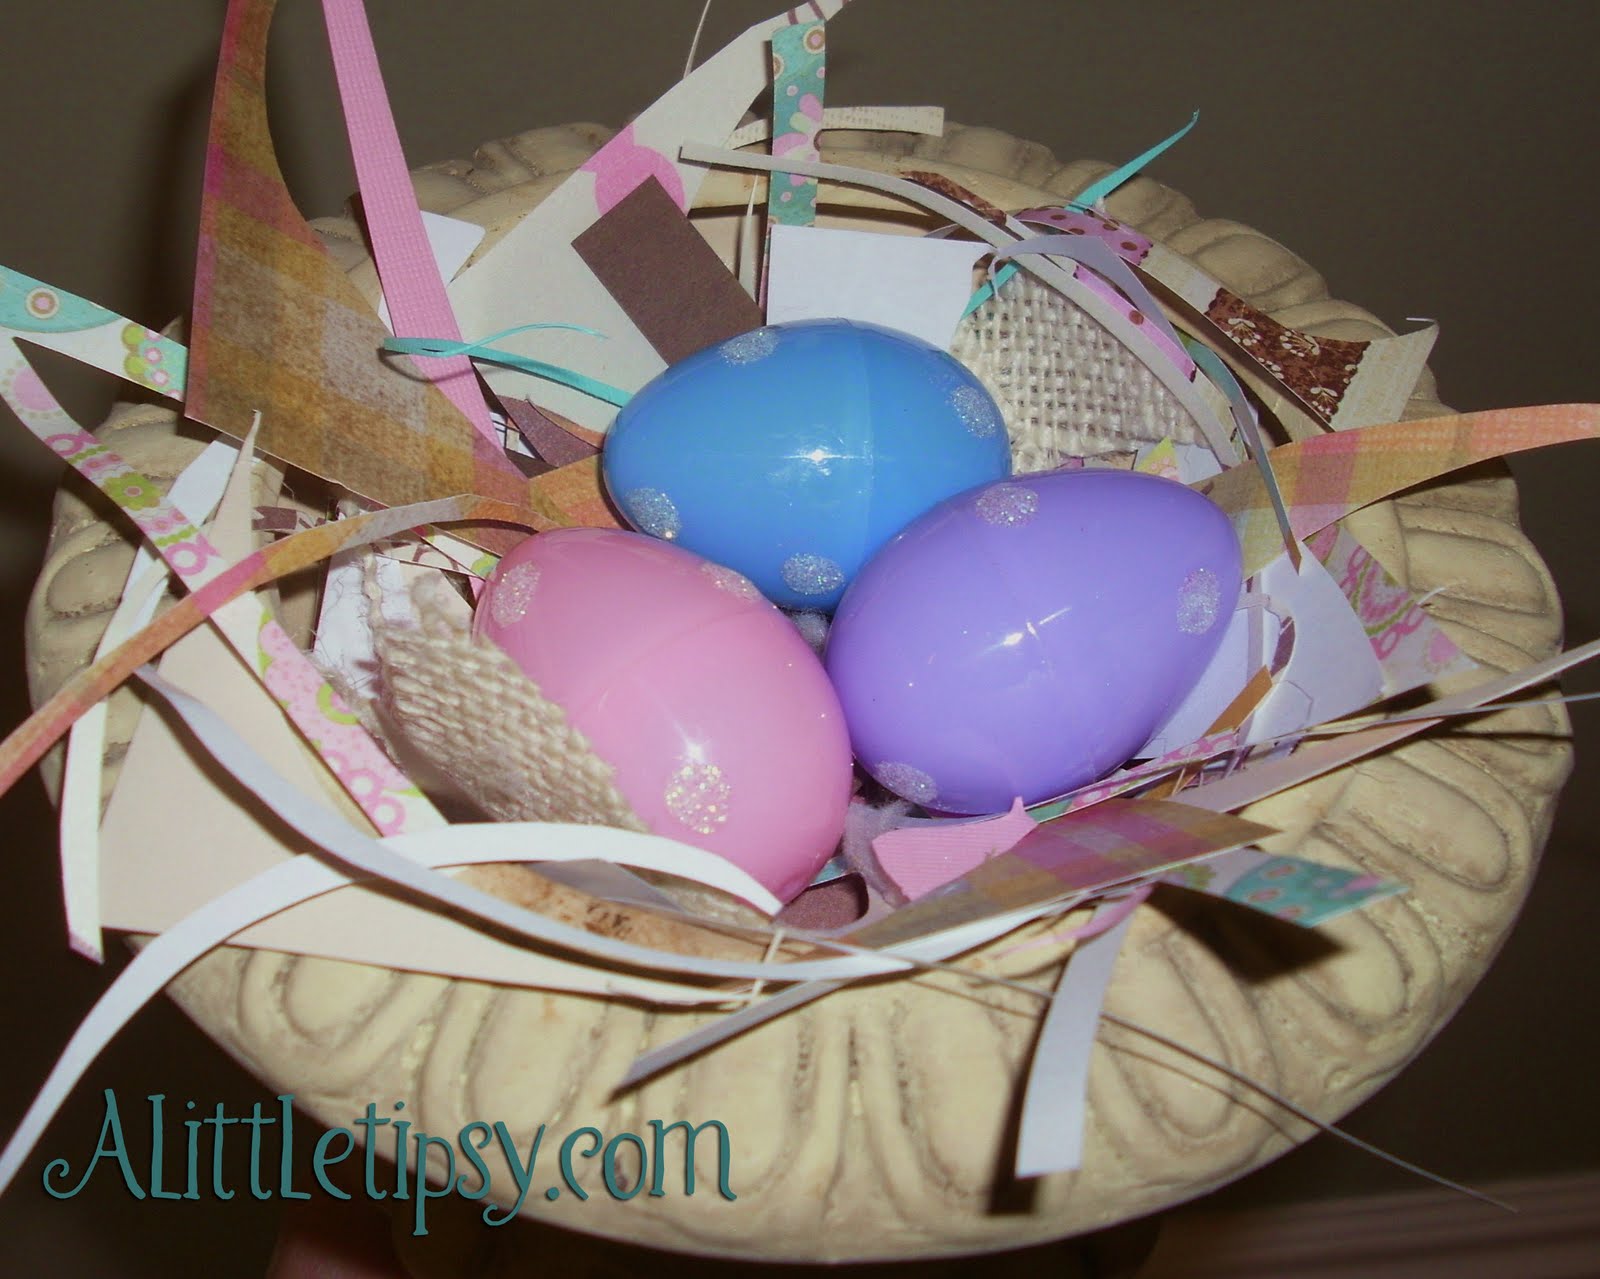
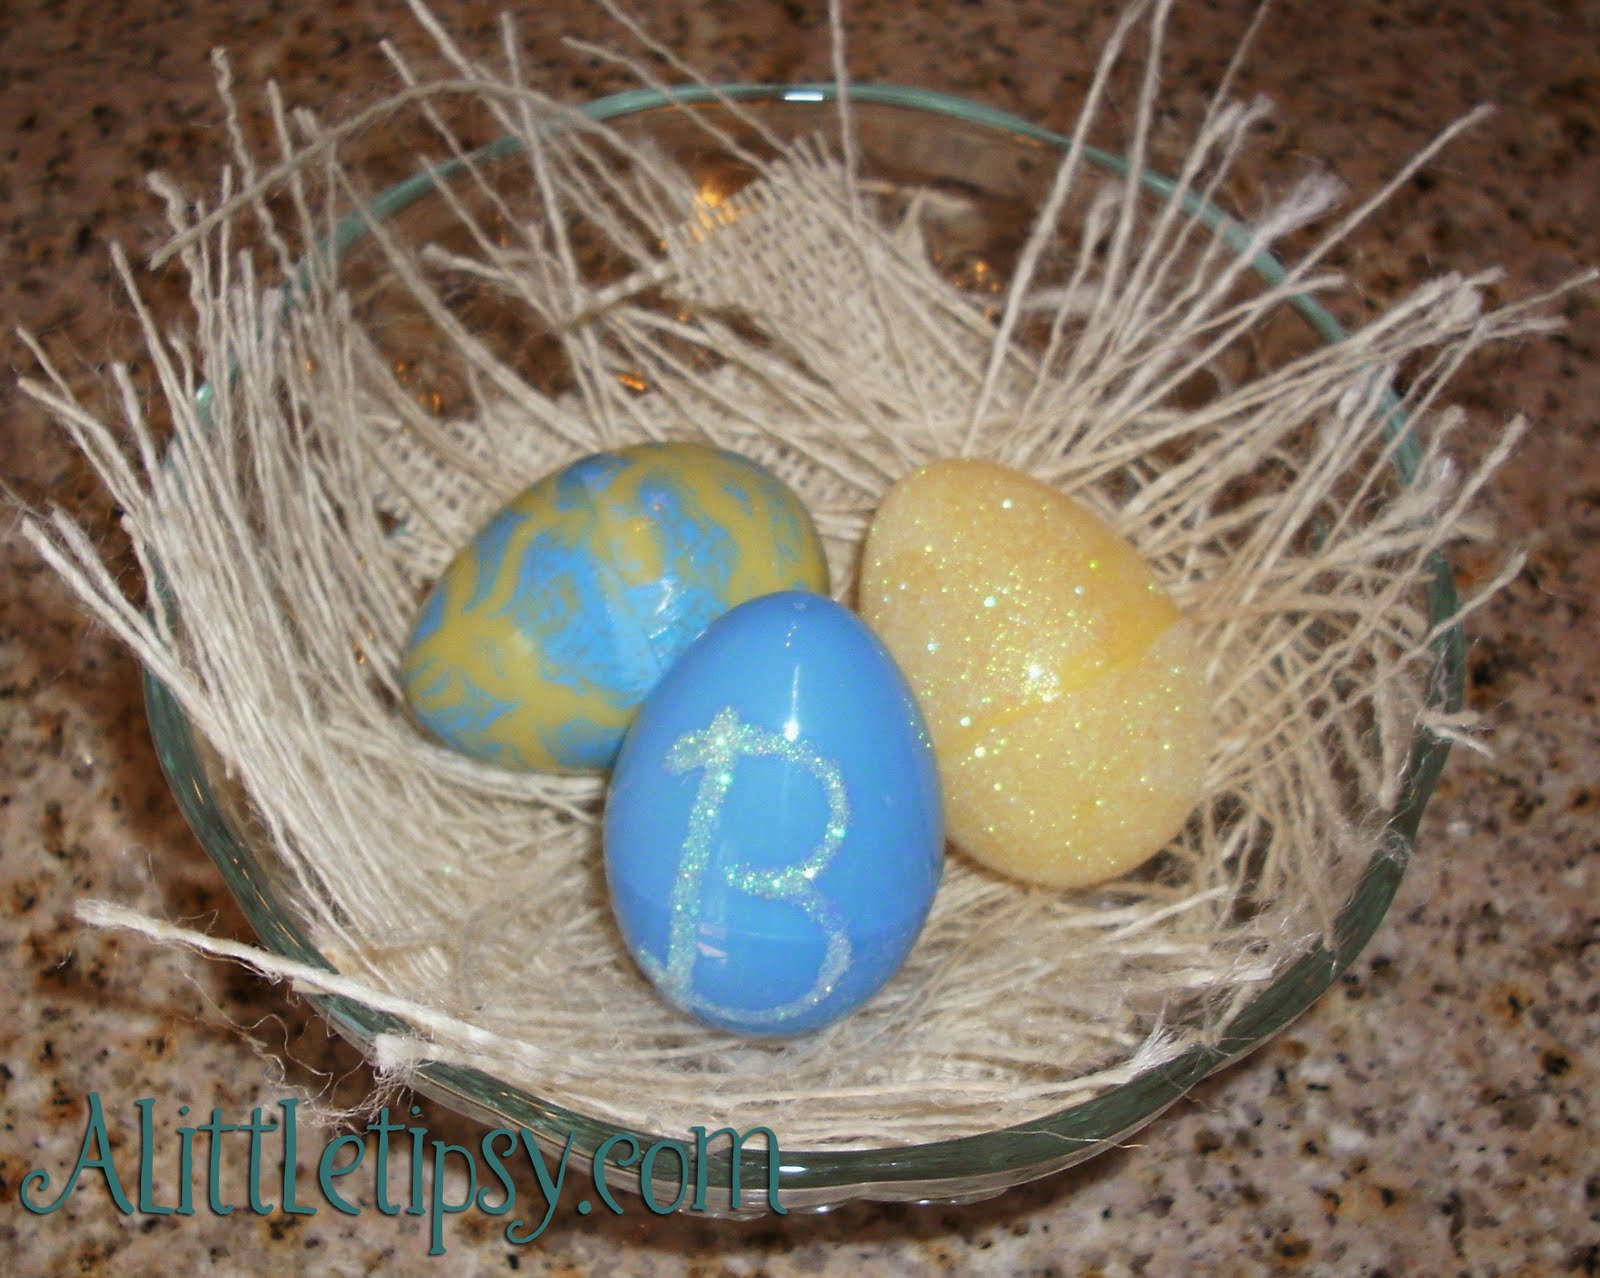
34 cent bag of small plastic Easter eggs, one challenge. Find 10 different ways to decorate them using only what you have in your house. You got it!!

I got a little carried away and technically there are 11 ways!

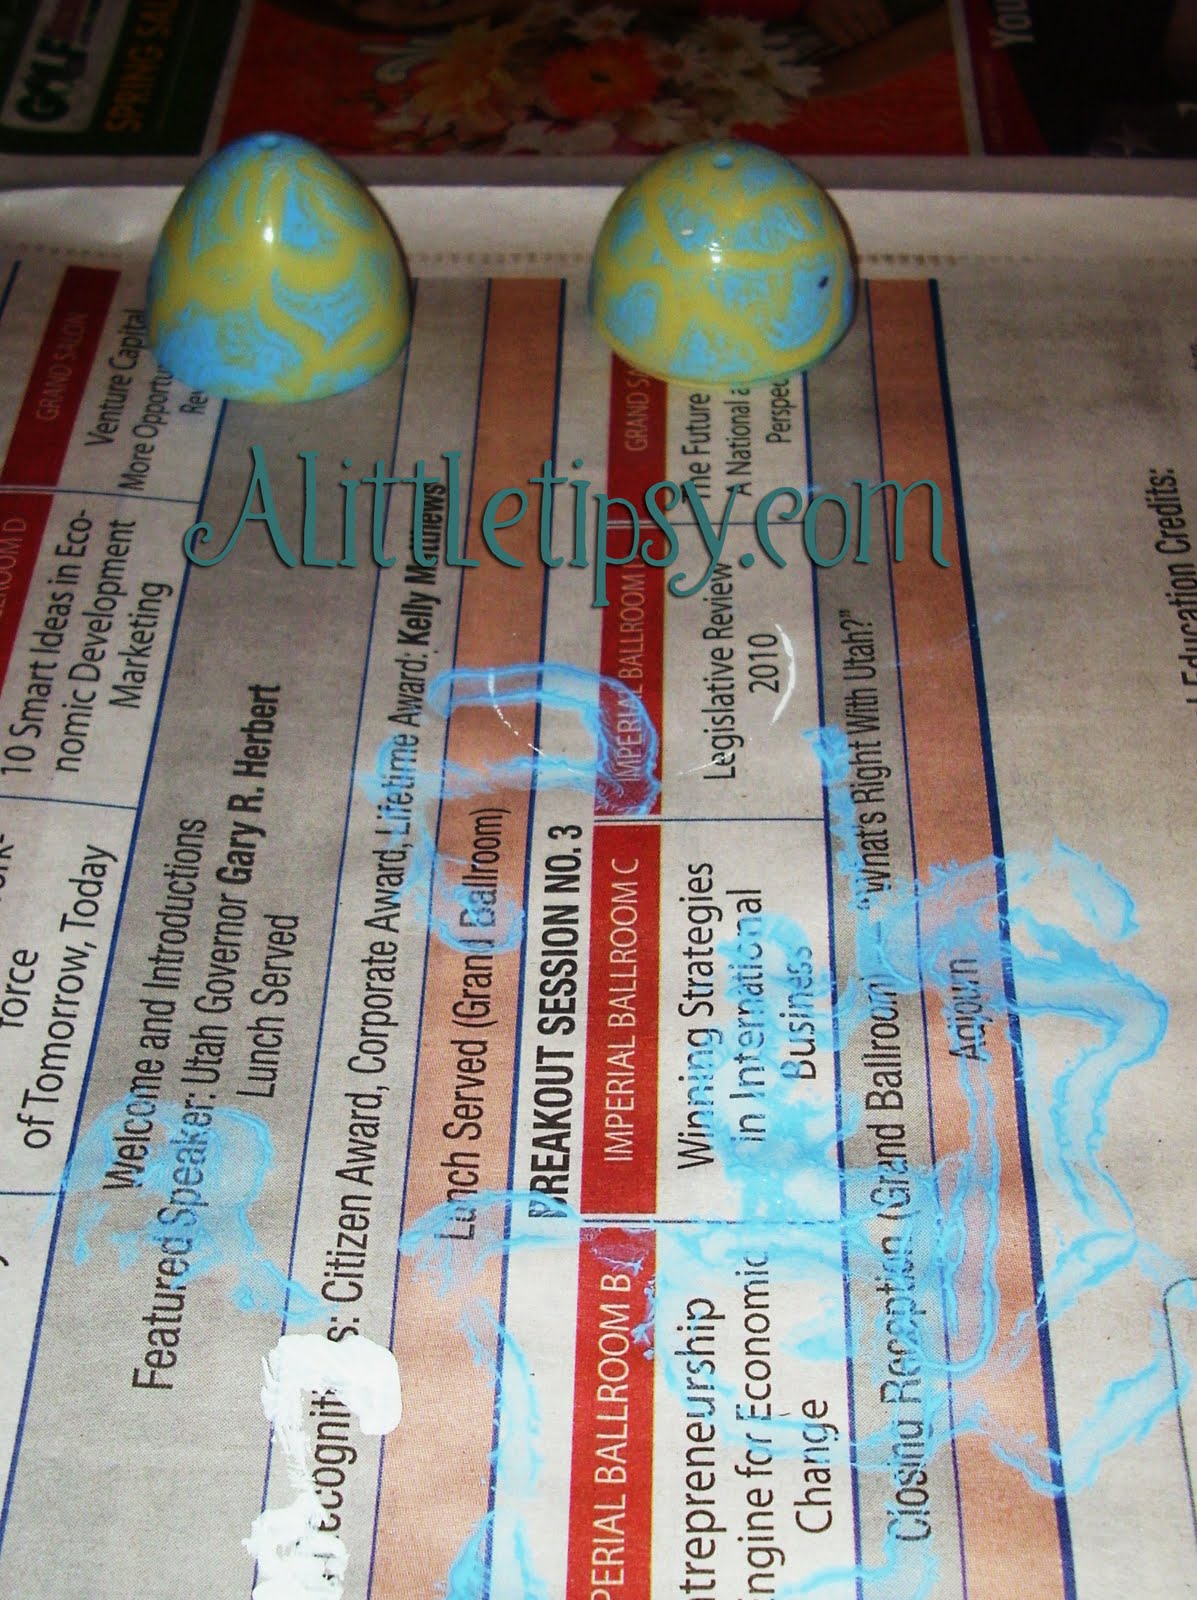
Starting tip:Paint your eggs open in half so you can put them on your finger to paint and they can sit on the ring to dry.

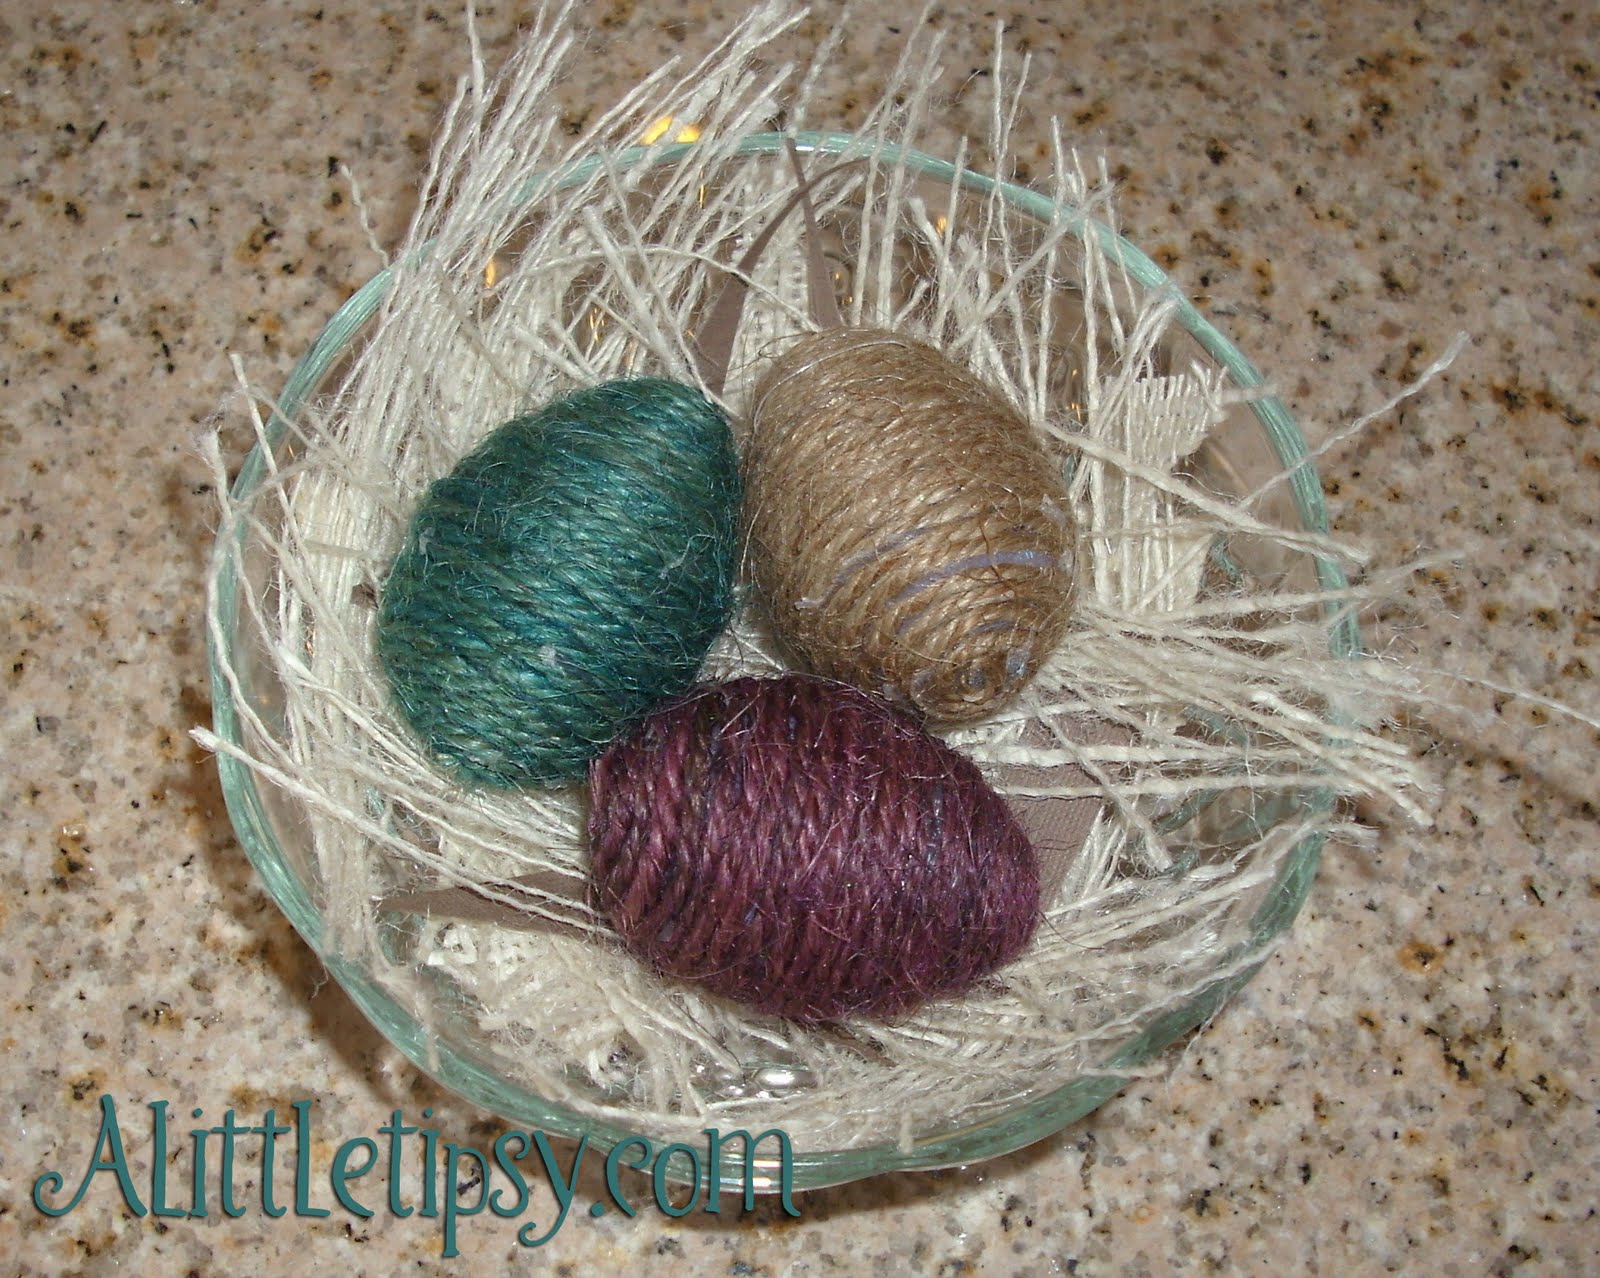
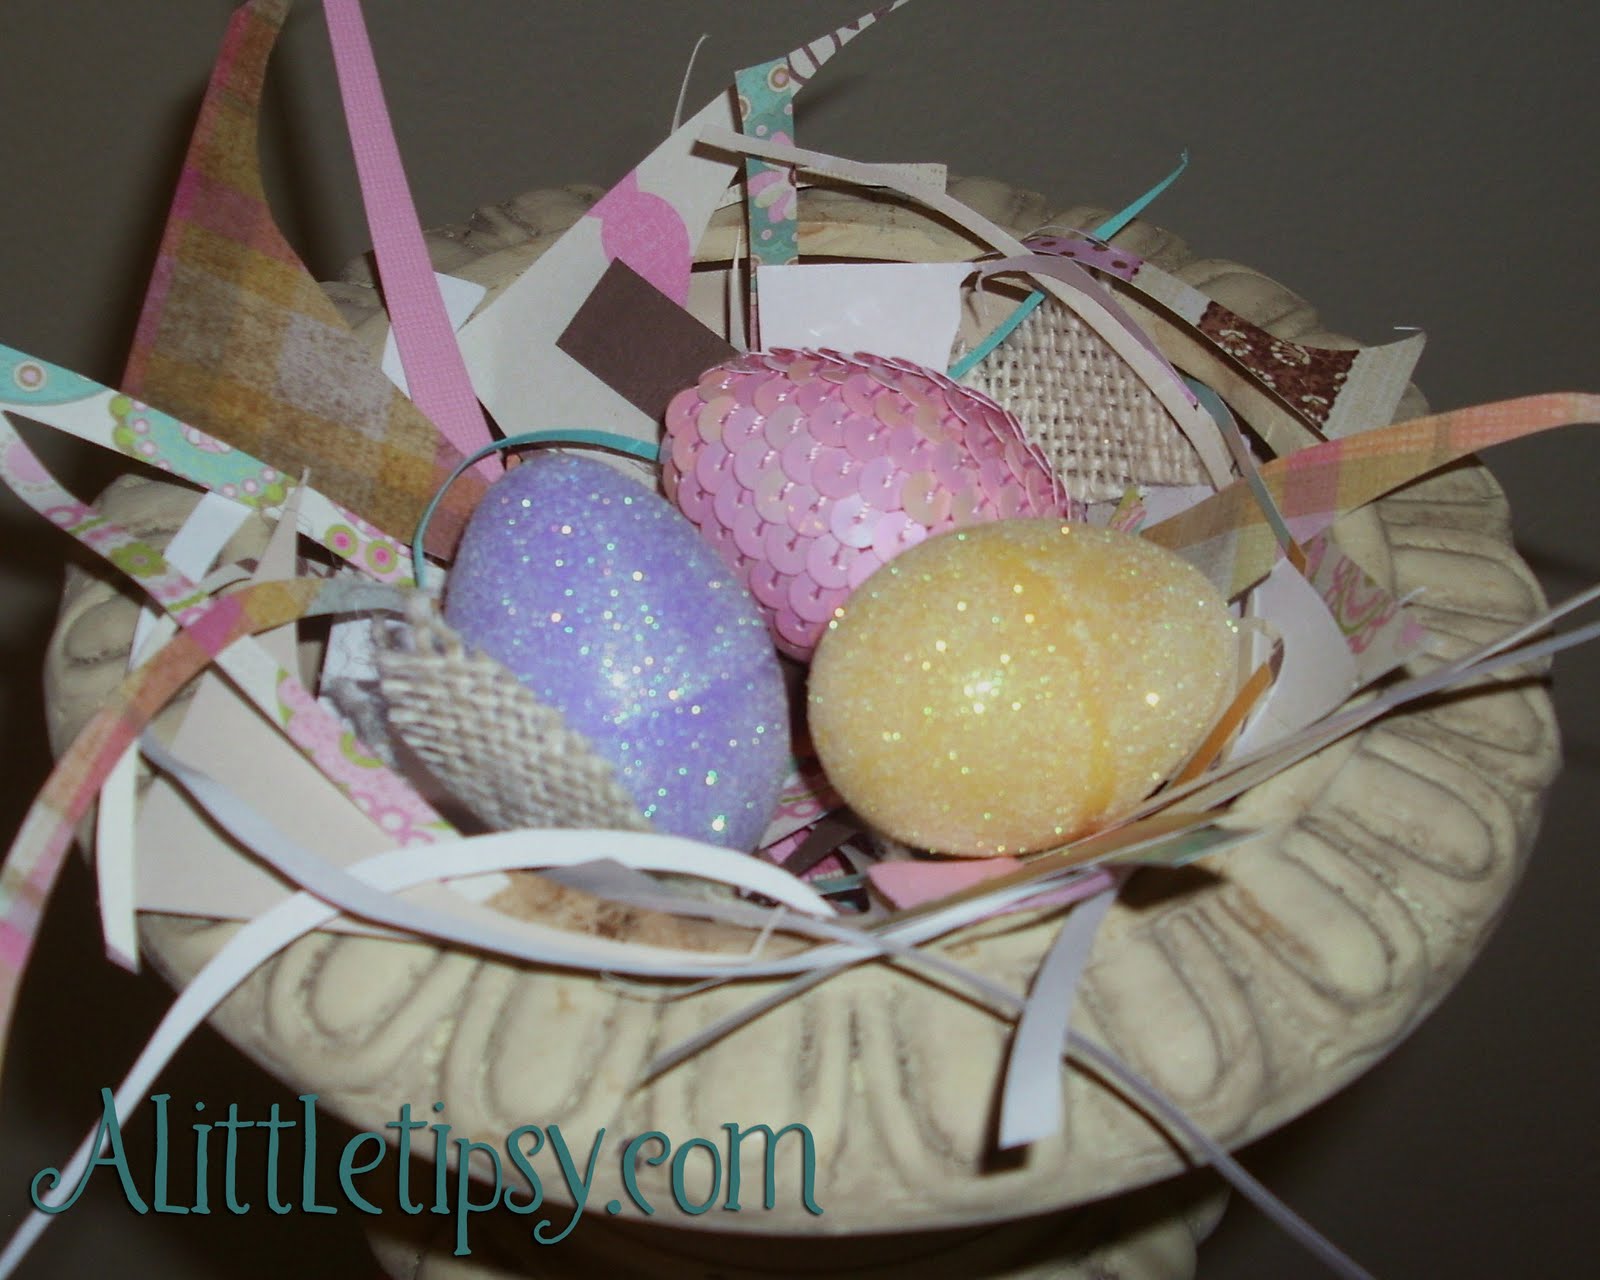
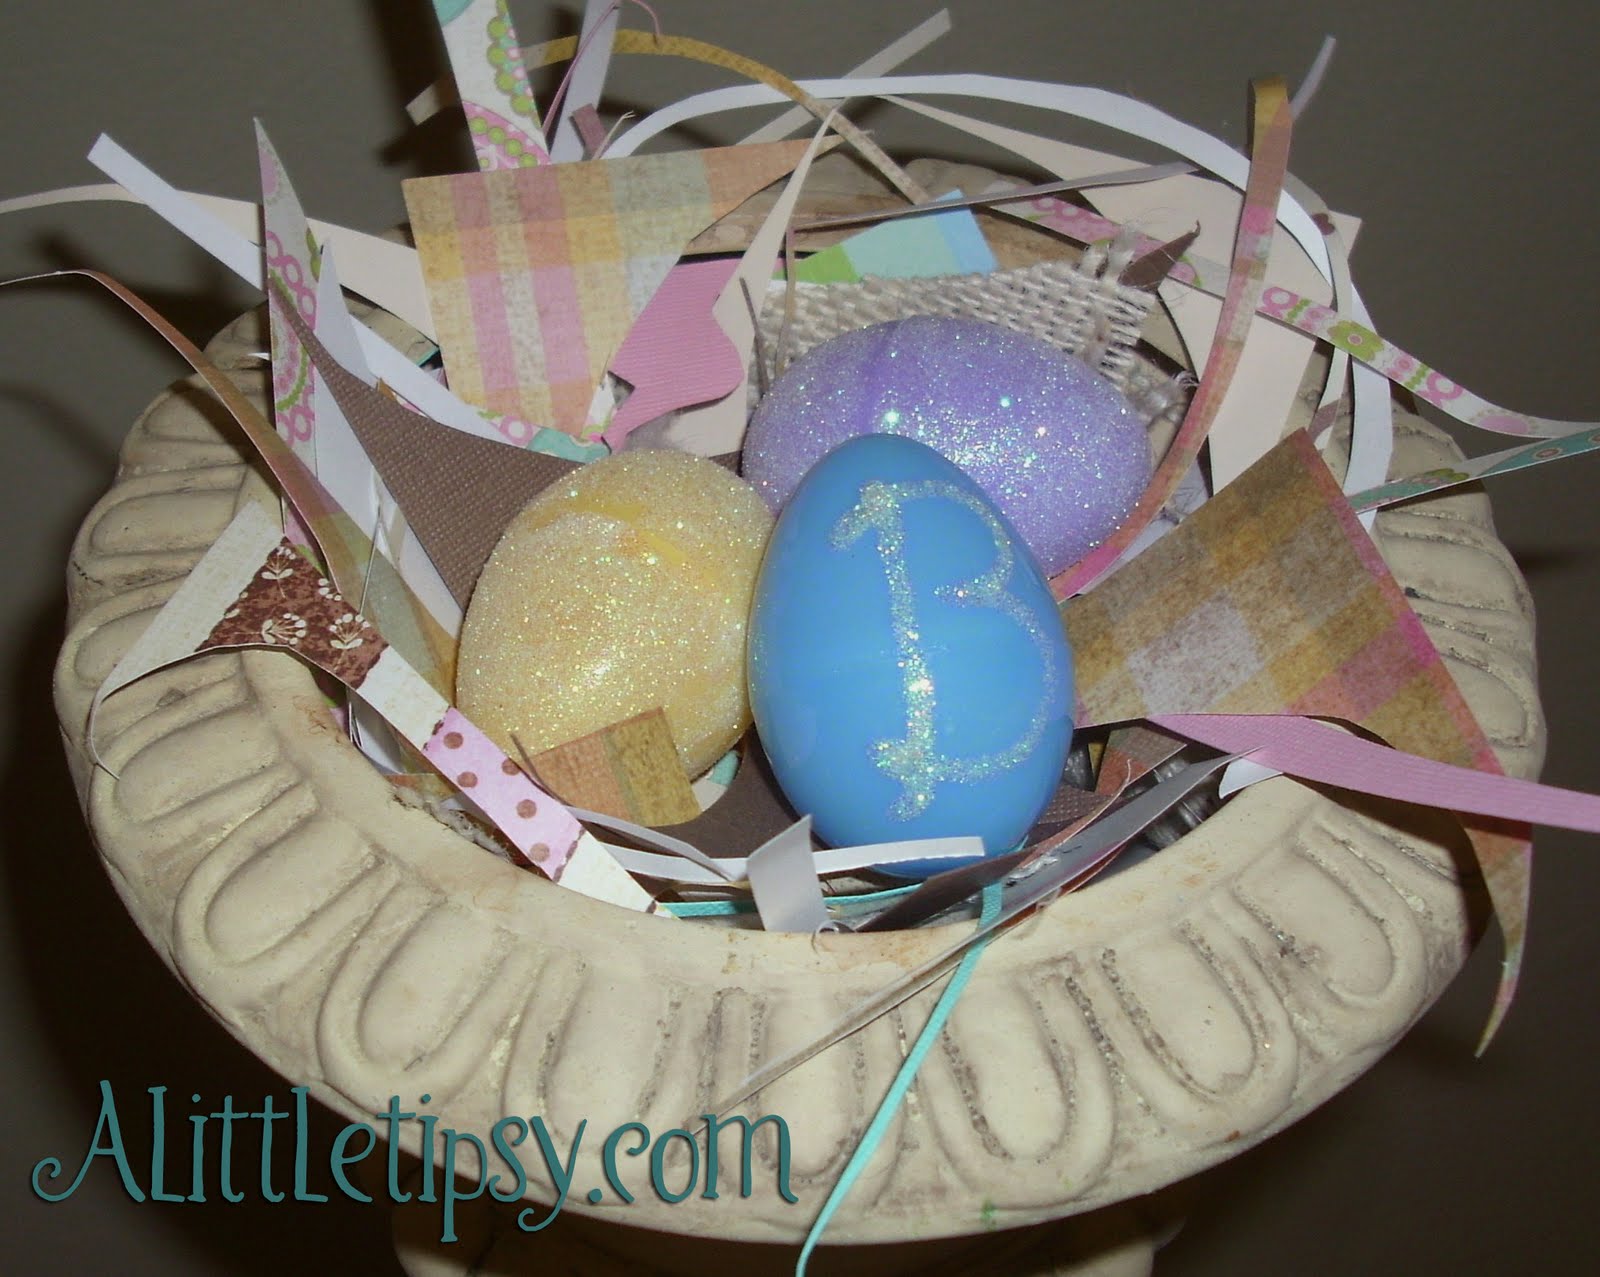
Nest tip: Get creative using scraps of paper, burlap, or twine and items that you already have sitting around.

1. Let’s start simple with an Antiqued White Egg. Pull out your craft paint and give it a couple coats of vanilla. Let each coat dry. Take your sponge brush still wet with vanilla and dip it into tan. Dob it around to get on your paper to get excess paint off and then dab around the surface of the egg. Once there are spots of tan covering the surface, Use the flat side of the brush to give the egg the texture of a real eggshell. Just press it lightly against the entire surface of the egg a bit at a time.

2. Numbered Eggs-Use the same technique as the White Antiqued Egg and use a small paint brush to paint numbers in brown. You could use a stencil or rub-ons, but I did not have them on hand.

3. Paint Speckled Robin Eggs-Paint two coats of muted colors like cream, light blue and tan with a sponge brush. Use a paint brush or toothbrush to splatter paint uneven speckles in an opposite color.

4. Dyed Twine Wrapped Eggs-Dye your twine using food coloring diluted with water. For the teal, I used about 7 drops of blue and a few tablespoons of water and immersed the twine in a little ceramic condiment dish. For the purple, I used the existing blue mixture and added about 7 drops of red food coloring and a little more water. Let the twine dry and then wrap it around the egg hot gluing it along the way.

5. Glitter Dot Eggs–(I got this idea some where in blog land, but could not find it, sorry. Contact me if it is you!)
Place small glue dots (the ones you buy at the craft store) all around your egg then dip them in glitter.

6. Sparkle Eggs-Coat your eggs with mod podge using a foam brush then sprinkle glitter over them.
7. Sequin Covered Egg-Wrap a strand of sequins around your egg hot gluing as you go.

8. Glittery Monogram Egg-Use a tiny paint brush to paint your monogram using mod podge. Sprinkle glitter over it until thoroughly covered.

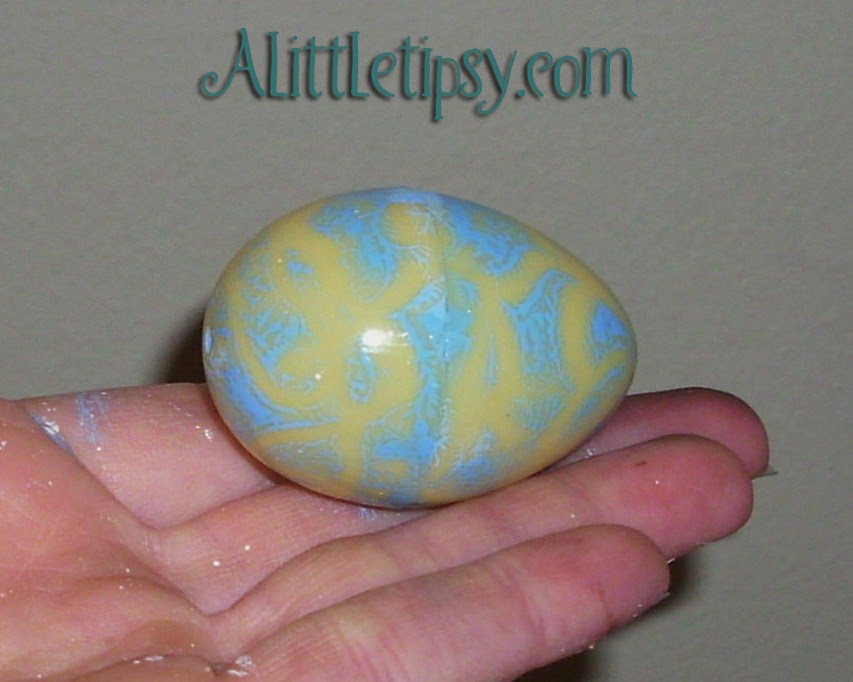
9. Paint Marbleized Egg-This idea was born when I accidentally dropped one of my painted eggs and it rolled and made a really cool pattern. Just paint your egg a color that contrasts with the plastic color. Then while the paint is still wet roll it around some paper making patterns all over the egg. Once the paint is dry coat with mod podge to protect and give it some shine.

10. Paper Decoupaged Eggs– Coat your egg with mod podge. Rip a little piece of paper (those will small patterns look best) and place on the egg. Paint over the paper with mod podge and smooth down with your fingers. Repeat until covered. Some of the papers may have to crease to accommodate the curves. Once covered paint on a final coat of mod podge to seal.

11. I guess this is the bonus idea. Dot painted Eggs-this one makes me feel a little retro for some reason. Use a tiny paintbrush or the pointed end or a pencil. Dip in paint and dot away making patterns.

Well that was one Saturday filled with some Easter “eggs”citement! Anyone need some eggs? 😉

Which one is your favorite?

Linking up with:
Metamorphosis Monday
Make Your Monday
Market Yourself Monday
Made By You
Making the World Cuter
Just Something I Whipped Up
Craftaholics Anonymous Easter

P.S. Don’t forget to sign up for free Tipsy updates via RSS or email.

We have decided to truncate our feed to help protect against stolen content. I apologize for any inconvenience. Please love us anyway. 🙂
« Previous Page
Next Page »

  • Bloglovin
  • Facebook
  • Google+
  • Instagram
  • Pinterest
  • RSS
  • Twitter

Hi there! I'm Michelle. Mother of three little boys and one little princess. Welcome to A Little Tipsy, a place for exploring creativity and sharing inspiration.

Follow on Bloglovin


Visit Michelle Barneck {A Little Tipsy}'s profile on Pinterest.

Tutorials by Category


15 Family Reunion Games

Family Reunion Games Collage

15 Sprinkle Party Ideas

Sprinkle Birthday Party
Creative Commons License

© Copyright 2014 A Little Tipsy · Site Designed by The Fairy Blogmother · Web Hosting by RFE Hosting

This website uses cookies to improve your experience. We'll assume you're ok with this, but you can opt-out if you wish.Accept Read More
Privacy & Cookies Policy