Hello you gorgeous Tipsy readers! I am so excited to be guest posting over here today! I’m Jax from Aly&Ash and I have a really fun Father’s Day gift tutorial for you today! But first a little about me in-case you’re interested…if not feel free to scroll to the tutorial! 😉

I am a SAHM of the sweetest little sweet sweet you have ever seen! His name is Asher and he is 8 months next week…how did that happen? He really is the whole reason I got into this craft blogging stuff! I caught the bug once I made a few things for him and just ran with it! I started Aly&Ash just a few short months ago and am now thoroughly addicted! I am even co-hosting an event here in Arizona this month!

Click {HERE} for all the details!
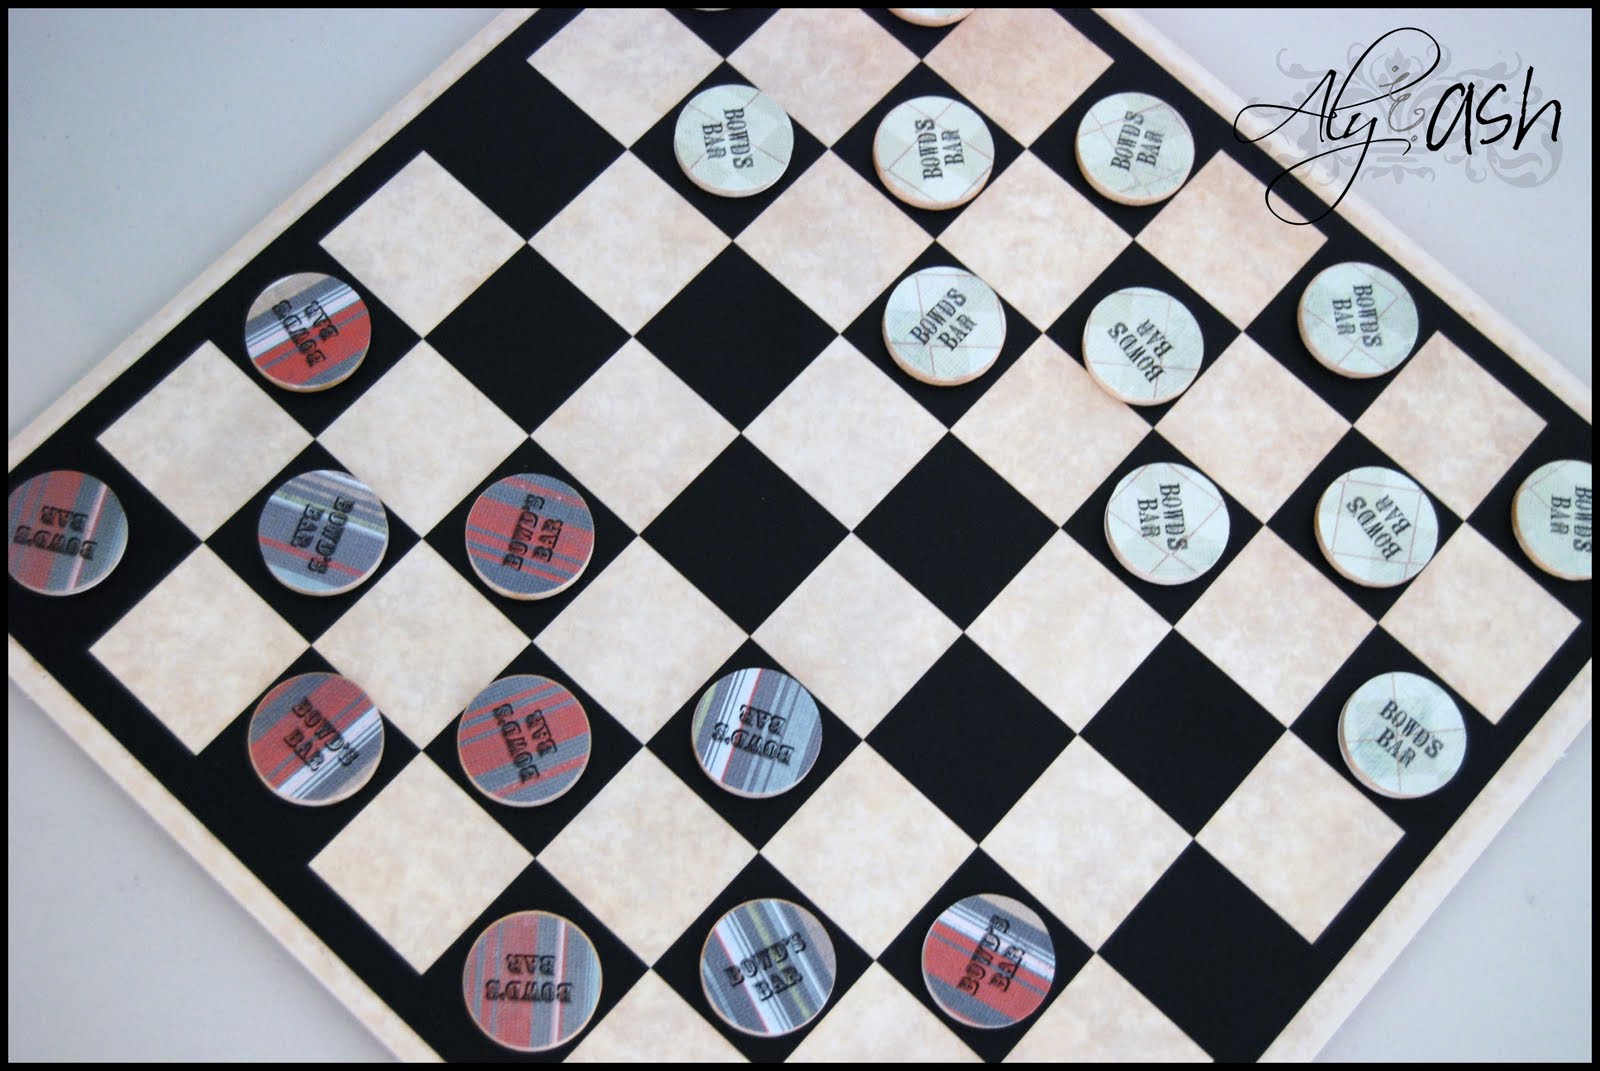
Alright well enough about me let’s get to this tutorial shall we! I wanted to come up with a personalized gift for my Dad for Father’s Day this year. Promptly upon my moving out they remodeled the basement into a Bar for get togethers and parties. They call it Bowd’s Bar (Last name Bowden) and they love it! I had been thinking about using tile and vinyl to make a checkers board for a while and thought, “This is the perfect opportunity!”
Tutorial:
Custom Checkers Board
What you need:
- 16×16 Piece of Tile
- 15×15 Vinyl Checkerboard Pattern
- 24 Wooden Circles
- Scrapbook Paper
- Mod Podge & Foam Brush
- Circle Punch
- Felt & Hot Glue

Step One:
Adhere your vinyl to the tile. Luckily tile is a forgiving surface so when I laid it crooked the first time I was able to carefully peel it back up and try again! Whew! I get my vinyl from Marni at{Choose the Writing}!

Step Two:
Measure, cut and hot glue felt to the bottom of the tile. Do a little bit at a time since the glue drys fast.

Step Three:
I printed words onto scrapbook paper to customize, but plain scrapbook paper would work great too!

Step Four:
Grab your circle punch and start punching!

Step Five:
Mod Podge your circles of scrapbook paper to the wooden circles one side at a time. When I finished all 24 circles the first one was dry and ready for me to start again on the other side.

Step Six:When I was done the 2nd side the 1st side was dry and I could apply more Mod Podge to the top to seal…and so on.

Step Seven:
Allow to dry completely! I used a crown graphic from {The Graphics Fairy} on one side for the “King Me!”

Now you’re ready to Play!
Well thanks for having me today! I hope you enjoyed today’s tutorial and be sure to come visit me at Aly&Ash for other tutorials, ideas and fun! Here is a quick sampling of just a few!


———————————————————————–
Isn’t she great! My hubs would love a personalized checkers set! I love her cute lace hair pin too! Thanks Jax for swappin’ it up with me today!
P.S. Don’t forget to sign up for free Tipsy updates via RSS or email.
We have decided to truncate our feed to help protect against stolen content. I apologize for any inconvenience. Please love us anyway. 🙂
I love it! The crown for the King side is my favorite part!