A Little Tipsy

Creative Tips & Ideas

  • home
  • About Me
  • the tipsy top
  • press
  • projects
  • contact me
[print_thumbnail_slider]

Craft Room Reveal

September 10, 2012 By Michelle Barneck 13 Comments

I can’t believe it’s finally time! I have been working on my craft room/office for an embarrassing amount of time and I’m thrilled that it is finally finished and ready to share! Today I’ll give you the grand overall tour and then break things down with how-to’s for many of the different pieces. Let’s get right to it!
My space is small (8.5′ x 8′) in a basement with crazy low ceilings (just short of 7 ft) and next to no natural light because a bay window blocks all but about an 8 inch gap above the window well. Exciting right?! But really, I am lucky to be able to have this space all for myself.
When you walk in and turn around this is your view. Imagine a door next to that file cabinet that leads to the playroom. I love that my craft room is right next to my kiddos.
I updated an existing file cabinet which makes the perfect place for our printer. Being that I have a small space I really needed to maximize storage. I measured and shopped and shopped and mapped out the room and finally got all the puzzle pieces to work with some great Ikea items. Those are the 5×5 Expedit cubbies. Lucky for me, the Target dollar spot used the exact colors I wanted in my office so I got all those pink/turquoise/gray fabric bins for $2.50 each! I die. They are usually at least $7. The other stuff was upcycled, thrifted, or on hand for the most part. I will go in to more detail in a later post.
Above is the view from the door. You can see I literally have storage to the ceiling. I am not a space waster. These shelves hold most of my craft supplies as well as office items in the bottom right. The bins on top of the shelves are also from Target for $2.50. I’m telling you, their dorm organization supplies were my best friend. People thought I was nuts walking out with stacks of them.
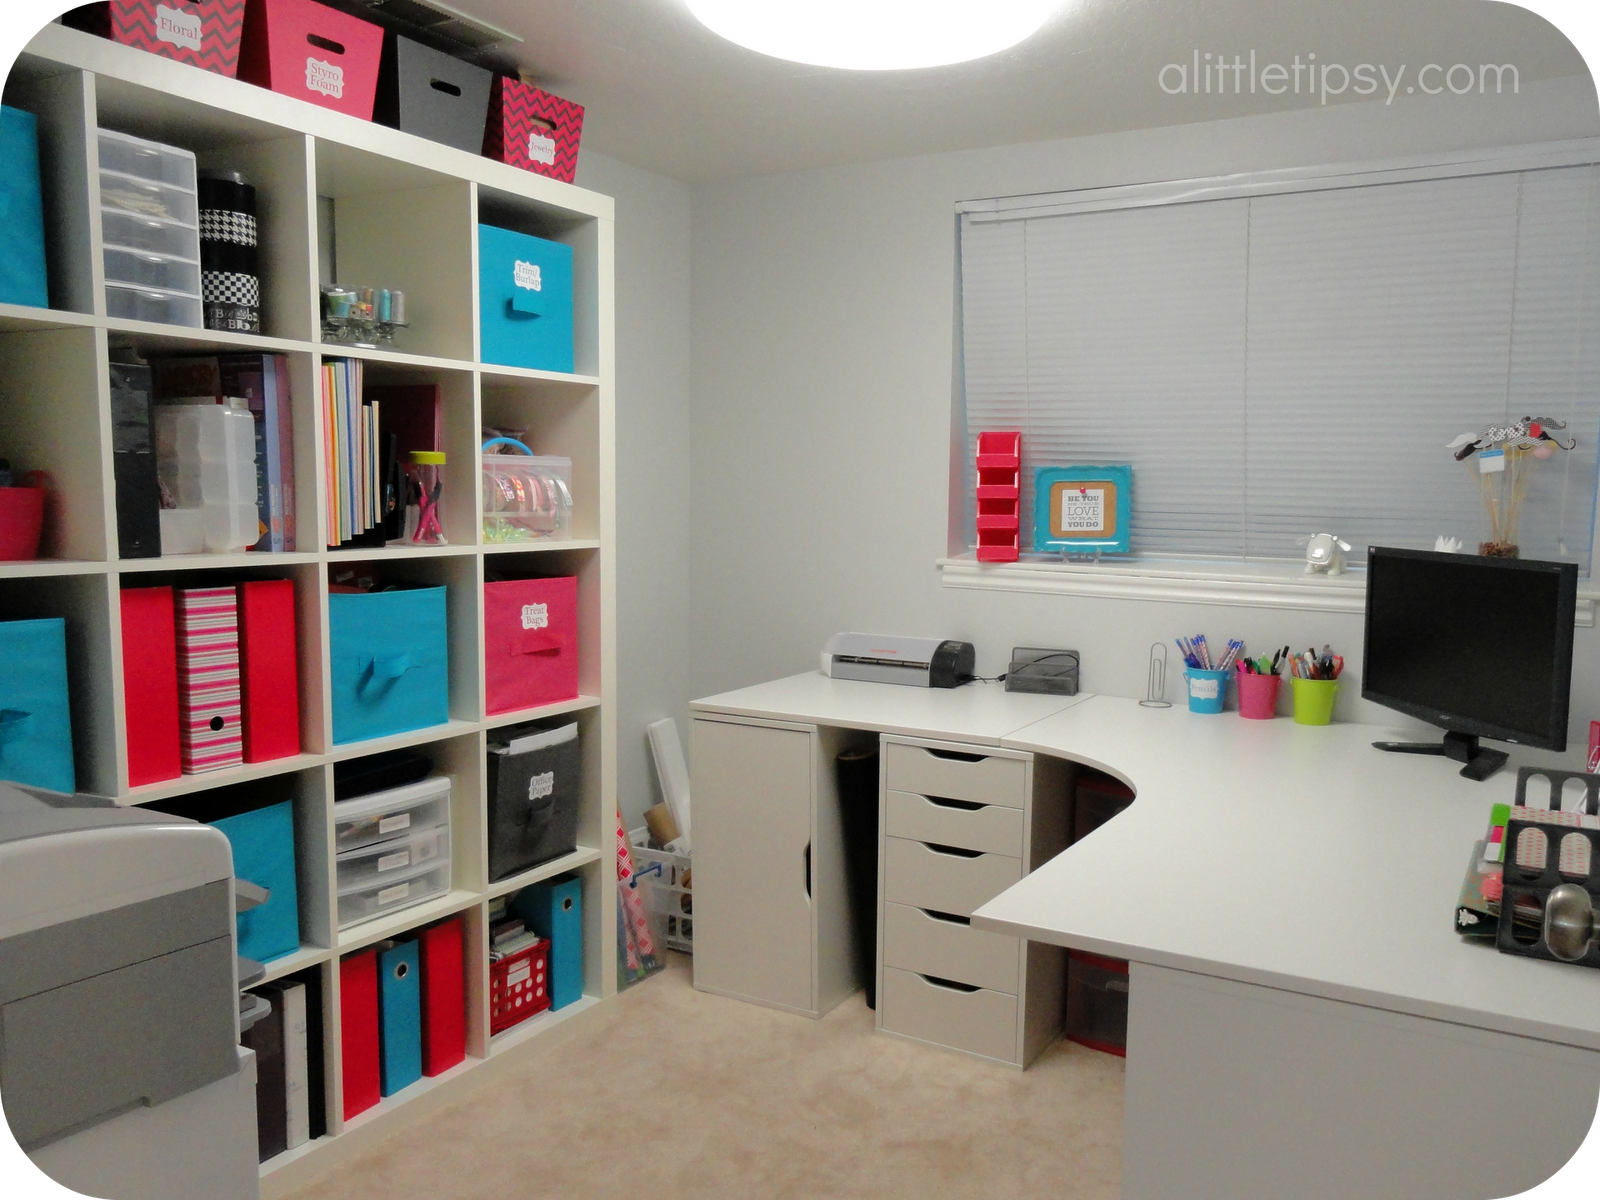
Continuing around, you can see my little wrapping paper peeking out in the corner. Then, comes my L-shaped desk made with Ikea items (mixture of Galant tops with Vika Alex drawer and storage units). I love that there is storage everywhere!
You also get a peek at my light here as well. I would have loved to have one of those pretty chandeliers you see everywhere, but with 81 inch ceilings even at 5’6″ I would bonk my head on it. I opted for fluorescent lighting to mimic natural light. It has a huge round diffuser (like 2 ft) and makes me feel like I am in a casino because I can never tell what time it is. It always seems like the middle of the day. I usually have the blinds open to let what little natural light there is in, but opted to shut them for pics because really who needs a view of the window well?


I love having my cutting machine out and accessible at all times. I have literally used it more in the time I set it there than in the whole time I owned it previous. I just plug and go. I did all the labels with it. I just noticed that in some of the pics some of the labels are missing and then they magically appear in another. Ha, go figure.

You can see in this desk pic that I even snuck some storage and a laser printer (thus the random cord) under the desk. There was so much room under that corner how could I not? My boys love hiding in the very back corner. 
On the wall I have cork boards for inspiration pics, a whiteboard to keep track of accounting. I also included some quotes that I love and a clipboard for my son’s latest artwork.

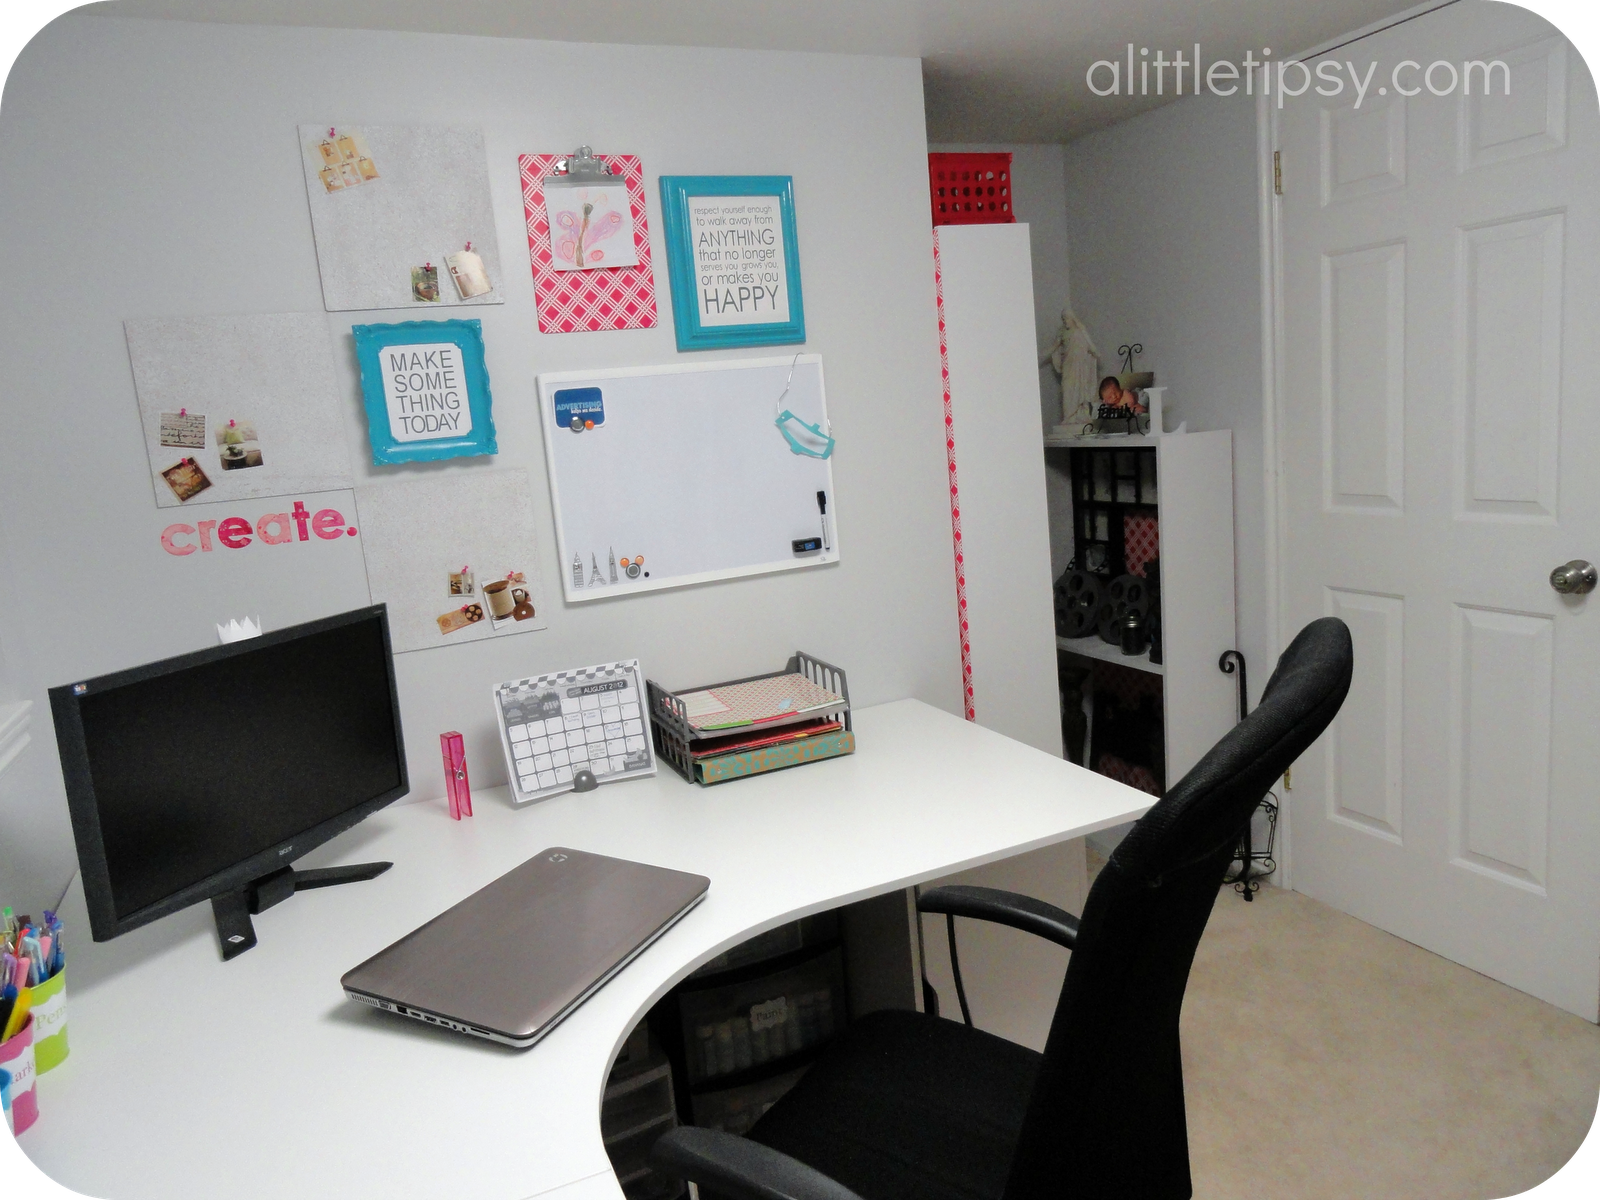
In this last pic, you get a glimpse of my little closet nook. It is fairly deep and I decided it was the perfect place to store non-seasonal home decor not currently in use. It was hidden away in about five different places and I had forgotten about most of it. I upcycled two existing bookcases to have it out in the open where I could easily see what I have to swap out on occasion.

And that takes us to the door where we end our tour. I almost feel like this is just a sneak peek at what is to come. It really doesn’t do it justice because I saved the close ups, tips and how-to’s for posts to come. But, don’t worry they are on their way down the pipeline.

Craft room tutorials:
DIY Bookshelf
Clipboard Art Frame
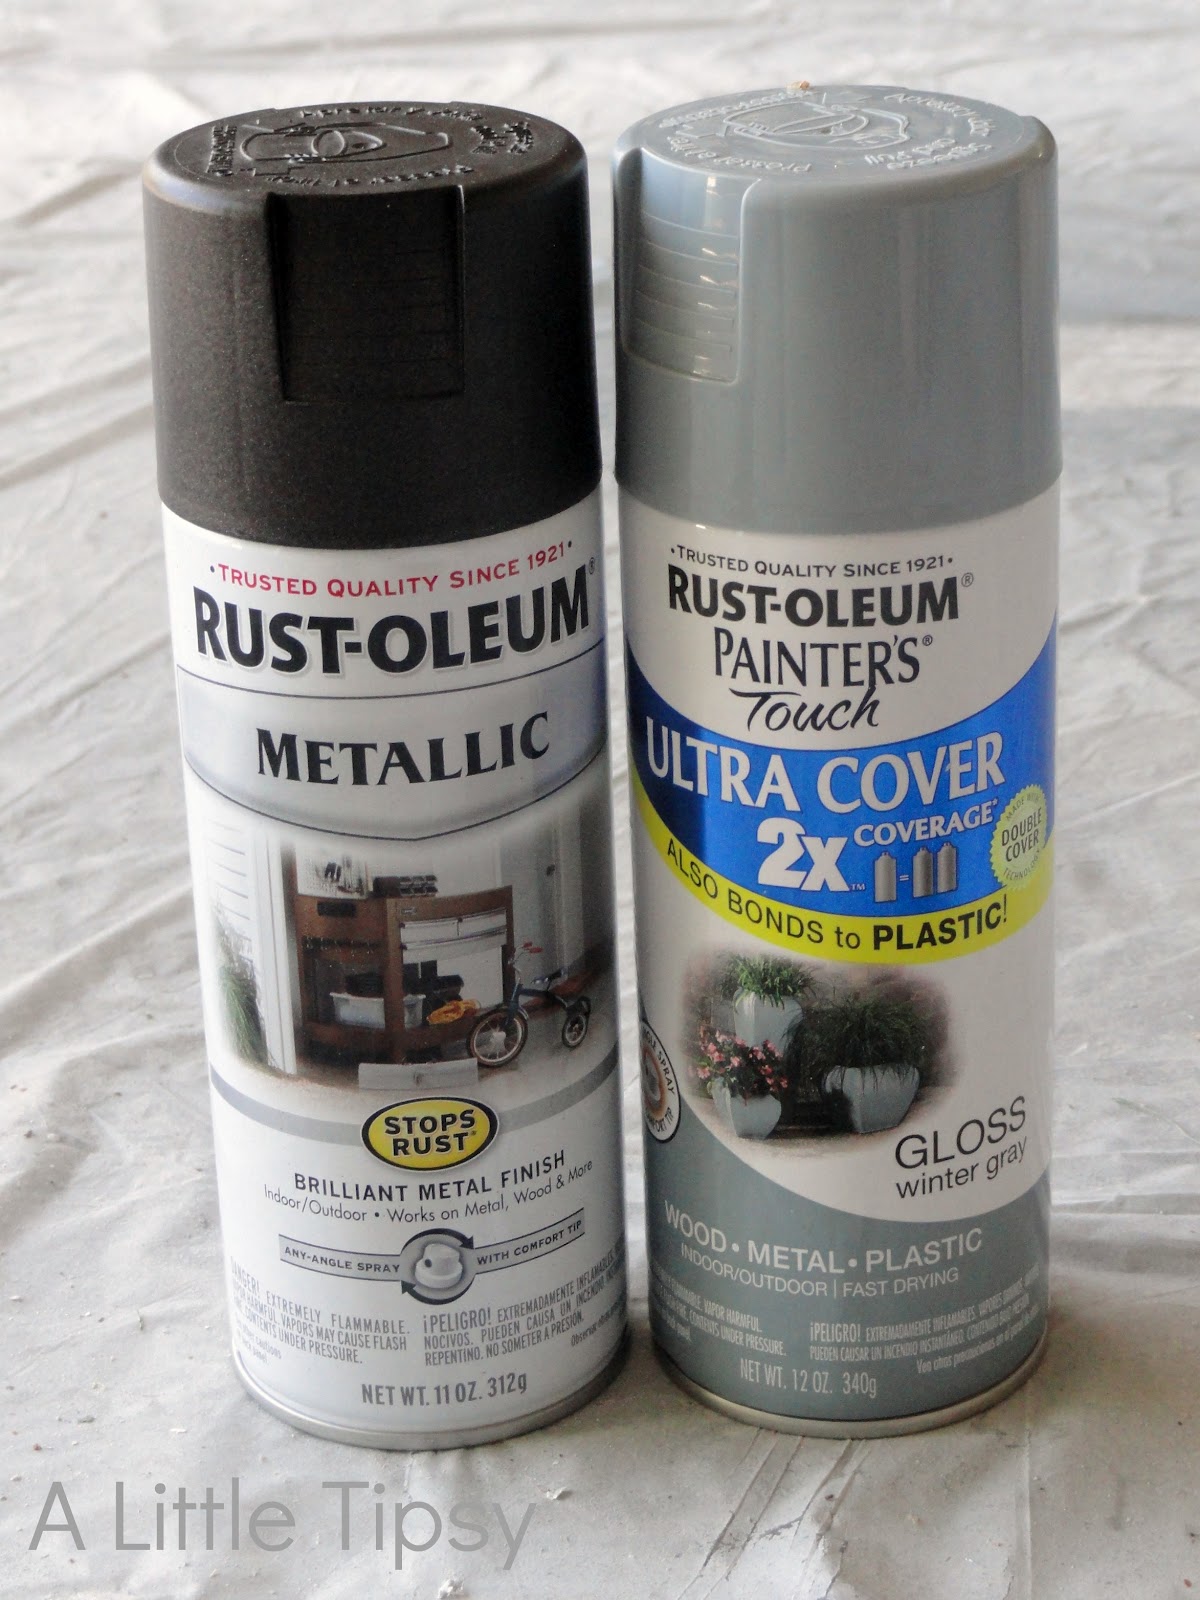
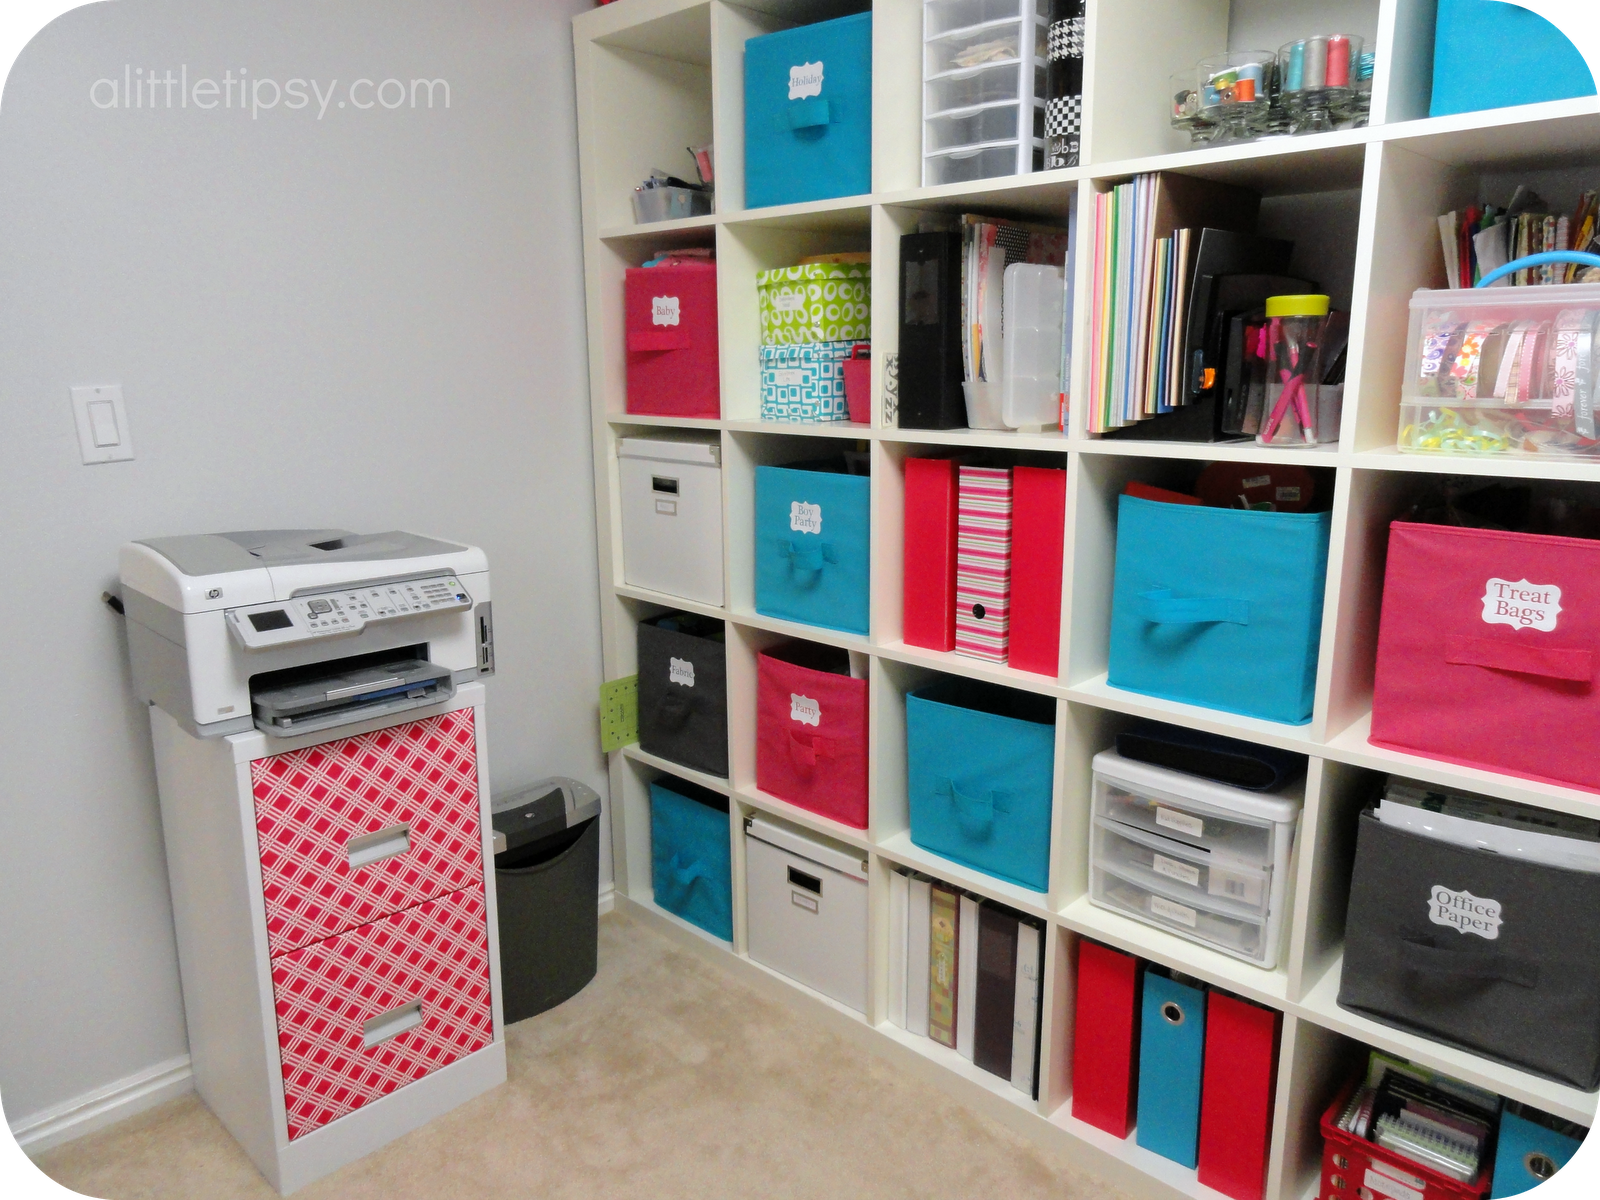
File Cabinet Makeover
Creative Picture Frames
Updating Office Accessories with Paint
Giving Your Office a Little Personality

P.S. Don’t forget to sign up for free Tipsy updates via RSS or email.

We have decided to truncate our feed to help protect against stolen content. I apologize for any inconvenience. Please love us anyway. 🙂

How to Refinish a Deck in One Day

September 6, 2012 By Michelle Barneck 1 Comment

Refinish a deck in one day? Seems like a myth right. Not so, you can for reals. You just need the right tools, the right weather and the right help. Two of us completed this project in about 11 hours including 4 hours of wait time between steps.

We actually split it up and did two hours of the work with the deck cleaner (and the two hour wait time) the night before so that we could make use of the cooler hours. The next morning we started at 7:30 am and were done at 2:30 pm (that’s counting one of us driving/feeding kids for couple of hours) so you could still easily do it all in one day. We also knew that with both my husband and I having strong personalities in tiring situations it might be good to break it up a bit. 😉
Keep in mind that most of our deck stain had worn off. If your deck is painted or has thick stain this process may be different for you and you may want to refer to our other deck tutorial when we stripped awful cracked barn red paint.

First off, research what deck cleaner and stain/waterproofer will be best for the look you want. Thompson’s has a fantastic project planner guide that will help you find what is right for you based on your deck’s existing condition and how you want it to look.

Since the stain on my deck was mostly gone I used Thompson’s Heavy Duty Deck Cleaner to strip and clean without sanding. I wanted a semi-transparent look with good wear that could be done the same day as cleaning so I chose Thompson’s WaterSeal Advanced Tinted Wood Protector.


SUPPLIES:
Read the instructions on your bottles thoroughly and decide what tools will work best for you:
  • Long sleeves, pants and shoes (cover as much skin as possible)
  • Eye protection
  • Rubber Gloves
  • Masks (for spraying cleaner)
  • Deck sprayer (designed for decks with multiple sized nozzles for cleaner and stain, mine was about $13 at Lowe’s)
  • Synthetic bristle brush
  • Thompson’s Heavy Duty Deck Cleaner
  • Hose with spray nozzle head
  • Plastic drop cloths (dollar store ones are fine, I used about 5)
  • Painter’s tape
  • Thompson’s WaterSeal Advanced Tinted Wood Protector
  • Paint pads (thought I’d use the pole & handle, but just used the pad itself)
  • Paint brush meant for stain
  • Small plastic container
  • Knee pads (optional)
  • Babysitter (easier with small kiddos gone and away from hazardous items)

DIRECTIONS:
1. Check the weather and make sure there is no rain planned for the next 2 or 3 days.
2. Start as early in the morning as possible so you can make use of the cooler temperatures. 
3. Gather all your supplies and put the cleaner nozzle on the sprayer.
4. Clear everything off the deck and sweep off large debris. Drench surrounding plants and grass with water and cover with plastic drop cloths. It will kill your grass if you aren’t careful. Trust.
5. Don your eye protection, gloves, mask, etc. and pour the cleaner in to the sprayer.
Aren’t you loving my white socks with these shoes? Grubbies + Safety = Awesomeness
6. Start spraying in small sections. Let the cleaner work its magic for about 10 minutes and scrub with the synthetic bristle brush if needed to get any residue loose. Only spray as much as you can keep up with without letting it dry completely. It dries fast when it is hot, so start small.
7. Once it has soaked and been scrubbed if necessary, spray off all the residue. Rinse it really well.
8. Once it dries a bit you can see if places need more work. You can see we had a spot where a storage bin sat that needed some extra care. Also, the railing on the left got scrubbed really well, but those on the right did not. They were the last to be done and we got lazy. Don’t get lazy. We did the cleaning process on the storage bin spot and half of the railings a second time. 

9. Let the cleaner dry for two hours. While it is drying, rinse your tools and tape up your plastic drop cloths to protect the house and anything else from the tinted waterproofer.

10. Change the sprayer nozzle to the largest one and pour the waterproofer in to the sprayer.
There is a lack of waterproofer application pics because it dried so fast there was literally no time for pictures.
11. Start with the railings so you don’t have to walk over wet stain later. Putting the stain directly on the paint pads to smooth it on worked best for this part. Work fast over small areas because the hotter it is, the faster it dries. Use the brush to get in the corners and nooks. Watch for drips and wipe them up quickly.
12. Now begin the floor area. Work in a pattern that will have you finishing where you can step off the deck. We tried to use the paint pads with the handle and the pole so we could do it standing but it broke on me three times in the first two minutes so we gave up and used the pad on our hands and knees without the attachments. If it isn’t 90 degrees out so it dries almost instantly you may be able to use them. We found that working so that your shadow is shading the part you are working on was massively helpful. If you have a big canopy you can put over the deck for shade, even better! Spray a small about 2′ x 1′ section and wipe smooth with the paint pad. Do not leave it too thick or it will end up sticky. Also, more coats will not darken the color it will just make it sticky. 
13. Let it dry for at least a day without traffic praying it doesn’t rain. Remember to turn off auto sprinklers. Clean up all tools and dispose of hazardous leftovers properly. Be sure to carefully drench your grass and plants surrounding with a hose to rinse. Once the deck is dry, move everything back in to place and enjoy!
We used Nutmeg Brown waterproofer and I will admit I was nervous when we got it on. It was WAY more orange than I expected. Luckily, once I got the furniture back on and it sat for a few days the color toned down and so did my nerves.
 
It looks sooo much better and I am happy that it is protected from the looming Utah weather this fall and winter. 
I can tell you it doesn’t lie when it says waterproofer. It rained nearly every day the week after we put it on and it proved itself right away. We have hard water so you could even see water marks in the spots where big puddles dried.
One of my kids new favorite activities is to push water off the deck with the rubber squeegee broom.
I am loving my “new” deck!
Do have a project looming before fall and winter come?
Thompson’s provided the product for use and a stipend to cover my costs and time. The work, comments, and sweat were all my own.

P.S. Don’t forget to sign up for free Tipsy updates via RSS or email.

We have decided to truncate our feed to help protect against stolen content. I apologize for any inconvenience. Please love us anyway. 🙂

Painting a Table: a love story

August 15, 2012 By Michelle Barneck 6 Comments

It was love at first site with this little side table. I spotted her from across the room and walked over slowly as to not draw attention. The price was right, the size was perfect, and she had oh so much character. The only problem was the lovely brown wood grain finish. Nothing a little can of magic couldn’t fix. She was coming home with me. This is my story of painting a table.


My table was one of those with awesome brassy knobs and a super shiny finish. I was not in the mood to try to sand those curvy legs down much so I used a good primer that is said to work even on laminate. What’s not to love about  making things easier on ourselves.
SUPPLIES:
Drop Cloth
Ziinsser Cover Stain Primer
Paint Brush
Medium and fine sanding blocks
Spray Paint 

(I used Rust-oleum Winter Gray for the table and Metallic Brushed Nickel for the knobs)
DIRECTIONS:
1. Paint the table with two coats of primer following the directions on the can for dry and re-coat times. Once the primer is completely dry, sand off the brush strokes starting with the medium grit sandpaper and moving to the fine grit to get it completely smooth on the flat surfaces. Be patient and get it right. Your paint will look so much better if you start with a nice surface.

2. Spray paint the table and the hardware using multiple light coats (moving slowly across and going off the edge to change direction) until evenly painted. Be sure to spray from all directions to fully coat all the nooks. 


3. If it will be used in a high traffic area, I would recommend a protective finish like a poly or a spray on clear coat.


I love a good thrift find and this little lady was no exception. She has become one of my favorite pieces in my home. I guess you could say it was fate.

P.S. Don’t forget to sign up for free Tipsy updates via RSS or email.

We have decided to truncate our feed to help protect against stolen content. I apologize for any inconvenience. Please love us anyway. 🙂

Outdoor Oasis

July 3, 2012 By Michelle Barneck Leave a Comment


This Spring we took a trip to Maui and I wished so much that we could take some of the island spirit home and make a little oasis of our own. Lucky for me summer begins with Mother’s Day and my birthday so as gifts, I filled my yard with color, relaxation, and fun.


I started by updating a garage sale urn with a little spray paint and some bright flowers for the deck. Then of course came the hammock. This was one of my favorite activities from Hawaii, just lounging lazily in the hammock. I added some fun outdoor pillows to continue with the pops of color. 


Every time I lay in the hammock I am usually joined by one of my boys to snuggle. My oldest loves to push me in it, which is fantastic. Hammock + pinterest app + raspberry lemonade = perfection.


Now see that item in the upper right corner of the last hammock picture? That is the other key to a fun and relaxing summer in our outdoor space, a swing set for the boys within eye shot of the hammock. The swing set is complete with the outdoor chair pad attached at the base of the slide so my 20 month old doesn’t get a jolt when he gets to the end. We learned that one quickly.


I love how these items make our yard feel like another living space; our own little family oasis with a taste of color, relaxation, and fun!


Now that I have shared what turns my backyard into my perfect summer oasis, I want to know what you’ve done to transform your backyard into your oasis. One of my lucky readers will win a $25 Sears gift card!


Need help finding your own pieces for your backyard? Sears is bringing the ease of searching for those perfect pieces with their recently launched iPad digital catalog. On your computer? Don’t fear, Sears has an amazing digital catalog built just for you.


This is a sponsored conversation written by me on behalf of Sears. The opinions and text are all mine. Official Sweepstakes Rules.

We have decided to truncate our feed to help protect against stolen content. I apologize for any inconvenience. Please love us anyway. 🙂
« Previous Page
Next Page »

  • Bloglovin
  • Facebook
  • Google+
  • Instagram
  • Pinterest
  • RSS
  • Twitter

Hi there! I'm Michelle. Mother of three little boys and one little princess. Welcome to A Little Tipsy, a place for exploring creativity and sharing inspiration.

Follow on Bloglovin


Visit Michelle Barneck {A Little Tipsy}'s profile on Pinterest.

Tutorials by Category


15 Family Reunion Games

Family Reunion Games Collage

15 Sprinkle Party Ideas

Sprinkle Birthday Party
Creative Commons License

© Copyright 2014 A Little Tipsy · Site Designed by The Fairy Blogmother · Web Hosting by RFE Hosting

This website uses cookies to improve your experience. We'll assume you're ok with this, but you can opt-out if you wish.Accept Read More
Privacy & Cookies Policy