I have a budding artist at my house. My little guy can crank out a good number of pictures in a day and they are totally precious and surprisingly good for a not yet five year old. When putting together my craft room, I knew I wanted a place to display his latest masterpiece but being that there is quite a bit of turnover it needed to be something easily switchable. A clipboard was the perfect solution.

This way he feels special that his art is important to show off, but I am not constantly fiddling with a frame of some sort.
CLIPBOARD ART FRAME
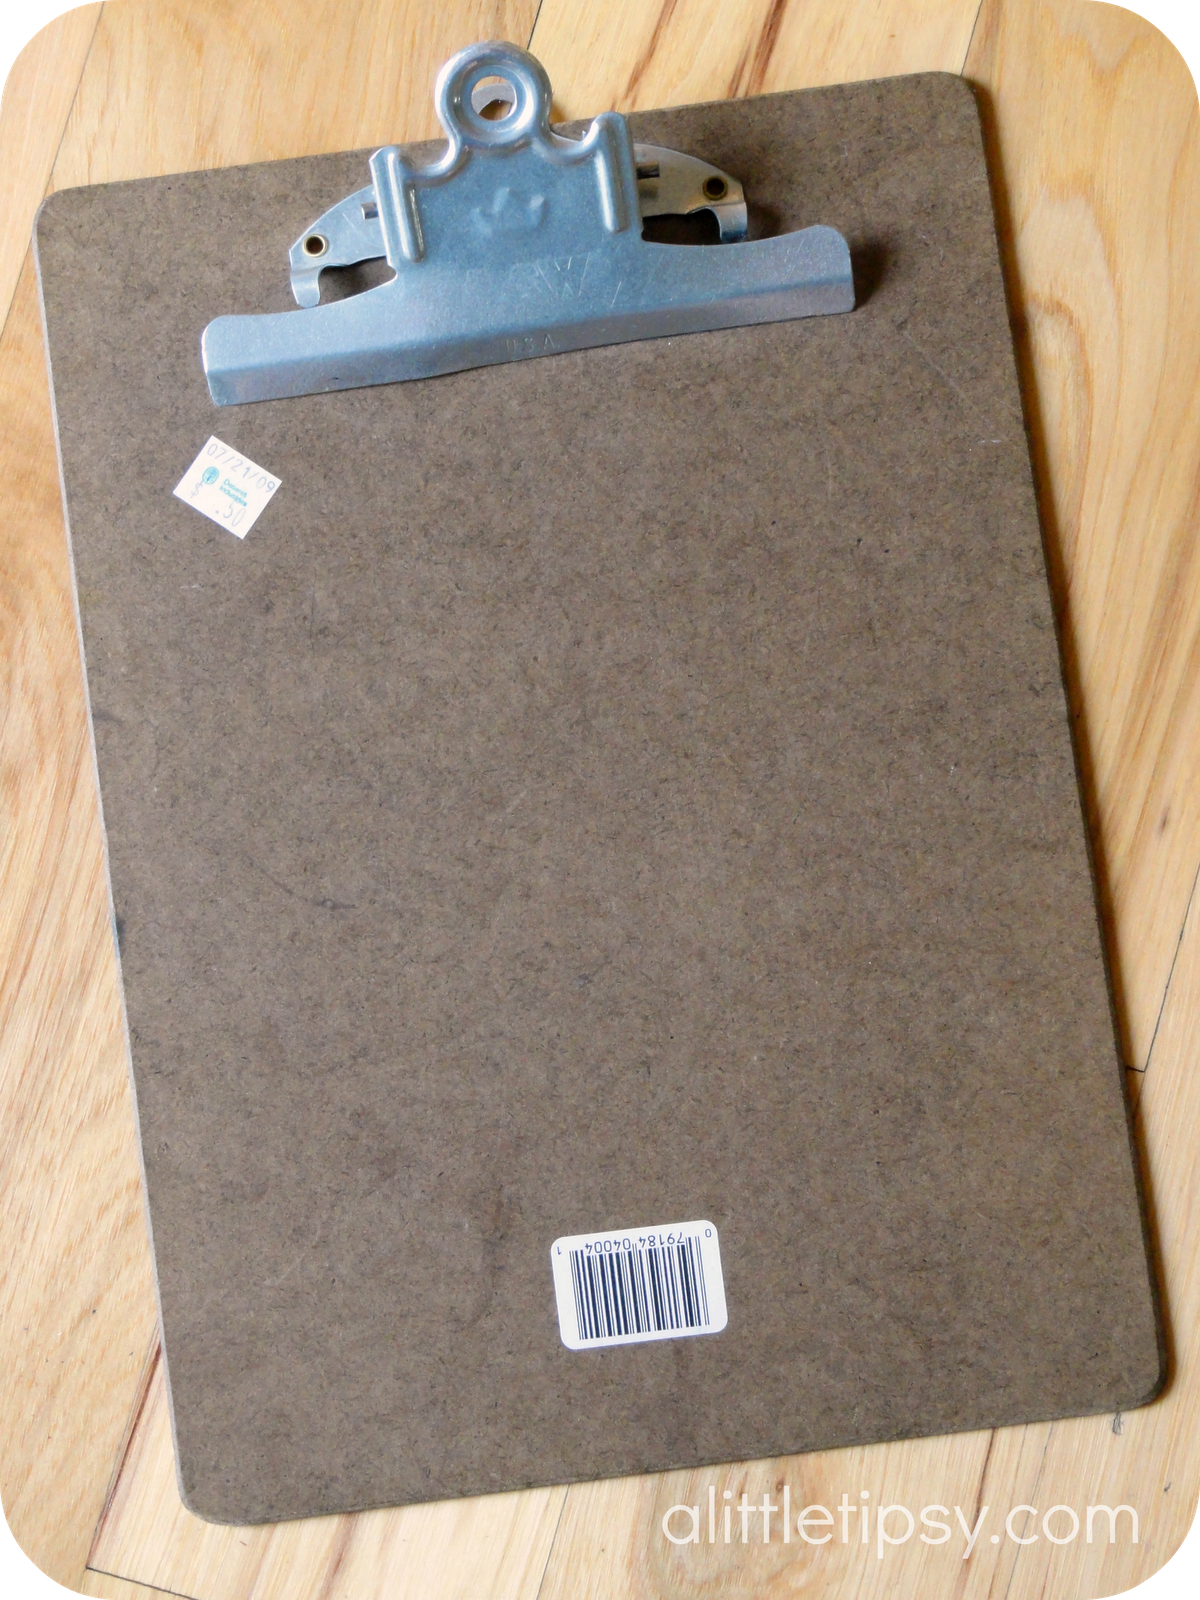
SUPPLIES:
Clipboard (thrifted 75 cents)
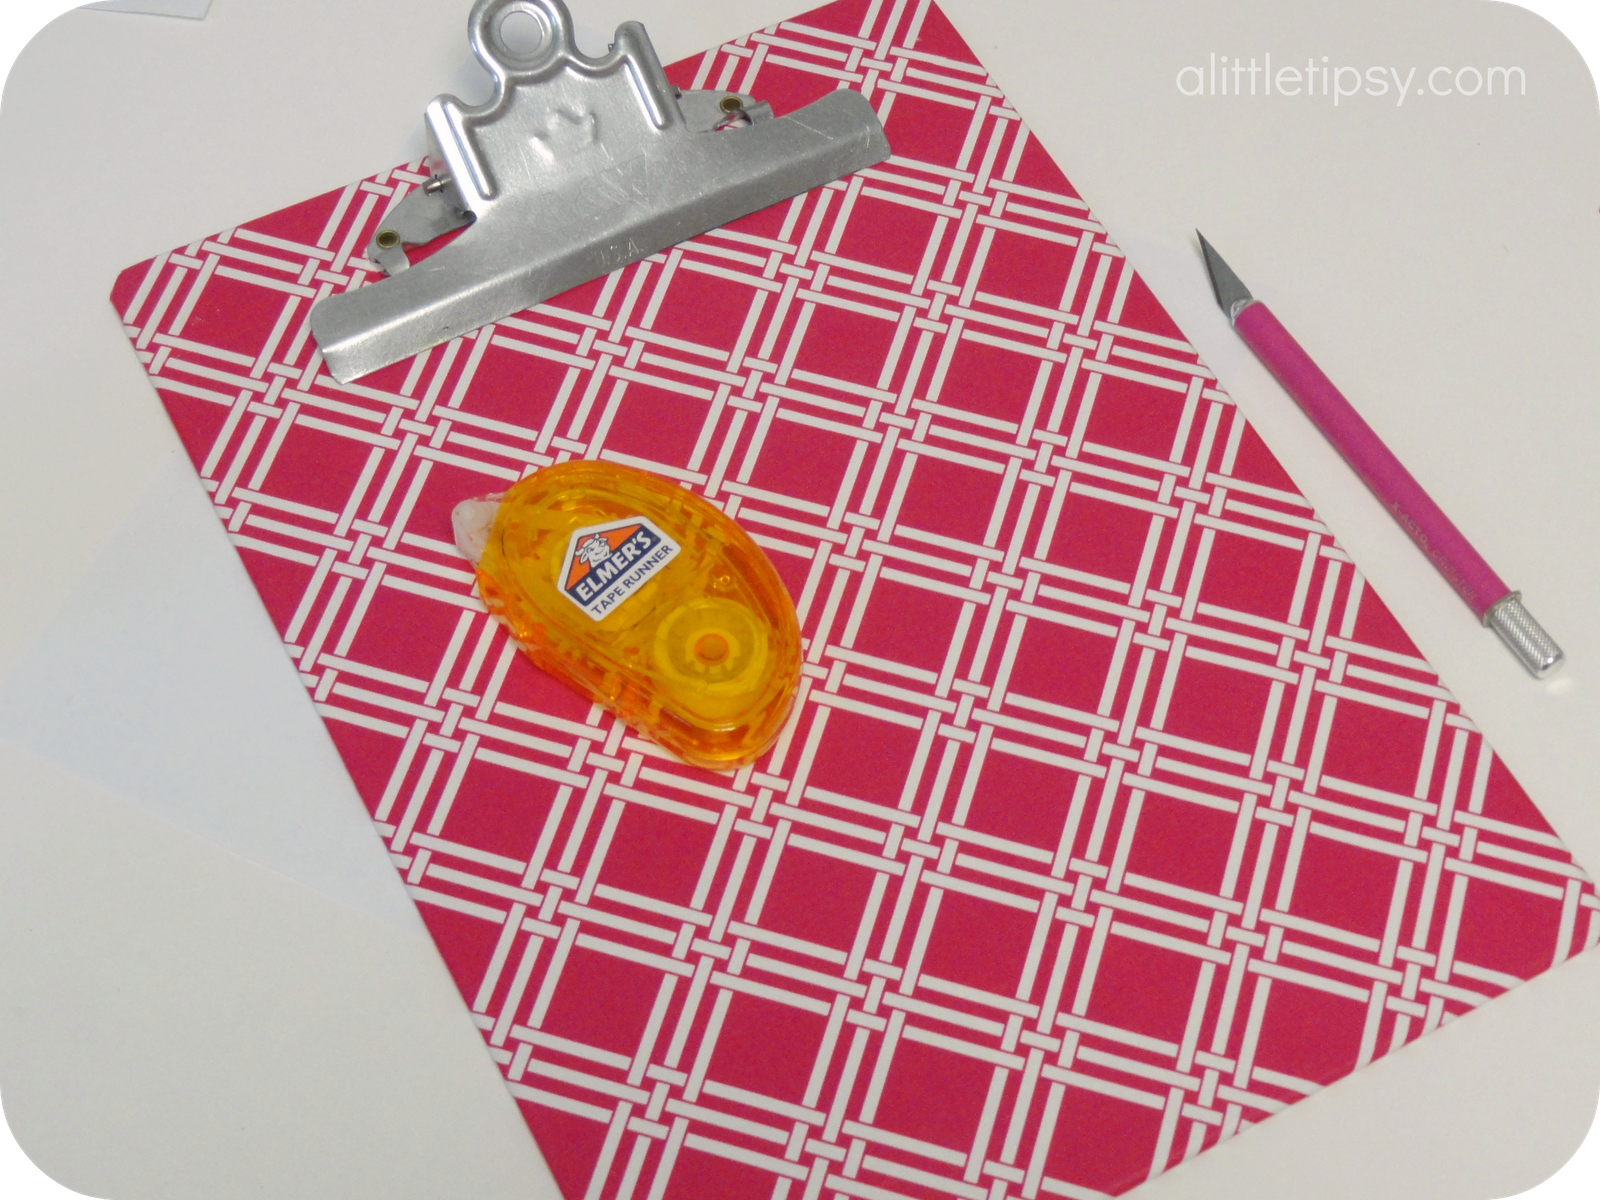
Wrapping paper
Scissors
Elmer’s tape runner
Xacto knife
Project Time: 15 minutes
INSTRUCTIONS:
1. Cut a square of wrapping paper about two inches larger than your clipboard.
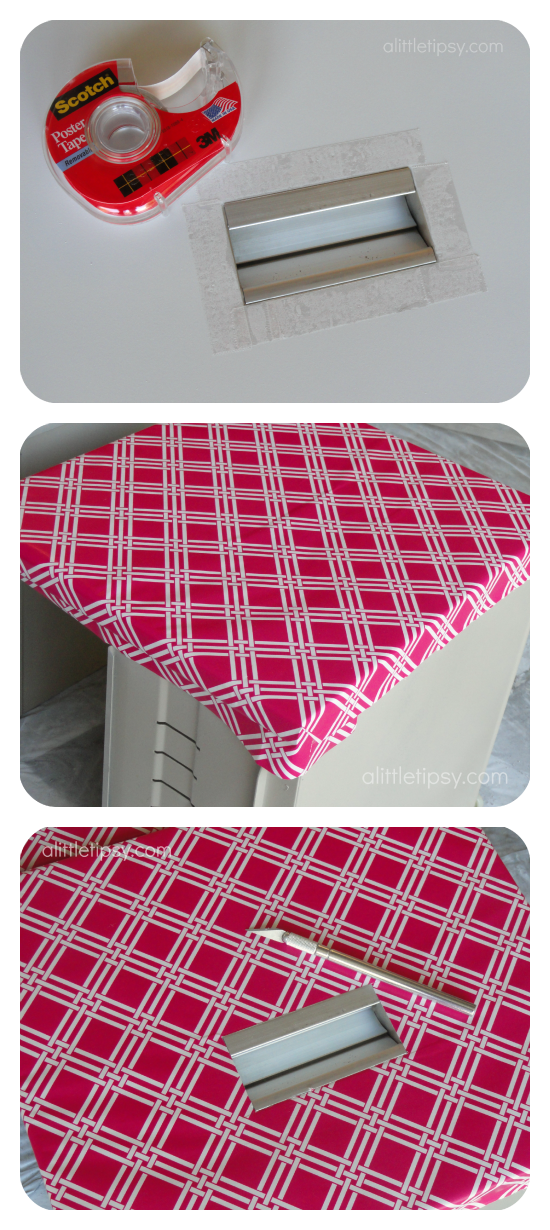
2. Line the edges of the clipboard with the tape runner.
3. Place the square of wrapping paper as close to the top as you can get it sliding it under the clamp as much as possible and secure on the tape.

4. Cut out some rectangles of paper to cover the top corners of the clipboard where the square of paper could not reach. Lay them on the board aligning the design. Secure with the tape runner.
5. Score the paper along the edge of the clamp with a fingernail to give you a line to trace with your Xacto. Trim the paper to the edge of the clamp and if possible tuck under the clamp slightly.

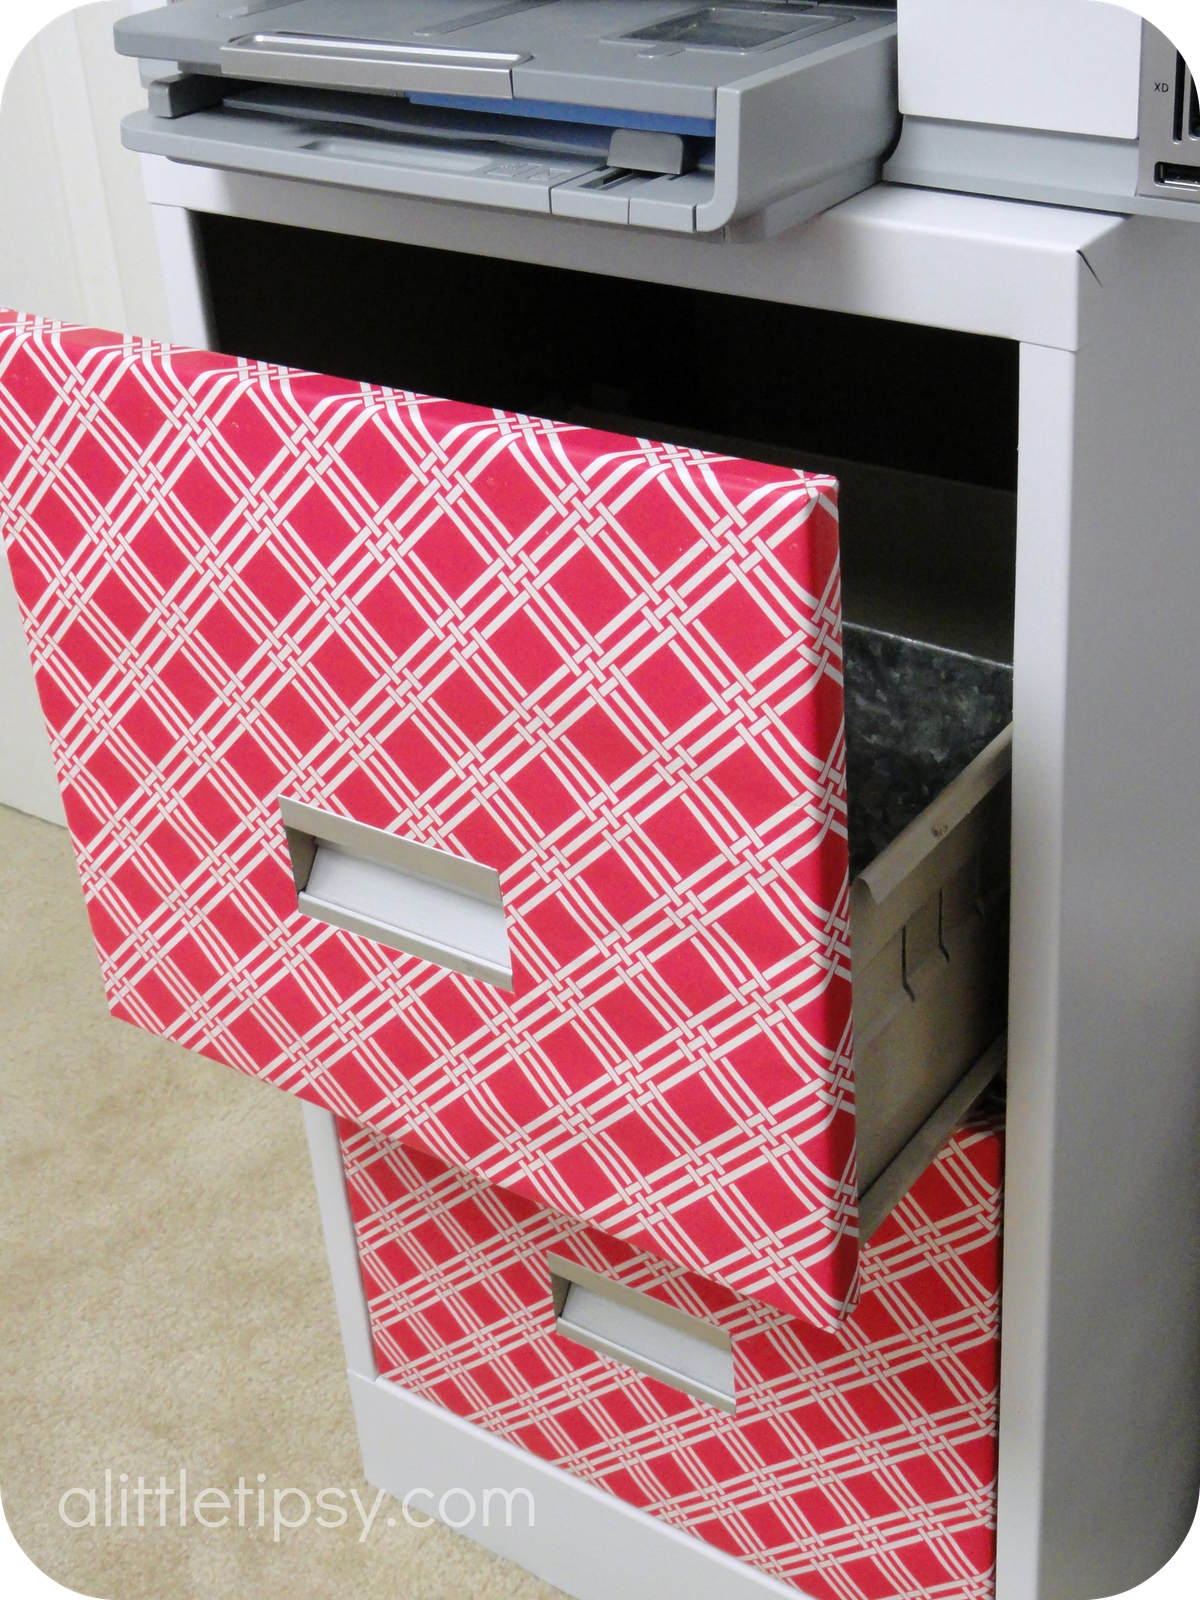
6. With the front secured, tape around the back edge of the clipboard. Fold the paper around the edge and secure. Fold corners like wrapping a present so they lay flat and look nice from the front.
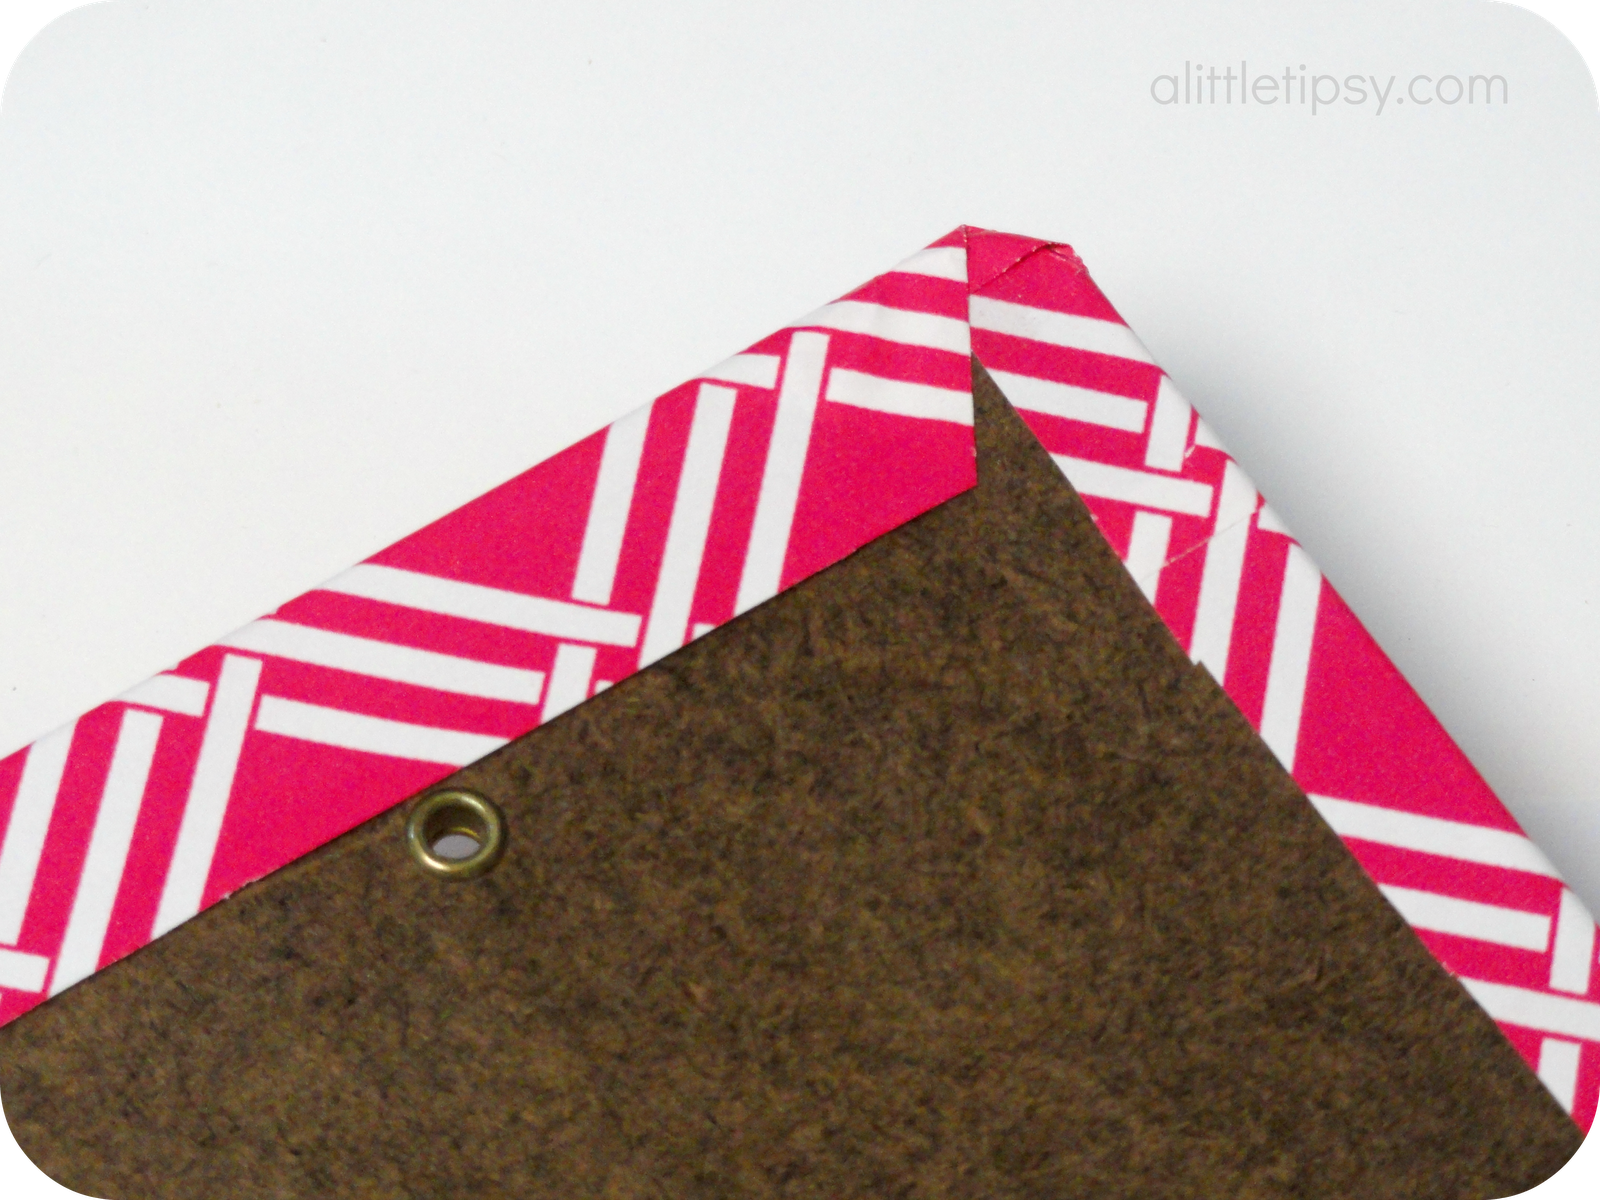
I didn’t worry about covering the back of the clipboard because I was hanging it on a wall.
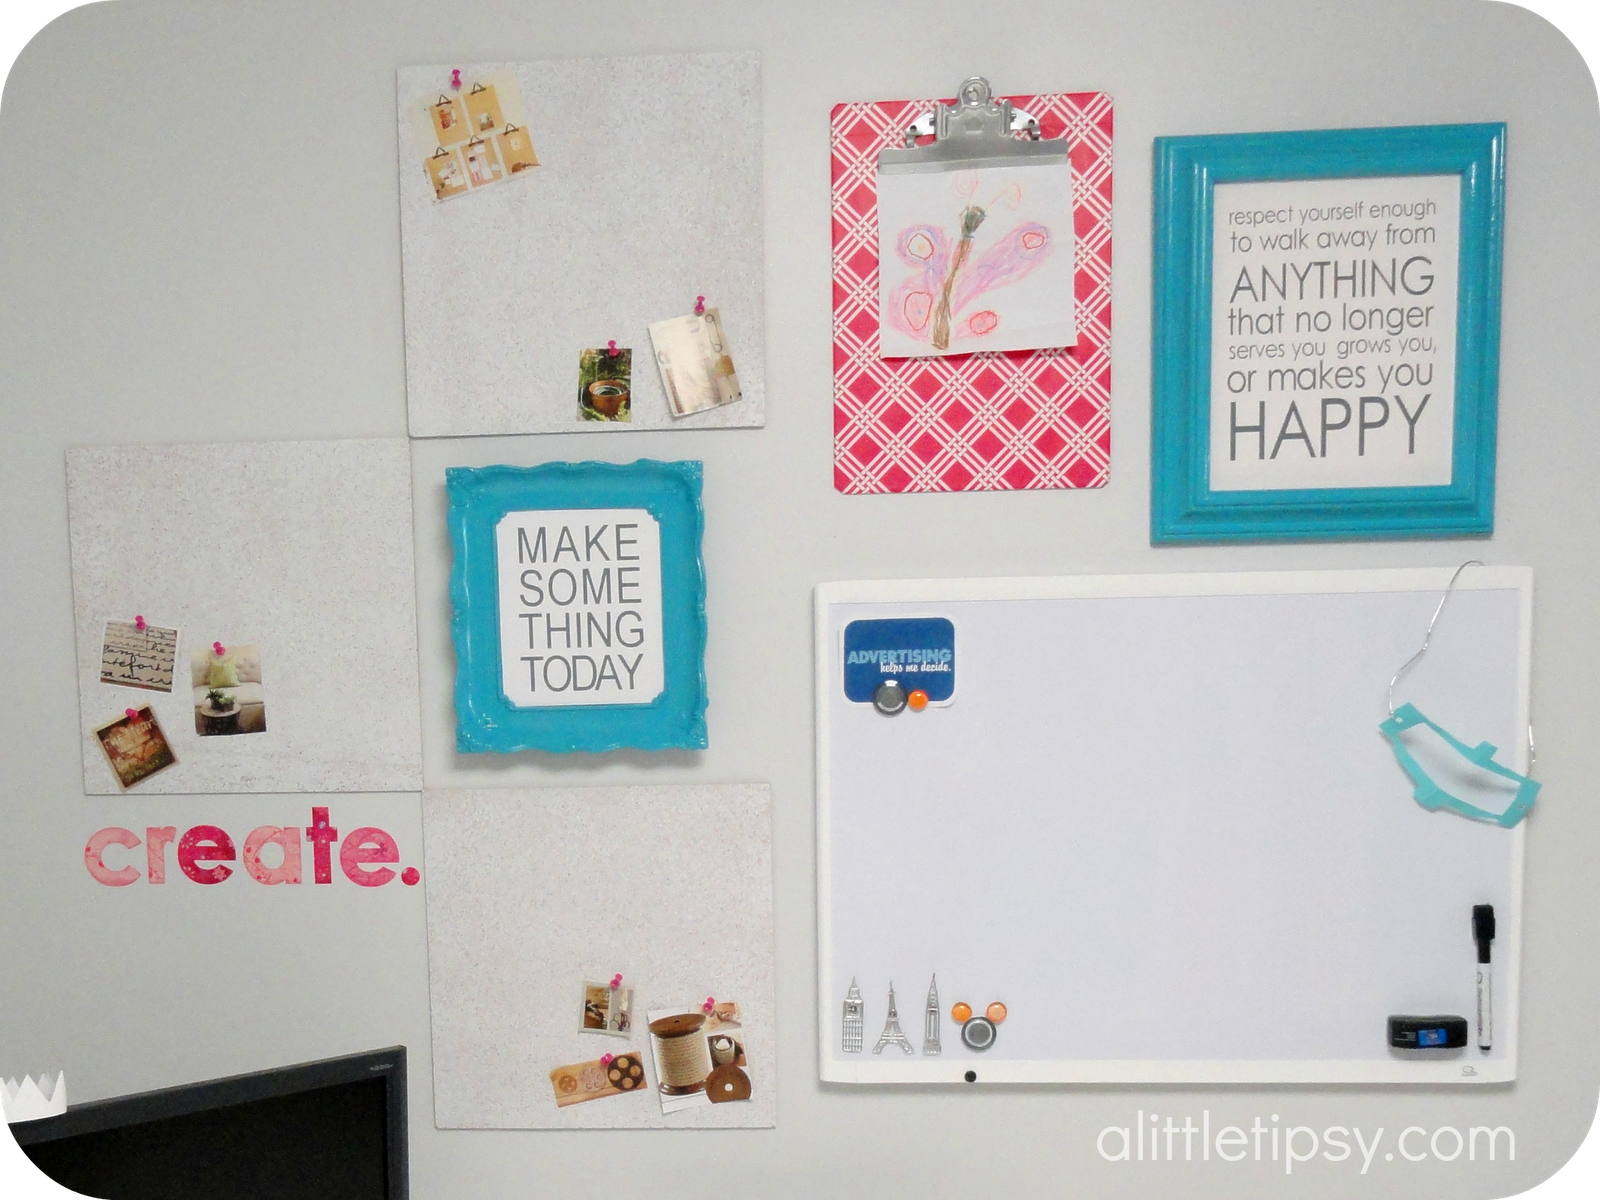
Add some art or a photo and hang. A clipboard frame would be great for a command center, bedroom, or playroom too!
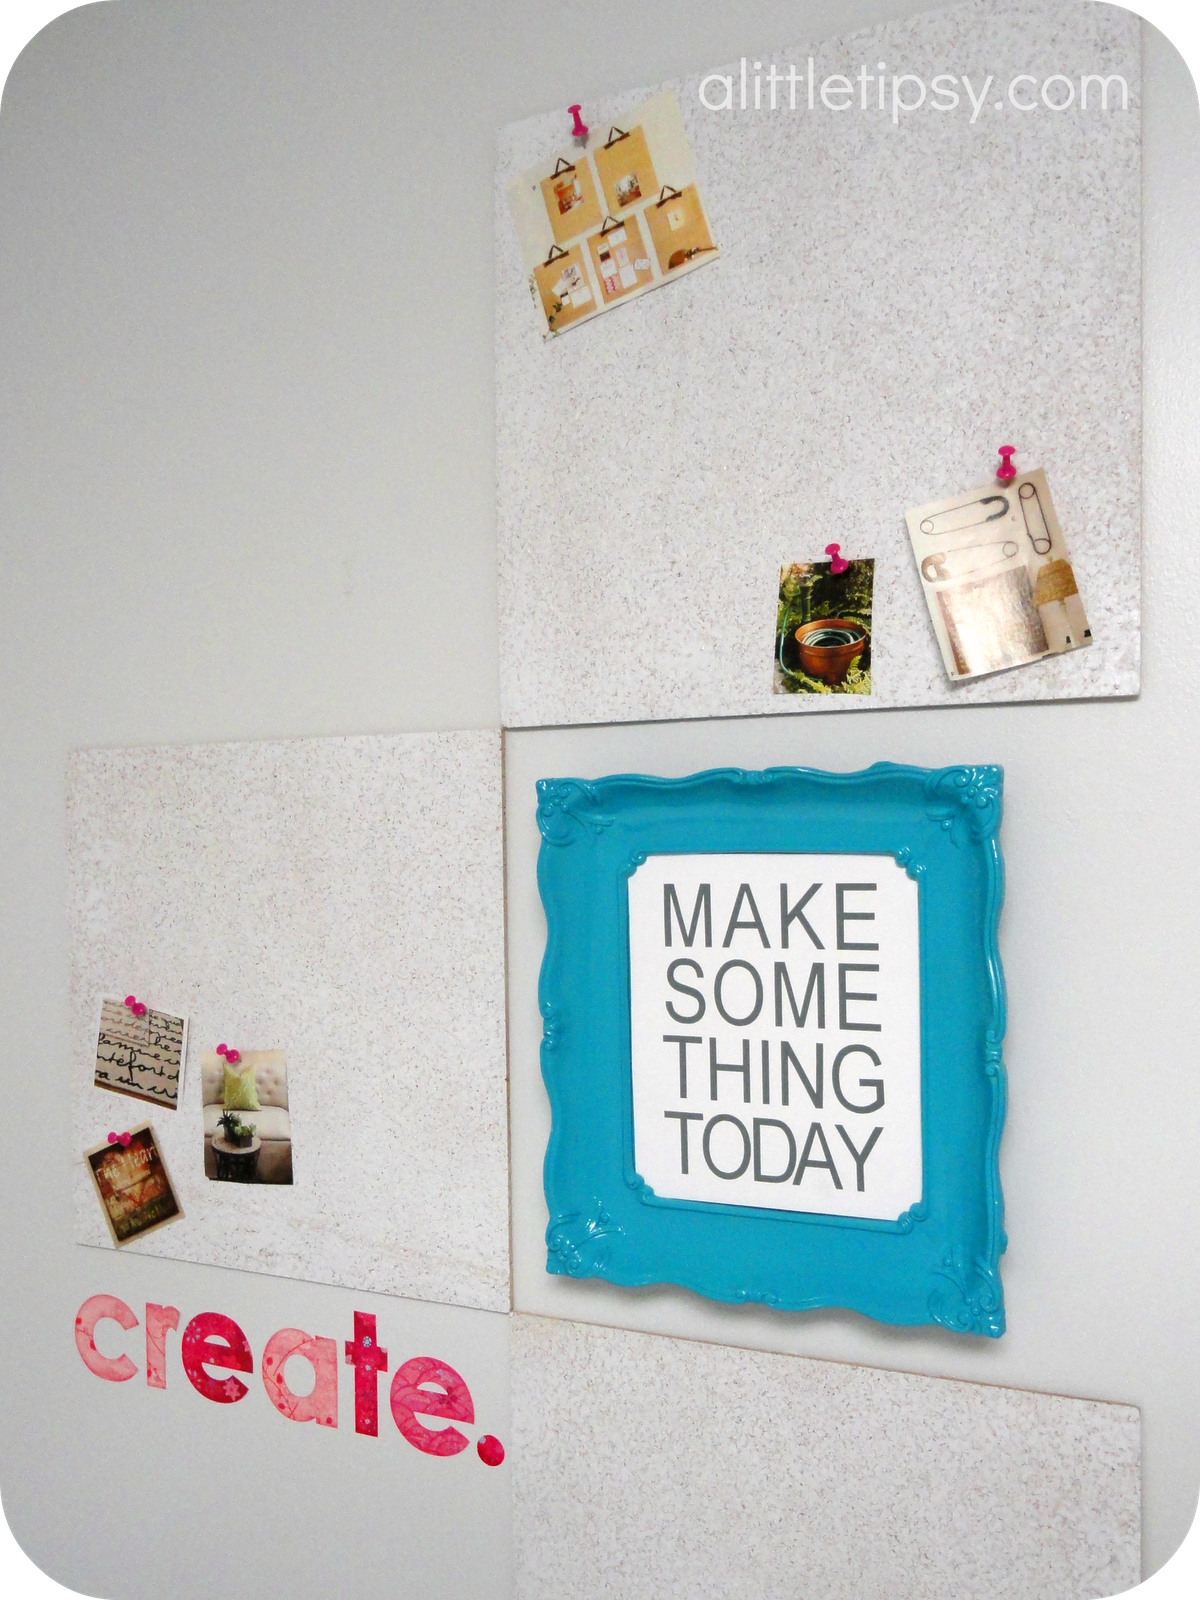
I love the pattern and color it adds to my craft room gallery wall!
P.S. Don’t forget to sign up for free Tipsy updates via RSS or email.
We have decided to truncate our feed to help protect against stolen content. I apologize for any inconvenience. Please love us anyway. 🙂


.png)