A Little Tipsy

Creative Tips & Ideas

  • home
  • About Me
  • the tipsy top
  • press
  • projects
  • contact me
[print_thumbnail_slider]

DIY Under $5: Task Board

May 11, 2011 By Michelle Barneck 10 Comments

Old Window + Personal Kanban = Task Board

If you’re like me you always have a million projects in the works. I have become the queen of multi-tasking which leaves me at the end of the day with a whole bunch of things worked on, but not much to show for it. I decided I need a new system. Something to whittle down the tasks so that even if it is only a few, at the end of the day there are tasks done and off the list.

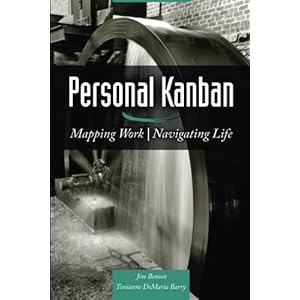
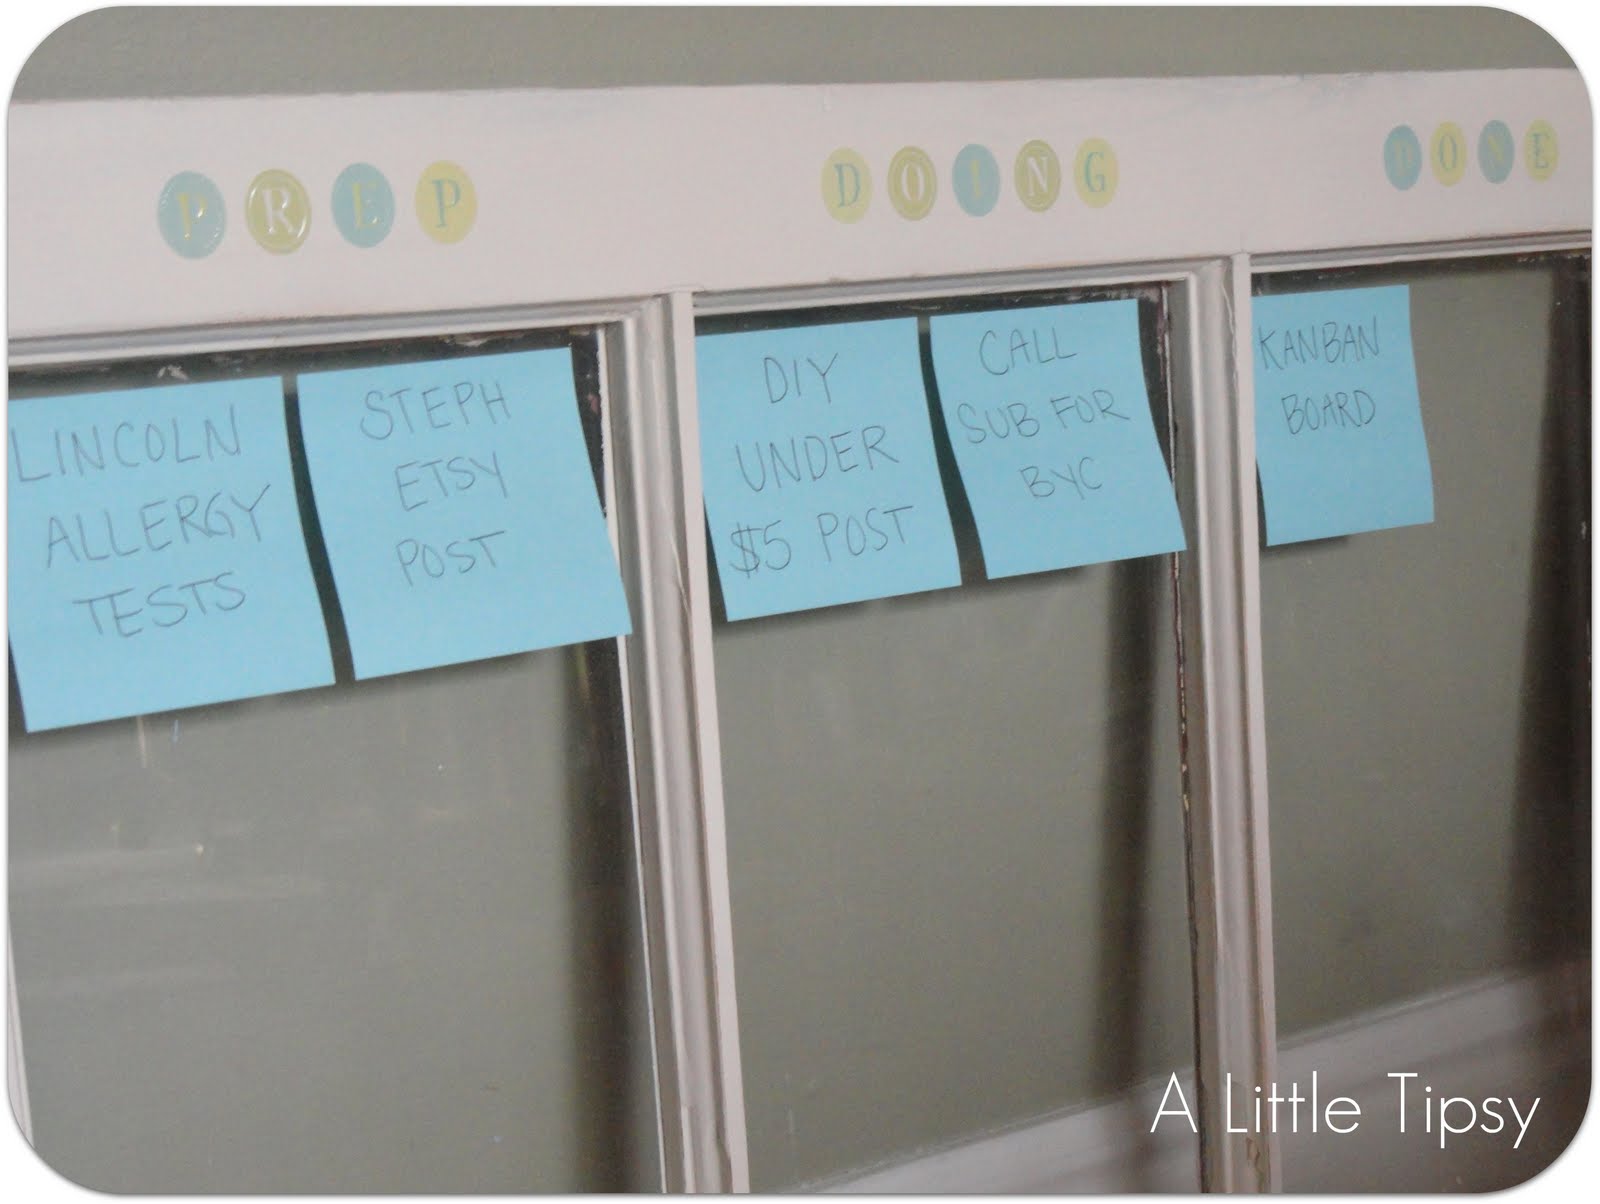
Kanban definition in a nutshell: task management made visual and simple, limiting work in progress

Task Board

Supplies needed:

  • Old window {donated by the fabulous Stacy of Not Just a Housewife}
  • Electric handheld sander and/or Sanding sponge
  • Heirloom white spray paint
  • Clear contact paper
  • Letter decals
  • Post-its
  • Pen

Total cost: FREE I had everything on hand. Though I will be buying some hanging supplies to attach it to the wall.

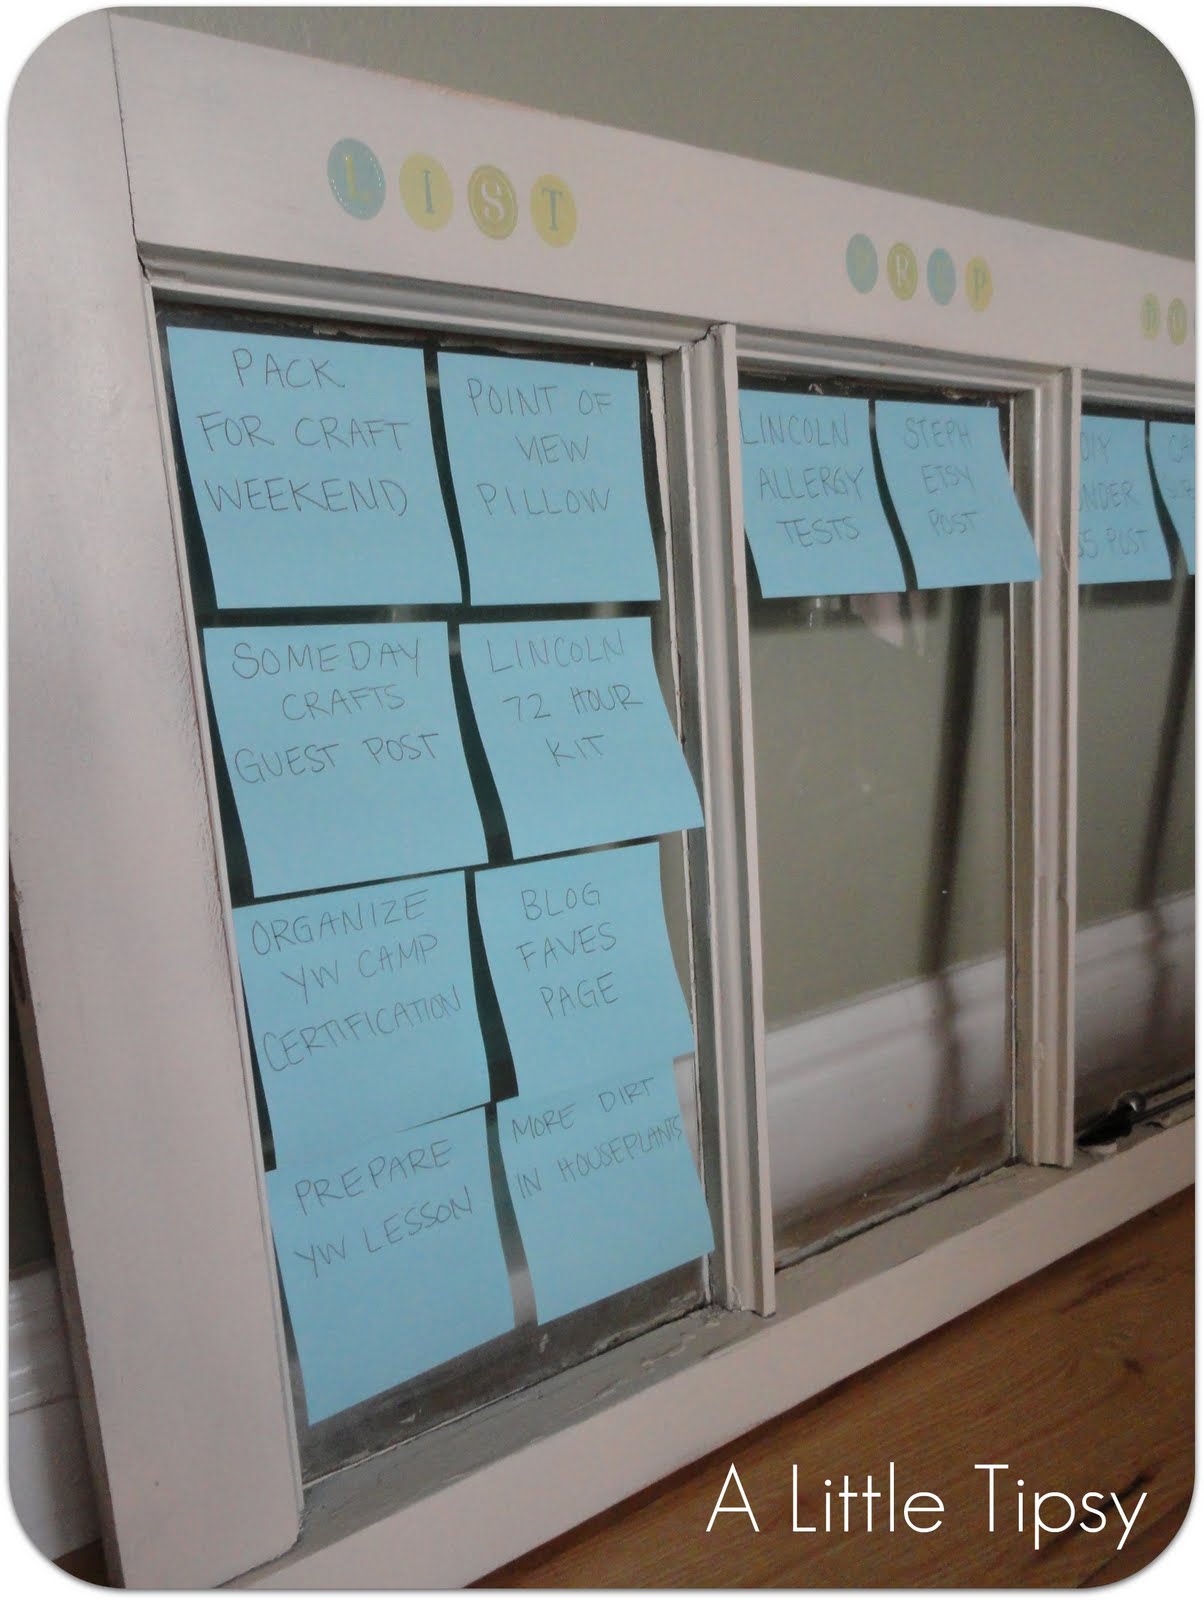
1. Take an old window and give her a nice sanding. I used our hand held electric sander and then went over it by hand with a sanding sponge. I didn’t get all the areas all the way down to the wood because I liked the texture and chippiness.


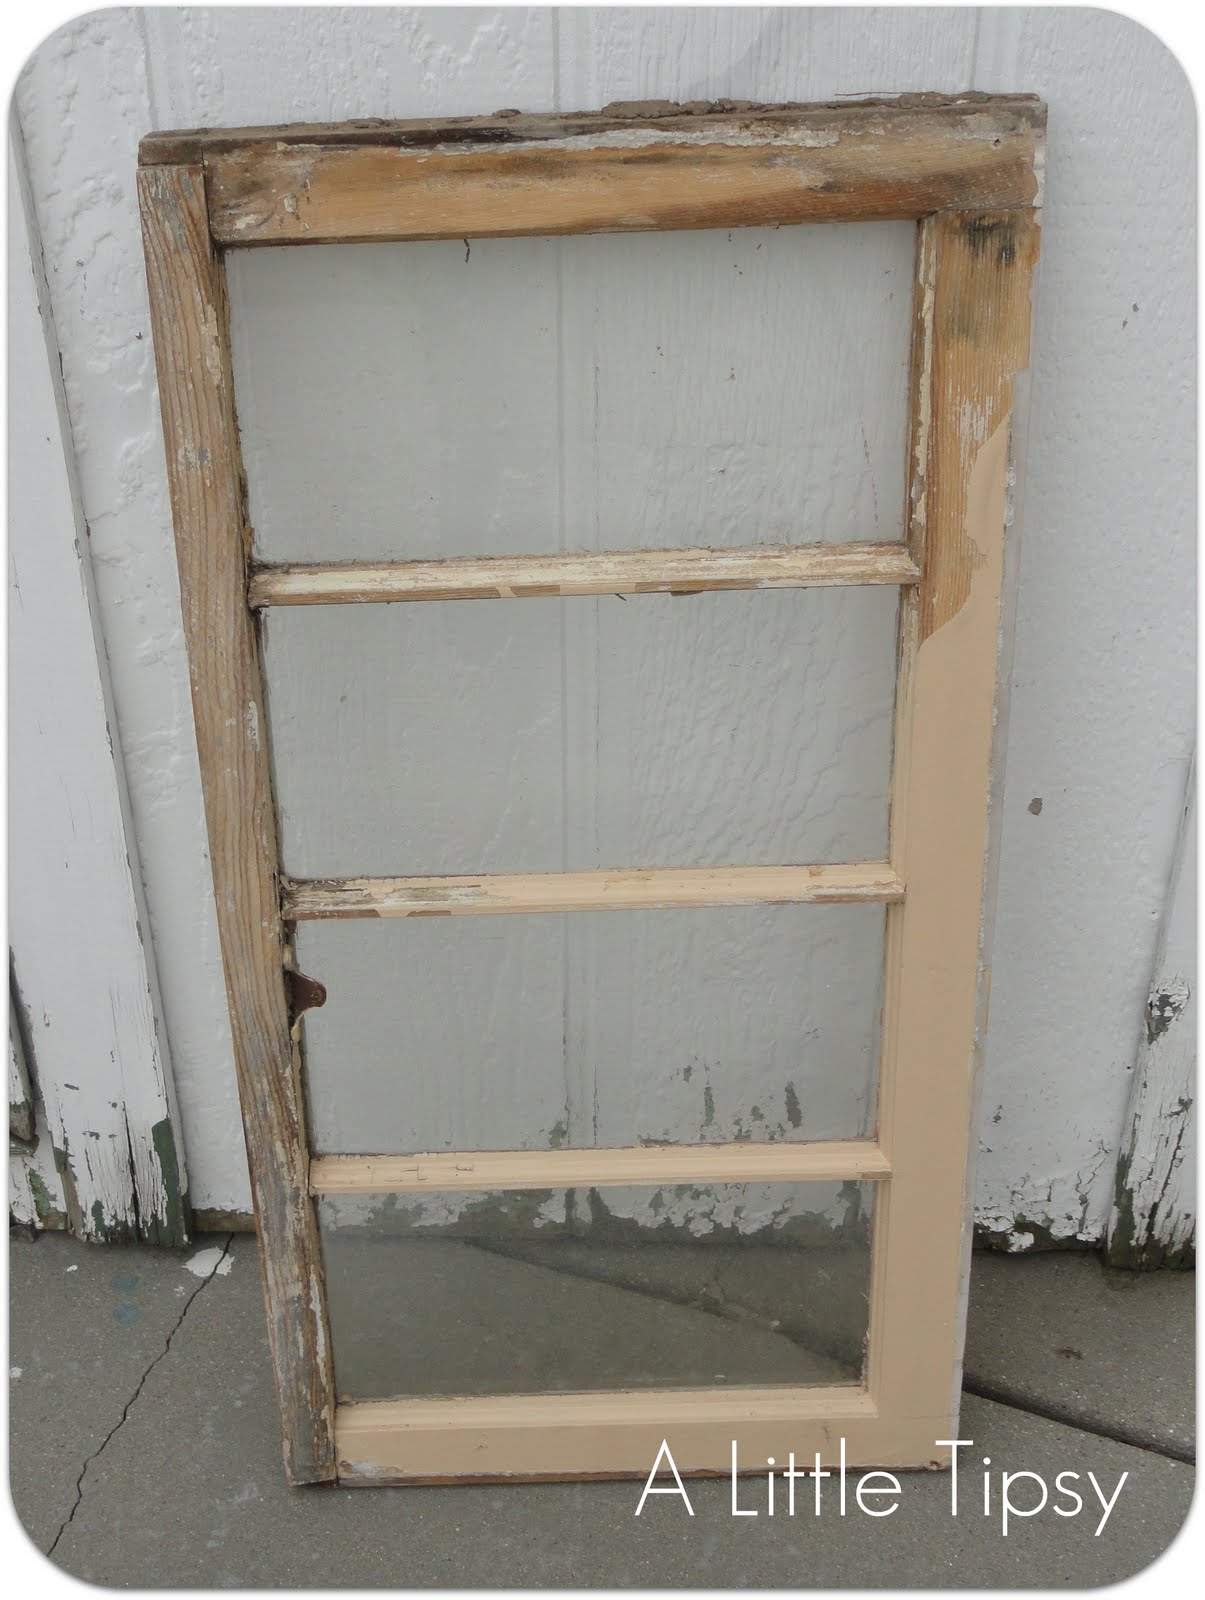
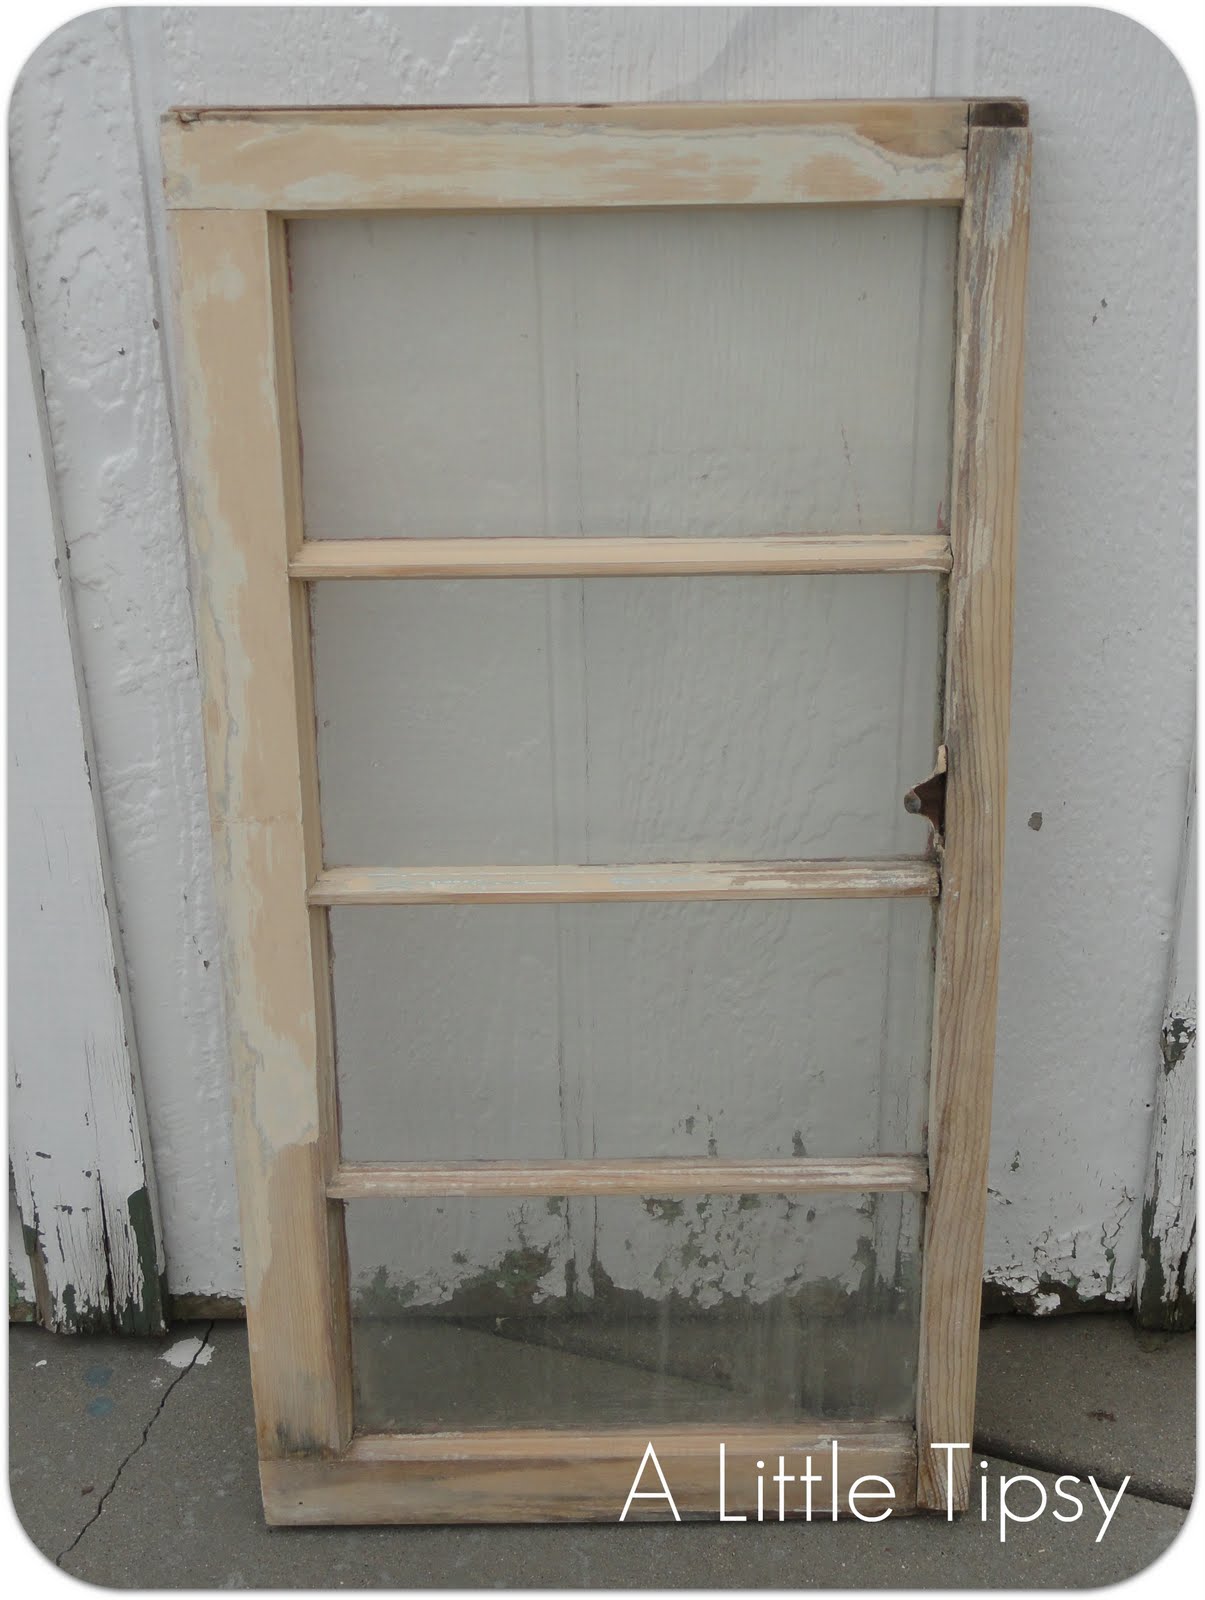
Before………………………………………………………….After

2. Then, I cut clear contact paper the size of the glass and adhered it to keep the paint off the glass.

3. Spray paint. I only needed one good coat. I use Rustoleum 2x paint so you may need more with another brand.

4. Rough up the edges using the sanding sponge.

5. Add the decals to label your different areas. I did four: list, prep, doing, and done because that is the Personal Kanban system. Plus, it helped that my window had four panes. šŸ™‚


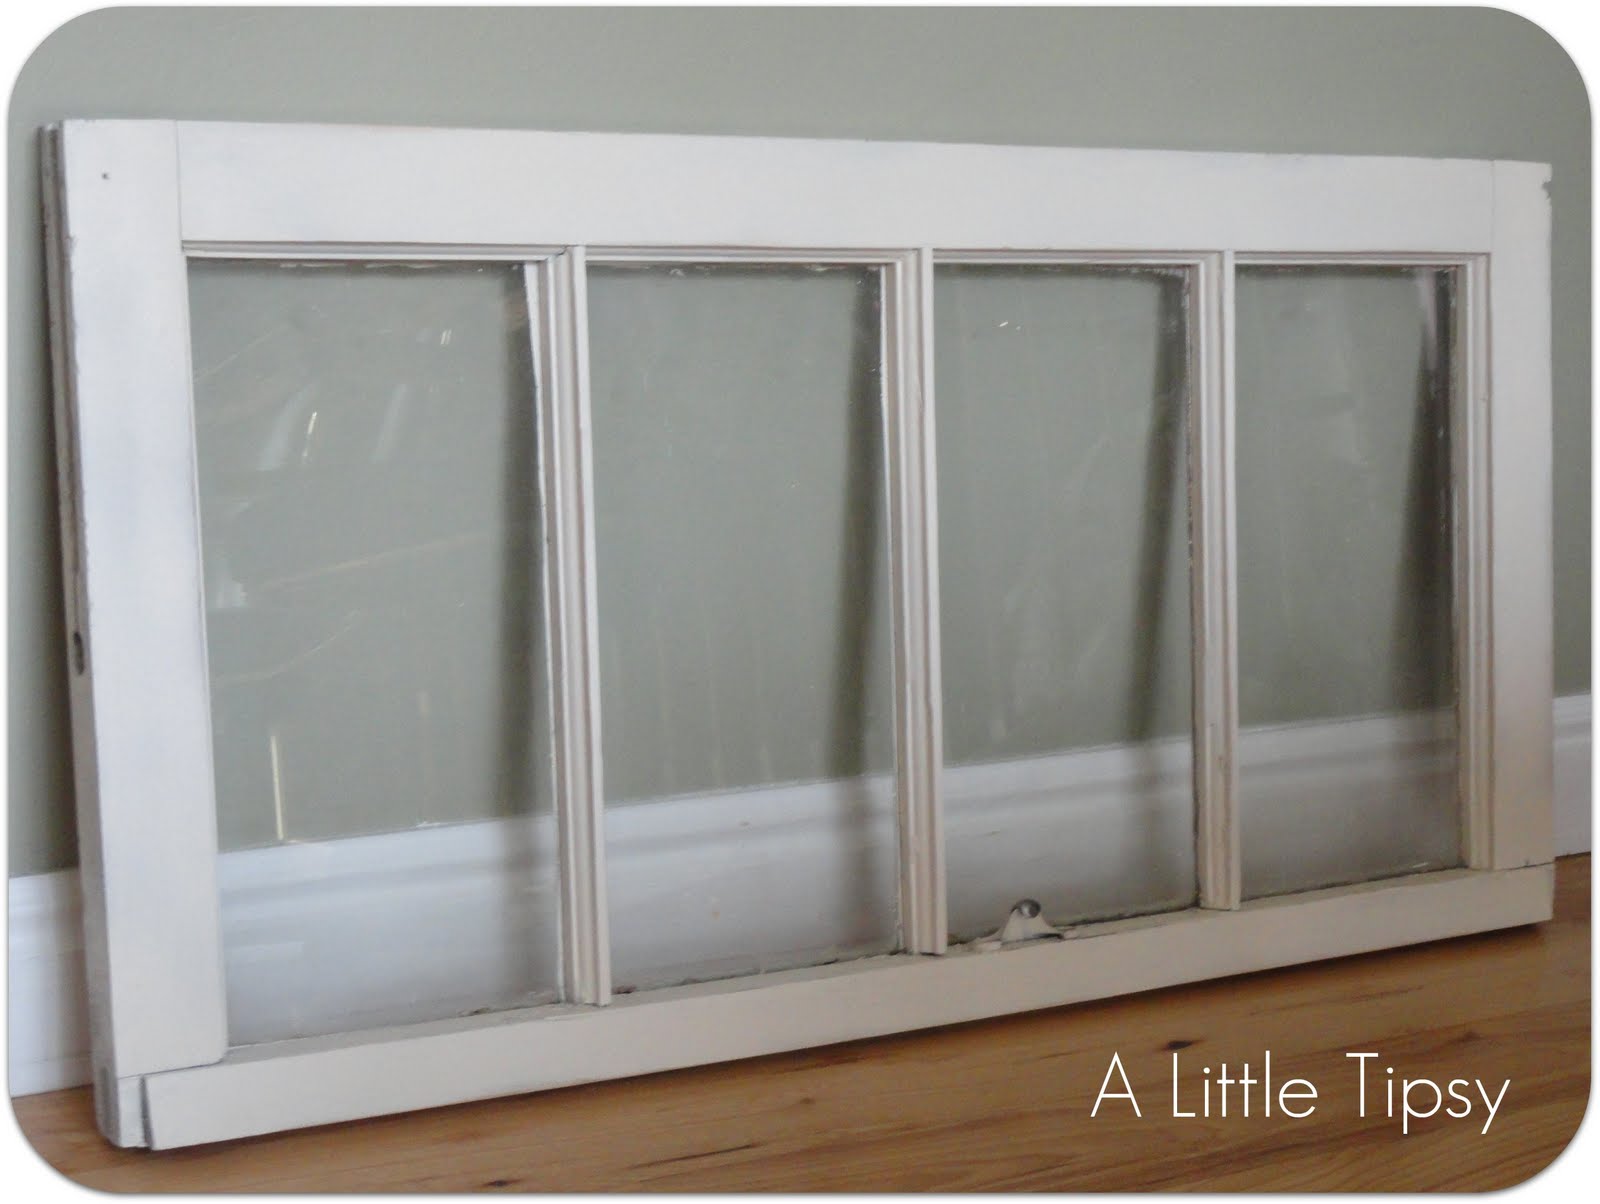
Can you see the perfect little nook for my pen there at the bottom? The little hook holds it in place.

6. Fill with a sticky note for each task in your list. You could also do dry erase markers. Kanban likes you to use something physical that you move along the system so you can actually see and track the tasks getting done.

Now it’s time to link up your $5 projects!

Please remember:

  • Only link to your own projects that cost you $5 or less (price does not have to include items you had on hand)
  • You can link past projects that fit the dollar limit
  • Please link back so others can join the party and so you have the opportunity to be featured on Saturday!

DIY under $5


P.S. Don’t forget to sign up for free Tipsy updates via RSS or email.

We have decided to truncate our feed to help protect against stolen content. I apologize for any inconvenience. Please love us anyway. šŸ™‚

DIY Under $5: Make Earring Holder

April 20, 2011 By Michelle Barneck 18 Comments

Ever wondered how to make an earring holder? No? šŸ˜‰

Well, today’s your lucky day. I’m gonna show you how to can organize all your ear adornments for under $5.

Cost me: $1 (probably $4 if you bought everything)

How to make an earring holder

Supplies Needed:

  • Splatter Screen (Dollar Tree)
  • Burlap
  • Hot Glue
  • Ribbon
  • Needle & thread

I had the splatter screen to make this and was toying with the idea of lace, but was inspired by the lovely Amy from Positively Splendid to use burlap instead.

1. Lay burlap over splatter screen and trim to make a circle. Glue burlap taut by laying a line of glue around the edge of the screen and gluing down a bit a a time. I used the handle of a knife to push it down tight without burning myself. (ok so I still burnt myself multiple times) Do not put glue in the middle of the screen or your earring will not go through!

2. Glue ribbon over the handle of the screen leaving the hole on the back of the end uncovered so you can hang it easily.

3. Thread your needle with enough thread to go around the circumference of the circle. Tie a knot in the end of the two strings so it does not pull through. Go back and forth through the ribbon every 1/4 inch or so and scrunch as you go along so the ribbon ruffles.

4. Glue your ruffled ribbon around the circle leaving the ribbon break on the bottom left.
5. Make some burlap rosettes and glue those on to cover the break in the ribbon. (there are a million rosette tutorials out there if you need one)

6. Hang your earrings by pushing the posts through the burlap and the screen. Using both layers gives it strength so the burlap won’t get wonky spacing from things hanging on it.

Now just find a great space to hang it.

Confession:the ribbon ruffles turned out a little more “Grandma’s fabric covered photo album” than I wanted, but what do you do.

If you like this, you may also like my DIY Jewelry Organizer for the back of a door.

Now it’s time to link up!

Please remember:

  • Only link to your own projects that cost you $5 or less (price does not have to include items you had on hand)
  • You can link past projects that fit the dollar limit
  • Please link back so others can join the party

DIY under $5

P.S. Don’t forget to sign up for free Tipsy updates via RSS or email.

We have decided to truncate our feed to help protect against stolen content. I apologize for any inconvenience. Please love us anyway. šŸ™‚

Actually Doing the To-Do List

March 9, 2011 By Michelle Barneck 1 Comment

Thank you to P&G’s Have You Tried This Yet? program and Kroger for sponsoring my writing about trying new things and breaking out of my everyday routine. Click here to find great savings on high-performing P&G products at a Kroger store near you. I was selected for this sponsorship by the Clever Girls Collective, which endorses Blog With Integrity, as I do.

Since having a baby four months ago I have found myself in a bit of a mind fog. I seem to constantly be bombarded by thoughts of tasks to complete and ideas to explore. I have this really awesome hereditary trait of a terrible memory so if I don’t write it down it is gone and floats through my memory at random clogging my poor brain with a flood of passing thoughts. Due to this jumble I have always been a big time list lover! I have a gazillion list pads (one for each holiday and season) to feed my compulsion.

Recently, I tried something new with my To-do list that has done wonders for my time management and productivity! Instead of just having a list of tasks and looking through them to choose something when I find a moment, I have started a prioritization model (big words for I number them).

Each night I go through my tasks and make a dash next to the ones I want to complete the next day. Once I see the days tasks I number them one through ten in order of priority. Sometimes it also depends on timing, like I can’t go to some stores first thing in the morning, etc. When I wake up there is no confusion as to what I start with. I start with task one and cannot move on until it is complete. Then, I move on to task two, etc. until my list is complete! Each night I take the tasks that were not completed and they automatically go on the top of tomorrow’s list.

This has been so helpful to eliminate wasted time of standing in front of the list and deciding what to do. It is such a simple system, yet has been really effective for me! I am loving it! I usually get all ten tasks done.

Personal <span class=

My husband has been using a system at work called Kanban. We got a book called Personal Kanban that we are reading together. It is a work prioritization system kind of like what I have started, but more visual. You can see the progress of all your tasks and the main concept is limiting your work in progress. I can’t wait to start another new system once we finish the book!!


What kind of “to do” system do you use?

P.S. Don’t forget to sign up for free Tipsy updates via RSS or email.

We have decided to truncate our feed to help protect against stolen content. I apologize for any inconvenience. Please love us anyway. šŸ™‚

Printable Behavior Charts

February 24, 2011 By Michelle Barneck 14 Comments

I needed a little help in getting my kiddo motivated to listen and obey. I decided to make it fun with a colorful chart where he would earn points toward a prize. I figured if I was going to go to all the work to put something together I better share! Here are the free printable behavior charts, just choose boy or girl and add your child’s name at the top. I laminated mine with clear contact paper so I could use it over and over with a dry erase marker.


Click on the image you want below to print it full size.

Boys printable behavior chart
printable behavior chart

Girls Printable Behavior Chart
printable behavior chart

Add the point value needed at the bottom by the arrow and also at the top of the rectangle so you can color in the points as they earn them on the graph. I added a little picture of what he is earning also so he can see it every time we add or take away a point.

The point value varies on how big the prize is. It took him about 3 weeks to earn Candy Land, but just 3 days to earn a Toy Story velvet paint page. He averages about 5 points per day.

I used Everyday Mom Ideas “L’il Monster” free digital scrap kit to make my behavior charts.

The girls at Pocket Full of Posies have a SUPER cute behavior chart too!

steve is super
Linking Up:
Transformation Thursday
Strut Your Stuff
Show Off Your Stuff

P.S. Don’t forget to sign up for free Tipsy updates via RSS or email.

We have decided to truncate our feed to help protect against stolen content. I apologize for any inconvenience. Please love us anyway. šŸ™‚
« Previous Page
Next Page »

  • Bloglovin
  • Facebook
  • Google+
  • Instagram
  • Pinterest
  • RSS
  • Twitter

Hi there! I'm Michelle. Mother of three little boys and one little princess. Welcome to A Little Tipsy, a place for exploring creativity and sharing inspiration.

Follow on Bloglovin


Visit Michelle Barneck {A Little Tipsy}'s profile on Pinterest.

Tutorials by Category


15 Family Reunion Games

Family Reunion Games Collage

15 Sprinkle Party Ideas

Sprinkle Birthday Party
Creative Commons License

© Copyright 2014 A Little Tipsy · Site Designed by The Fairy Blogmother · Web Hosting by RFE Hosting

This website uses cookies to improve your experience. We'll assume you're ok with this, but you can opt-out if you wish.Accept Read More
Privacy & Cookies Policy