A Little Tipsy

Creative Tips & Ideas

  • home
  • About Me
  • the tipsy top
  • press
  • projects
  • contact me
[print_thumbnail_slider]

Donut Snowman on a Stick: Once There was a Snowman, Snowman, Snowman…

November 18, 2011 By Michelle Barneck 25 Comments

We’re debuting the Point of View theme ideas a little early this month because though GIFTS is a fitting theme for Black Friday we though you might be busy with gifts elsewhere. 😉

Michelle (Stay right here!)
Leanne (Organize and Decorate Everything)
Amy (Ameroonie Designs)
Gwen (Gwenny Penny)
Debra (Housewife Eclectic)
Caitlin (Cait. Create.)
Jonie (Just Between Friends)
& YOU!!
 
We want to see your Point of View on gifts so be sure to link up your gift ideas on the Point of View link up on Organize and Decorate Everything!
 
Without further adeiu, an ode to the Snowman.
I grew up with a little song called “Once There was a Snowman.” Are you with me here?
Once there was a snowman, snowman, snowman.
Once there was a snowman tall, tall, tall.
In the sun he melted, melted, melted.
In the sun he melted small, small, small.
Lyrical genius right?
I saw the donuts with the carrot nose and thought an expansion on that idea would be the perfect homage to said song.
{Donut Snowman on a Stick}
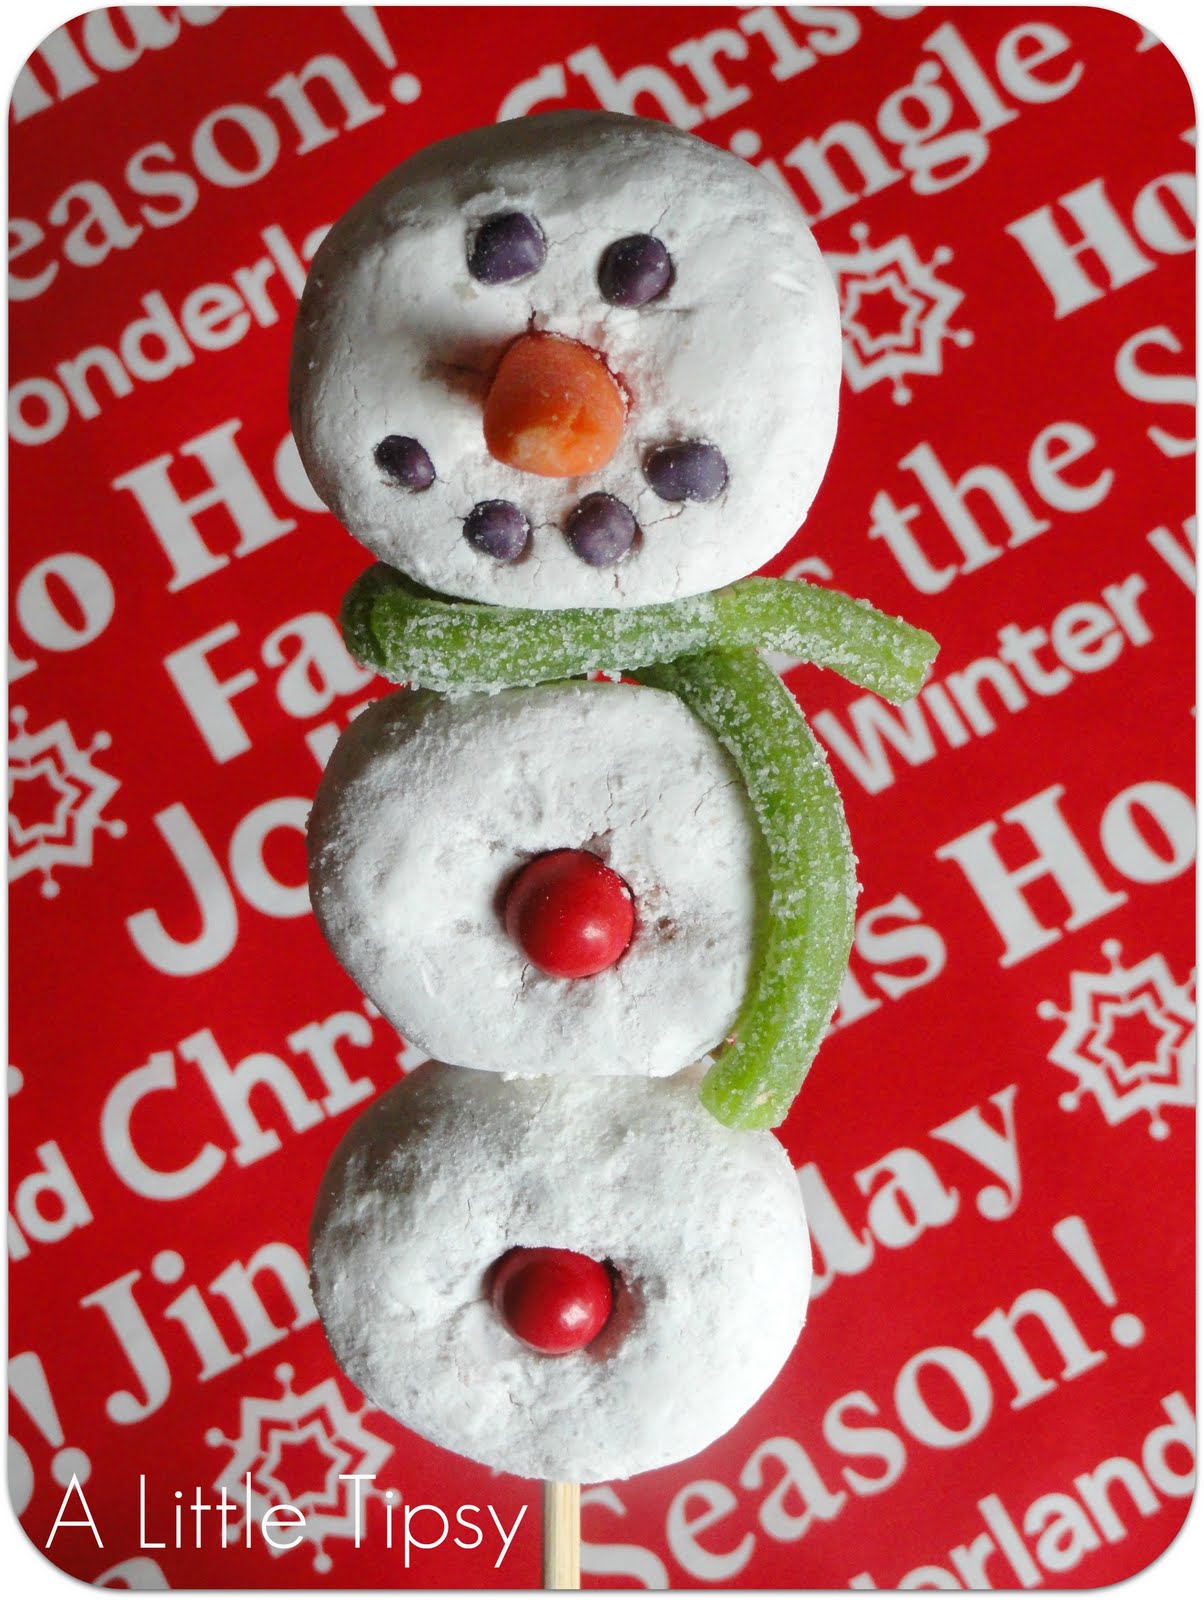
CAREFULLY (two donuts were harmed in the making of this snowman) skewer three powder donuts.
Cut a baby carrot in half and put in hole for nose. Add grape Nerd eyes and mouth to look like coal. You my need a dob of frosting or honey to hold them in place.
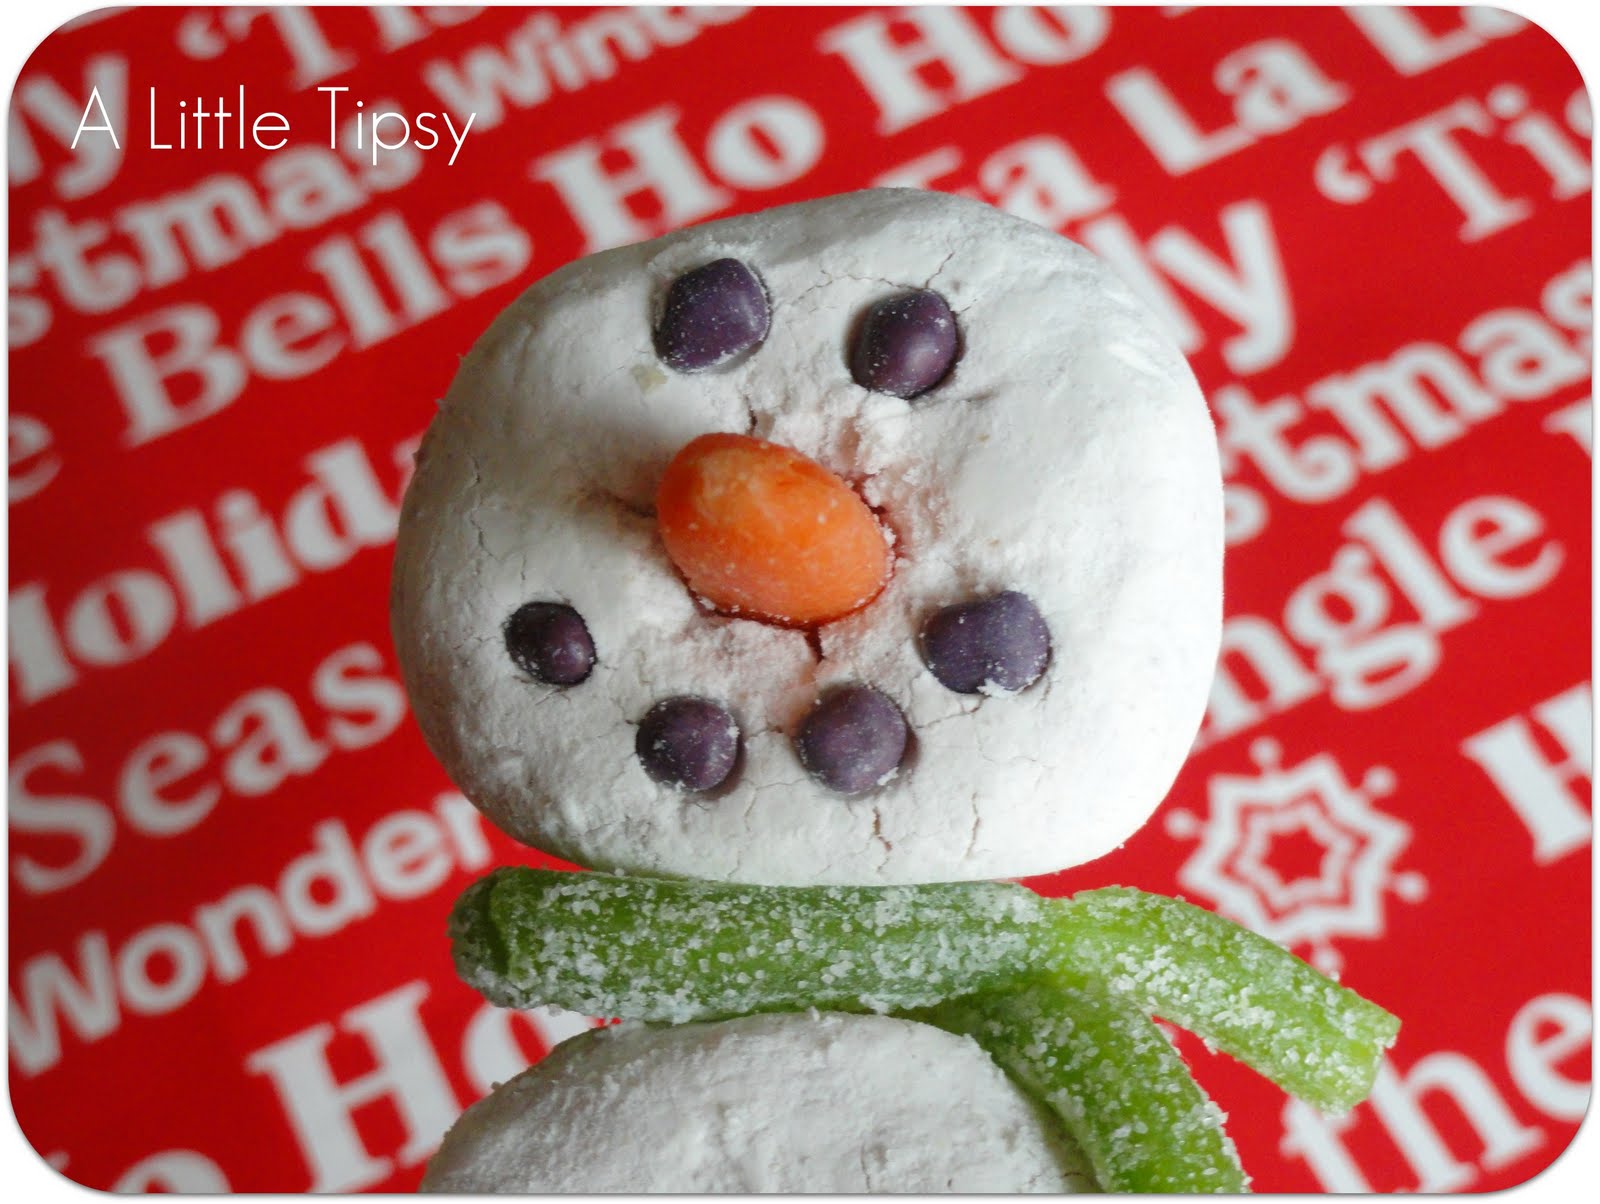
Add a green apple sour straw as a scarf. Break a toothpick in half and secure the scarf by poking the toothpick through the straw and in to the donut on the top where they overlap and on the bottom of the piece that hangs down the front. You can see the tiny dot of the toothpick on the bottom of the scarf.

Add two red jawbreakers as buttons.
Place in a treat bag with a bow and pass out to your friends.
They will have all sorts of fun singing the song and gobbling him up small, small, small.
Be sure to visit the other girls for some great gift ideas and link up your gift ideas on the Point of View link up on Organize and Decorate Everything for your chance to be featured!

 

DIY Photo Booth

November 8, 2011 By Michelle Barneck 5 Comments

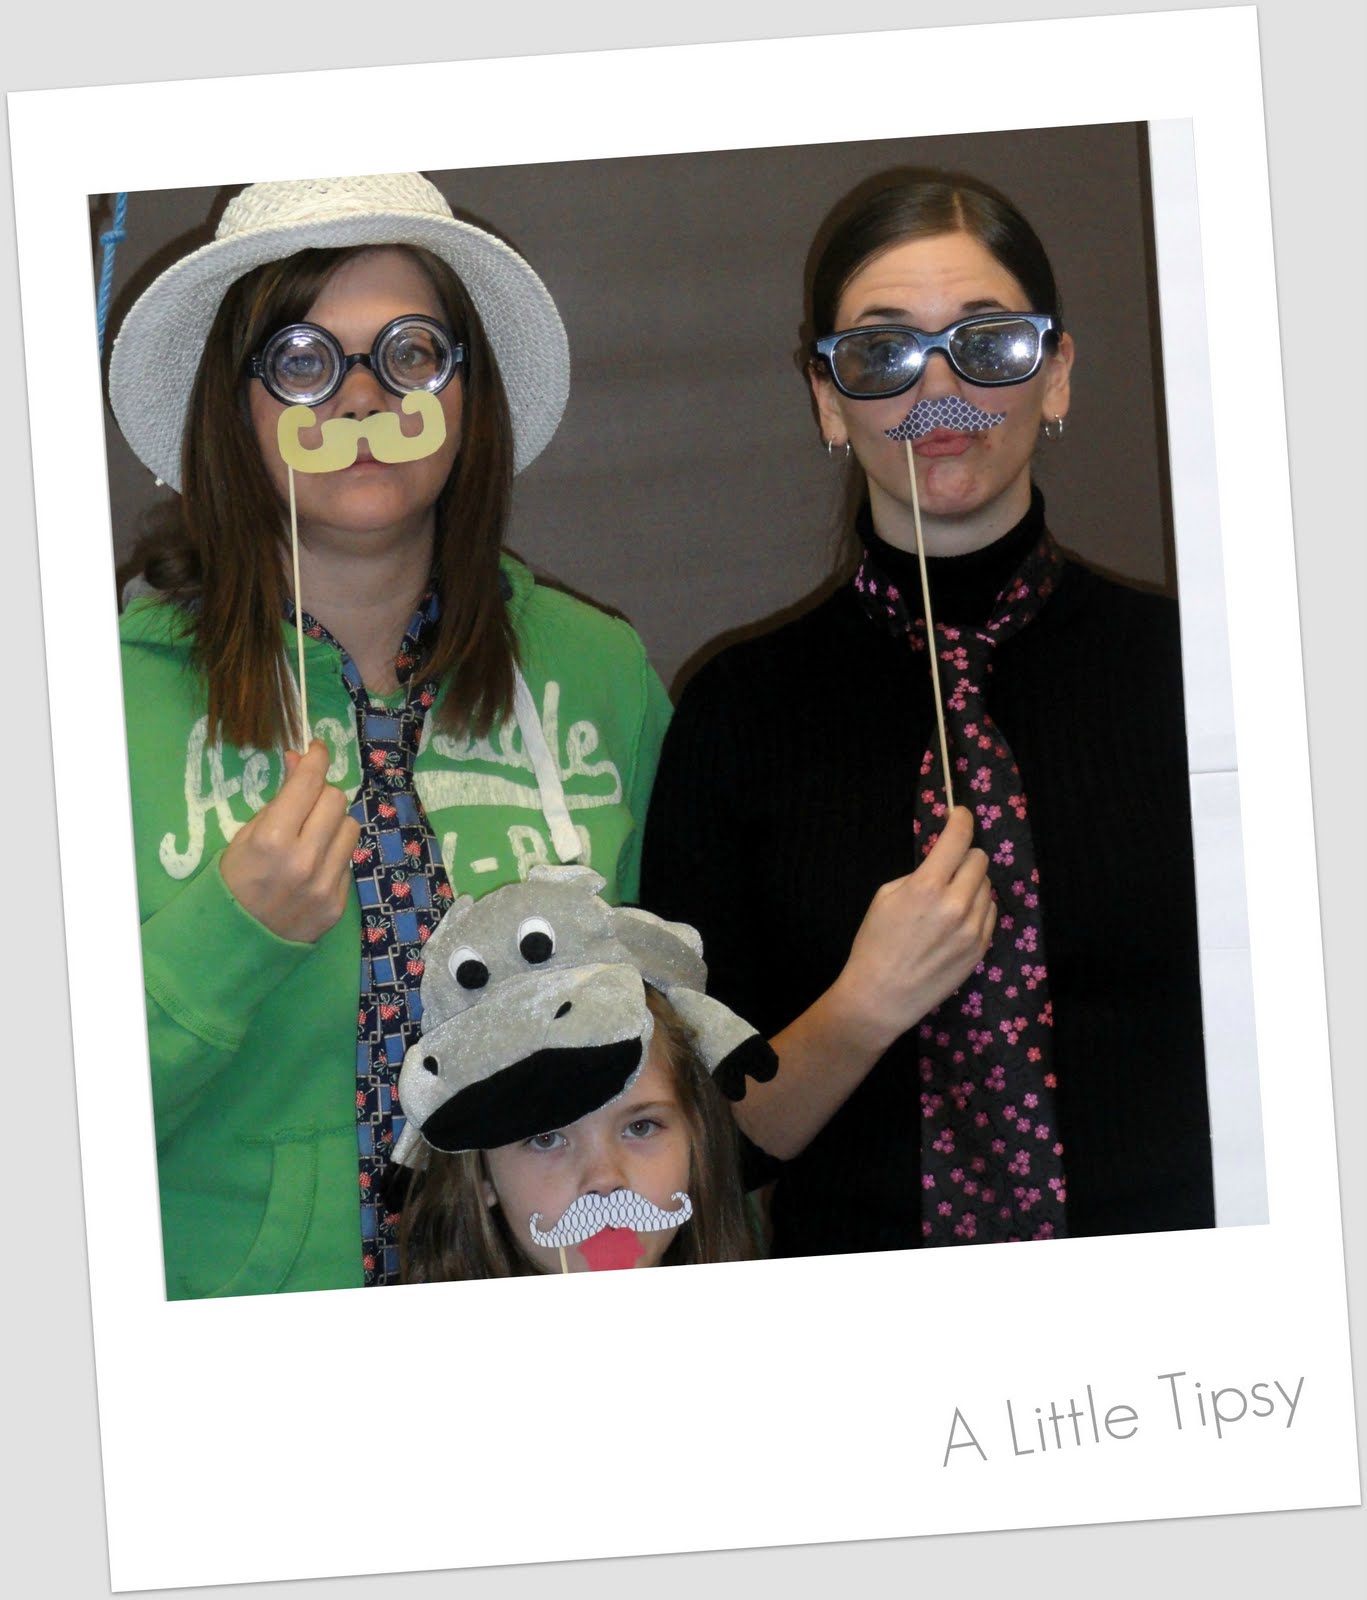
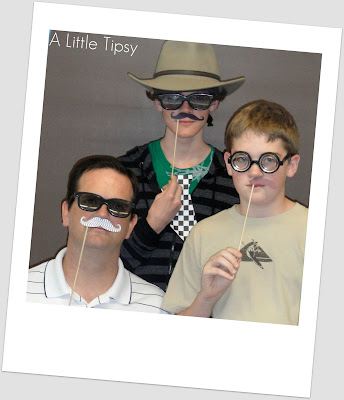
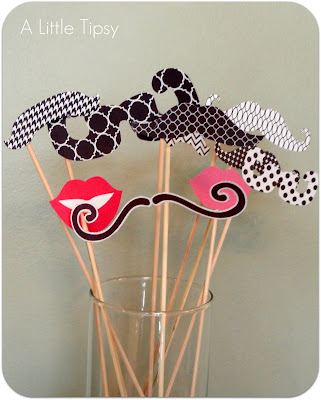
We celebrated my son’s first birthday on Saturday. {tear} One year is a big milestone so we always go all out for the first party. We had a big gathering with entire families so I wanted a lot of activities that all ages could enjoy. The theme was “Little Guy in a Tie” so of course a photo booth with lots of props would be perfect. But of course I am what some might call, ahem, cheap. So, of course ours was a DIY Photo Booth. It was a huge hit and well worth the effort!
DIY Photo Booth

Giant Poloroid:
2 sheets foam core
Exacto knife
Clear Packing tape

DIY Photo Booth Props:

Mustaches & Lips:
Photo Booth Printables
Diguise Kit Printable
Funny glasses:
3D glasses from the movie theatre
Clown and Nose glasses from dollar tree
Hats:
Courtesy of my parents collection
I had the hubs hang the poloroid in front of a chalkboard (our party was held at our church so we could fit everyone) so we would have a plain background. Would have preferred he use fishing line rather than bright blue rope, but we’ll just call it kitschy.

Set up the props and let the guests have at it!

We will be enjoying these DIY photo booth pics for years to come! Now to post and tag on Facebook. 😉
P.S. Don’t forget to sign up for free Tipsy updates via RSS or email.
We have decided to truncate our feed to help protect against stolen content. I apologize for any inconvenience. Please love us anyway. 🙂

Pumpkin Game

September 20, 2011 By Michelle Barneck 7 Comments

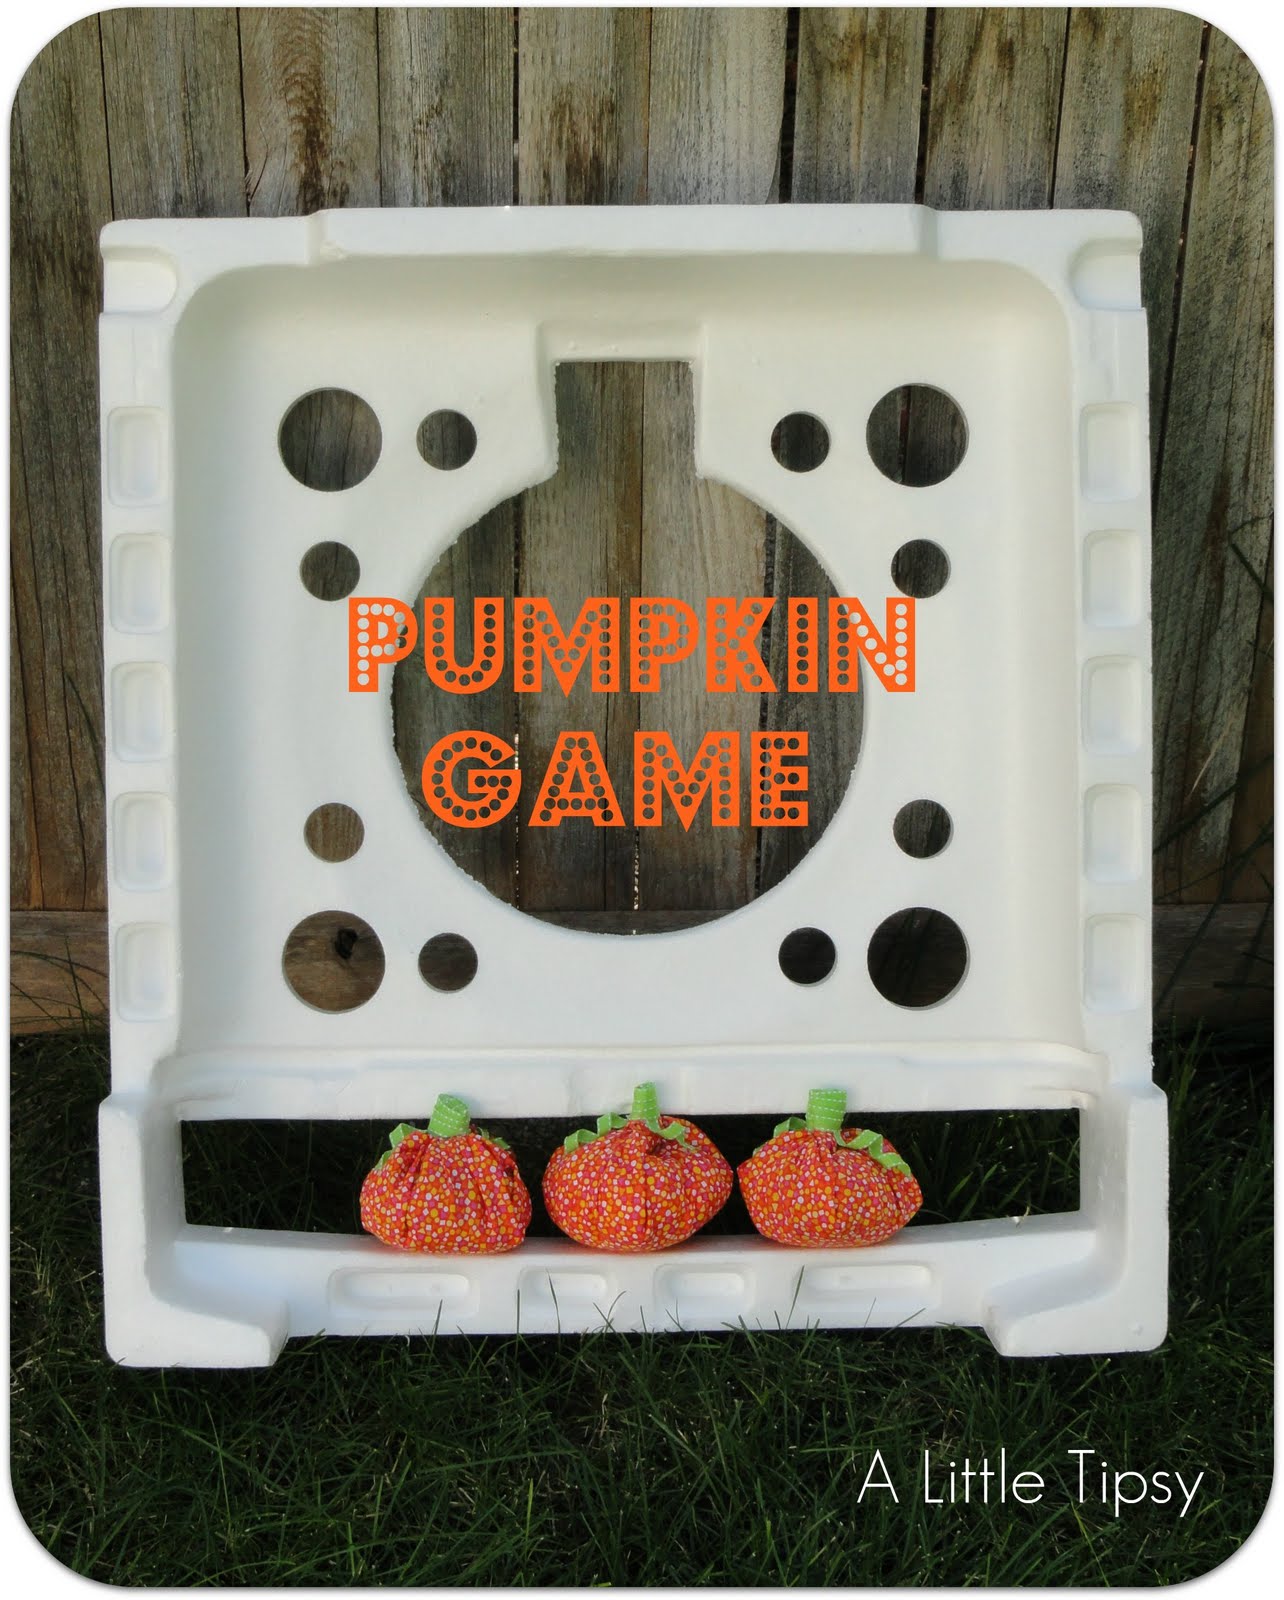
A fun little activity for fall could be disguised in your scrap fabric! This cute pumpkin game uses things you probably already have lying around the house and only takes a few minutes to throw together.

PUMPKIN GAME

Supplies:

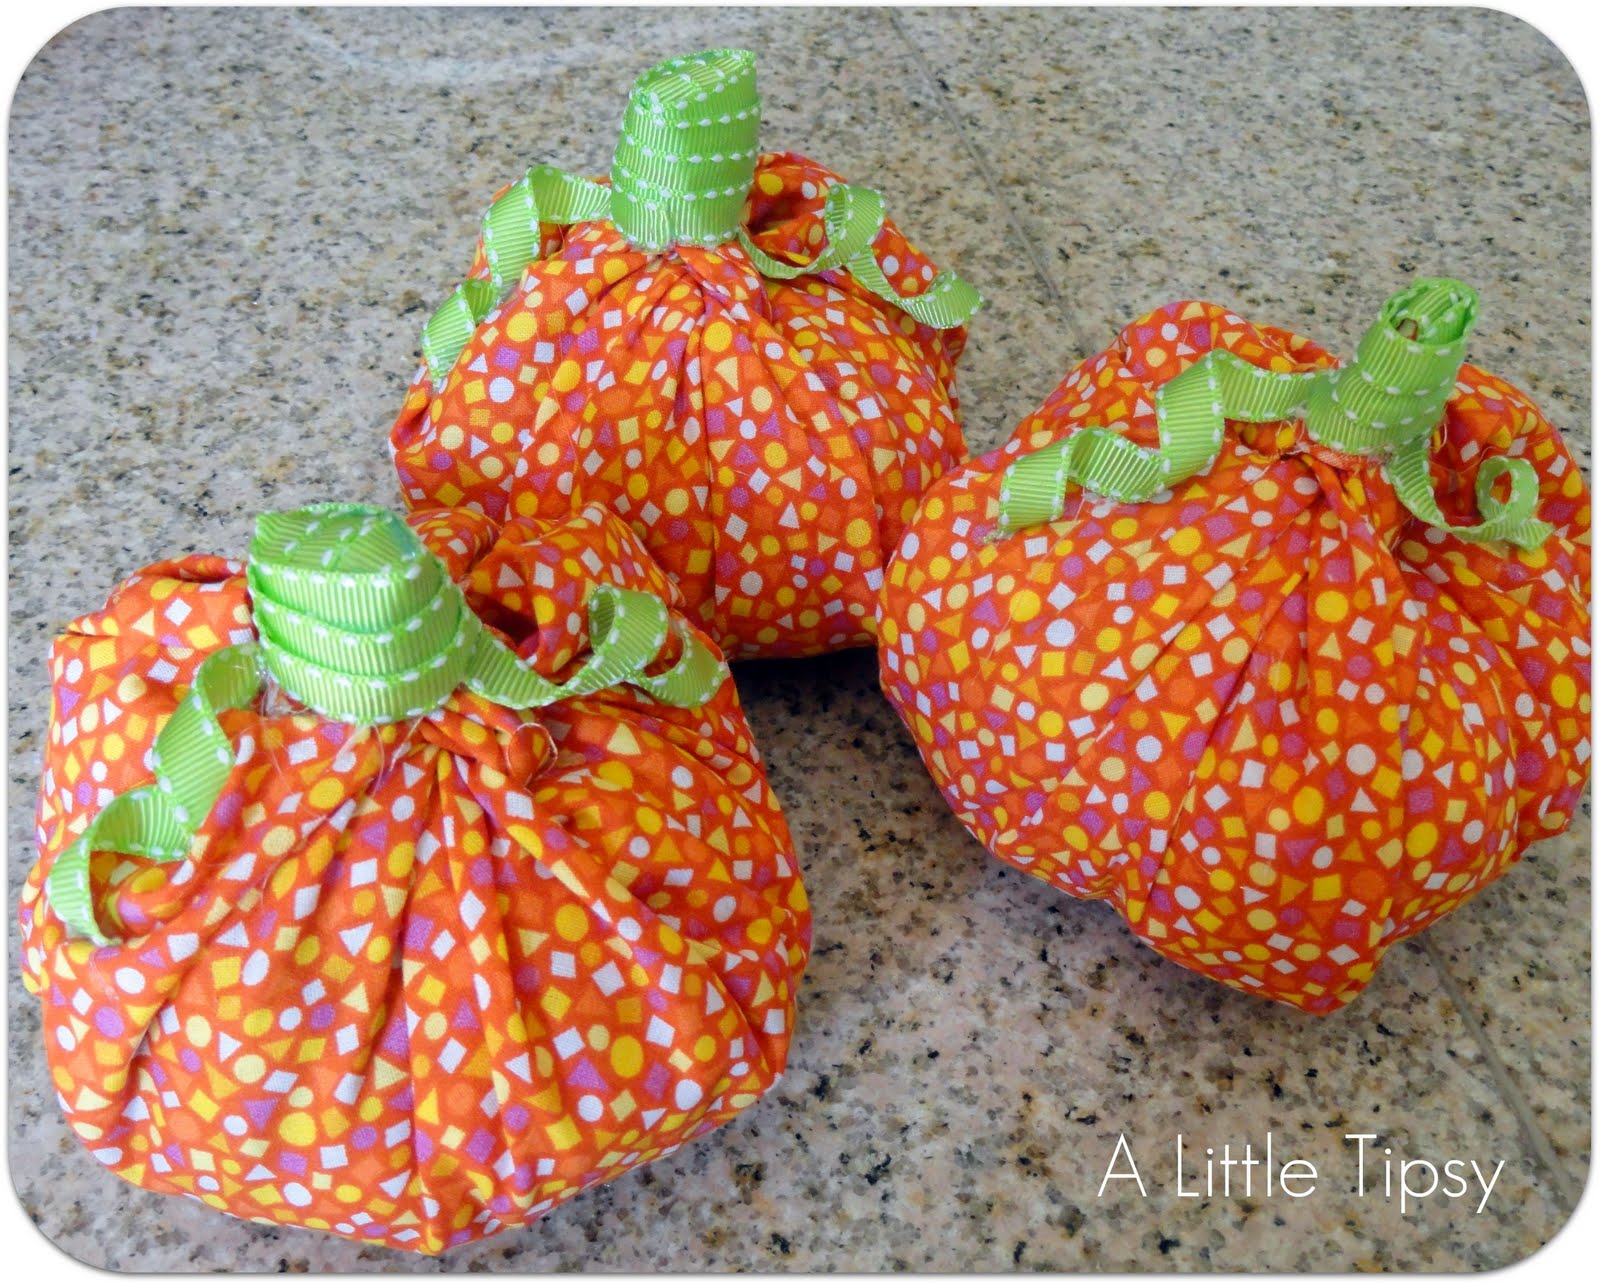
{3 Fabric Pumpkins}

  • Scrap Fabric (three 18 inch squares)
  • 9 plastic grocery bags
  • Green ribbon
  • Hot Glue

{Pumpkin Board}

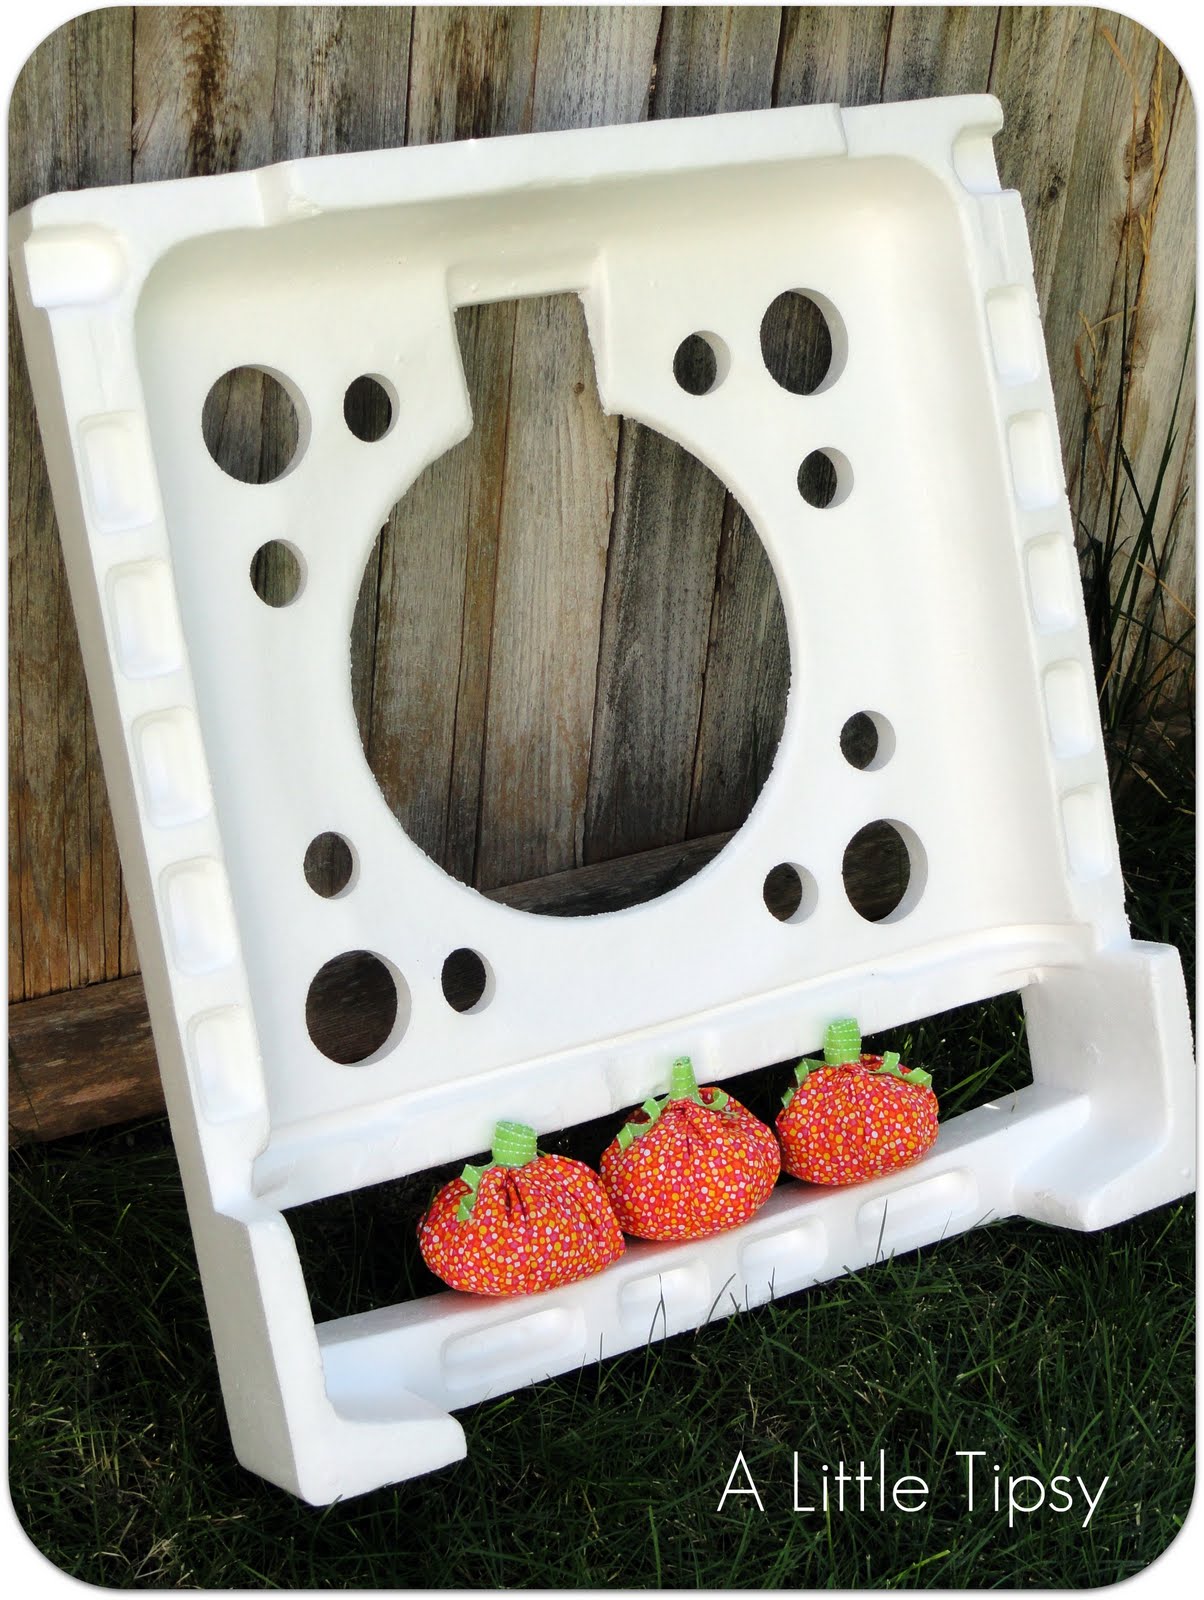
  • I used Styrofoam packaging from my new dishwasher, but you could make something similar by cutting a board or a big piece of cardboard.

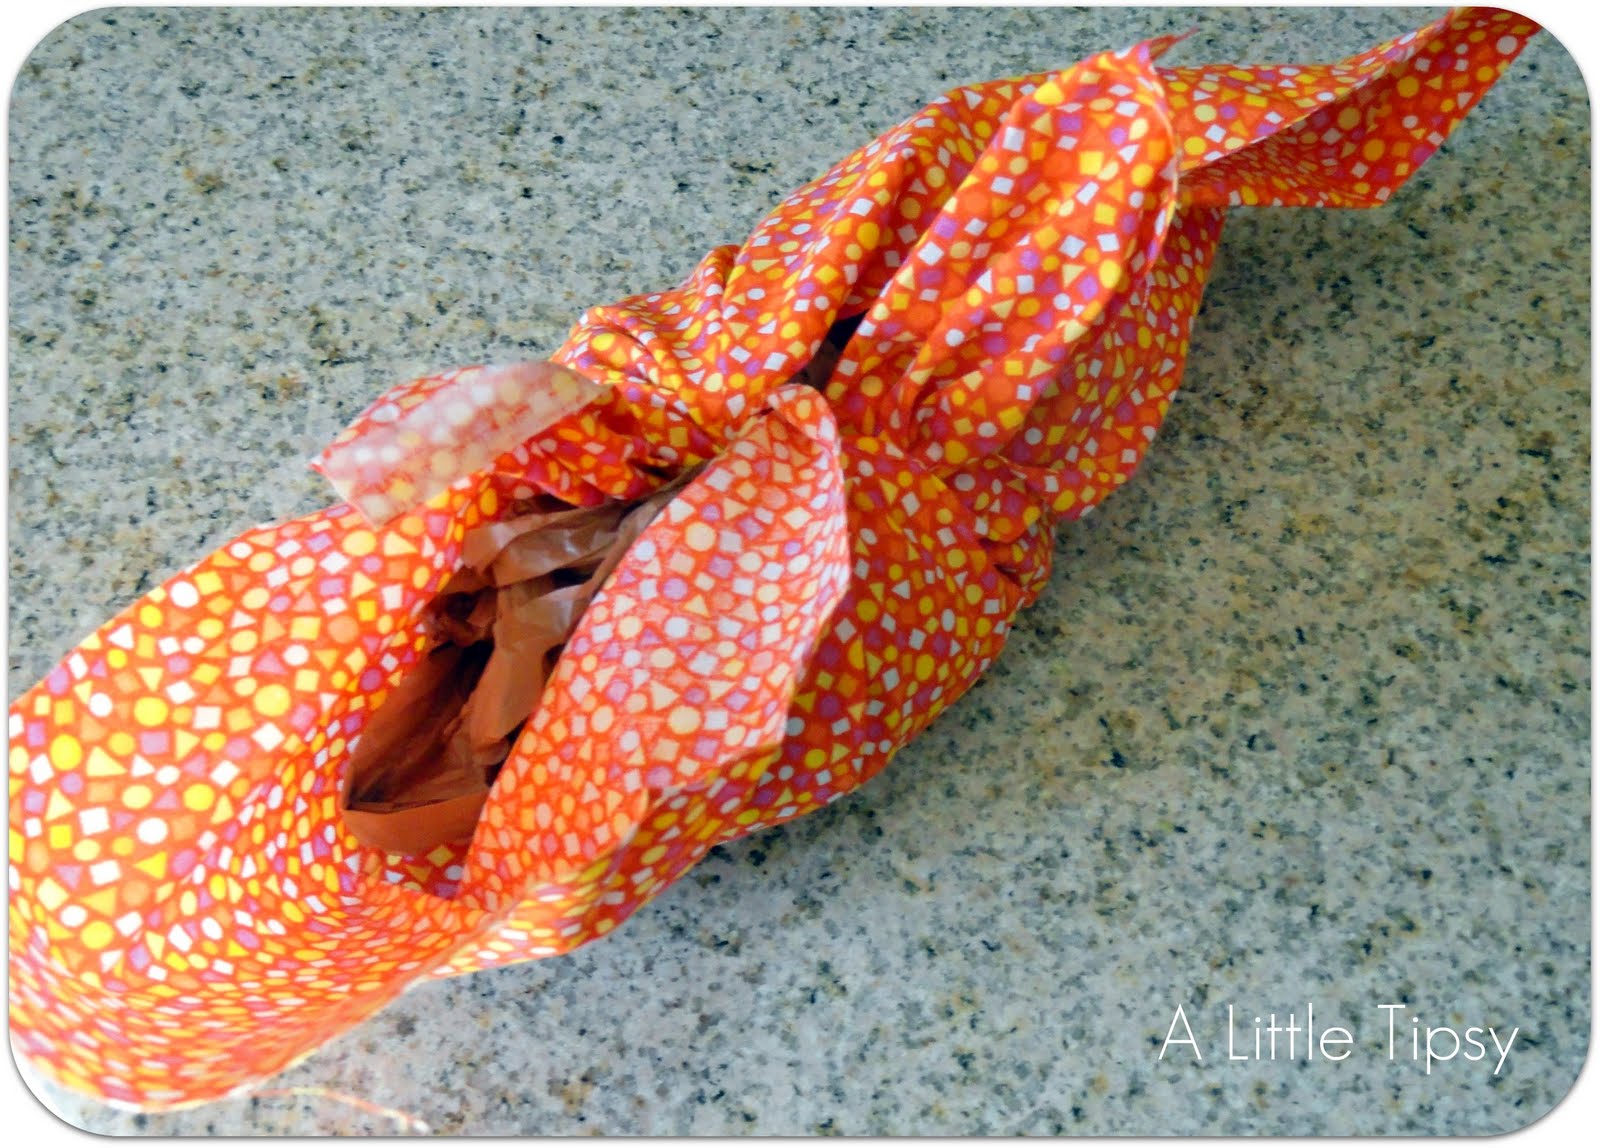
1. Lay out an 18 inch square of fabric. Scrunch up 3 plastic bags and place them in the center.

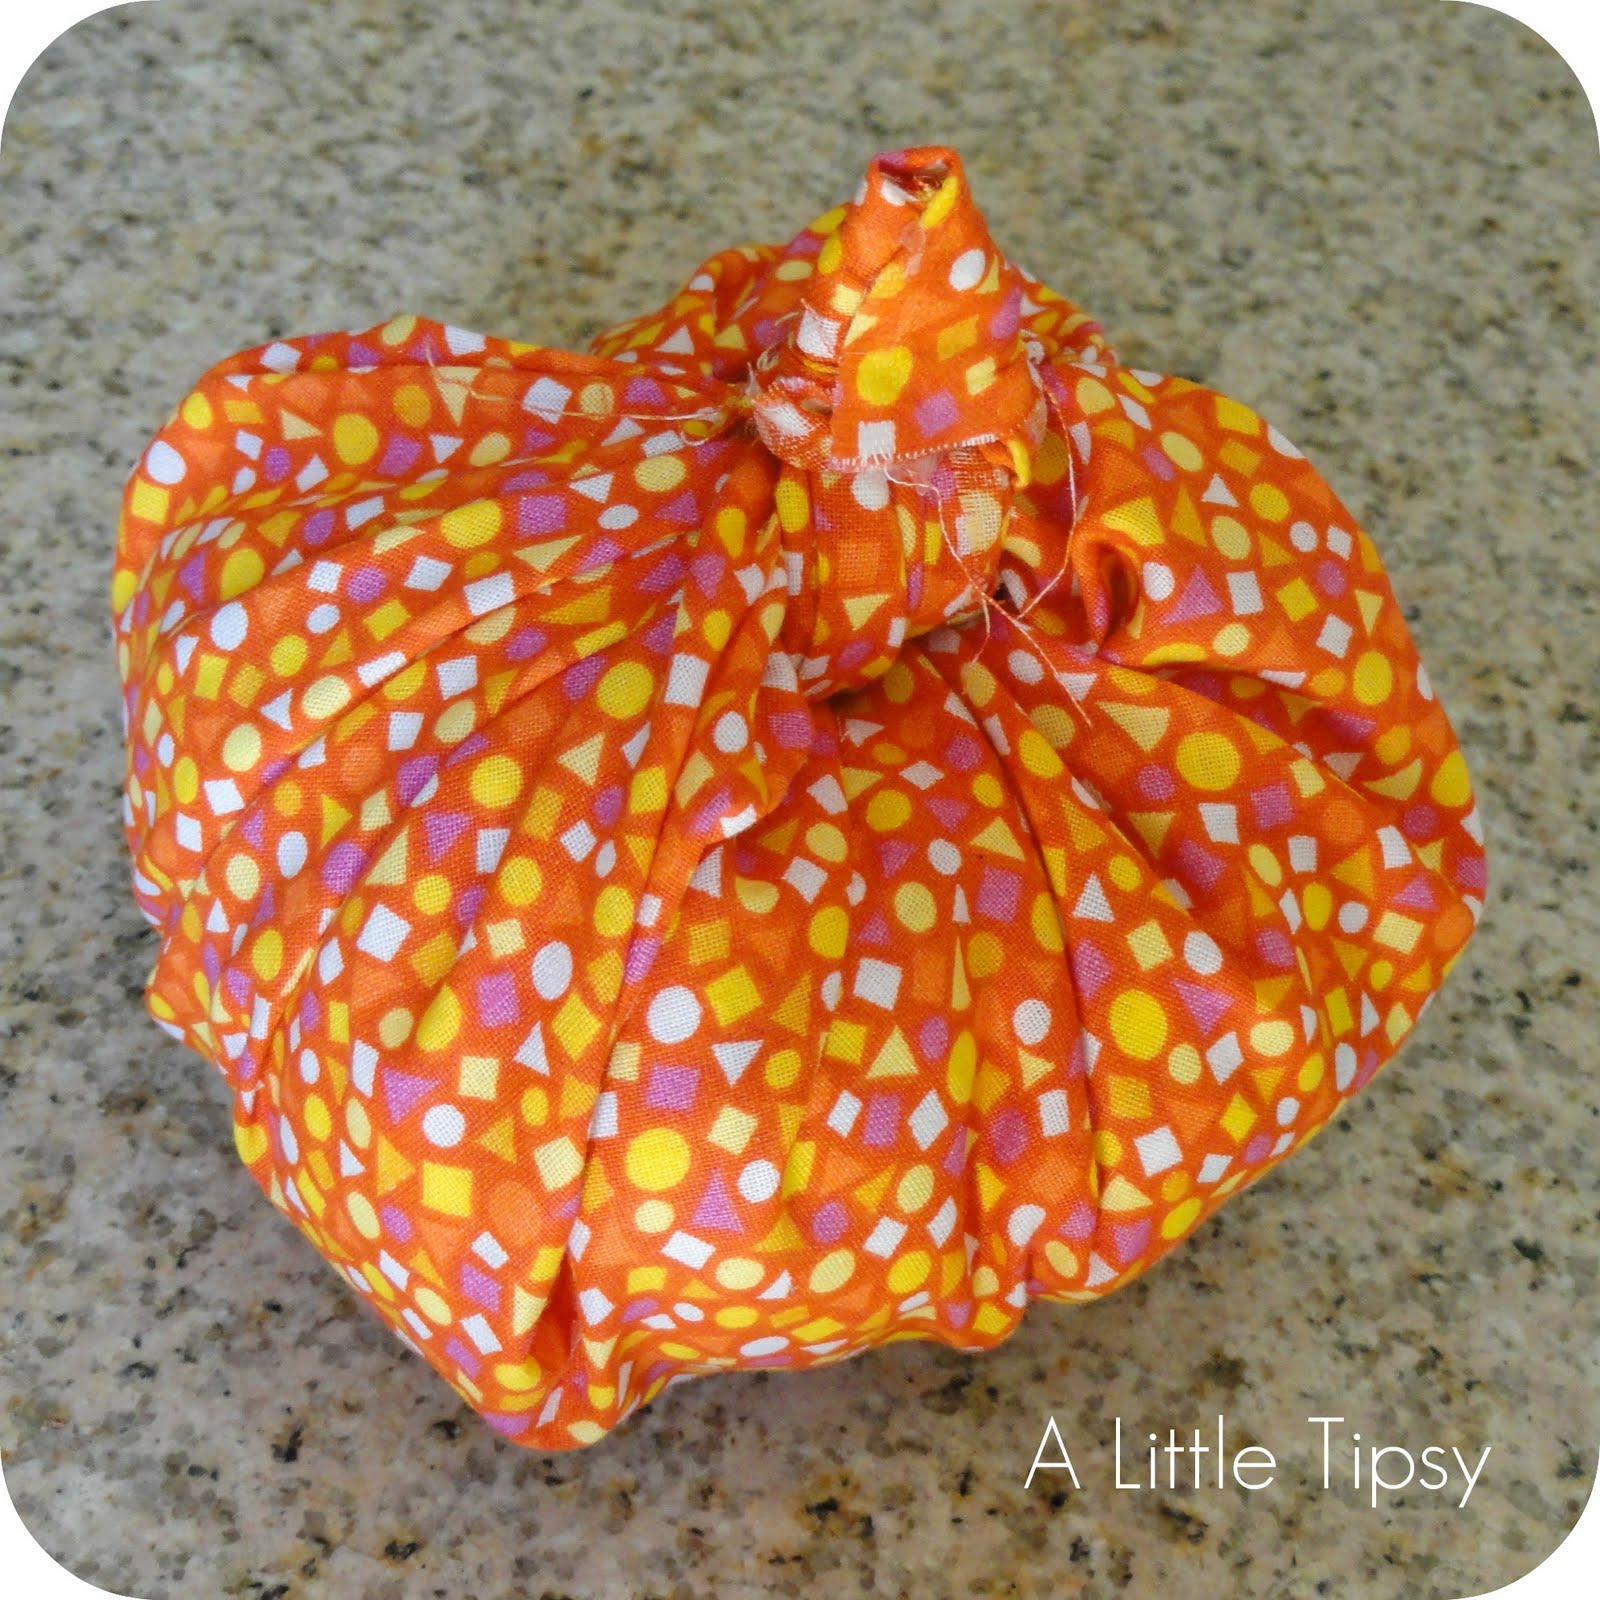
2. Tie two of the corners around each other.

3. Tie the other two corners in a knot.

4. Fold all the fabric tails up in to a point. Leave one out, but roll the other three down in to a “stem.” Wrap the remaining tail around the stem and secure with hot glue.

5. Cover the stems with ribbon, securing with hot glue. Then, add curly vines out of ribbon securing with hot glue.

6. Make a the pumpkin game board by cutting a pumpkin shape out of your styrofoam, board or cardboard.

Prop it up outside and give your pumpkin game a go!

You can even use your pumpkin game in a clear area inside when the weather turns cold because the fabric pumpkins are like pillows and won’t scratch or break anything.

Let me know if you give our fun little pumpkin game a try!

Linking up with:
Topsy Turvy Tuesday
Get Your Craft On
Tip me Tuesday
Show Me What Ya got
Market yourself Monday
Making Monday Marvelous
Making the World Cuter

P.S. Don’t forget to sign up for free Tipsy updates via RSS or email.

We have decided to truncate our feed to help protect against stolen content. I apologize for any inconvenience. Please love us anyway. 🙂

Make a Memory {Movie Night with Personalized Concession Boxes}

July 4, 2011 By Michelle Barneck 3 Comments

Here we are, week 5 of the Make a Memory series. Each Monday now through the end of August I will feature a special family tradition from one of my favorite bloggers. It is so important to create lasting memories with our families and this will be a fun way to get ideas for fun traditions we can start with our own families. So let’s dive right in and see how Kierste from Brown Paper Packages and her family make a memory!

Hello there! I’m Kierste, from Brown Paper Packages, and I’m delighted to be here today!


I love summer. It’s full of so many of my favorite things–the beach, BBQ’s, watermelon, the 4th of July, flip flops, campfires in the backyard, and much more. But there is one more thing that our family loves to do in the summer, and has become a favorite summer tradition…movie nights!

Movie night is much loved at our house. A lot of the time it is spontaneous and casual, and we all cozy up together to watch and munch popcorn. But there are also extra special times during the summer when it’s an “official movie night”–planned in advance, and highly anticipated…mostly due to the concession stand.
The week preceding movie night, all the kids are able to earn concession “money” (in Monopoly form). They do this by being good listeners, obeying quickly, keeping their room clean, going the extra mile, being kind to siblings, extra chores, etc. (Want your baseboards or windowsills cleaned? This is a great week for that!)
That evening, I set up a concession stand with popcorn, cans of soda, candy bars, cookies, and cotton candy, all labeled with prices. I also have fruit available, for free. 🙂 They can even purchase a variety pack, that comes with pop (if you’re under 5, it comes in a sippy cup!), popcorn, and a candy bar for a set amount. It is SO fun. The kids love it, we all look forward to it, and it’s an extra incentive and reward for good behavior and helping around the house.

With all this yummy concession food, I needed something for them to keep it all together. Using the cardboard flats that canned goods come on, you can have adorable boxes that are perfect for movie night.

Movie Concession Boxes


ITEMS YOU NEED:

  • cardboard flats with sides–pick them up at the grocery store on your next trip! Look for boxes with sturdy sides and bottom, and no nicks or cuts.
  • spray paint
  • scrapbook paper
  • distress ink
  • Mod Podge and foam brush
  • craft paint
  • foam stamps
DIRECTIONS:

  • Dust off your boxes, and make sure they are free of any lint.
  • Paint them with the spray paint. The inside bottom and sides need to be done well–no cardboard showing, but the outside doesn’t need to be perfect, since you will covering most of it up with paper. Let dry.
    ***Painting tip: Take several large pieces of plywood or solid wood boards, and hammer in very long nails into them, so that they poke through on the other side at least an inch or more. (see my painting pics…you’ll see mine) When you’re ready to paint, lay the wood down with the nails pointing up. This will provide a great surface to set the items you’re painting on…allowing you to get at all angles and not have to stick to the surface.

  • Measure the sides of your boxes, then cut scrapbook paper to fit.
  • Distress all edges.
  • Using the foam brush, apply a layer of Mod Podge directly onto the box. Place your paper on the box, then add another layer of Mod Podge on top.
  • Repeat on all sides. Let dry.
  • Stamp desired names in the middle of your box using craft paint and foam stamps. I like to use my finger to apply the paint to the stamp–it allows for more control over your paint.

You’re done! You’re ready for a movie night of your own!
P.S. We LOVE our popcorn containers from the One Spot at Target…only $1, and SO fun. We use them all the time. Our Target has them right now, so yours might as well!

…..
Thanks so much for having me Michelle, and to all of you for reading. It was so fun to be here!

Come on by brown paper packages to say hi–I’d love to have you!

Kierste

———————————————————————–

What a fun idea to let them earn concessions. It is amazing what kids will do for some candy! My little guy would flip over having his very own! Thanks Kierste for a great idea on how to make a memory!

P.S. Don’t forget to sign up for free Tipsy updates via RSS or email.

We have decided to truncate our feed to help protect against stolen content. I apologize for any inconvenience. Please love us anyway. 🙂
« Previous Page
Next Page »

  • Bloglovin
  • Facebook
  • Google+
  • Instagram
  • Pinterest
  • RSS
  • Twitter

Hi there! I'm Michelle. Mother of three little boys and one little princess. Welcome to A Little Tipsy, a place for exploring creativity and sharing inspiration.

Follow on Bloglovin


Visit Michelle Barneck {A Little Tipsy}'s profile on Pinterest.

Tutorials by Category


15 Family Reunion Games

Family Reunion Games Collage

15 Sprinkle Party Ideas

Sprinkle Birthday Party
Creative Commons License

© Copyright 2014 A Little Tipsy · Site Designed by The Fairy Blogmother · Web Hosting by RFE Hosting

This website uses cookies to improve your experience. We'll assume you're ok with this, but you can opt-out if you wish.Accept Read More
Privacy & Cookies Policy