A Little Tipsy

Creative Tips & Ideas

  • home
  • About Me
  • the tipsy top
  • press
  • projects
  • contact me
[print_thumbnail_slider]

Make a Memory {Summer Sponge Bombs}

June 27, 2011 By Michelle Barneck 14 Comments

Here we are, week 4 of the Make a Memory series. Each Monday now through the end of August I will feature a special family tradition from one of my favorite bloggers. It is so important to create lasting memories with our families and this will be a fun way to get ideas for fun traditions we can start with our own families. So let’s dive right in and see how Heather from Whipperberry and her family make a memory!

We are soooo excited to be participating in Make a Memory Monday at A Little Tipsy today!! Happy Monday all… This is Heather from WhipperBerry. We live in sweltering Las Vegas and any good Summer memories involve water for sure!!

Water Bombs 032

A few years ago I was planning an activity for our youth at church and I came up with our version of water dodge ball. We used large car wash sponges and several huge buckets of water in a large field, broke the kiddos up into teams and let them go to town. They LOVED it!!! It has become a tradition every summer here in these parts. When Michelle asked if I had a fun memory maker this was the first thing I thought of… but of course I needed a fun WhipperBerry Spin!! I found this picture on Pinterest from Positively Splendid…

image

… and thought it would be a fun addition to our water dodge ball tradition. I bought sponges, a mop and some drawer liners. All very durable materials!

love 007

The girls and I then cut up the mop, sponges and drawer liners to make our components for the sponge bombs.

Water Bombs 002

You then decide how big you want your bombs to be… I cut each sponge into thirds {tall thirds} and used two sponges per bomb. and then randomly added the color strips.

Water Bombs 015

We then gathered them and wrapped them with a cable tie.

Water Bombs 017

Cinch the cable tie down really tight…

Water Bombs 019

… and then trim the tail.

Water Bombs 021

You may be worried about he cable tie… but don’t. By the time you cinch it down real tight the hard knob gets lost inside the sponges and it doesn’t cause any problems at all. My kiddos have played with these for HOURS without any complaints.

Water Bombs 025

Trim the long strips to make it a little more uniform. Fluff and grab a bucket!!!

Water Bombs 061

Aren’t they cute?!?

4

Even my little guy LOVED them. He had to play with them while dry as to not get his poor cast wet. The good news… his cast came off today!! YEA!!

1

Let the kiddos go WILD! They LOVE these!! Who needs Sponge Bob when you have SPONGE BOMBS!!!!

Happy Summer everyone and thanks Michelle for letting us join the party!!

Signature_edited-1

WhipperBerryLogo

—————————————————————-

Heather never ceases to amaze! These are so fun and with two boys, I love that they are super durable! Thanks so much for a another great way to make a memory!

P.S. Don’t forget to sign up for free Tipsy updates via RSS or email.

We have decided to truncate our feed to help protect against stolen content. I apologize for any inconvenience. Please love us anyway. 🙂

Point of View: Shelves {Book Shelves}

June 24, 2011 By Michelle Barneck 16 Comments

Welcome to another month of Point of View where, on the 4th Friday of each month, we each show you our takes on a particular theme. This month’s theme is SHELVES. Just look at the fun projects we have lined up for you!

1. Camilla (Rosy Red Buttons)
2. Michelle (Stay right here!)
3. Jonie (Just Between Friends)
4. Amy (Ameroonie Designs)
5. Gwen (Gwenny Penny)

Are you interested in participating as a guest member of Point of View? We are looking for people who would like to join us. We will be including one guest each month, so if you would like to take part contact Amy from Ameroonie Designs (utahchemnrd@yahoo.com). Please include your blog name and URL, and we will add you to the list. You will be notified in advance when it is your turn.

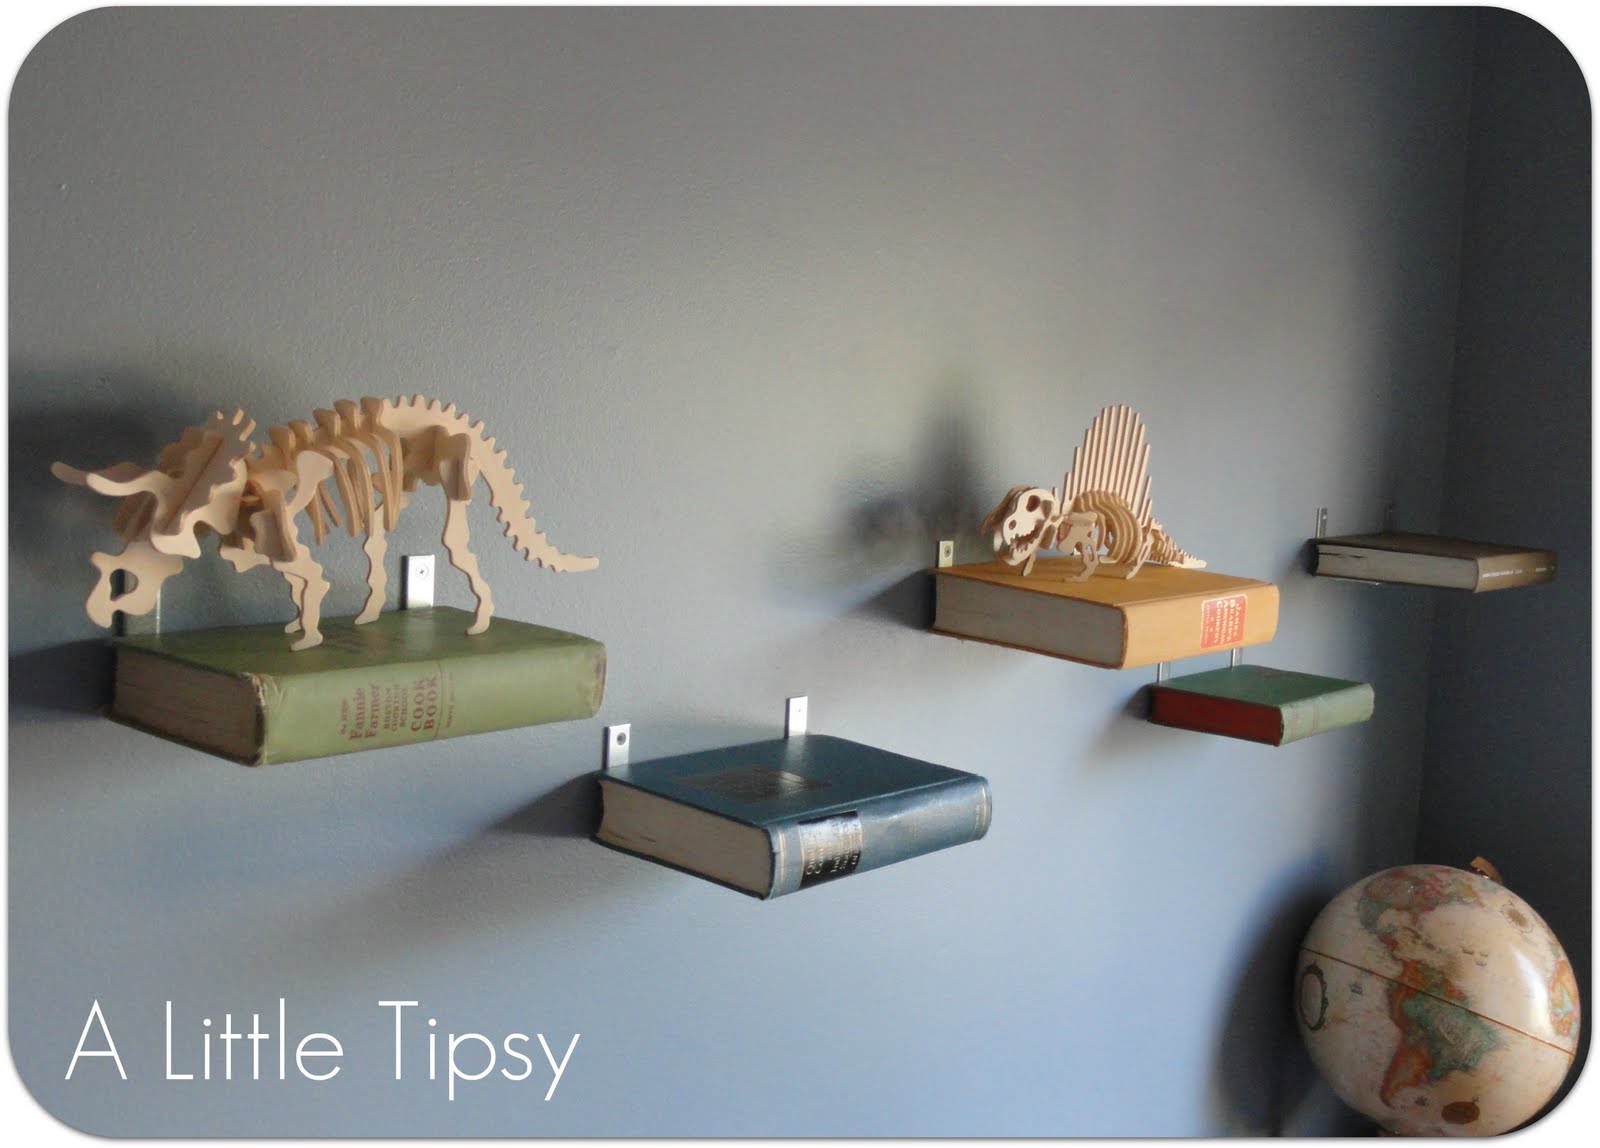
Now on to my shelves! Book shelves to be exact. No, not shelves to house books, books hung as shelves! I loved this idea when I first saw it on Kojo Designs and just had to make some with my own twist of course. Her books were all put together as one shelf, but I wanted to put dinos on mine for my little guys paleontology room and they are too long to fit on the book so I made each book an individual shelf.

Here’s what you’ll need:

  • Books
  • Paper
  • Scissors
  • Tape
  • Measuring tape
  • Level
  • Pencil
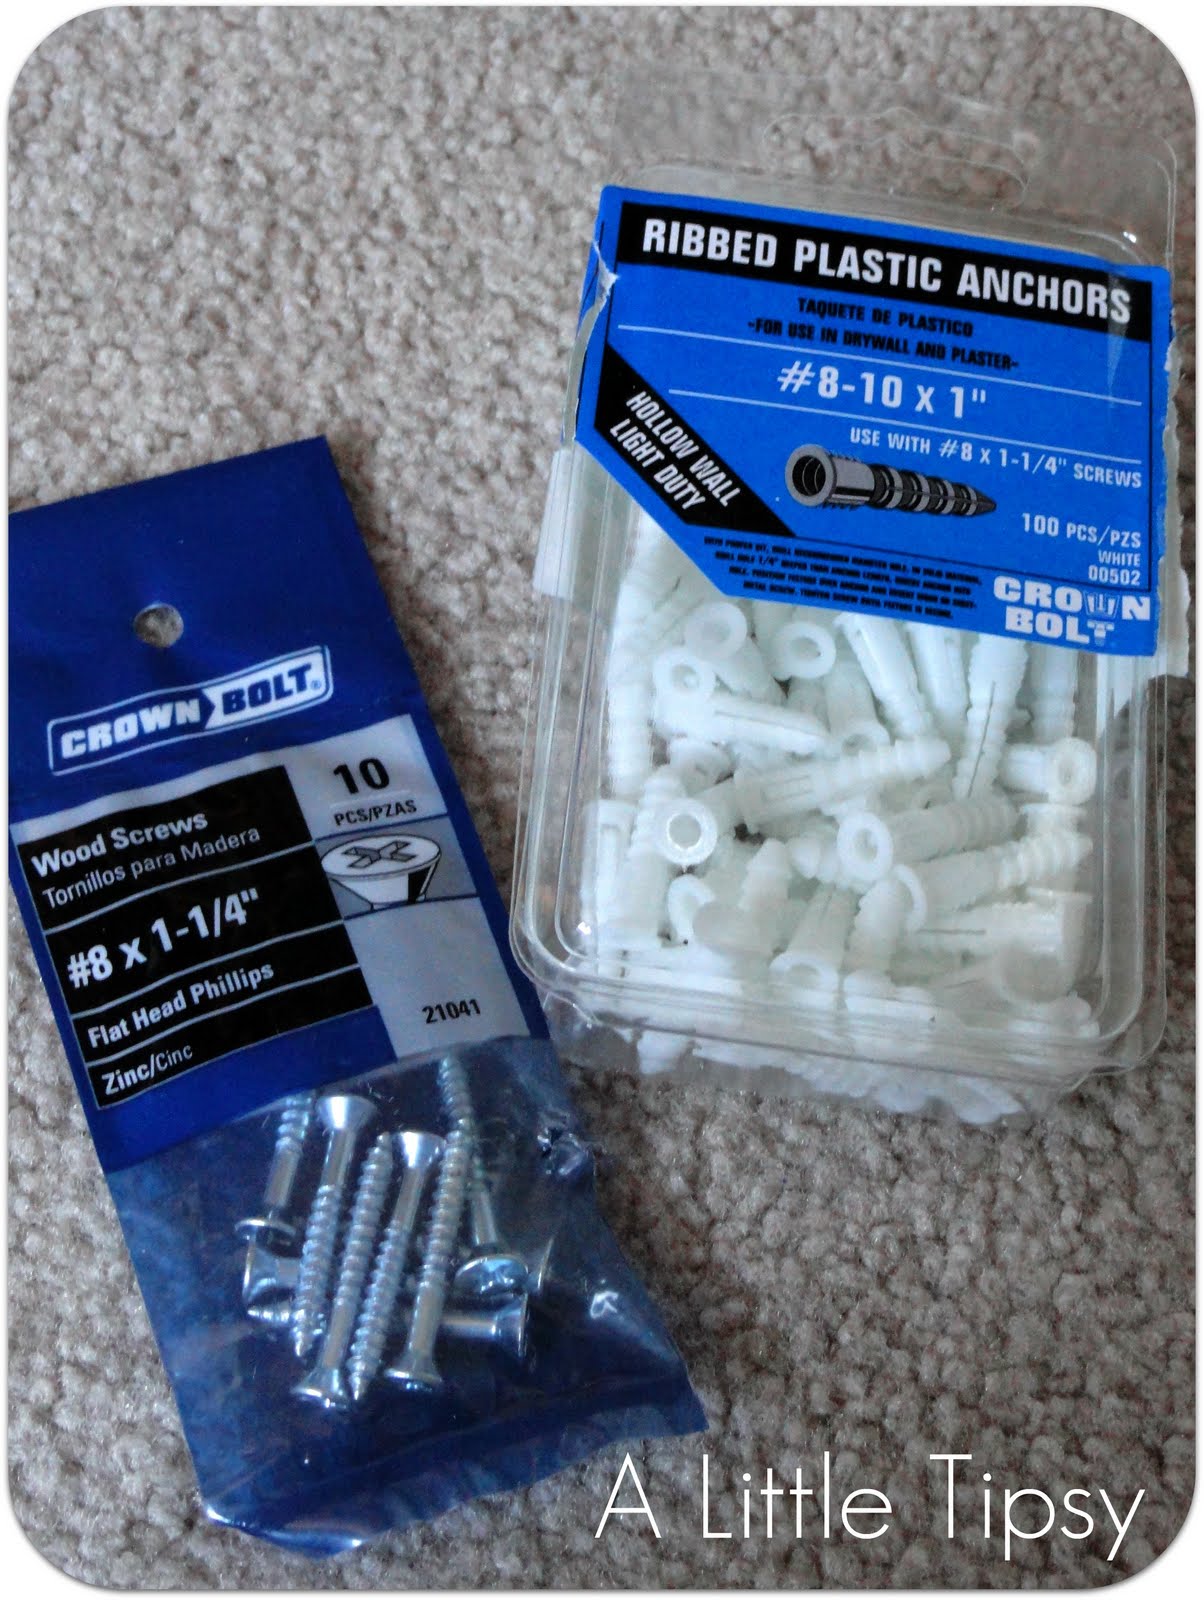
  • L Brackets
  • Screws
  • Anchors
  • Clamps
  • Drill

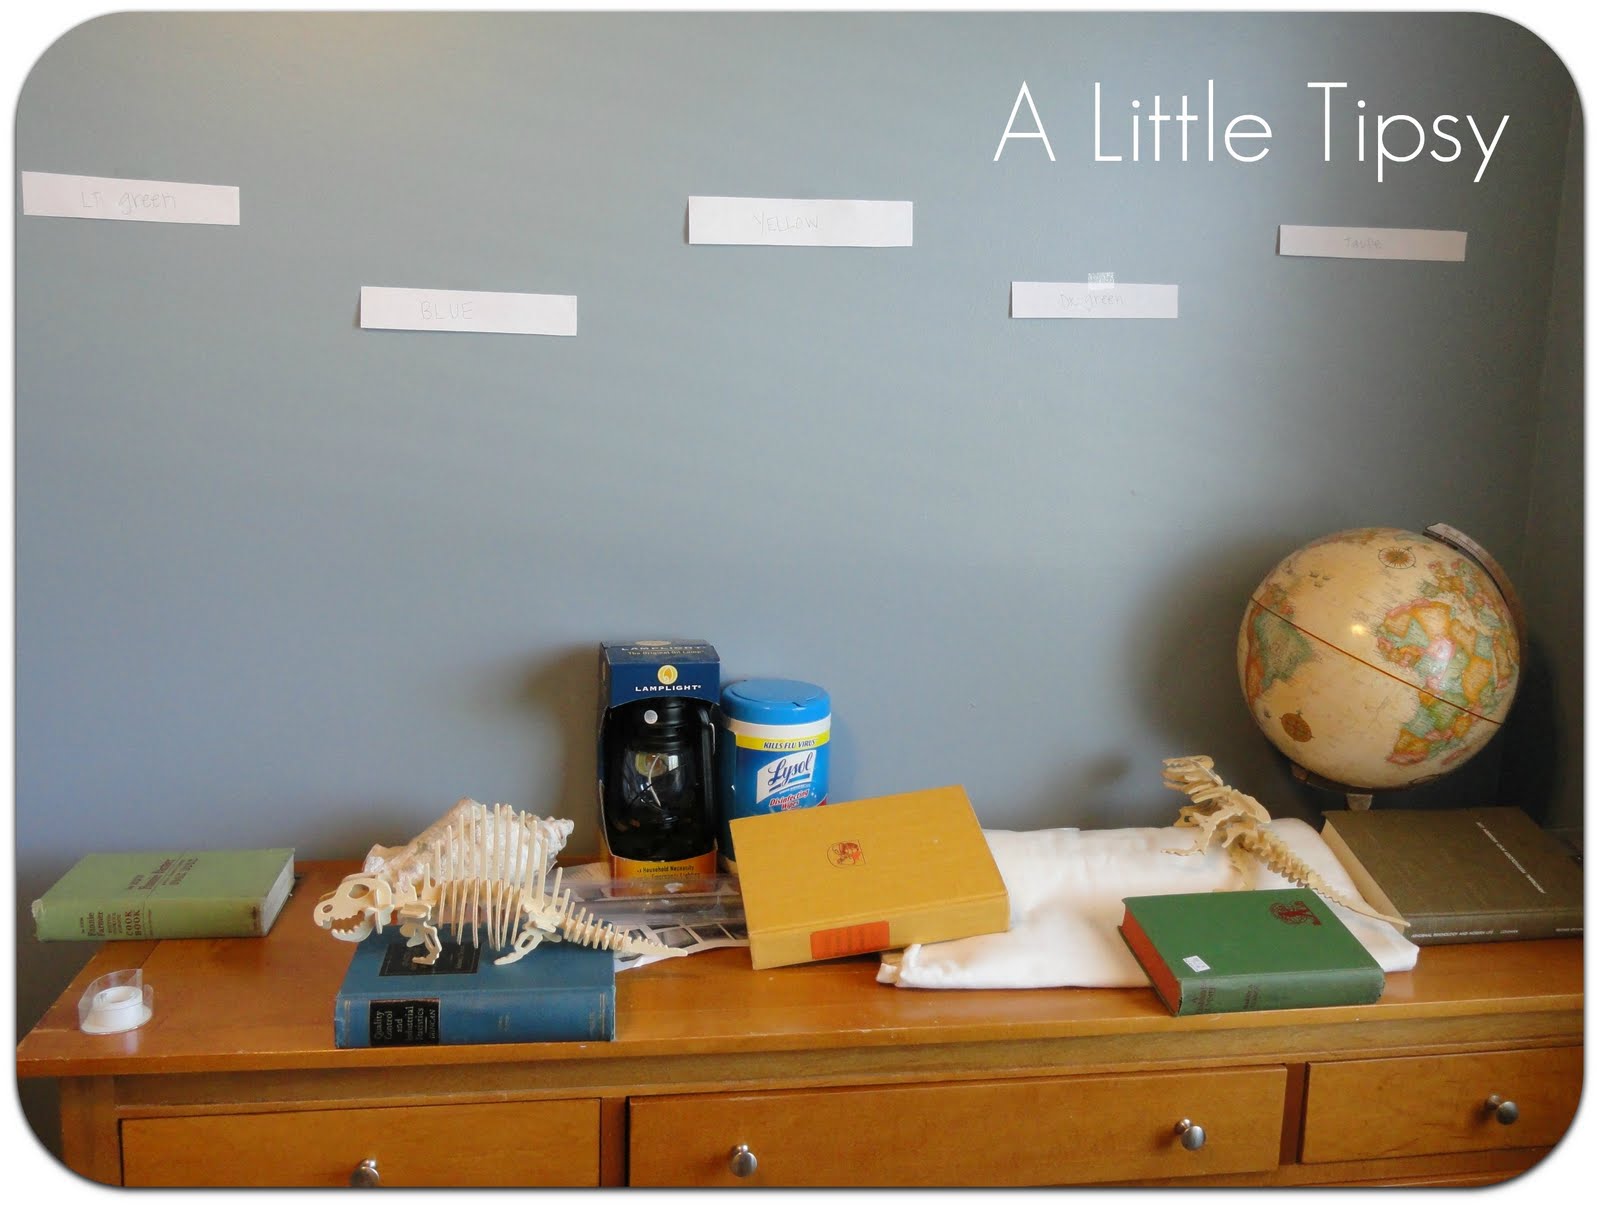
1. First, make paper cutouts of your books, write the book colors on them and hang them on the wall re-arranging them until you are happy.

2. Next measure so they will be evenly spaced and hold the brackets where you will want your books and mark where the holes need to be with your pencil. Drill the holes and place anchors so the screws won’t pull out of the dry wall. Now, screw the L brackets in place.

3. Next, screw the books on to the brackets. We decided to use clamps to hold the books closed tighter so the screws would grab more of the pages and make them more secure.

4. Place your decor and you’re done!

I will have a dino on each book I just need to put the rest together. They are just wood puzzles I got at Harbor Freight for $1 each, but they are perfect for what I wanted!


Now we would love to see your take on shelves!! Head over to the Point of View linky party over on Just Between Friends and you may be featured on one of the Point of View contributors sites.

Linking up with:
Design Dazzle

P.S. Don’t forget to sign up for free Tipsy updates via RSS or email.

We have decided to truncate our feed to help protect against stolen content. I apologize for any inconvenience. Please love us anyway. 🙂

DIY Under $5 {How I Became a Pirate}

June 21, 2011 By Michelle Barneck 8 Comments

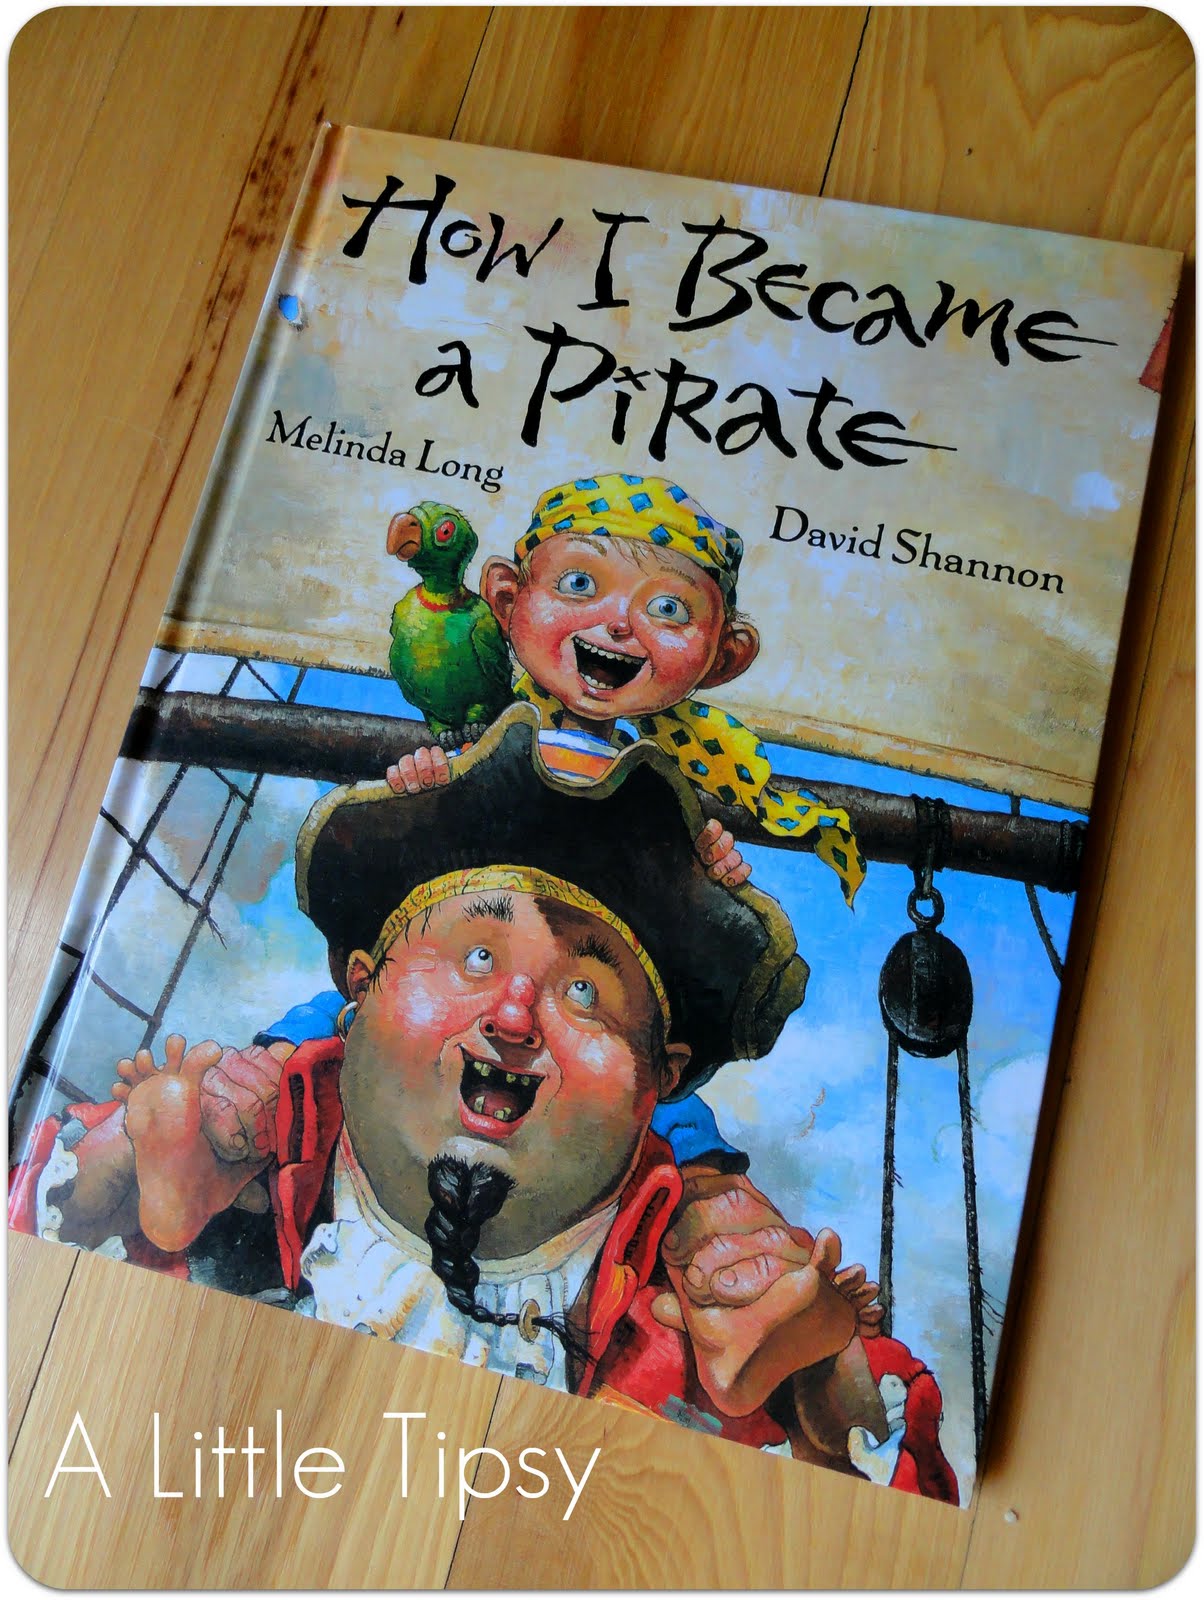
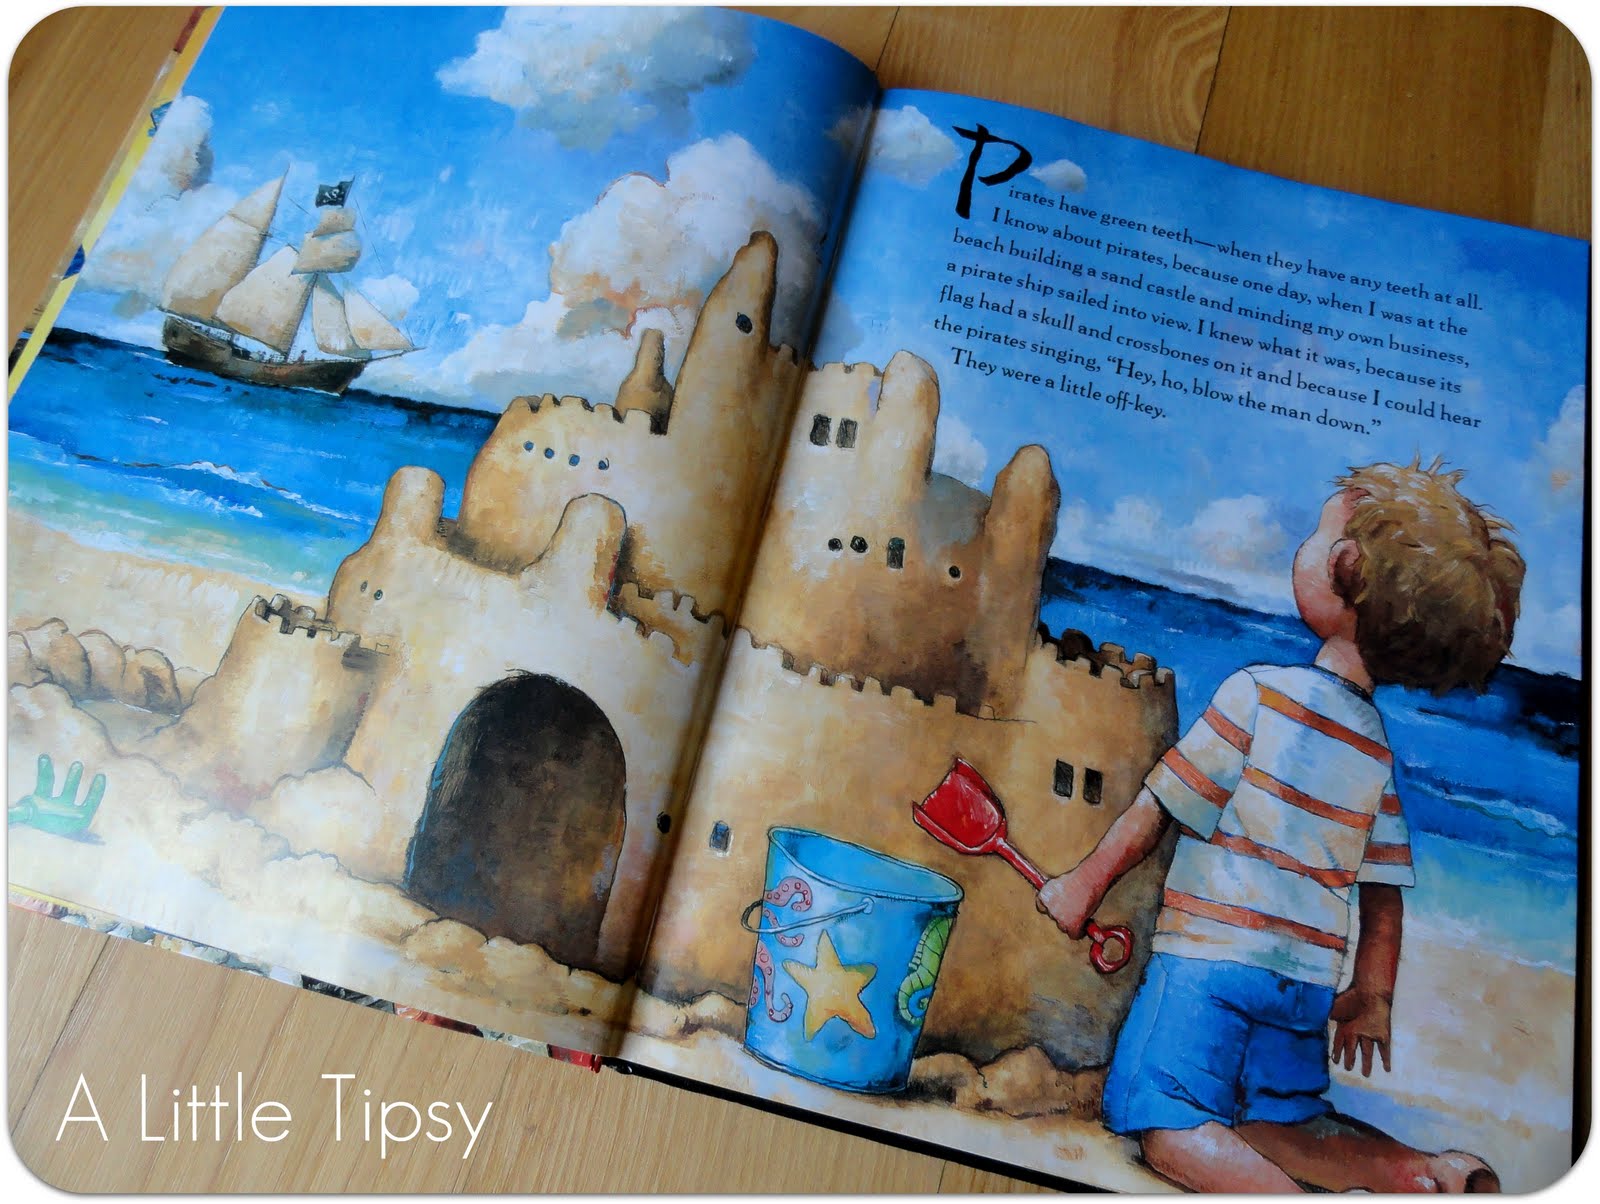
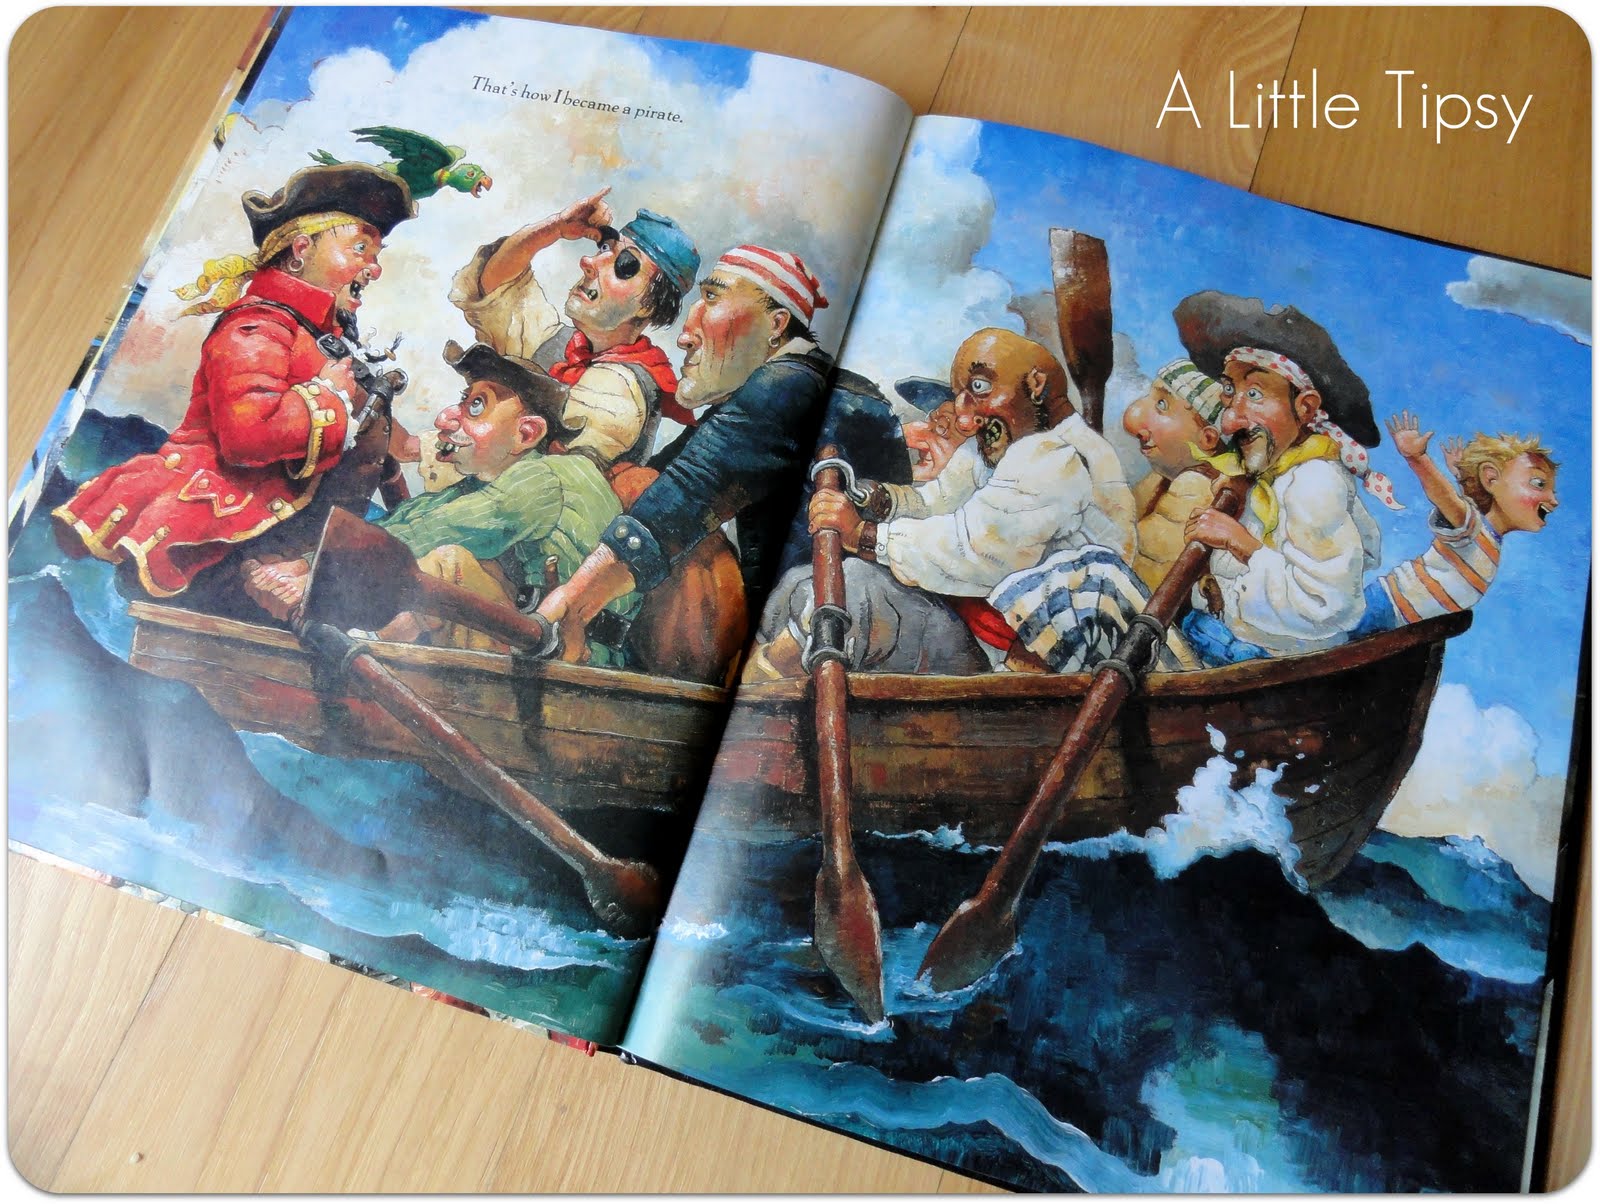
With a house full of boys we are all about the pirates these days! My 3 year old and his little cousin LOVE the show Jake and the Neverland Pirates so we decided to do a pirate training camp. I got a lot of my inspiration directly from the book “How I Became a Pirate”.

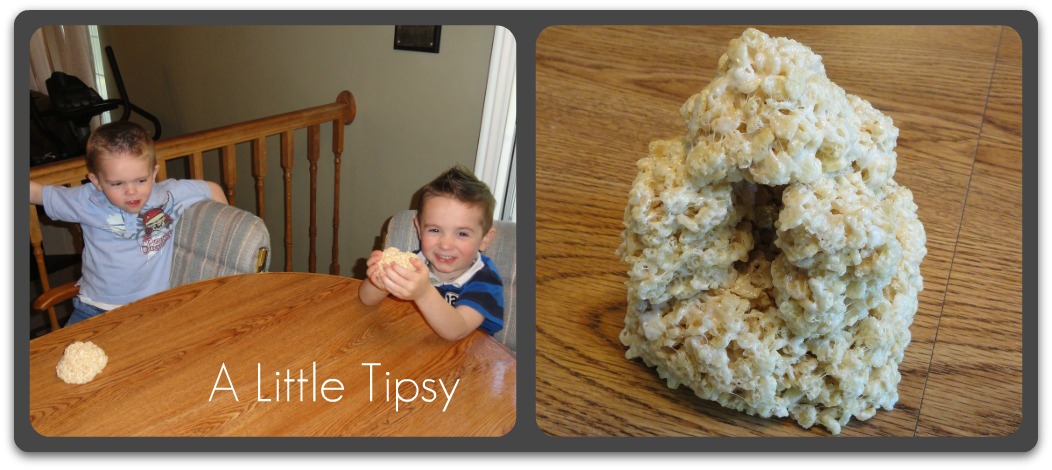
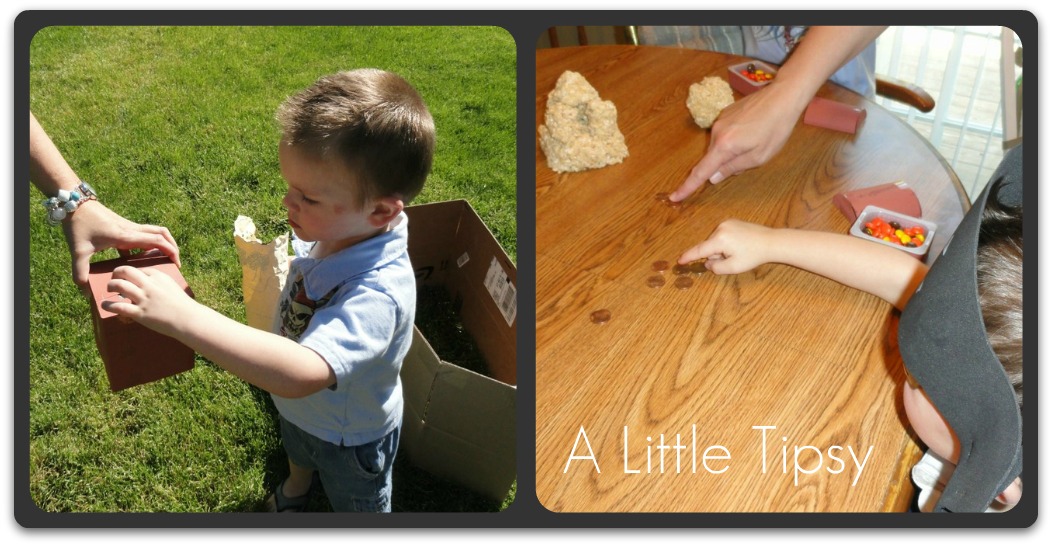
We started off by making “sand” castles out of rice krispy treats. I sprayed the table and their hands with non-stick spray, gave them a big glob and let them go to town.

http://3.bp.blogspot.com/-PL8yzfT5I_I/TeVwDgKhxcI/AAAAAAAAGMI/JUsA-8miWAw/s1600/Sand%2BCastle%2Bcollage.jpg

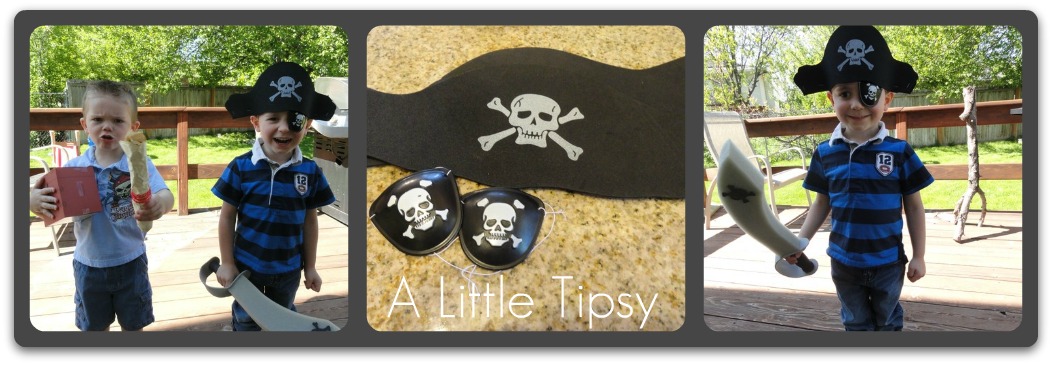
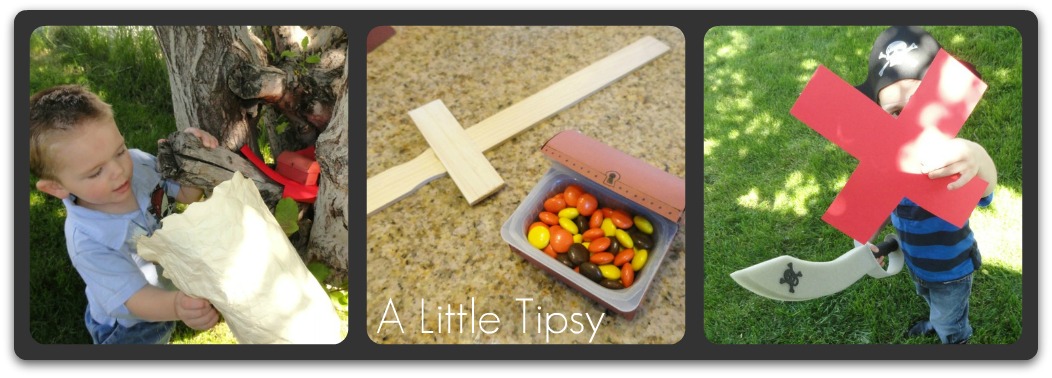
I gave them each an eye patch and a pirate hat to start a treasure hunt. I totally love how they look like Jake (spiky brown hair and a sword) and Cubby (blonde with a map) from Jake and the Neverland Pirates.

http://2.bp.blogspot.com/-9lW_WndHkKQ/TeVv2lpQMuI/AAAAAAAAGMA/N_4MHixHqnk/s1600/Pirate%2Bcollage.jpg

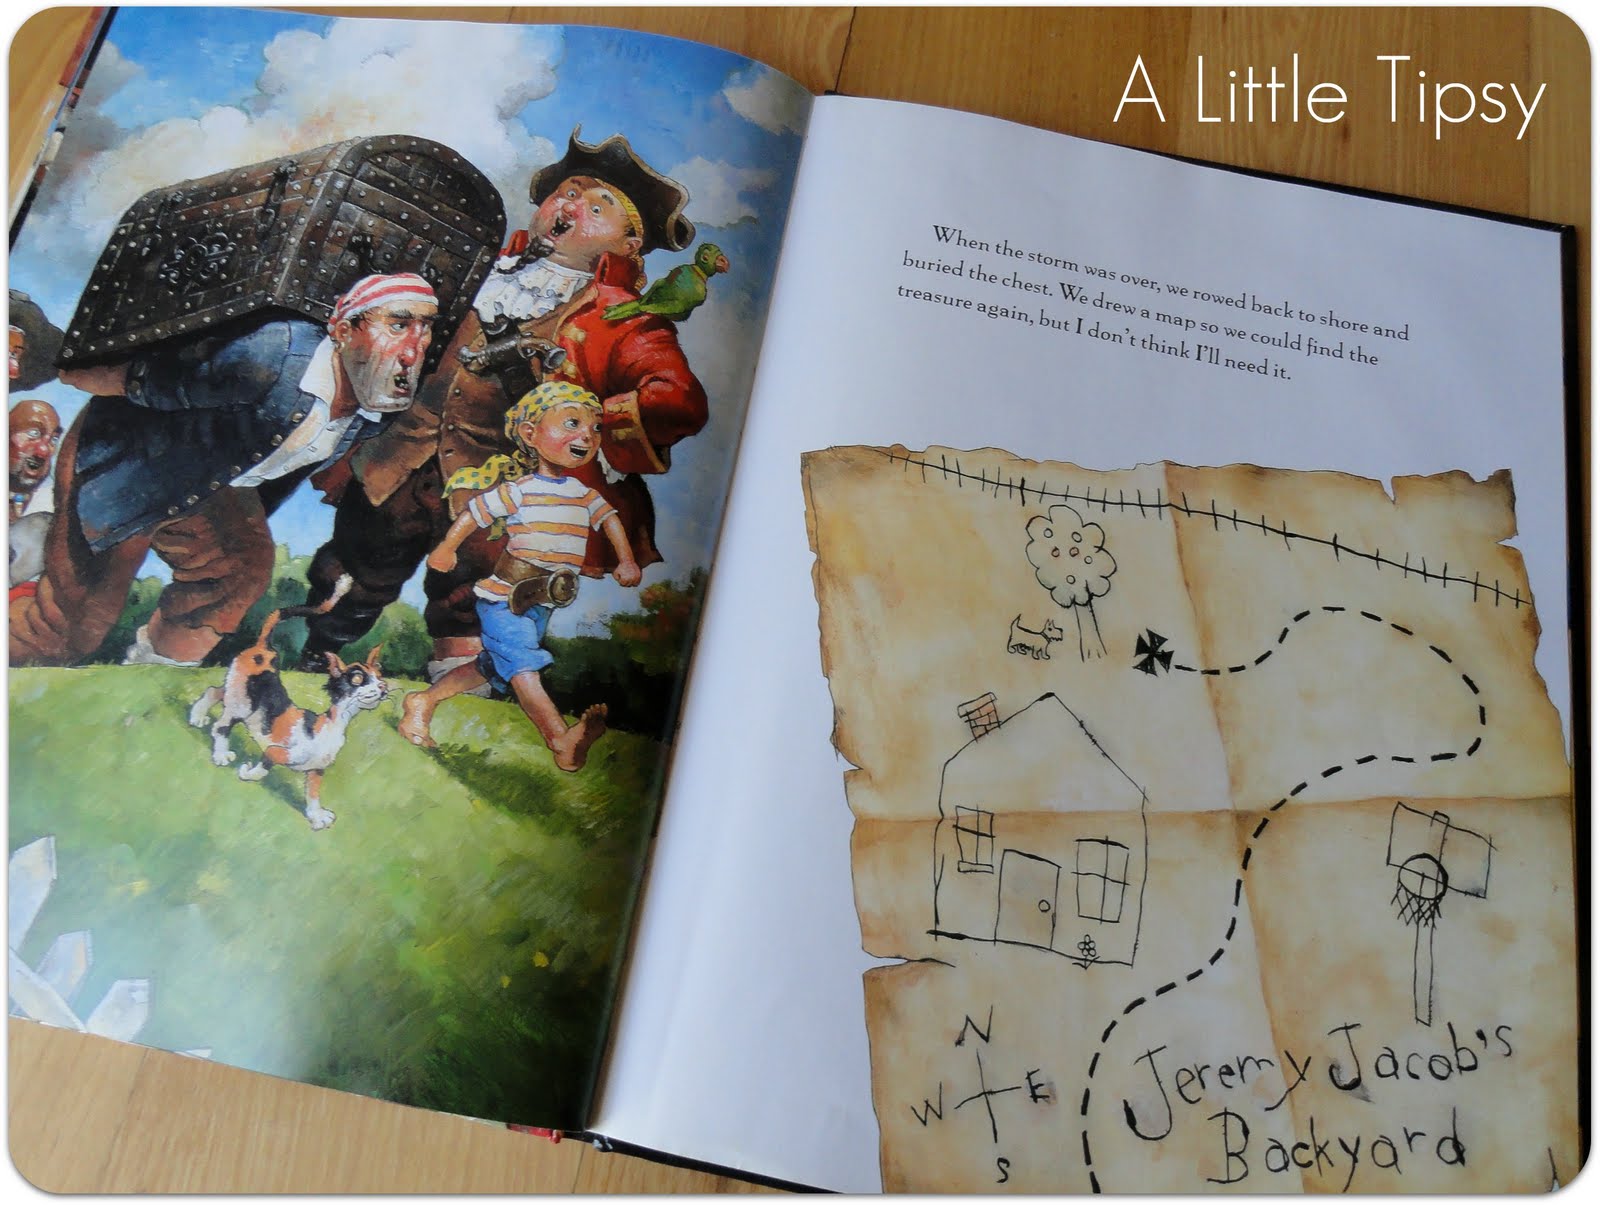
And what kind of treasure hunt would it be without a map?

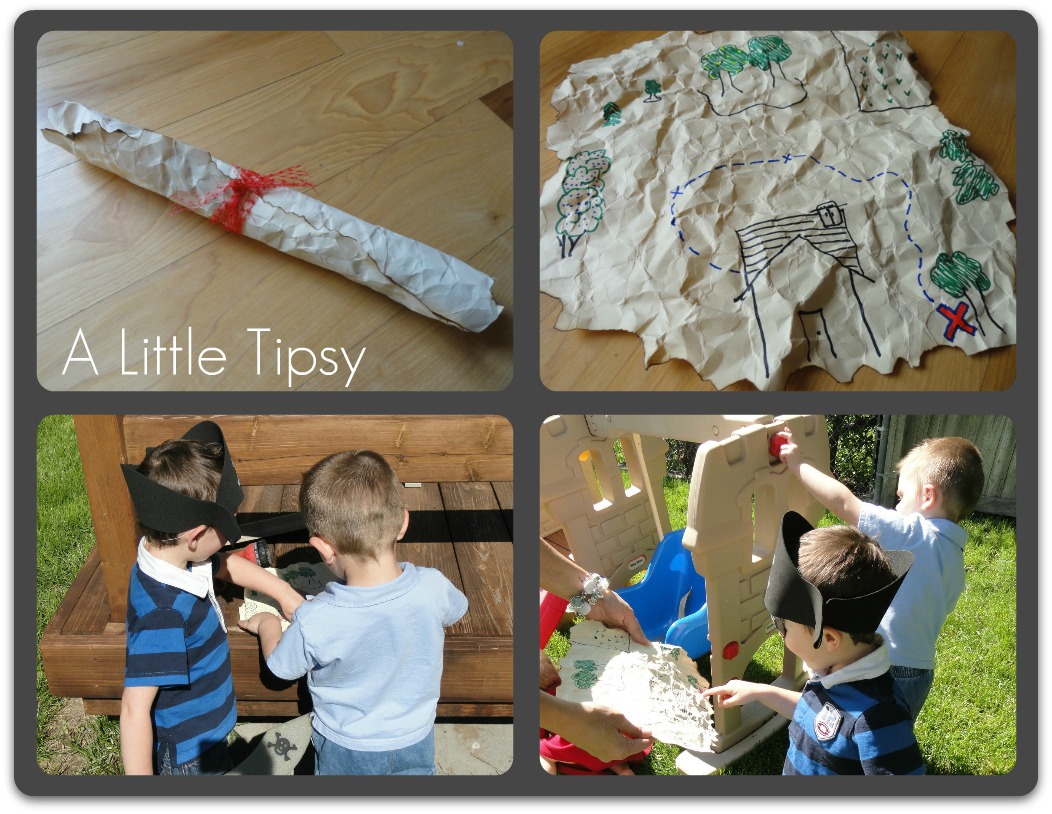
I just drew a rough sketch of our backyard on cream colored cardstock, crumpled it up and burned the edges. I tied it closed with some net from a bag of oranges. There is a little path with X’s for different pirate tasks.

http://3.bp.blogspot.com/-n3NZlm804w4/TeVv2dhuFzI/AAAAAAAAGL4/7FSmj2hNF_s/s1600/map%2Bcollage.jpg

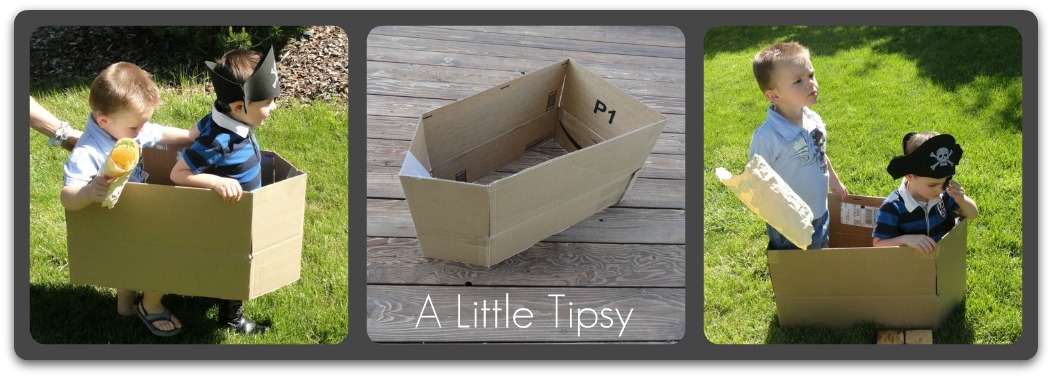
Their first task was to sail their ship.

-aka- inside out cardboard box taped to a point at one side.

http://1.bp.blogspot.com/-EuUk__Xfe-Q/TeVv2N3VhZI/AAAAAAAAGLo/Dey_yM_C-4Y/s1600/boat%2Bcollage.jpg

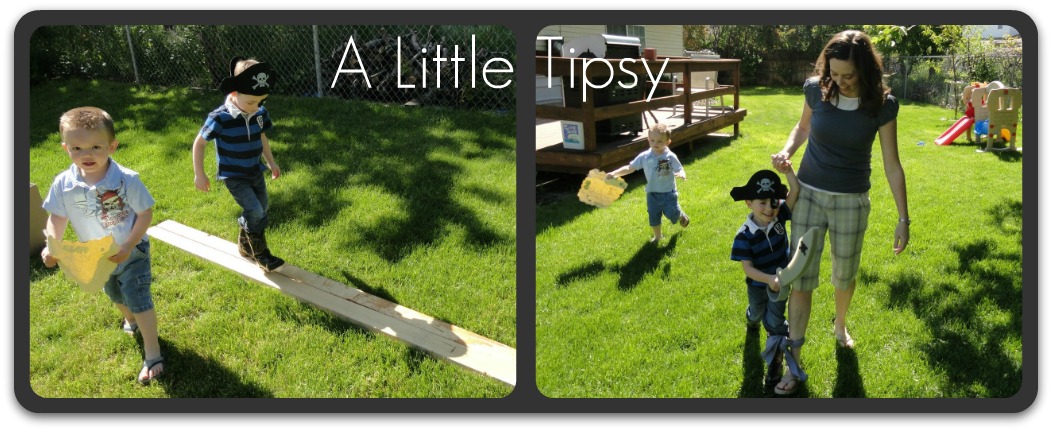
They sailed to their next two tasks: walking the plank and the peg leg race.

http://4.bp.blogspot.com/-aRWfxgUdp_M/TeW6hDbQ74I/AAAAAAAAGNw/m7ECYJXROkM/s1600/activity%2Bcollage.jpg

Last, they searched for the big red X, strategically placed in a tree, where they found two little treasure chests full of “gold.” Made by covering plastic baby food containers in brown card stock and filling with Reese’s Pieces.

http://3.bp.blogspot.com/-zgmMh2zrEFE/TeVwD5xAeAI/AAAAAAAAGMY/XaCqyviHifI/s1600/treasure%2Bcollage.jpg

They also each got a gold piece (penny) to add to their treasure chest (tissue box covered in brown cardstock) for each task they completed along the way.


http://1.bp.blogspot.com/-LYlbl-QU_sM/TeVv2GpxkhI/AAAAAAAAGLw/Fw83MHROxTA/s1600/gold%2Bcollage.jpg

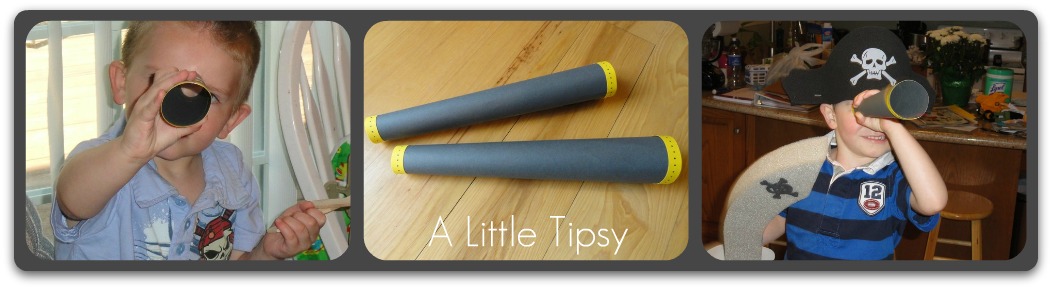
At the end we counted up their gold and they got to trade it for paint stick swords (pictured above) and spy glasses made from yellow and gray card stock.

http://4.bp.blogspot.com/-XjM4s5tK5f8/TeVwD6P1KTI/AAAAAAAAGMQ/XP4kvl4Q4uM/s1600/Spyglass%2Bcollage.jpg

I’m fairly certain my son thought it was the best day ever as he played with it all day, long after his cousin had to go home.

Purchased:
Reese’s Pieces $1
Rice Krispies and Marshmallows $3
Everything else on hand
Total cost: $4

I am posting the linky party separately this week so the post won’t be miles long, but be sure to link up your $5 or less project!

We have decided to truncate our feed to help protect against stolen content. I apologize for any inconvenience. Please love us anyway. 🙂

Make a Memory {Backyard Family Campouts}

June 20, 2011 By Michelle Barneck 9 Comments

Here we are, week 4 of the Make a Memory series. Each Monday now through the end of August I will feature a special family tradition from one of my favorite bloggers. It is so important to create lasting memories with our families and this will be a fun way to get ideas for fun traditions we can start with our own families. So let’s dive right in and see how Leanne from Organize and Decorate Everything and her family (of 10, she is supermom!) make a memory!


Thanks Michelle for inviting me to participate in the Make a Memory Series. I remember so many wonderful traditions from my childhood and am trying to incorporate some of those and also new ones with my own family.

One of our favorite traditions is our Family Backyard Camp out. The weather hasn’t been great so we haven’t had one yet this year, but we will be able to get in a few camp outs before the cooler weather hits.

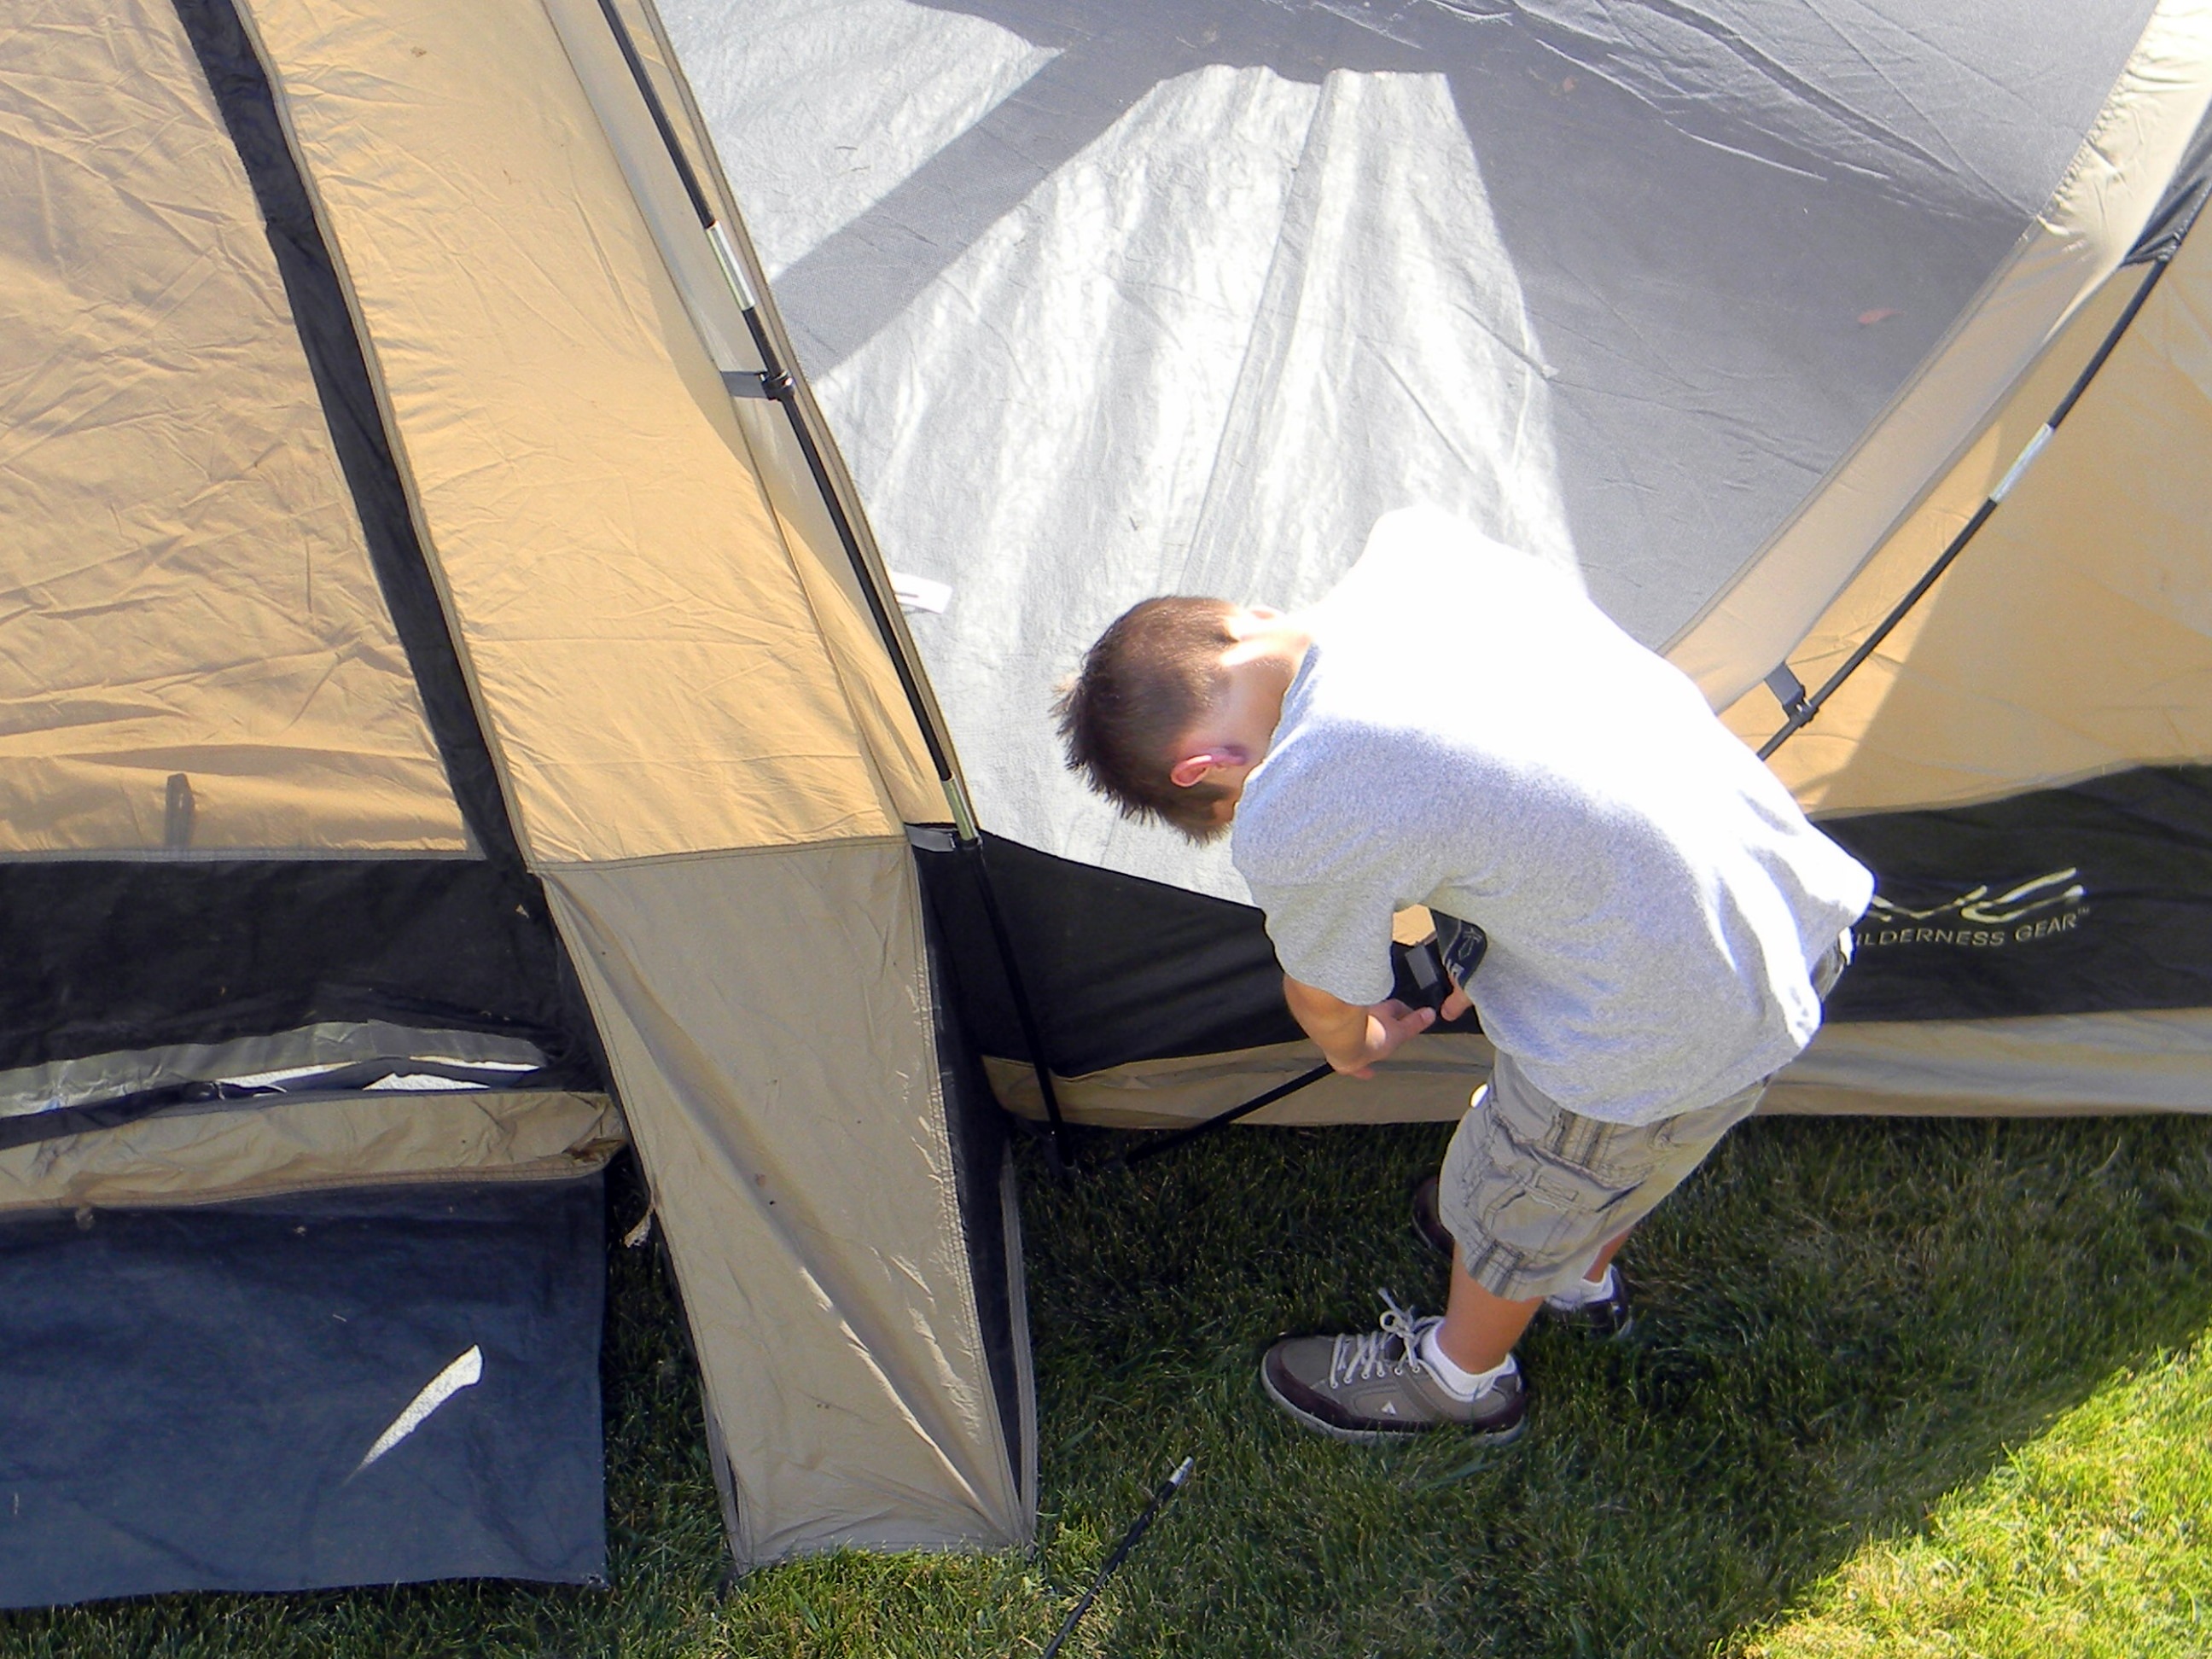
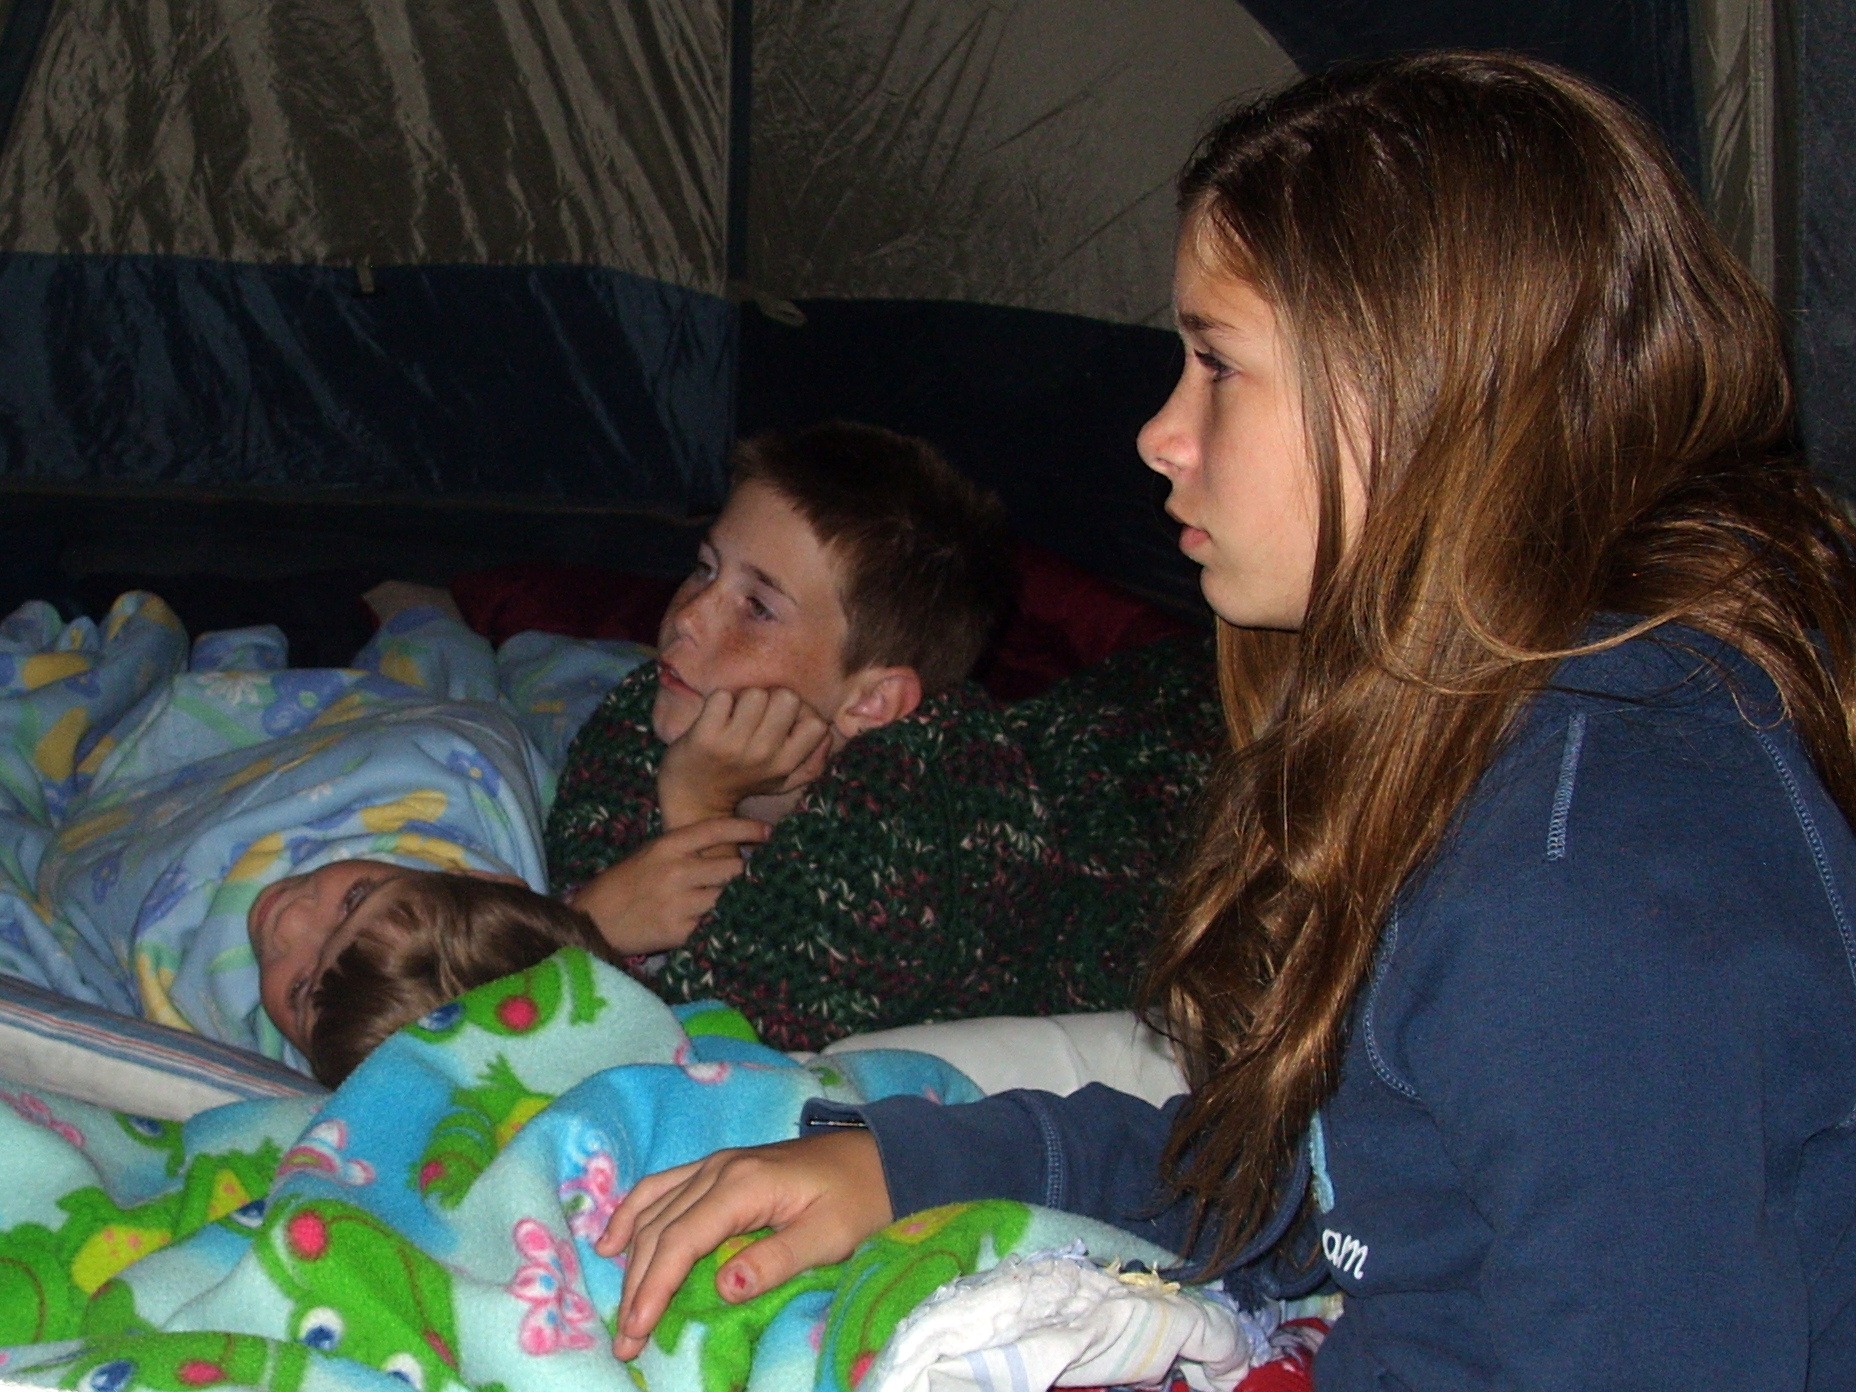
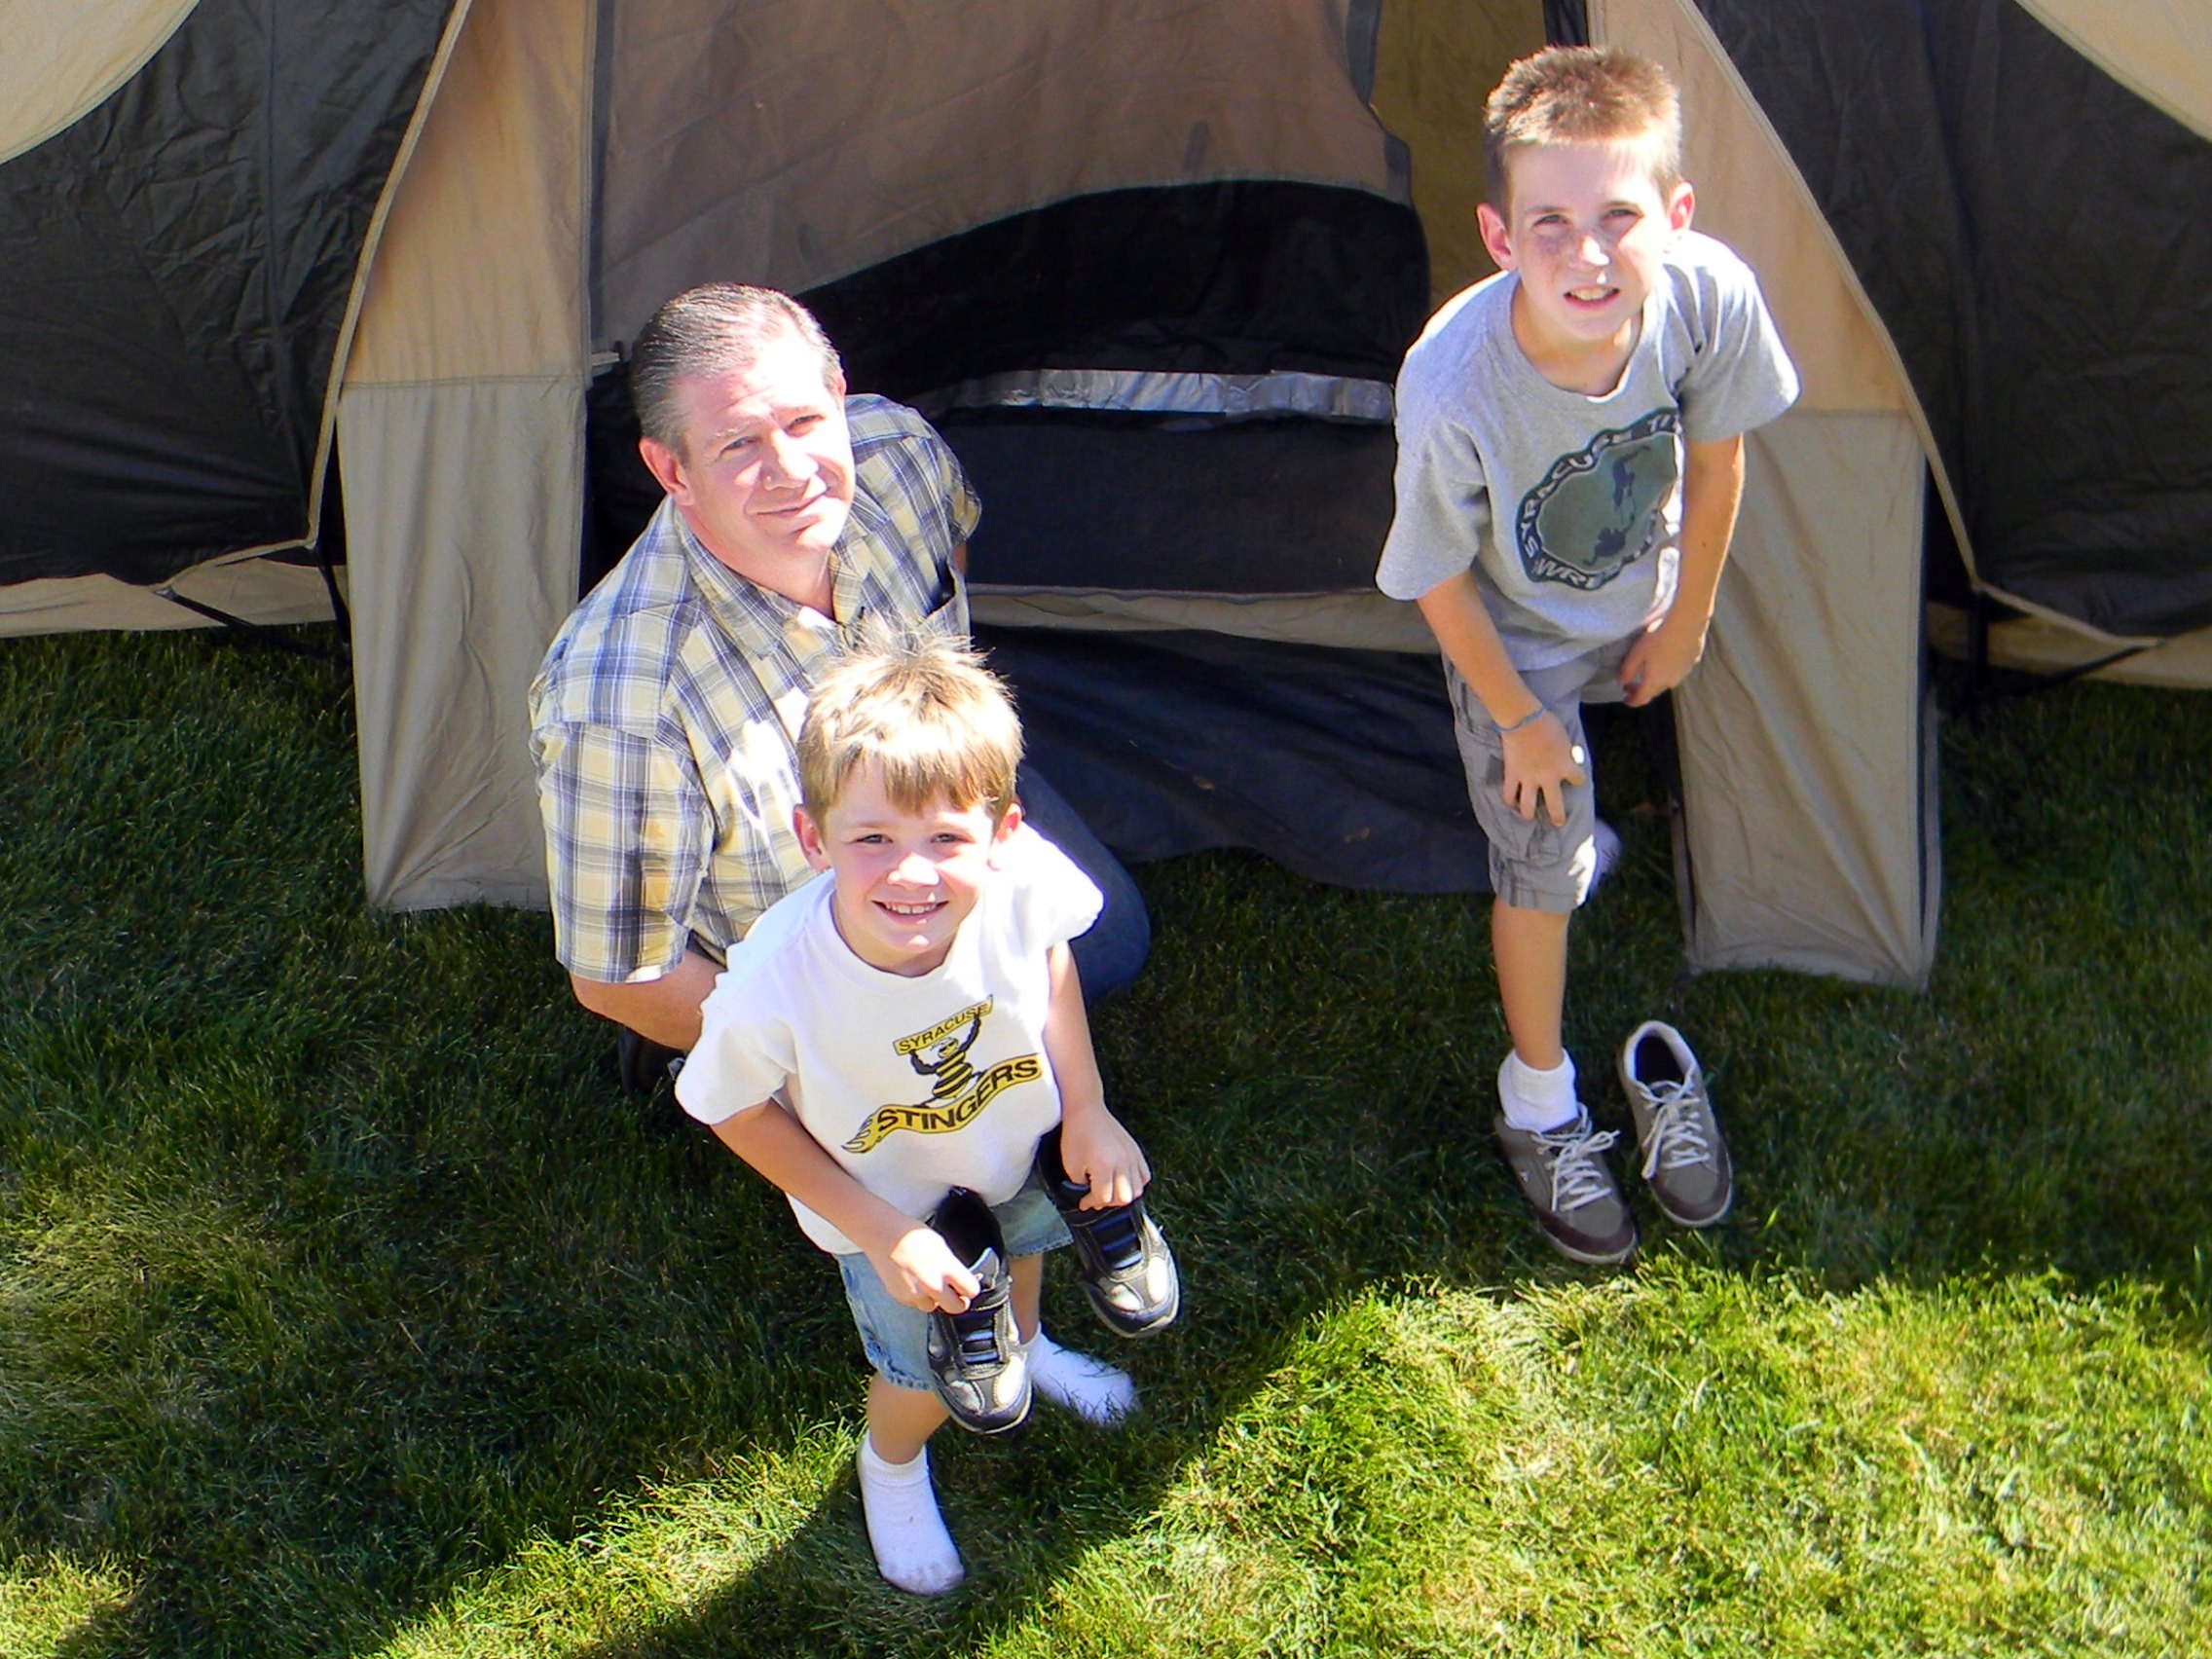
Camping starts with the boys and hubby setting up the tent and the girls bringing the supplies out.

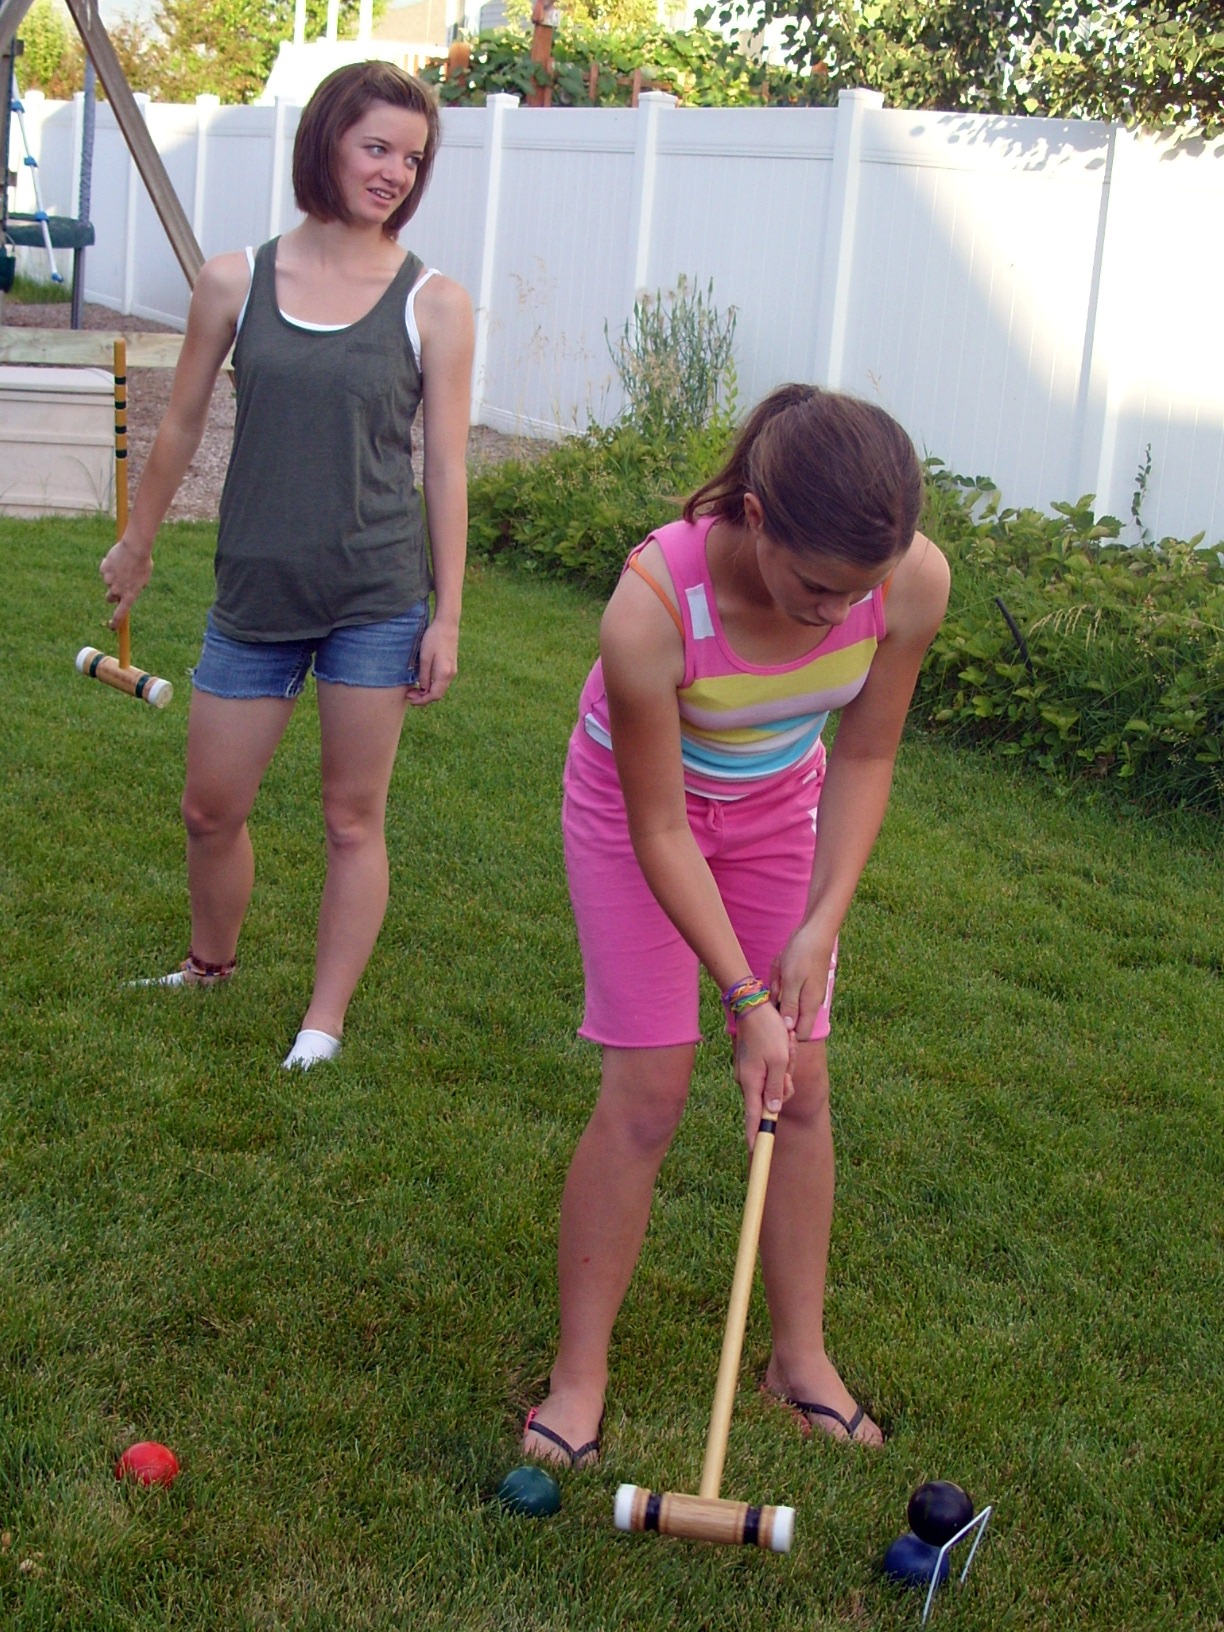
We play games before dark. Either croquet, Frisbee, jumping on the trampoline, baseball, or the swing set.

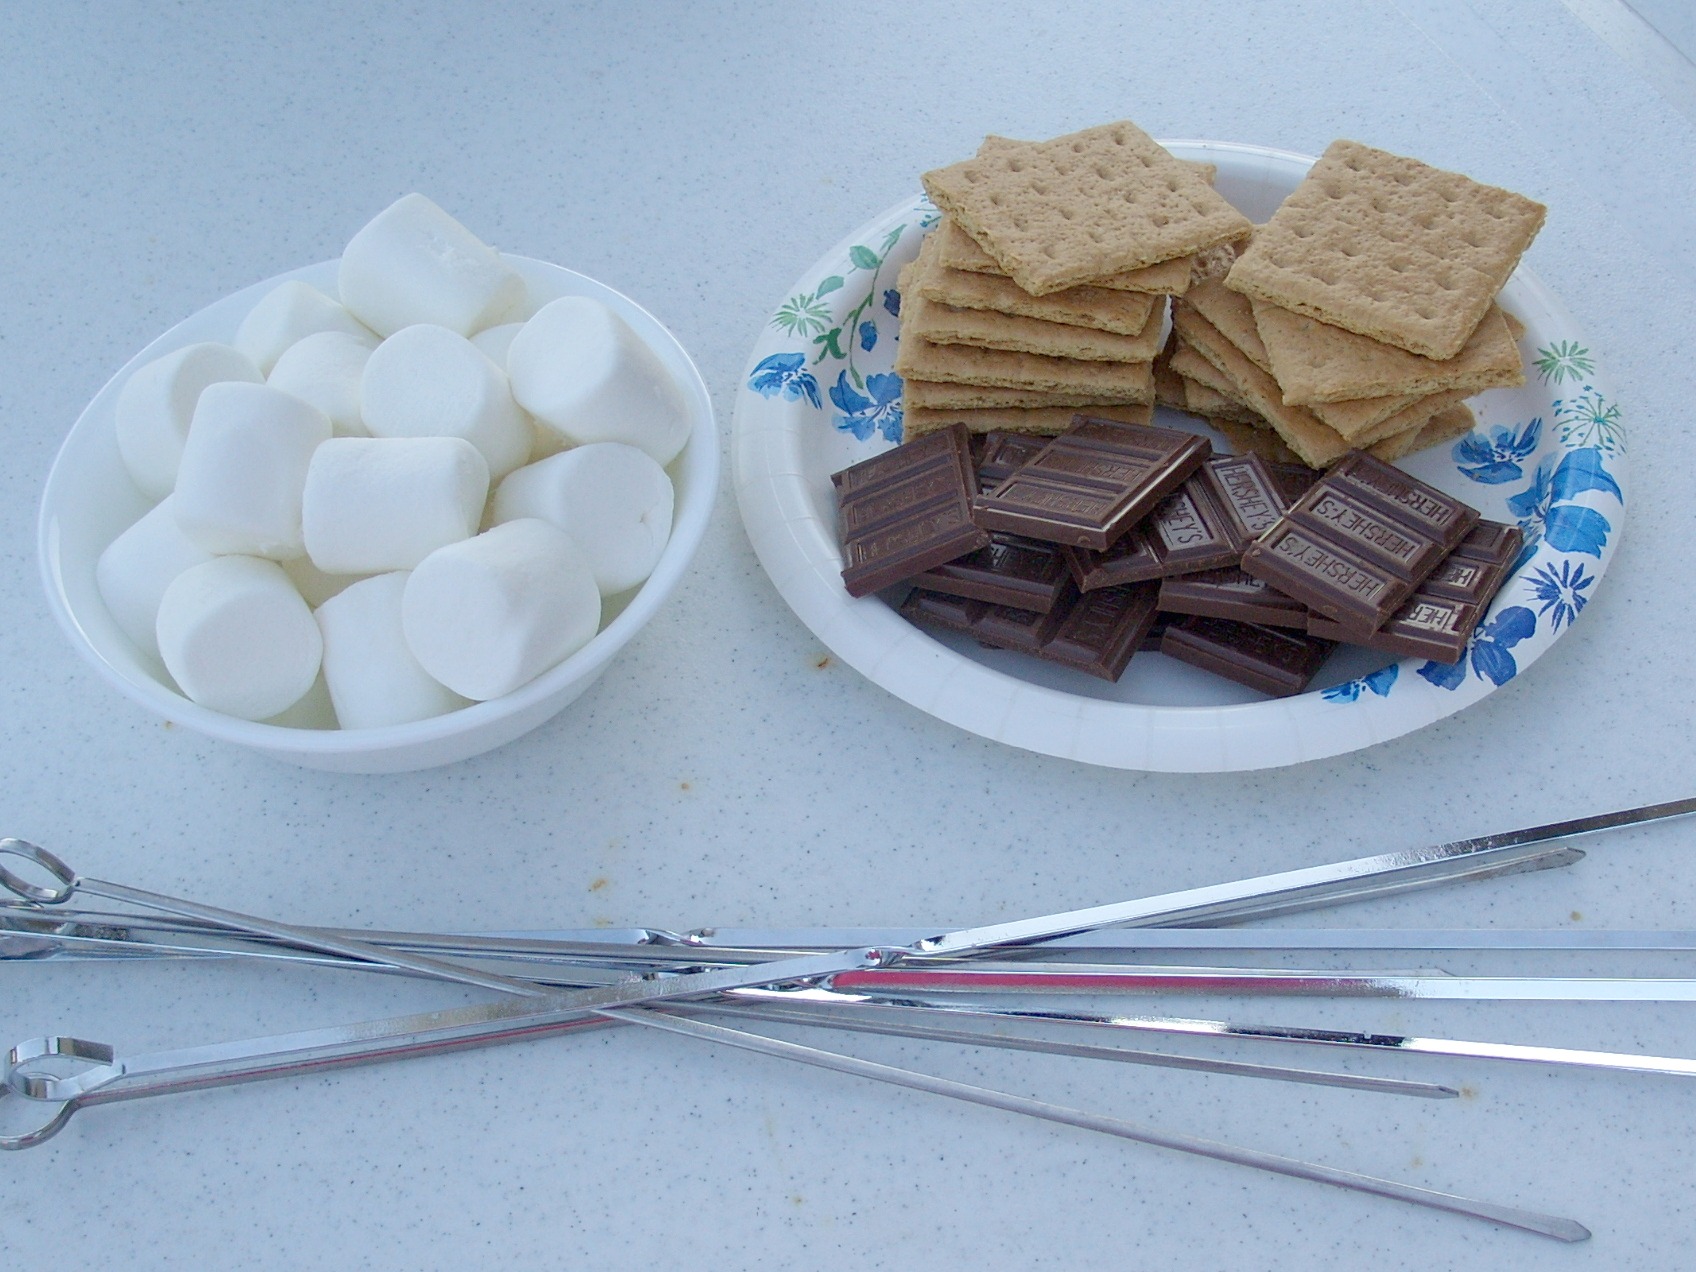
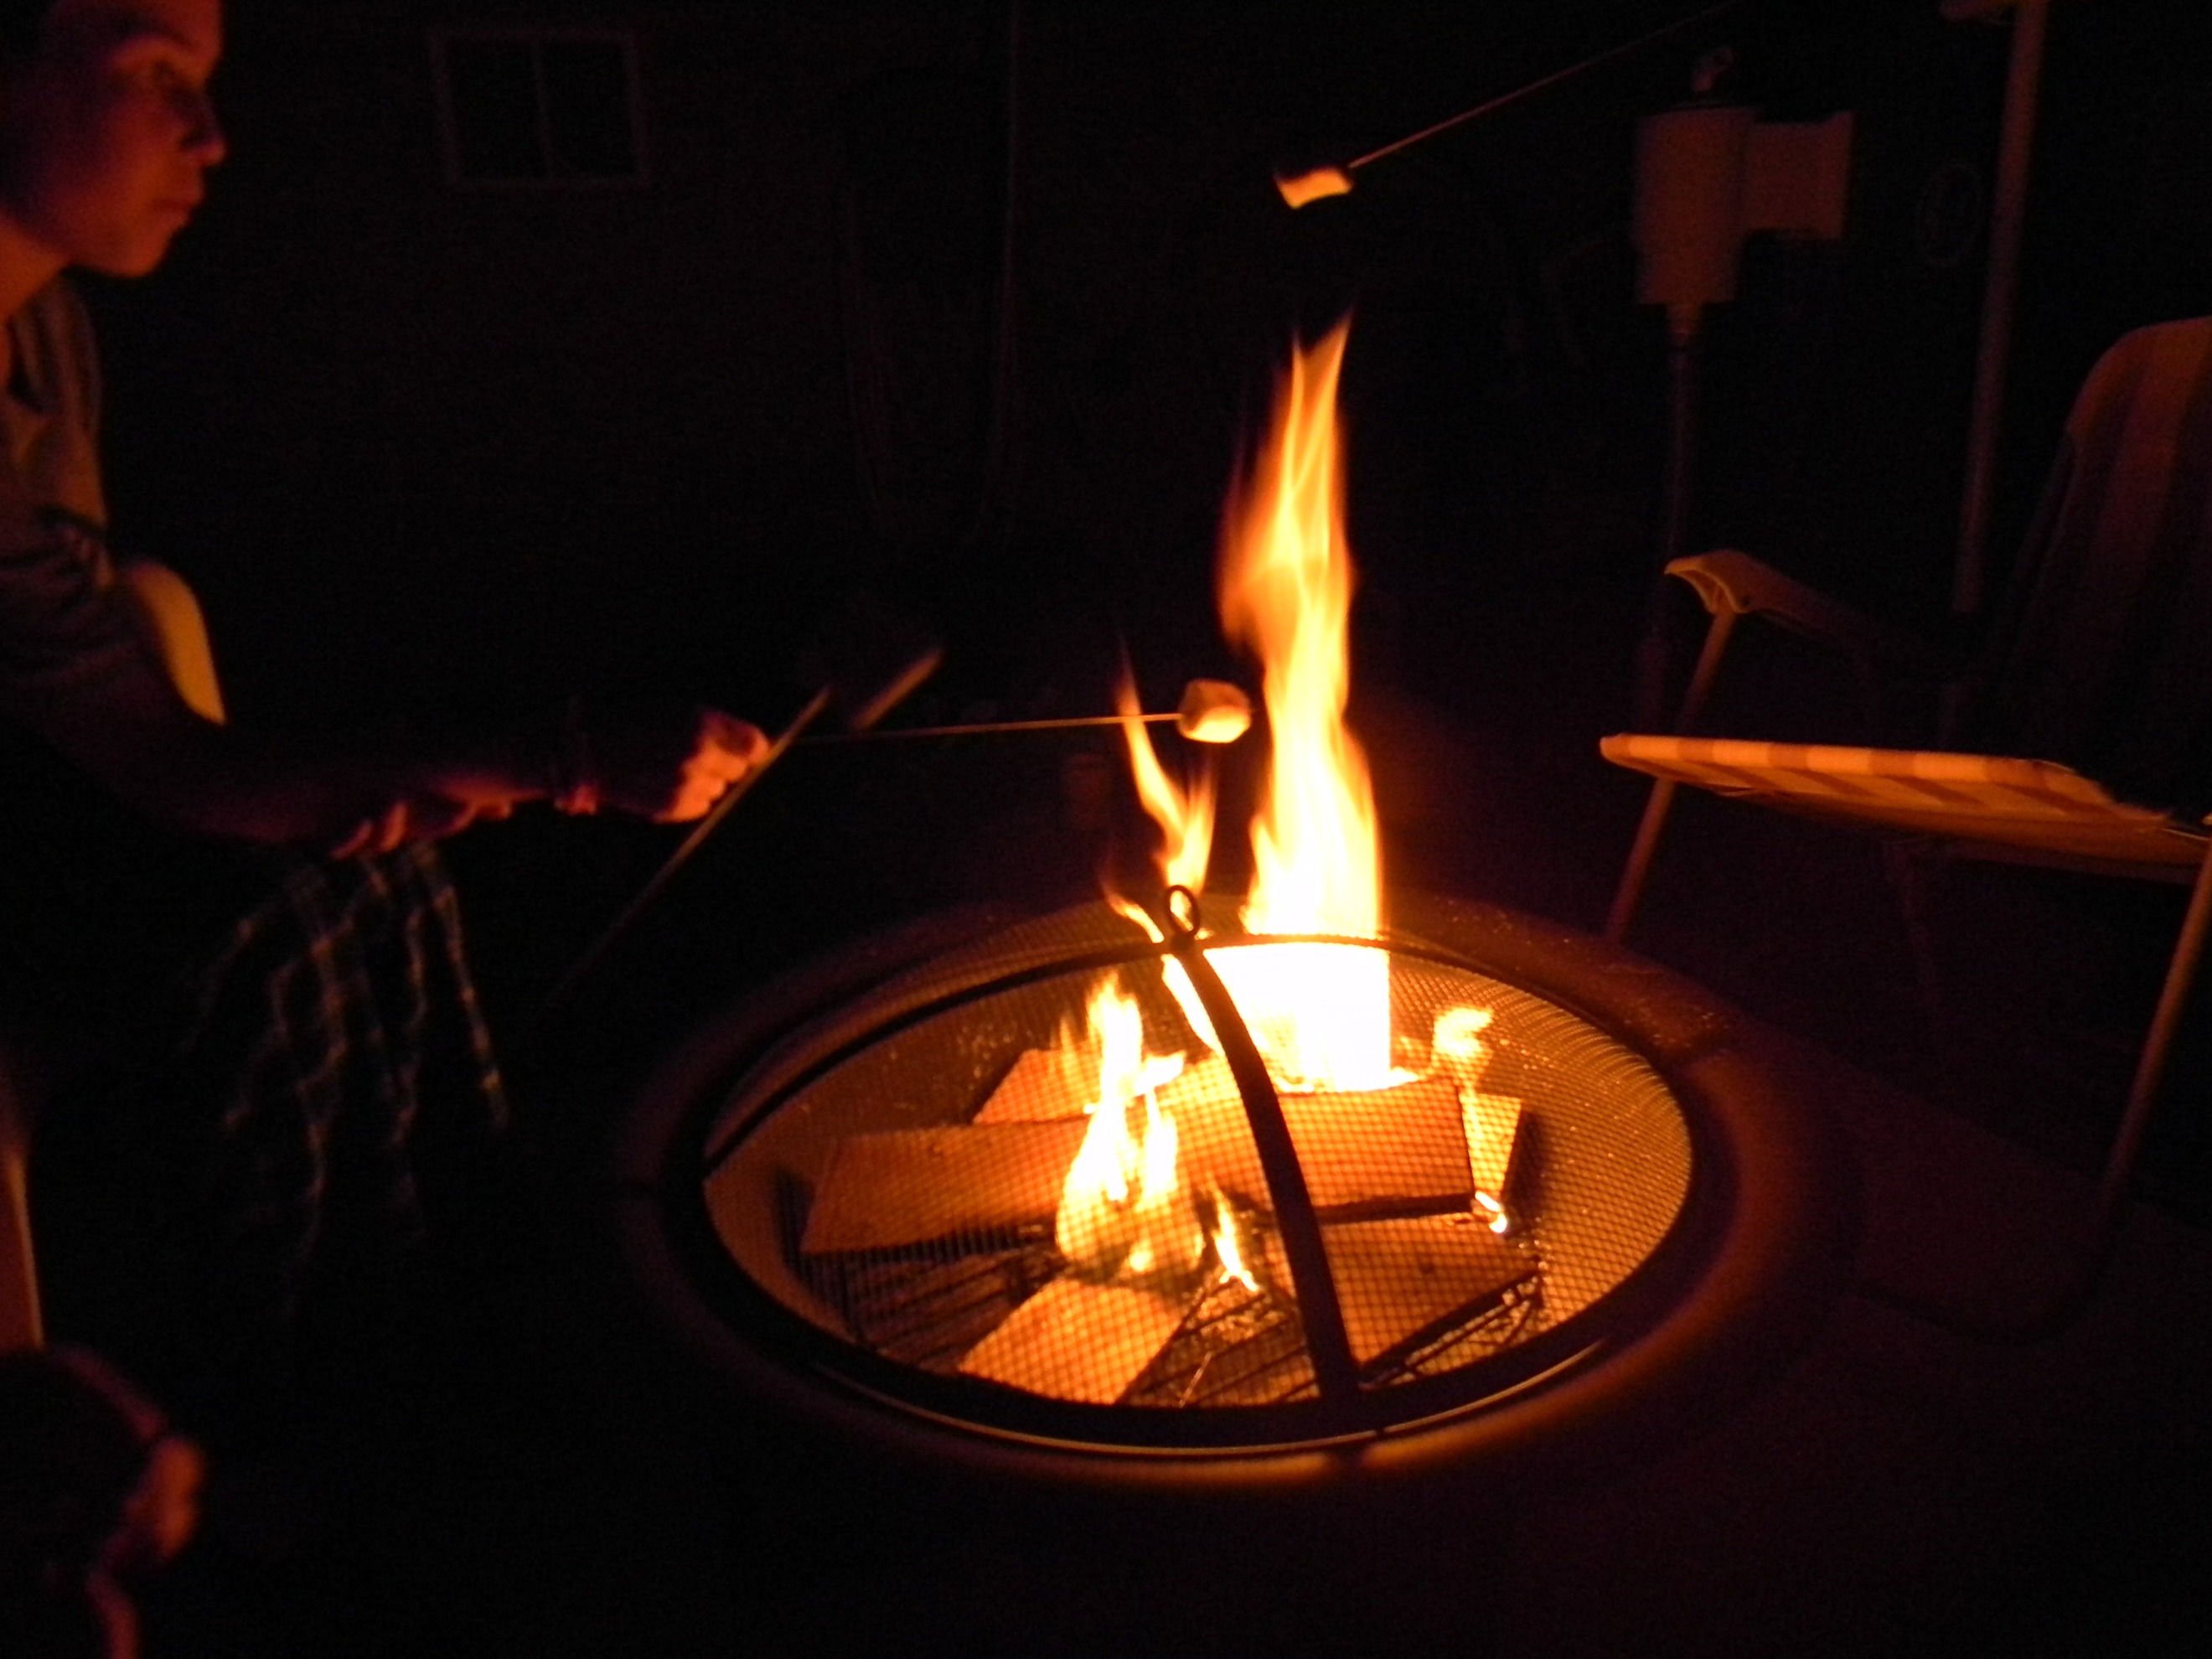
Then we roast hot dogs and make s’mores in the fire pit.

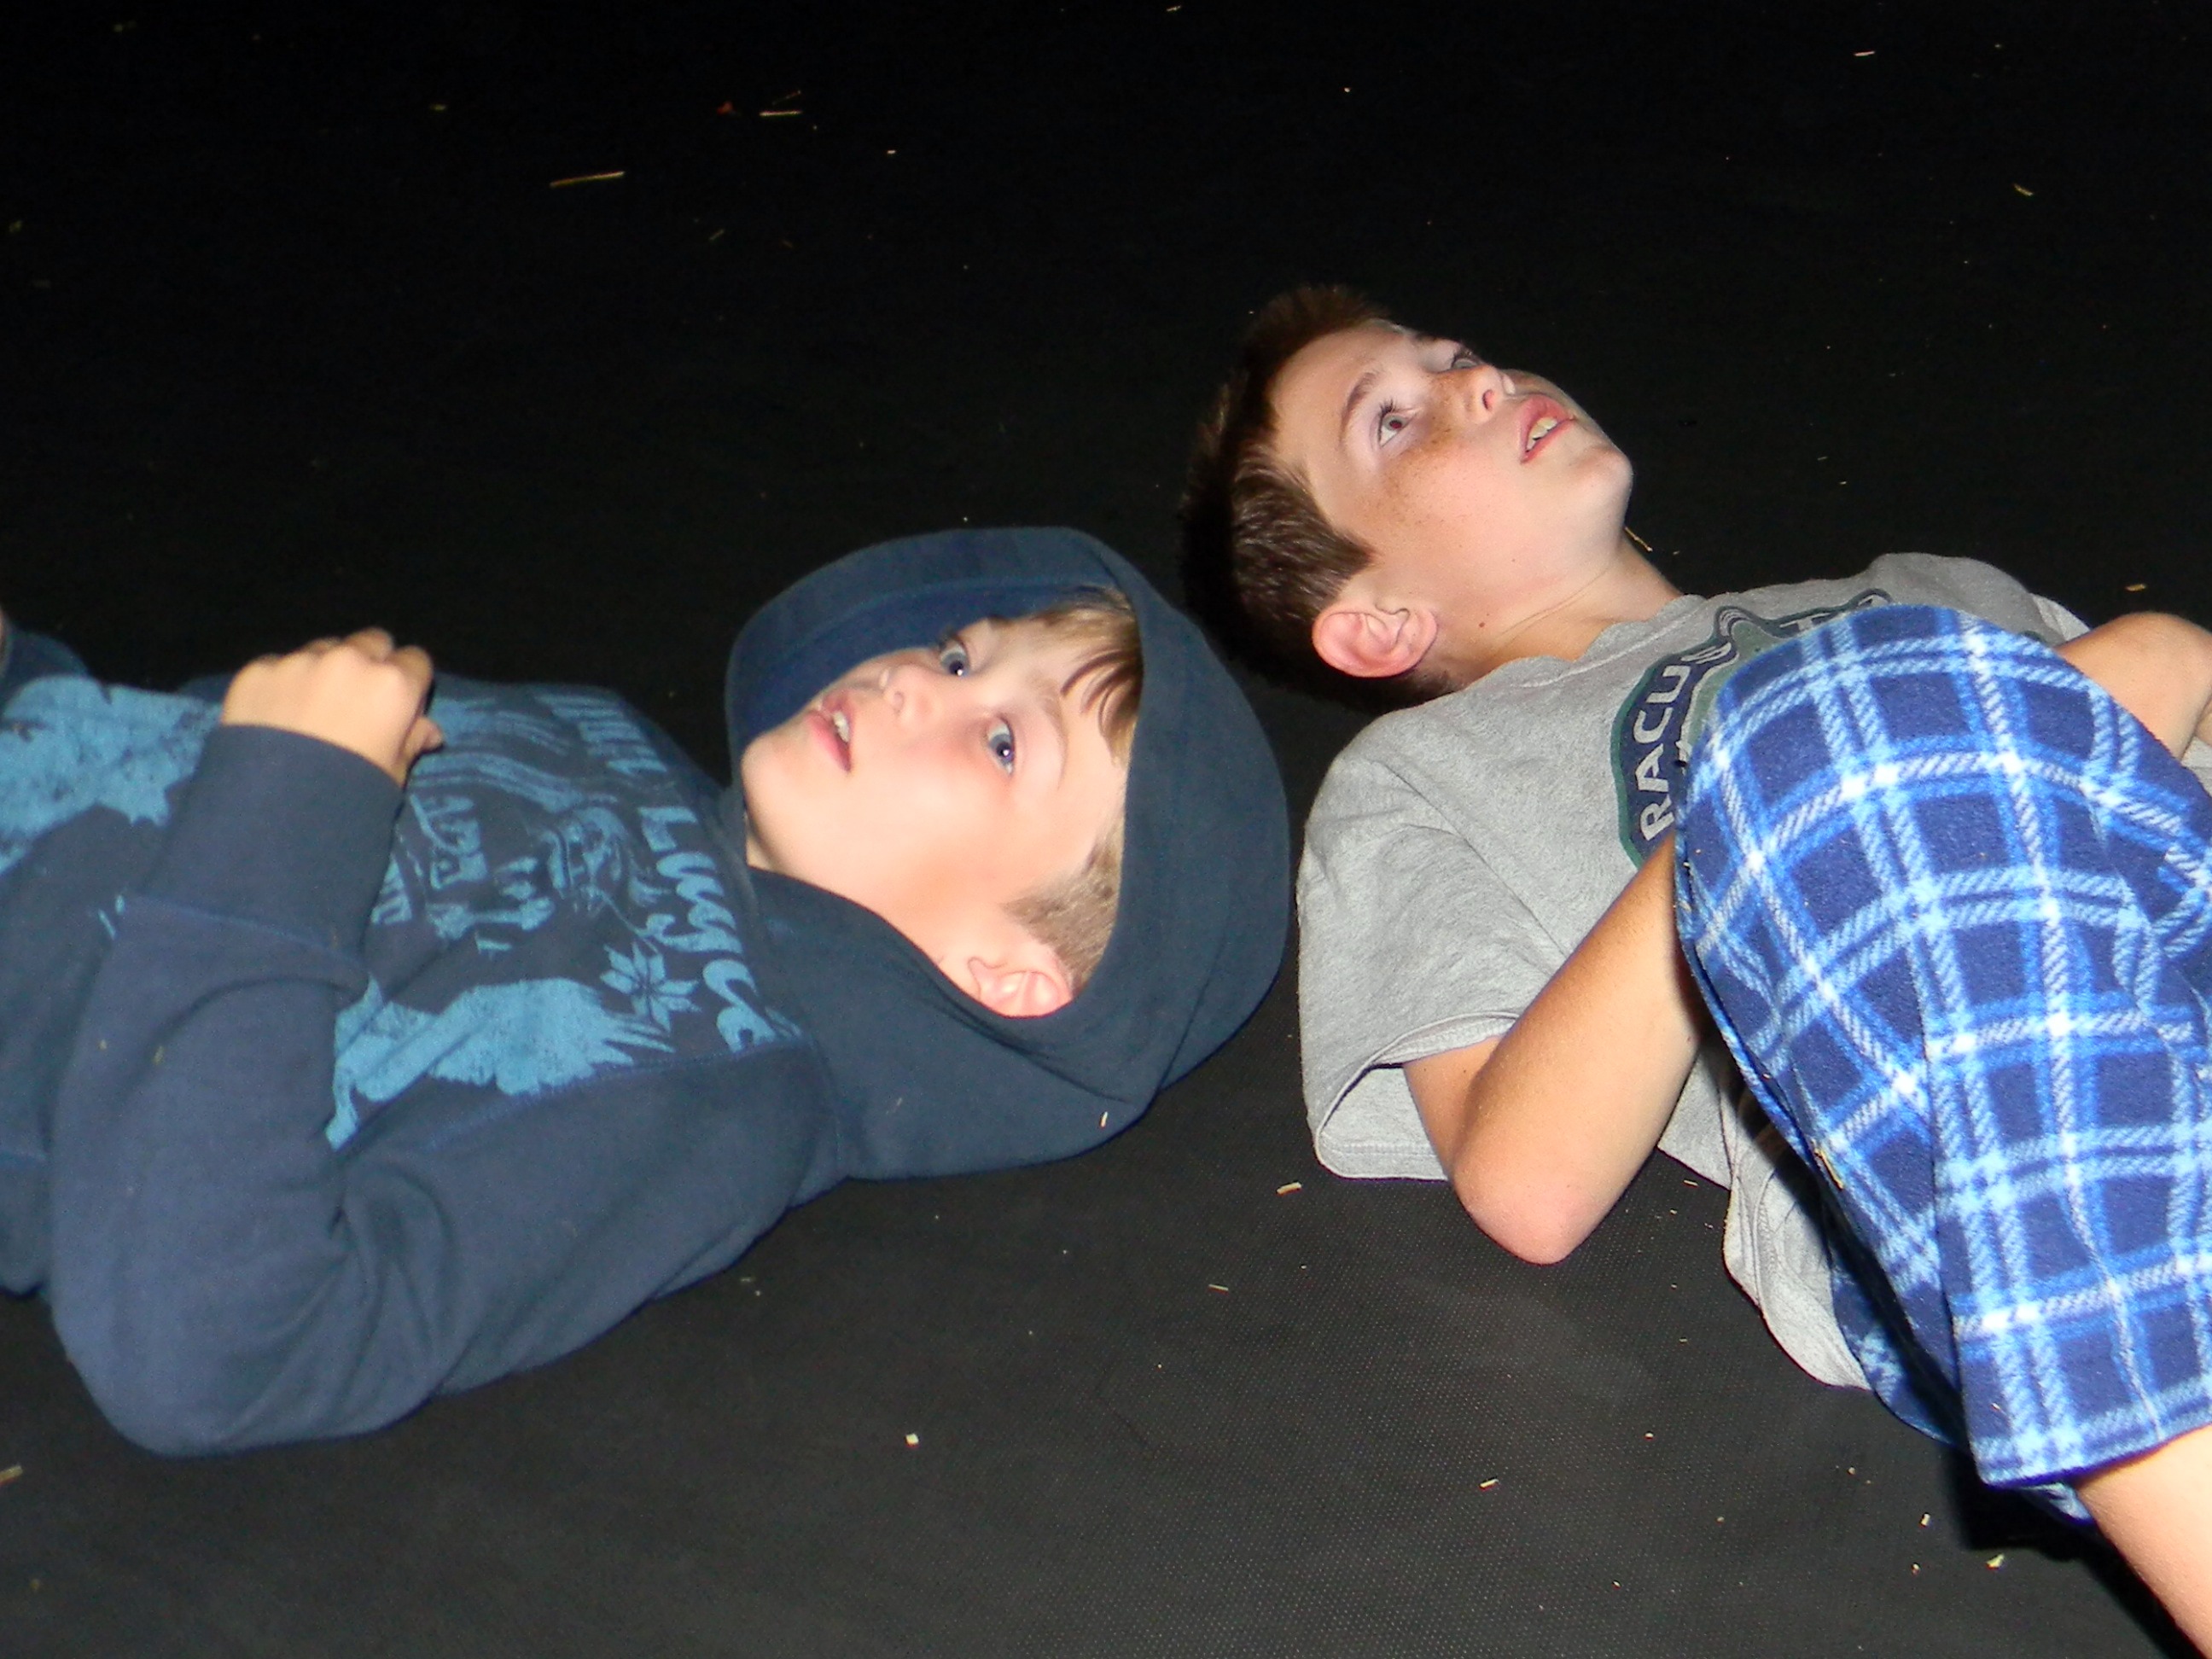
Once it’s dark we lay on the trampoline to find stars and constellations.

Then head back to the fire pit for more s’mores or roasted starburst before we turn in for the night.

The kids pick a movie to watch on the computer and hubby and I usually end up falling asleep about 10 minutes into it.

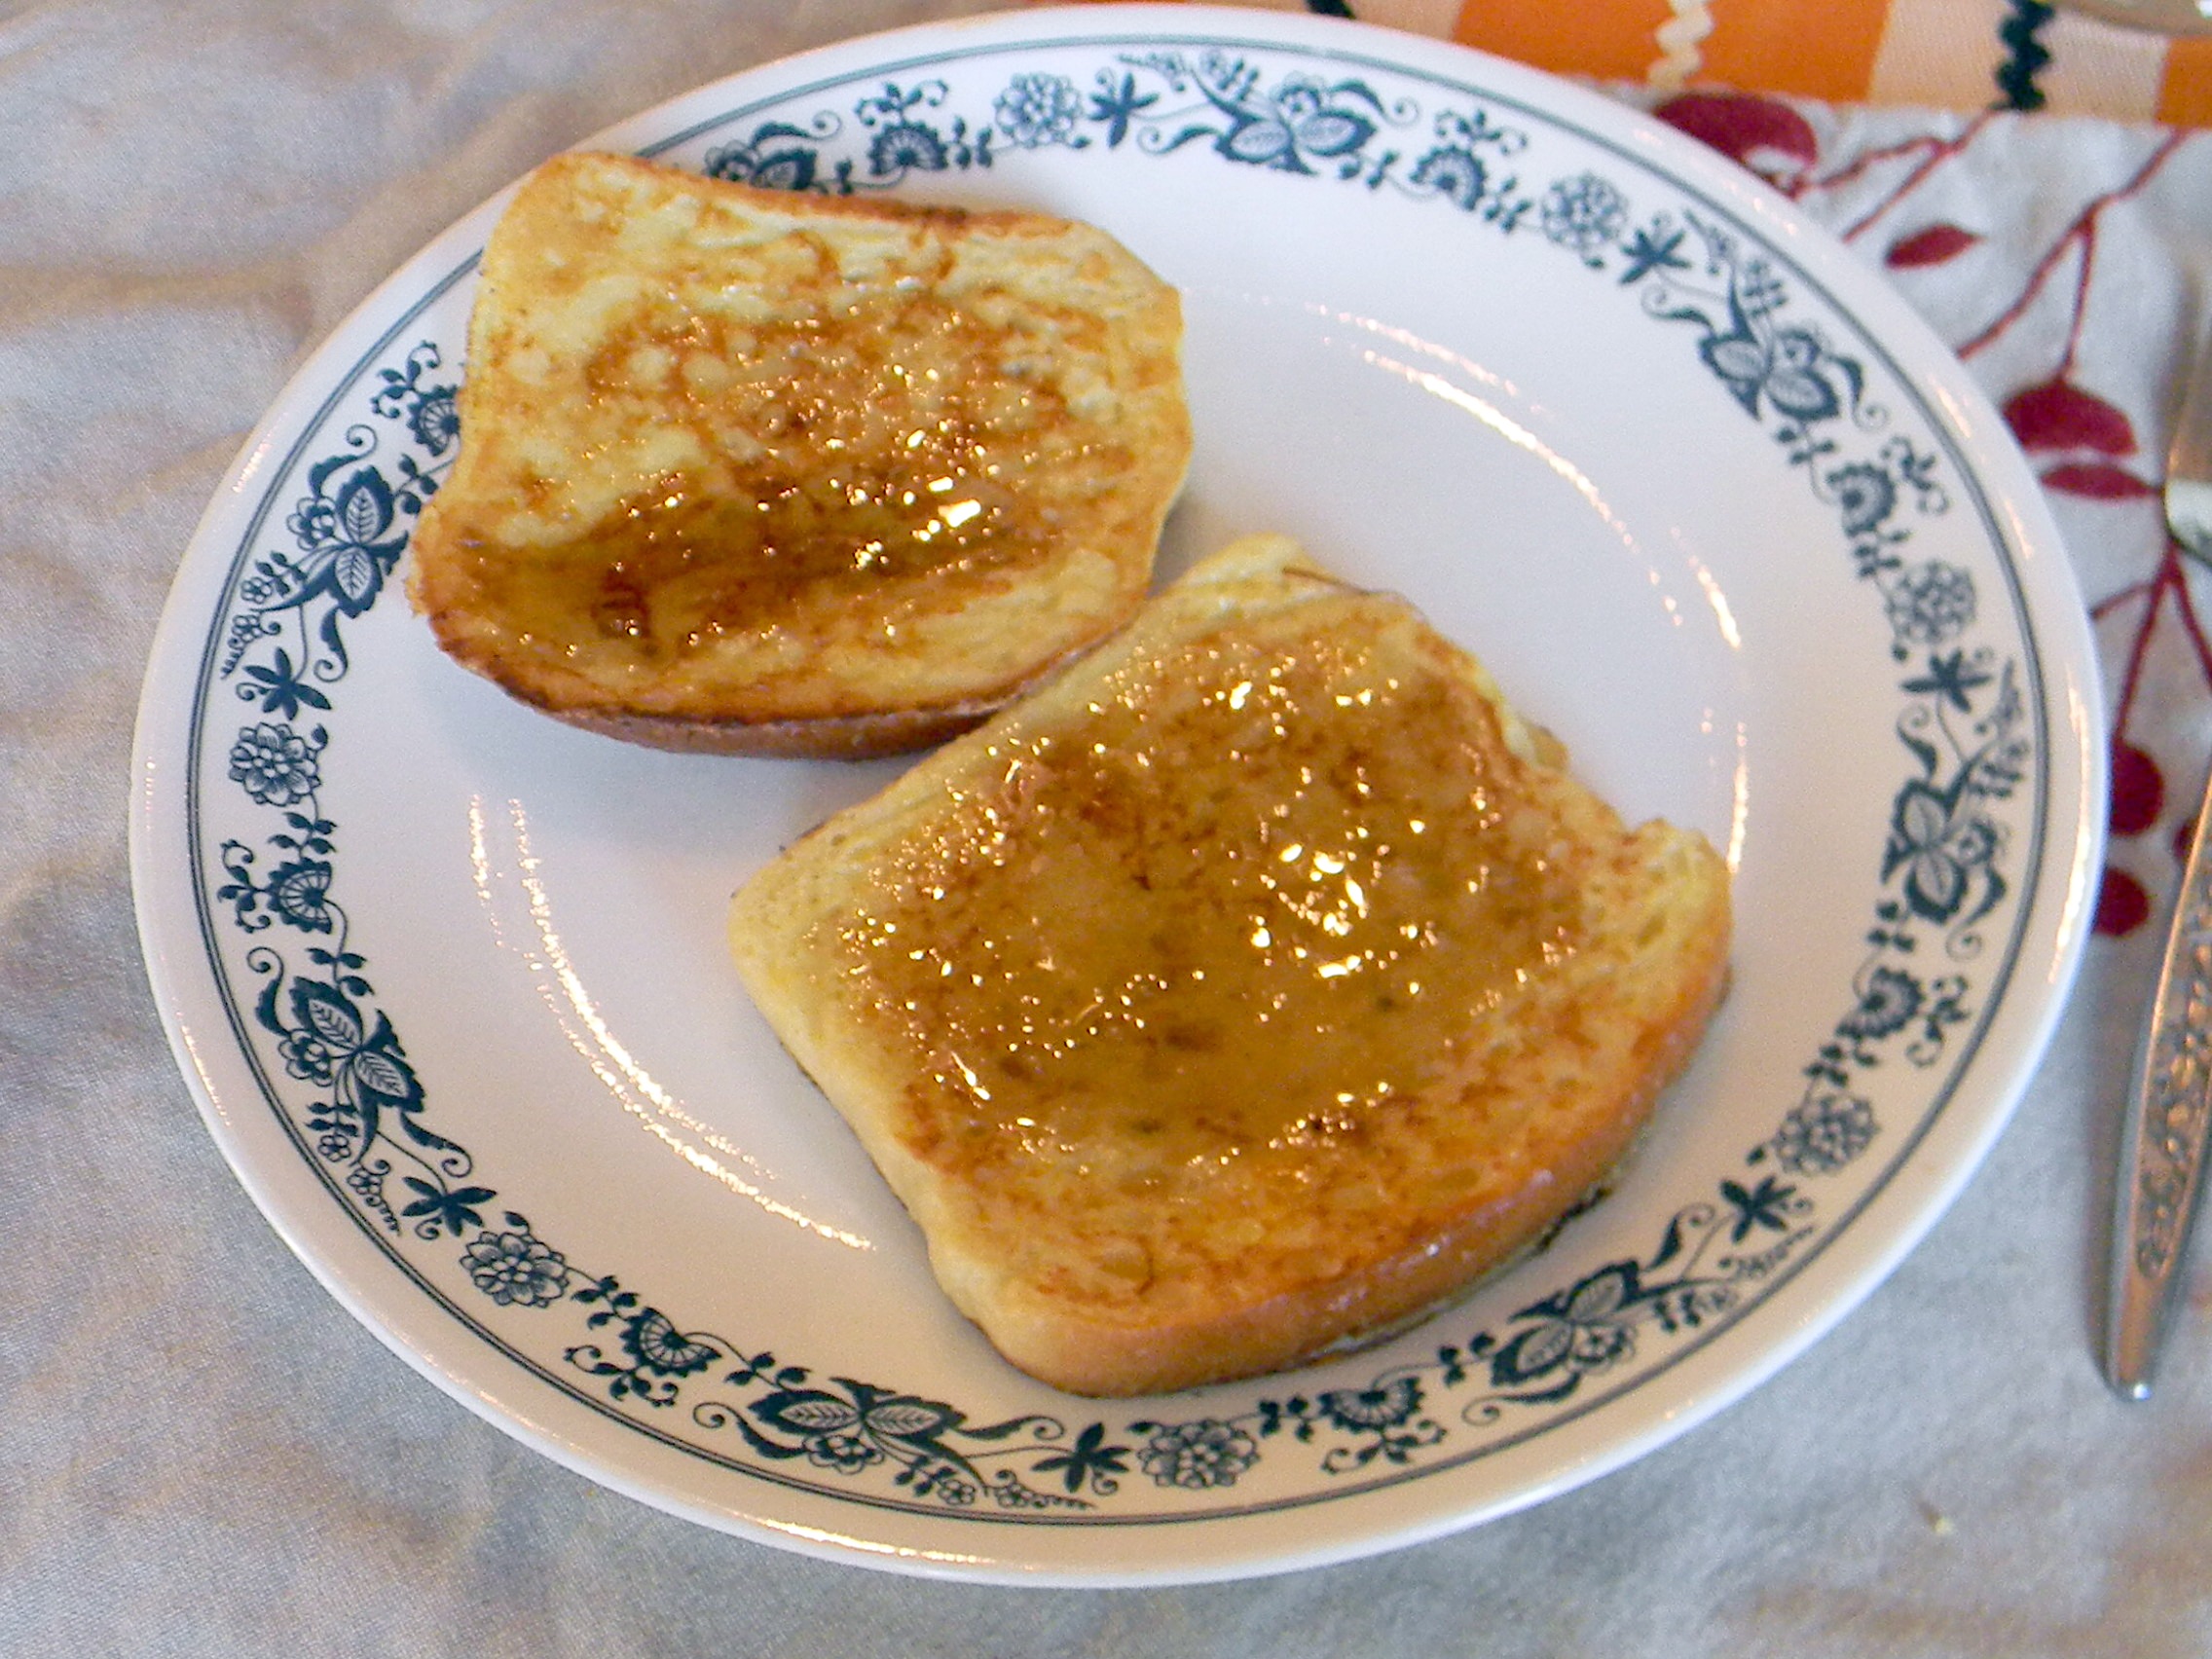
The next morning hubby makes pancakes or french toast. Yum!

We love our Family Backyard Camp outs and the kids always look forward to it. I hope they always remember these fun family times. And also remember some of the most fun we’ve had as a family cost little or nothing, it was the time spent together. As they get older I think this is even more important.

I also love that the back door is just a few feet away and I can shower first thing in the morning.

—————————————————————————–

Amen to having the back door so close. Love it. Perfect for my little guys too because if they won’t go to sleep in the tent we just take them up to their beds! I need to get a fire pit. How fun to have s’mores in your own backyard. Thanks Leanne for a great idea to make a memory!

P.S. Don’t forget to sign up for free Tipsy updates via RSS or email.

We have decided to truncate our feed to help protect against stolen content. I apologize for any inconvenience. Please love us anyway. 🙂
« Previous Page
Next Page »

  • Bloglovin
  • Facebook
  • Google+
  • Instagram
  • Pinterest
  • RSS
  • Twitter

Hi there! I'm Michelle. Mother of three little boys and one little princess. Welcome to A Little Tipsy, a place for exploring creativity and sharing inspiration.

Follow on Bloglovin


Visit Michelle Barneck {A Little Tipsy}'s profile on Pinterest.

Tutorials by Category


15 Family Reunion Games

Family Reunion Games Collage

15 Sprinkle Party Ideas

Sprinkle Birthday Party
Creative Commons License

© Copyright 2014 A Little Tipsy · Site Designed by The Fairy Blogmother · Web Hosting by RFE Hosting

This website uses cookies to improve your experience. We'll assume you're ok with this, but you can opt-out if you wish.Accept Read More
Privacy & Cookies Policy