Welcome to another month of Point of View where, on the 4th Friday of each month, we each show you our takes on a particular theme. This month’s theme is SHELVES. Just look at the fun projects we have lined up for you!

2. Michelle (Stay right here!)
3. Jonie (Just Between Friends)
4. Amy (Ameroonie Designs)
5. Gwen (Gwenny Penny)
Are you interested in participating as a guest member of Point of View? We are looking for people who would like to join us. We will be including one guest each month, so if you would like to take part contact Amy from Ameroonie Designs (utahchemnrd@yahoo.com). Please include your blog name and URL, and we will add you to the list. You will be notified in advance when it is your turn.
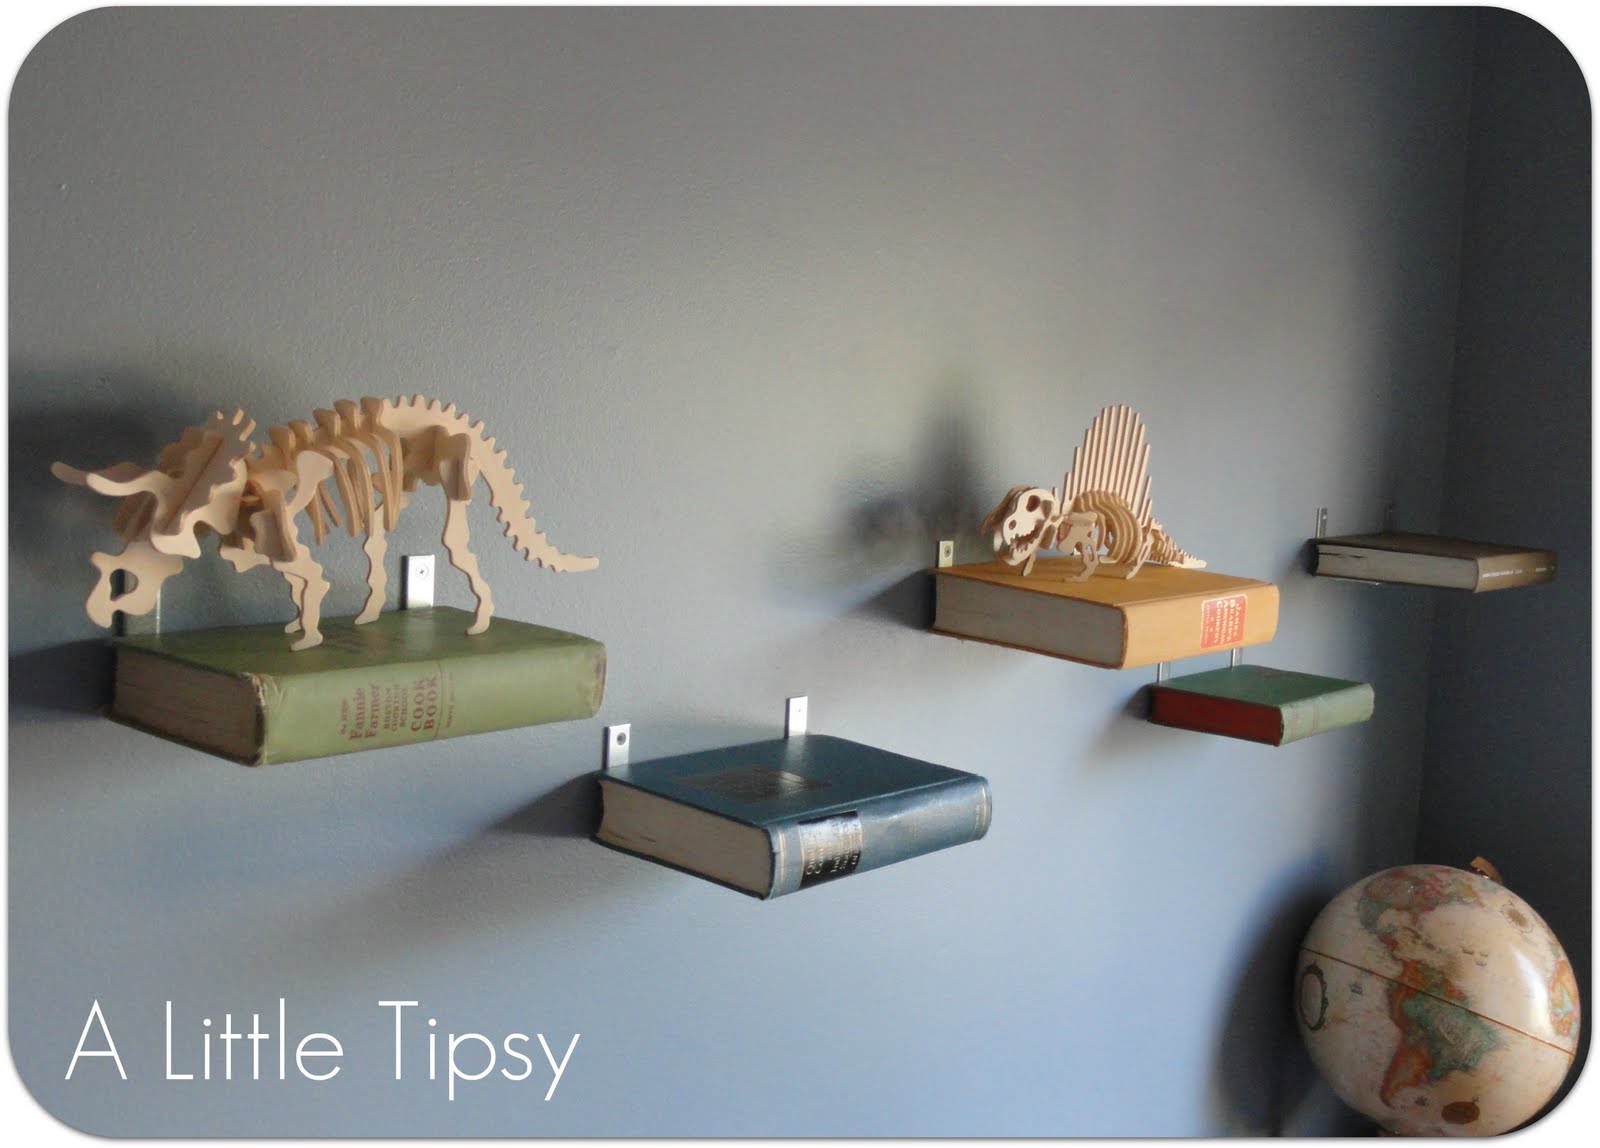
Now on to my shelves! Book shelves to be exact. No, not shelves to house books, books hung as shelves! I loved this idea when I first saw it on Kojo Designs and just had to make some with my own twist of course. Her books were all put together as one shelf, but I wanted to put dinos on mine for my little guys paleontology room and they are too long to fit on the book so I made each book an individual shelf.

Here’s what you’ll need:

- Books
- Paper
- Scissors
- Tape
- Measuring tape
- Level
- Pencil
- L Brackets
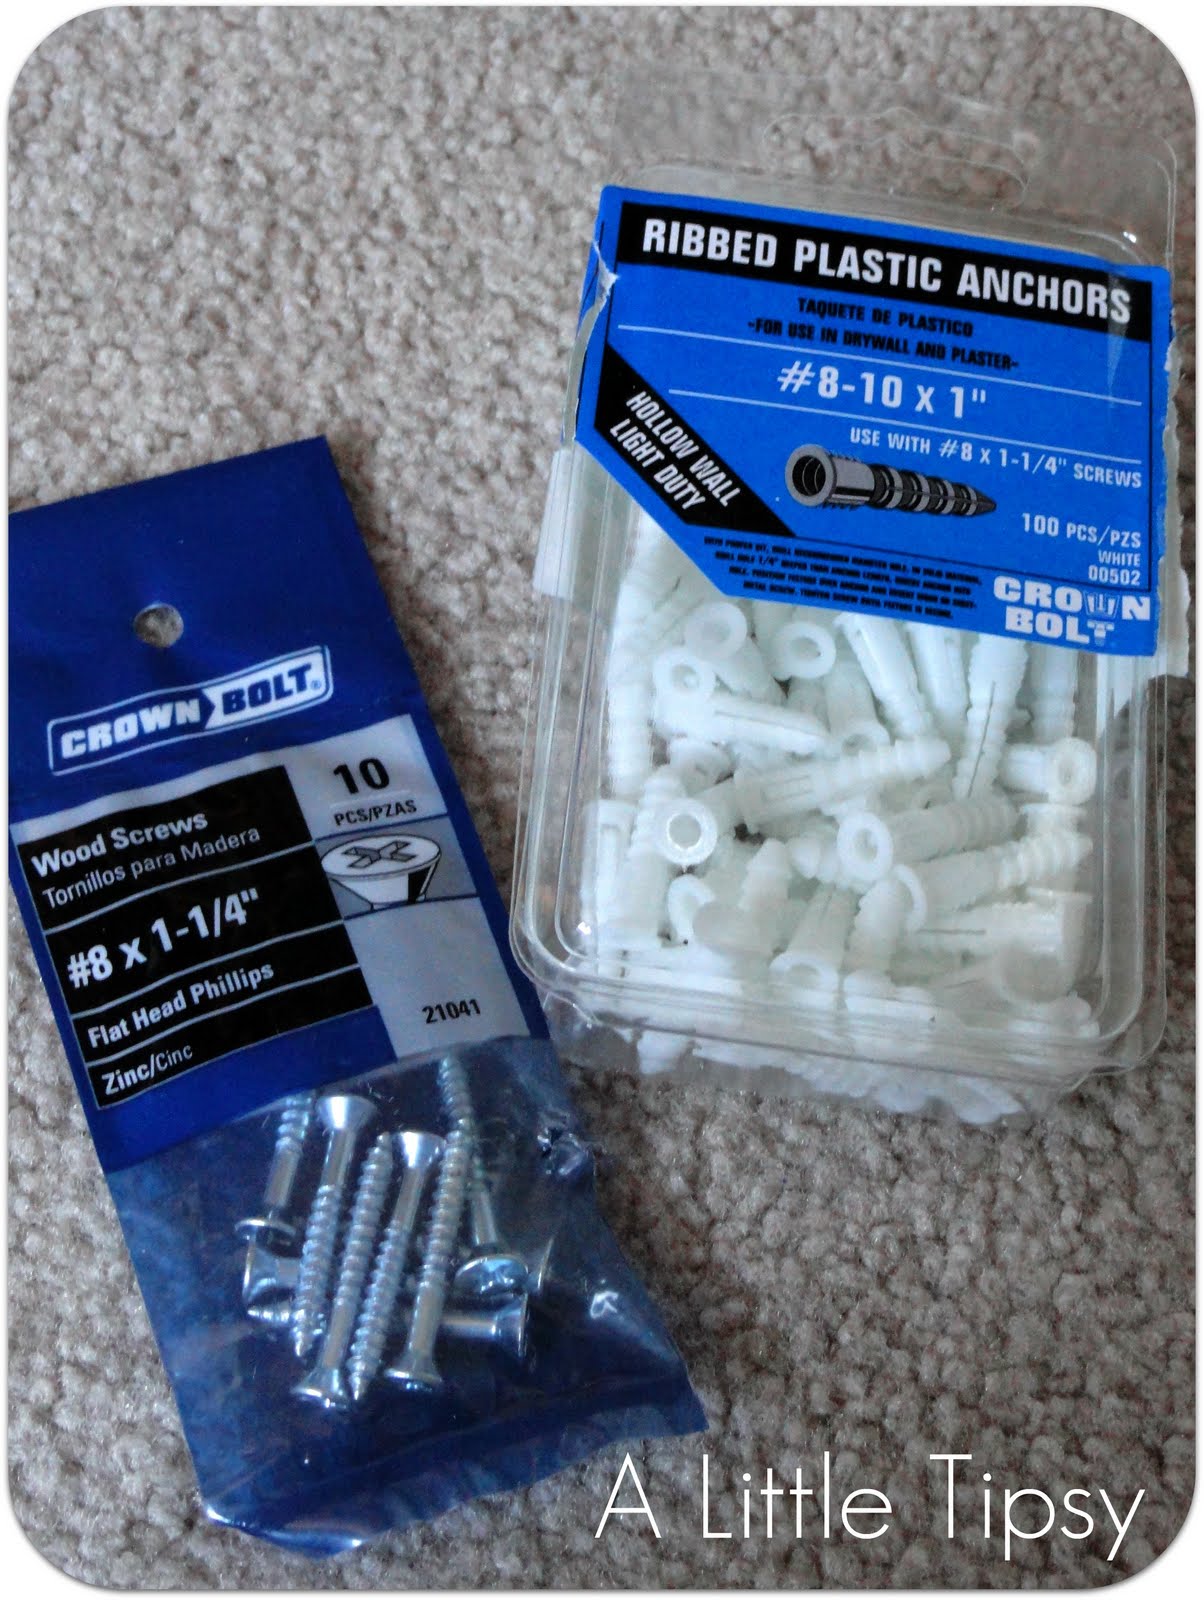
- Screws
- Anchors
- Clamps
- Drill
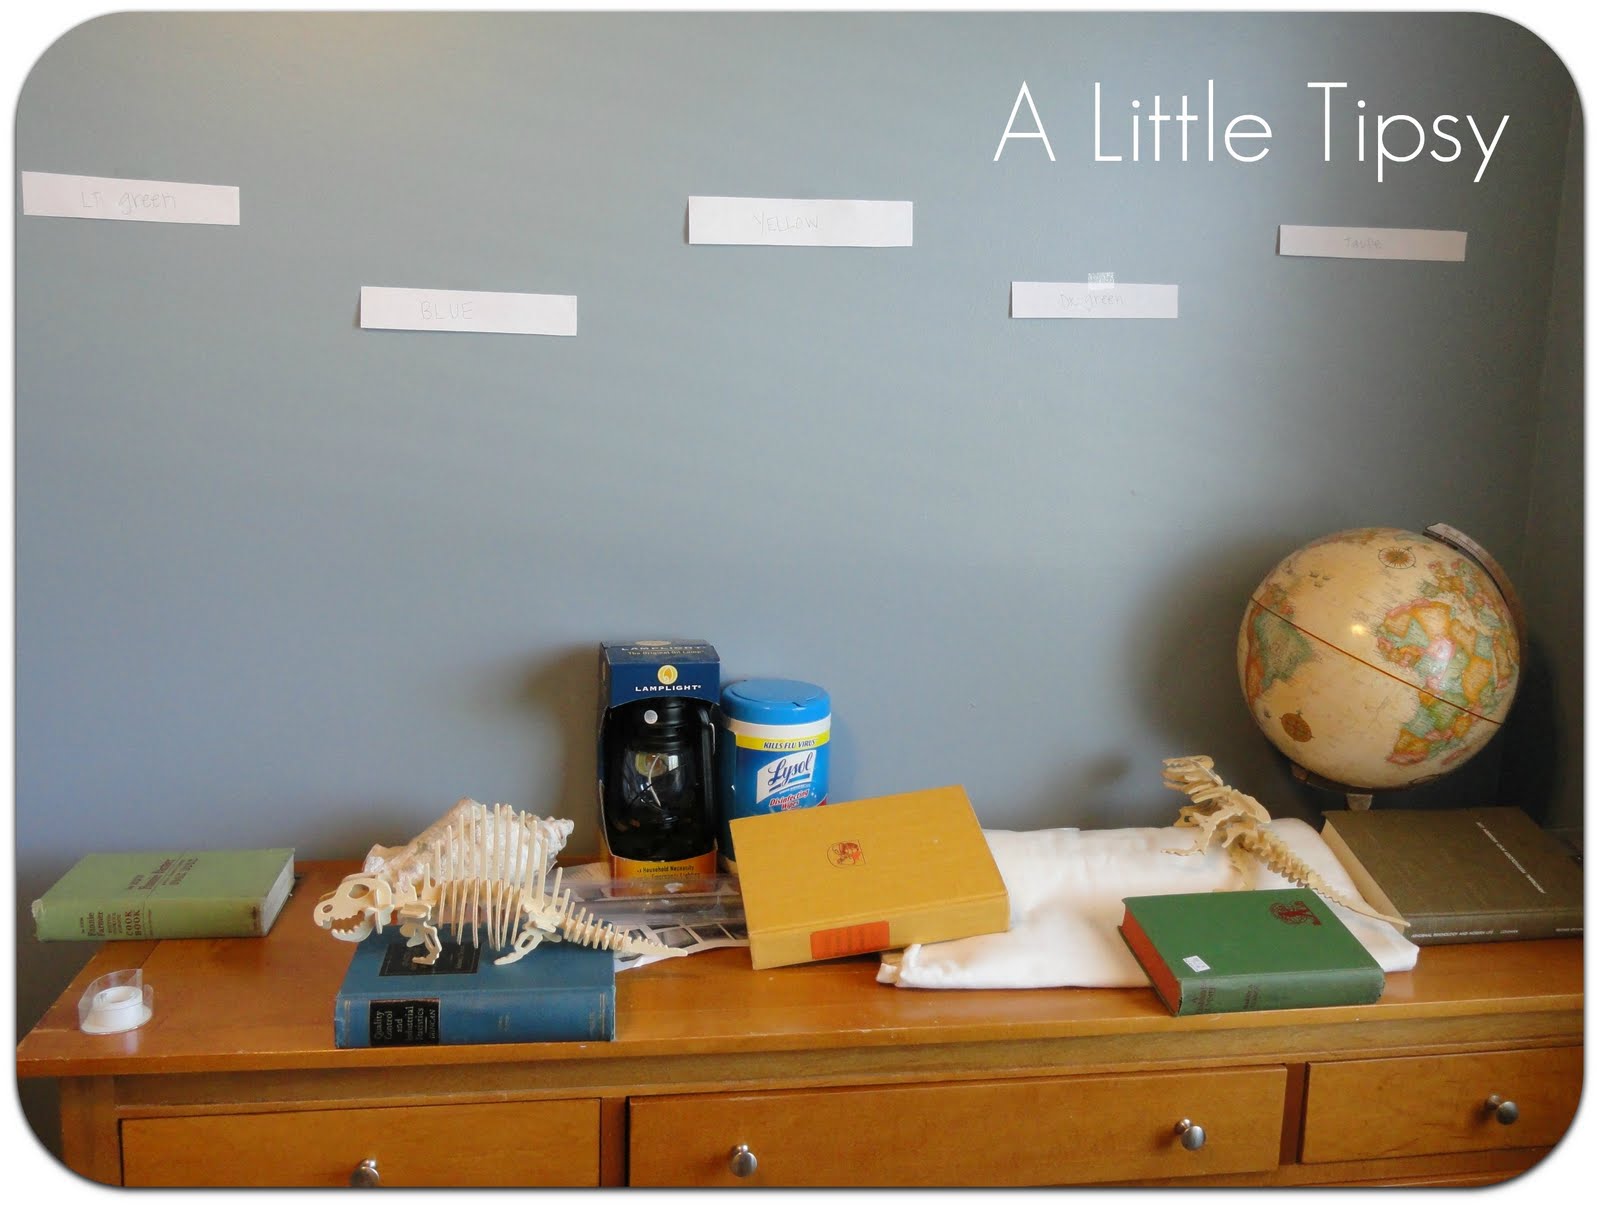
1. First, make paper cutouts of your books, write the book colors on them and hang them on the wall re-arranging them until you are happy.
2. Next measure so they will be evenly spaced and hold the brackets where you will want your books and mark where the holes need to be with your pencil. Drill the holes and place anchors so the screws won’t pull out of the dry wall. Now, screw the L brackets in place.

3. Next, screw the books on to the brackets. We decided to use clamps to hold the books closed tighter so the screws would grab more of the pages and make them more secure.


4. Place your decor and you’re done!

I will have a dino on each book I just need to put the rest together. They are just wood puzzles I got at Harbor Freight for $1 each, but they are perfect for what I wanted!
Now we would love to see your take on shelves!! Head over to the Point of View linky party over on Just Between Friends and you may be featured on one of the Point of View contributors sites.
Linking up with:
Design Dazzle
P.S. Don’t forget to sign up for free Tipsy updates via RSS or email.
Really cute, Michelle! I love your take on this. The dinosaurs look so cool standing on these books.
I love the dinosaurs! and the book shelves are the perfect way to feature them. Such a fun idea- the room is going to be fierce with all those skeletons!
xoxo,
Amy
I LOVE this idea! So fun! The dinosaur puzzles are so cute too.
I love these. I might have to think of a place to put them in my house. I love the dino puzzles too.
Very cute! I love the idea of using books for shelves.
I loved this idea the first time I saw it as well. Looks so cute with the dinos!
Hi Michelle..your shelves look brilliant and I love the effect of the dinosaurs on them too!
Hi Michelle,
Really nice project! Love the final look – you did a great job! I’m on my way to doing something like that too. I purchased one Umbra invisible shelf to put books I want to read and display. Adding a fun dino puzzle on top (or something light like that) will make it that much more visually pleasing! Thanks for the idea! Mama MOE
That brings a whole new meaning to the word bookshelf. What a cool idea!
What a great idea! Thanks for sharing. I featured this on my blog: http://koolbeenz-blog.blogspot.com/2011/06/gallery-of-featured-crafters-5-with.html
Feel free to grab my Featured Button if you like.
@pril
Those books make awesome shelves! Love them – especially with the dinos!
What a GREAT idea!! Love the dinos sitting on top too! 🙂 My oldest would SO want these!
Those are really cute! I think that’s a great idea.
Love this!
This site truly has all the information and facts I wanted
about this subject and didn’t know who to ask.