A Little Tipsy

Creative Tips & Ideas

  • home
  • About Me
  • the tipsy top
  • press
  • projects
  • contact me
[print_thumbnail_slider]

Valentine’s Day Valentines {Plane Awesome}

February 9, 2012 By Michelle Barneck 22 Comments

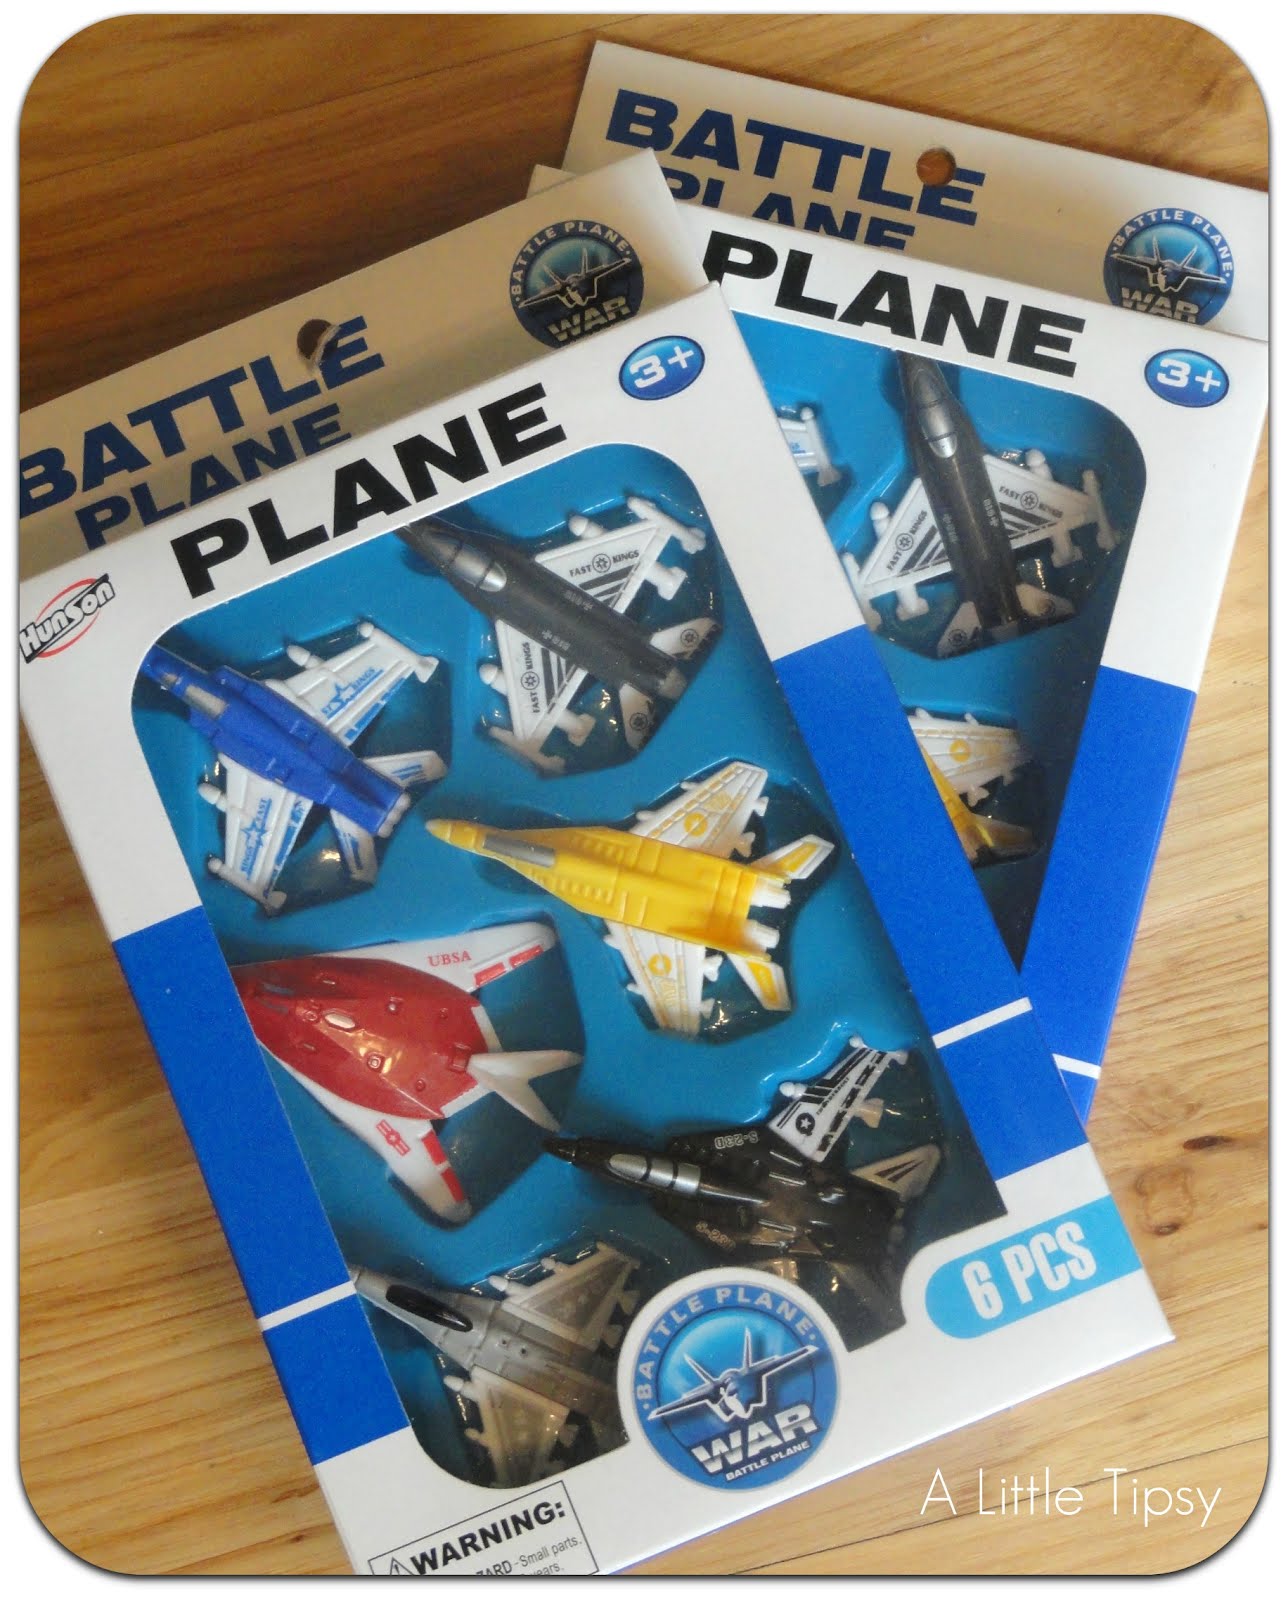
This is my first year making Valentine’s Day Valentines for my son to take to school. Of course we didn’t want anything too girly and they get way too much candy, so I took him to the dollar store to have a look. Luckily, we found six packs of airplanes for a dollar so we settled on a “plane” awesome theme!
Valentine’s Day Valentines: You’re just PLANE awesome!
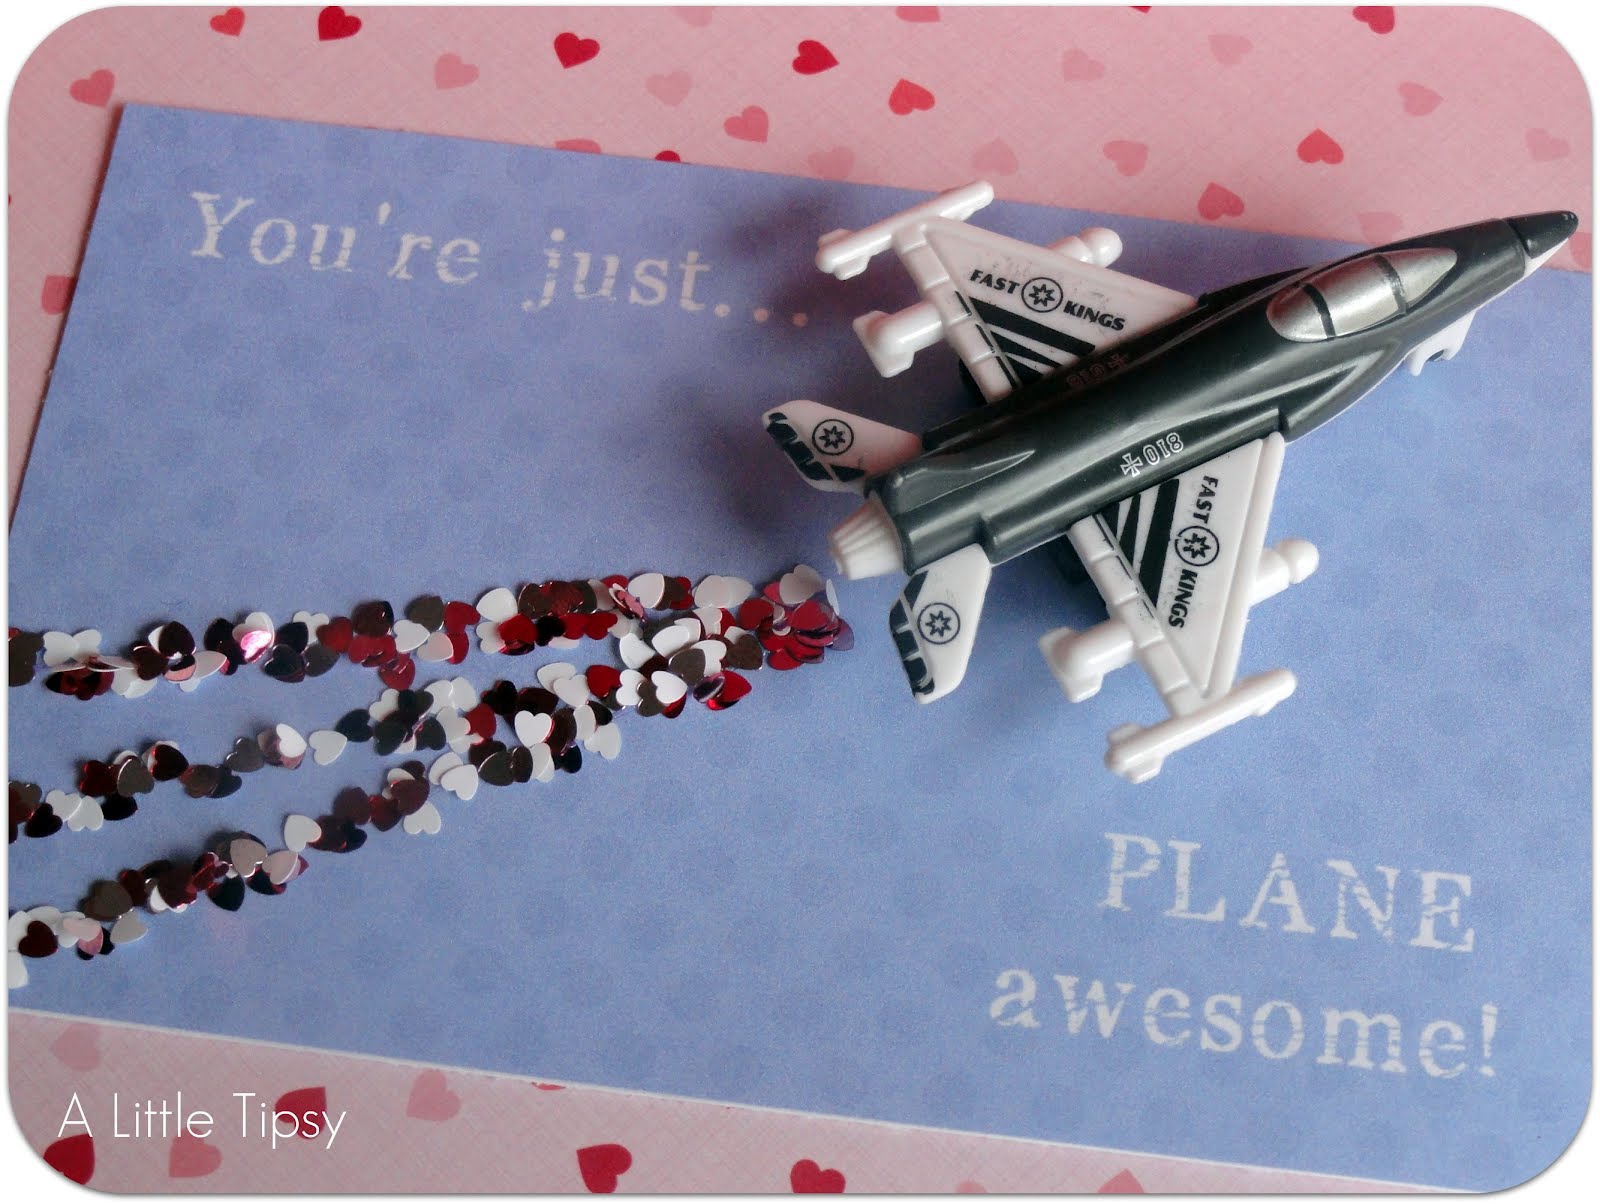
We pretty much love them and they were so easy!
Plane awesome supplies:
  • Toy airplanes
  • Mini Glue dots
  • Color printer
  • White cardstock
  • Paper cutter
  • Glue (I used what came with the glitter)
  • Martha Stewart heart shaped glitter
We printed four of the following image to a page on white cardstock. That is what worked best with our size planes.

Cut out your cards and glue dot the wheels of the planes to the cards.
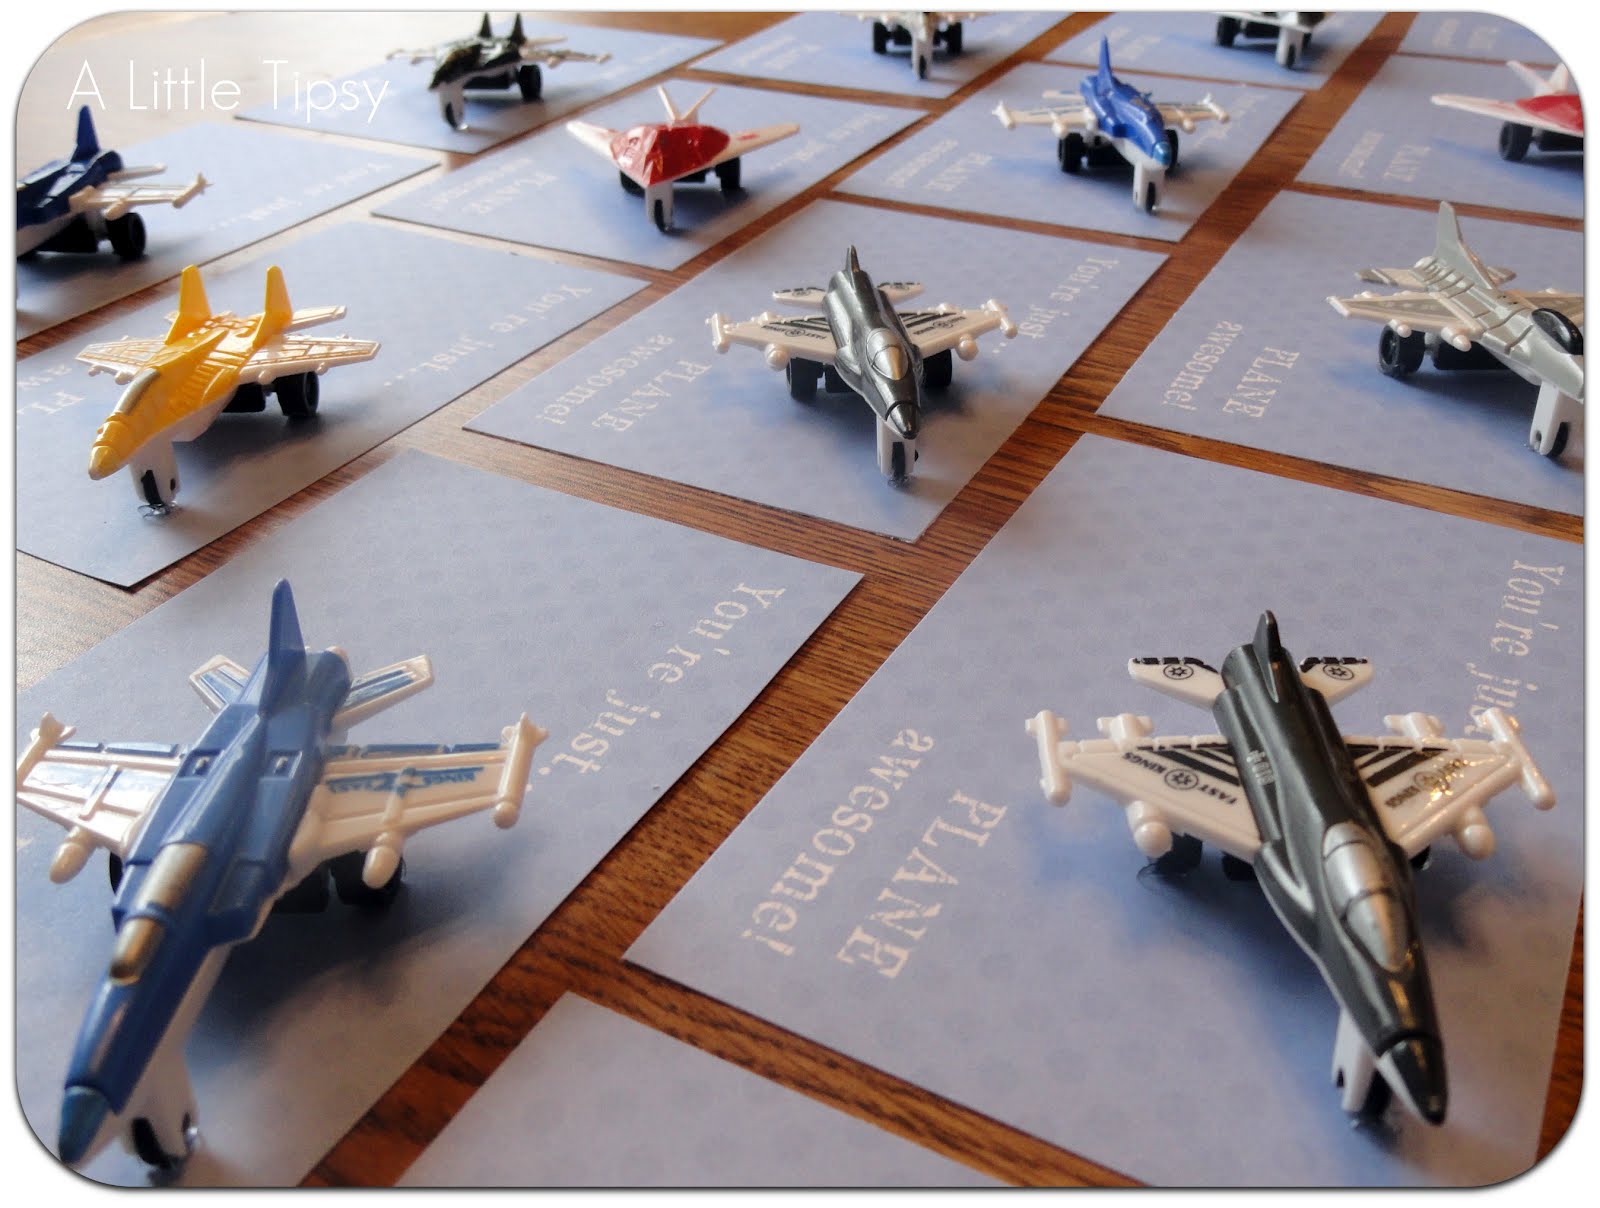
Draw three contrails (aka the white trails planes leave) from the back of the plane using your glue. Mix multiple colors of glitter hearts in a bowl. Pour the glitter on the glue and shake the excess glitter hearts back in to the bowl. Let the glue dry.
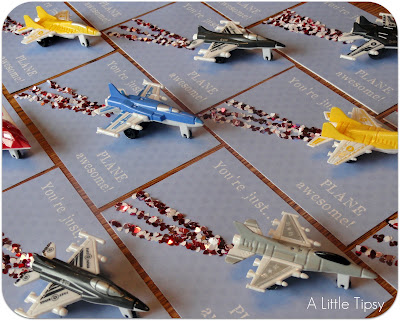
Voila! You have created a cool kid’s Valentine’s Day valentine that is just plane awesome and may I mention allergy safe! My sons class has gluten, nut and red dye allergies this year. Find a valentine treat that avoids all that, I dare you! Or do the easy road like me and just do a toy instead.

My son is happy to have a cool valentine and I’m happy it was extremely affordable and easy!
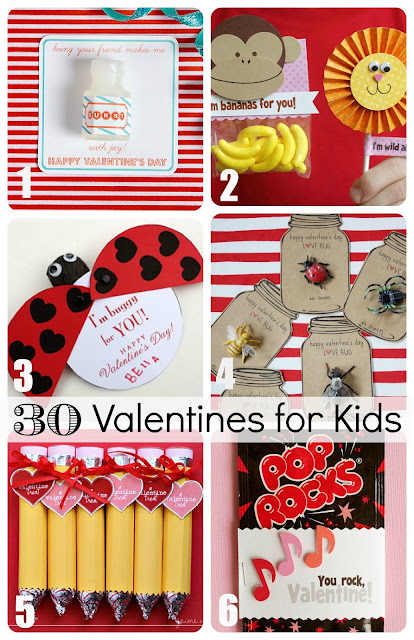
For more fabulous valentine ideas be sure to check out our 30 Valentines for Kids round up! There’s something for every kind of kid.
P.S. Don’t forget to sign up for free Tipsy updates via RSS or email.

HANDmade Christmas Tree

December 13, 2011 By Michelle Barneck 2 Comments

HeLlO hElLo A Little Tipsy readers!!! I am Angela, the voice behind Love Sweet Love, and I am super-duper EcStAtIc to be here doing a guest post for the fantastic Michelle today! I first found Michelle’s blog through her DIY under $5 linky party and just fell in love with her cute, fun personality and blog!

A Little Tipsy is one of my favorite daily reads so it was a HUGE honor to have Michelle ask me to be here today!! Eeeeek!!

I use my little corner of the blogging universe to share my creative ideas that involve easy DIY projects for the home, craft ideas for kids, thrift store makeovers like this and this, organization ideas, and holiday decorating (the reason I started blogging!). My life is over-flowing with Sweet Love and I needed a place to share it!!

Being that I link up to Michelle’s DIY under $5 linky party religiously every Wednesday-what can I say I LOVE finding ways to make things pretty on the cheap!– I thought I would share a quick, fun, cute idea for a Christmas gift for the grandparents that you can get those cute kiddos to help with and that’ll cost ya less than a Lincoln!

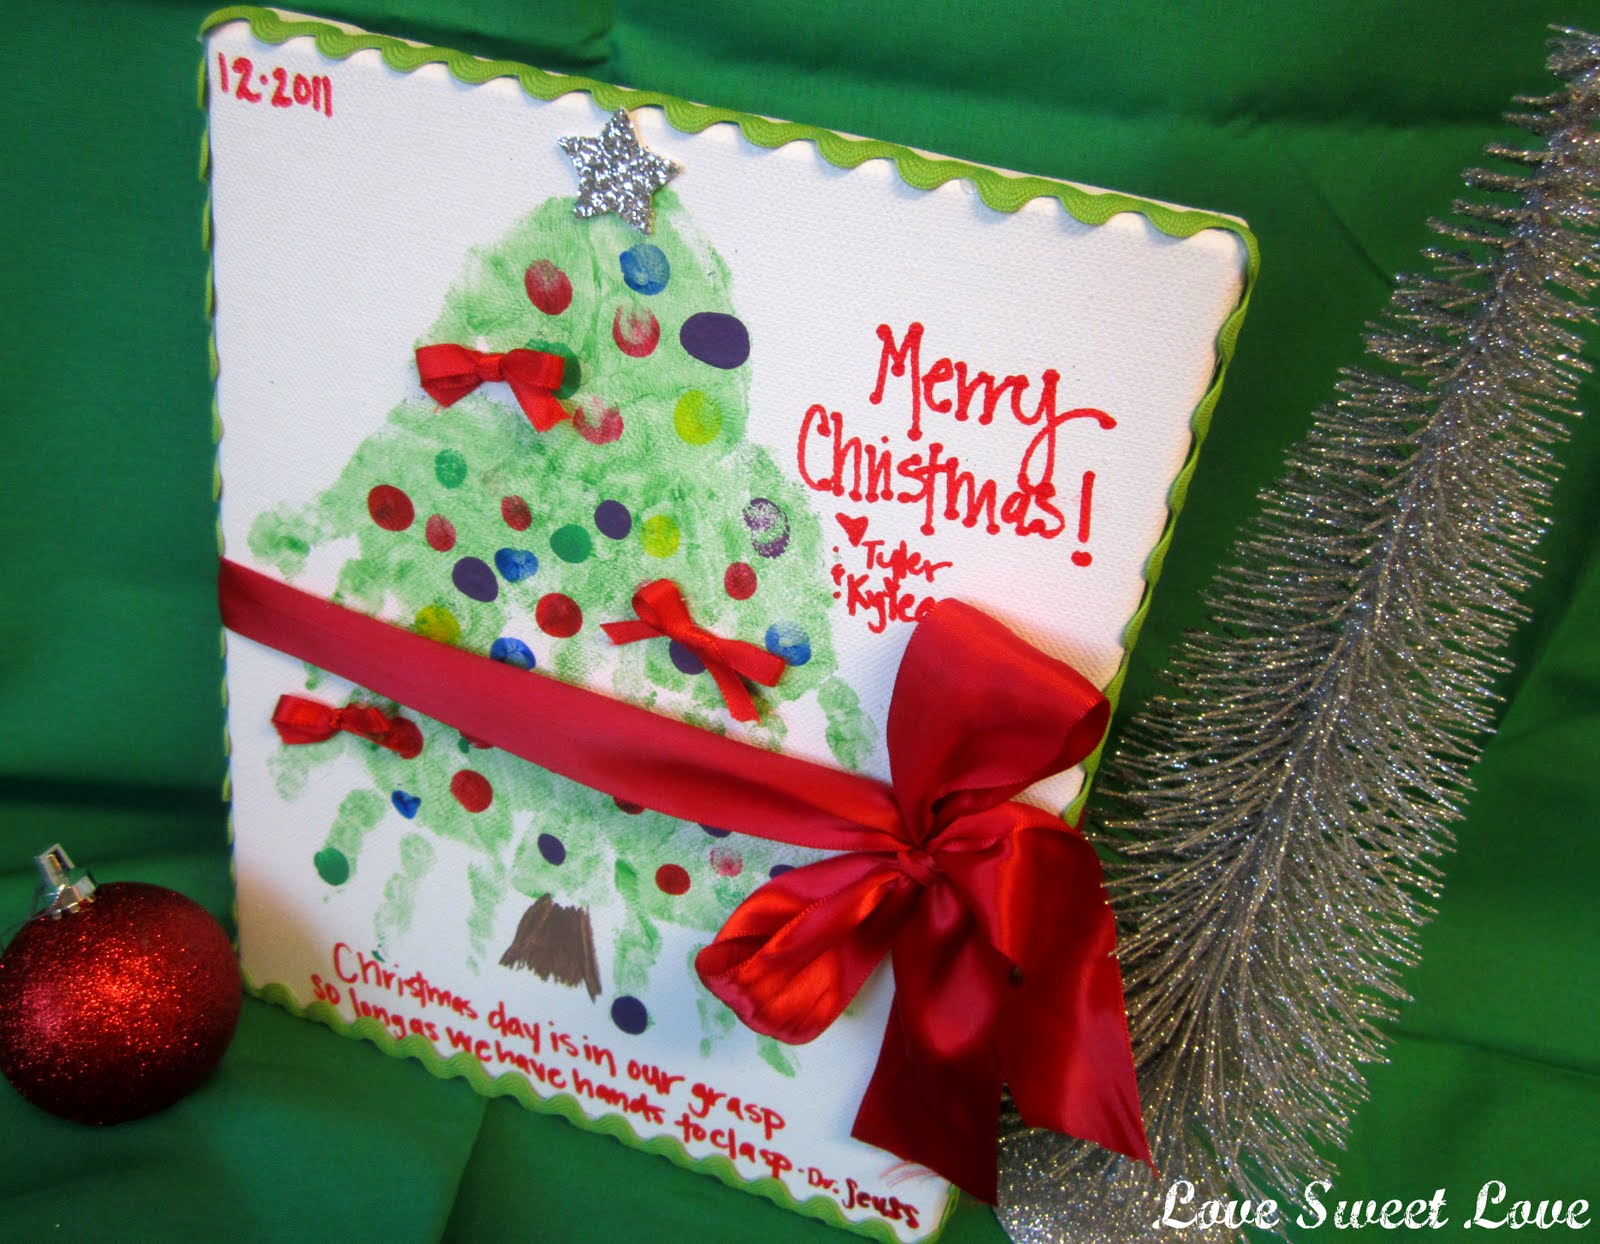
HANDmade Christmas Tree:

I love creating. I LOVE spending time with my 2 littles (4 & 2 years old). They love painting. Ergo perfect Christmas activity! So let’s go!


Supplies:
-8×10 canvas ($3.99 for pack of 2 from Hobby Lobby. I used a 40% off coupon so they were $2.40 which means they cost $1.20 a piece-awesome!)
-foam brush
-Green paint-for tree
-assorted paint colors-for ornaments
-brown paint-for tree trunk if you want one 🙂
-Star sticker
-red paint pen
-ribbon (optional)
-cute little hands you could hold forever (mandatory)

Steps:
1.paint both of their hands green

2. Place their hands-one at a time-down onto the canvas. My tree has 3 layers…my 4 year olds’ hands are the bottom *branches*, my 2 year olds’ hands are the middle *branches* and then I did one of my 2 year olds’ handprints for the top of the tree, overlapping handprints as we went.

3. Then have them dip their fingers in different colored paints and place them on the tree to make ornaments.
3.5 Try not to be controlling and tell them where it looks *good* to put another ornament or what colors to use and let them have fun and decorate the tree as they want to!! (SOOOO hard for me! haha!)

4. Place a sparkly silver (or any color you want!) foam sticker on the top!

5. I wanted to add some meaning to our gift, so I included a quote from one of our favorite Christmas movies-How the Grinch Stole Christmas that used the words ‘HANDS’ to tie in the handprints. I just used a red paint pen to write it on.

“Christmas day is in our grasp so long as we have hands to clasp.”-Dr. Seuss

6. And just because I have to have a little embellishment on anything I do :), I added a few bows I tied from some red ribbon I had on hand and used a glue dot to attach them to the canvas.

7. When I was putting my red ribbon away, my jar of green ribbon was sitting right next to it, and this ric rac was just begging me to use it, so I obliged her.

Because there was already a lot going on on the front, and I didn’t want to distract from the kids work of art, I used the ric rac on the top and outer sides of the canvas and along the bottom of the quote.

I think it frames the picture nicely!

8. Lastly I tied a ribbon around the front of the canvas-for gift giving purposes :)-and was done!

Your very own HANDmade Christmas tree!

Merry Christmas!!!!

Thank you SOOOO much Michelle for having me today and thank YOU for reading along! Stop by my place anytime, I’d love to meet ya!

———————————————————-
OK, this is just too funny!
I am guest posting over at Sumo’s Sweet Stuff today where we’re getting hands on with a Christmas art project! Ha, ha. Great minds think alike! I sent this post over to her a couple of weeks ago so I laughed when I got Angela’s post! Ours is a little different a it uses hands from the whole family.

P.S. Don’t forget to sign up for free Tipsy updates via RSS or email.

We have decided to truncate our feed to help protect against stolen content. I apologize for any inconvenience. Please love us anyway. 🙂

Superhero Squad Party Activities

December 8, 2011 By Michelle Barneck 10 Comments

Of course you need some great superhero squad training activities and we had no shortage. Planning and having everything prepared ahead is key to keeping things rolling smoothly. We had 10 different superhero training camp activities! Each one corresponded with a power from a favorite super hero.
1. Decorate your cape and mask.
  • We used a Walmart cape and mask set (about $5). They come in black, blue, red and green. Target has a cape with a wrap around front with muscles (about $5).
  • Decorate with foam letters. I had each child’s name ready to go, organized in an ice tray to make things fast and easy. All they had to do was peel and stick. No searching for letters or fighting over colors.
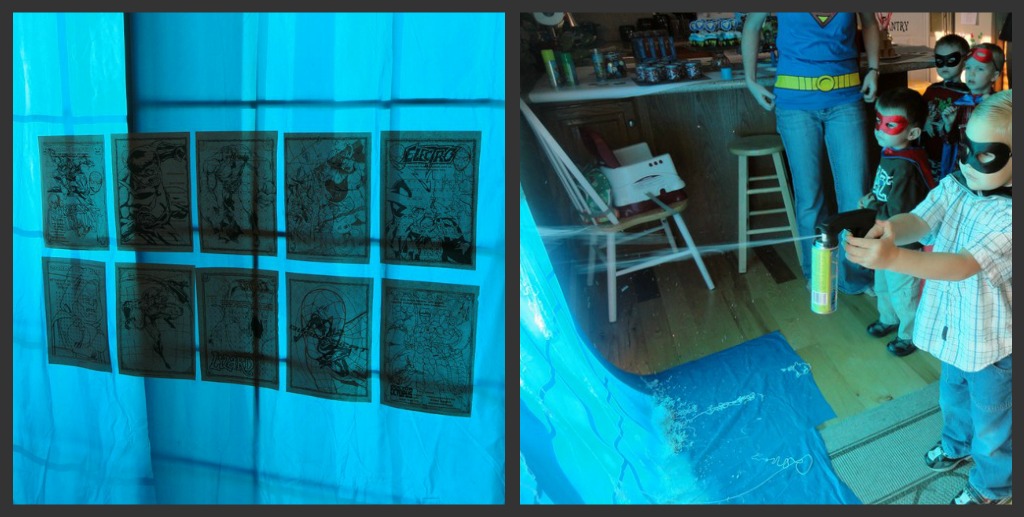
2. Web Shooting
  • Spraying silly string on villains from coloring books hung on a plastic tablecloth to protect walls and floor. We hung ours on the sliding glass door, hidden behind the vertical blinds until we were ready to play.
3. Flight Training
  • Playing Space Pop where you levitate to pop bubbles. A game from Kinect Adventures on the Xbox 360.
source
4. Bat Cave
  • Crawling in to the cave to get a glowing power bracelet.
  • Cover table and chairs with black plastic table cloths and hang strips of streamers from the ceiling (aka bottom of table). Tape glow stick bracelets between the streamers.
5. X-ray Vision
  • Peek behind the brick wall and try to remember all the items behind it.
  • Brick Wall Backdrop-purchased on Amazon

6. Super Strength
  • Pop balloons by squeezing, stomping or sitting on them.
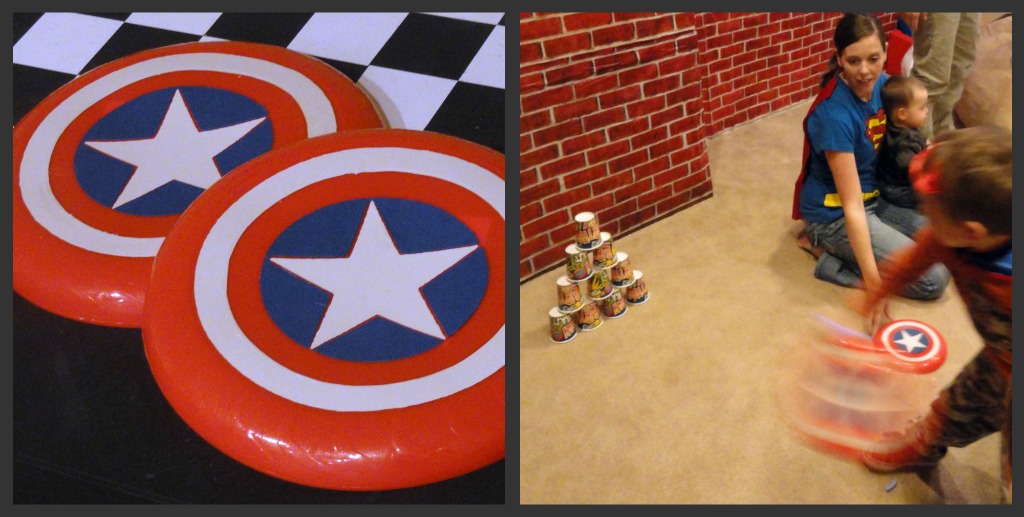
7. Shield Throwing
  • Throwing a frisbee to explode a tower of cups.
  • Transform a dollar store frisbee in to a shield with vinyl or glued card stock.
8. Final Exam
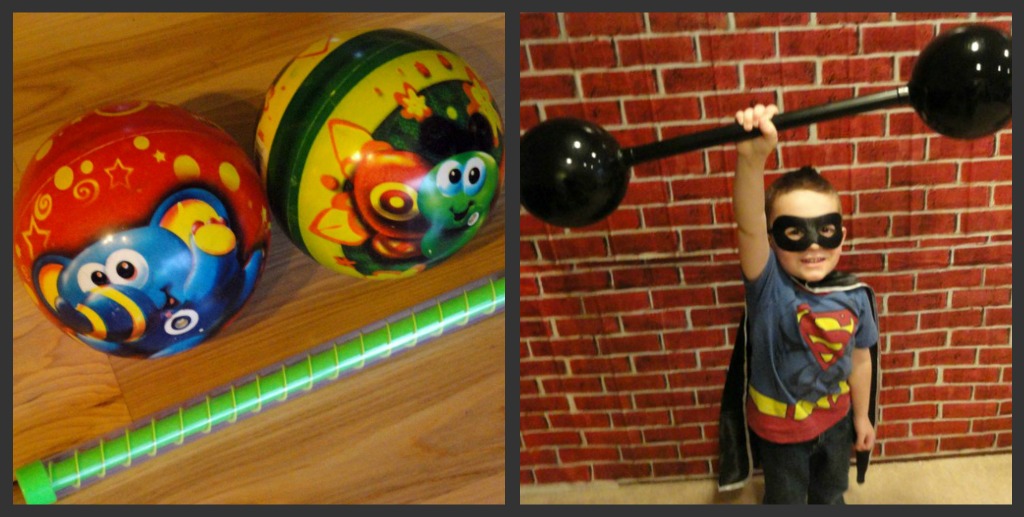
  • Lifting a “barbell” to test their superpowers.
  • Use quick dry craft glue and spray paint to transform two dollar store balls and a rain stick into a barbell. You can also use a dowel and two styrofoam balls, but they are pricey for my taste.
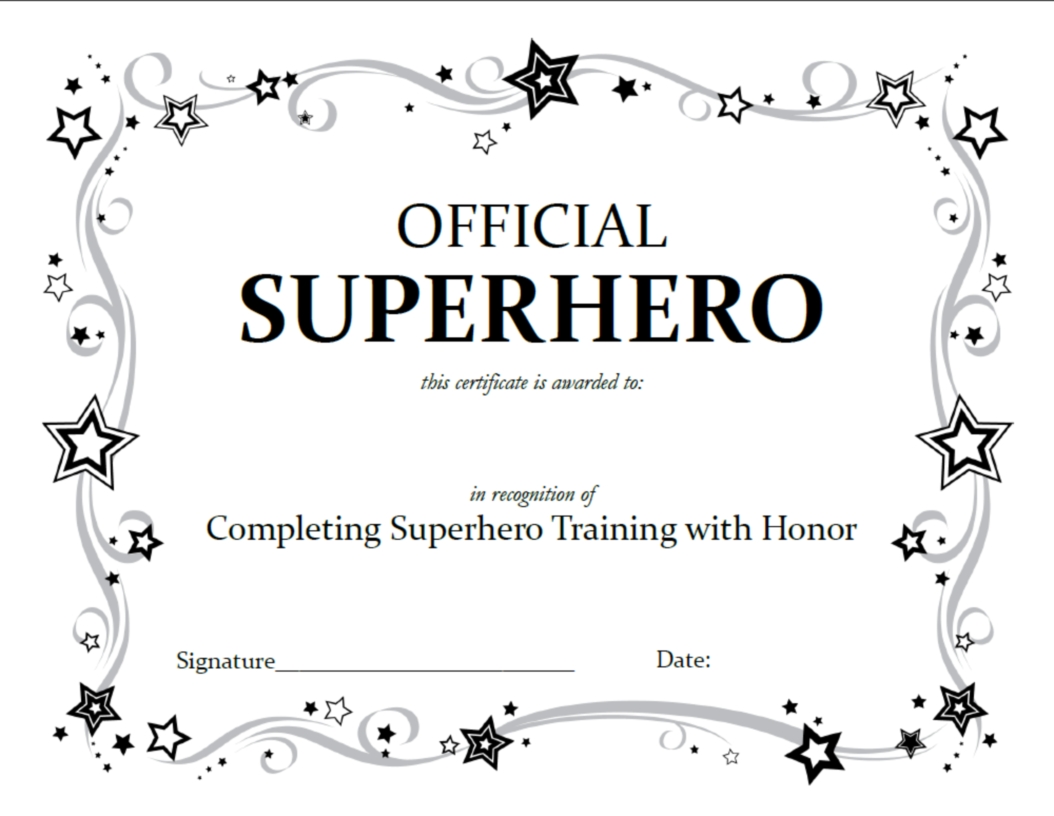
9. Receive superhero name and official training certificate.
  • Certificate designed using one of Microsoft’s free certificate templates.
FREE CERTIFICATE TEMPLATE {CLICK IMAGE TO ENLARGE AND PRINT}
10. VIP visitors
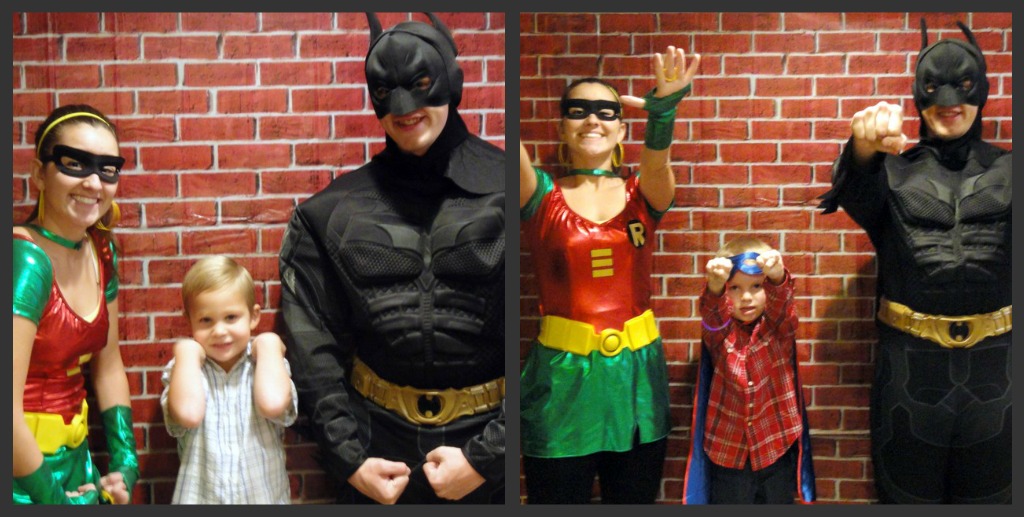
  • Batman and Robin (cute high school students I met at a Halloween party and hired to come) signed their certificates and helped the kids find their signature superhero pose.
The kids had a blast with all these superhero squad training camp activities!
Want more? Visit our other posts for printable invites and super hero squad decor ideas!

P.S. Don’t forget to sign up for free Tipsy updates via RSS or email.

We have decided to truncate our feed to help protect against stolen content. I apologize for any inconvenience. Please love us anyway. 🙂

Thanksgiving for Kids

November 20, 2011 By Michelle Barneck 4 Comments

In case you missed my guest post on A Glimpse Inside here’s an idea to make it a fun Thanksgiving for Kids.

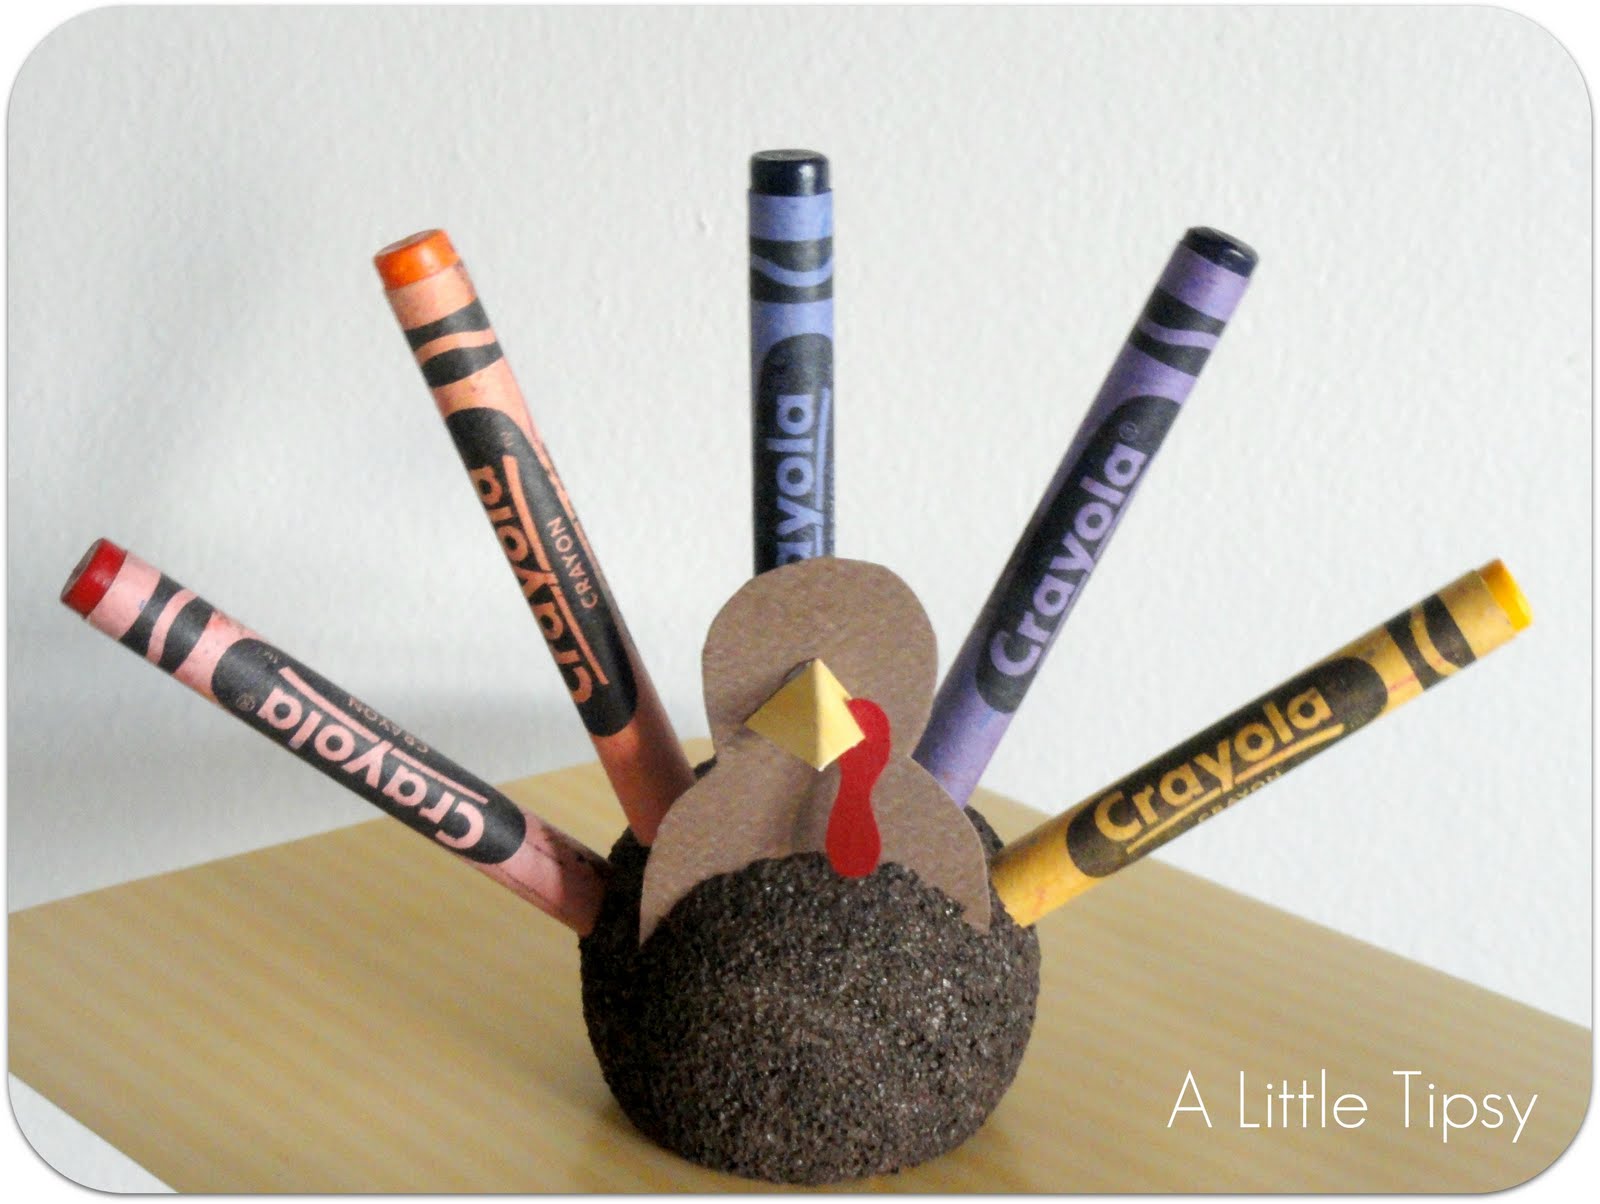
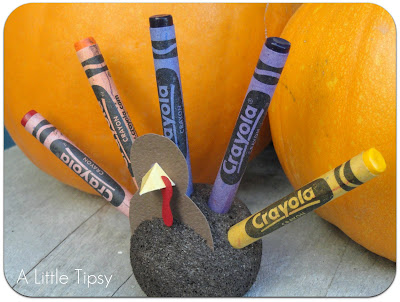
So here it is, my fun little turkey friend for the kiddos I have lovingly named…

Terrence the Turkey


He may be a little shy at first, but once you get to know him he is a total Butterball.

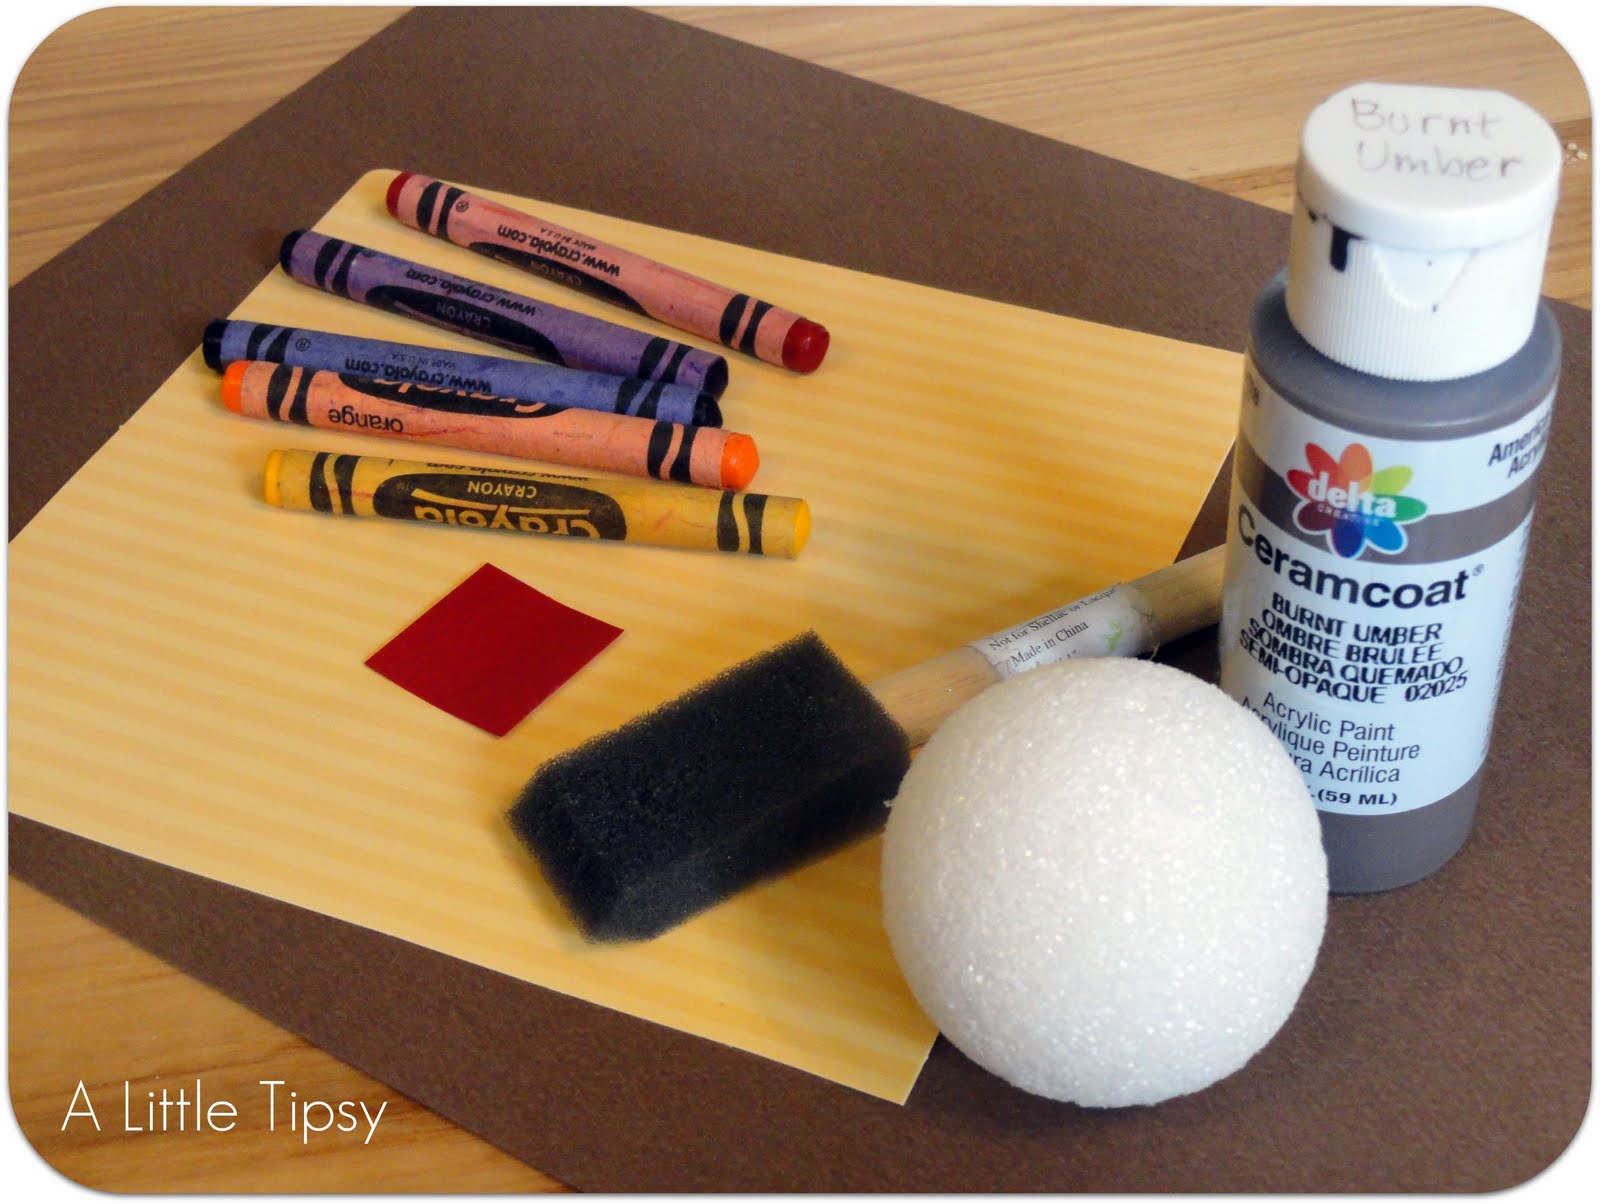
Supplies needed:

2″ Styrofoam ball
Serrated knife
Brown paint
Foam Brush
5 Crayons
Pointy nosed pen
Brown cardstock
Yellow cardstock
Red Cardstock
Scissors


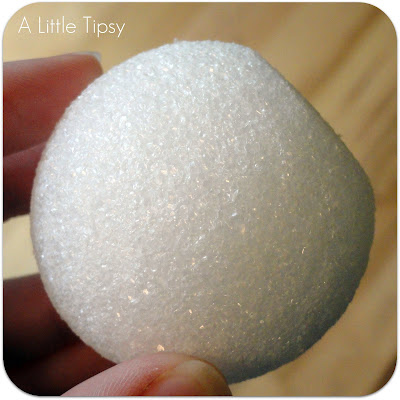
1. Slice off the bottom of the ball with a knife so it will sit flat.


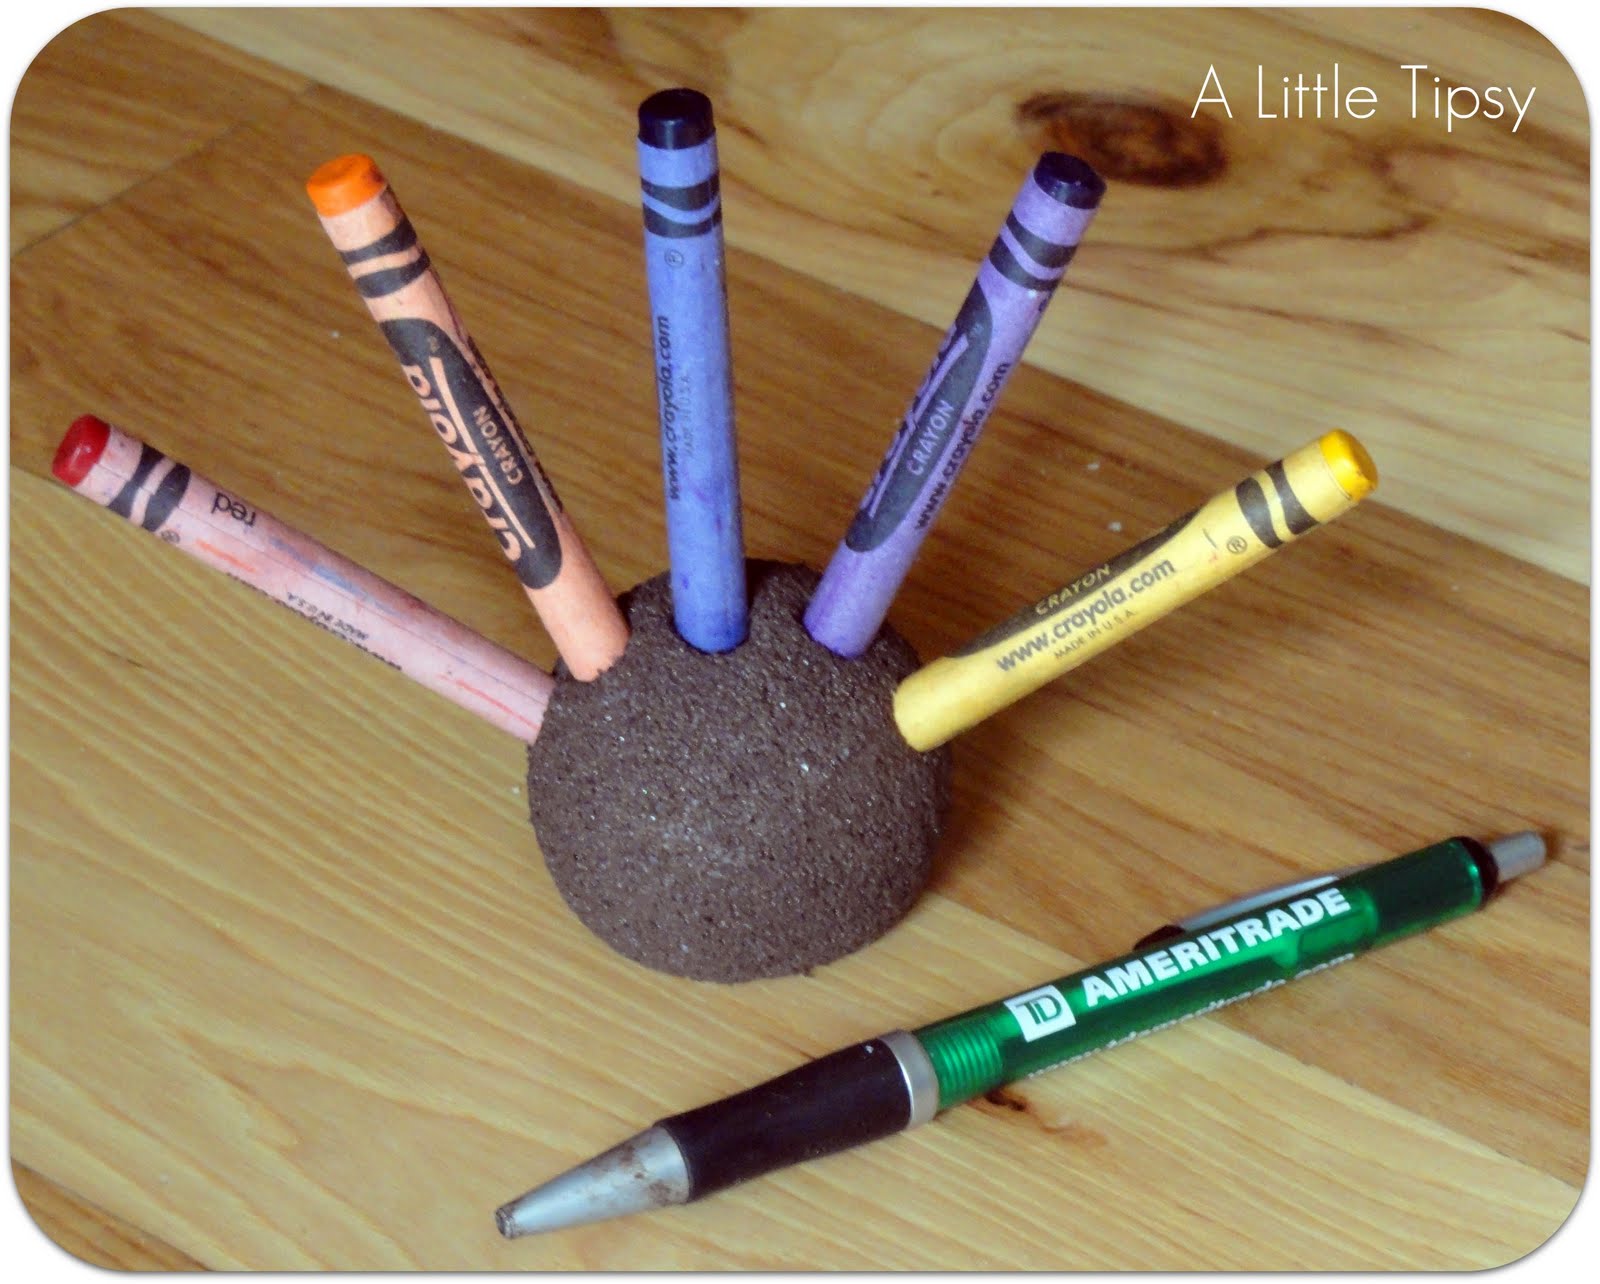
2. Paint the ball brown.

3. In the center of the ball, push the pen in to the styrofoam about 1/2 inch to make a holes for the crayons. It has to be in the middle straight to the center or the crayons will tip the ball over.


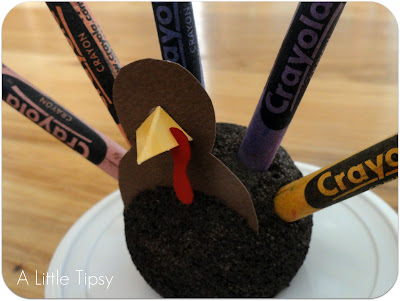
4. Cut a body shape, beak, and gobble out of the cardstock.


5. Use your knife to make a slit in the styrofoam in front of the crayons to slide the body in.


6. Hot glue the beak on. Cut a tiny slit in the gobble and slide it on to the beak.


Find a nice place for him on the kids table…


or set him free to roam.


We have decided to truncate our feed to help protect against stolen content. I apologize for any inconvenience. Please love us anyway. 🙂
« Previous Page
Next Page »

  • Bloglovin
  • Facebook
  • Google+
  • Instagram
  • Pinterest
  • RSS
  • Twitter

Hi there! I'm Michelle. Mother of three little boys and one little princess. Welcome to A Little Tipsy, a place for exploring creativity and sharing inspiration.

Follow on Bloglovin


Visit Michelle Barneck {A Little Tipsy}'s profile on Pinterest.

Tutorials by Category


15 Family Reunion Games

Family Reunion Games Collage

15 Sprinkle Party Ideas

Sprinkle Birthday Party
Creative Commons License

© Copyright 2014 A Little Tipsy · Site Designed by The Fairy Blogmother · Web Hosting by RFE Hosting

This website uses cookies to improve your experience. We'll assume you're ok with this, but you can opt-out if you wish.Accept Read More
Privacy & Cookies Policy