A Little Tipsy

Creative Tips & Ideas

  • home
  • About Me
  • the tipsy top
  • press
  • projects
  • contact me
[print_thumbnail_slider]

Letter of the Week {A}

June 13, 2012 By Michelle Barneck 1 Comment

Summer is here and my little guy finished his first year of preschool! I wanted some fun activities too keep us entertained, but with some intellectual value. I decided that this summer we would go with letter themes. It is perfect to help my youngest who is learning to talk and my preschooler who is learning to read and write.
We of course kicked things off with A as the letter of the week.
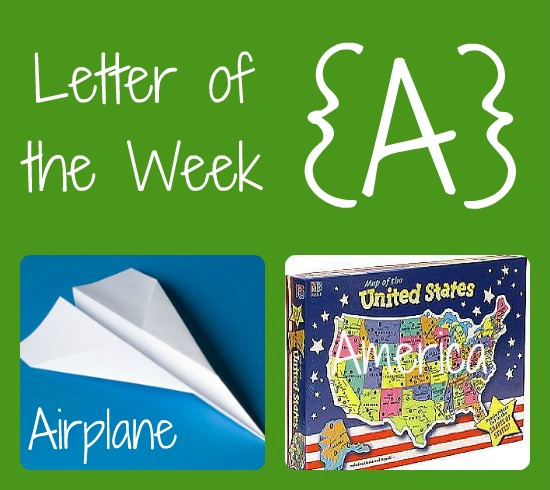
We folded paper Airplanes and had an Airplane flying contest.
Then, we did a puzzle of America, being sure to point out Arizona, Alaska, Alabama, Arkansas and the Atlantic Ocean.
I had my four year old write all the letter of the week words in Apple Green crayon to practice his writing.
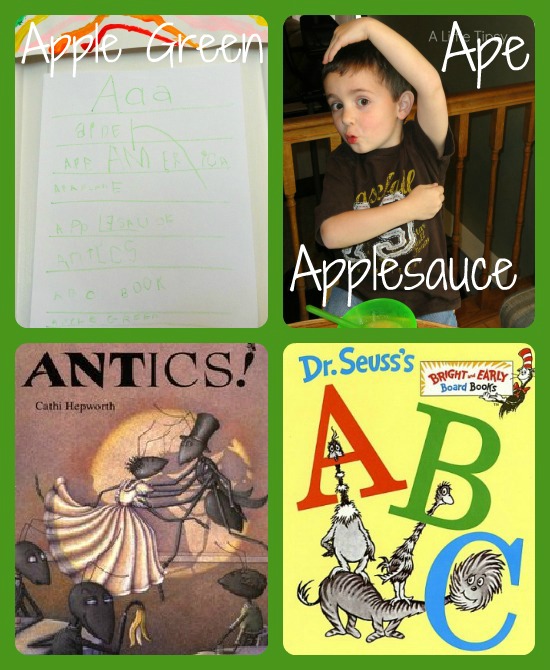
Photo credits: Antics, ABC book, Airplane, America puzzle

We pretended to be Apes and ate Applesauce for a snack.
Then, we read two books Antics and Dr. Suess’s ABC.
We had a whole other list of fun A things, but we will save them for the next time around.
What other fun A activities can you think of?


Want more? Letter of the Week {B}

P.S. Don’t forget to sign up for free Tipsy updates via RSS or email.

We have decided to truncate our feed to help protect against stolen content. I apologize for any inconvenience. Please love us anyway. 🙂
Puppet Playhouse & Craft It! Kit {GIVEAWAY}

April 26, 2012 By Michelle Barneck 6 Comments

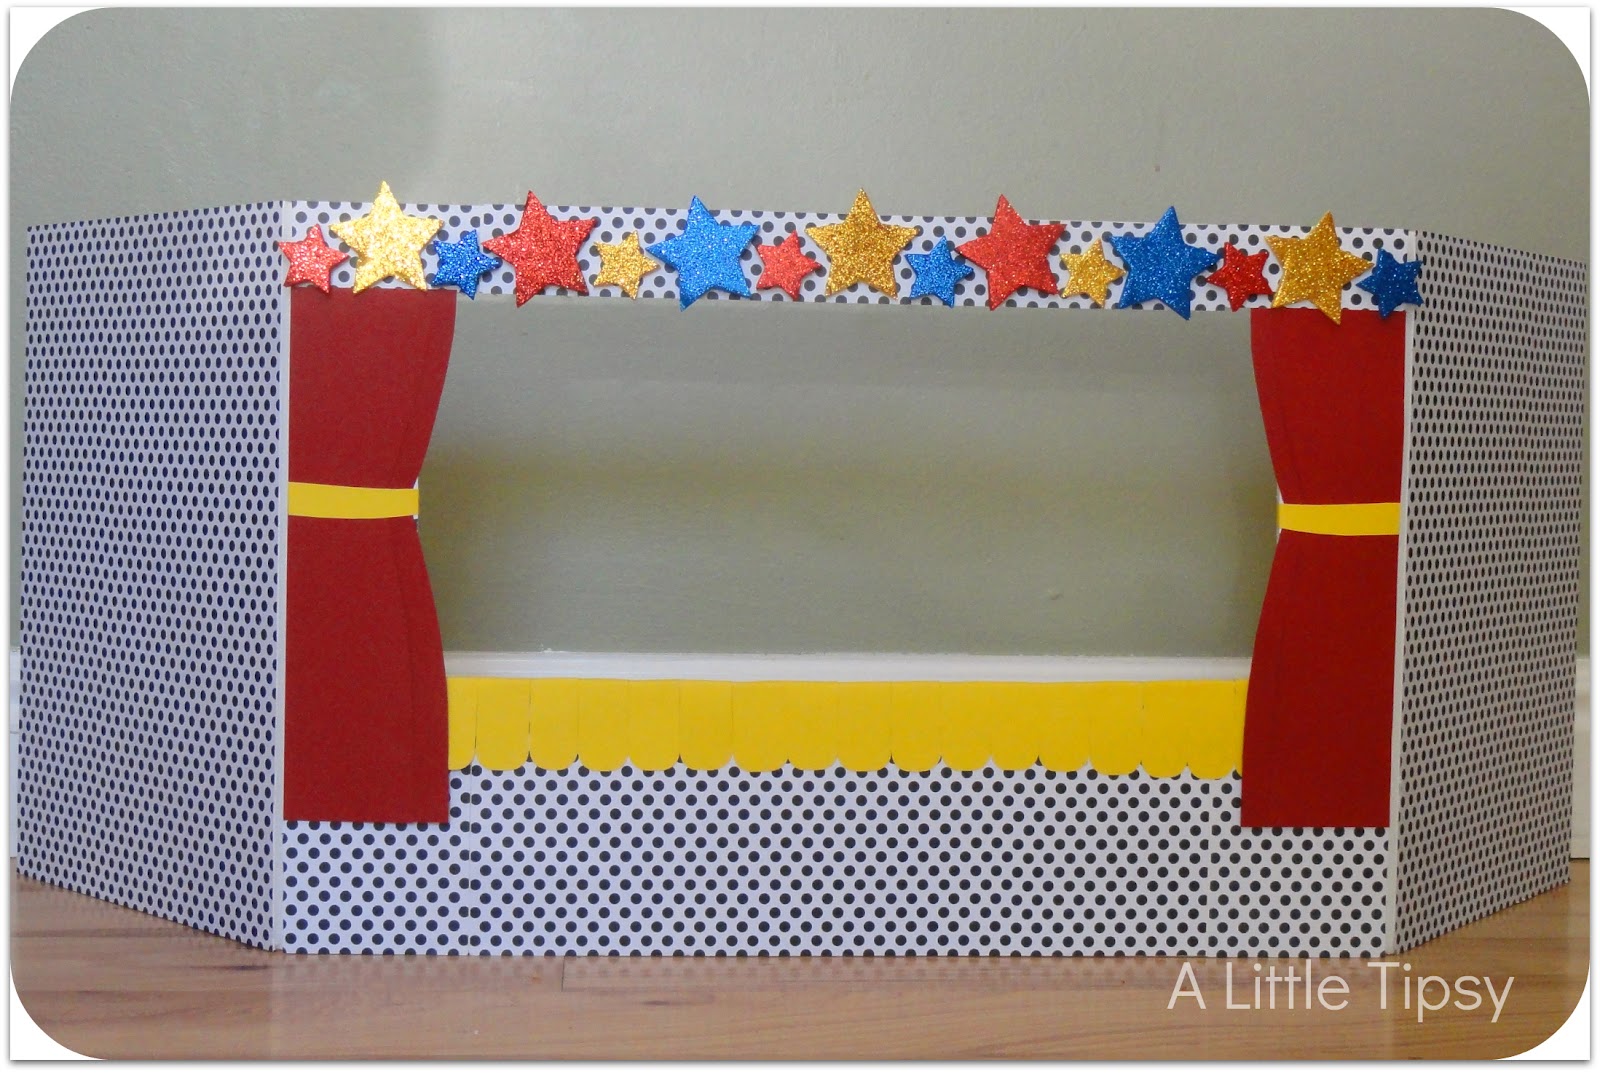
I am so excited to share what we have in store today! It’s one of those projects that makes my heart smile when I think about it. My kiddos and I created a puppet playhouse along with some animal puppets to go along. With spring break and summer on it’s way it is a super fun way to bust the “I’m Bored” streak!

I was excited when Elmer’s contacted me about their Craft it! Community! Craft it! is a place for creative gals to share their creations and project ideas, gain inspiration and seek crafting advice. I love having a place to visit filled with people who “get it.” You know, people who don’t think it’s weird that you keep 10 different types of adhesive on hand at all times and may even have an entire drawer dedicated to them.
We got a box in the mail and it was like Christmas! So many fun X-acto and Elmer’s things to create with!! We decided to make a puppet playhouse and various puppets so we would have a project for mommy’s strong opinion, but also some pieces the kids could do to their specifications. The kids had a blast putting together the puppets and putting on little shows. 

Puppet Supplies:
Scrap Paper & Cardstock
Popsicle sticks
Googly Eyes
Scissors
X-acto Corner Punch
Elmer’s Permanent Dot Runner 
Elmer’s Foam Adhesive Roll (for pig nose)
Painter’s Marker in White (for tiger fur)

For the puppets I cut out simple shapes for the bodies and heads (since my little one is still learning the ins and outs of scissors) and let him glue them all together with the dot runner. Many of the heads were just squares that I rounded with the corner punch. So easy!! You can see the basic shapes we used in the pictures below.

The puppets turned out so sweet and with so much more personality than if I would have done them on my own. I did the fringe for the mane after we glued it with the little precision tip scissors. This little lion just oozes cute factor!

My son insisted that I needed a Miss Piggy complete with blonde hair. We used the a piece of the foam adhesive roll to make the snout 3-D.
 

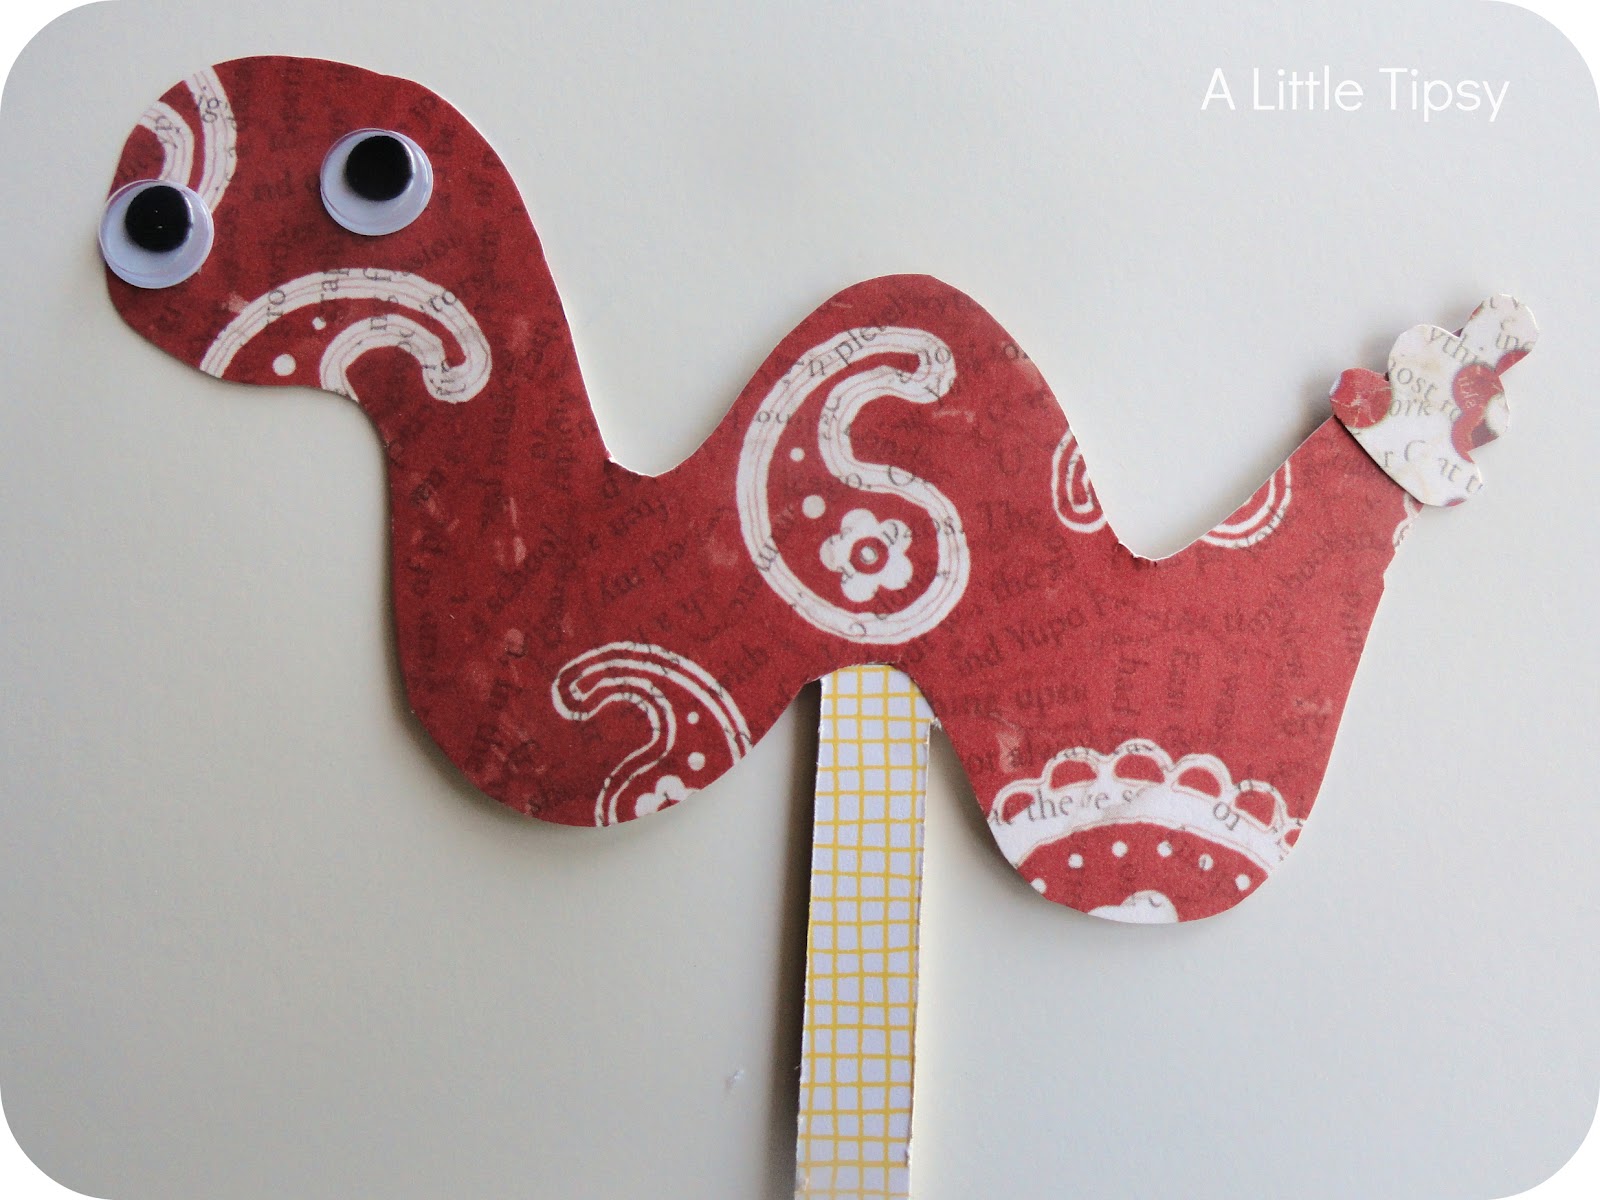
I didn’t even realize when I was cutting this snake out that I was giving him a frown. My little guy was nice enough to point out that he was sad because he had lost his mother and that Miss Piggy would adopt him.

I love how Mr. Octopus looks like he’s taking a step. My little guy also pointed out that the polka dots were suction cups. So creative these little ones!
We added some whiskers and fur on the tiger with the white Painter’s marker. It was surprisingly easy to use except for the slight mishap on the tail getting the paint flowing in the beginning.
By now my kiddos were ready for a break so off to naps they went and I decided to tackle the X-acto knife work and puppet playhouse without the little hands.
Puppet Playhouse Supplies:
2 Elmer’s Bifold Foam
X-acto Self-Healing Mat
X-acto Metal Ruler
Packing tape
X-acto Knife
Scissors
3 12×12 Polka Dot Paper
Red Cardstock
Yellow Cardstock
Elmer’s Permanant Dot Runner
Elmer’s Quick Dry Glue Pen
Glitter Foam Adhesive Stars
1. Open the two bi-fold foam boards and lay flat with the short ends together. Tape the two boards together with packing tape. Lay the center of the board on the self-healing mat and using the ruler and X-acto knife cut out a 6 inch by 12 inch rectangle about 1.5 inches from the top of the board.

2. Using the permanant dot runner around the edges, adhere your polka dot paper over the entire front of the board. I cut slits in the paper where the board folds so it could still fold flat when not in use.
3.Cut a bunch of little rectangles (about 1″ x 2″) out of yellow cardstock. Round the bottom edges with the corner punch. Glue the rectangles on the bottom of the “stage” by doing a line with the glue runner on the bottom edge of the stage on both sides and about and inch down from the bottom on the front. Also do a thin line of the Elmer’s quick dry pen where the foam is rough from the X-acto knife. Fold the rectangles over the edge of the stage one by one.
4. Cut 4 curtain shapes from the red, two slightly larger than the other and layer them to look like curtains. Cut a little piece of yellow cardstock to look like a curtain tie back. Glue them on with the permanent dot runner.
5. Stick the stars on the top of the stage.
The best is that it still folds flat for storage!
What are some things you like to do to keep your kids happy and creative? I would love some more ideas for summer!
How about some supplies to get you started?!
Elmer’s is giving away TWO Craft It! kits full of products!

FOAM AND DISPLAY BOARD:
•             9” x 12” Mini Bi-Fold Foam Board
X-ACTO:
•             Designer Series Gripster Craft Knife
•             Designer Series 12” Metal Ruler
•             Designer Series 12” X 12” Self Healing Mat
•             Designer Series 8” Scissors
•             Designer Series 5” Precision Tip Scissors
•             Designer Series Basic Shape Templates
•             Designer Series Decorative Shape Templates
PAINTERS:
•             Painters Bright Colors
•             Painters Sherbet Swirl
CRAFTBOND:
•             Dot Runner
•             Foam Mounting Tape
•             Thin Medium Glue Spots
•             All Purpose Glue Stick
•             Quick Dry Dual Tip Glue Pen
•             Elmer’s Designer Tape

Enter with the Rafflecopter form below.

a Rafflecopter giveaway

P.S. Don’t forget to sign up for free Tipsy updates via RSS or email.

We have decided to truncate our feed to help protect against stolen content. I apologize for any inconvenience. Please love us anyway. 🙂

Egg Craft

April 2, 2012 By Michelle Barneck 2 Comments

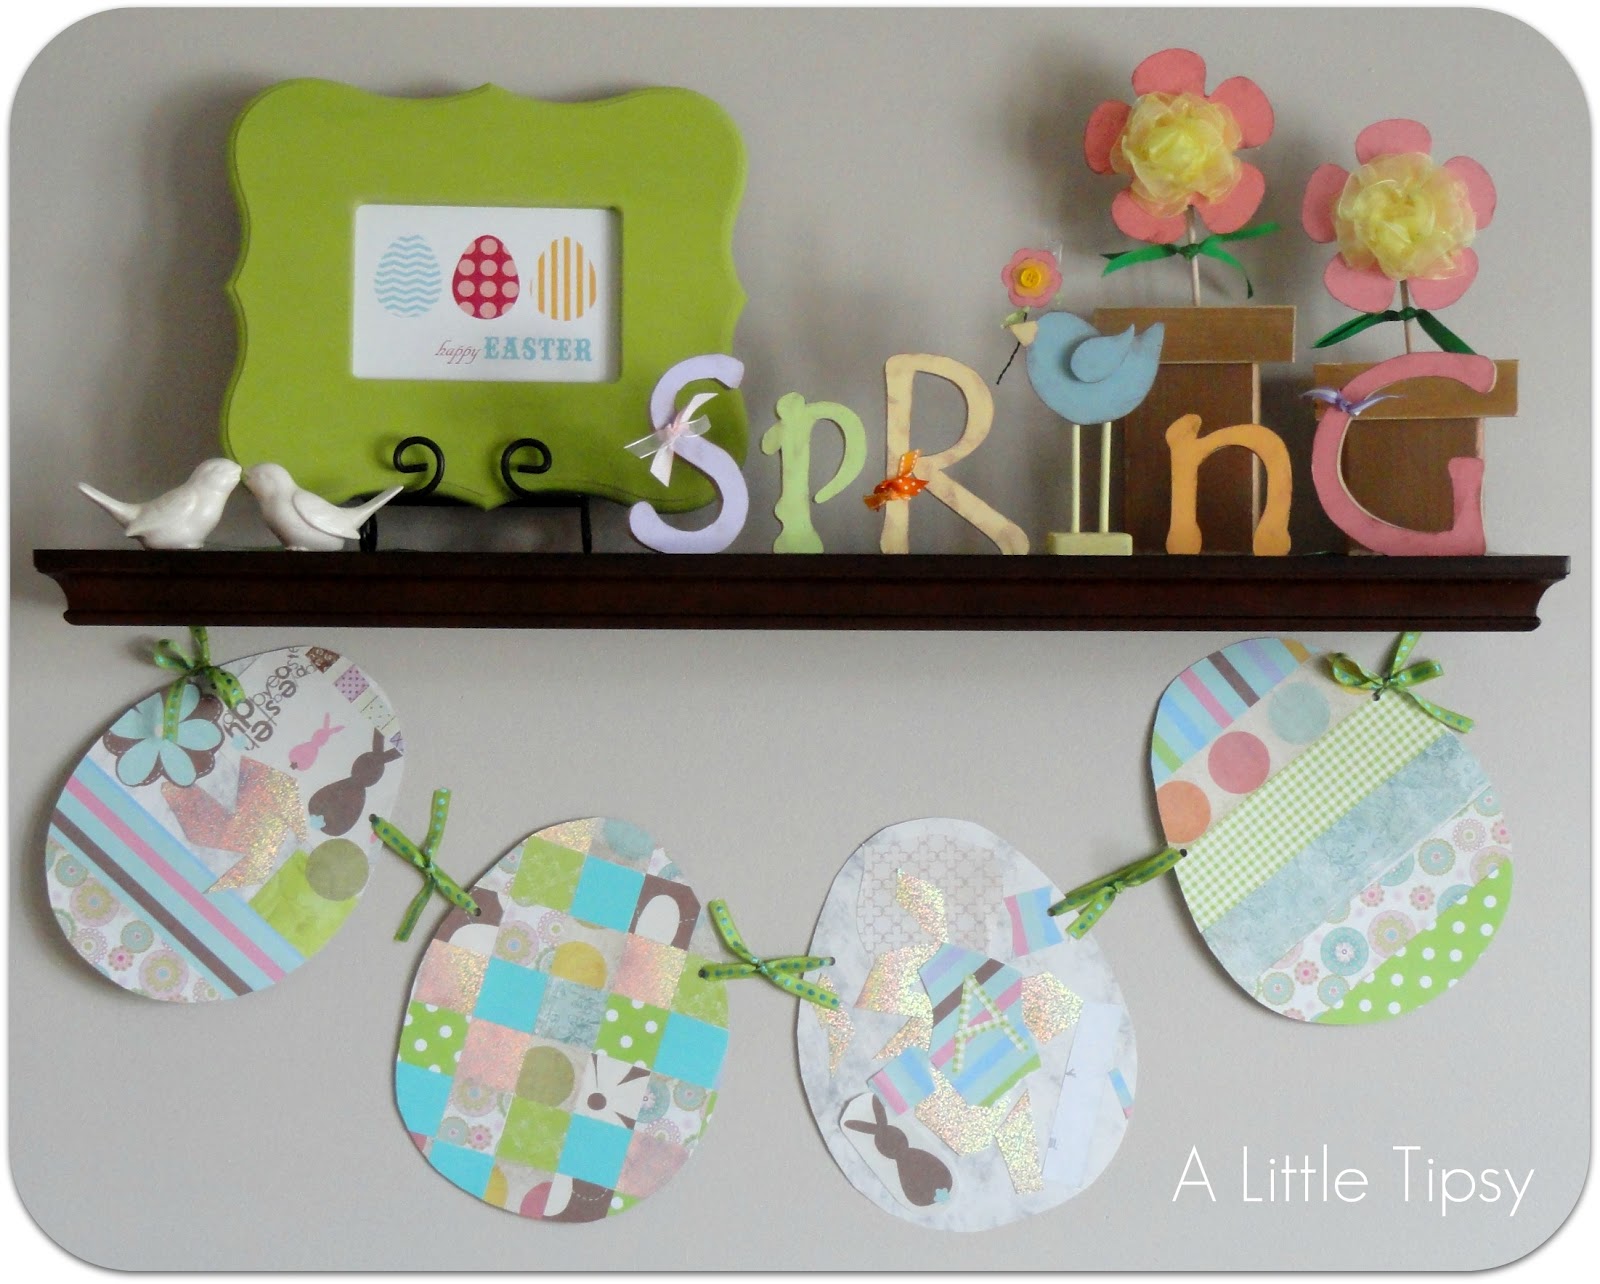
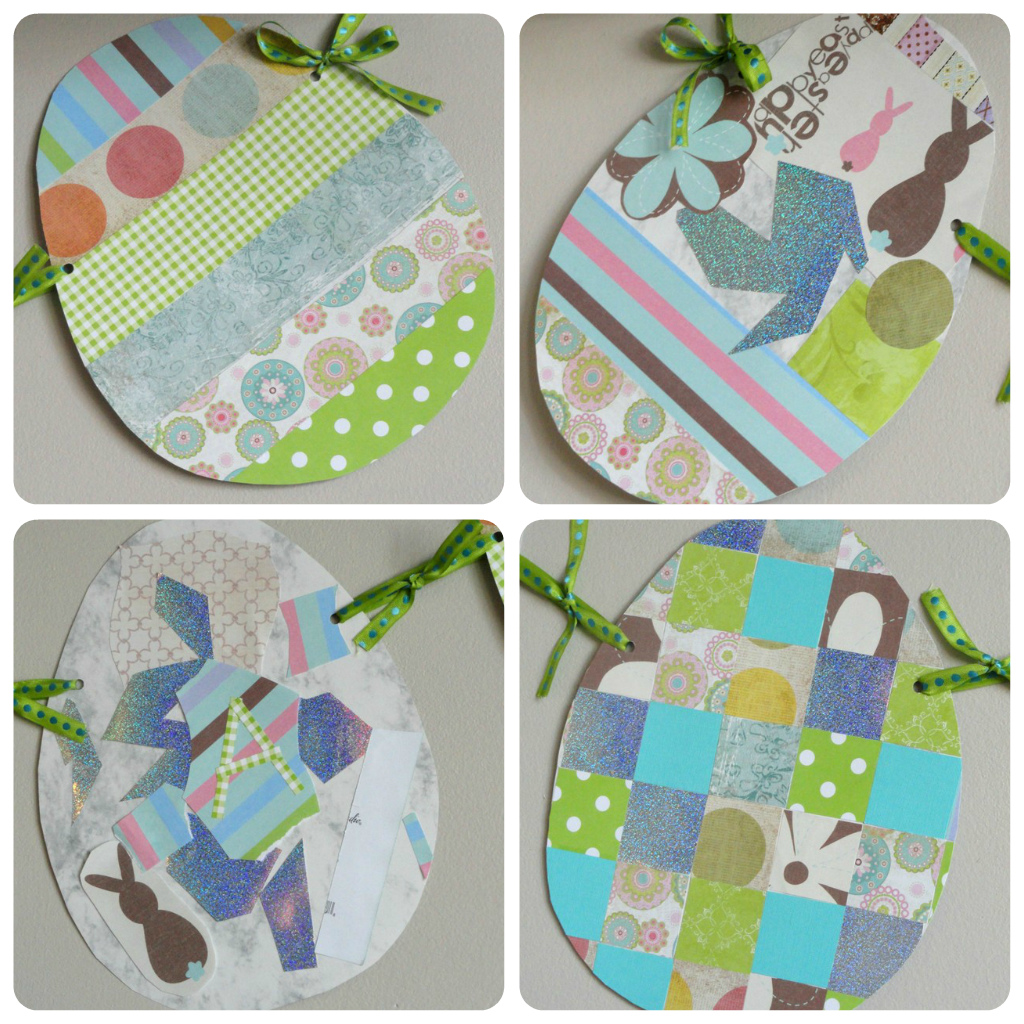
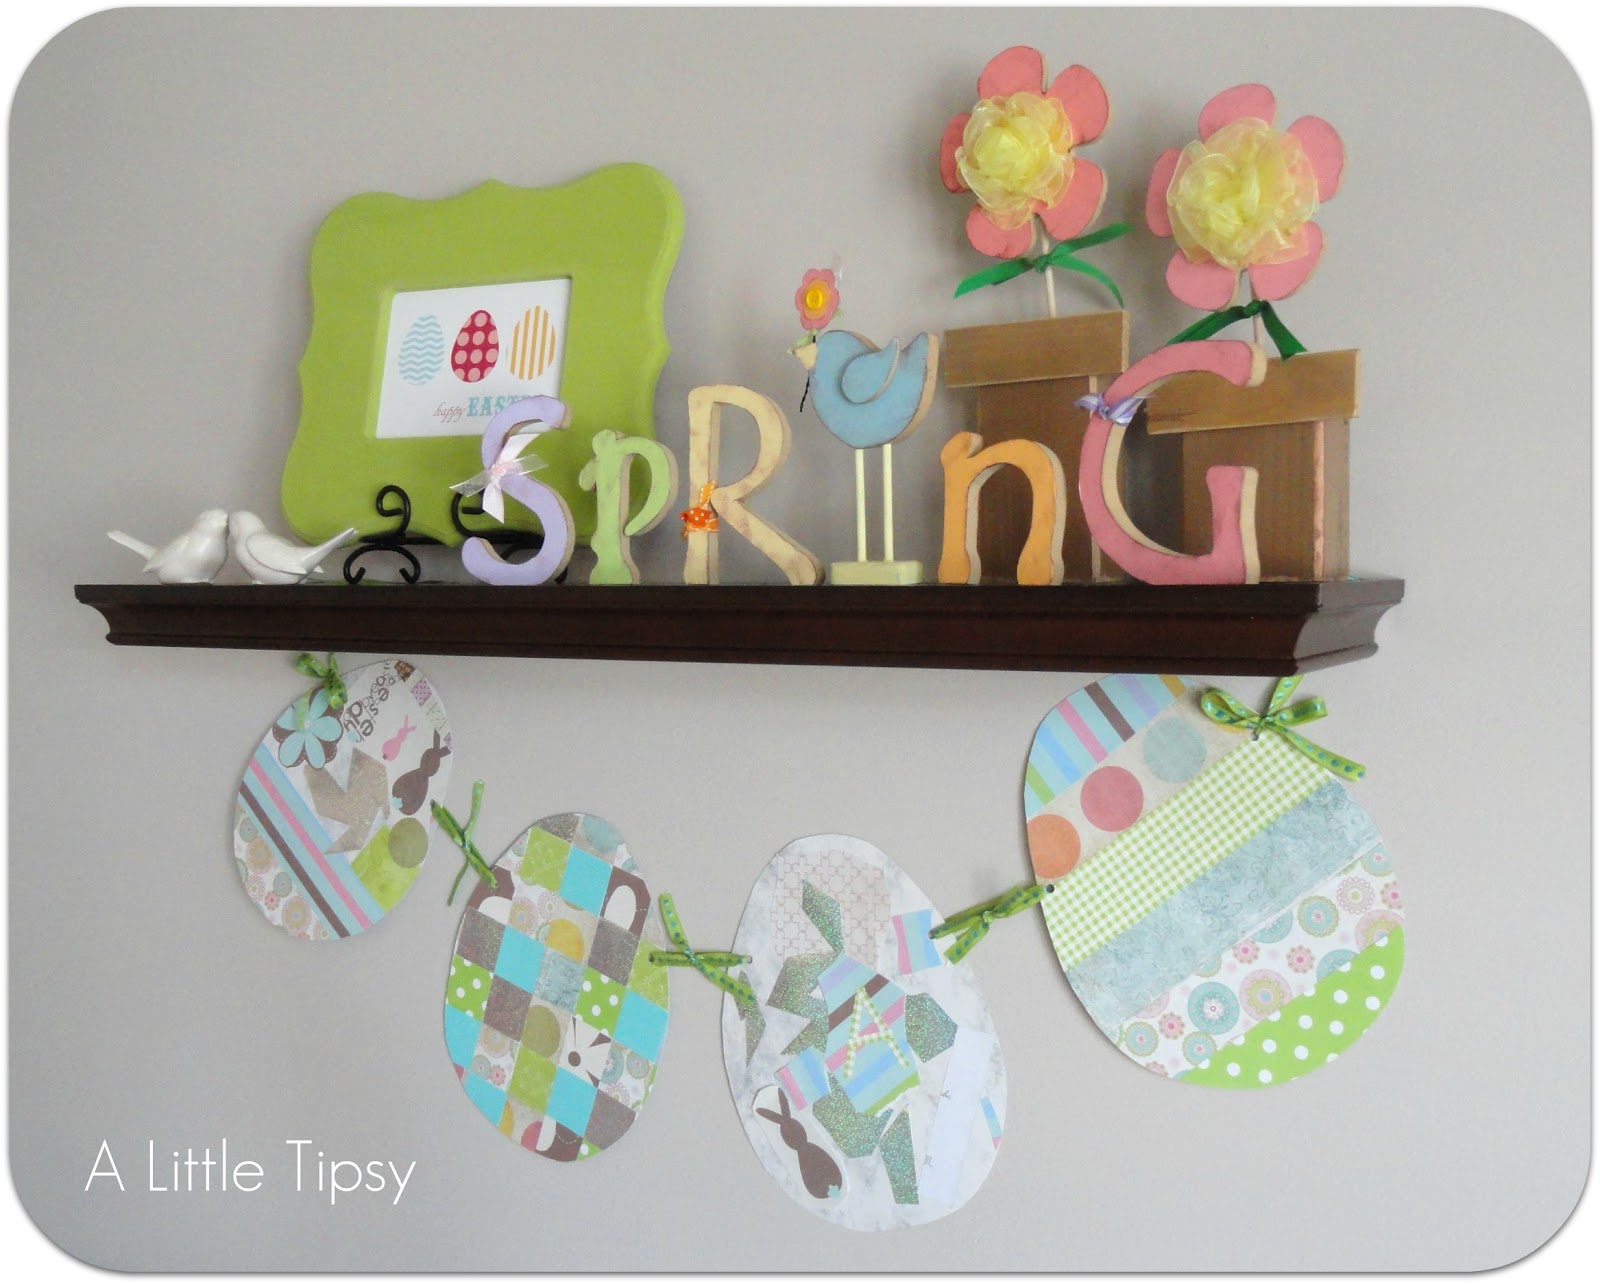
Here’s a super easy Easter Egg Craft that you can do with the kiddos with things you probably have around the house. It’s a simple way to decorate and show off their artwork too!
Egg Craft Supplies:
Cardstock cut in to egg shapes
Scrapbook paper
Scissors
Glue sticks
Hole punch & Ribbon (optional for banner)
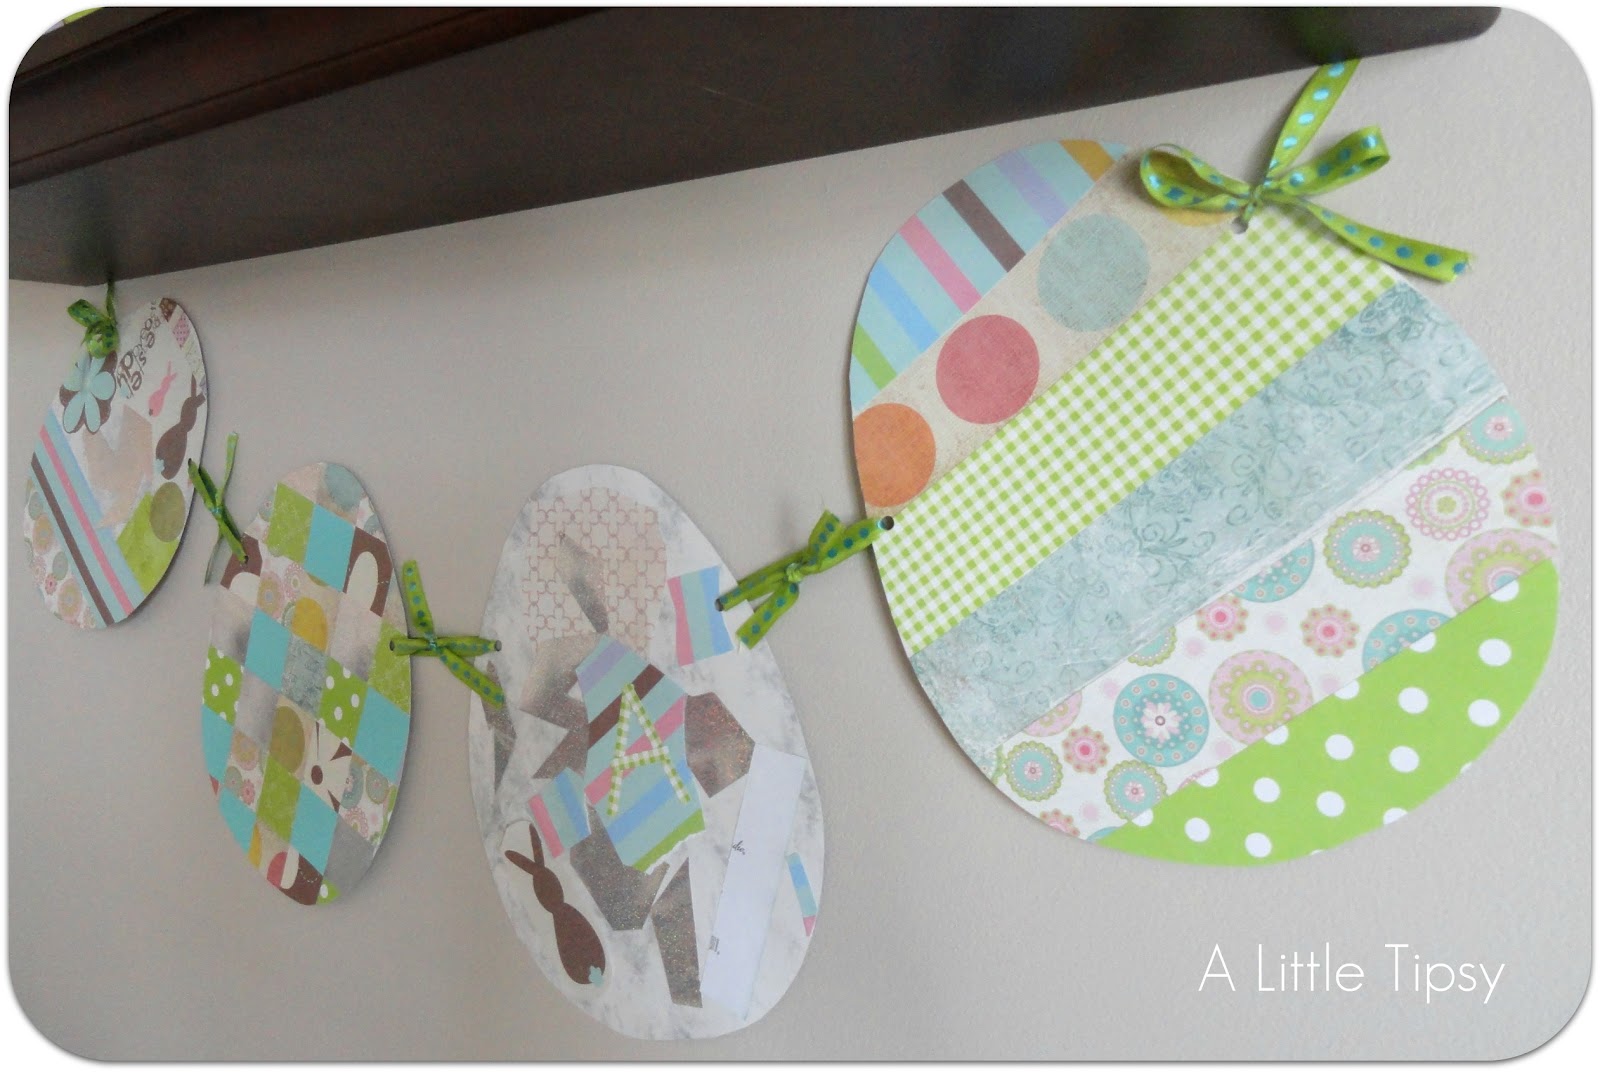
I cut an egg for each member of the family and let each person decorate their own (well maybe the hubs was at work, so we made him a checkered one.) My four year old did his all on his own. For my 17 month old, I would hold up 3 colors of paper and let him choose the color and I would incorporate it on his egg somehow.
Punch holes and string together to use for a Easter banner.

P.S. Don’t forget to sign up for free Tipsy updates via RSS or email.

We have decided to truncate our feed to help protect against stolen content. I apologize for any inconvenience. Please love us anyway. 🙂

10 LDS Conference Activities for Kids

March 17, 2012 By Michelle Barneck 10 Comments

With three little ones of my own, I know it can be hard to be able to sit down and peacefully listen to General Conference. I am all for having a bag of tricks to keep the kiddos interested and/or even quiet so here are a few LDS Conference Activities I have come up with and used through the years.
LDS Conference Activities for Kids


close up multi colored beads heap in box Stock Photo - 99702421. Conference Bracelets
Pick a topic for each color of bead and create jewelry based on what things people speak on. Then have something colorful and fun to wear.


3. Conference Blocks

Talk about building on a firm foundation and use masking tape to label building blocks with topics. Build something using the building blocks of our faith by adding block each time you hear one of the keywords.

4. Pitch Your Tent
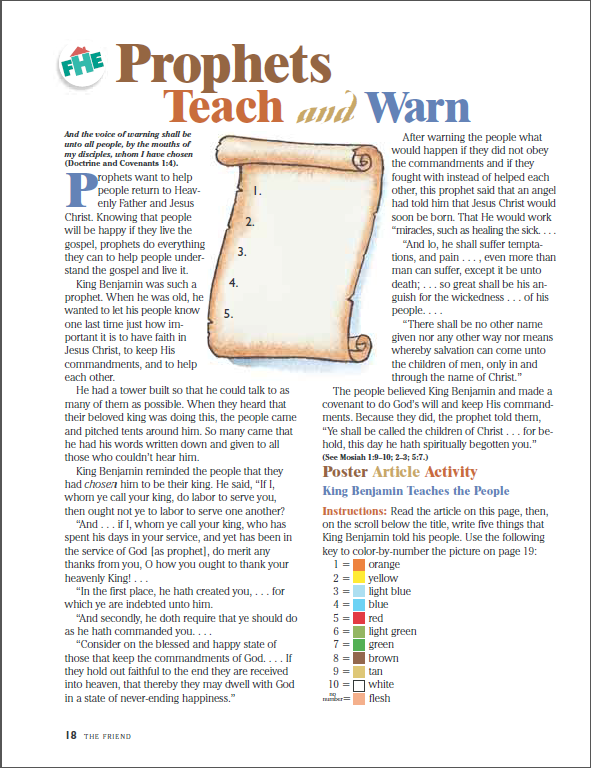
Make a tent with blankets with the door facing toward the television. Read the article and do the color by number of King Benjamin from the August 2001 Friend p. 18-19. What kid doesn’t love a good fort?

2. Conference Sundae
Earn a new ingredient (banana, ice cream scoop(s), hot fudge, caramel, nuts, whipped cream, etc) for every talk they listen to or take notes about. Treats are always a big motivator at our house.
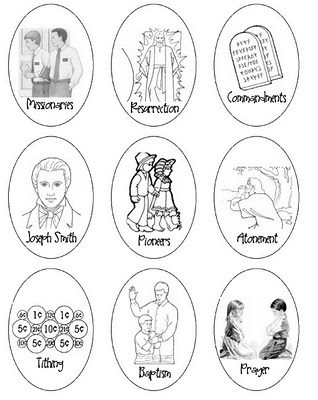
5. General Conference Easter Egg Hunt

Print the eggs from the link to the post above and fill your basket as you listen to the talks. This is especially great for the spring conferences that fall near or on Easter!

LDS General Conference Easter Egg Hunt

6. Temple Memory Game

Link above contains 3 printable versions: Utah, under construction, and reader request.

Temple Memory Game

7. LDS General Conference Coloring Page

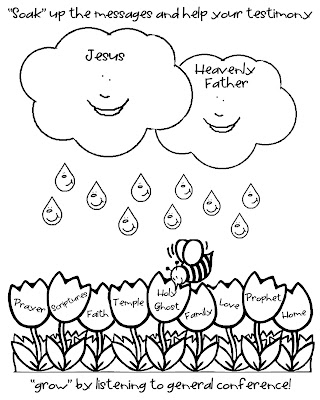
LDS General Conference Coloring Page


8. Temple Sewing Card

Just print the temple card on cardstock from post link above and laminate. Then punch holes on dots, add a ribbon and you are good to go!

Salt Lake Temple Sewing Card

9. General Conference Coloring

General Conference Coloring

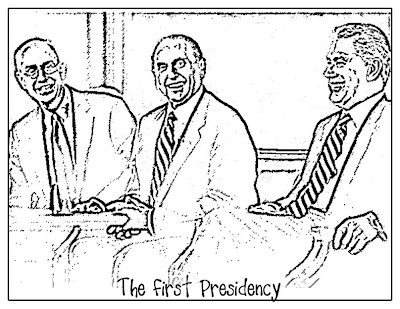
10. First Presidency Coloring Page

LDS First Presidency Coloring Page


We hope you enjoy this collection of LDS Conference Activities.
What activities do you have up your sleeves for conference?


————————————————-
Post sponsored by:


« Previous Page
Next Page »

  • Bloglovin
  • Facebook
  • Google+
  • Instagram
  • Pinterest
  • RSS
  • Twitter

Hi there! I'm Michelle. Mother of three little boys and one little princess. Welcome to A Little Tipsy, a place for exploring creativity and sharing inspiration.

Follow on Bloglovin


Visit Michelle Barneck {A Little Tipsy}'s profile on Pinterest.

Tutorials by Category


15 Family Reunion Games

Family Reunion Games Collage

15 Sprinkle Party Ideas

Sprinkle Birthday Party
Creative Commons License

© Copyright 2014 A Little Tipsy · Site Designed by The Fairy Blogmother · Web Hosting by RFE Hosting

This website uses cookies to improve your experience. We'll assume you're ok with this, but you can opt-out if you wish.Accept Read More
Privacy & Cookies Policy