I so enjoyed looking over the year with the collection of reader favorites that I decided to put together another collection of my 12 favorite projects from 2012 that didn’t make the first list. Just a fun list for anyone who is new or missed any of these from the past year. Enjoy!
DIY LAUNDRY ROOM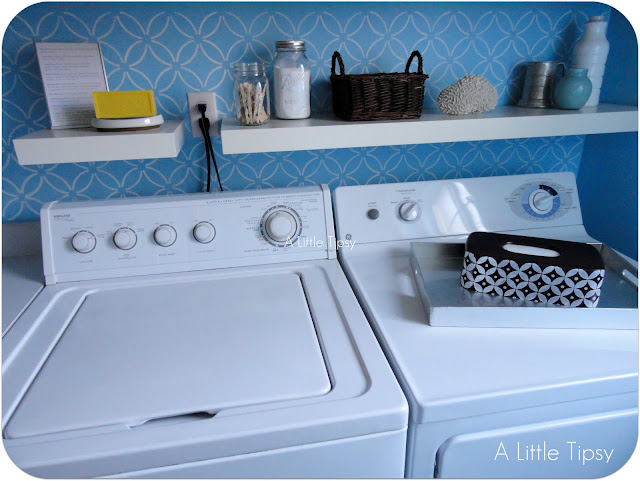
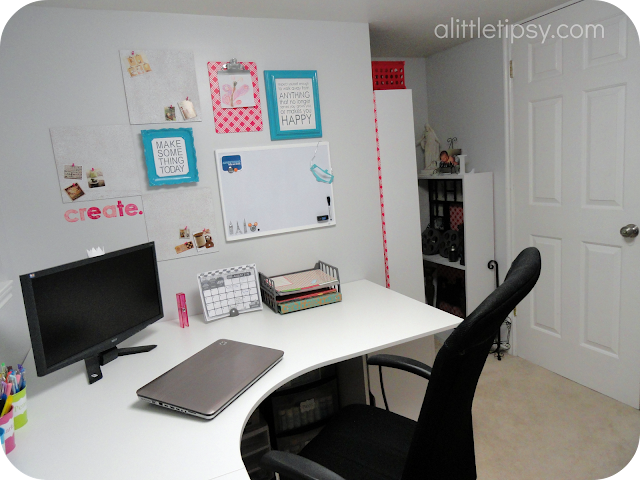
CRAFT ROOM REVEAL
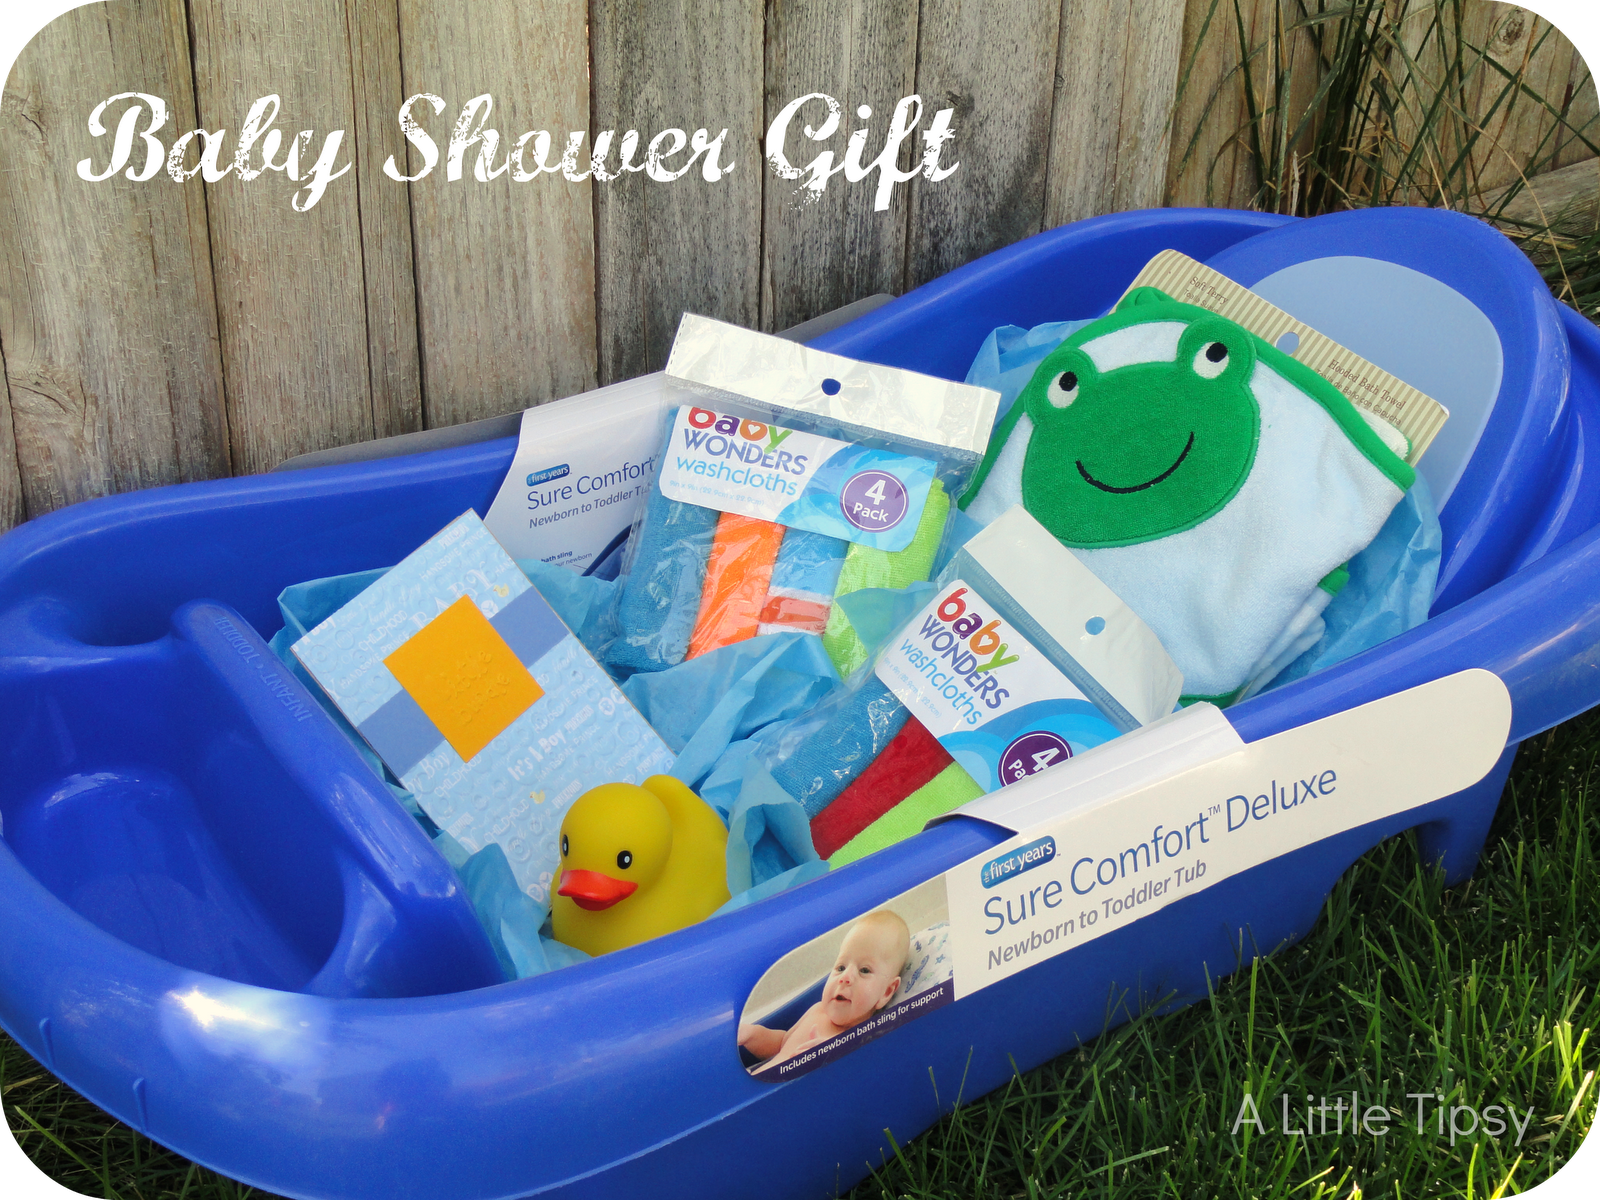
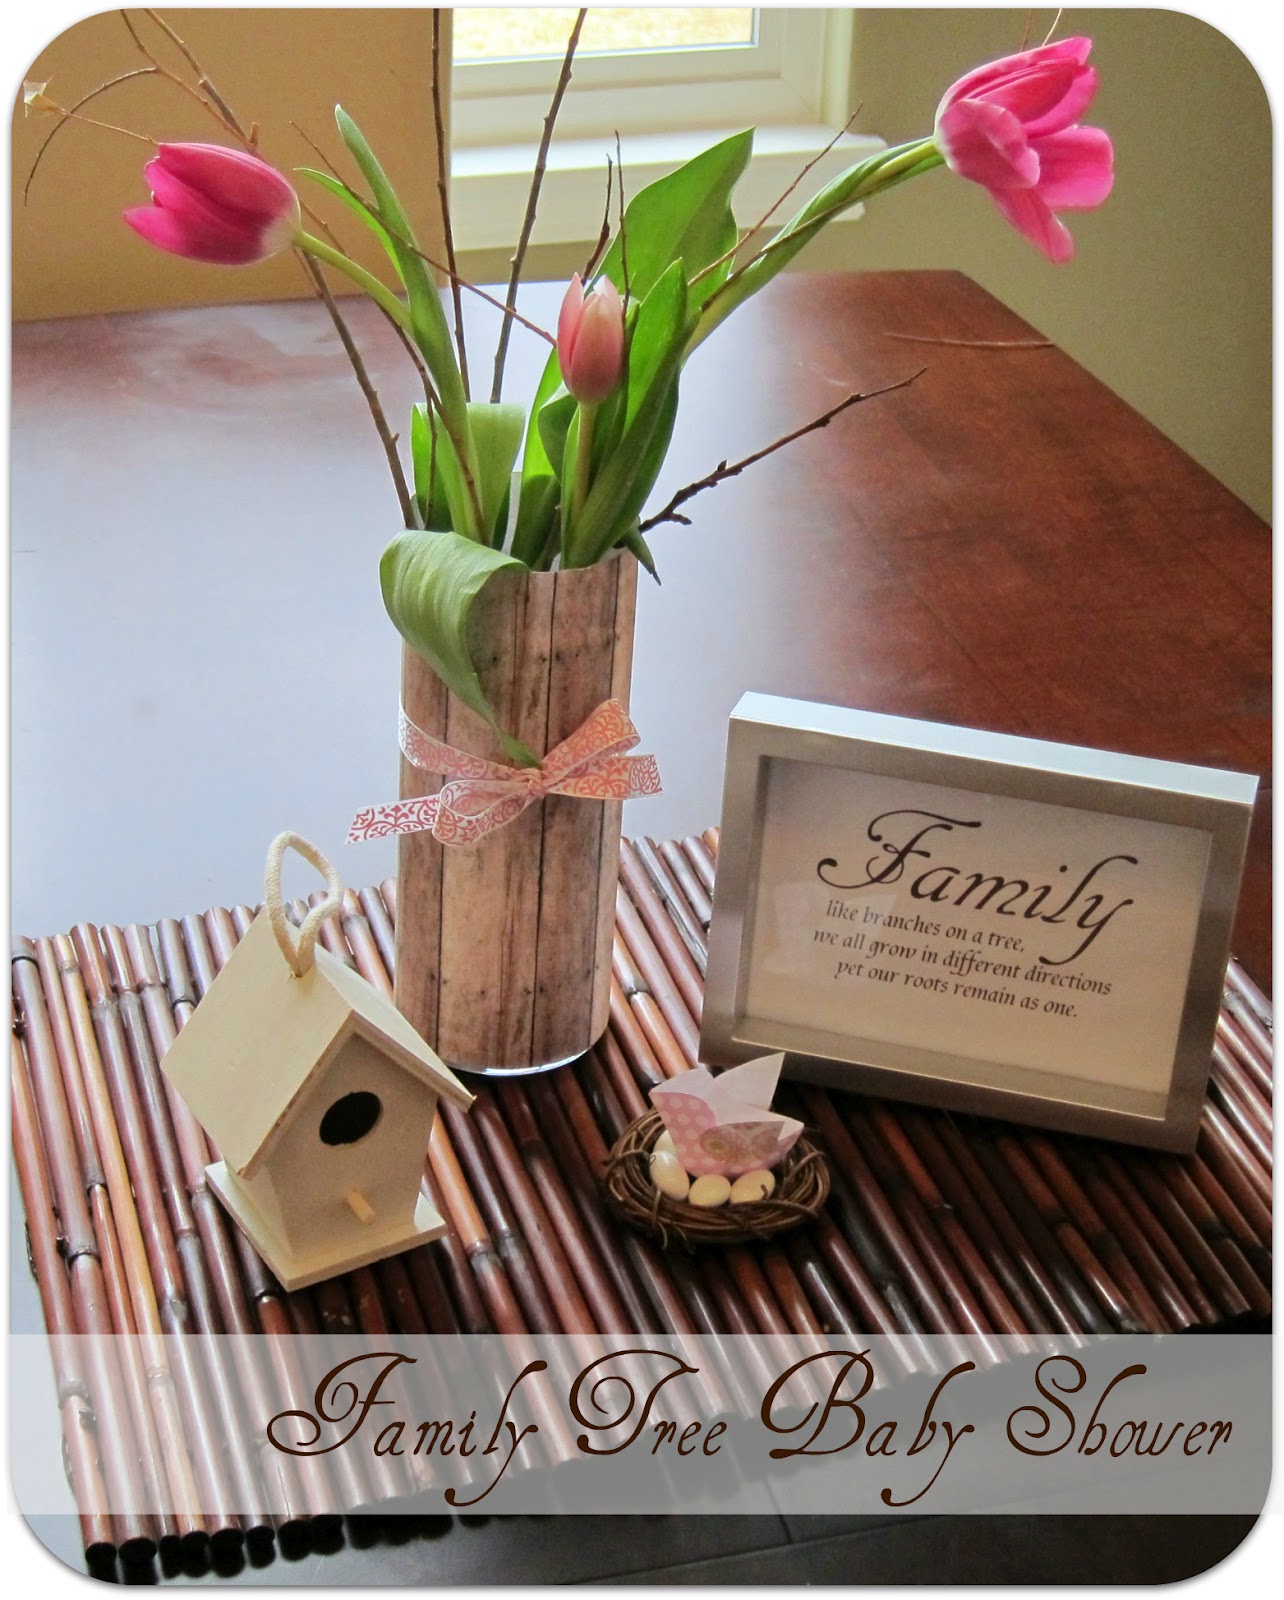
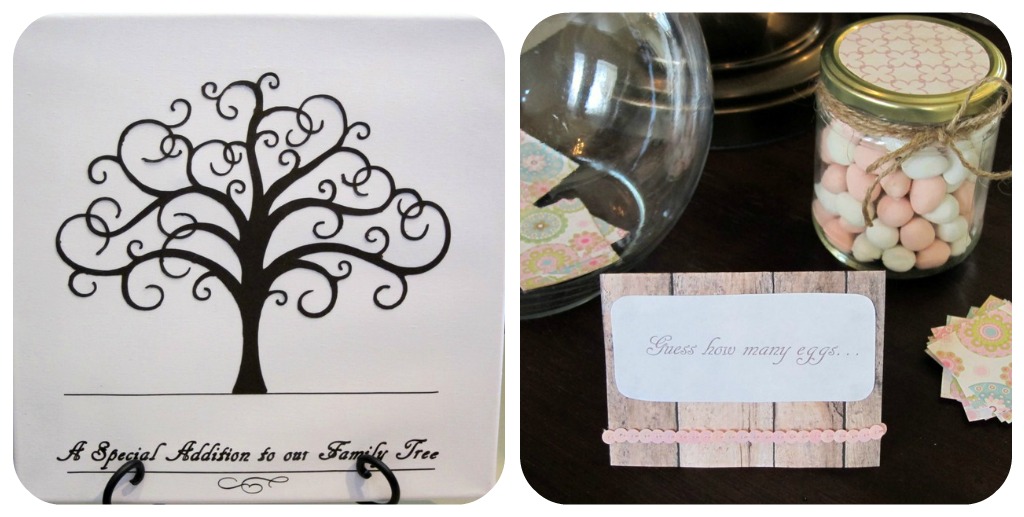
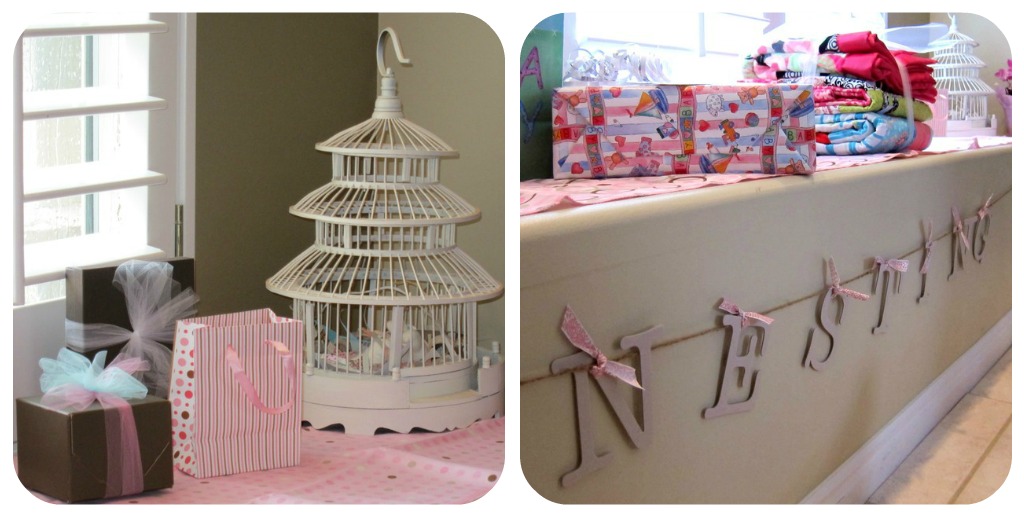
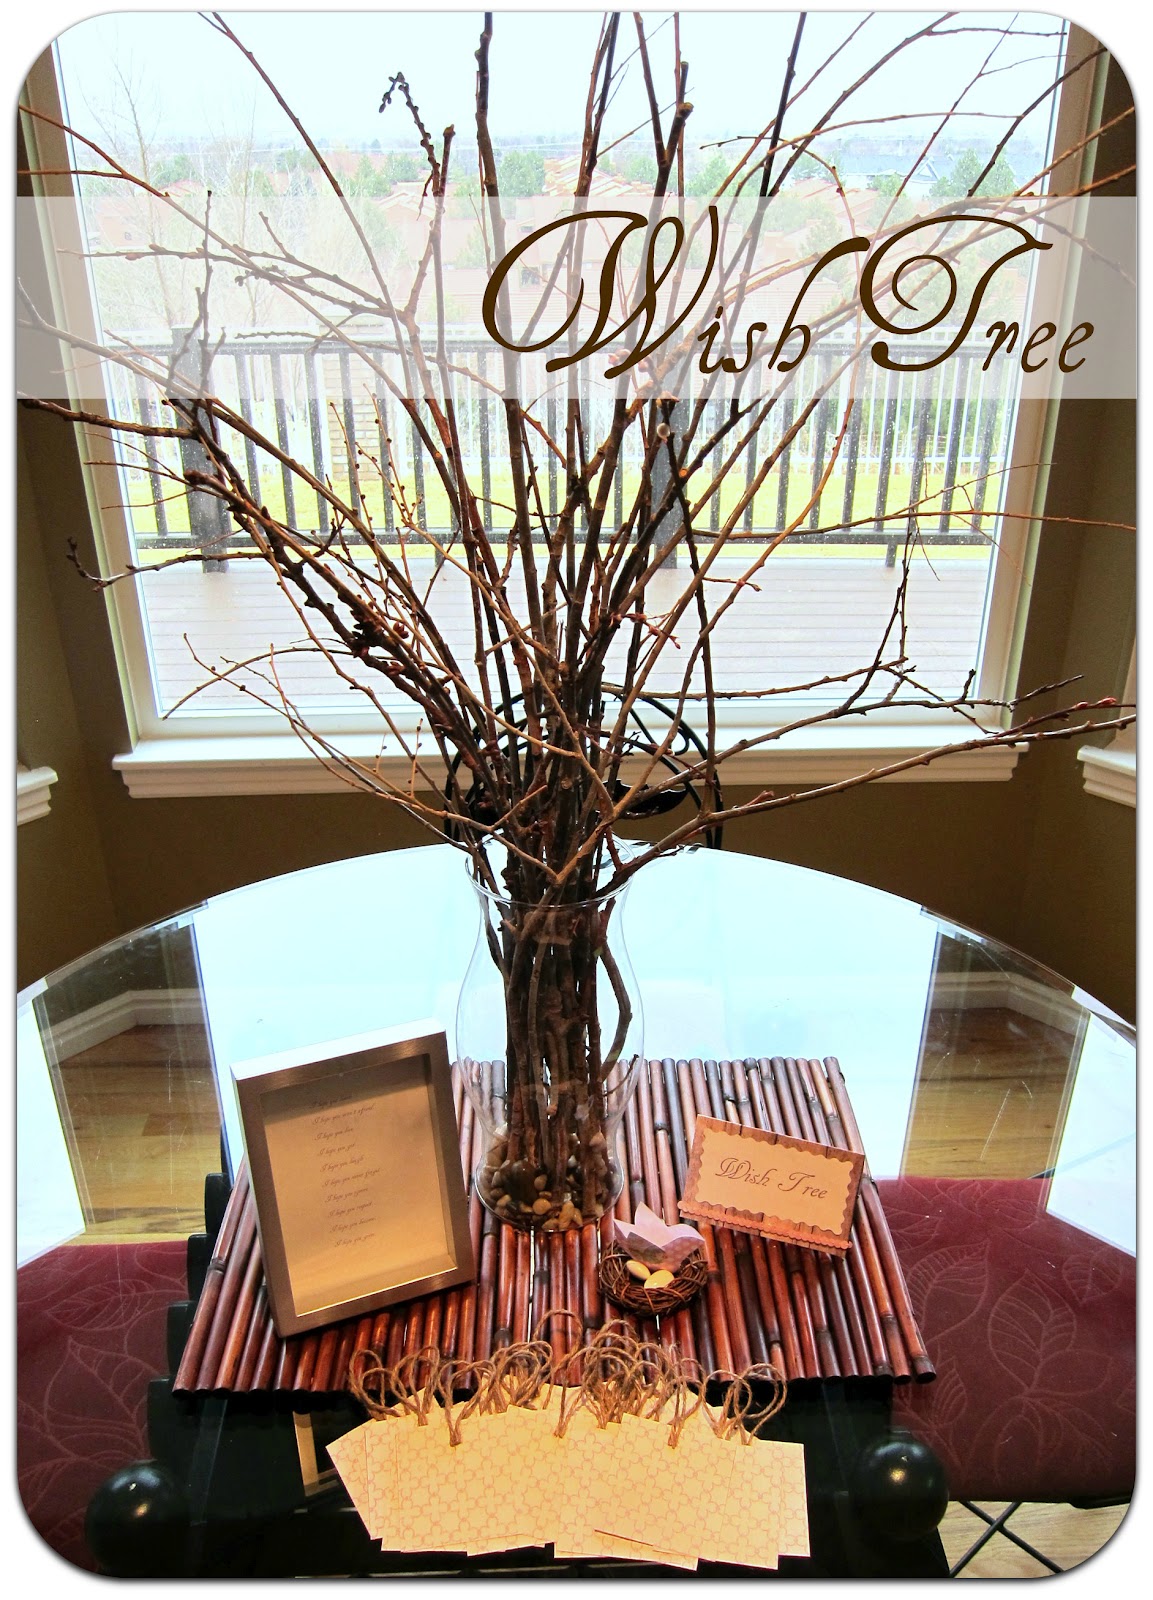
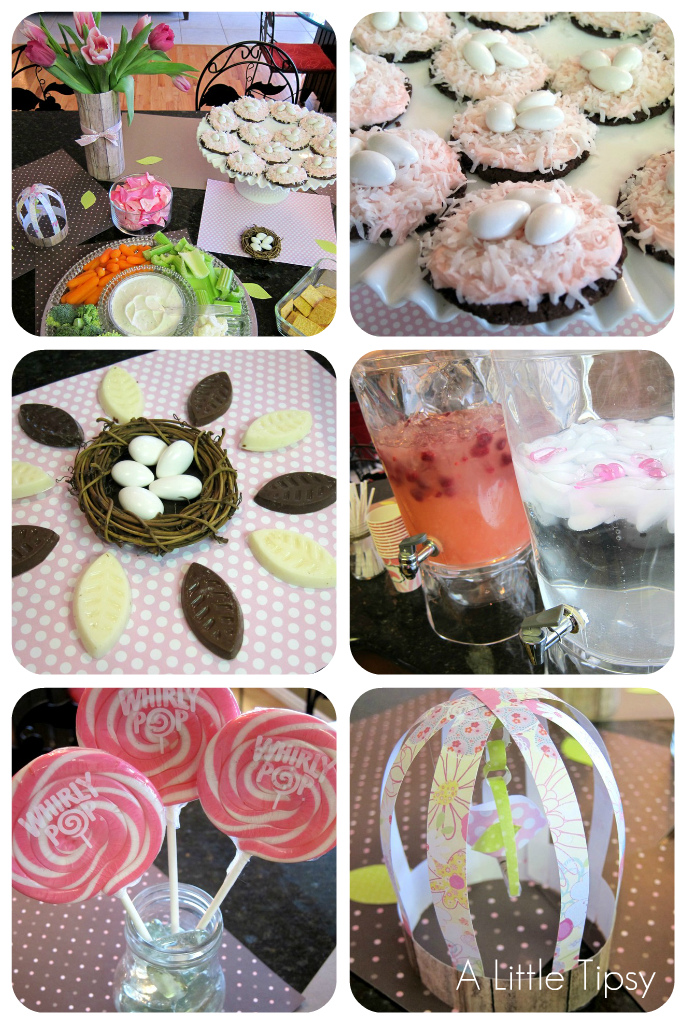
SPECIAL ADDITION TO OUR FAMILY TREE BABY SHOWER

SESAME STREET BIRTHDAY PARTY
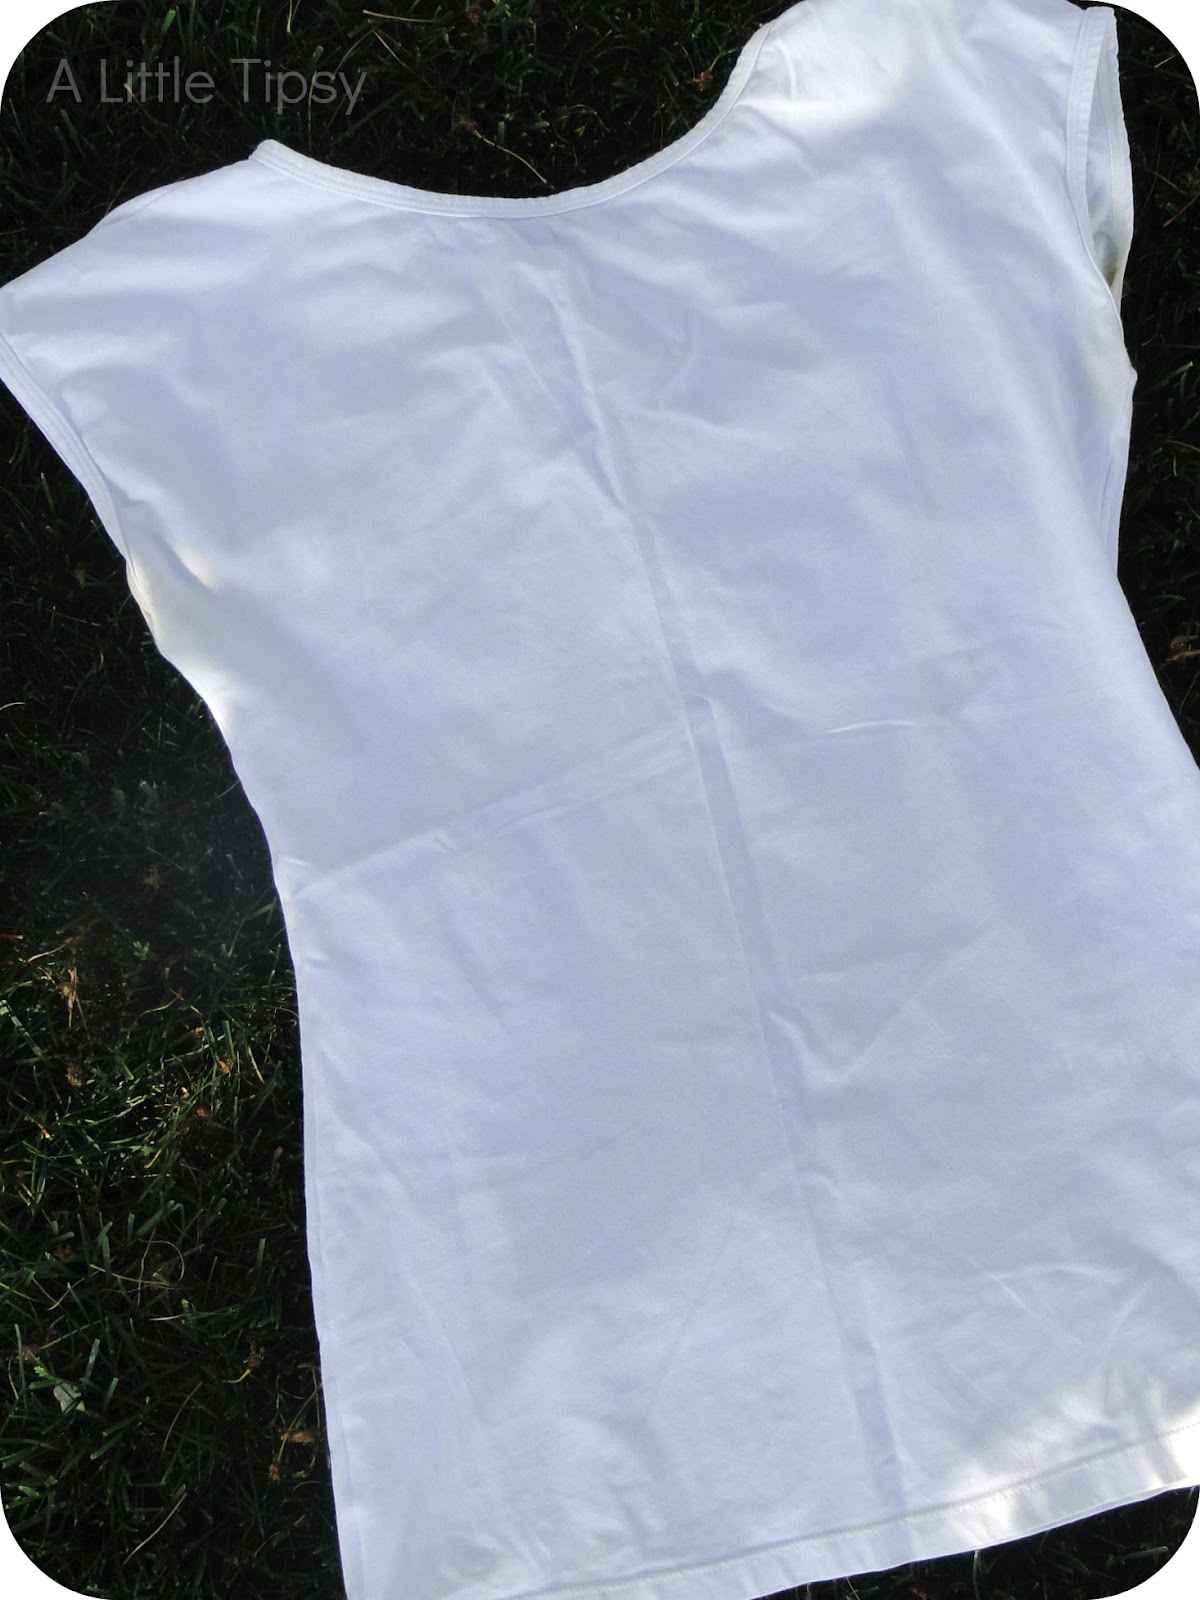
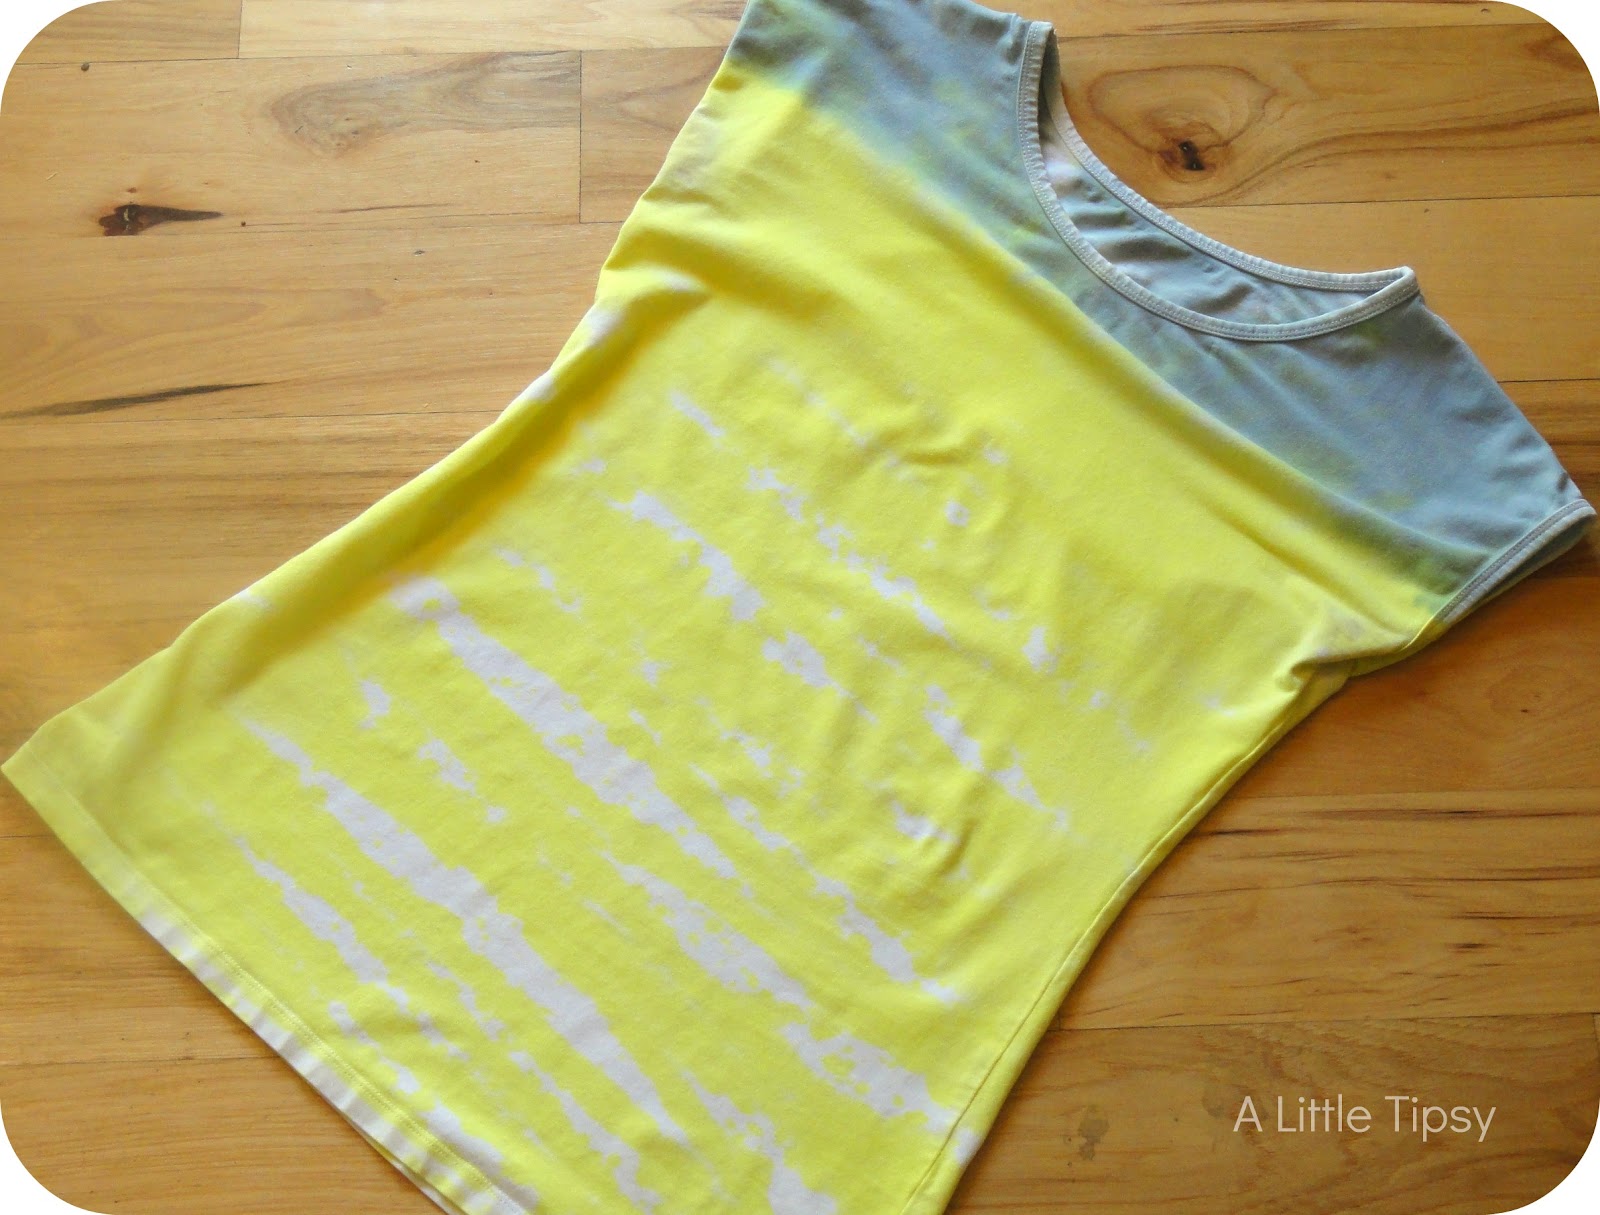
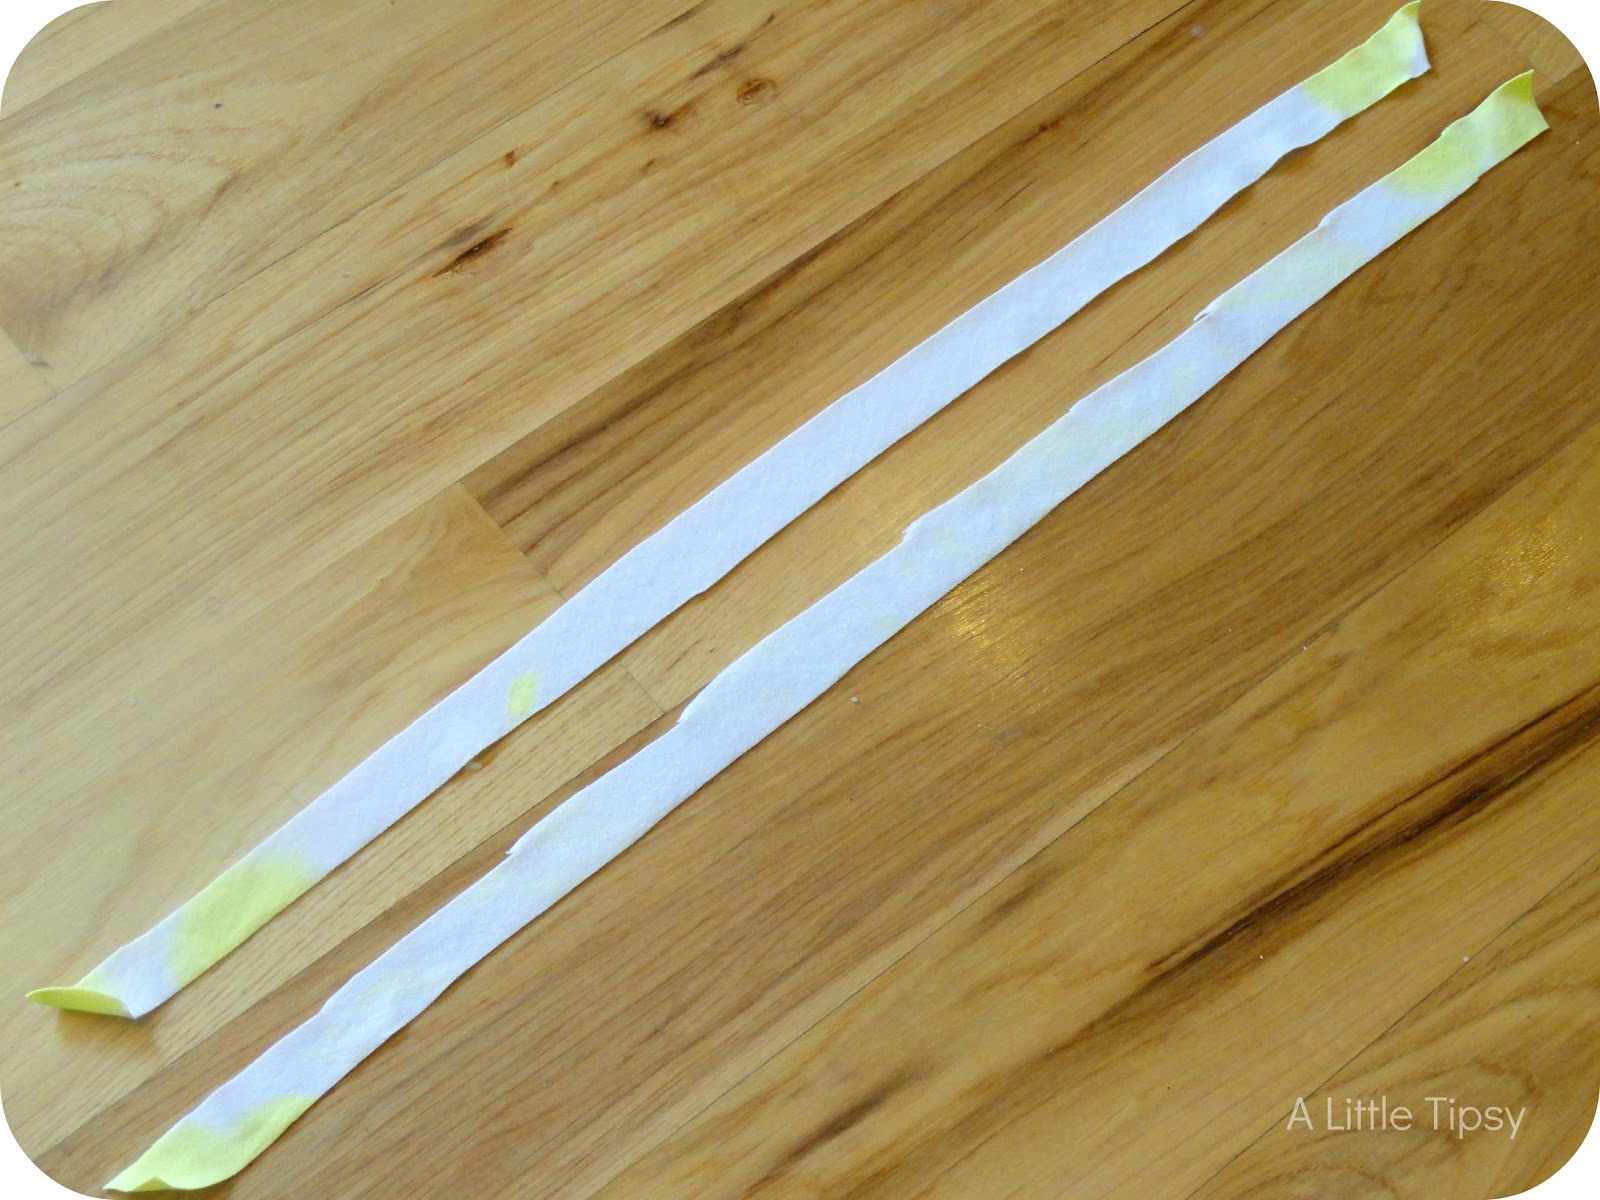
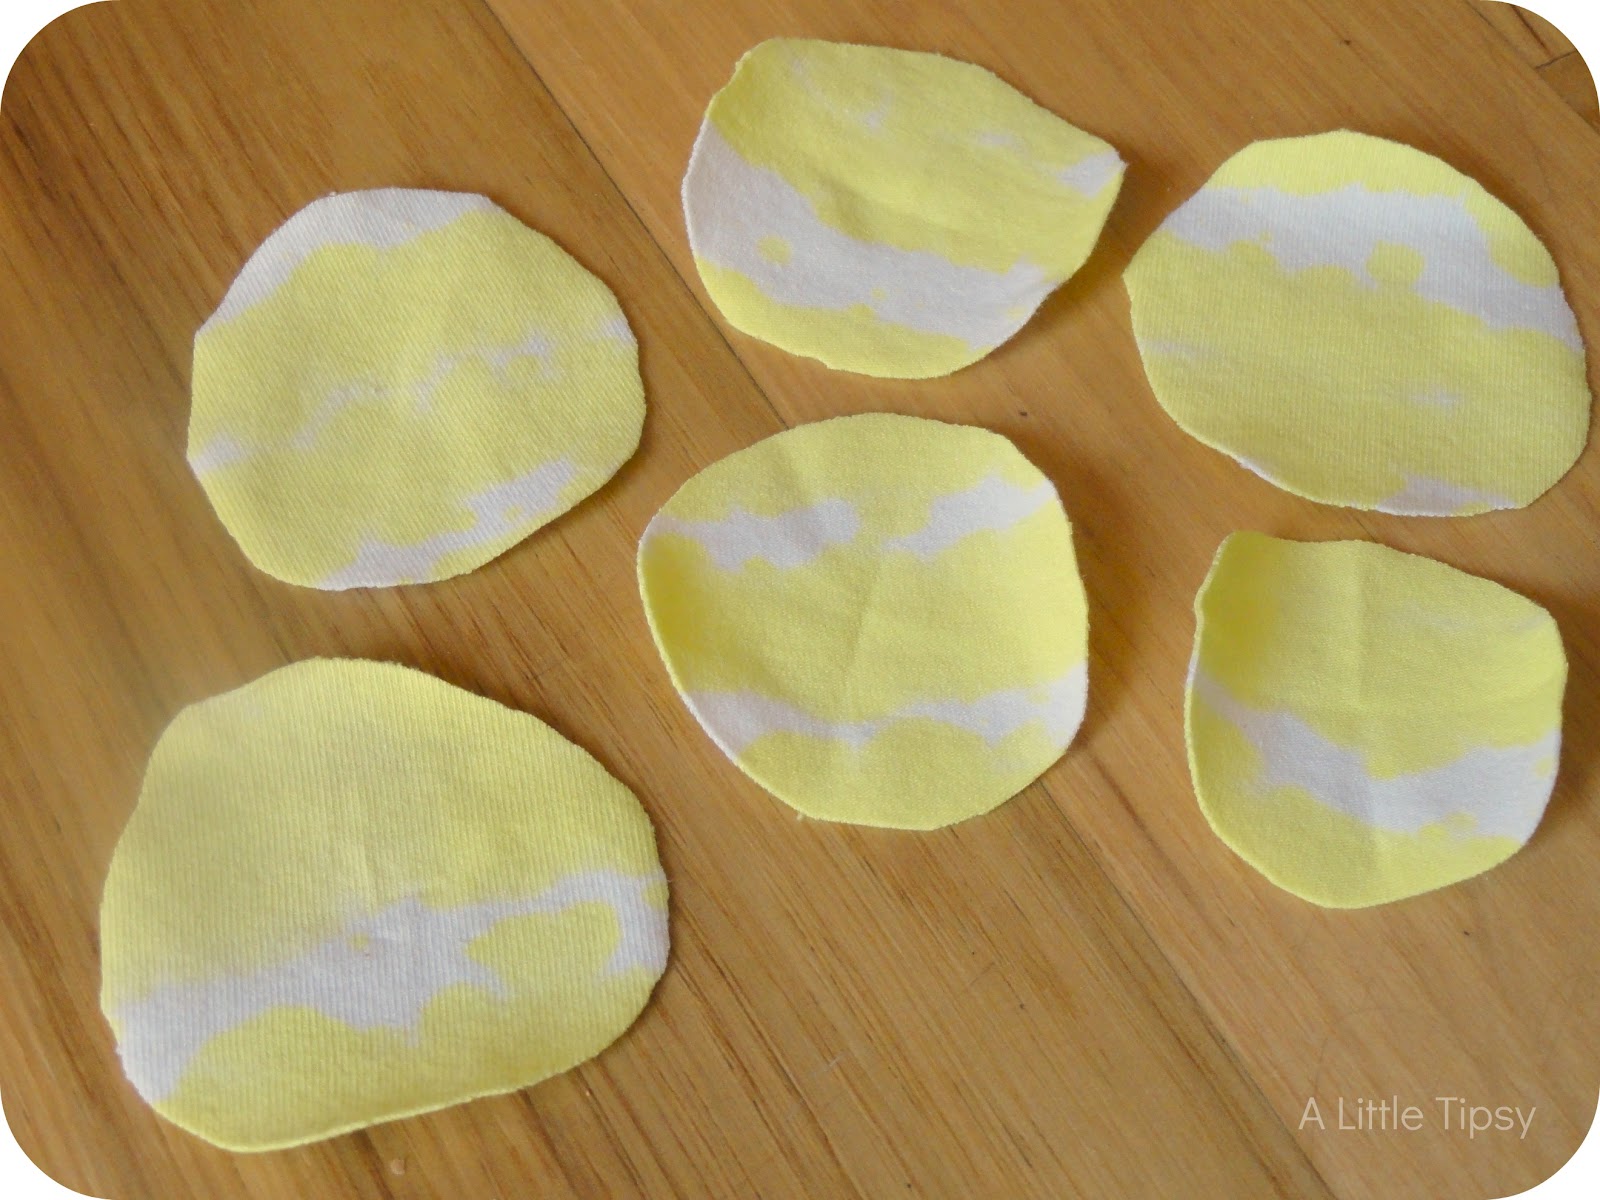
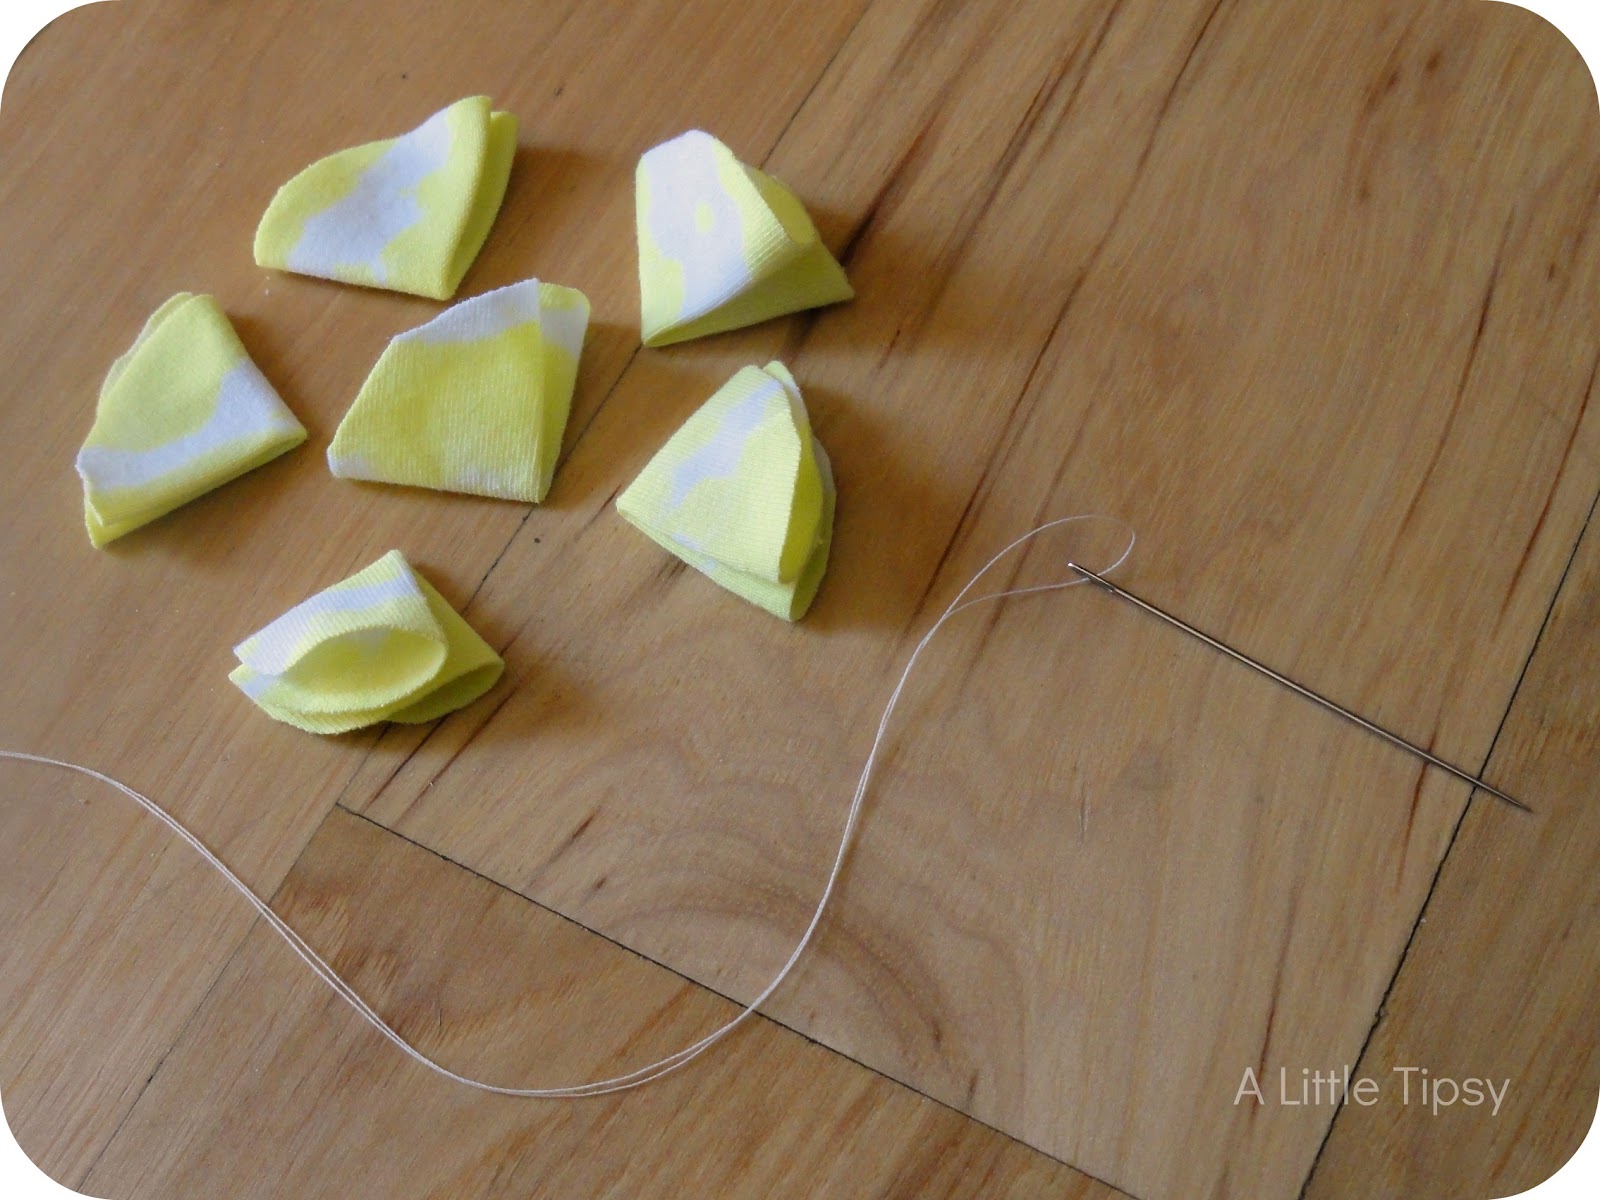
DIY SCARF FROM A T-SHIRT
MIKE WAZOWSKI SHIRT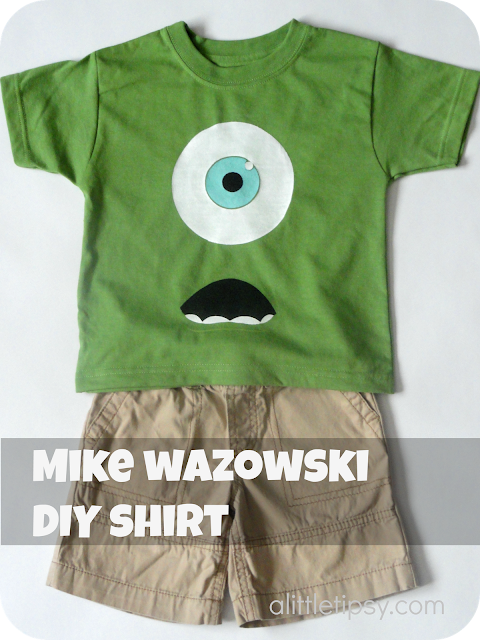
PLANE AWESOME VALENTINES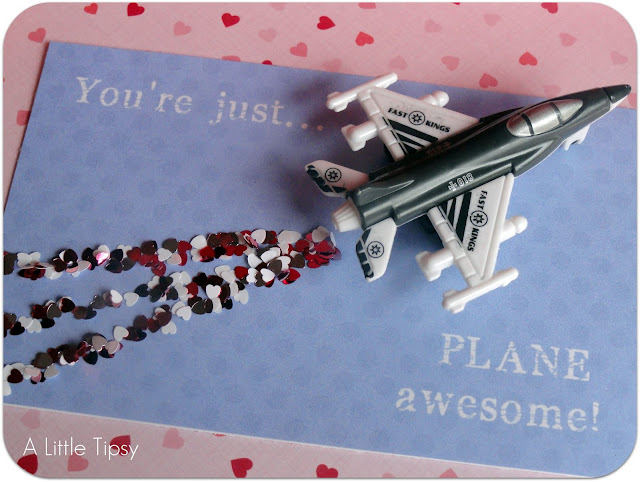
VALENTINE DISPLAY
AMERICAN STARS AND STRIPES PILLOW FROM A PLACEMAT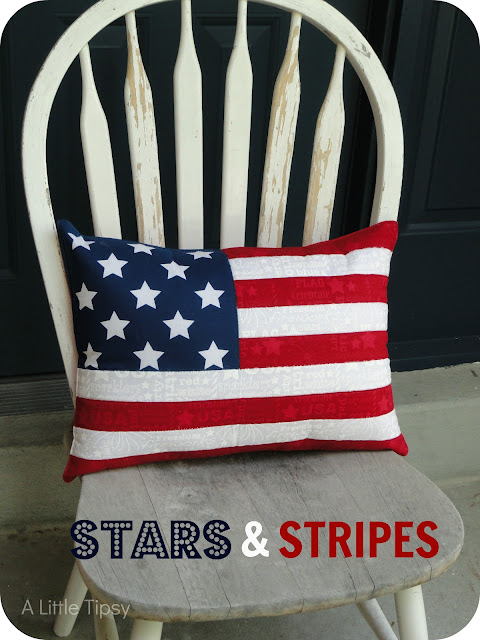
MAGNETIC PAPER DOLLS
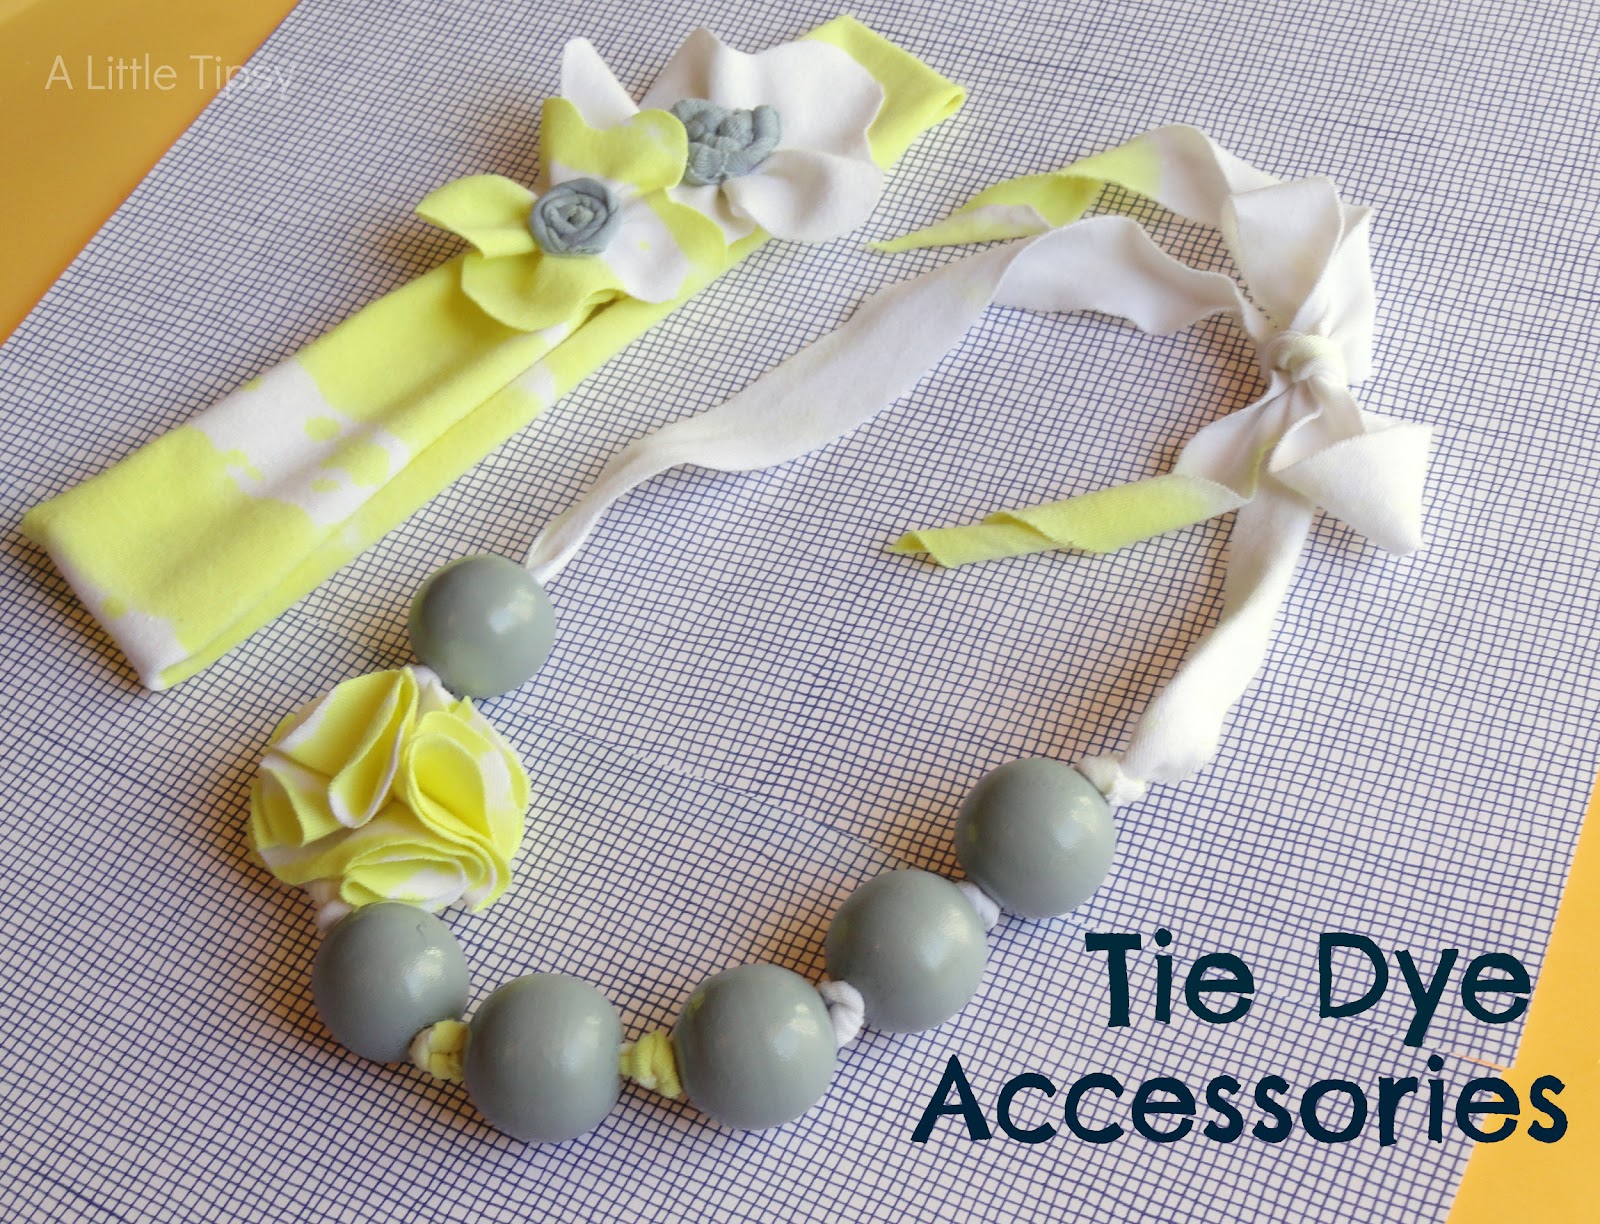
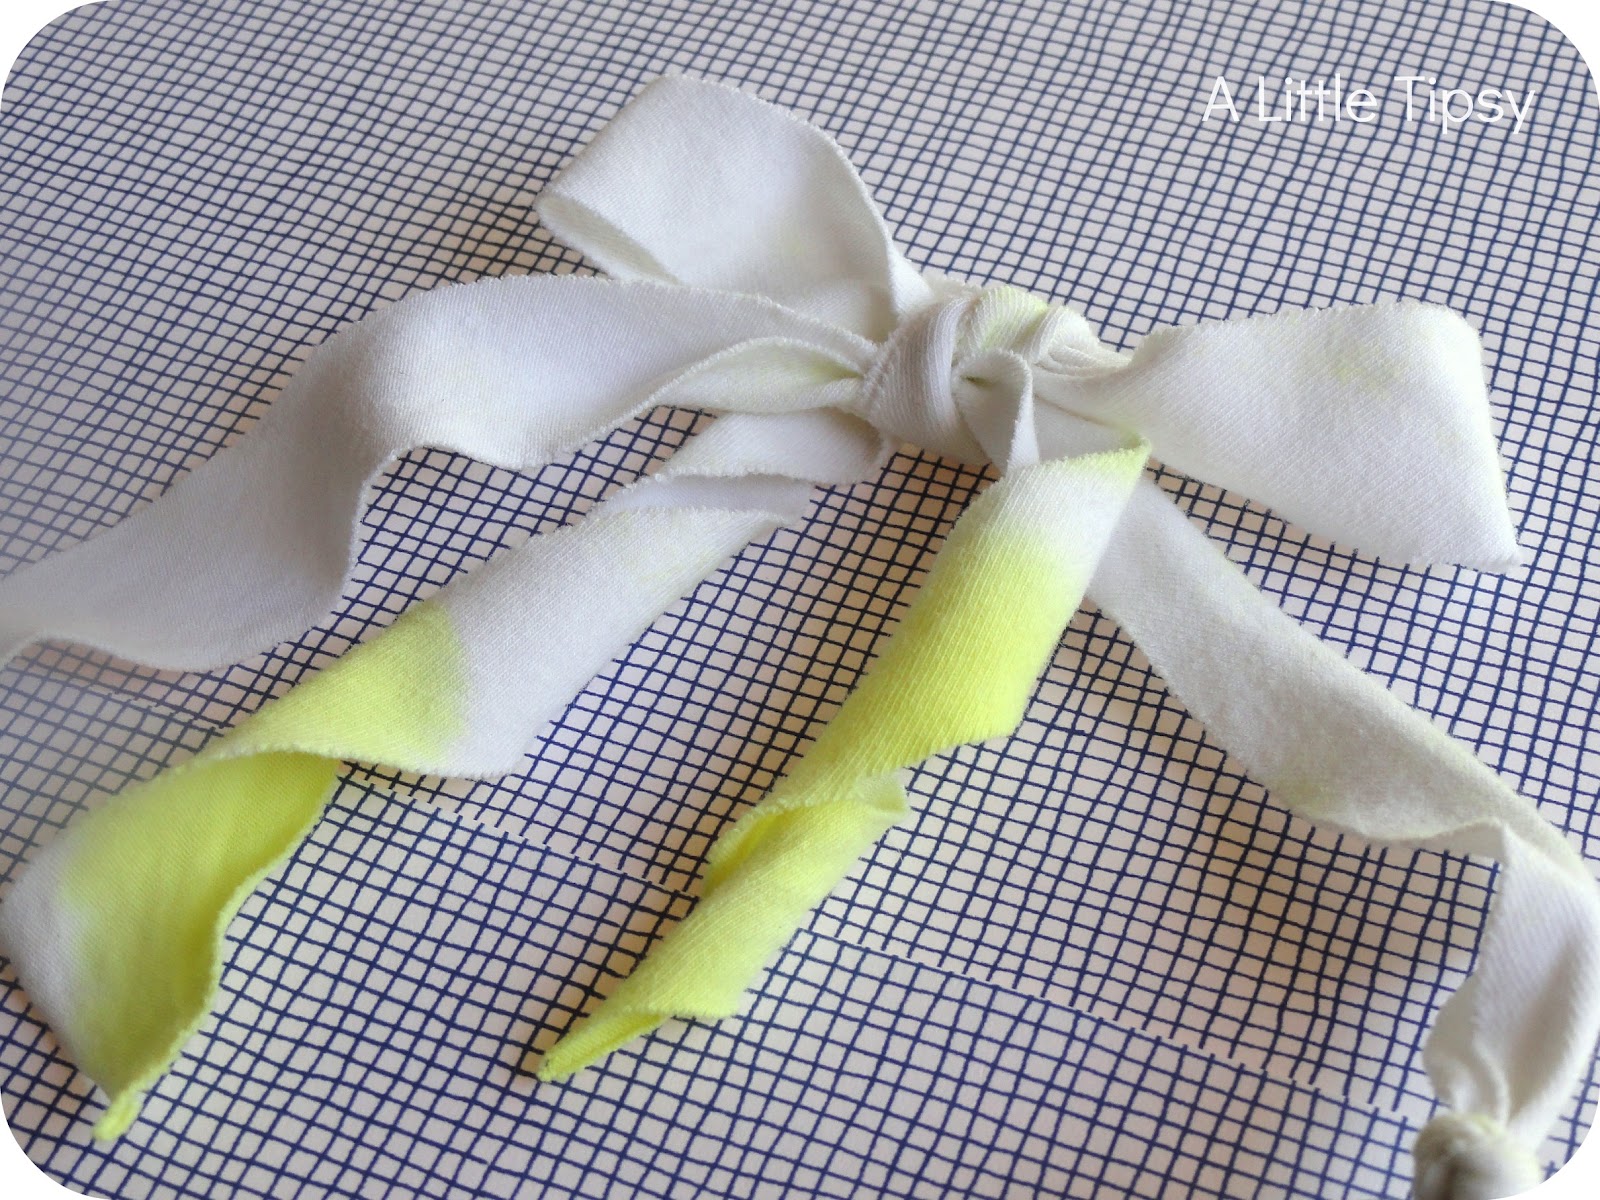
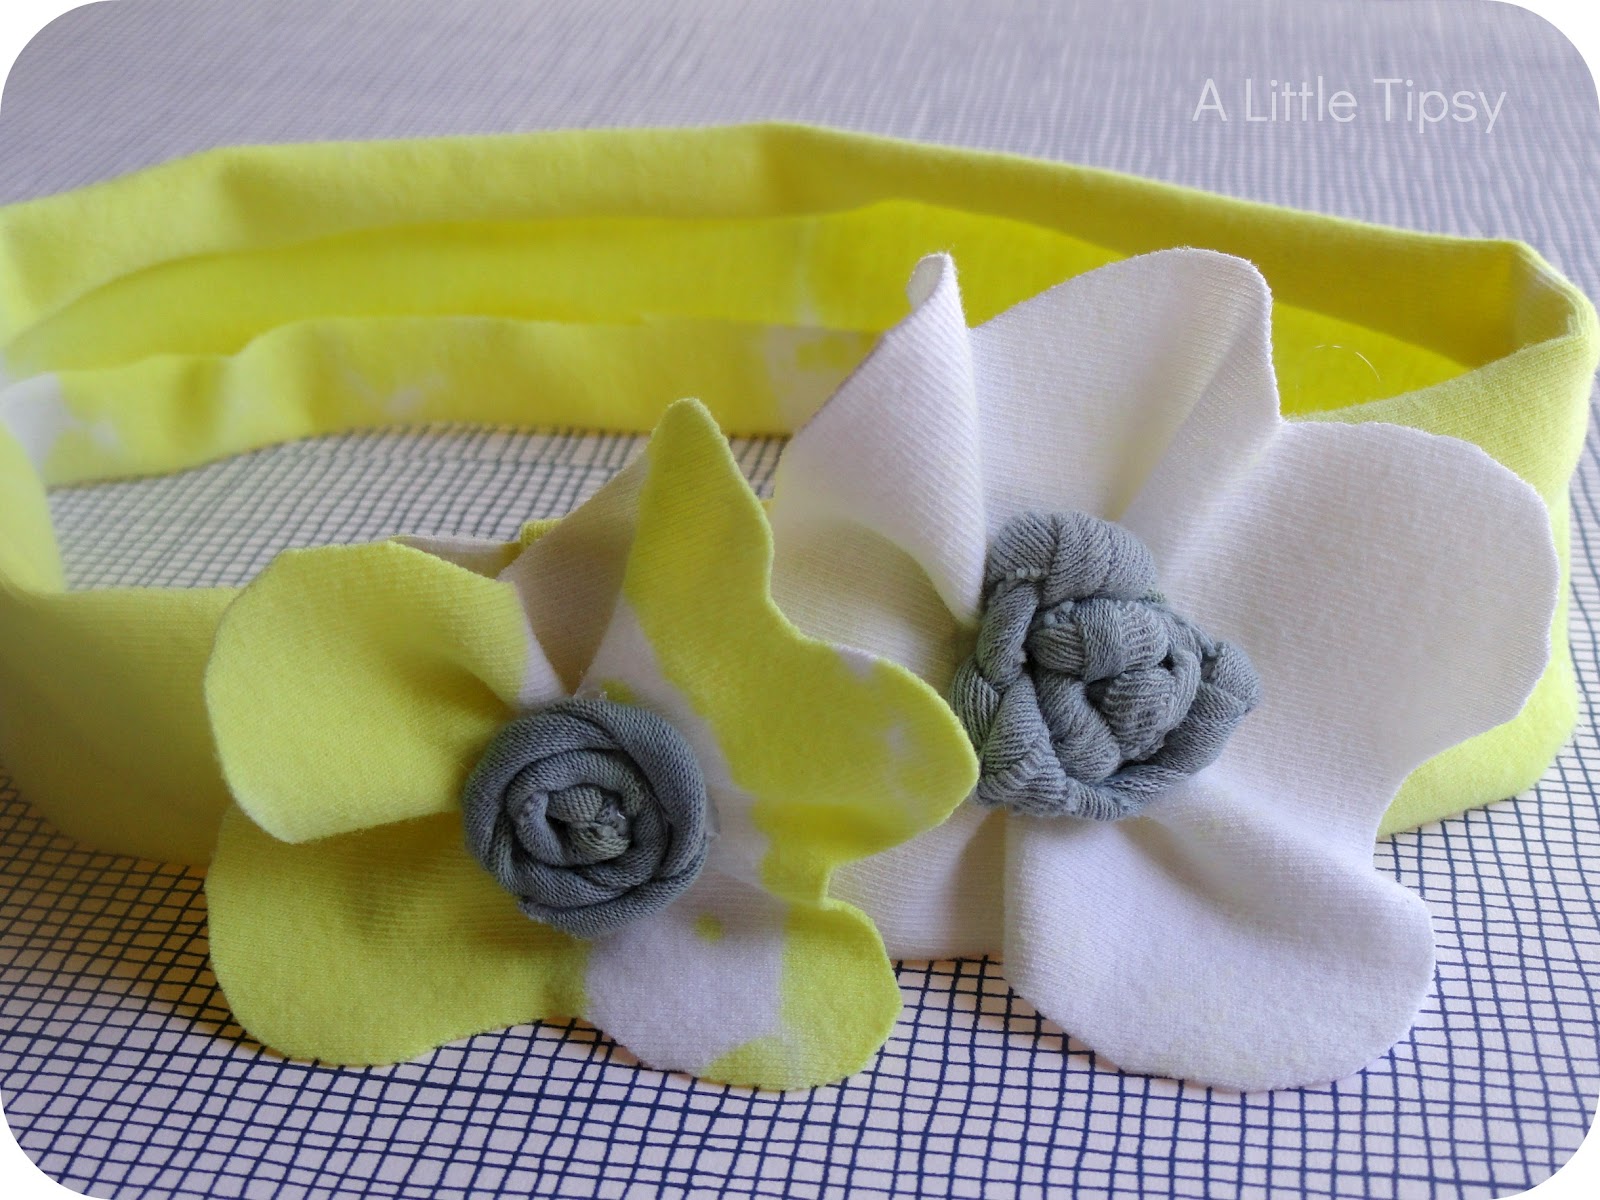
TIE DYE ACCESSORIES
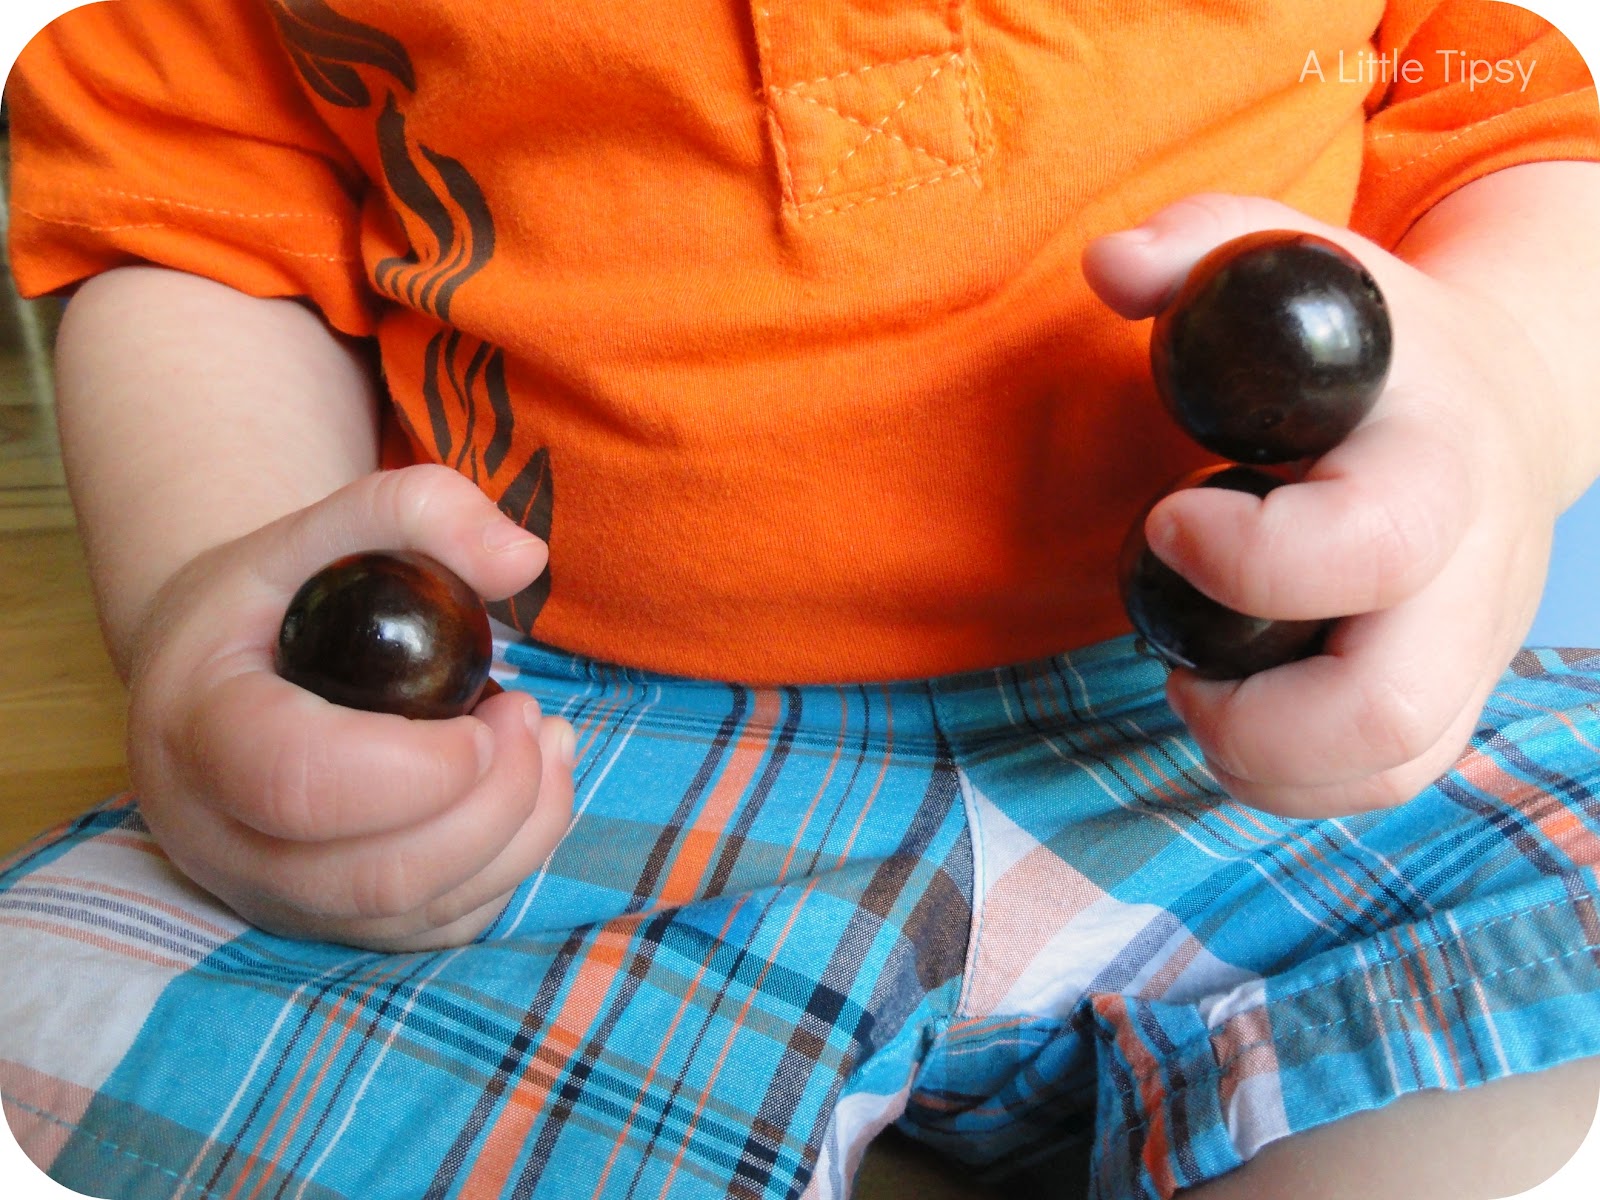
DIY NECKLACE QUITE A SPECTACLE
Here’s to another great year of projects and more to come!
P.S. Don’t forget to sign up for free Tipsy updates via RSS or email.
We have decided to truncate our feed to help protect against stolen content. I apologize for any inconvenience. Please love us anyway. 🙂