A Little Tipsy

Creative Tips & Ideas

  • home
  • About Me
  • the tipsy top
  • press
  • projects
  • contact me
[print_thumbnail_slider]

Paper Mache Eggs

April 8, 2011 By Michelle Barneck 16 Comments

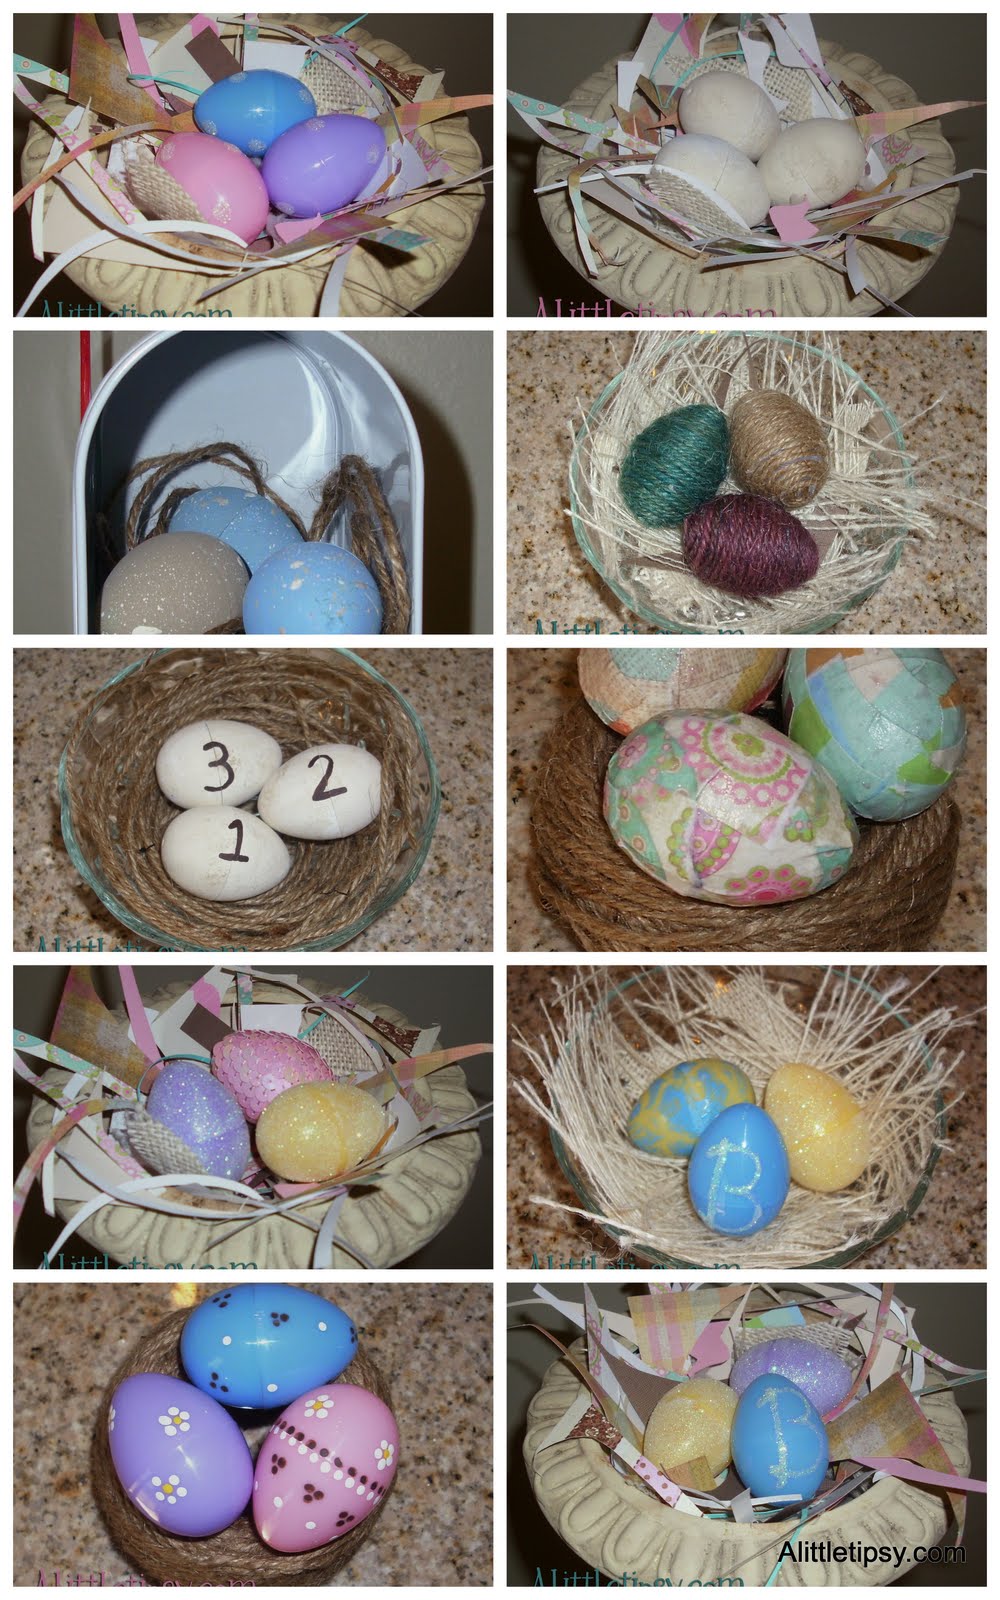
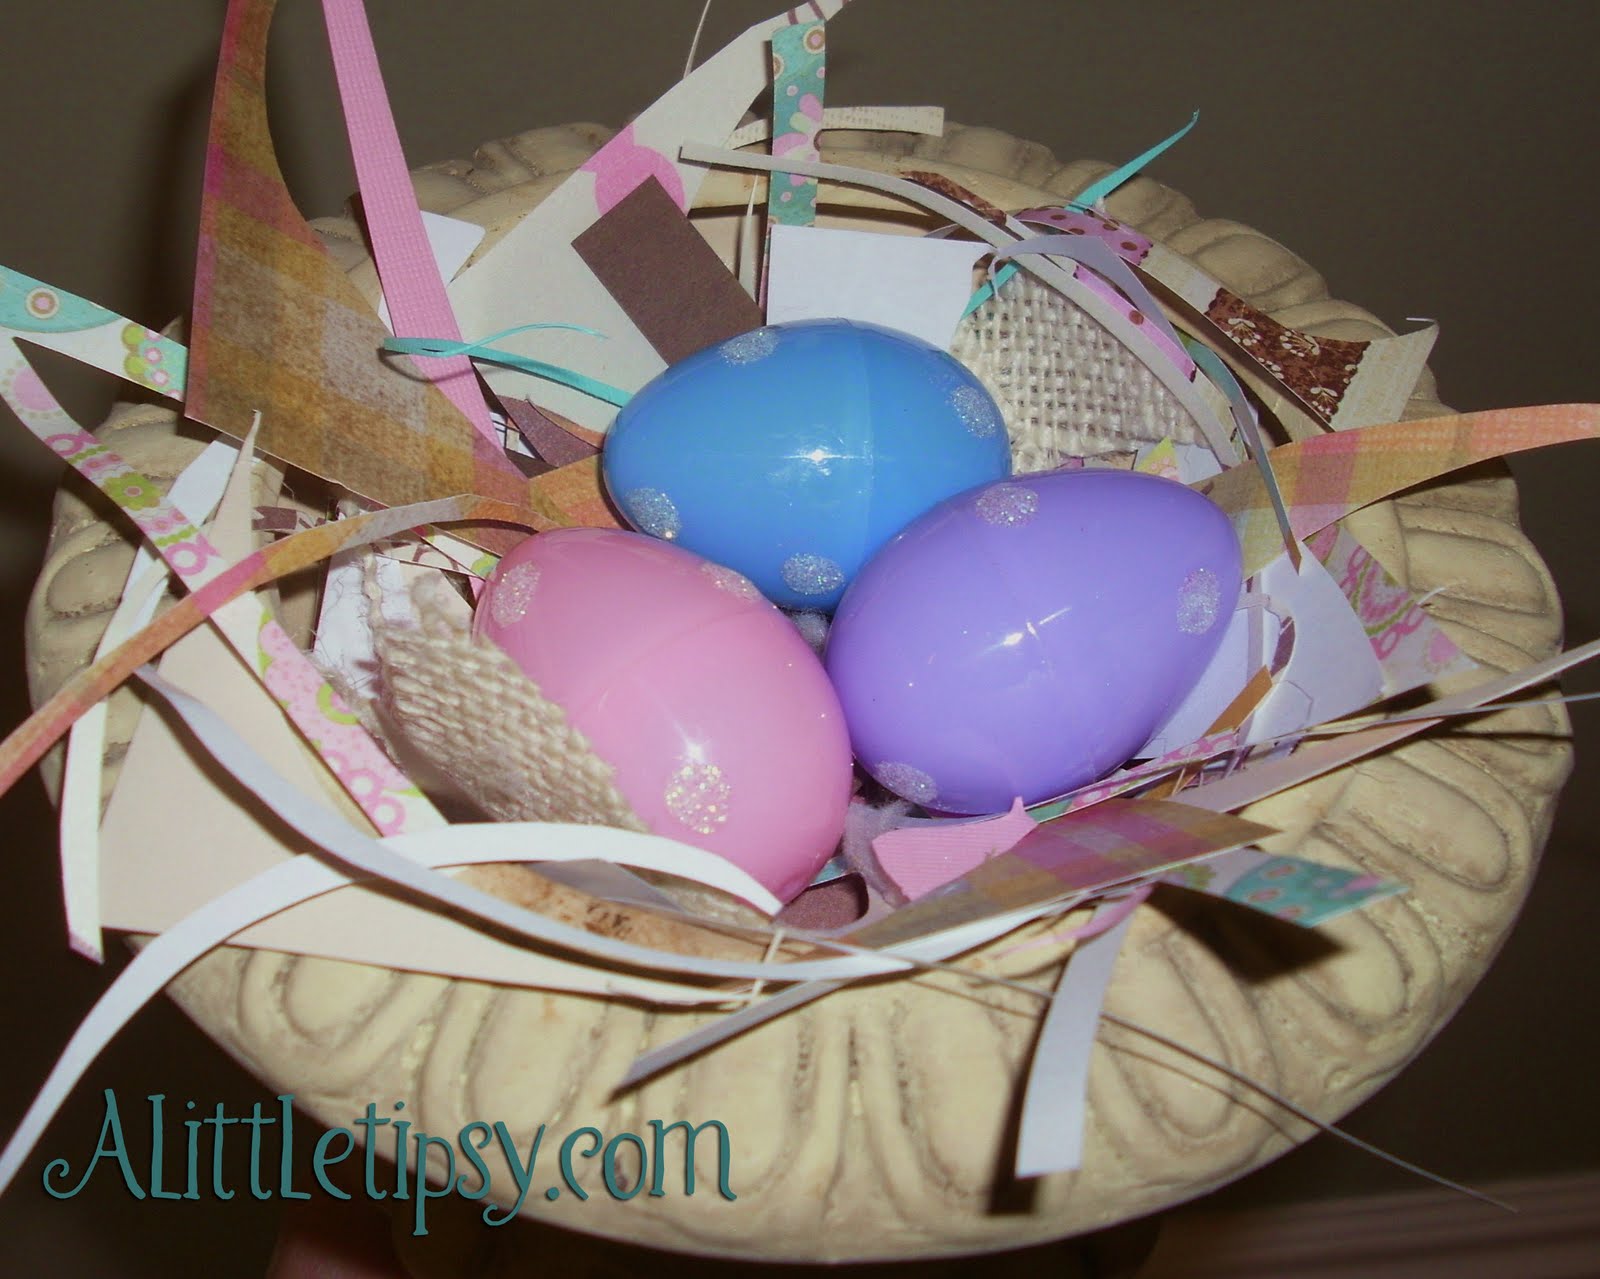
Today, I am sharing my Paper Mache Eggs which were born from a craft cabinet full of random stuff and a quickly approaching guest post deadline. 😉 Gotta love a good de-stash project. Welcome to anyone visiting from Kiki Creates!

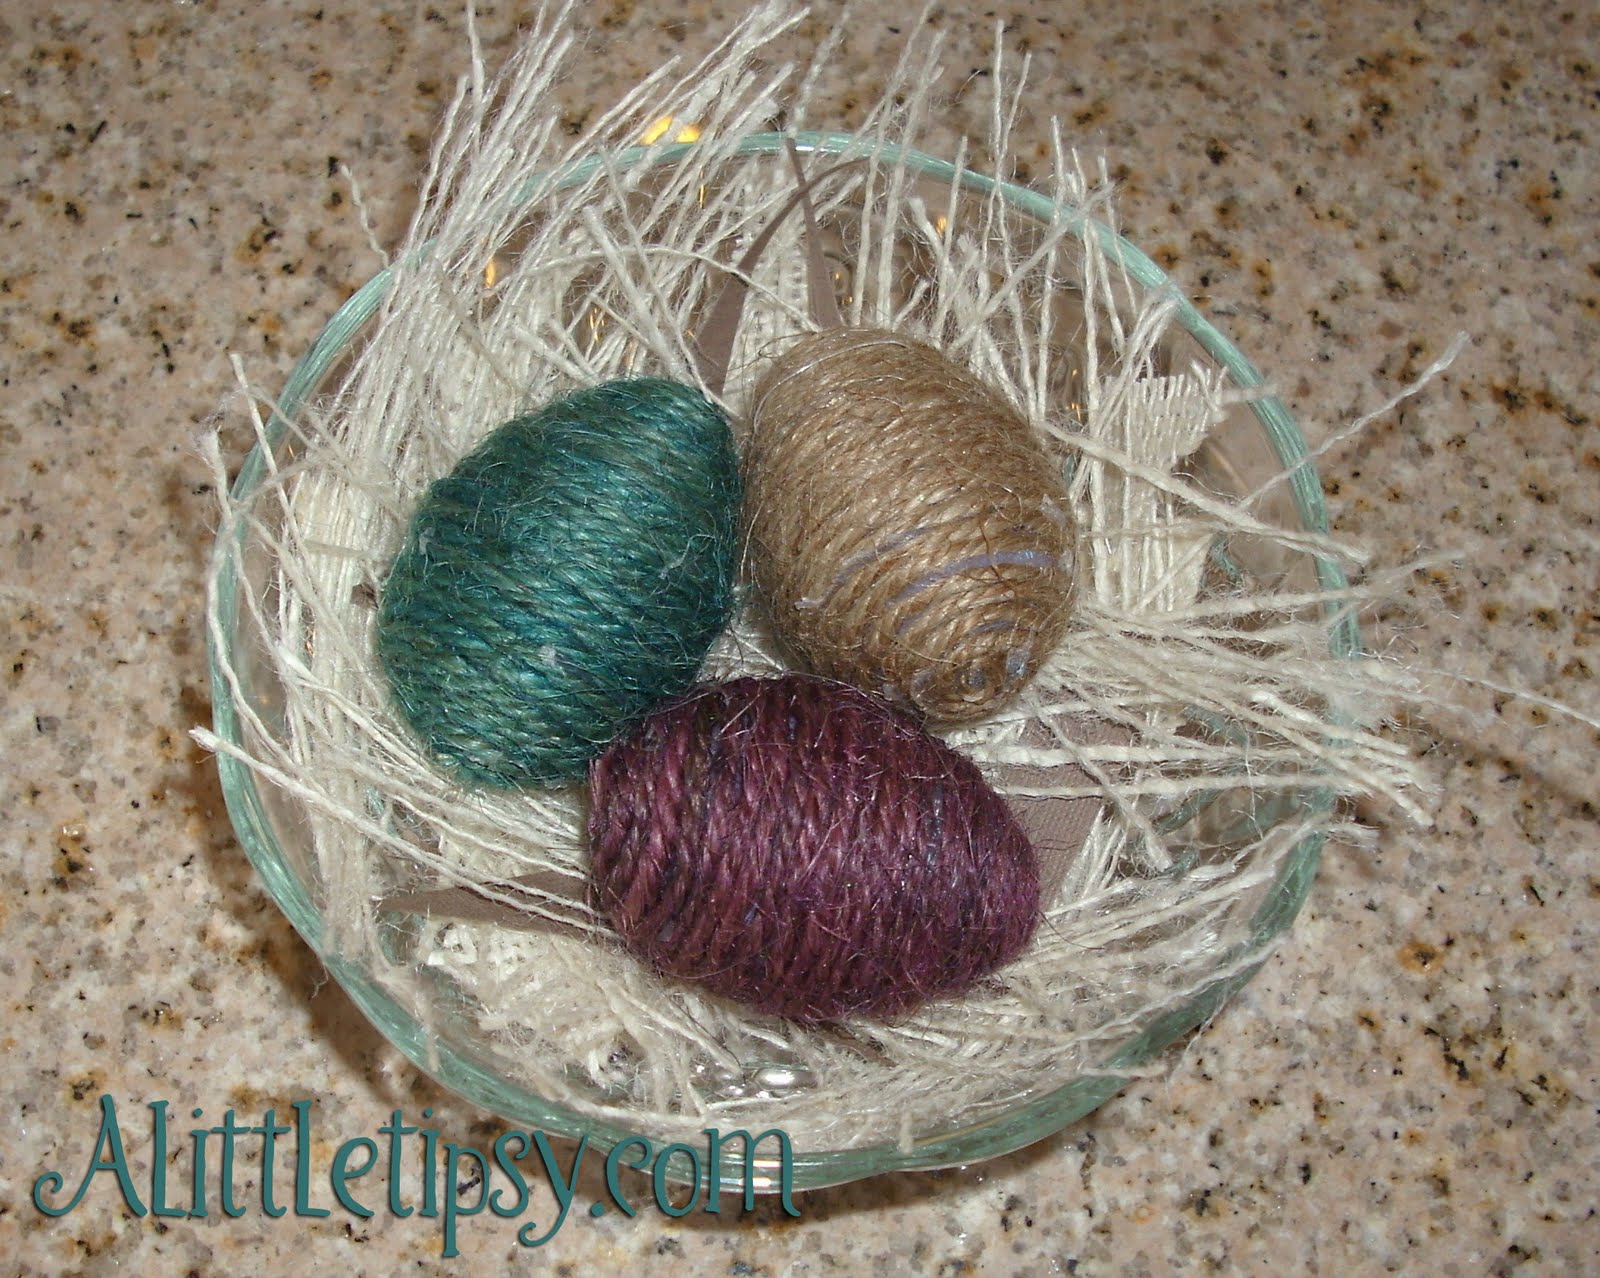
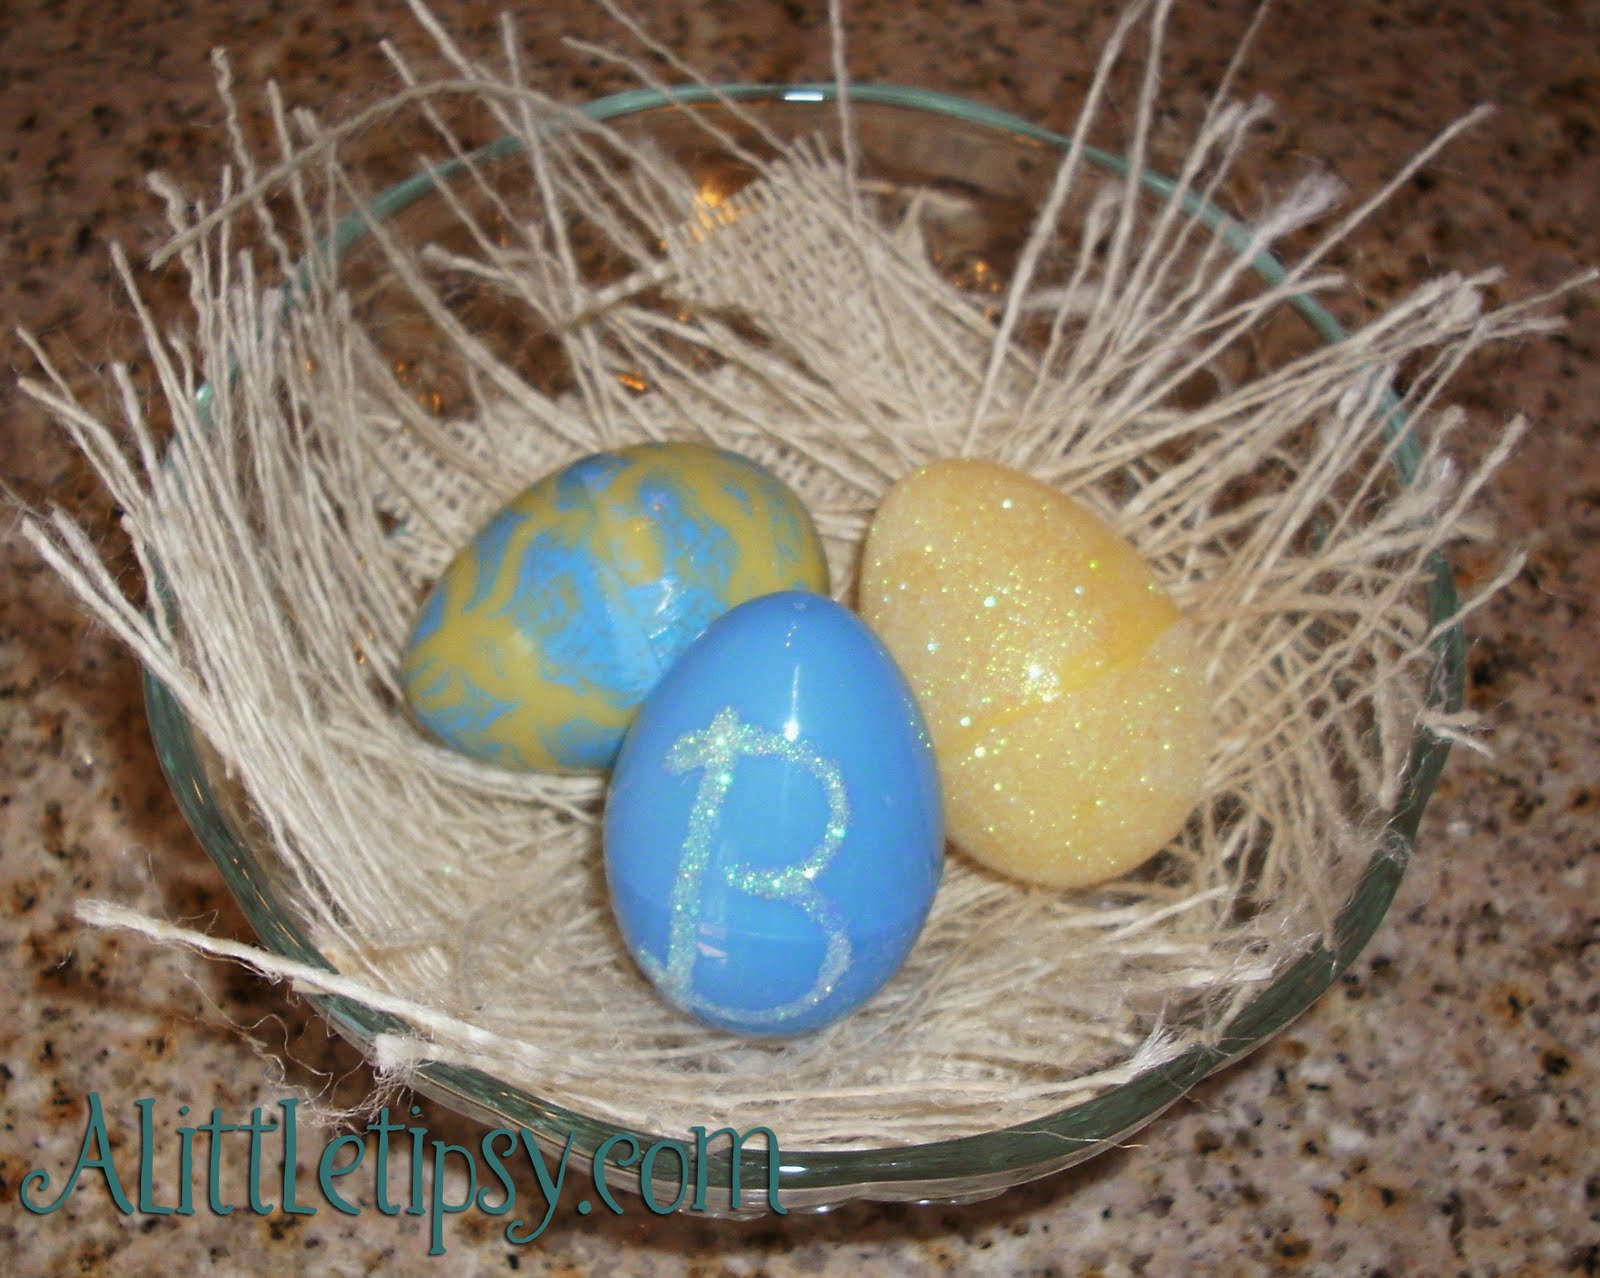
I wanted an Easter display minus the pastel color scheme, so I went with a dark purple, silver, and green.

Wanna know the secret ingredient? Water balloons. You heard me.

Supplies Needed:
  • Small water balloons
  • Book or music pages
  • Elmer’s glue
  • Water
  • Ribbon
  • 3 little wood candlesticks
  • E-6000
  • Silver metallic spray paint
  • Hot glue
  • Moss

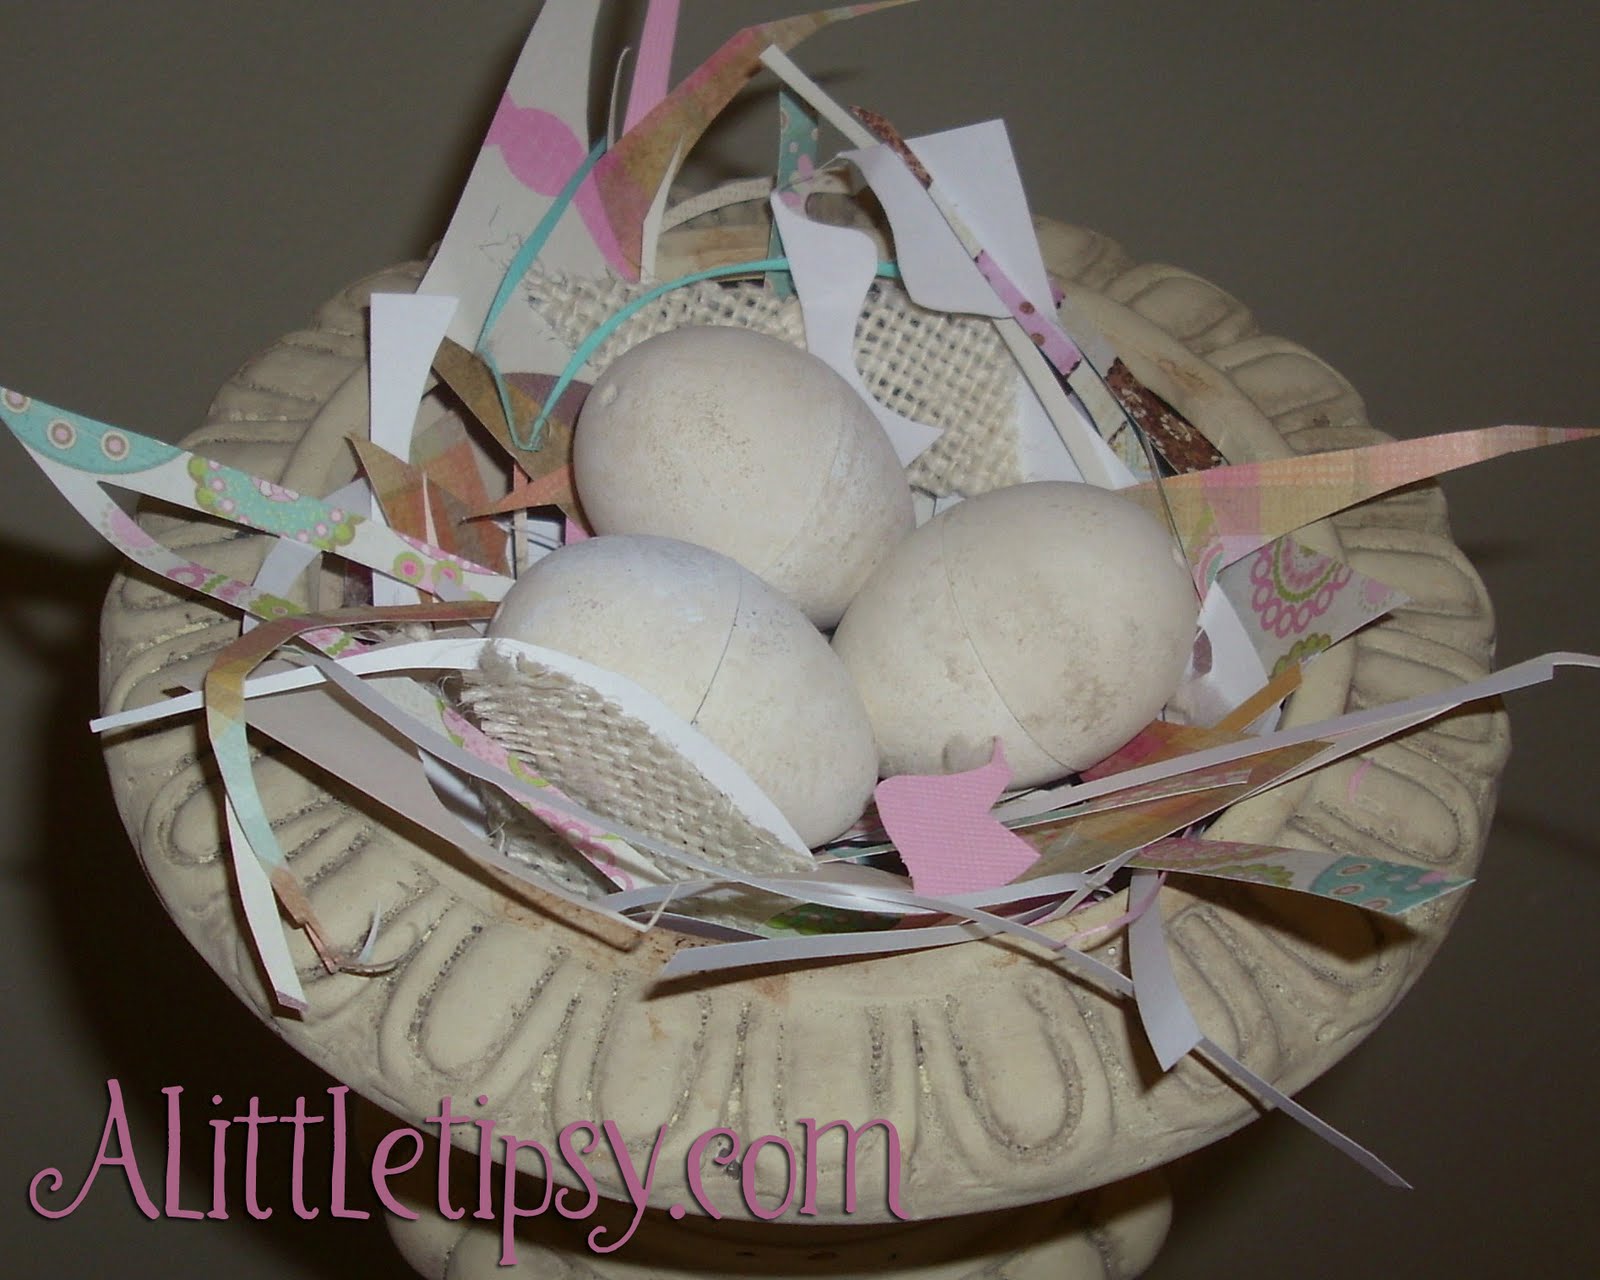
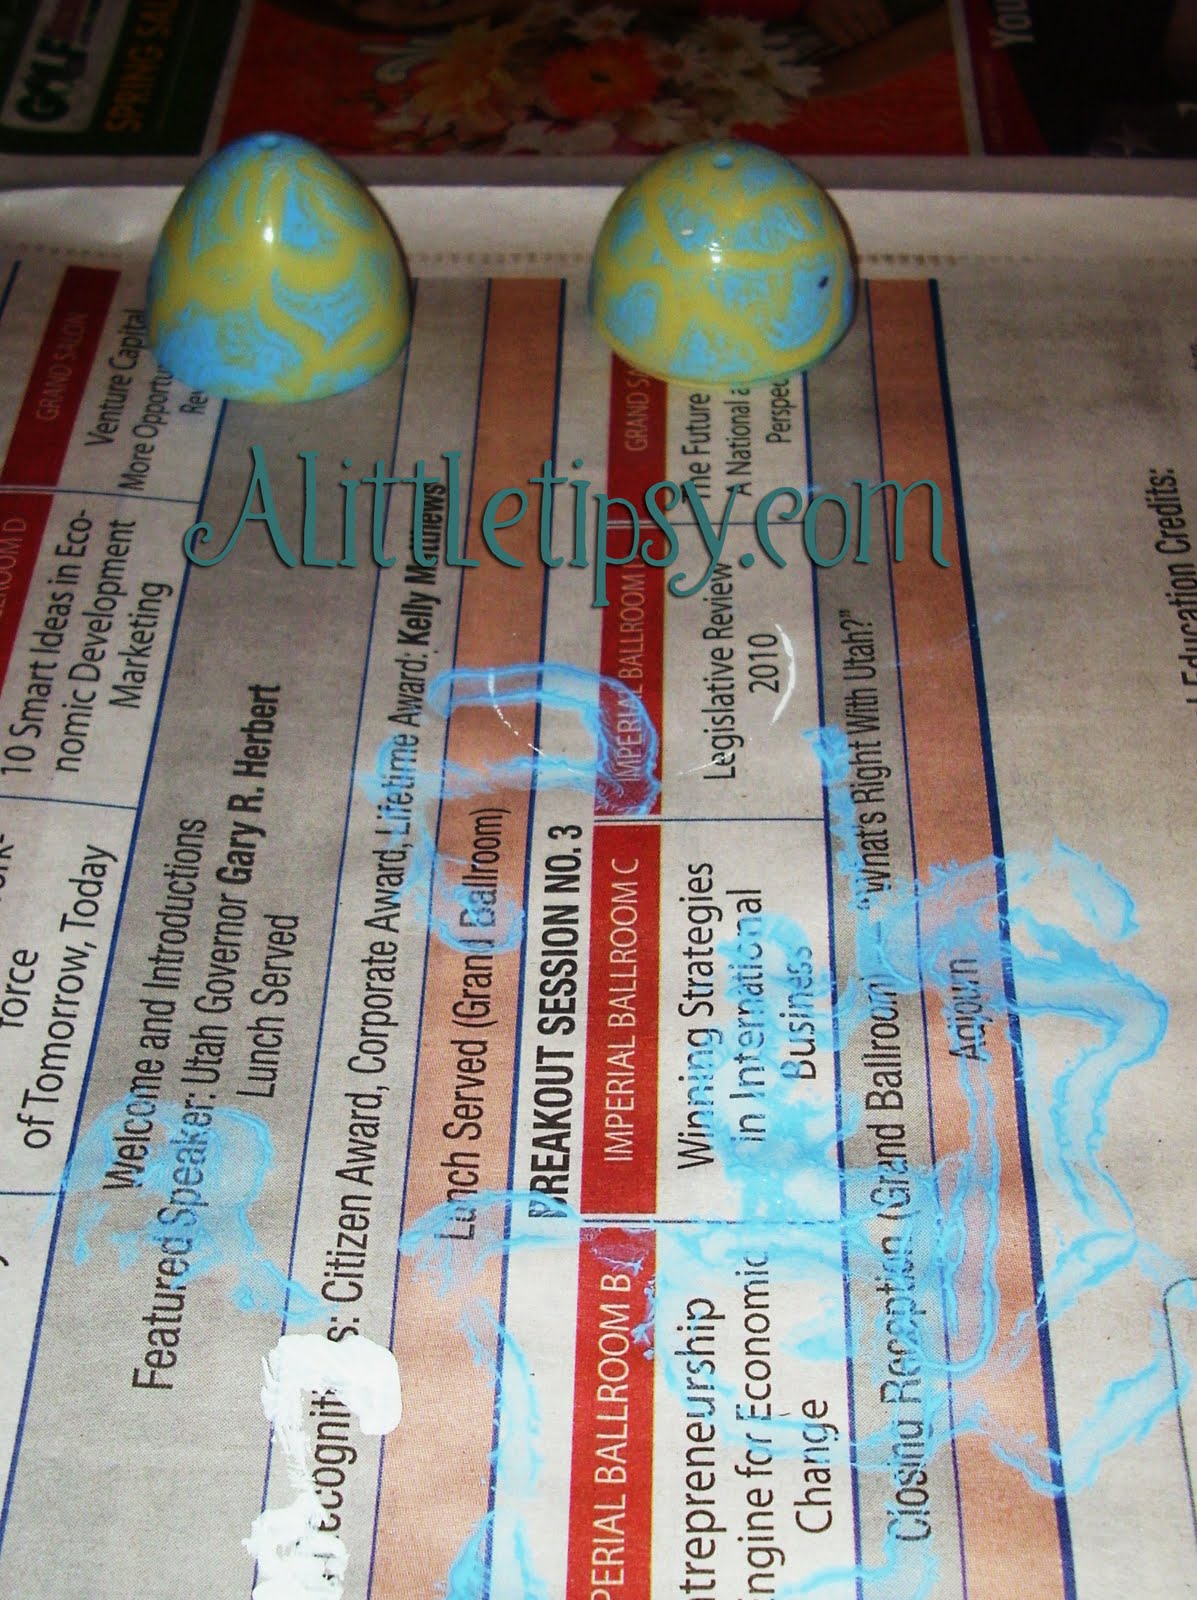
1. Blow the water balloons up to the size of a large plastic egg (I had to use one of those things you use to blow up the long skinny balloons for balloon animals), tie a knot and cut off the tail.
2. Then, mix one part Elmer’s with two parts water.
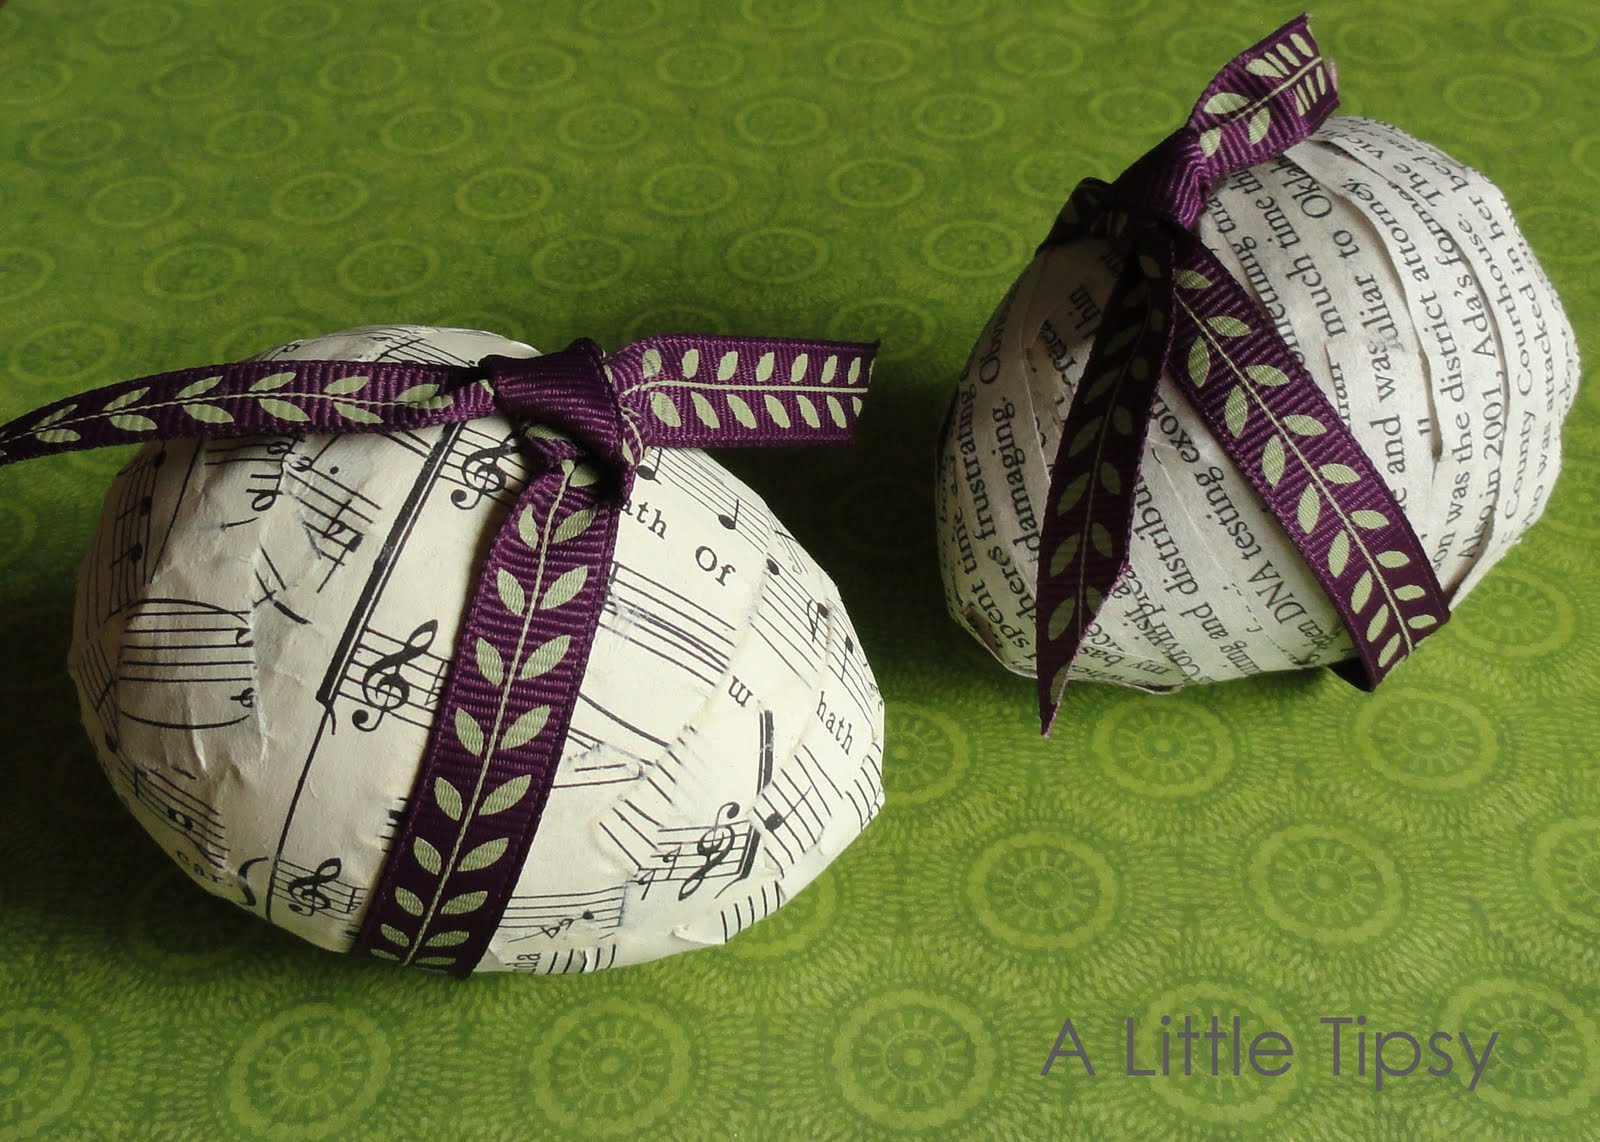
3. Rip your paper into 1/2 inch by 3 inch strips. Dip your paper strips in the the glue mixture, cover your “egg”and dry overnight. (I ripped the music sheets and cut the book pages with scissors. The ripped paper adhered a lot better and was more smooth)
4. Tie some ribbon around the eggs.

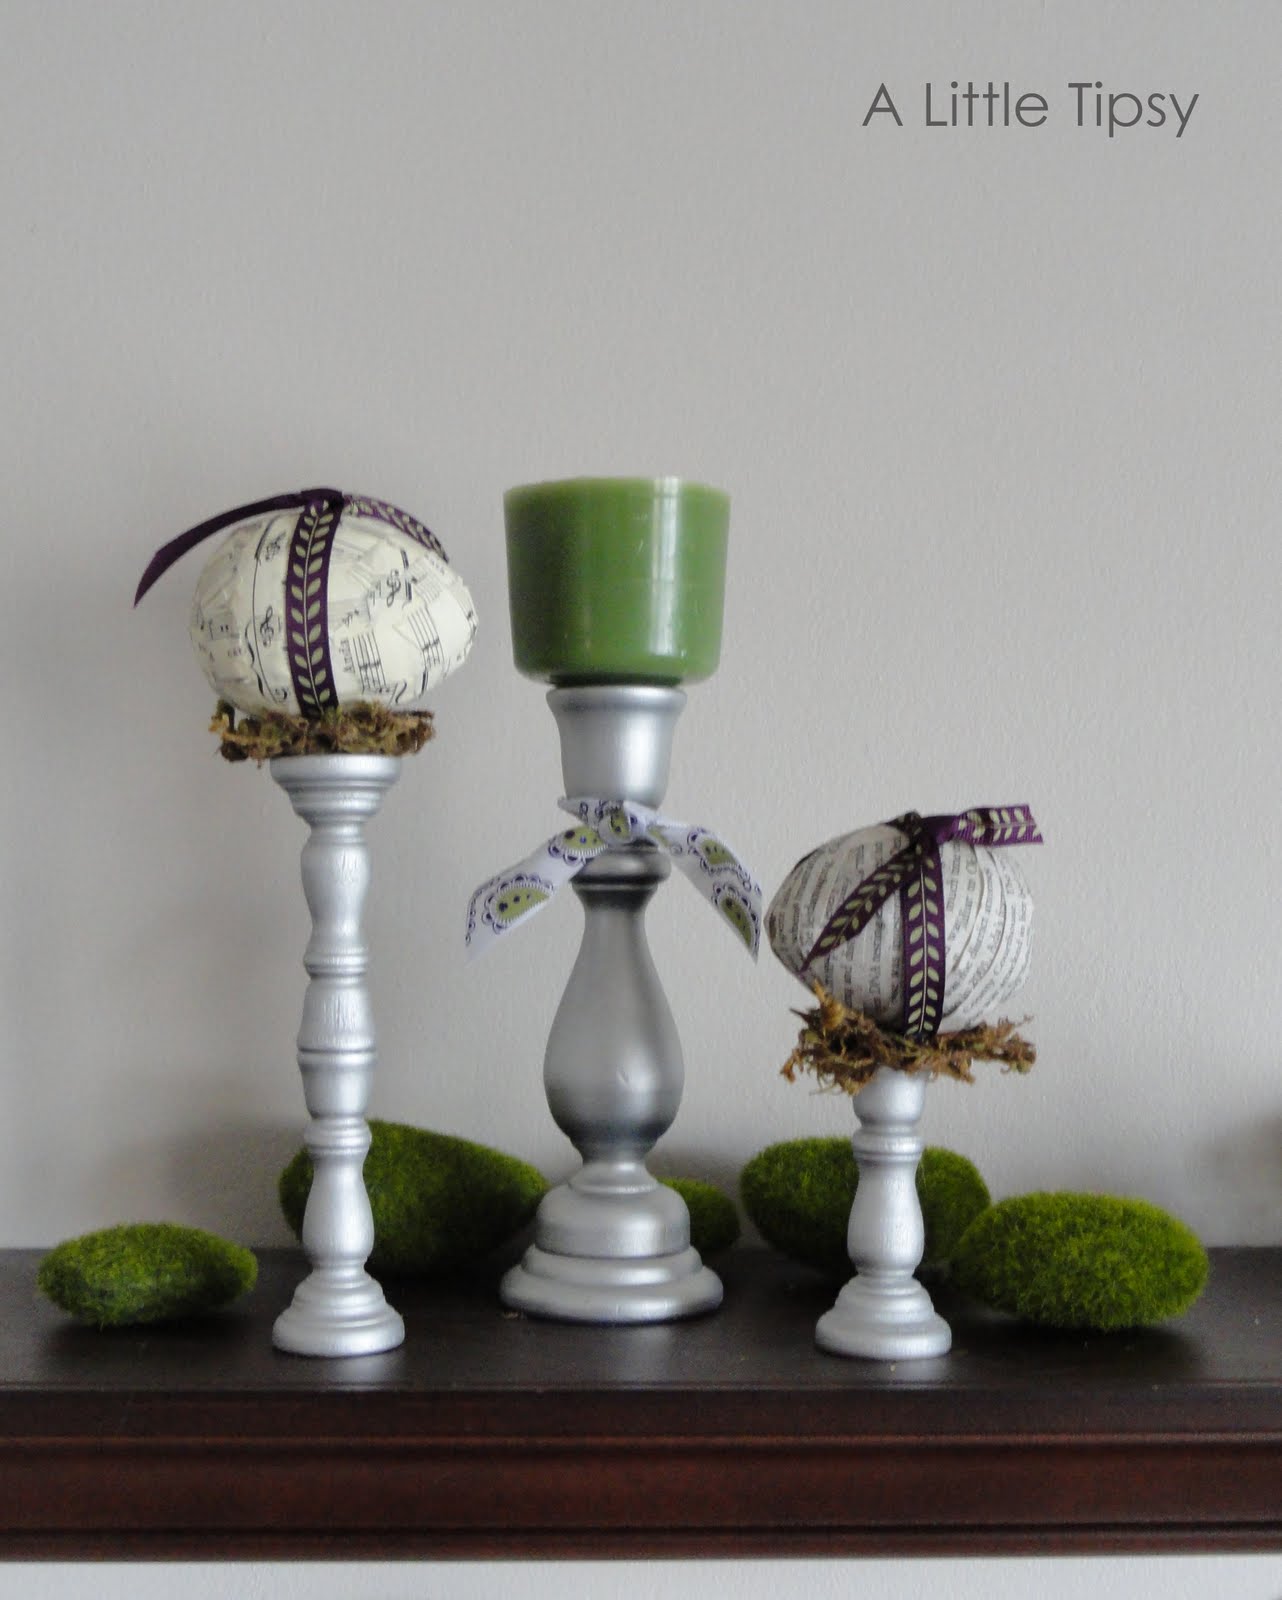
5. To make the pedestals take tiny wooden candlesticks, glue the tops of two together, and let dry.
6. Spray the candlesticks silver and let dry.

7. Hot glue a bit of moss to the top of the candlesticks and hot glue the eggs to the moss.

That is all my friends!

Click if you want the “I Know my Redeemer Lives” Easter printable.

Linking up:
Visit thecsiproject.com
Get Your Craft On
Motivate me Monday
Market yourself Monday
Making Monday Marvelous
Making the World Cuter
Take a Look Tuesday

P.S. Don’t forget to sign up for free Tipsy updates via RSS or email.

We have decided to truncate our feed to help protect against stolen content. I apologize for any inconvenience. Please love us anyway. 🙂

DIY Under $5: Easter Printables

March 30, 2011 By Michelle Barneck 33 Comments

I wanted something meaningful for my Easter display this year to remind us what that Easter is more than bunnies and baskets full of treats. I made this printable with the words to “I Know That My Redeemer Lives” a hymn written by Samuel Medley.

The best thing about printables is they are free! I made mine in dark purple as a part of a display I will be debuting soon, but I wanted to get this out there if you would like to use it! I printed mine to fit an 8×10 frame. Click the pic to go to photobucket to download.

Photobucket


Click the thumbnails above to print in
Black, Green, or Lavender.

So now it’s time to link up!

Please remember:

  • Only link to your own projects that cost you $5 or less (price does not have to include items you had on hand)
  • You can link past projects that fit the dollar limit
  • Please link back so others can join the party

DIY under $5

P.S. Don’t forget to sign up for free Tipsy updates via RSS or email.

We have decided to truncate our feed to help protect against stolen content. I apologize for any inconvenience. Please love us anyway. 🙂

11 Ways to Decorate Plastic Easter Eggs

March 29, 2010 By Michelle Barneck 7 Comments

34 cent bag of small plastic Easter eggs, one challenge. Find 10 different ways to decorate them using only what you have in your house. You got it!!

I got a little carried away and technically there are 11 ways!

Starting tip:Paint your eggs open in half so you can put them on your finger to paint and they can sit on the ring to dry.

Nest tip: Get creative using scraps of paper, burlap, or twine and items that you already have sitting around.

1. Let’s start simple with an Antiqued White Egg. Pull out your craft paint and give it a couple coats of vanilla. Let each coat dry. Take your sponge brush still wet with vanilla and dip it into tan. Dob it around to get on your paper to get excess paint off and then dab around the surface of the egg. Once there are spots of tan covering the surface, Use the flat side of the brush to give the egg the texture of a real eggshell. Just press it lightly against the entire surface of the egg a bit at a time.

2. Numbered Eggs-Use the same technique as the White Antiqued Egg and use a small paint brush to paint numbers in brown. You could use a stencil or rub-ons, but I did not have them on hand.

3. Paint Speckled Robin Eggs-Paint two coats of muted colors like cream, light blue and tan with a sponge brush. Use a paint brush or toothbrush to splatter paint uneven speckles in an opposite color.

4. Dyed Twine Wrapped Eggs-Dye your twine using food coloring diluted with water. For the teal, I used about 7 drops of blue and a few tablespoons of water and immersed the twine in a little ceramic condiment dish. For the purple, I used the existing blue mixture and added about 7 drops of red food coloring and a little more water. Let the twine dry and then wrap it around the egg hot gluing it along the way.

5. Glitter Dot Eggs–(I got this idea some where in blog land, but could not find it, sorry. Contact me if it is you!)
Place small glue dots (the ones you buy at the craft store) all around your egg then dip them in glitter.

6. Sparkle Eggs-Coat your eggs with mod podge using a foam brush then sprinkle glitter over them.
7. Sequin Covered Egg-Wrap a strand of sequins around your egg hot gluing as you go.

8. Glittery Monogram Egg-Use a tiny paint brush to paint your monogram using mod podge. Sprinkle glitter over it until thoroughly covered.

9. Paint Marbleized Egg-This idea was born when I accidentally dropped one of my painted eggs and it rolled and made a really cool pattern. Just paint your egg a color that contrasts with the plastic color. Then while the paint is still wet roll it around some paper making patterns all over the egg. Once the paint is dry coat with mod podge to protect and give it some shine.

10. Paper Decoupaged Eggs– Coat your egg with mod podge. Rip a little piece of paper (those will small patterns look best) and place on the egg. Paint over the paper with mod podge and smooth down with your fingers. Repeat until covered. Some of the papers may have to crease to accommodate the curves. Once covered paint on a final coat of mod podge to seal.

11. I guess this is the bonus idea. Dot painted Eggs-this one makes me feel a little retro for some reason. Use a tiny paintbrush or the pointed end or a pencil. Dip in paint and dot away making patterns.

Well that was one Saturday filled with some Easter “eggs”citement! Anyone need some eggs? 😉

Which one is your favorite?

Linking up with:
Metamorphosis Monday
Make Your Monday
Market Yourself Monday
Made By You
Making the World Cuter
Just Something I Whipped Up
Craftaholics Anonymous Easter

P.S. Don’t forget to sign up for free Tipsy updates via RSS or email.

We have decided to truncate our feed to help protect against stolen content. I apologize for any inconvenience. Please love us anyway. 🙂

No Bunny Loves Me Like Ewe Do Easter Banner

March 22, 2010 By Michelle Barneck 28 Comments

I am really excited about this DIY Easter banner. I am usually not much of a paper crafter, but I had a lot of fun making this. I wanted something that said more than Happy Easter, so I came up with the saying “No Bunny Loves me Like Ewe do.”


1. I started by cutting out all my letters and backing them with card stock. I did it free hand, but you could use a stencil or print a font from your computer that you like. I made the Os eggs to add a little more Easter spirit. I punched holes in the tops to hang them with paper clips.

2. Next, I made a bunny out of paper and burlap. The whiskers are strands of burlap I pulled out for this Easter Egg Pillow. I hot glued it all together.

3. I was inspired by Linda’s twine wrapped heart idea, though I used a styrofoam heart and wrapped it a little differently. I attached the heart and S with ribbon.

4. I made the dot for the i with paper and burlap. I cut out different shapes, bent up the edges and layered them using sticky foam spacers to give it more dimension.

5. I made the lamb or ewe from some incredibly soft fabric. Not sure what it’s called but the back looks like fake tan suede. I cut out a cloud shape with a tail and added a little oval for an ear. Then, I added feet and a head with brown card stock.

I hot glued the pieces together and on to a piece of paper to add color and hold it together better.

6. Hang all the pieces from a ribbon with paper clips and you’re done!

I had a ton of scraps that I have big plans for. What do you think I will be making? Stay tuned….

Linking up with:
Skip to my Lou-Made by You
Making the World Cuter
Sumo’s Sweet Stuff-Market yourself Monday
The Girl Creative-Just Something I Whipped Up
Craftaholics Anonymous- Easter Roundup

P.S. Don’t forget to sign up for free Tipsy updates via RSS or email.

We have decided to truncate our feed to help protect against stolen content. I apologize for any inconvenience. Please love us anyway. 🙂
« Previous Page
Next Page »

  • Bloglovin
  • Facebook
  • Google+
  • Instagram
  • Pinterest
  • RSS
  • Twitter

Hi there! I'm Michelle. Mother of three little boys and one little princess. Welcome to A Little Tipsy, a place for exploring creativity and sharing inspiration.

Follow on Bloglovin


Visit Michelle Barneck {A Little Tipsy}'s profile on Pinterest.

Tutorials by Category


15 Family Reunion Games

Family Reunion Games Collage

15 Sprinkle Party Ideas

Sprinkle Birthday Party
Creative Commons License

© Copyright 2014 A Little Tipsy · Site Designed by The Fairy Blogmother · Web Hosting by RFE Hosting

This website uses cookies to improve your experience. We'll assume you're ok with this, but you can opt-out if you wish.Accept Read More
Privacy & Cookies Policy