A Little Tipsy

Creative Tips & Ideas

  • home
  • About Me
  • the tipsy top
  • press
  • projects
  • contact me
[print_thumbnail_slider]

Boy Week: Turkey Craft

November 17, 2010 By Michelle Barneck 3 Comments

Hi. I’m Tauni from It’s a Tradition. I am so excited to be guest posting on A Little Tipsy today.

Its a Tradition

Like Michelle, I am surrounded by boys. I am always looking for fun things to create with them…Some of them, like the Halloween cookie house we created, fall flat. Others, like this fun turkey hat, are such a hit they become a tradition…

I think the kids table is more fun than ever with this playful turkey hat, with brightly colored feathers and the ever popular googly eyes!

Pottery Barn inspired turkey hat

This is a simple project that takes about an hour at most. Not only that, but most of the items can probably be found around the house…

Pottery Barn inspired turkey hat supplies

Start with a piece of fabric that wont fray. In the photo of the finished turkey hat above, I used brown felt. For this tutorial however, I used yellow fleece. The best thing about fleece is that it has a bit of stretch in it – you can make a one size fits all!

Pottery Barn inspired turkey hat Step 1

With your fabric folded, cut out a strip of fabric. For my headbands I cut the fleece a little big – 18 inches long – because I couldn’t measure all of the kids heads…I went with three inches wide.

Pottery Barn inspired turkey hat Step 2

Once your fabric is trimmed, sew around all of the edges. I went with a straight 1/4 inch seam (but I have also used a zig zag stitch). When finished, it should look like this:

Pottery Barn inspired turkey hat Step 3

Next, prepare the body of the turkey. I’ve tried this two ways. I created a pattern for the first set I made. You can pick it up over on my blog It’s a Tradition. For this set of hats however, I decided to wing it and see how hard it would be…

For the body of the turkey, I used two sides of a class as a guide.

Pottery Barn inspired turkey hat Step 4

Pottery Barn inspired turkey hat Step 5

Next up, the feathers. Again, I winged it 🙂 Just sketched the feathers out on some felt, but the patter is available over on my blog.

Pottery Barn inspired turkey hat Step 5

With felt, I like to do a lot of the sewing before I cut the shapes out. Sew around the edges of the body, leaving a little room at the bottom for stuffing. Sew all the way around the edge of the feathers and then straight up the center…

Once the items are sewn up, go a head and cut them out with scissors (don’t worry if the shapes aren’t perfect, it all works out).

Pottery Barn inspired turkey hat Step 6

Once everything is cut out, arrange the feathers on the headband.

Pottery Barn inspired turkey hat Step 7

I pinned the feathers down and then stitched along the bottom of each to secure them (with the bigger feathers in the pattern, it may be helpful to tack them down up higher as well).

Once the feathers are stitched on, go ahead and add the body. I simply stitched around the outside of the turkey’s body again. Glue on googly eyes, gobble gobble and beak (yes, I forgot the beak in this case).

Next, add a little velcro to the edges of the hat so that it can be adjusted and secured. You just need to use the rough side, as it will stick directly to the fleece.

Pottery Barn inspired turkey hat Step 8

Super great! You’re all done. Unless you want to add some embellishments…We added names to ours.

Pottery Barn inspired turkey hat Step 9

Even with the embellishments, these aren’t as fancy as some of Pottery Barn’s hats, but hey we’re talking boys here. Cutesy just doesn’t fly!

If you like this project stop by my blog. This week, I am posting alternate versions of the Thanksgiving hat. And, though I don’t have any girls, I’ve even come up with a girls hat…

Thanks Michelle. It was fun participating in your boys week!

————————————————————————

Thanks Tauni for such a fun turkey craft just in time for Turkey day!

P.S. Don’t forget to sign up for free Tipsy updates via RSS or email.
We have decided to truncate our feed to help protect against stolen content. I apologize for any inconvenience. Please love us anyway. 🙂

Boy Week: Kid Suspenders

November 16, 2010 By Michelle Barneck 5 Comments

Hello Tipsy Readers! First, congratulations to Michelle on her new addition!!! Also, thank you to Michelle for allowing me to share my tutorial to her lovely readers – all of you!!

This is my second tutorial for suspenders, when I first started sewing again (after years away) I made this tutorial for suspenders. Now that I’ve sewn some more I decided to rehash it, pretty it up, and re-post it. Here goes:

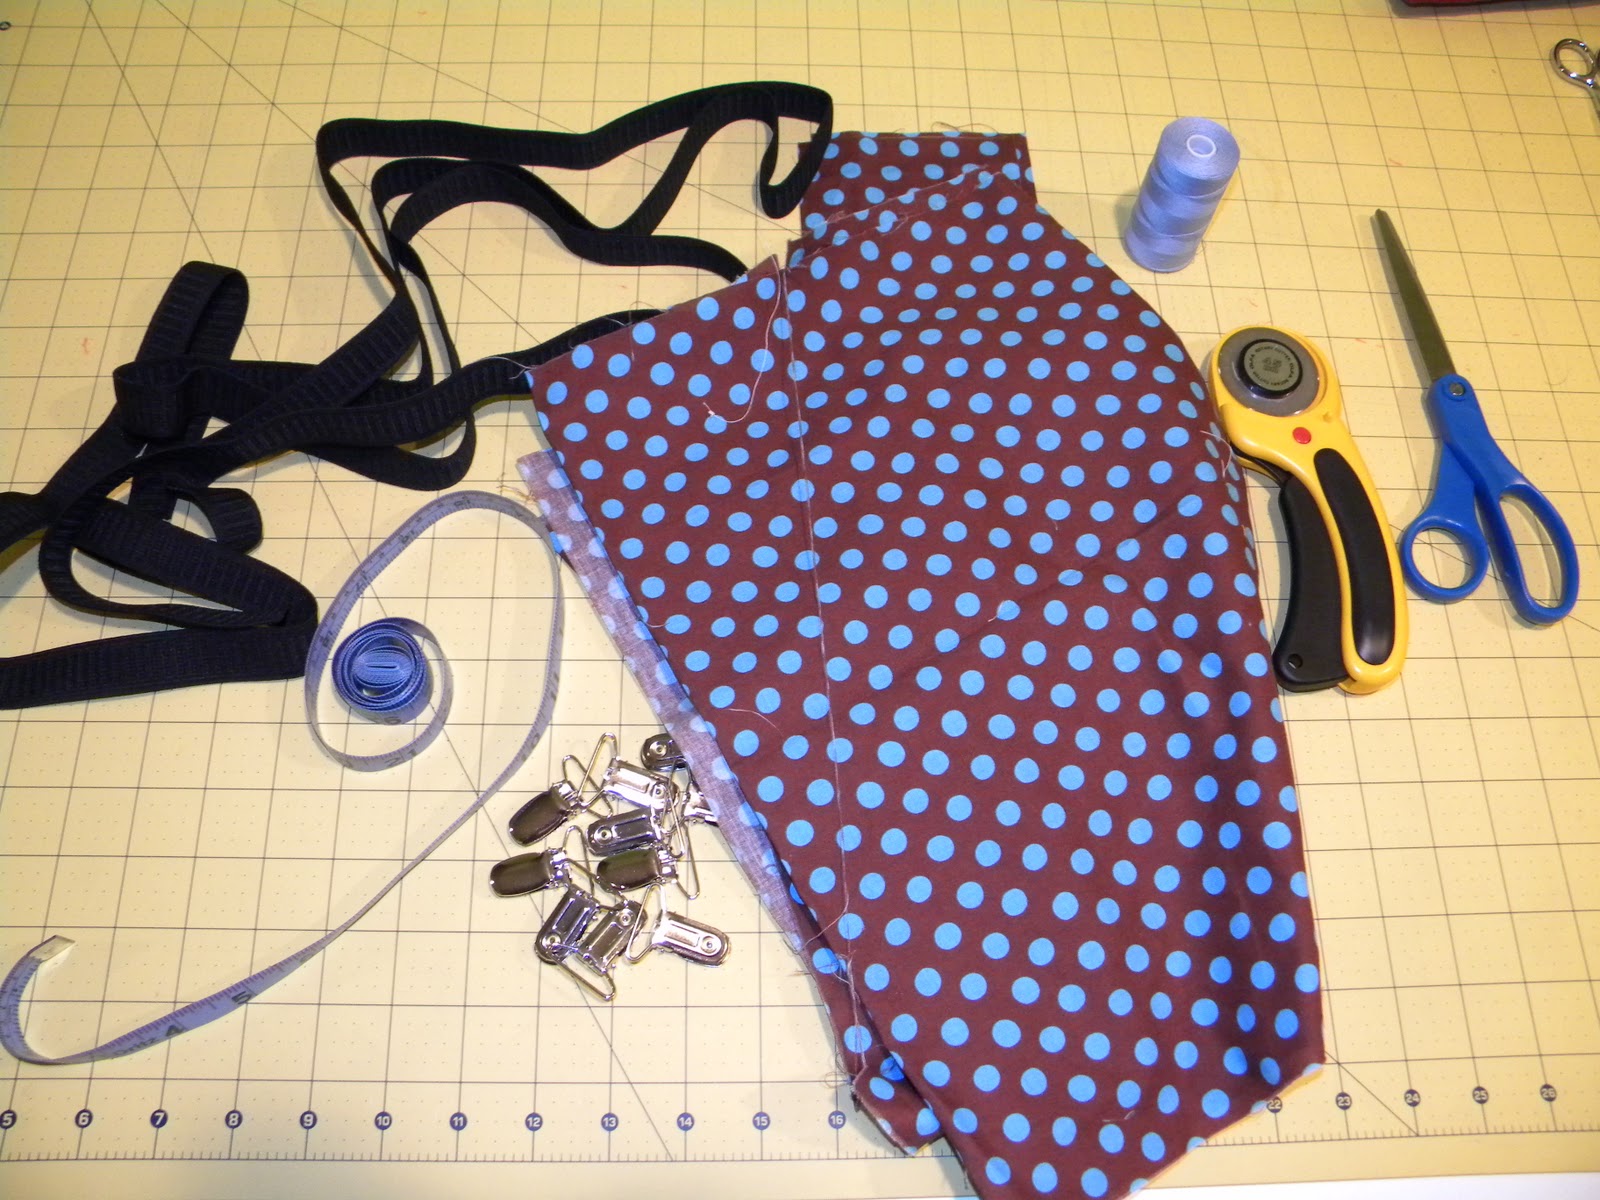
To start, gather your supplies:

  • Tape Measure
  • Rotary Cutter
  • Scissors
  • Thread
  • 3/4 or 1 inch elastic x 7 inches (5 inches finished length)
  • 3 Suspender Clips
  • Fabric:
  • 1 piece 3×5
  • 2 pieces 2.5 x length needed

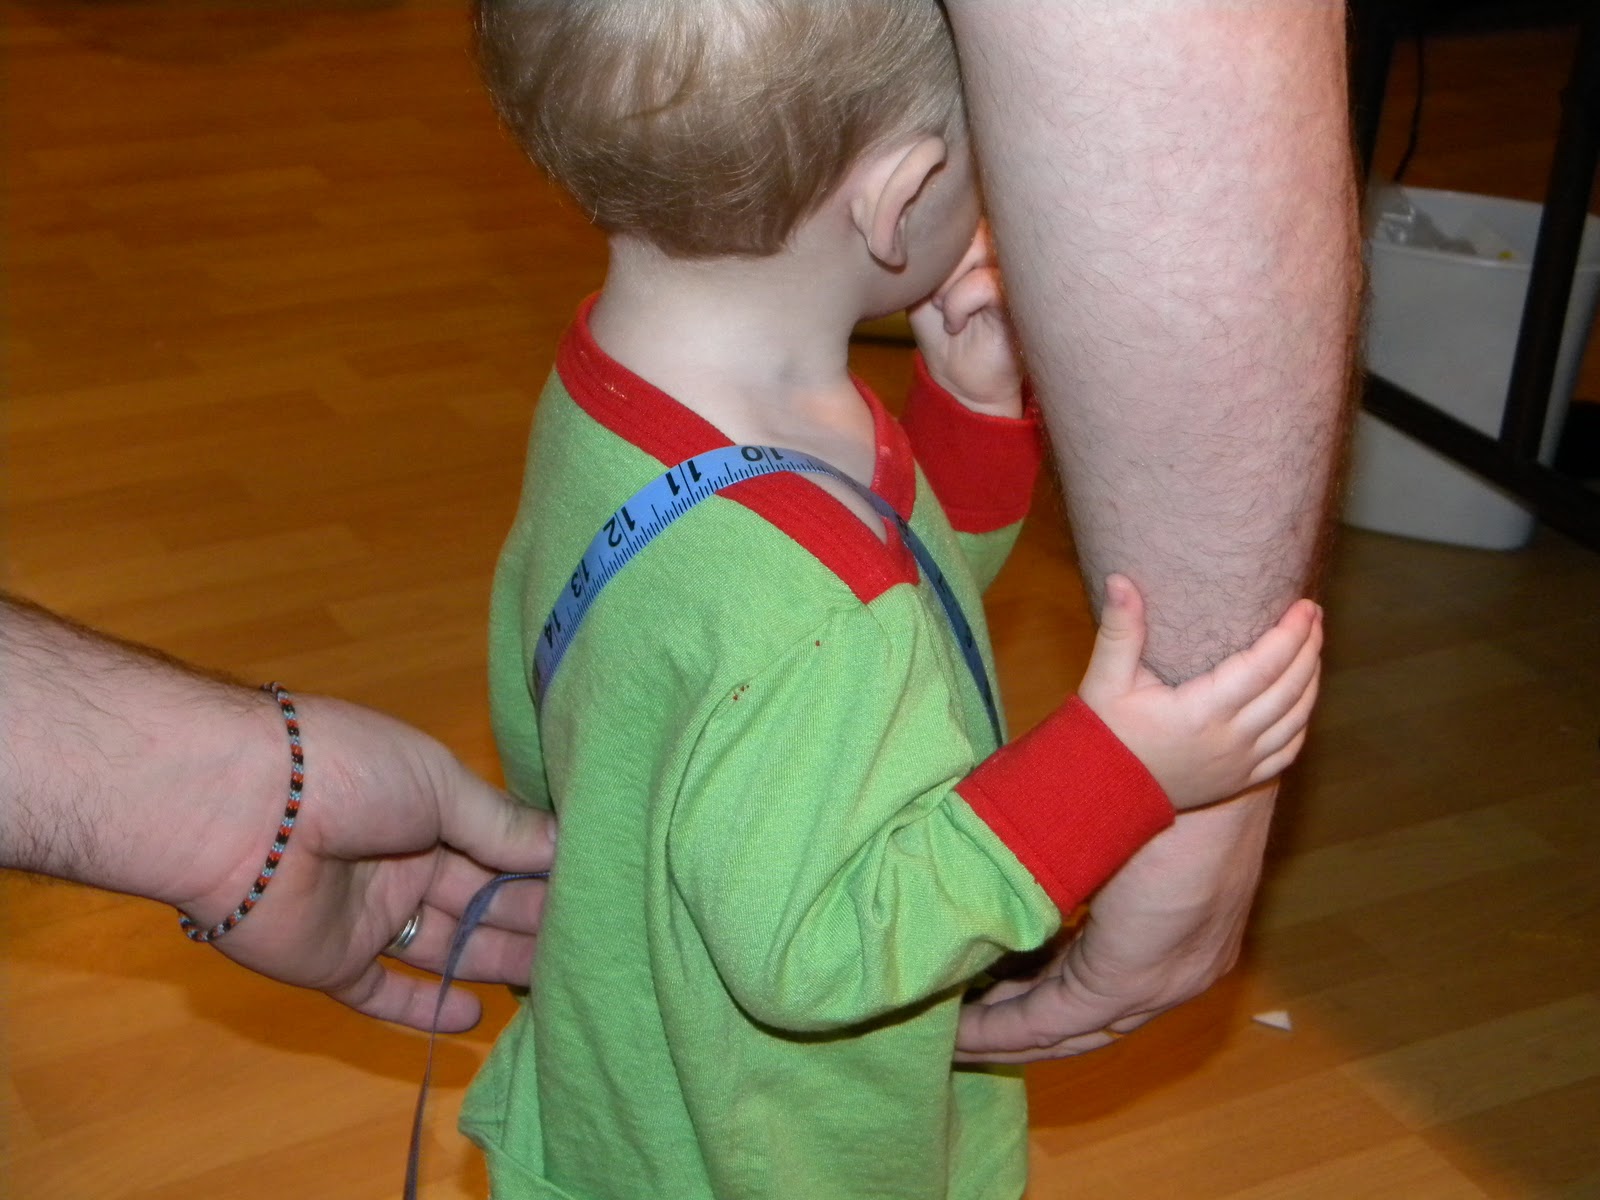
Step 1: Measure your child for the suspenders. For this step, I had my husband help, cuz my little guy can be a wiggle worm! We started on the front right, and brought the tape to the middle of his back. I like my elastic to be about 5 inches long, so we measure 5 inches up from his pants line. If you measure straight to the pants line, you will have too much fabric.

Step 2: Cut cut cut. Take your measurement for the suspender fabric and add 2 inches, 1 inch for extra for seams on each side. For my son, we measured 16 – so I cut my fabric 2.5×18.

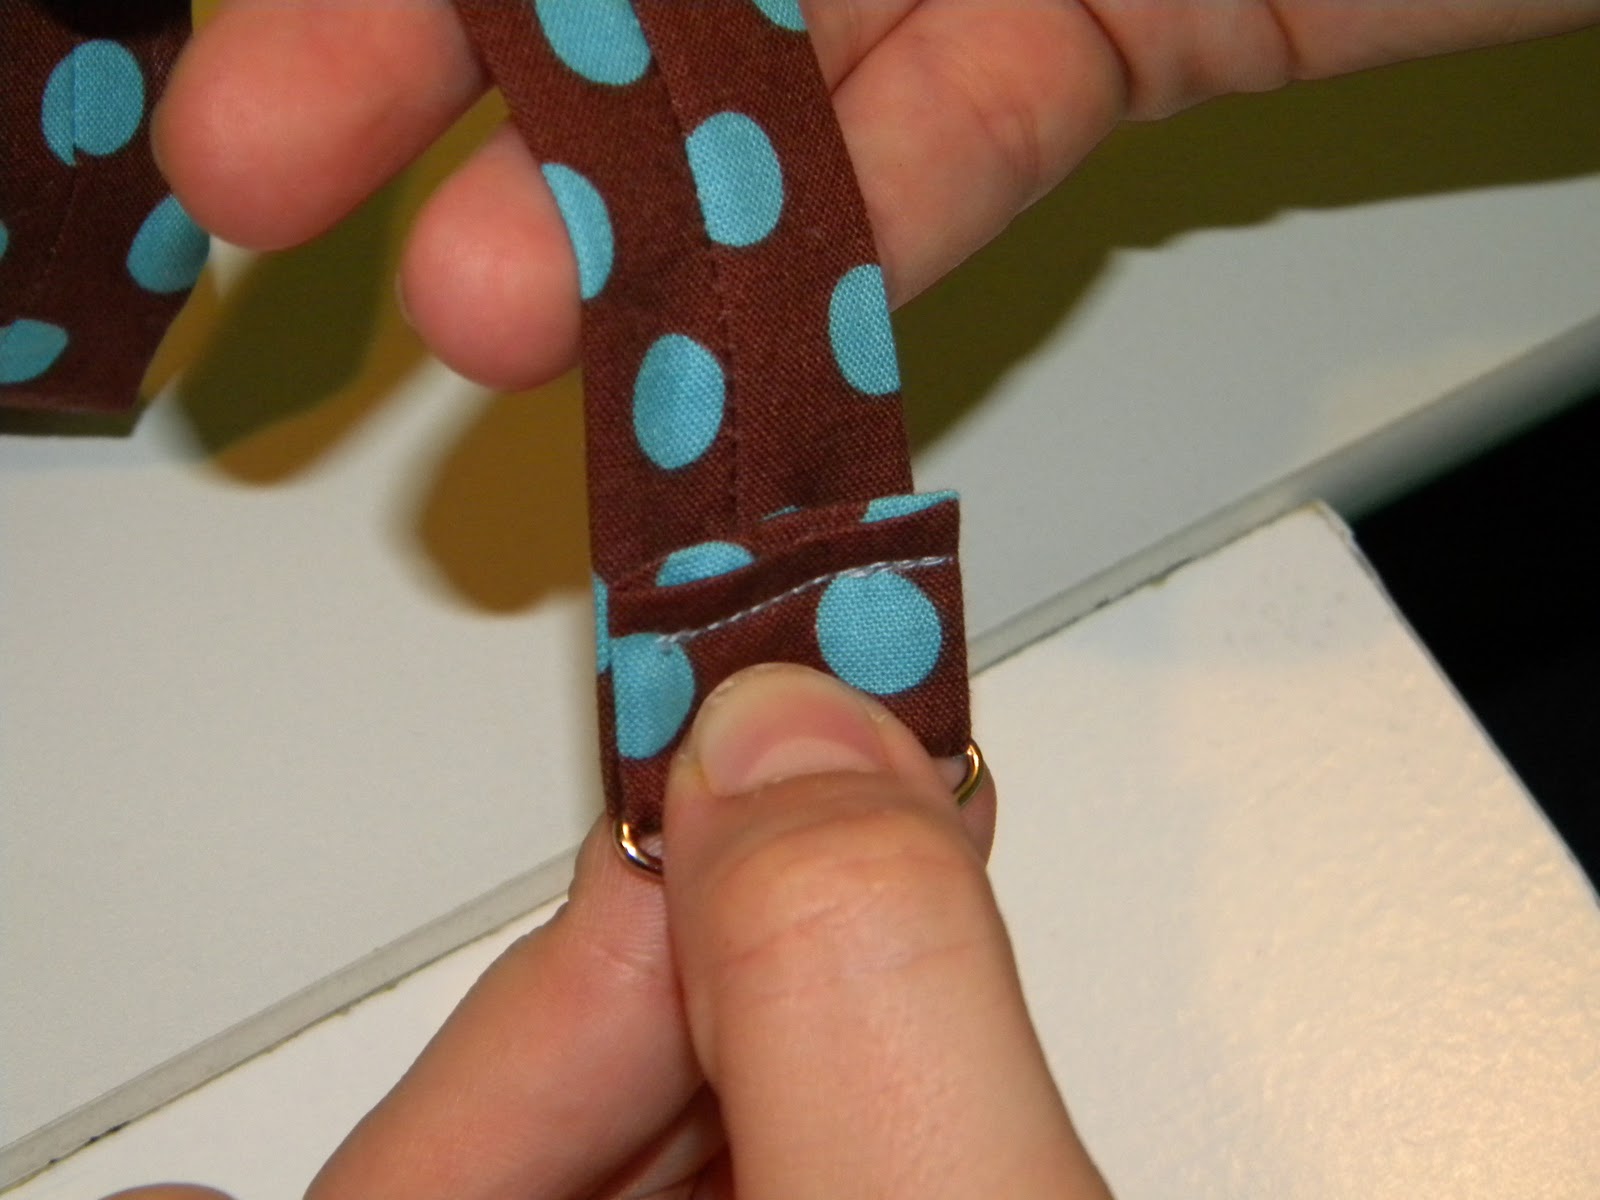
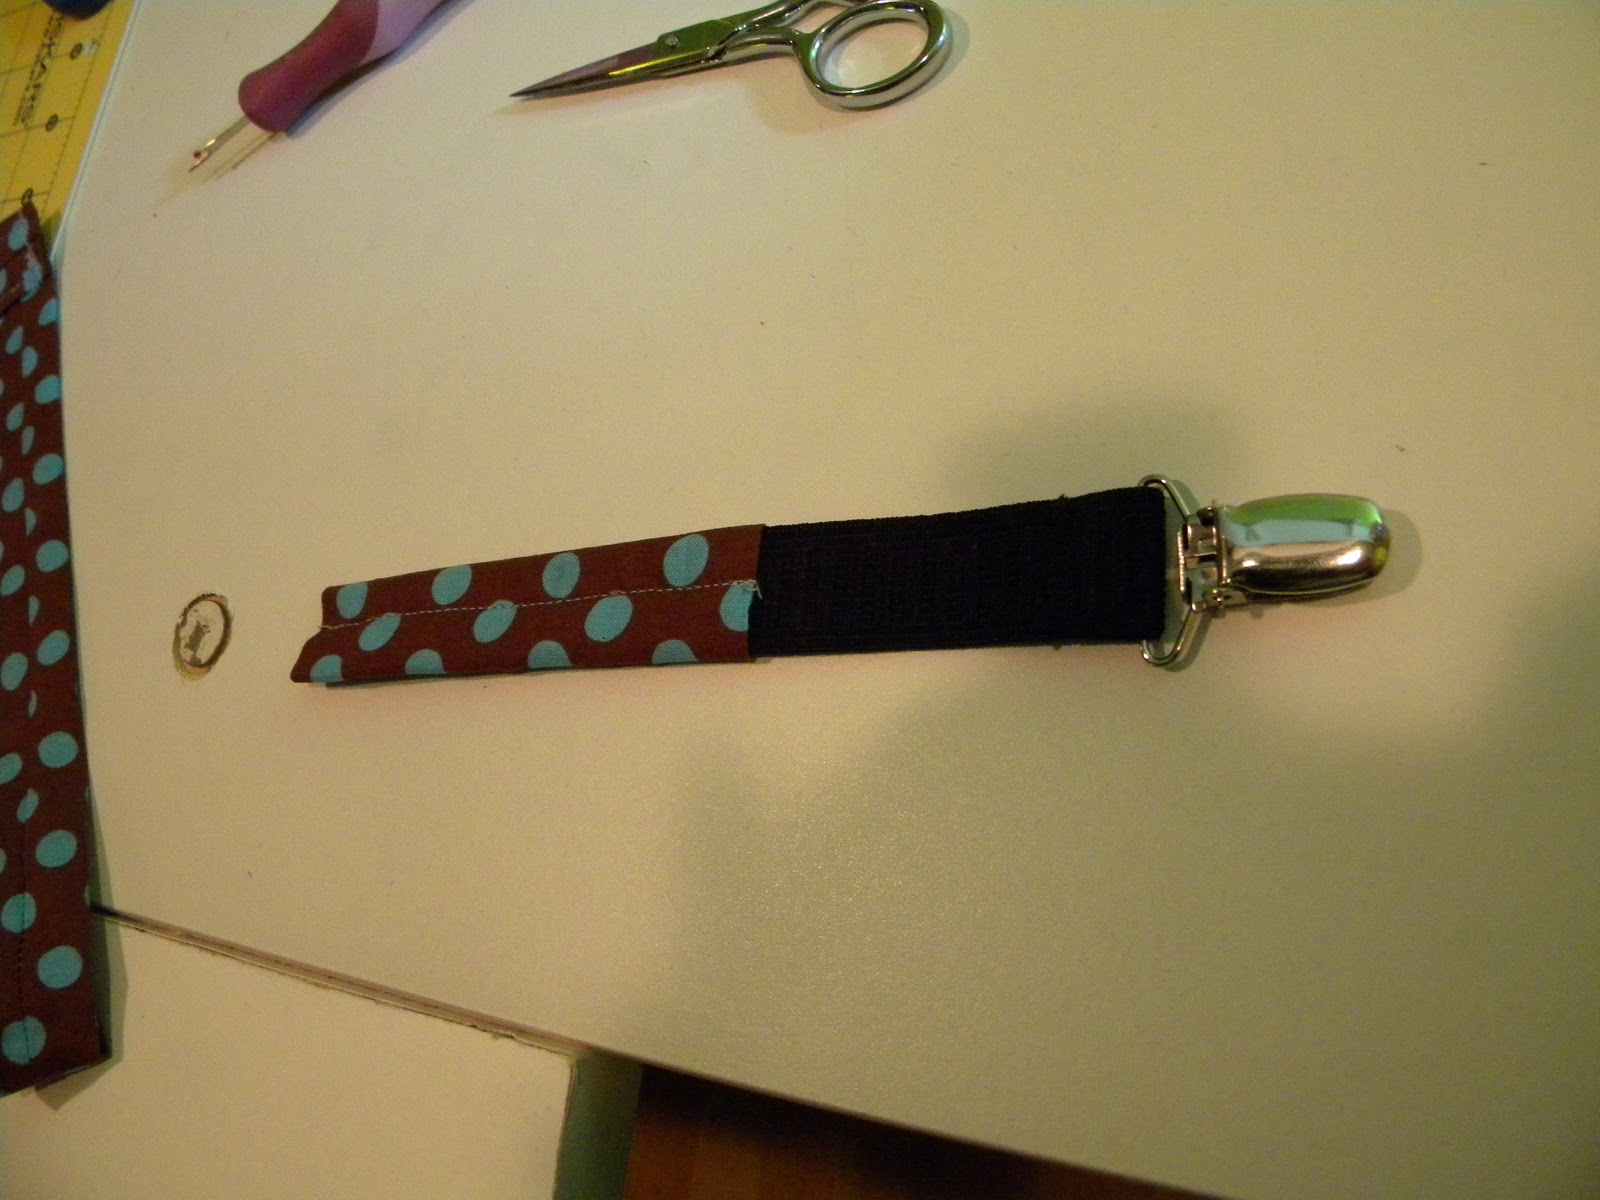
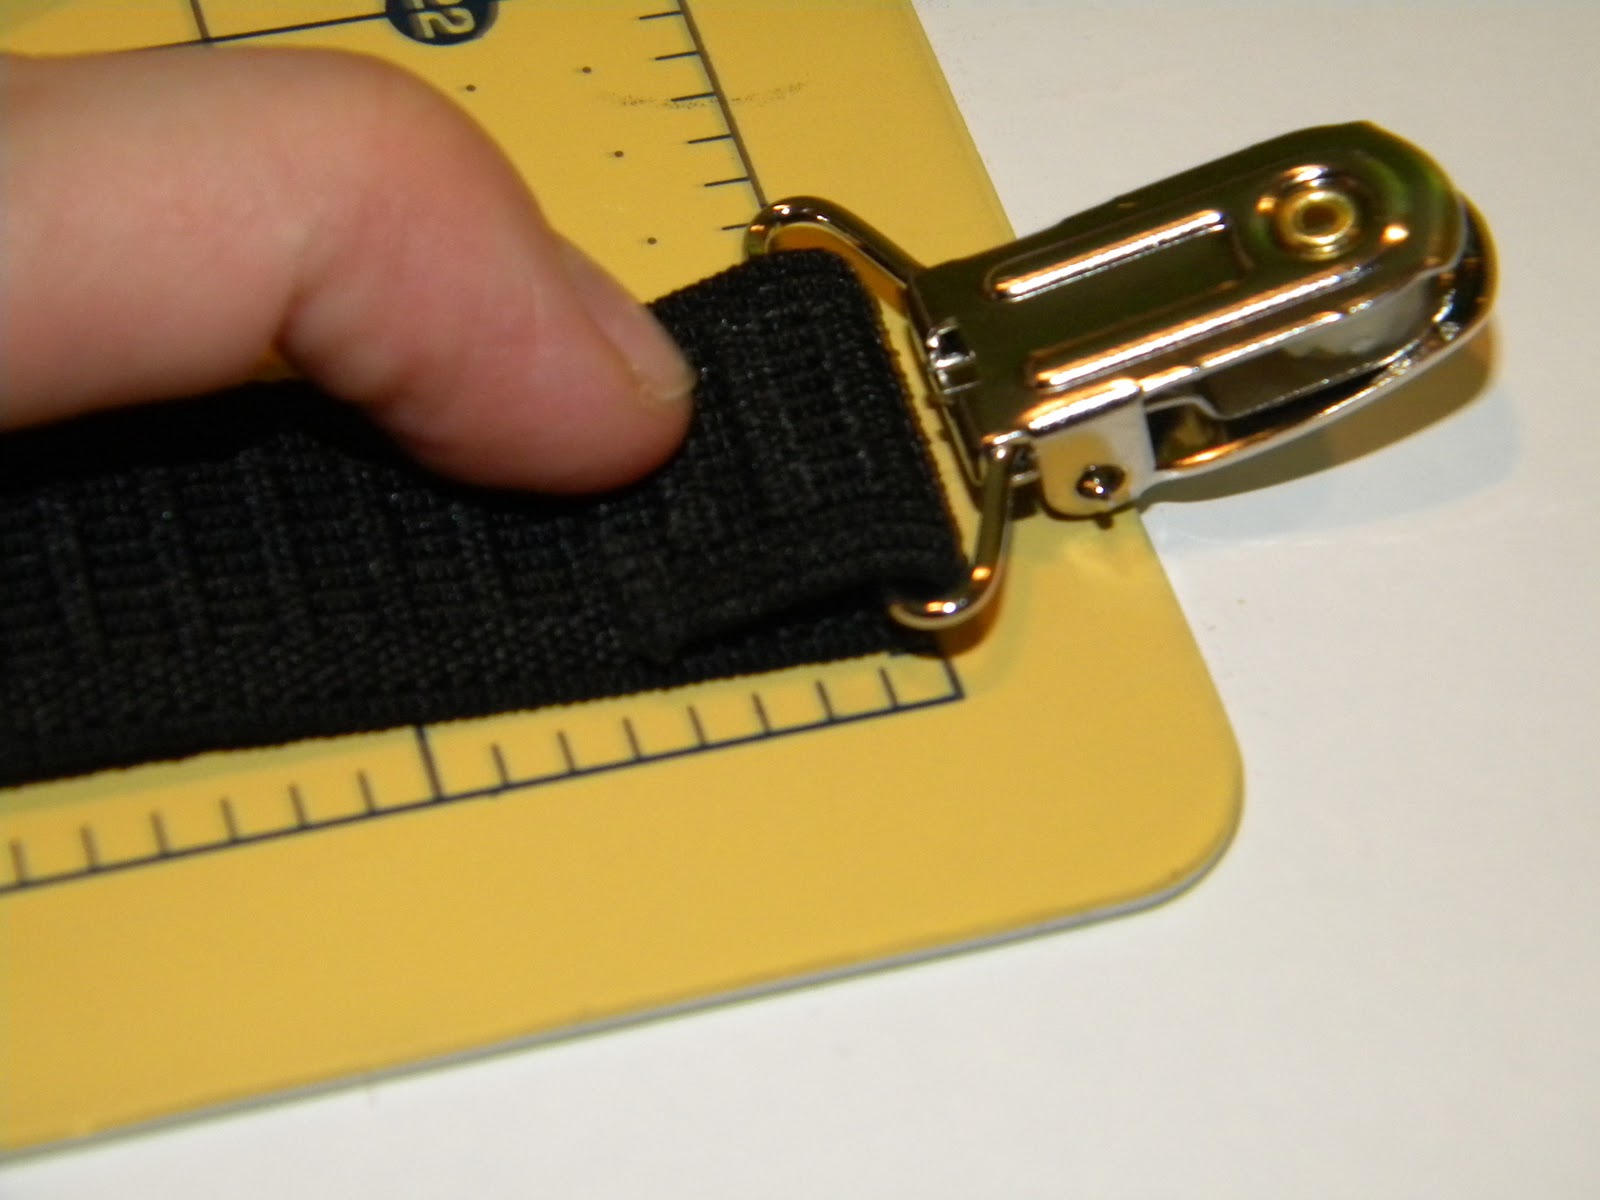
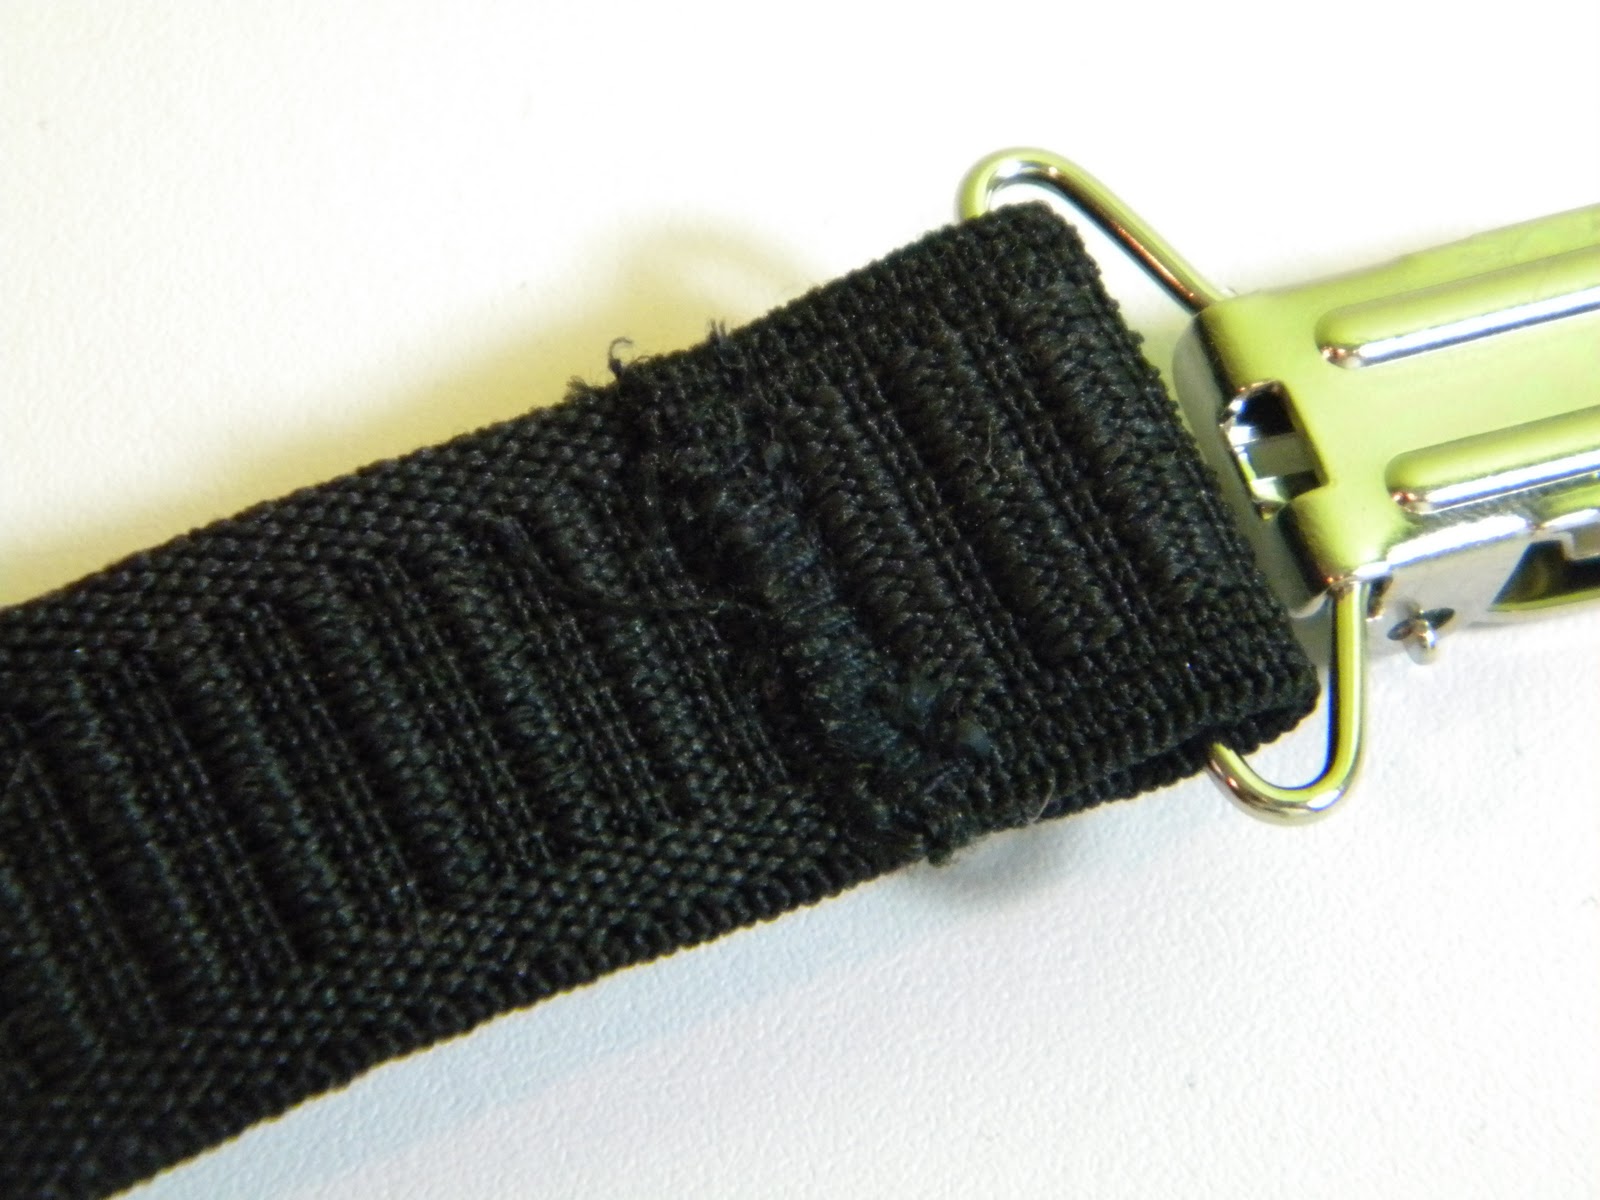
Step 3: Put your elastic end through the suspender clip. Fold end over the back 1/2 inch.

Stitch once using straight stitch, then I use a zigzag stitch over the raw edge.

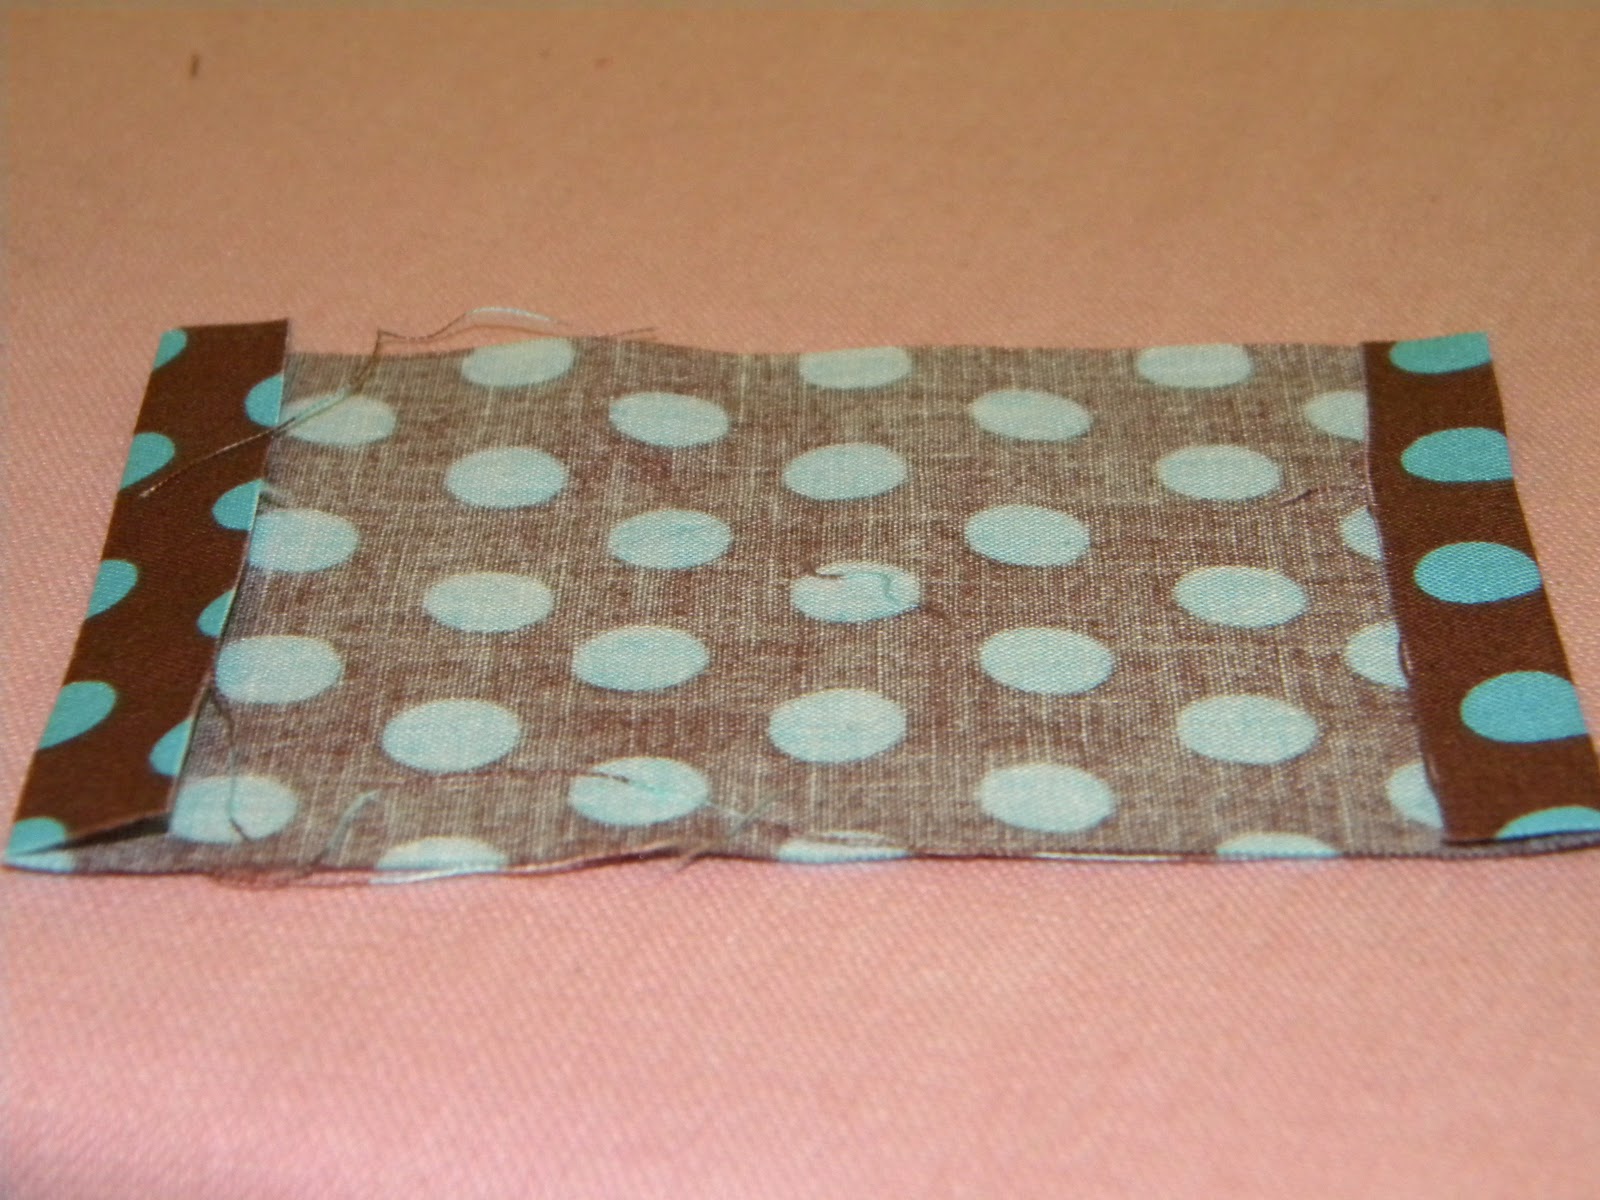
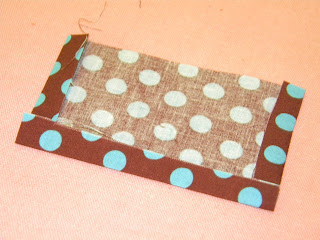
Step 4: Iron your 3×5 fabric piece. Fold and iron short ends back.

Fold and iron long ends back.

I did iron both sides, and didn’t realize I didn’t have the picture until I was done. Sorry!

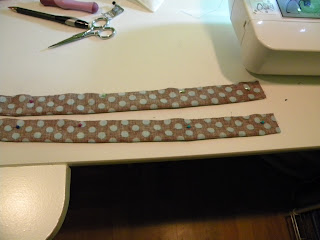
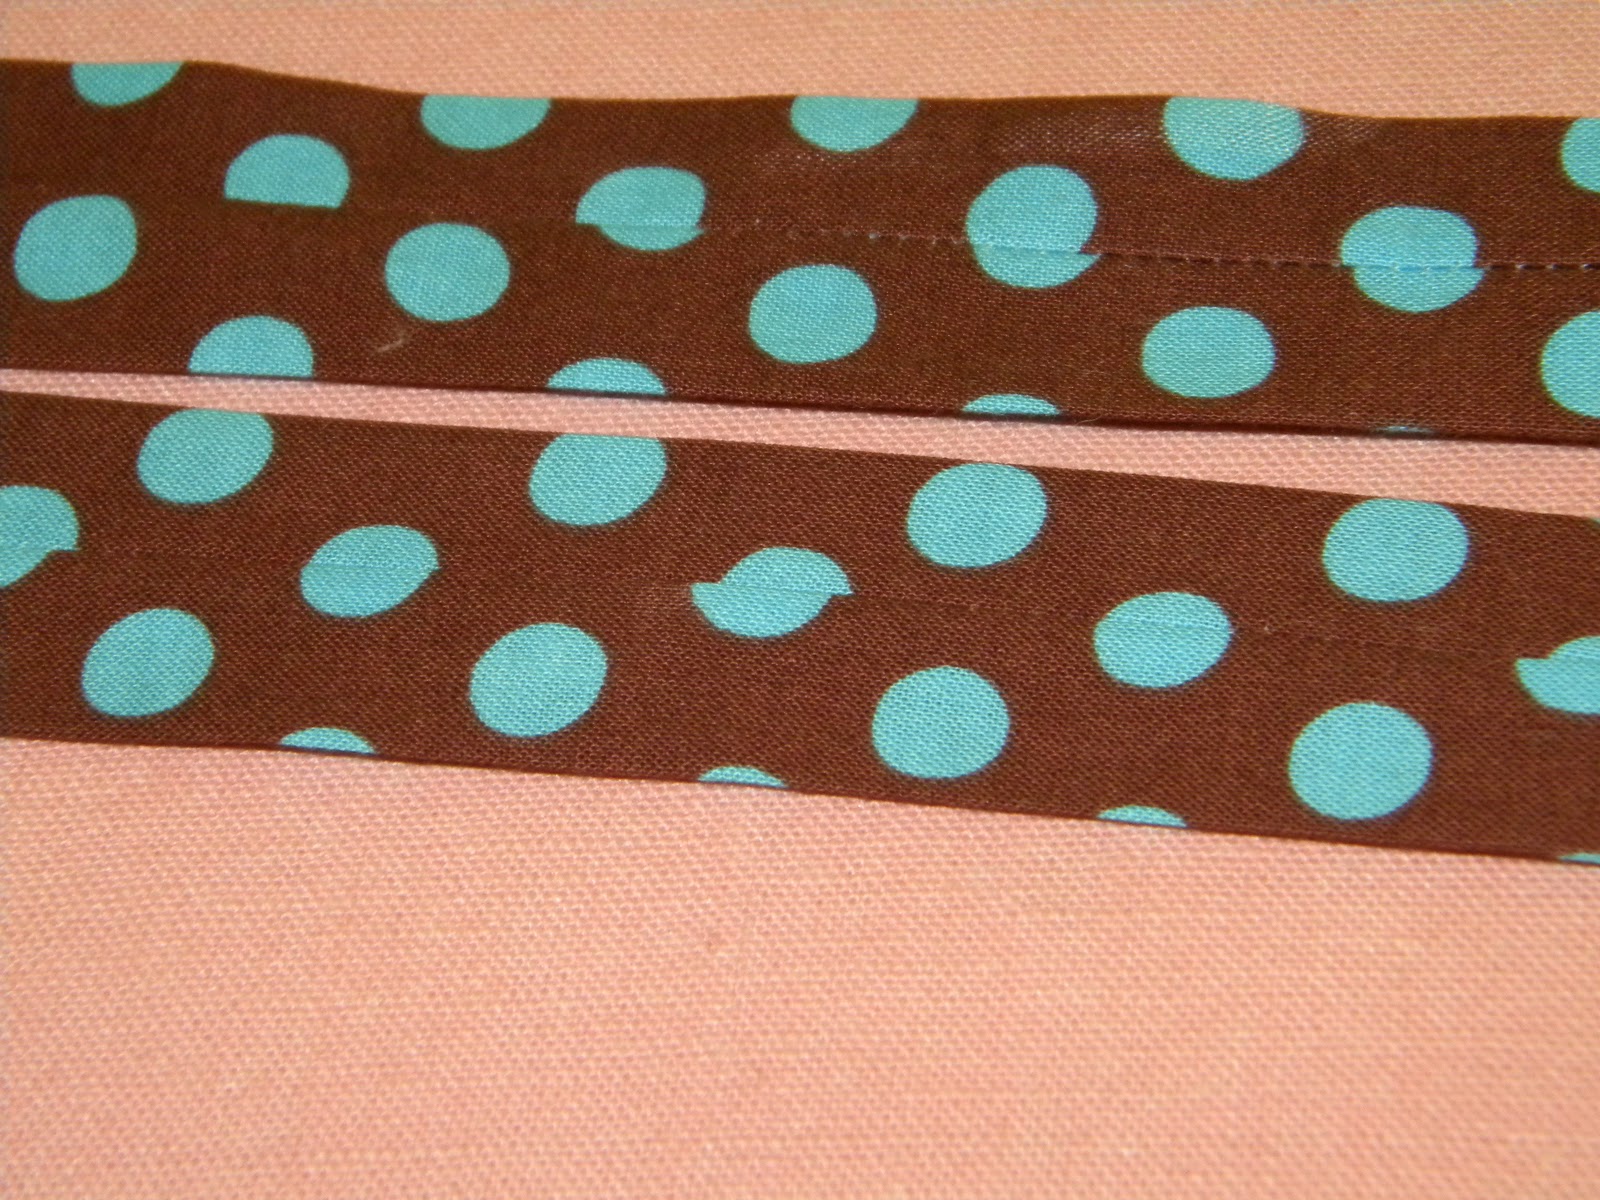
Step 5: Fold 2 1/2 x 18″ fabrics in half long ways – right sides together.

See my pins?

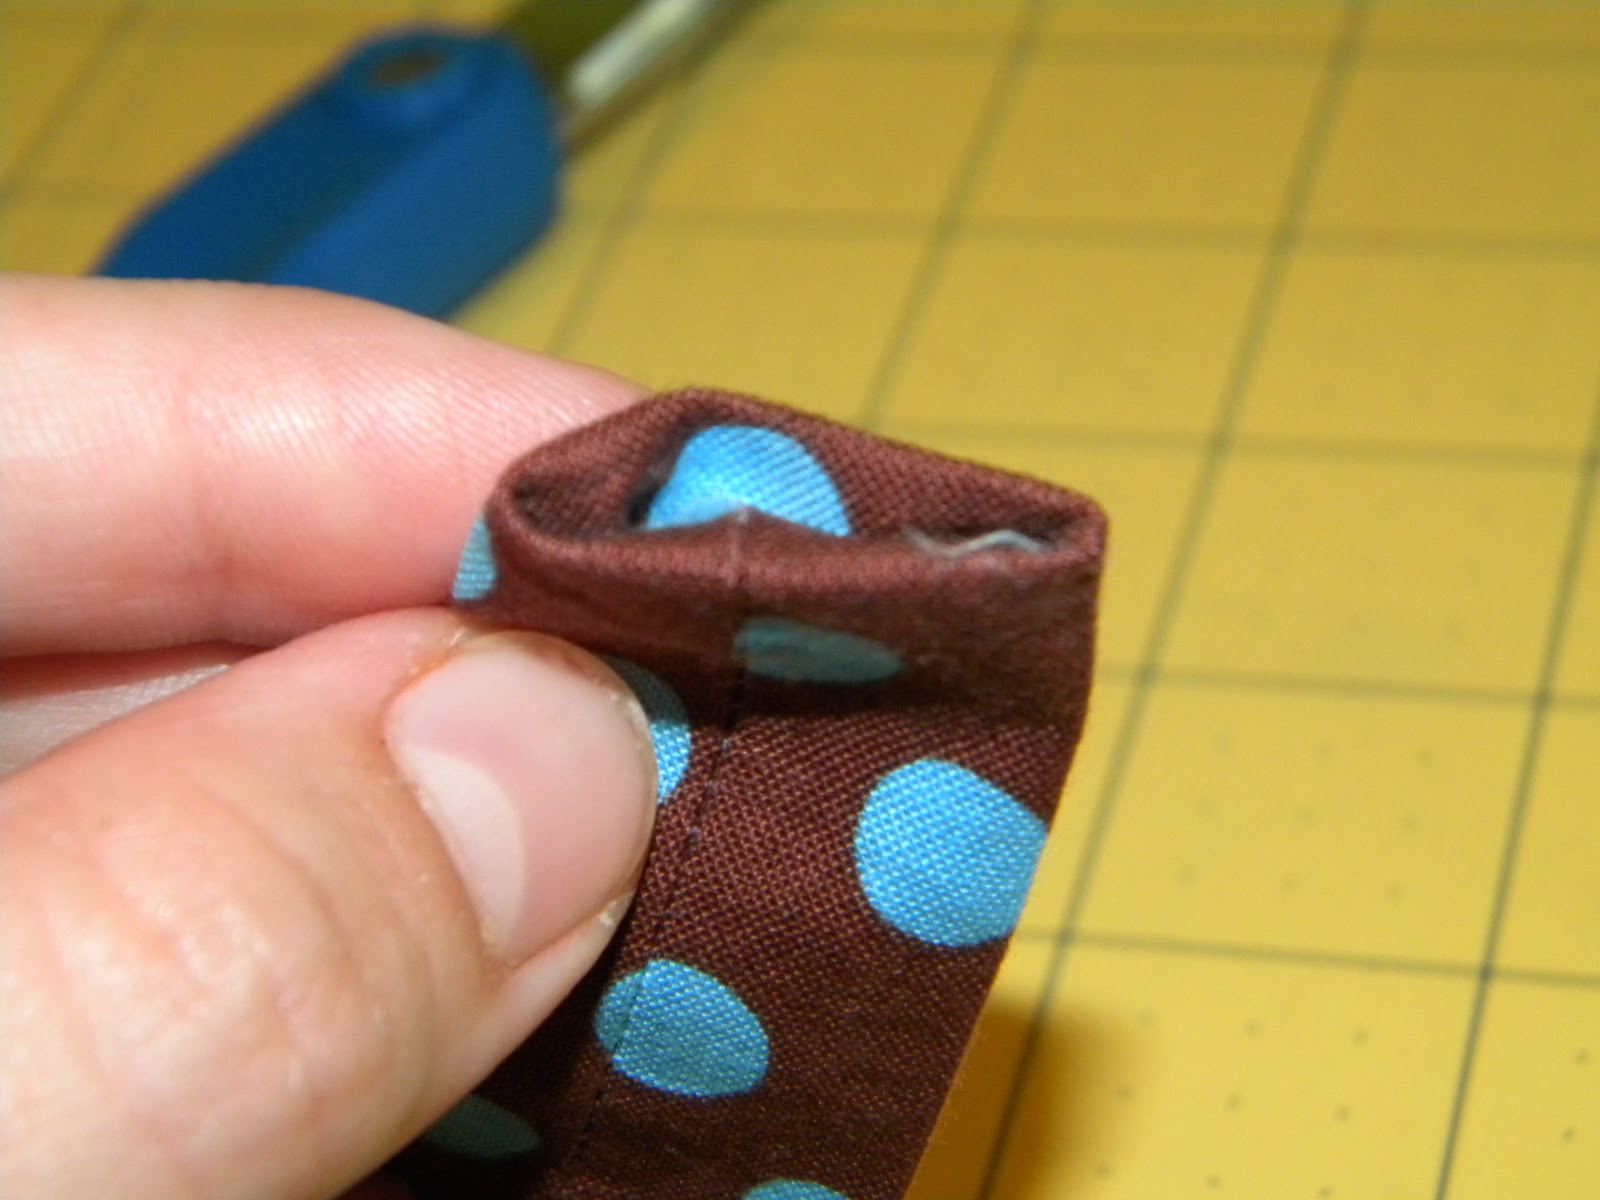
Sew 1/4″ seams along edge and turn right side out.

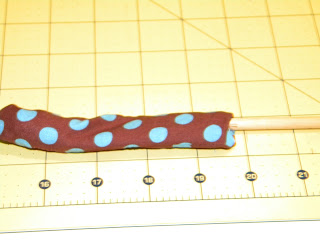
I use a dowel to help me turn.

Iron with seams in back.

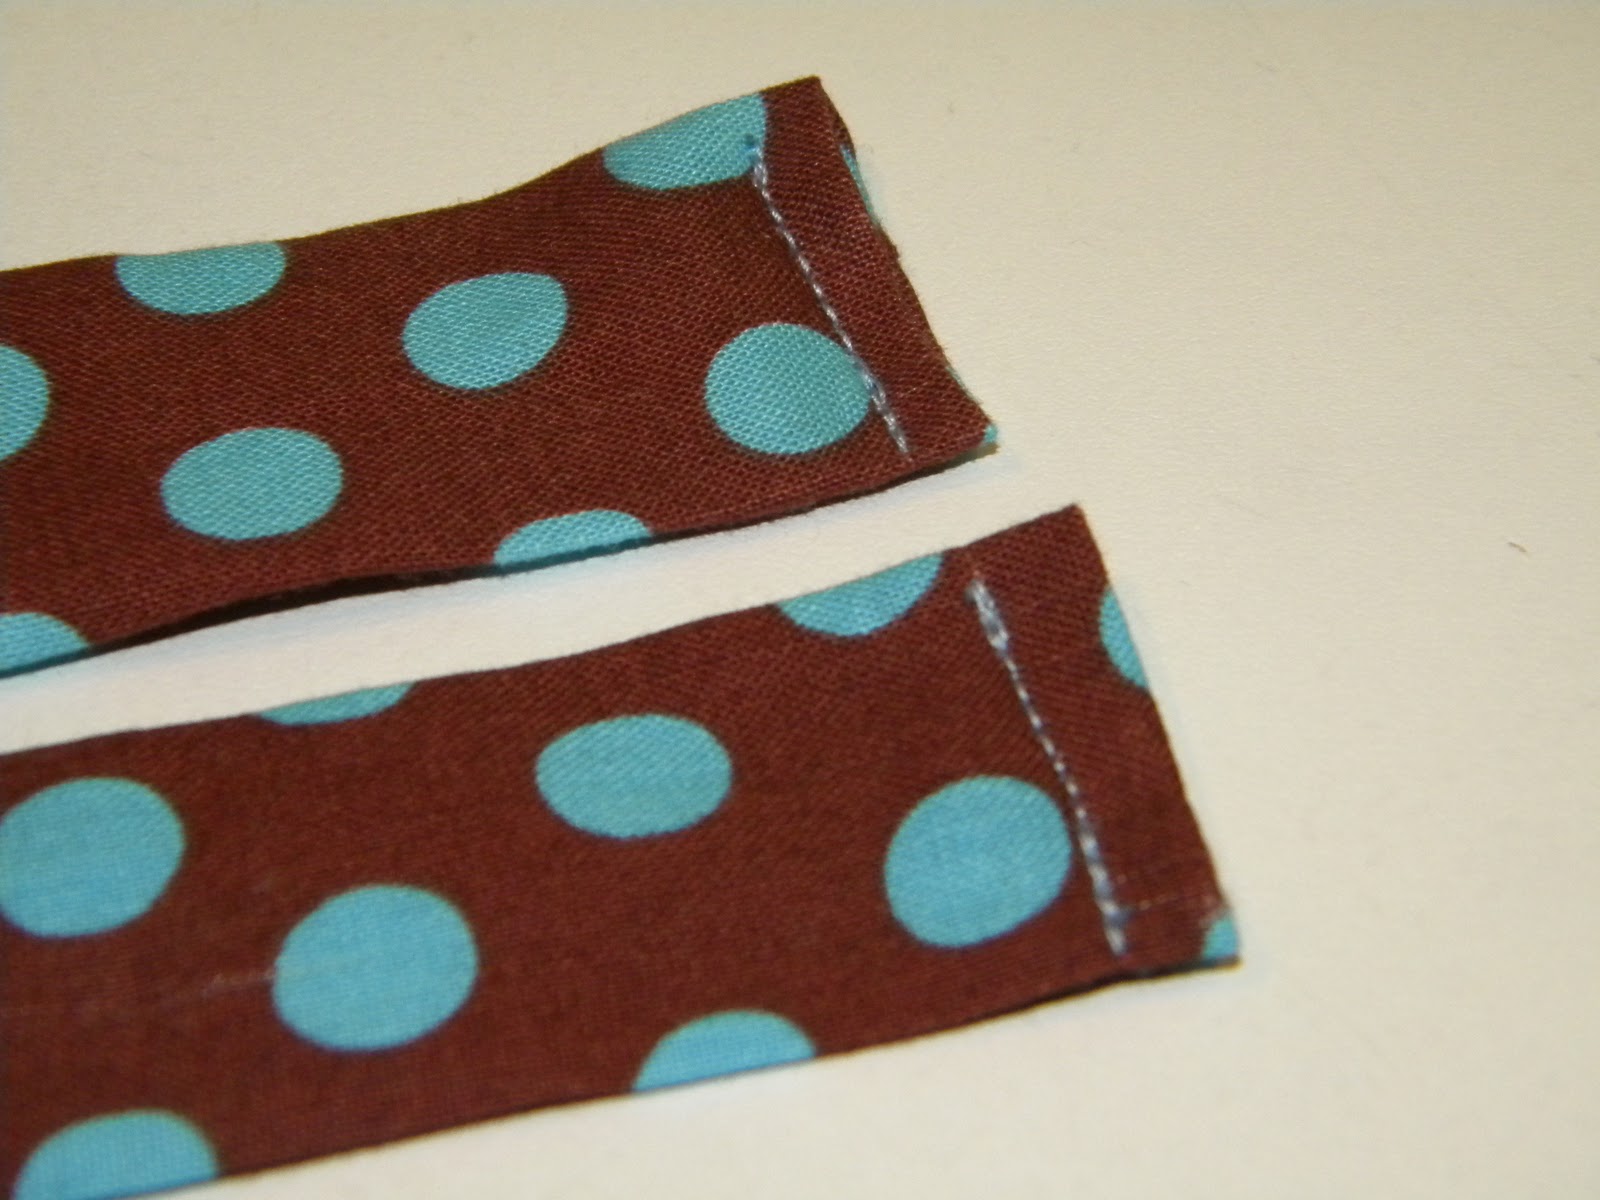
Step 4: Fold raw ends of fabric inside 1/4 inch. Iron, then sew.

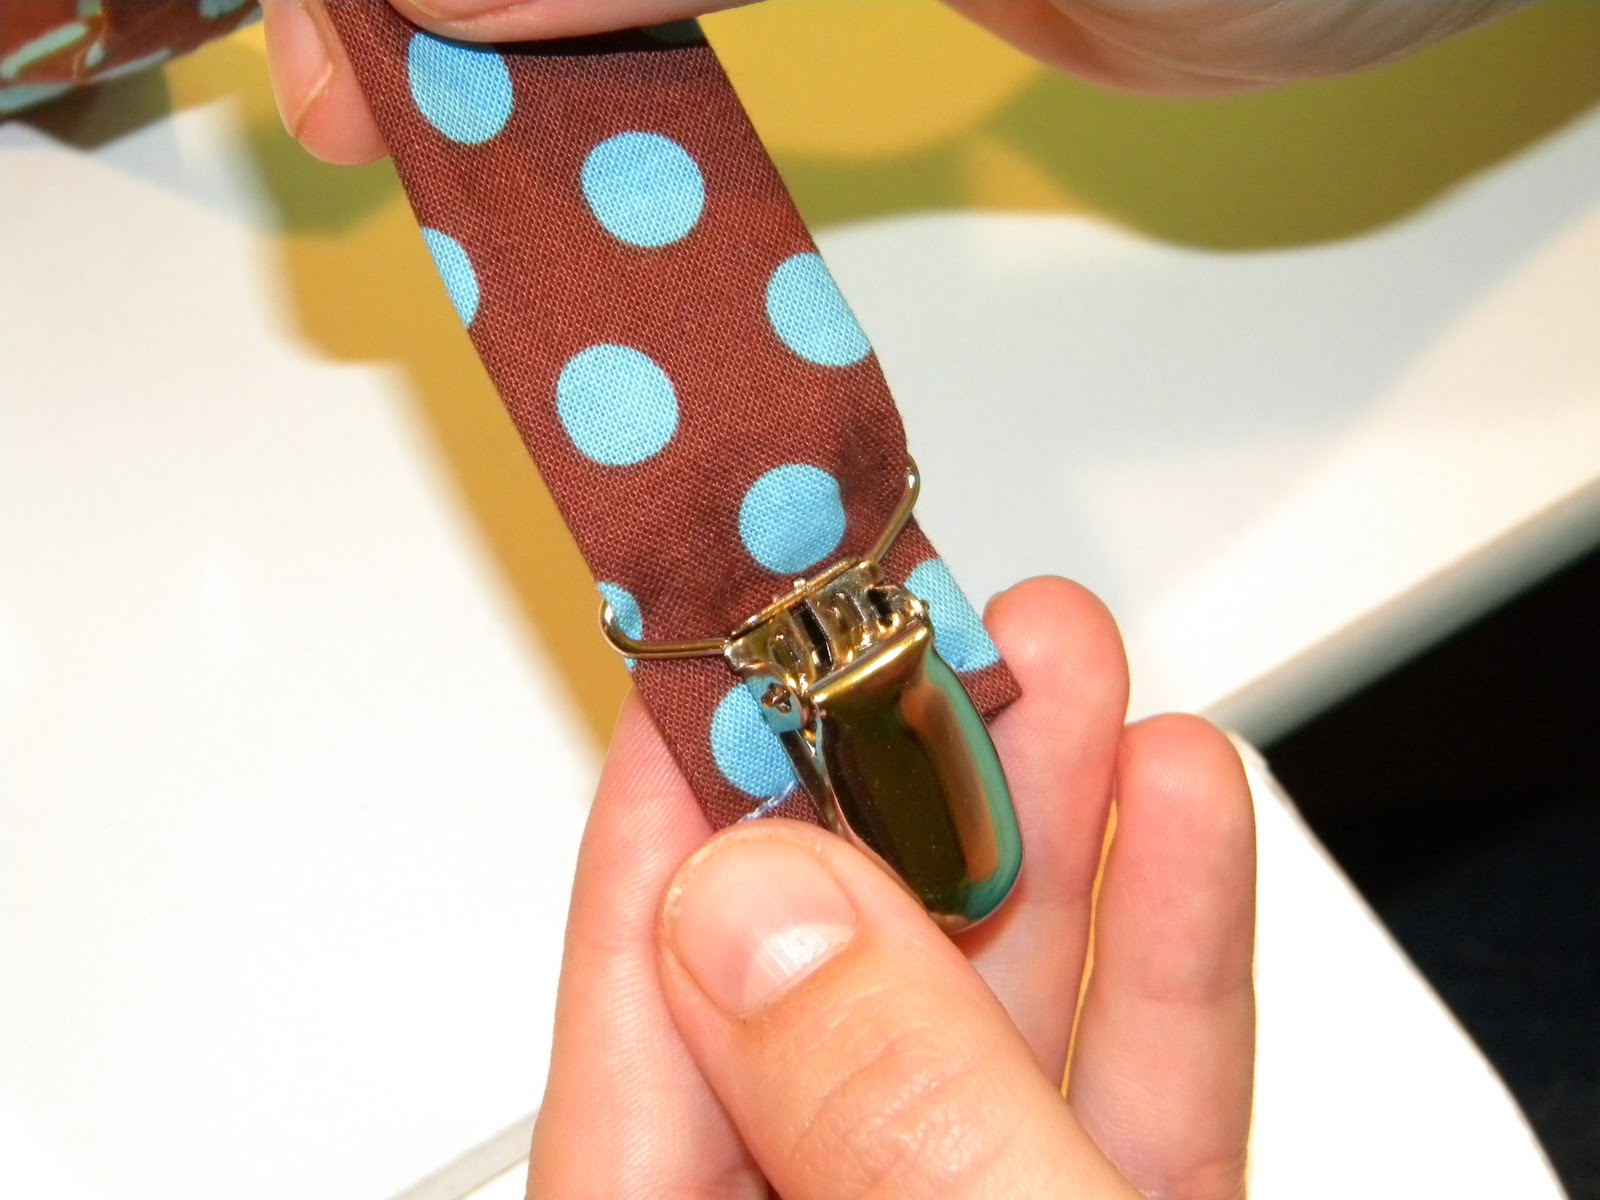
Step 5: Attach suspender clips to fabric. Like we did previously with the elastic, insert fabric through suspender clip, and fold back 1/2 inch.

Sew once using straight stitch, and then use the zigzag stitch. Do this for the other fabric strip also.

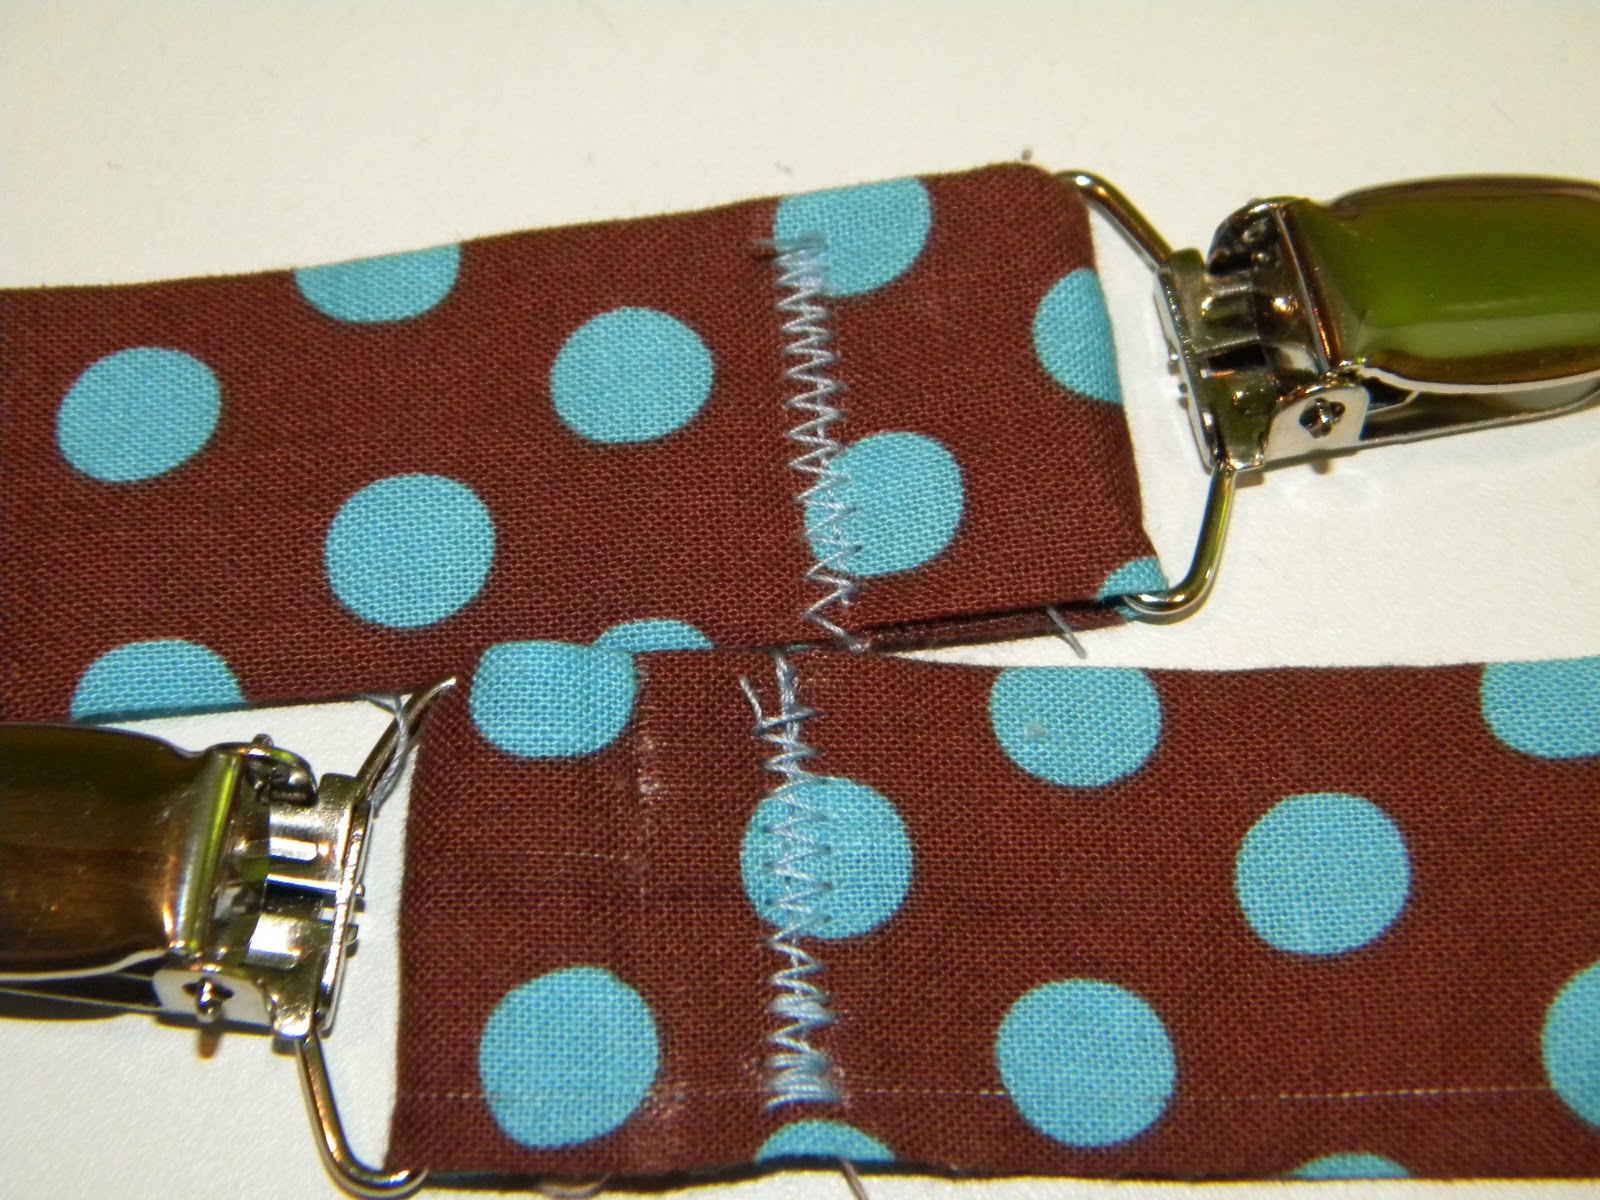
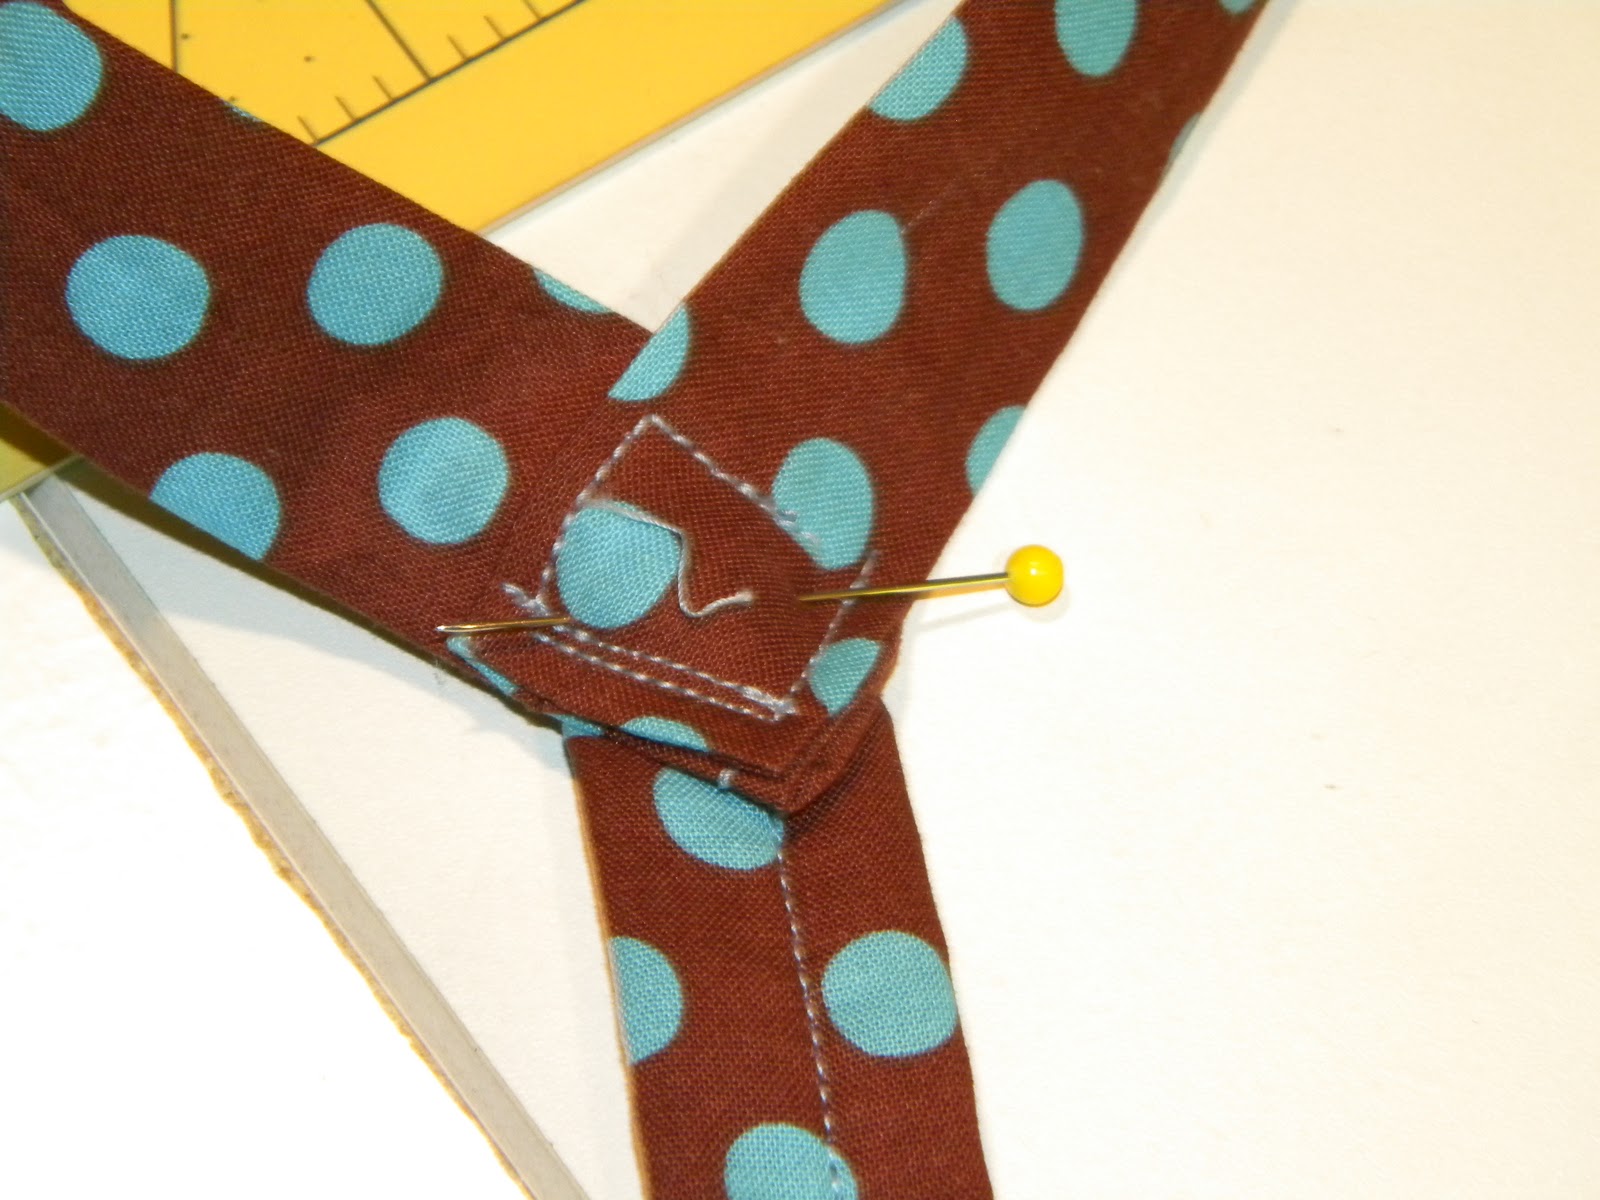
Step 6: Sew the two fabric strips together. Match up your edges and pin.

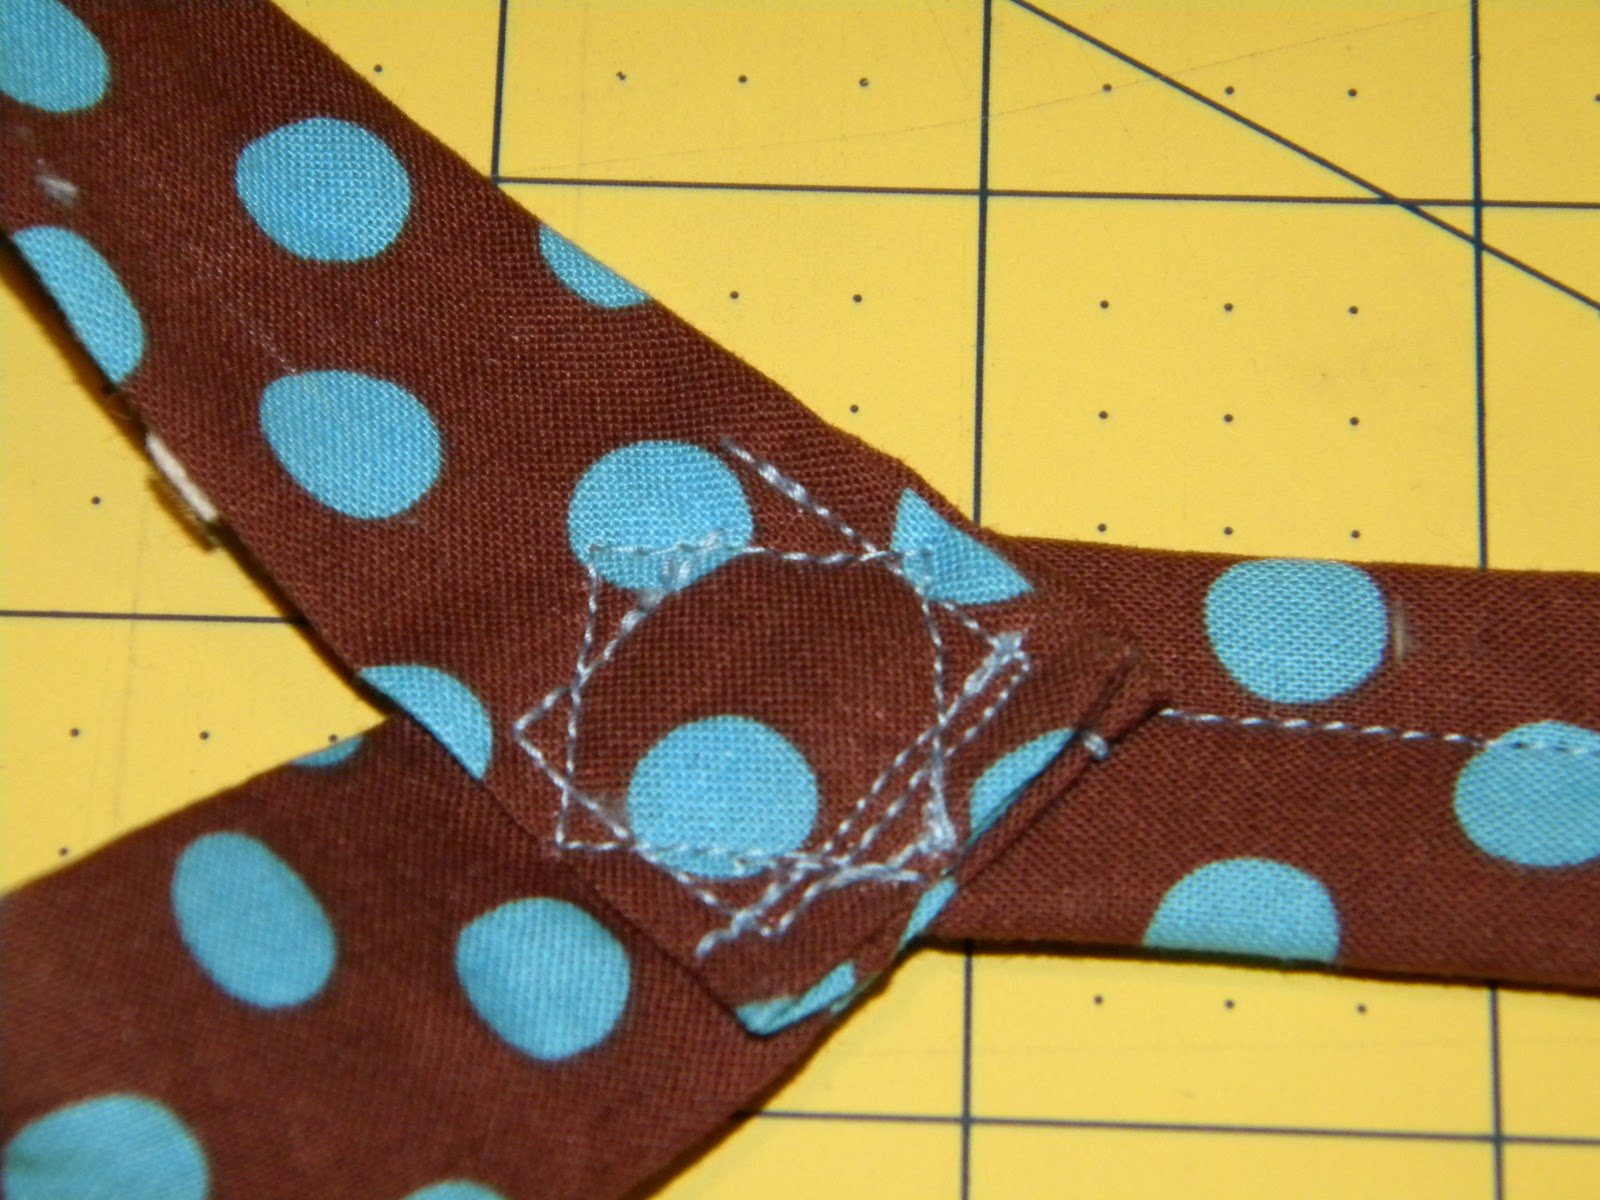
Sew in a square for durability.

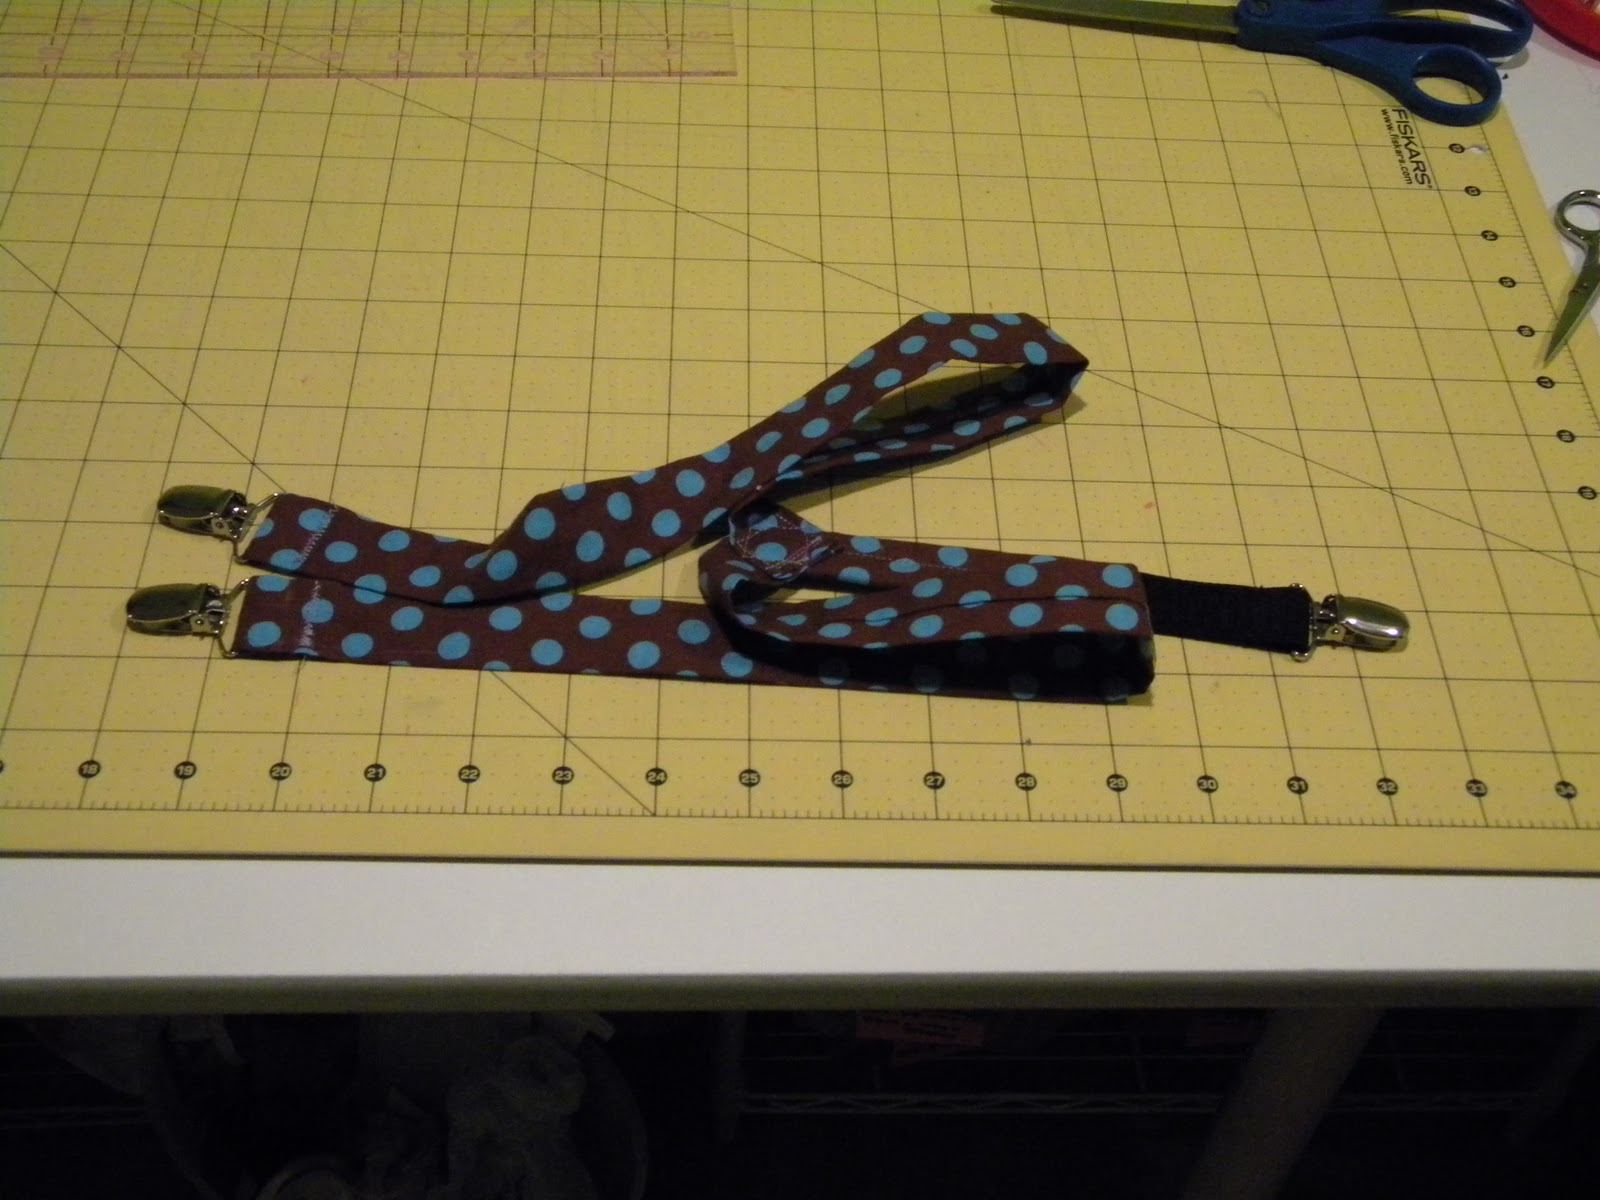
Step 7: Wrap 3×5 piece over elastic. Leave a small gap at the top of the fabric, where you will connect to the “Y”.

Step 8: Sew “Y” and elastic together.

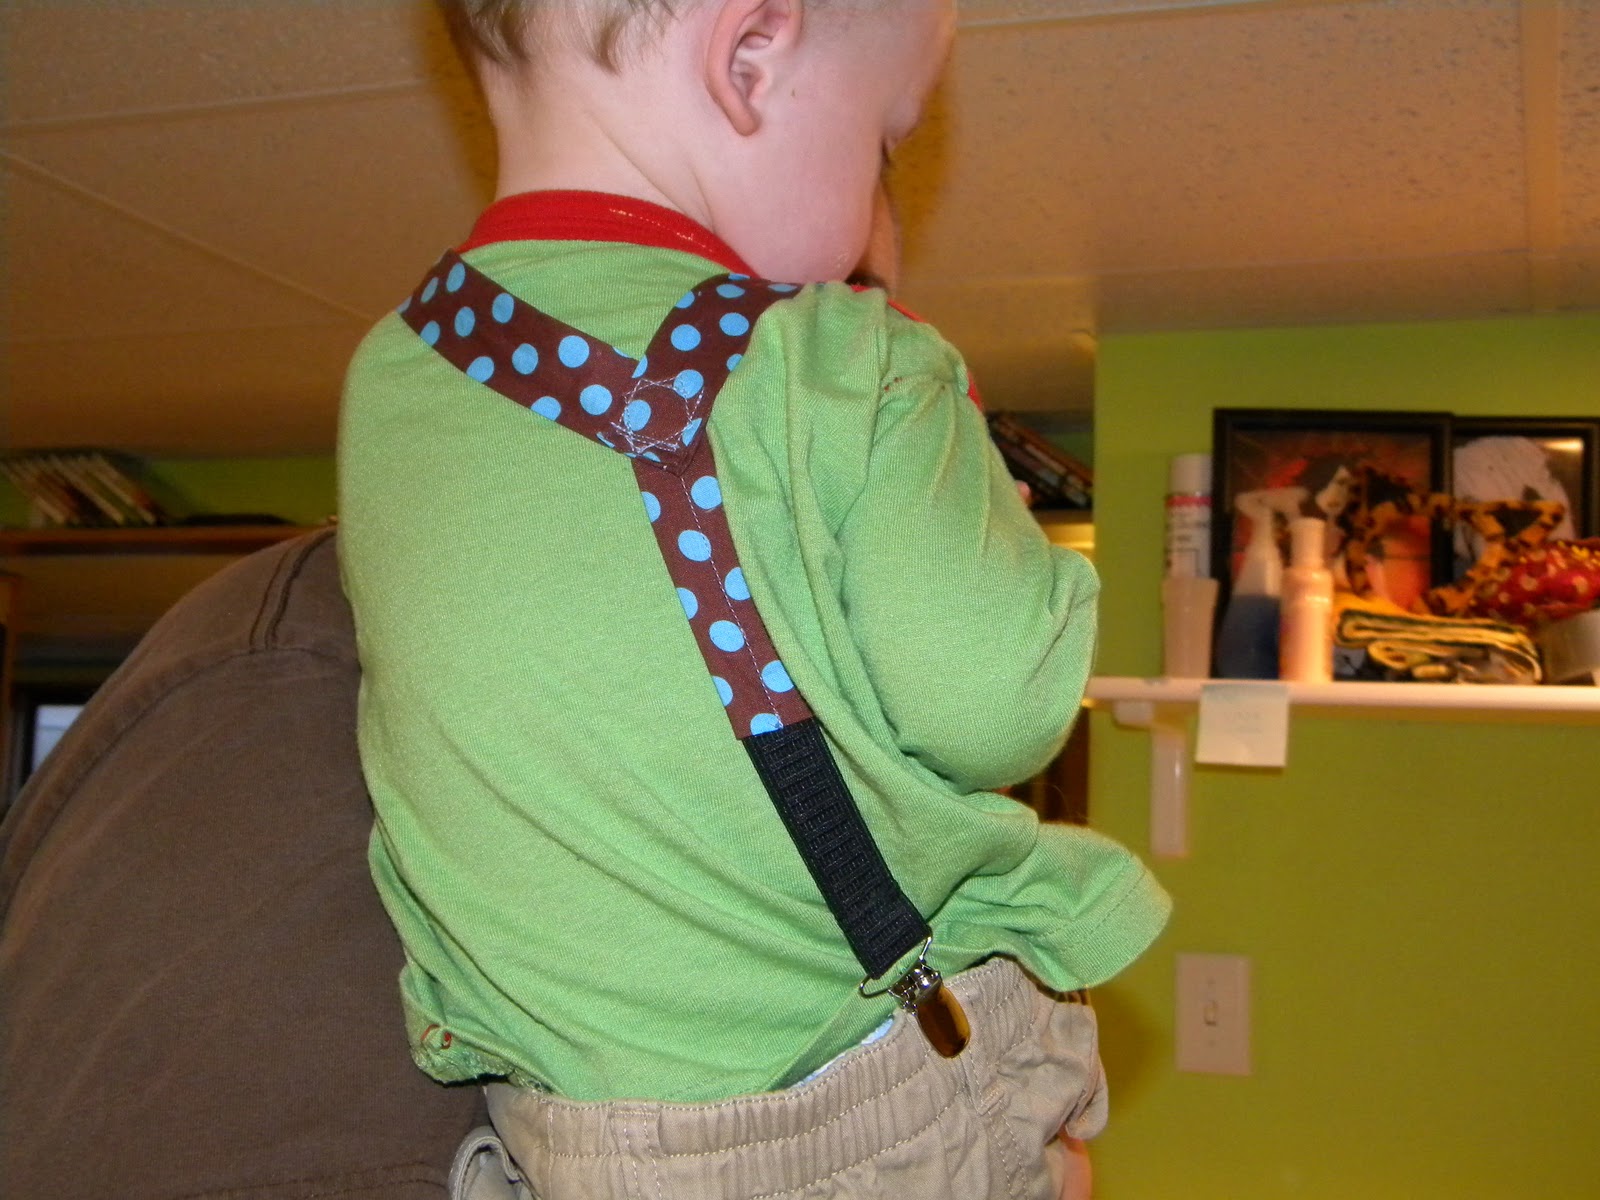
Step 9: Put them on your little man, and try and get a picture with him holding still! 😀

He wasn’t too happy with me or Daddy 😛

Hope this tutorial works for you! If you have any questions you can email me here. Also feel free to visit my blog with my lovely sister here, or my quilting blog here.

If you use this tutorial for suspenders, I’d love to see them in the flickr pool here!!!

——————————————————–

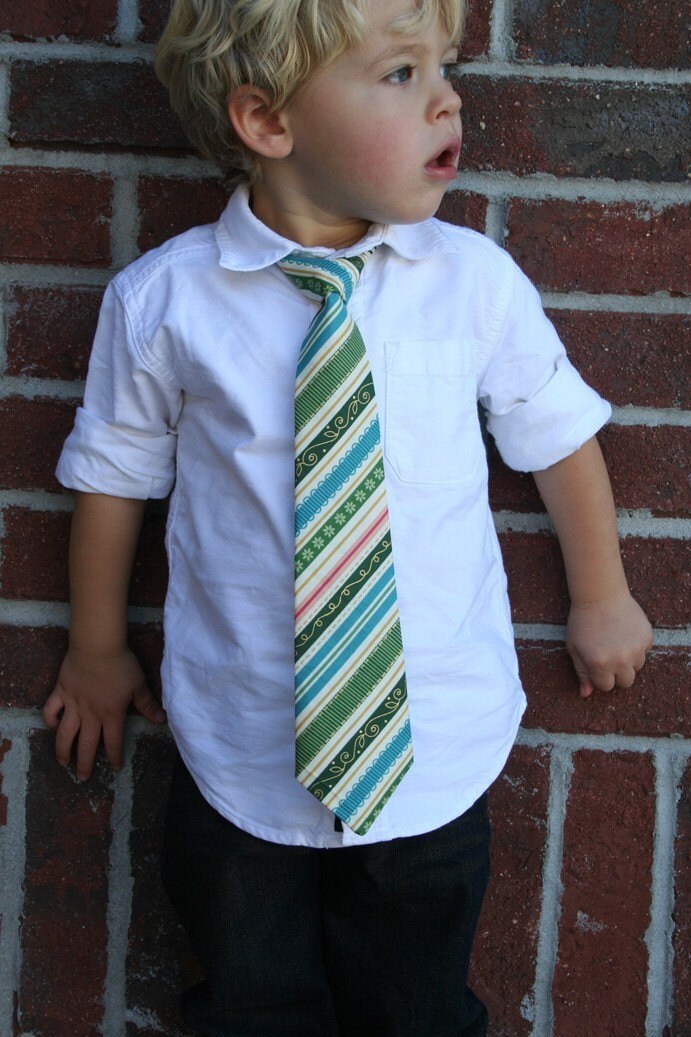
I just love these suspenders and how perfect would they be with a Trendy Tikes boys tie!! Thanks Tiffany for this great tutorial!

P.S. Don’t forget to sign up for free Tipsy updates via RSS or email.
We have decided to truncate our feed to help protect against stolen content. I apologize for any inconvenience. Please love us anyway. 🙂

Boy Week : Trendy Tikes Boys Tie Giveaway

November 15, 2010 By Michelle Barneck 89 Comments

Ever since I found out I was having another boy I have been on the search for a great boys tie. I wanted something cute and trendy and am not a big fan of the clip on ties because my 3 year old can get them off so easy. I was searching around etsy for BYU stuff for boys and ran across these cute BYU ties at Trendy Tikes.

BYU or Utah Necktie, choose your team, sizes 4mo-adult

I got a little deeper in to Rachel’s shop and just knew these were the ties I had to have for my little guys. The patterns are adorable and they come with an adjustable strap with hook closure that might actually keep the boys tie on through 3 hours of church. I fell in love with this black and white houndstooth and it was done. My matching boys ties were found.

My 3 yr old wore his for the first time yesterday. He was so proud of his handsome new tie. He even let me take his pictures, which is usually quite a battle. Some of my young women came over after church to give me a blanket they had tied for the baby and when he got home he walked right up to them and said, “Have you seen my new tie?”

The baby did not get to sport his yet because let’s face it he is 12 days old and I have precious few outfits (none of which include a collar) that do not drown his 6.5lbs. Maybe for his blessing day.

Trendy Tikes also has super cute holiday ties right now. Want to win one?! Trendy Tikes is giving away a holiday tie to a lucky Tipsy reader! Don’t have a little boy? No prob, they come in teen and mens sizes too!

Very Merry Necktie SALE, Choose TwoRockin Holidays Ribbon Print Necktie, ages 4mo-Adult

To enter: Visit Trendy Tikes and tell me what your favorite boys tie pattern is.

Extra entries: (leave a separate comment for each entry)

  • Follow A Little Tipsy
  • Like us on Facebook
  • Follow us on twitter
  • Tweet, facebook or blog about this giveaway and leave us the link

Giveaway closes Friday, November 19th.

Trendy Tikes is also offering free shipping for the months of November and December. Just convo her on etsy and let her know you saw Trendy Tikes on A Little Tipsy and she will set you up!

Disclosure: Trendy Tikes provided two ties for my boys and a tie to giveaway.

——————————————————————–


And now for the first batch of Baby week winners…

The Happiest Baby on the Block DVDs go to…

  • Shelly Hectic said… I liked A little Tipsy on facebook!
  • Lindsey Springfield said…i posted about this giveaway on my fb!
  • Ashley and James said..And I now follow your blog 🙂 !!Ashley there was no way to contact you so please email me by Friday or I will have to redraw for your prize.!!

The A.O. Kay Designs Gift Certificate goes to…

  • Angela said…I like the Black and White Elephant onesie

The 2 Custom Burp Cloth & Custom Changing Pad goes to…

  • Henckel House said…I follow a little tipsy

The SwaddleDesigns Ultimate Receiving Blanket goes to…

  • Michelle said… I follow A Little Tipsy!

Congrats!

P.S. Don’t forget to sign up for free Tipsy updates via RSS or email.
We have decided to truncate our feed to help protect against stolen content. I apologize for any inconvenience. Please love us anyway. 🙂

November Visiting Teaching Message: The Divine Gift of Gratitude

November 14, 2010 By Michelle Barneck 13 Comments

November’s visiting teaching message is to come from the October 2010 LDS General Conference talks. There were so many that I loved, but I thought President Thomas S. Monson’s talk on “The Divine Gift of Gratitude” was perfect for November.

November Visting Teaching handout
Click on the image to print as 5×7

I made this month’s visiting teaching handout a bit larger than usual because I wanted to use a lot of quotes but still have them readable. They are 5×7 handouts so you can fit two on a page.

Feel free to print and use as you like!

I used Shabby Princess Plentiful and WM (squared) Designs Turkey & Stuffing digital scrapbooking kits. The font is Candy Buzz BTN from Kevin & Amanda.

As a side note, I am in a contest to win a kitchen full of brand new Kitchenaid appliances. I would love it if you would vote for me! Please rescue my appliances. The voting is open until November 17th and you can vote daily. The great part is for every time you vote you get entered for a Kitchenaid Stand Mixer!


P.S. Don’t forget to sign up for free Tipsy updates via RSS or email.
We have decided to truncate our feed to help protect against stolen content. I apologize for any inconvenience. Please love us anyway. 🙂
« Previous Page
Next Page »

  • Bloglovin
  • Facebook
  • Google+
  • Instagram
  • Pinterest
  • RSS
  • Twitter

Hi there! I'm Michelle. Mother of three little boys and one little princess. Welcome to A Little Tipsy, a place for exploring creativity and sharing inspiration.

Follow on Bloglovin


Visit Michelle Barneck {A Little Tipsy}'s profile on Pinterest.

Tutorials by Category


15 Family Reunion Games

Family Reunion Games Collage

15 Sprinkle Party Ideas

Sprinkle Birthday Party
Creative Commons License

© Copyright 2014 A Little Tipsy · Site Designed by The Fairy Blogmother · Web Hosting by RFE Hosting

This website uses cookies to improve your experience. We'll assume you're ok with this, but you can opt-out if you wish.Accept Read More
Privacy & Cookies Policy