A Little Tipsy

Creative Tips & Ideas

  • home
  • About Me
  • the tipsy top
  • press
  • projects
  • contact me
[print_thumbnail_slider]

My LDS Memories Photo Book Giveaway

November 12, 2010 By Michelle Barneck 131 Comments

Have you heard about My LDS Memories?

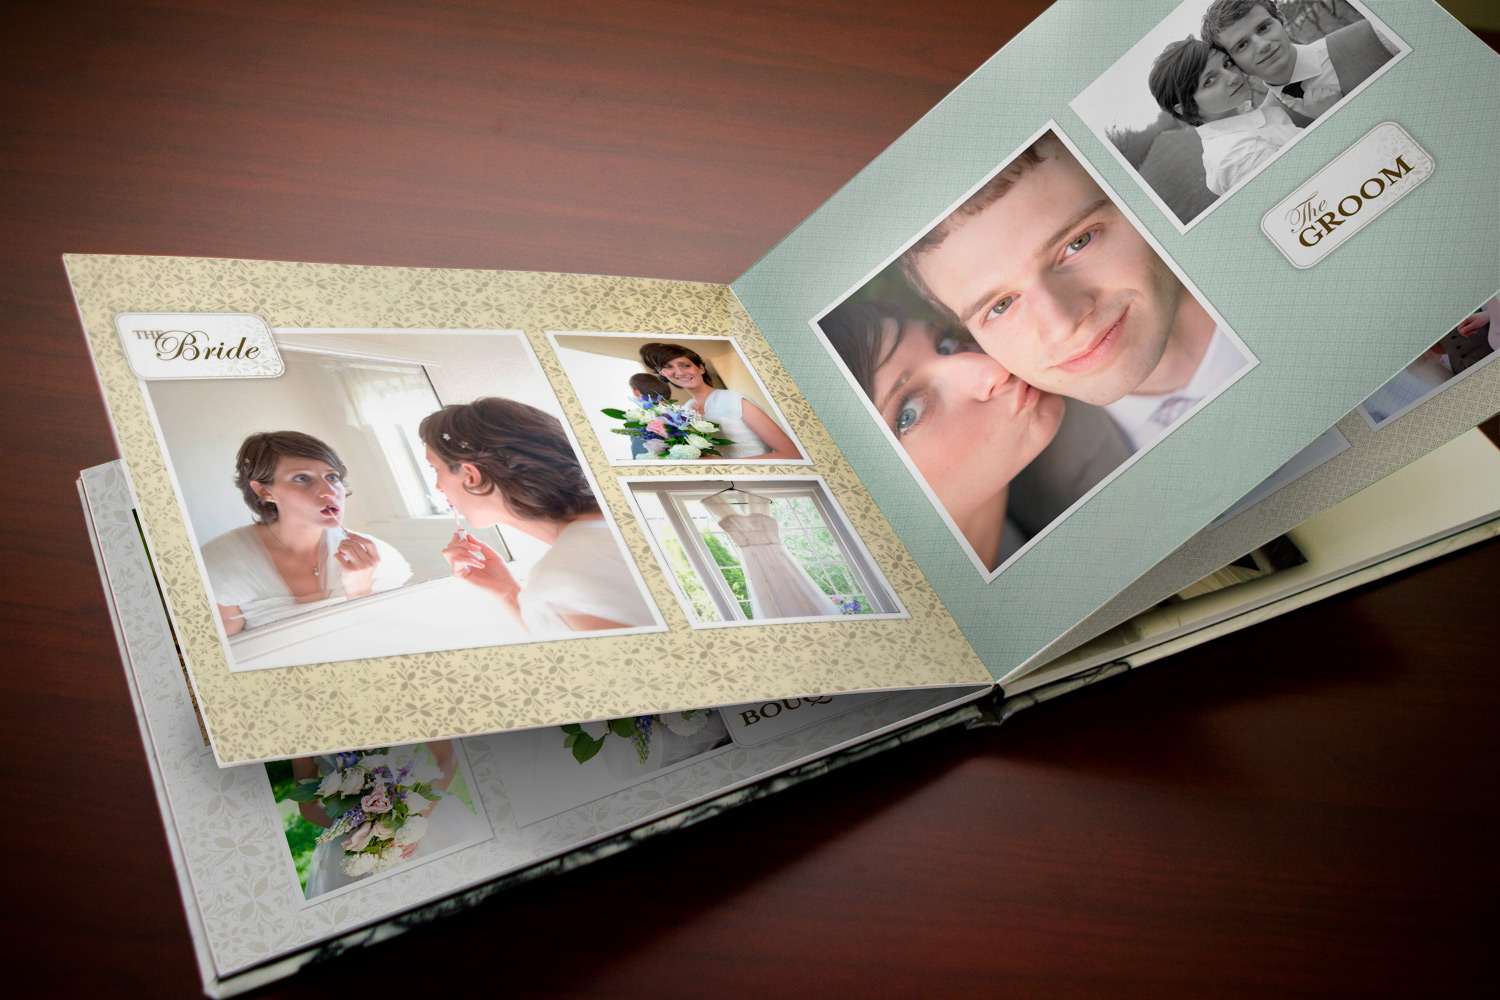
They have a totally cool site where you can create photo books for special life moments like baptism, missions, weddings and of course new babies. The thing that is really neat about them is they have some templates already done for you, complete with perfectly themed LDS quotes, all you have to do is add your photos and any journaling and you’re done! The program is so easy to work with and let’s you do as much or as little personalization as you want.

I have already made two books, one of my engagement photos and one of my wedding and they are beautiful. The books are good quality hard cover. I have ordered books from nearly 10 different vendors and these are some of the best I’ve seen.

I am really excited about their newest product the “My Family Proclamation” book. It combines quotes from the “The Family: A Proclamation to the World” by The First Presidency and Council of the Twelve Apostles of The Church of Jesus Christ of Latter-day Saints with your family photos to create a beautiful keepsake album. I am going to use pics from our recent Fotofly family shoot and make my own. I also plan on using photos from my son’s newborn shoot to make an “I’m here!” book.

I am going to make them this weekend, why? Because Saturday through Monday they are having a 3-day sale with all photo book prices starting at just $15!! Prices are usually $34.95 so this is a steal!
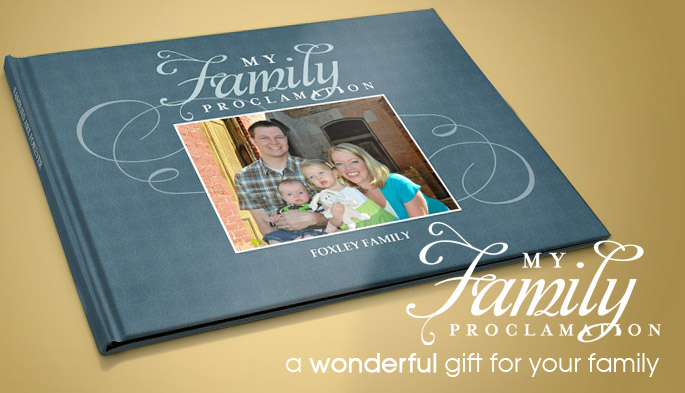
My LDS Memories wants you to be able to try it out for free, so they are giving away a free photo book code ($34.95 value) to two Tipsy readers.

To enter: Visit My LDS Memories and tell me which book you would want.

Extra entries: (leave a separate comment for each entry)

  • Follow A Little Tipsy
  • Like A Little Tipsy on Facebook
  • Follow me on Twitter
  • Facebook, Blog, or Tweet about this giveaway and leave us the link

Giveaway closes Friday, November 19th. Good Luck!

P.S. Don’t forget to sign up for free Tipsy updates via RSS or email.

We have decided to truncate our feed to help protect against stolen content. I apologize for any inconvenience. Please love us anyway. πŸ™‚

Baby Week: Baby Clothing Art

November 12, 2010 By Michelle Barneck 3 Comments

Hi, I’m Danielle from A Few of My Favorite Things.


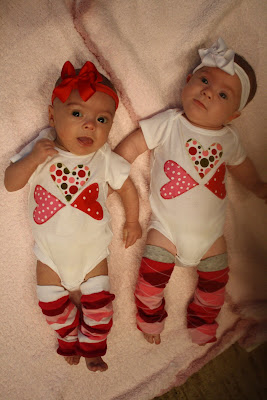
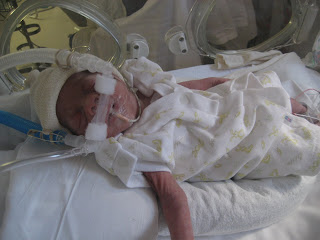
I’m a working mom with twin girls, Gabrielle and Alaina, who were born at 27 weeks and just turned two.

I blog about fun and unique finds for babies, kids and the people who love them and I also do some crafting now and then. Here’s one of my favorite projects.

I have a huge container in Gabrielle and Alaina’s closet full of clothes that they’ve outgrown. My husband looks at it and thinks “Hoarder!” and while I will admit that I can be a pack rat, I’ve been good about giving away most of the things that no longer fit them. But this container is filled with the pieces that have sentimental value, like the first outfits they wore in the NICU when they were barely 3 pounds.

And the onesies they wore on their first Valentine’s Day.

And the adorable tees they sported for their holiday photos this year.

I could go on and on. I’ve been holding onto them to make a quilt for the each of the girls but who am I kidding? A quilter I am not. Eventually, I’ll probably pay someone to make them for me (maybe a few years from now when I can include their outfits from the first day of school, etc.) but in the meantime, all of those clothes are collecting dust. Until now! My hubby was out of town so I decided to attempt a different type of craft project with them and I’m pretty proud of the results. In just a few simple steps, what started out as a collection of tees and onesies:

Was transformed into art!

They’re cute, right? The best part is that they’re so so easy to make. Here’s what you need:

1. Different sized wooden embroidery hoops. I happened to have these five from my cross-stitching days so that’s what I used.

2. Paints and brushes. I used samples we had lying around from when I was planning the girls’ nursery and foam brushes just because I like those.

3. Whatever clothing you want to work with. That’s it!

The how to is pretty straightforward. First, paint the outer rings of each hoop.

Then, let them dry for at least 30 minutes (I waited longer to be safe. Actually, I tuned into the Glee finale and forgot about them so it was about an hour). I laid the hoops out on wax paper and used the inner circle to prop the painted ones up and keep them from sticking while they were drying.

Time saving tip: You can actually skip the painting step altogether and leave the wood natural or buy the plastic embroidery hoops that come in fun colors like these:

Once the paint is fully dry, insert the smaller, unpainted hoop inside a piece of clothing and put the larger painted circle on top. (I played with the hoops and shirts before I painted to see which size circle worked best with each one.)

Position the design where you want it and then tighten the screw to hold the hoops in place.

Once you have all of your clothes positioned, they’ll look like this:

Then cut the excess fabric away and your art is done!

When I cut the fabric, I left enough excess so I can still use the swatches for a quilt someday and taped the extra back in the meantime. Ta da!

I really love the way they turned out. Not only are all of these fun appliques too adorable to toss but they all hold memories, if not for Gabrielle and Alaina, then for me. I’m going to hang their clothing art collection in their room and may try to frame the photos that coordinate with them to put up too. Once their “wall of fame” is complete, I’ll post photos of the whole shebang. And how fun would this project be for a nursery using the mommy and daddy-to-be’s baby clothes? The possibilities are endless! Oh, and did I mention the cost? Less than $10! I worked with items I already had, but you can get five embroidery hoops for about $5 and crafts paints and brushes for another $5. Not too shabby.

I hope this project inspires you to do something fun with the outfits your little ones have outgrown too. And because I know I’m going to get asked this, here’s where all of the girls’ fun shirts and onesies are from.

#1 & #6: Personalized embroidered baby onesies from Sheryl Sheehan (no longer available)

#2: Gingerbread girl tee (and the coordinating reindeer shirt in the holiday photo) from Bushel and a Peck Boutique

#3: Initial Valentine’s tee from Peanut and Pumpkin Design

#4: Three hearts onesie from The Nook

#5 & #7: Felt initial onesies from Savvy Sarah Designs

Come by and visit A Few of My Favorite Things for more goodies for you and your little ones!

Images: AFOMFT

————————————————

Thanks Danielle! What a great idea to make keepsake art form those adorable outfits you just can’t bear to get rid of. I so wish those onesies from Sheryl Sheehan were not discontinued.

P.S. Don’t forget to sign up for free Tipsy updates via RSS or email.

We have decided to truncate our feed to help protect against stolen content. I apologize for any inconvenience. Please love us anyway. πŸ™‚

Baby Week: Chenille Baby Washcloths

November 11, 2010 By Michelle Barneck 4 Comments

Hello tipsy readers! I’m Kara from Creations by Kara and I’m thrilled to be here doing a guest post while cute Michelle is busy doing the new baby thing. (Man I’m jealous!)

I’m a stay at home mom to four boys. I love all things creative crafty. I guess you could say I have “Craft ADD”. I can’t stick with just one thing, I like to try everything. . .

From dollar store projects:

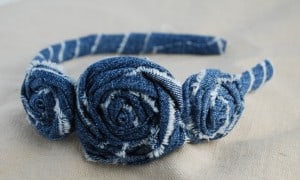
To hair accessories:

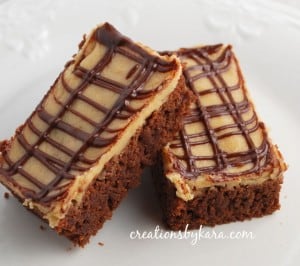
To trying new recipes:

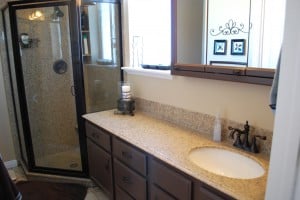
To remodeling our master bathroom:

Yep, I try it all, and then I blog about it. Fun times baby!!

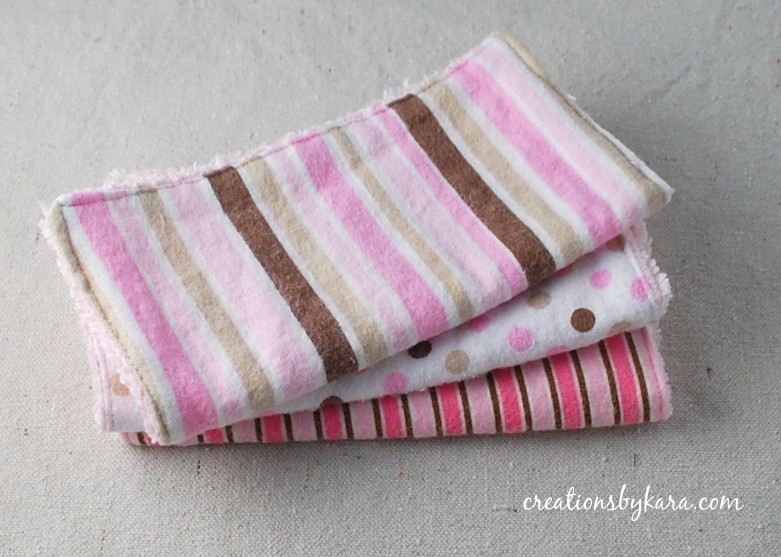
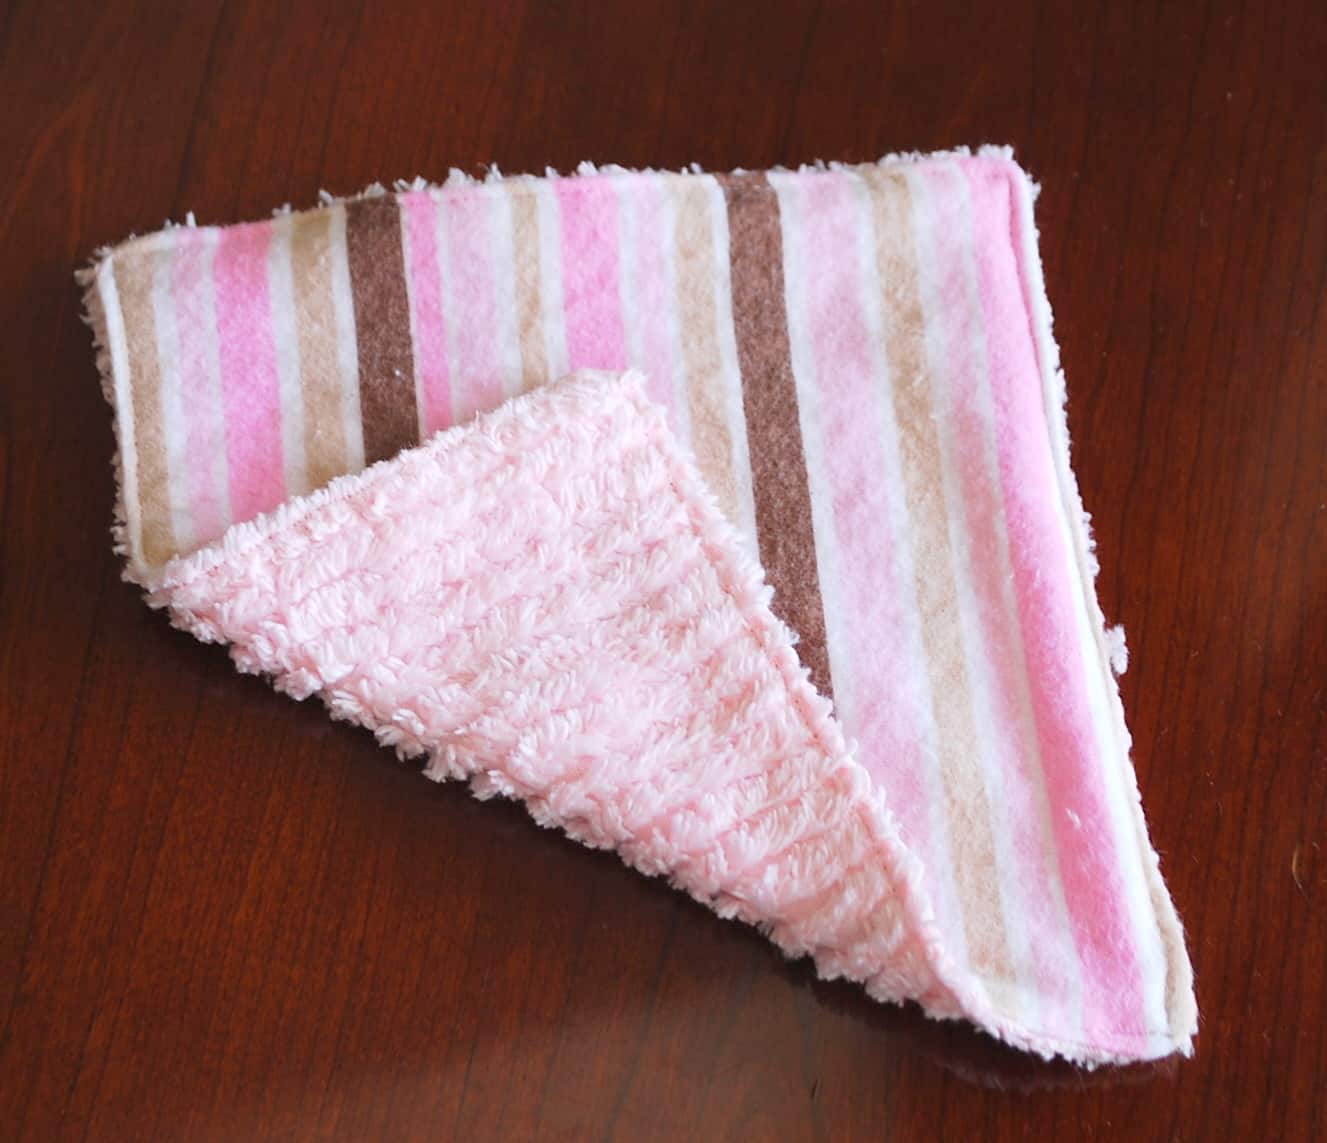
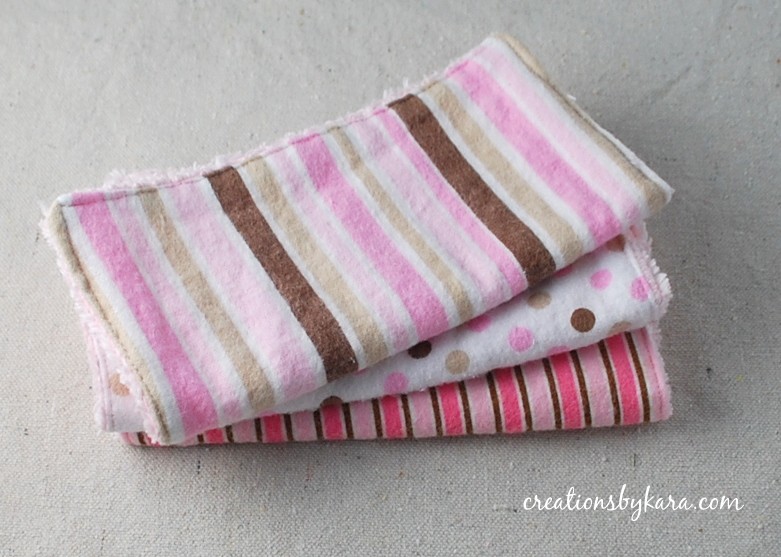
We are also in the process of trying to adopt a baby girl, so I was excited to come up with a baby project. I decided to do something basic that every mom needs. Baby washcloths. I was never thrilled with the kind from the store, they were always a little on the flimsy side. Plus I thought it would be nice to have a really soft side, and a side that had a little more texture. So I came up with these. Chenille backed baby washcloths.

I love how they turned out, and I can’t wait to use them. Hopefully one day very soon!

Here’s how you can make some of your own. Have fun!

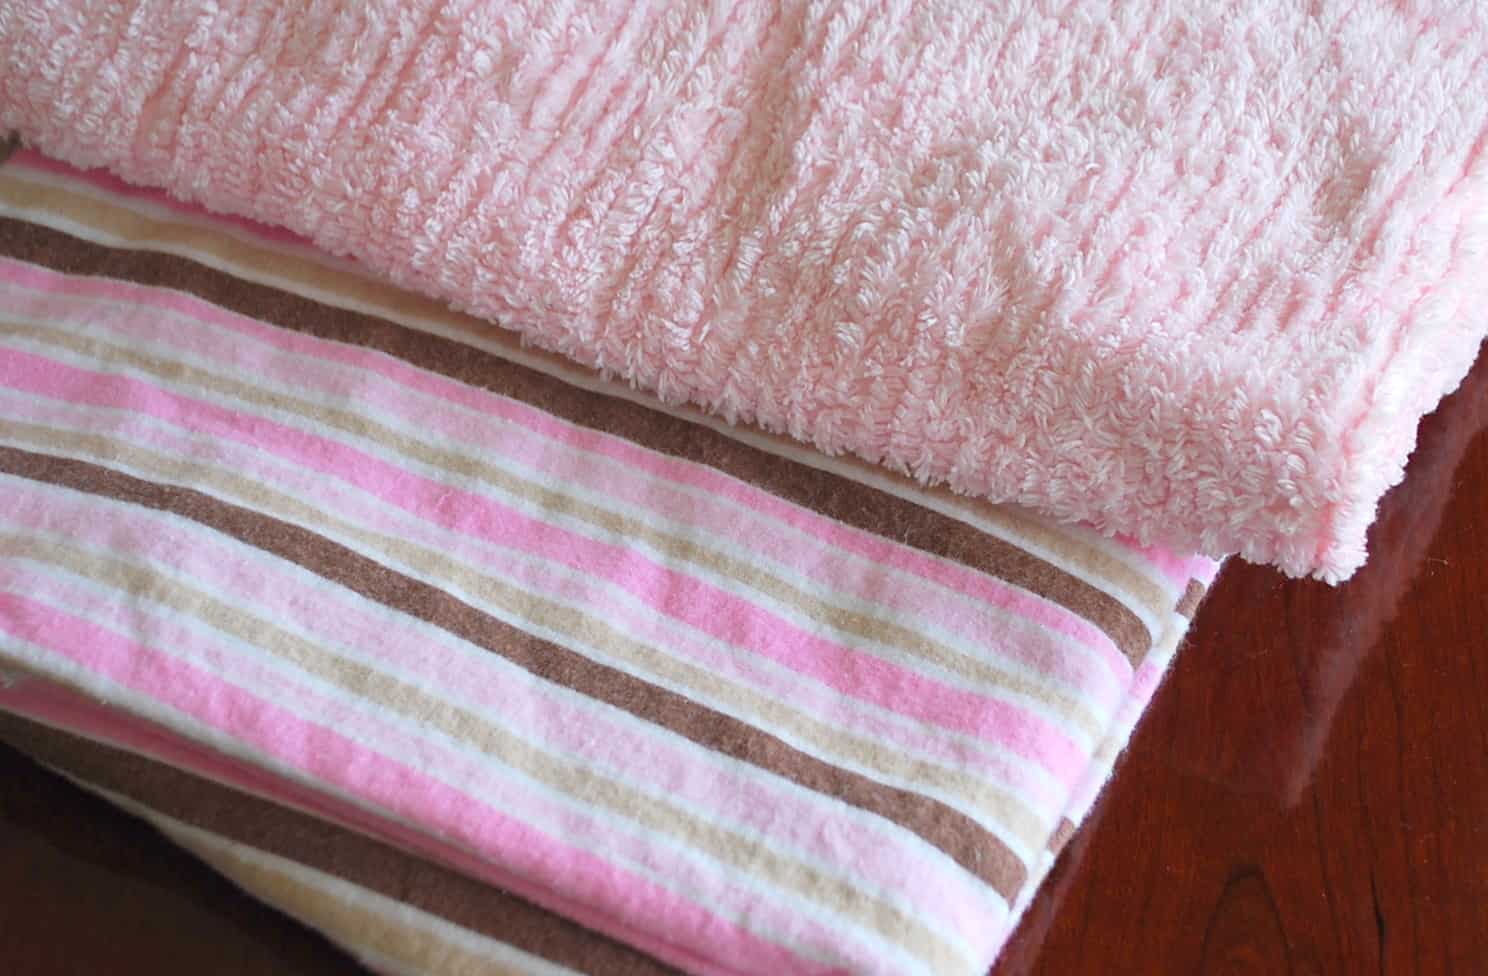
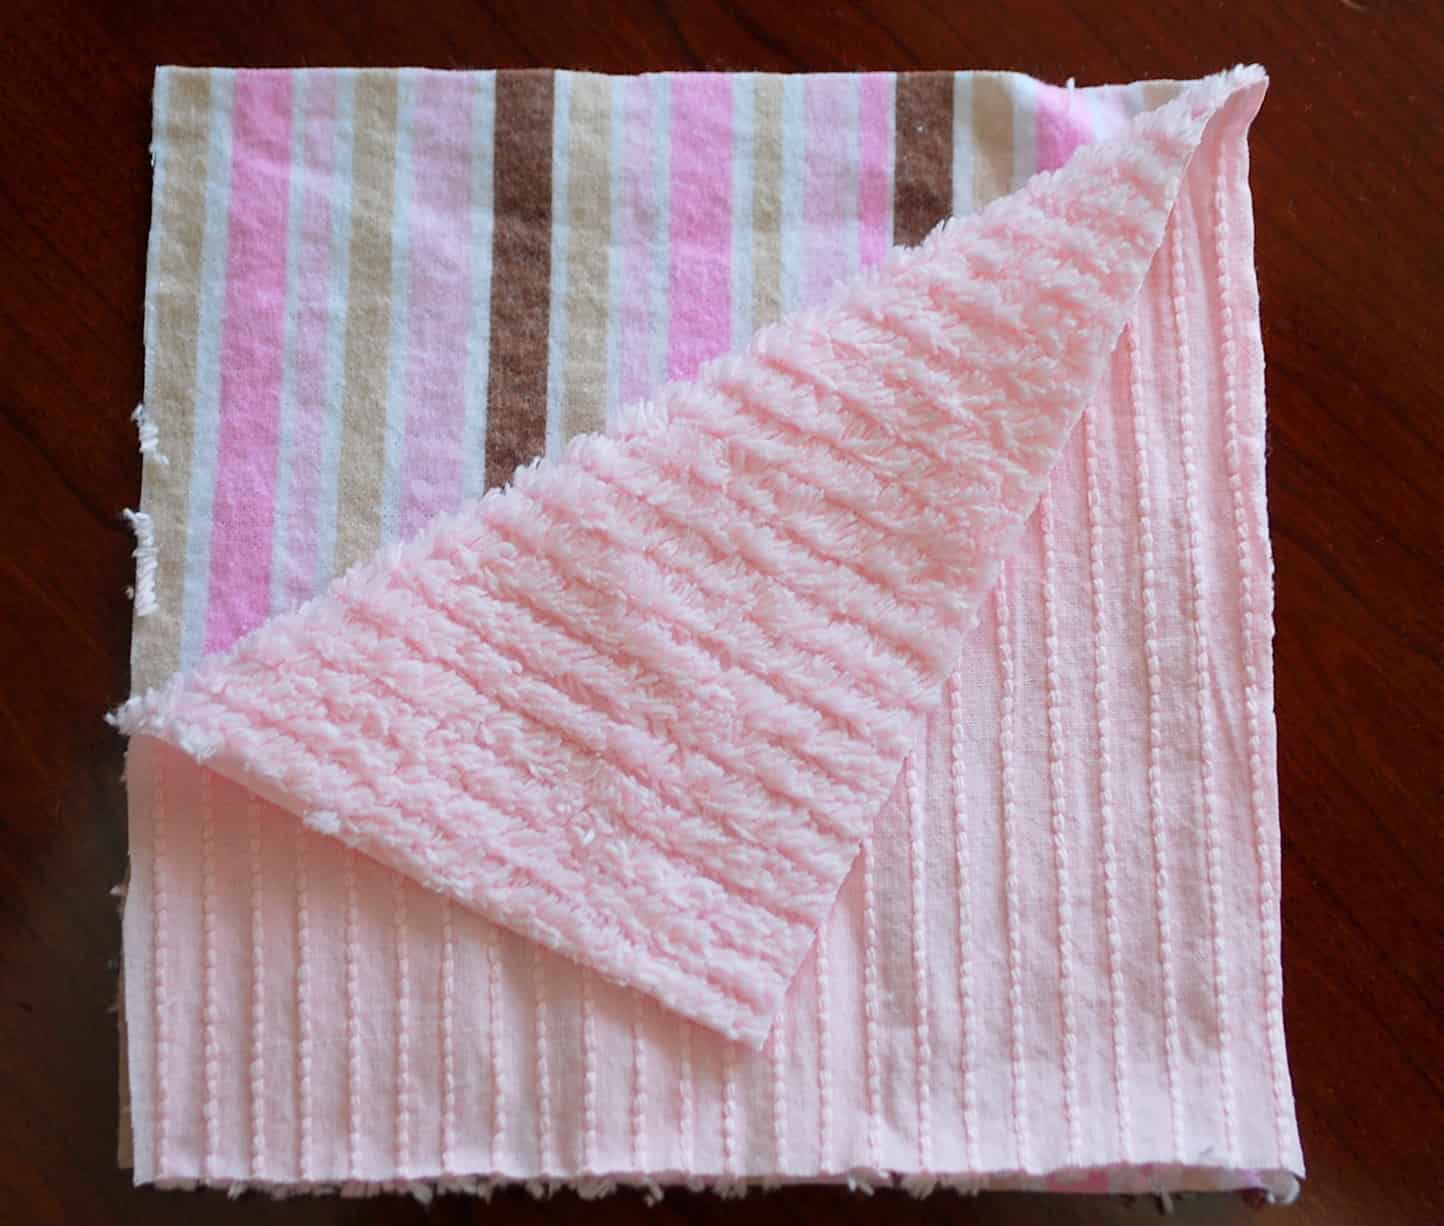
First you need to pick two coordinating fabrics. I used flannel on one side and chenille on the other.

Place the two fabrics right side together and cut a square. I cute mine about 7″.

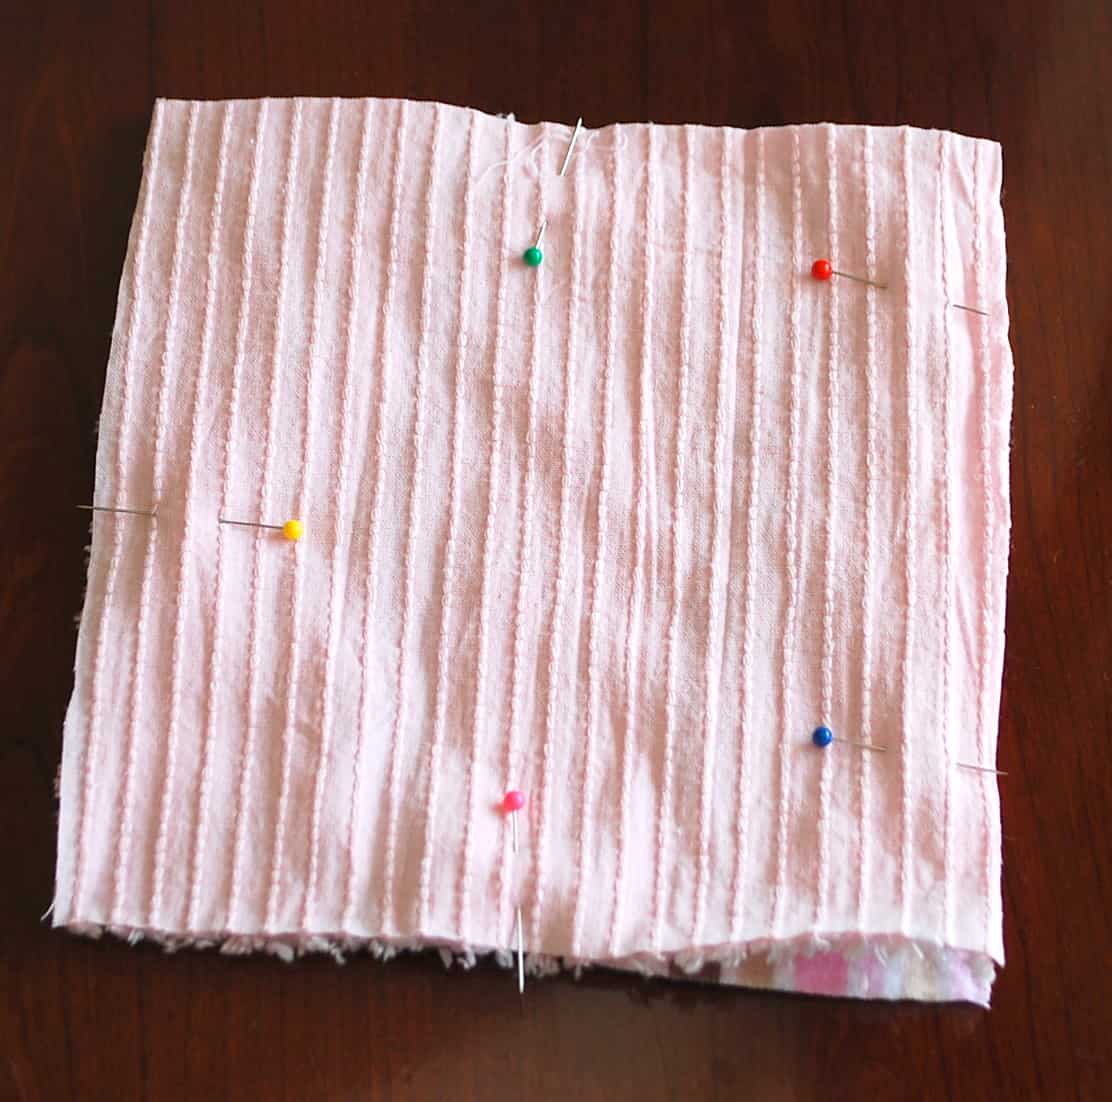
Pin the squares together. You see that space on the left in between the red and blue pins? You are going to leave that open so you can turn the washcloth right side out.

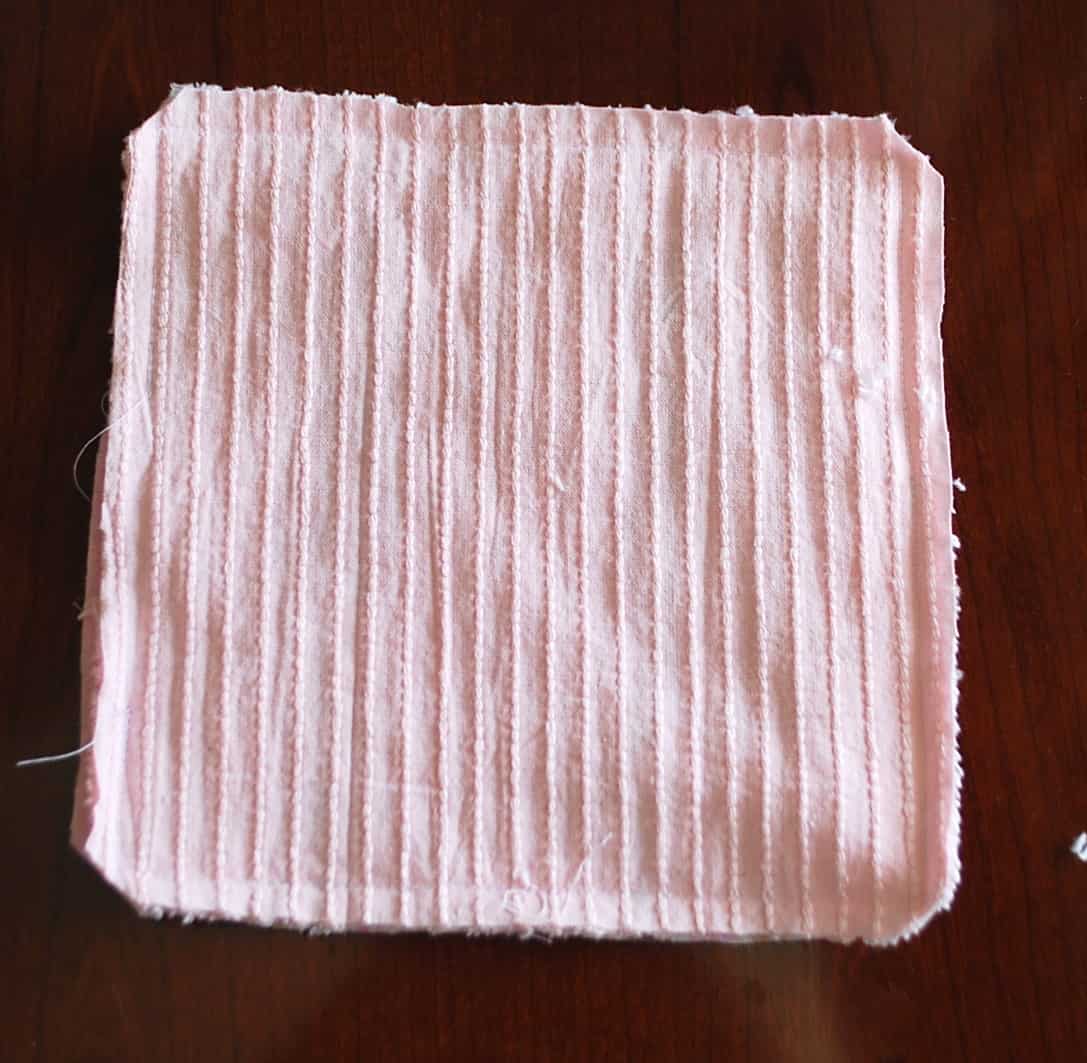
Now sew the squares together, using a 1/2″ seam allowance. Don’t forget to leave that space I talked about open! When you’re finished sewing, clip the corners.

Now turn it right side out.

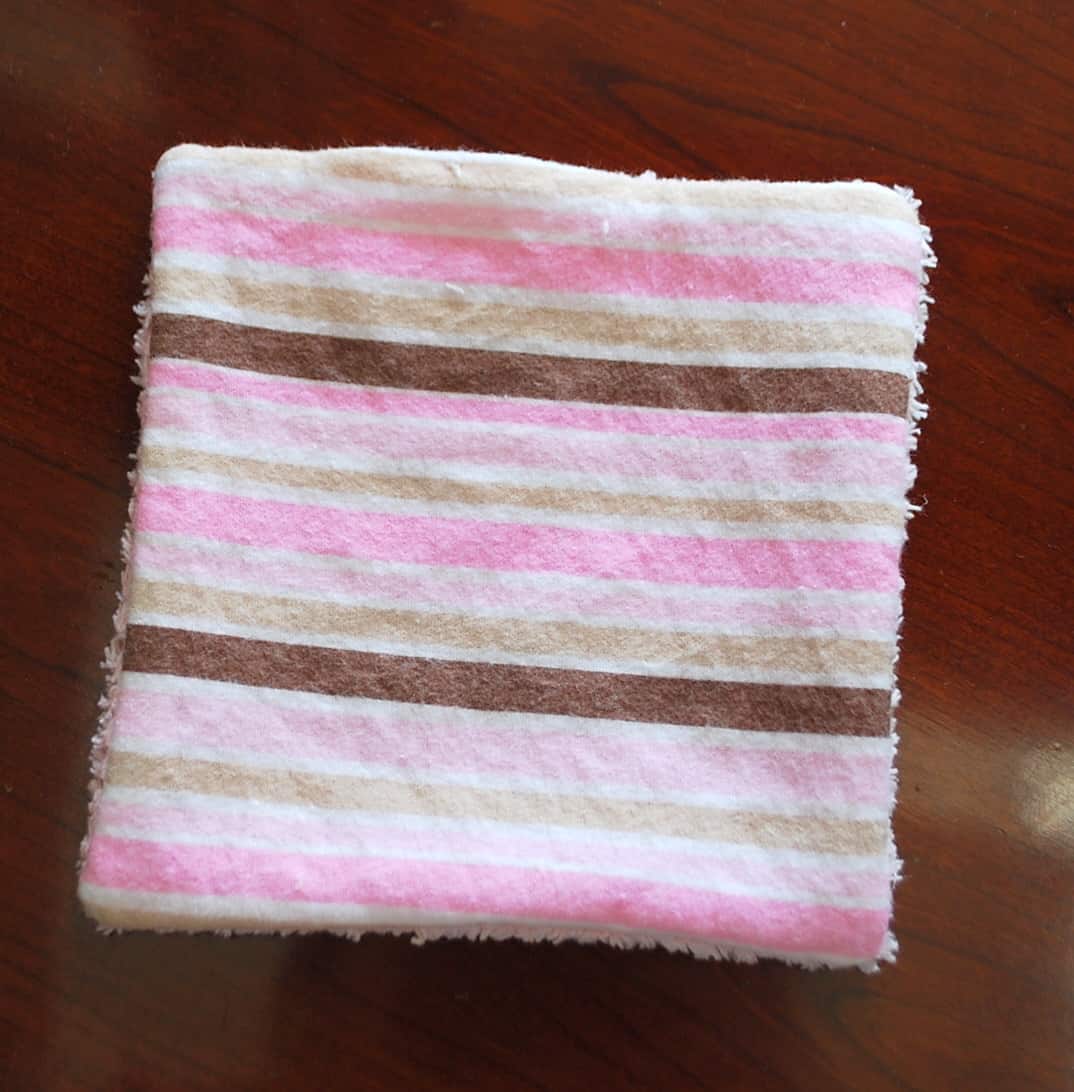
Now you’re going to sew a stitch all the way around the edge. This will not only sew the hole closed, it will make the whole thing more sturdy. Before you start stitching, make sure the pieces of fabric at the opening are tucked in to the inside evenly. You can iron the opening if you want, but you don’t have to. I sewed as close to the edge as I could get.

Stitch up a few of them and you have a great baby shower gift.

Wouldn’t they be perfect tucked in a cute basket with bath supplies?

————————————————————

Thanks so much Kara! I just bought some baby washcloths last night and was unimpressed with the softness and thickness. These are great! And I hope you get your little girl soon!

P.S. Don’t forget to sign up for free Tipsy updates via RSS or email.
We have decided to truncate our feed to help protect against stolen content. I apologize for any inconvenience. Please love us anyway. πŸ™‚

SwaddleDesigns Ultimate Receiving Blanket Giveaway

November 11, 2010 By Michelle Barneck 43 Comments

Now for another one of my favorites. I discovered SwaddleDesigns receiving blankets when my Mother-in-law gave us one of their organic receiving blankets with our last son. We had just watched The Happiest Baby on the Block DVD and learned about how swaddling could calm our new baby so we were thrilled to have a brand new swaddle blanket.

<span class=

I loved how soft it was and that it had the swaddling instructions right on the tag. So handy, especially when people who were unfamiliar with swaddling watched our little one.

I also love that these blankets are bigger than your usual receiving blanket. There is plenty of blanket to go around if you know what I mean. With some of the others our son would break out of his swaddle within seconds because the blanket was so small and difficult to wrap around.

SwaddleDesigns exclusive 123 Swaddle tip tag helps babies sleep better.


SwaddleDesigns recently sent me one of their Ultimate Receiving blankets for my new little one. I had no idea how many adorable patterns they had available!

*BRAND NEW* SwaddleDesigns - Ultimate Receiving Blanket - Blue Puppytooth w/True Blue TrimDots & Stars, Hearts, SunsTriplets Paisleys

I chose the Pastel Brown with Blue Mod Circles you can see a peek of here in our recent newborn photo shoot. I absolutely love it and so does he. He calms right down when we get him all snuggled up in its softness.


He is all mine, isn’t he amazing?!

You know how I love a deal and SwaddleDesigns has a couple of really amazing discount sections!! The deal of the day offers items at 50% off and changes daily. I bought another organic receiving blanket on a daily deal. They also have a hot bargains section where they discount items to make room for new inventory. So go now and see what they have today!

Now for the good stuff…SwaddleDesigns is giving away an Ultimate Receiving Blanket of your choice!

To enter: (Leave a comment for each entry)

1) Follow SwaddleDesigns on Twitter and tweet about your favorite @SwaddleDesigns print or product

2) Become a Facebook Fan* and state your favorite SwaddleDesigns print or product.

3) Follow A Little Tipsy

*Facebook fans get the inside scoop, previews of new collections and Fan discounts!

Giveaway closes Monday, November 15th.


P.S. Don’t forget to sign up for free Tipsy updates via RSS or email.
We have decided to truncate our feed to help protect against stolen content. I apologize for any inconvenience. Please love us anyway. πŸ™‚
« Previous Page
Next Page »

  • Bloglovin
  • Facebook
  • Google+
  • Instagram
  • Pinterest
  • RSS
  • Twitter

Hi there! I'm Michelle. Mother of three little boys and one little princess. Welcome to A Little Tipsy, a place for exploring creativity and sharing inspiration.

Follow on Bloglovin


Visit Michelle Barneck {A Little Tipsy}'s profile on Pinterest.

Tutorials by Category


15 Family Reunion Games

Family Reunion Games Collage

15 Sprinkle Party Ideas

Sprinkle Birthday Party
Creative Commons License

© Copyright 2014 A Little Tipsy · Site Designed by The Fairy Blogmother · Web Hosting by RFE Hosting

This website uses cookies to improve your experience. We'll assume you're ok with this, but you can opt-out if you wish.Accept Read More
Privacy & Cookies Policy