A Little Tipsy

Creative Tips & Ideas

  • home
  • About Me
  • the tipsy top
  • press
  • projects
  • contact me
[print_thumbnail_slider]

Boy Week: Kid Suspenders

November 16, 2010 By Michelle Barneck 5 Comments

Hello Tipsy Readers! First, congratulations to Michelle on her new addition!!! Also, thank you to Michelle for allowing me to share my tutorial to her lovely readers – all of you!!

This is my second tutorial for suspenders, when I first started sewing again (after years away) I made this tutorial for suspenders. Now that I’ve sewn some more I decided to rehash it, pretty it up, and re-post it. Here goes:

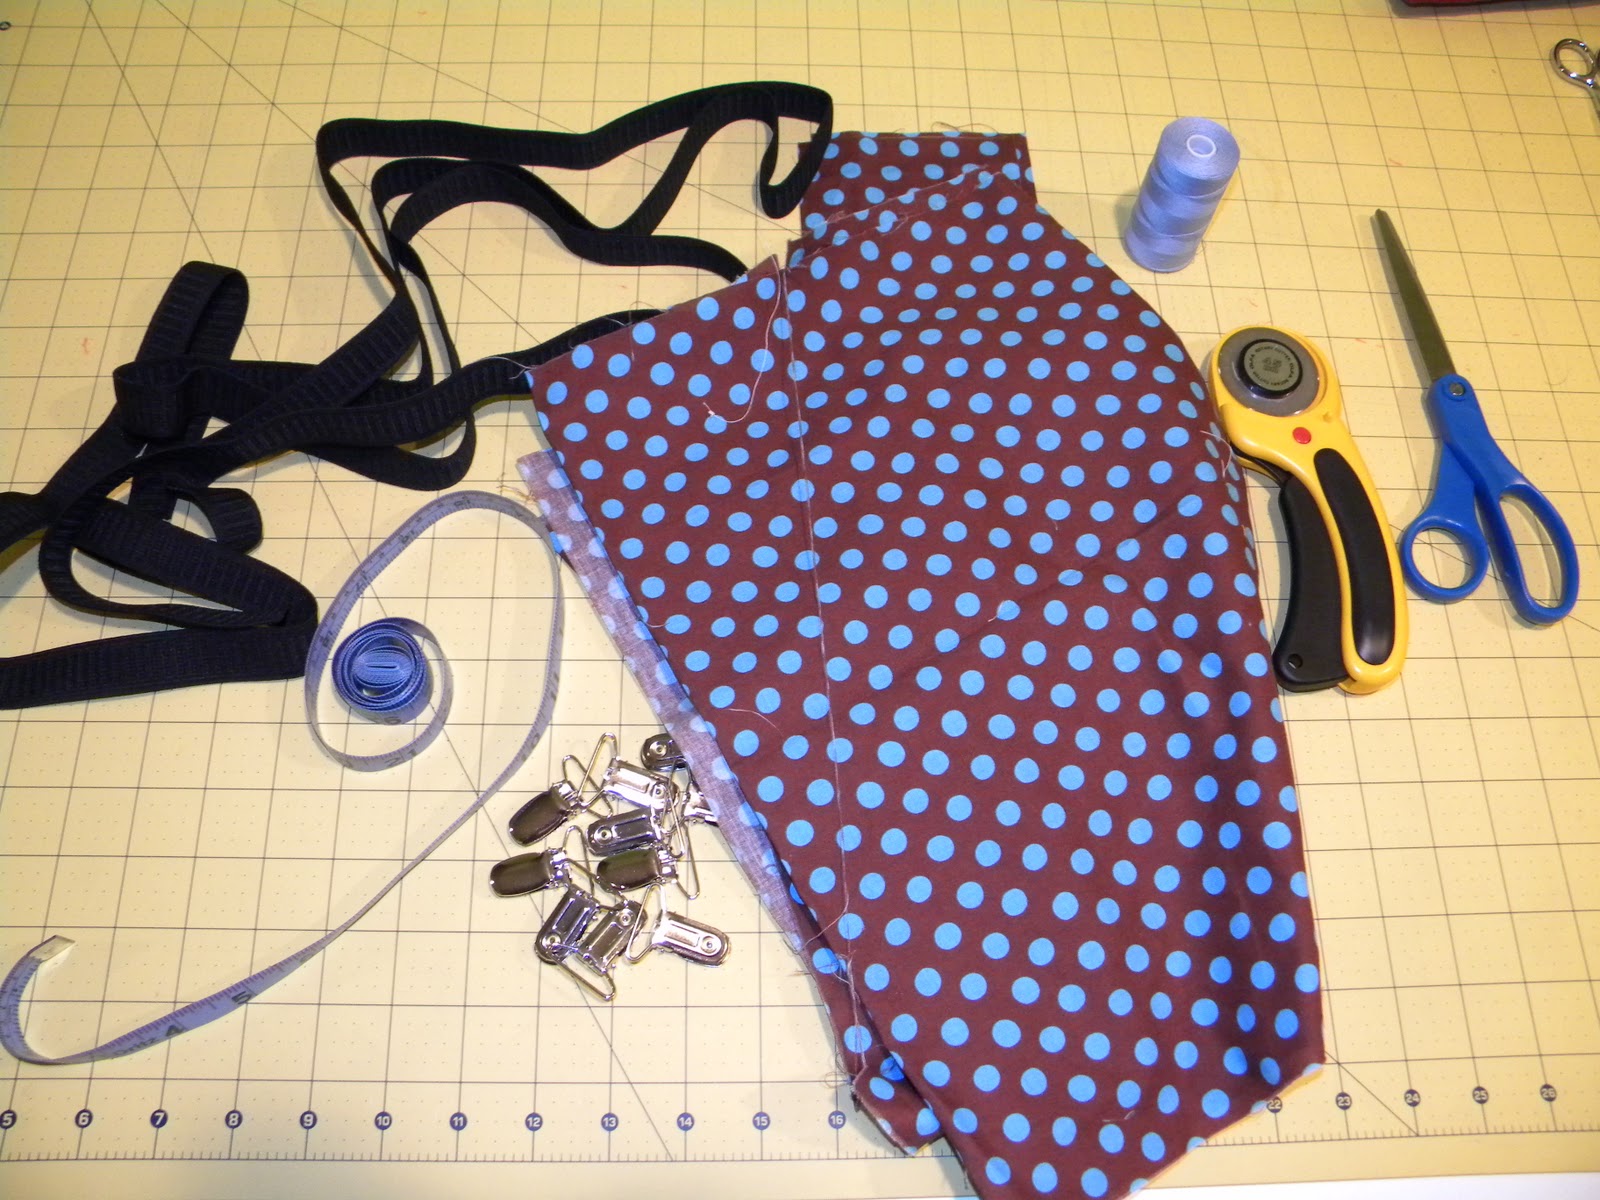
To start, gather your supplies:

  • Tape Measure
  • Rotary Cutter
  • Scissors
  • Thread
  • 3/4 or 1 inch elastic x 7 inches (5 inches finished length)
  • 3 Suspender Clips
  • Fabric:
  • 1 piece 3×5
  • 2 pieces 2.5 x length needed

Step 1: Measure your child for the suspenders. For this step, I had my husband help, cuz my little guy can be a wiggle worm! We started on the front right, and brought the tape to the middle of his back. I like my elastic to be about 5 inches long, so we measure 5 inches up from his pants line. If you measure straight to the pants line, you will have too much fabric.
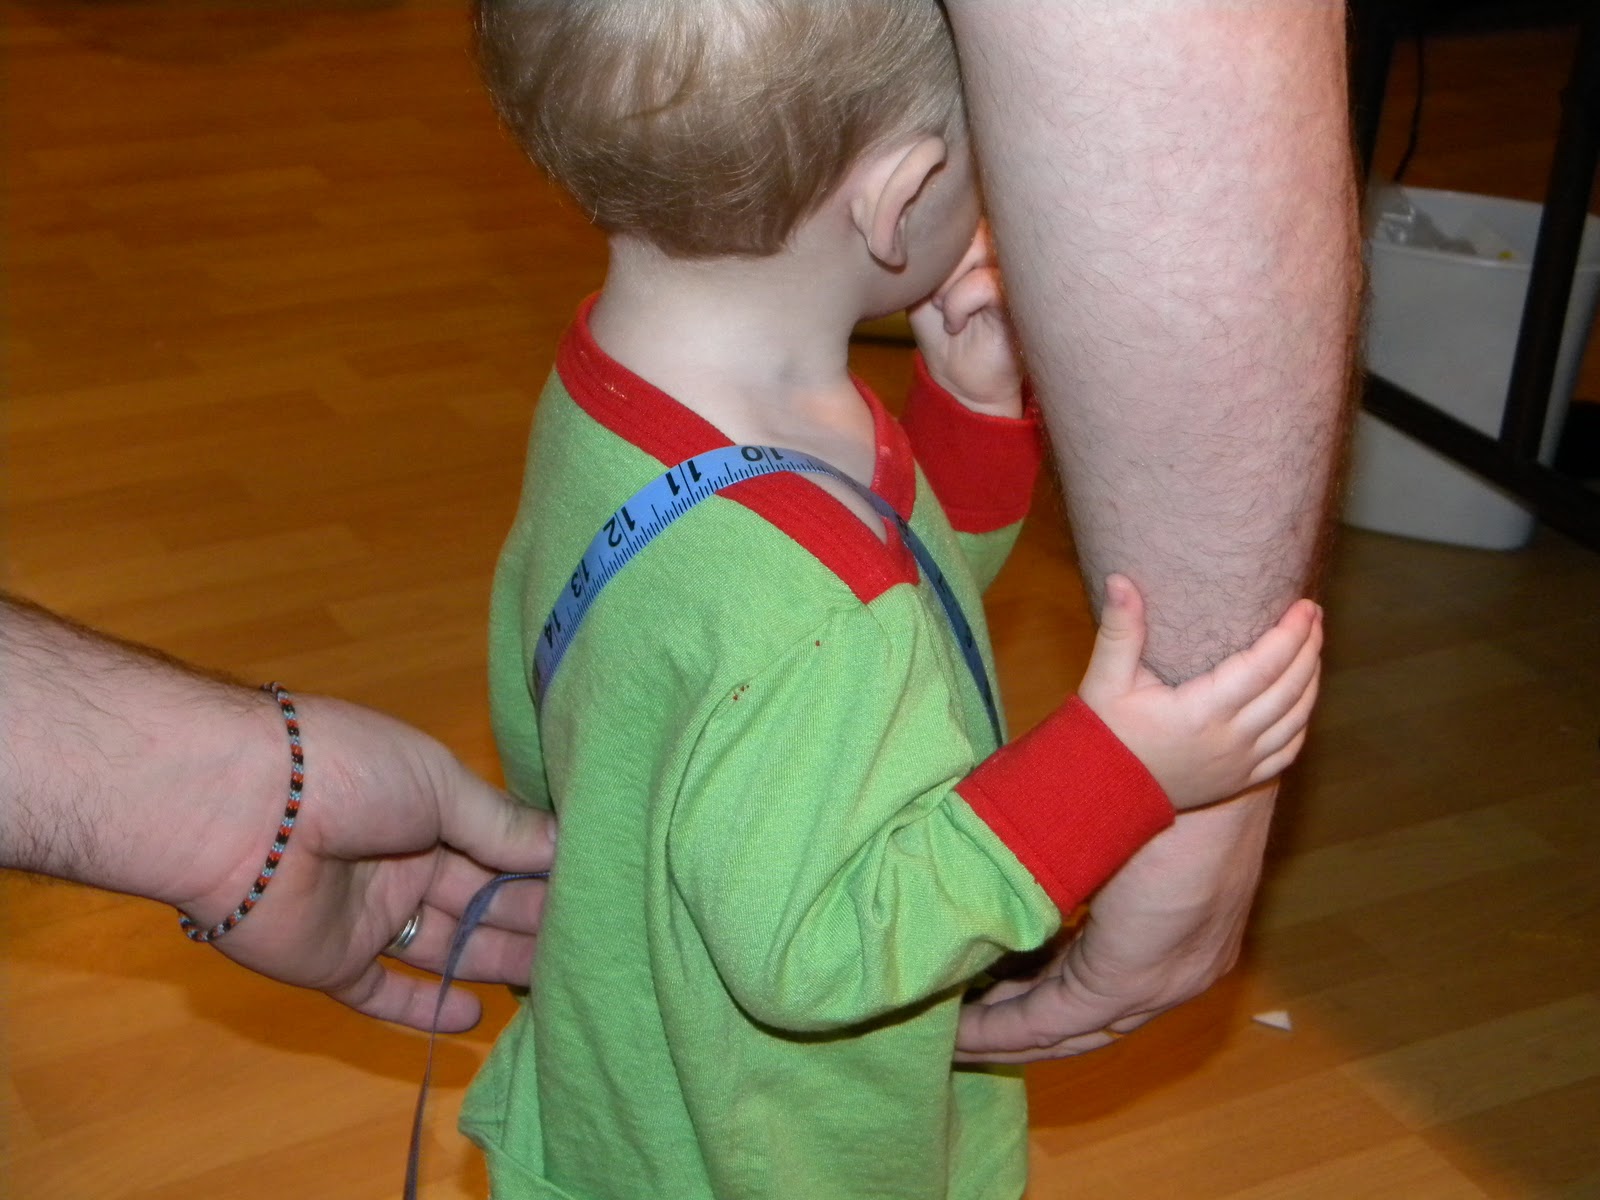
Step 2: Cut cut cut. Take your measurement for the suspender fabric and add 2 inches, 1 inch for extra for seams on each side. For my son, we measured 16 – so I cut my fabric 2.5×18.

Step 3: Put your elastic end through the suspender clip. Fold end over the back 1/2 inch.
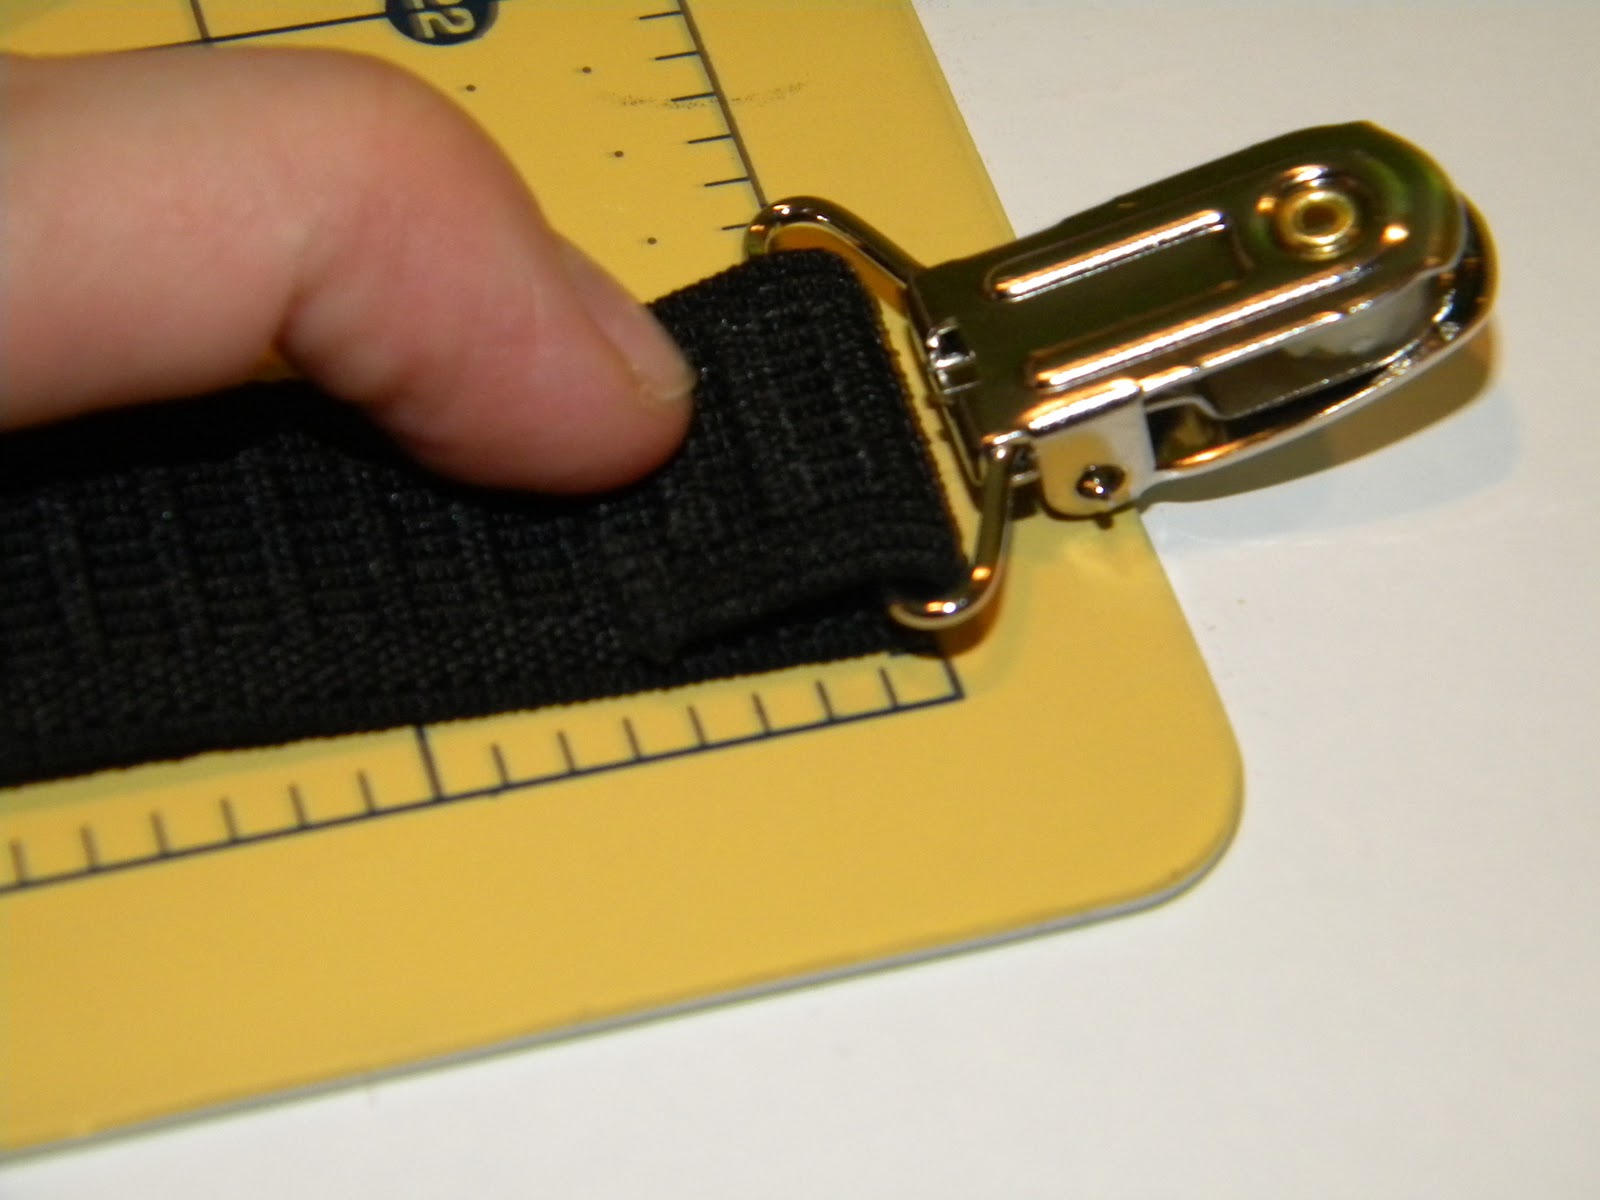
Stitch once using straight stitch, then I use a zigzag stitch over the raw edge.
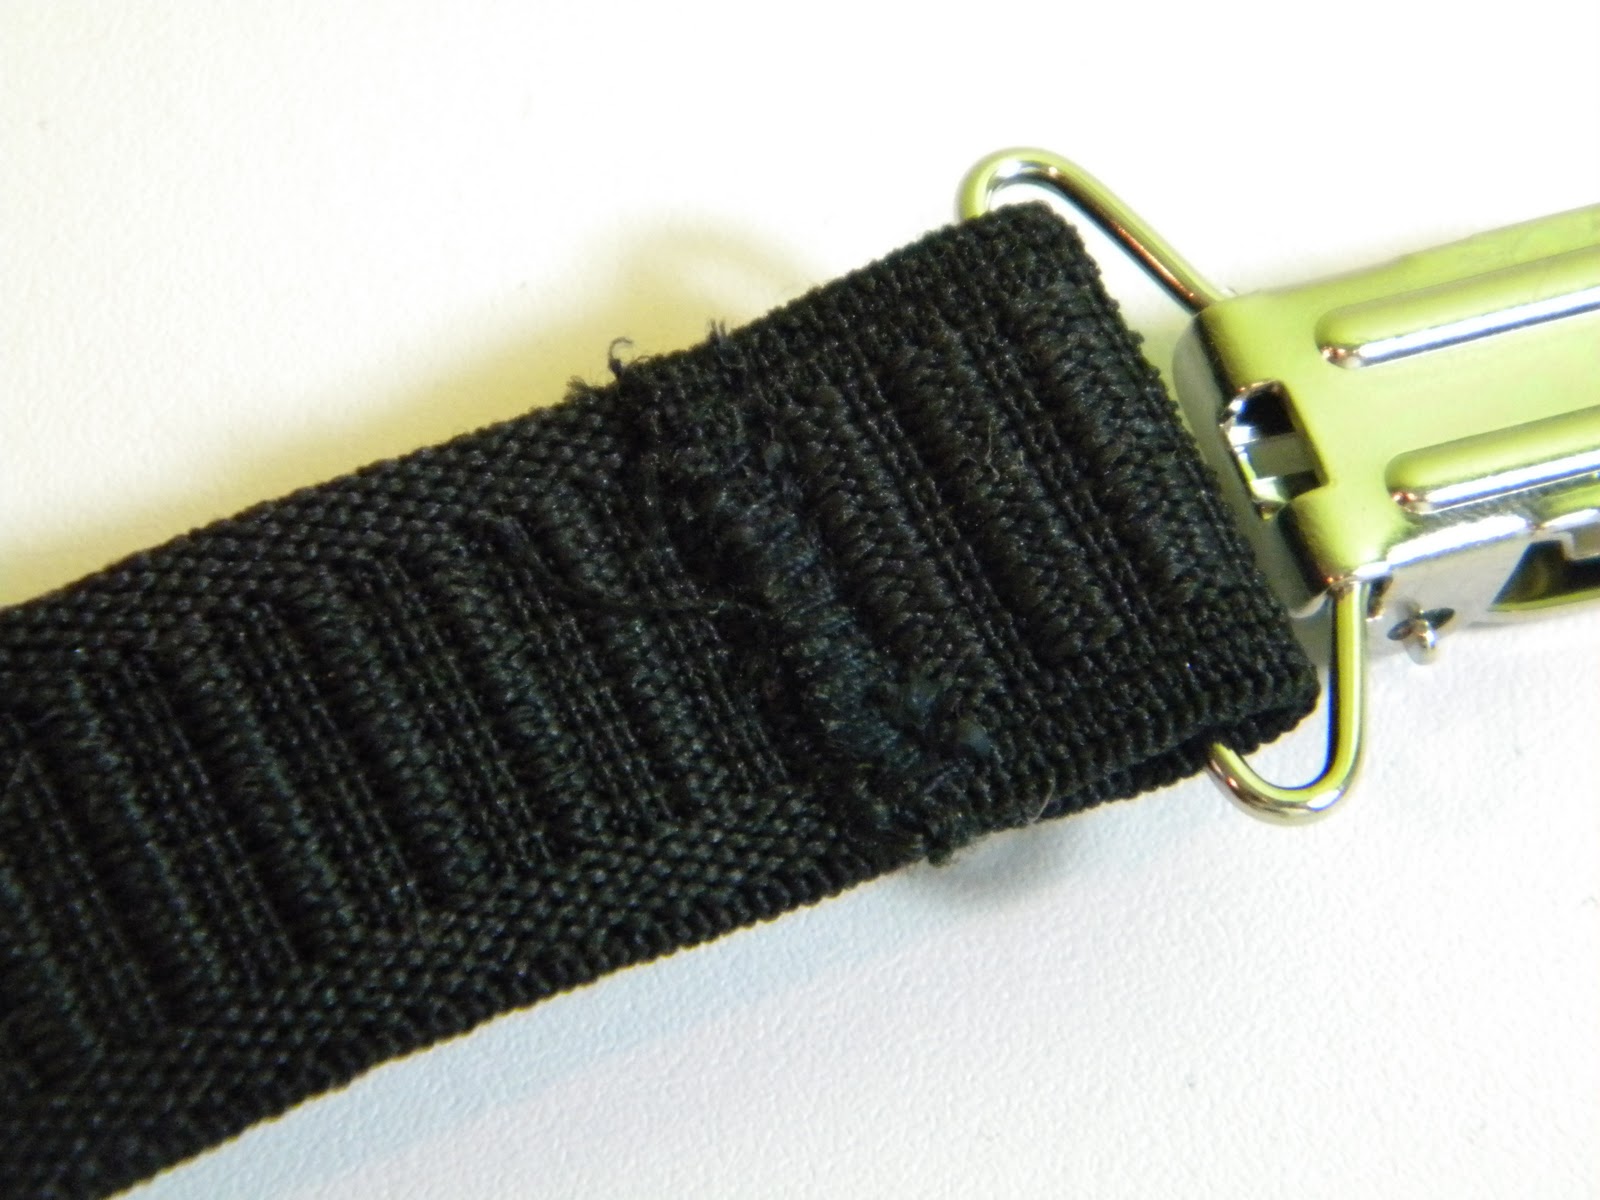
Step 4: Iron your 3×5 fabric piece. Fold and iron short ends back.
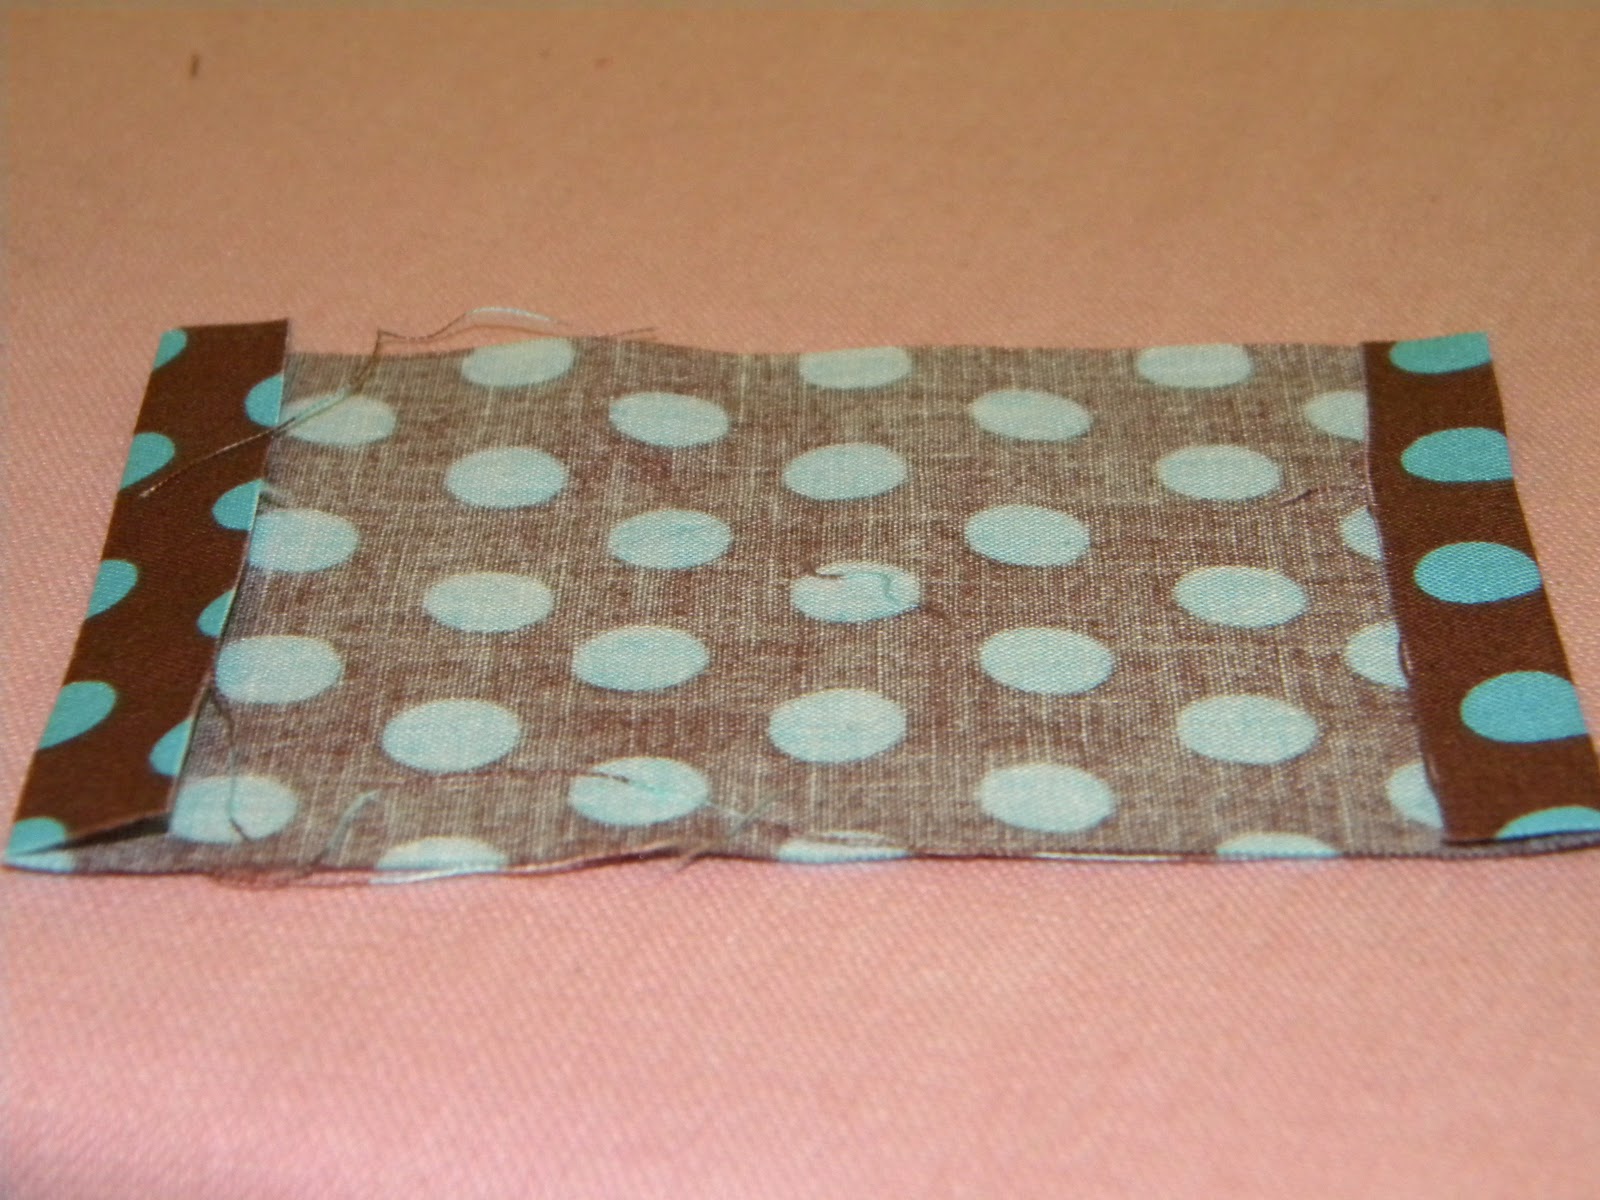
Fold and iron long ends back.
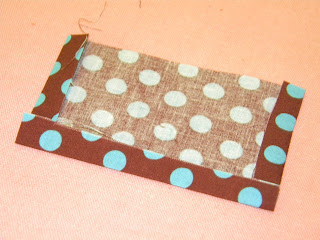
I did iron both sides, and didn’t realize I didn’t have the picture until I was done. Sorry!

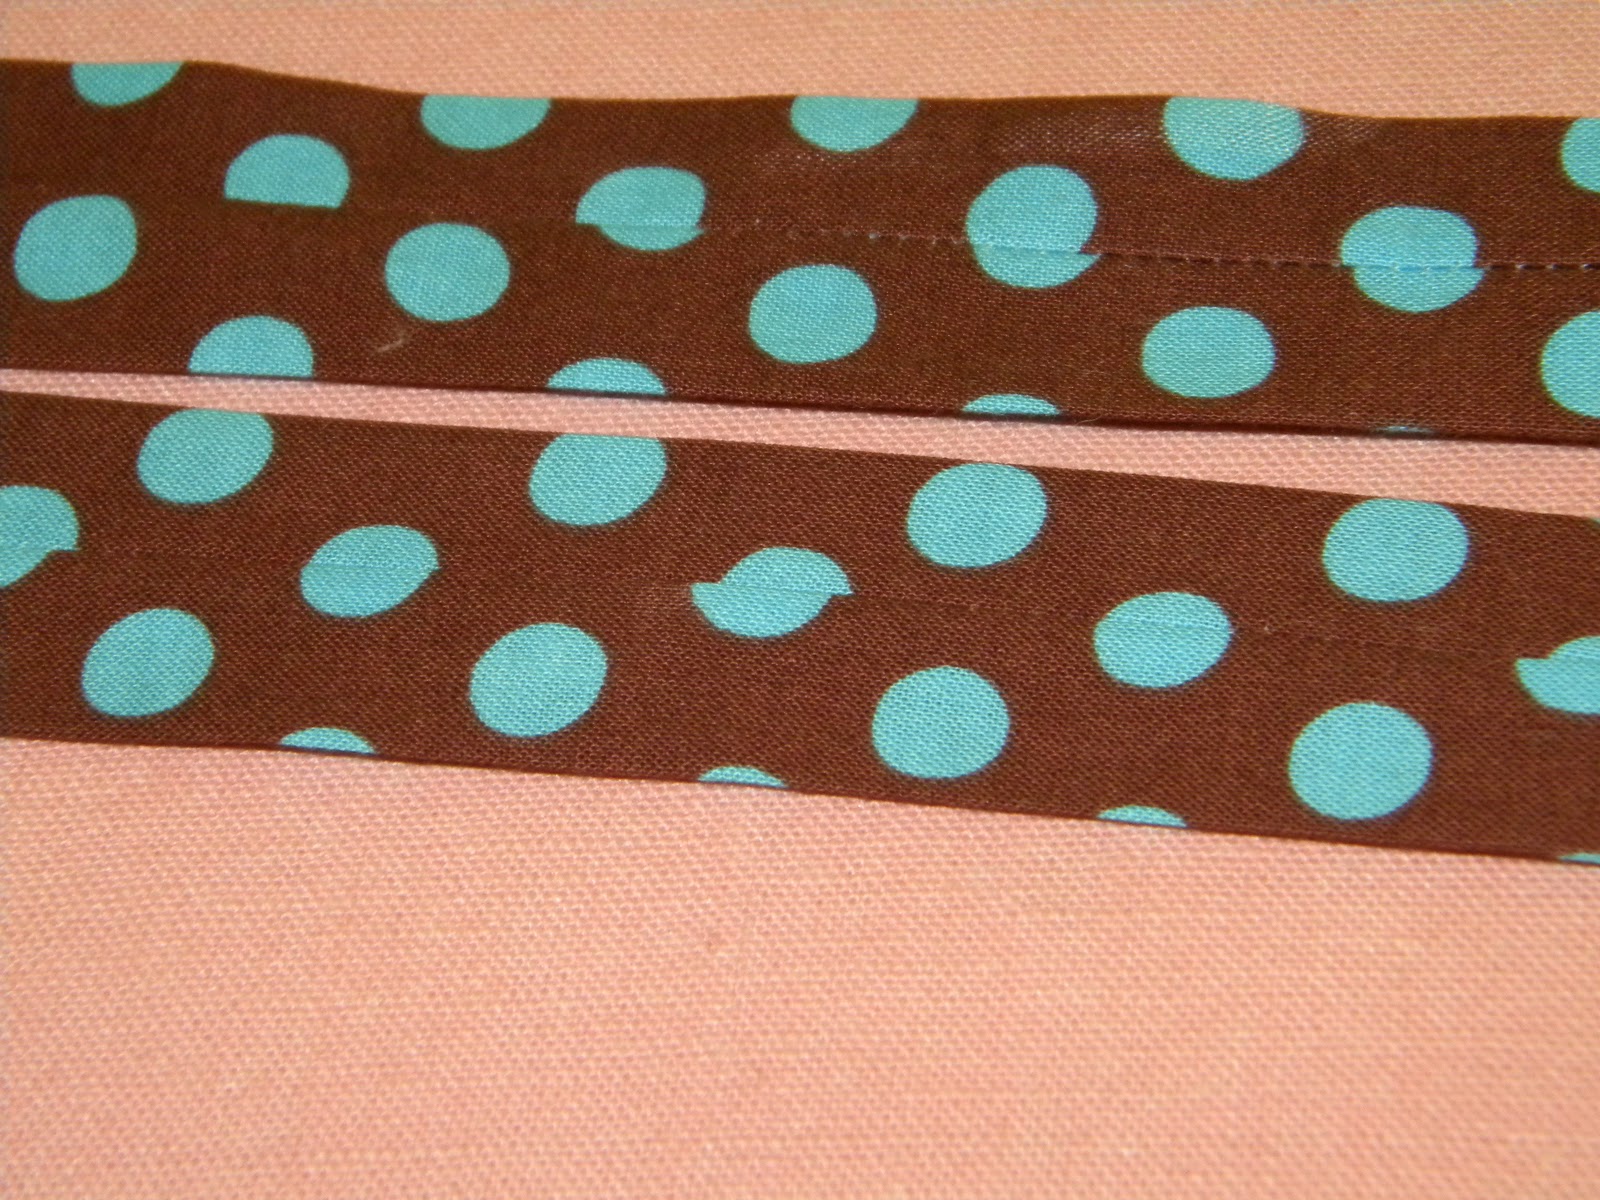
Step 5: Fold 2 1/2 x 18″ fabrics in half long ways – right sides together.
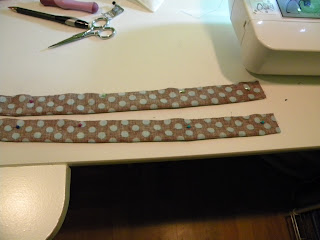
See my pins?

Sew 1/4″ seams along edge and turn right side out.
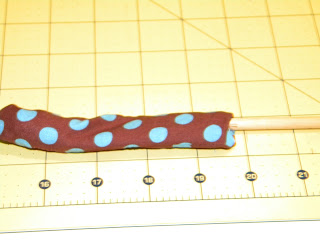
I use a dowel to help me turn.

Iron with seams in back.

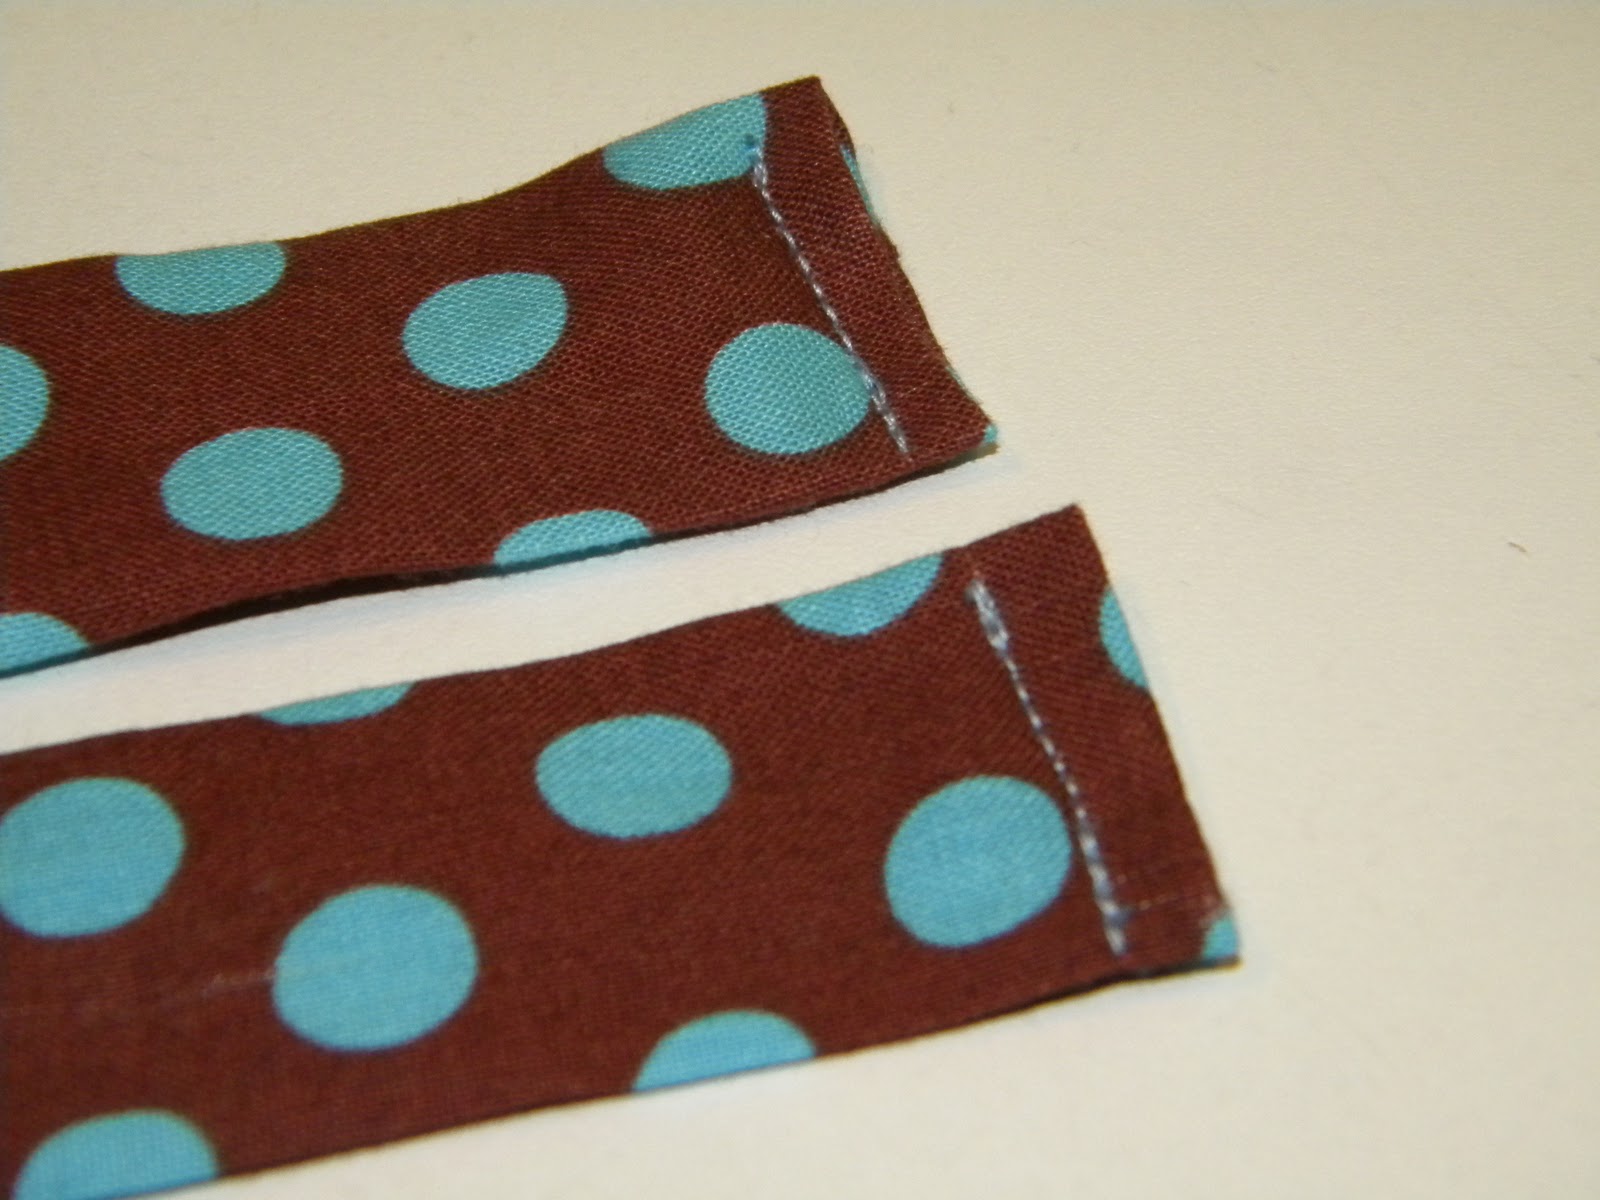
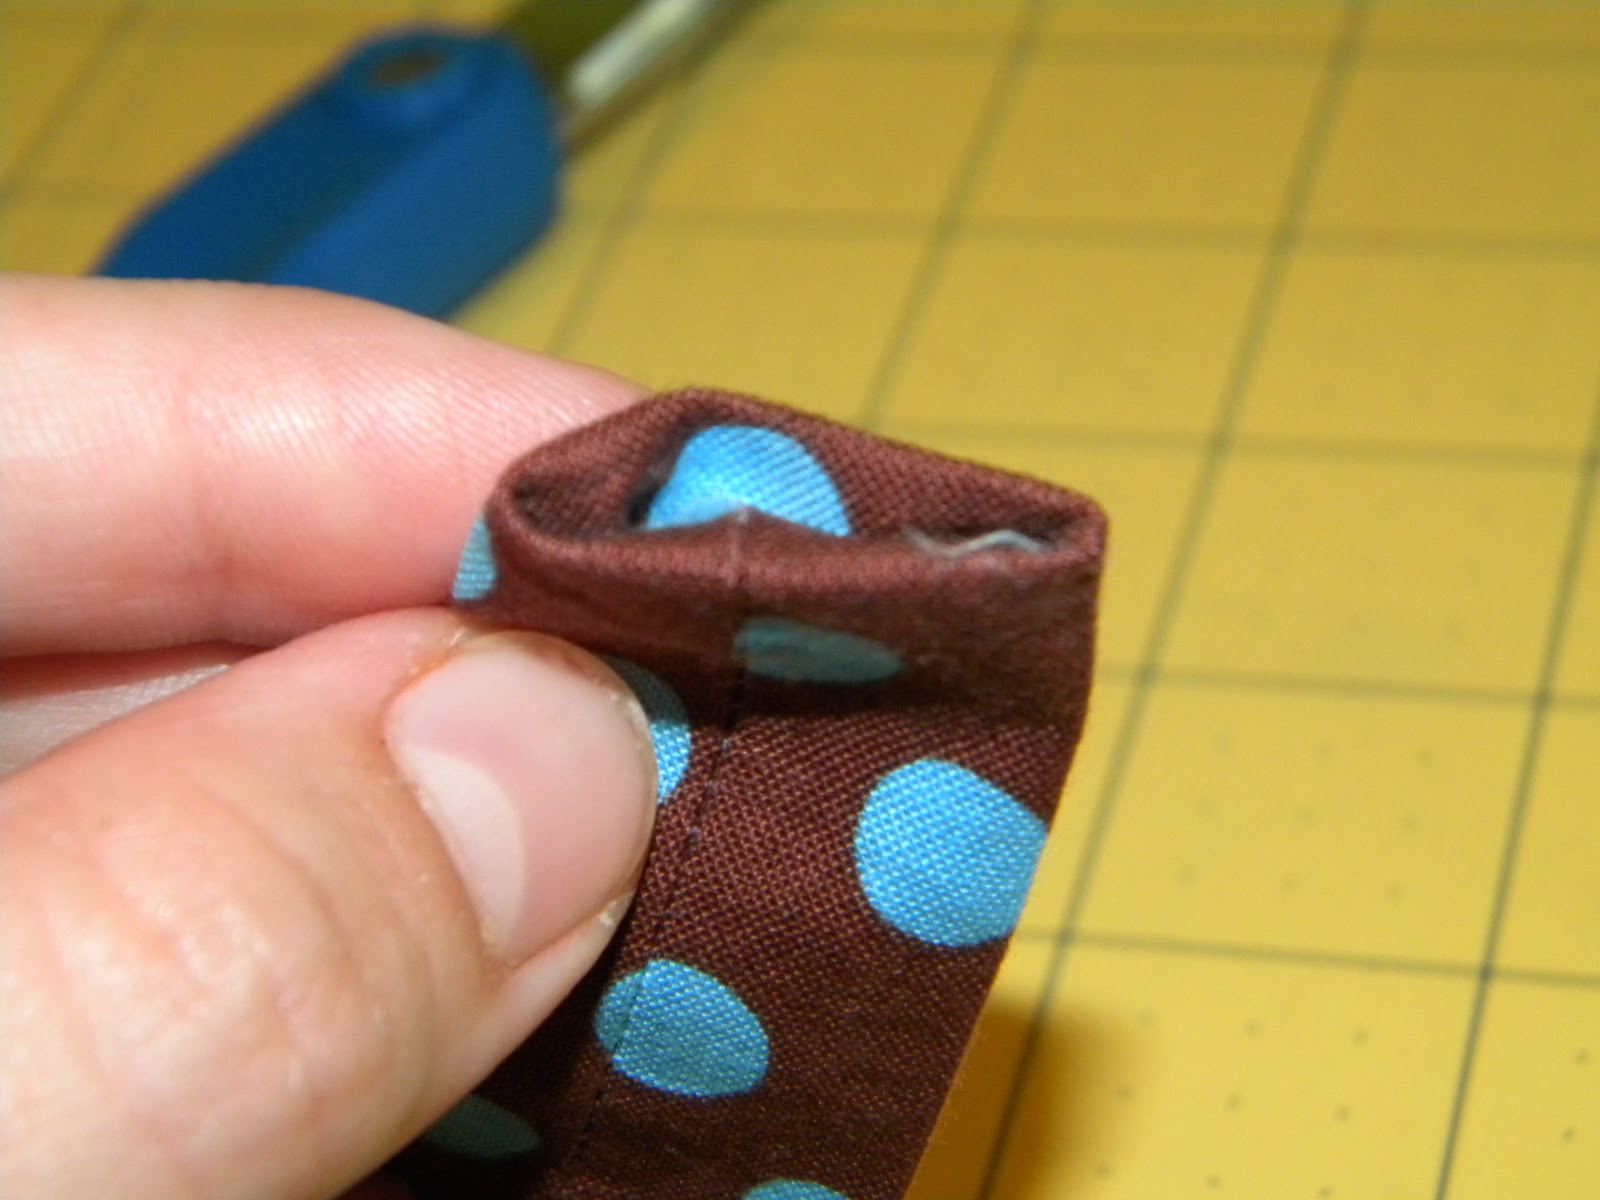
Step 4: Fold raw ends of fabric inside 1/4 inch. Iron, then sew.
Step 5: Attach suspender clips to fabric. Like we did previously with the elastic, insert fabric through suspender clip, and fold back 1/2 inch.
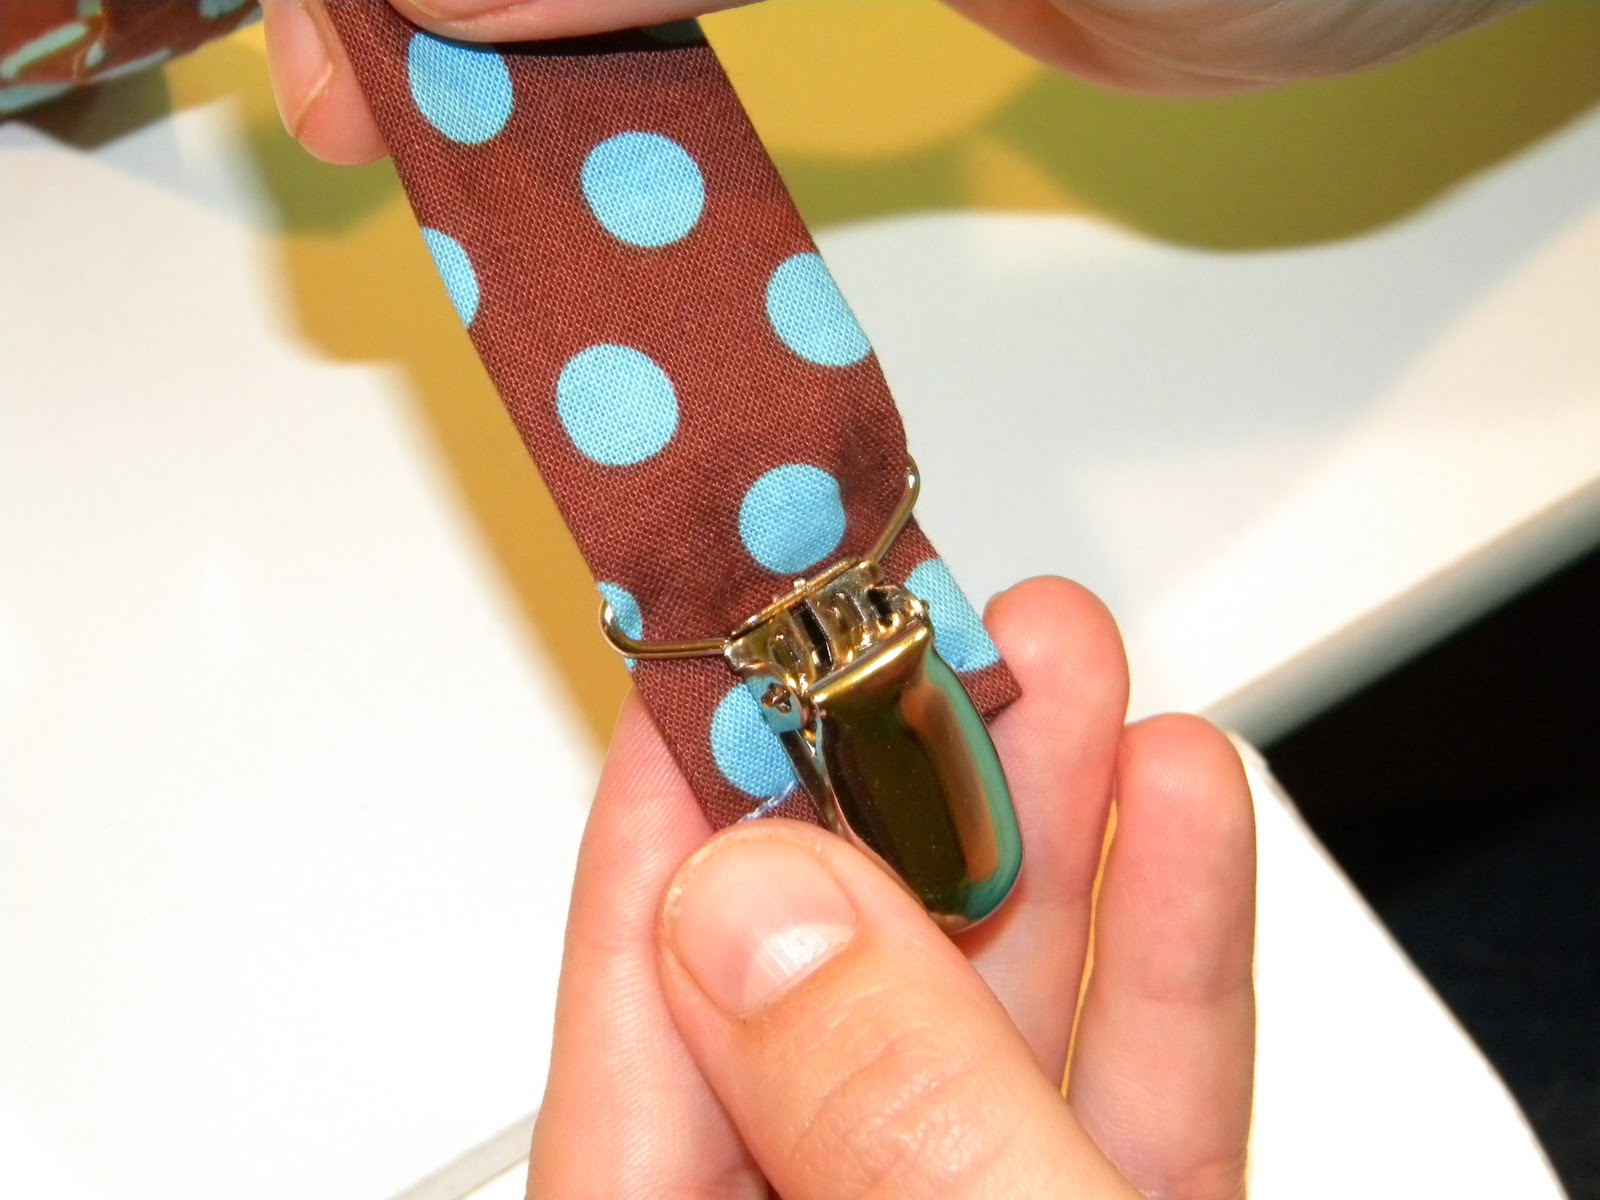
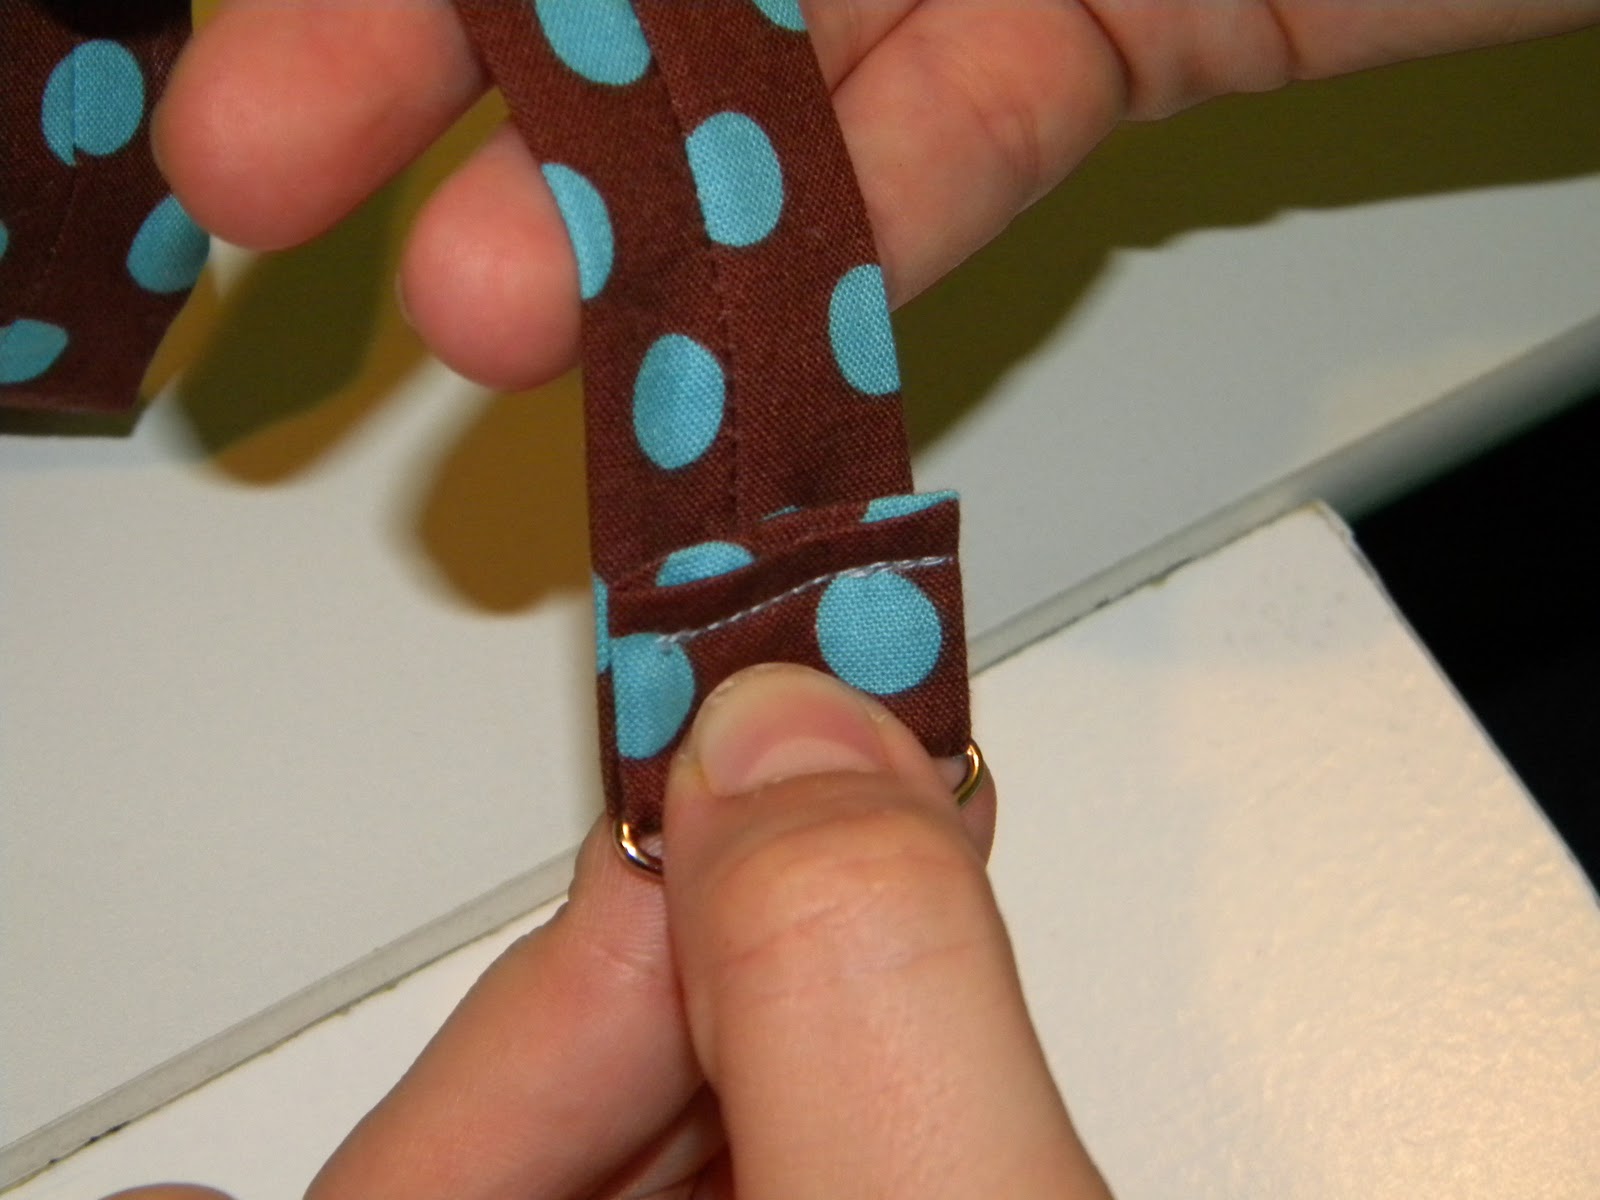
Sew once using straight stitch, and then use the zigzag stitch. Do this for the other fabric strip also.
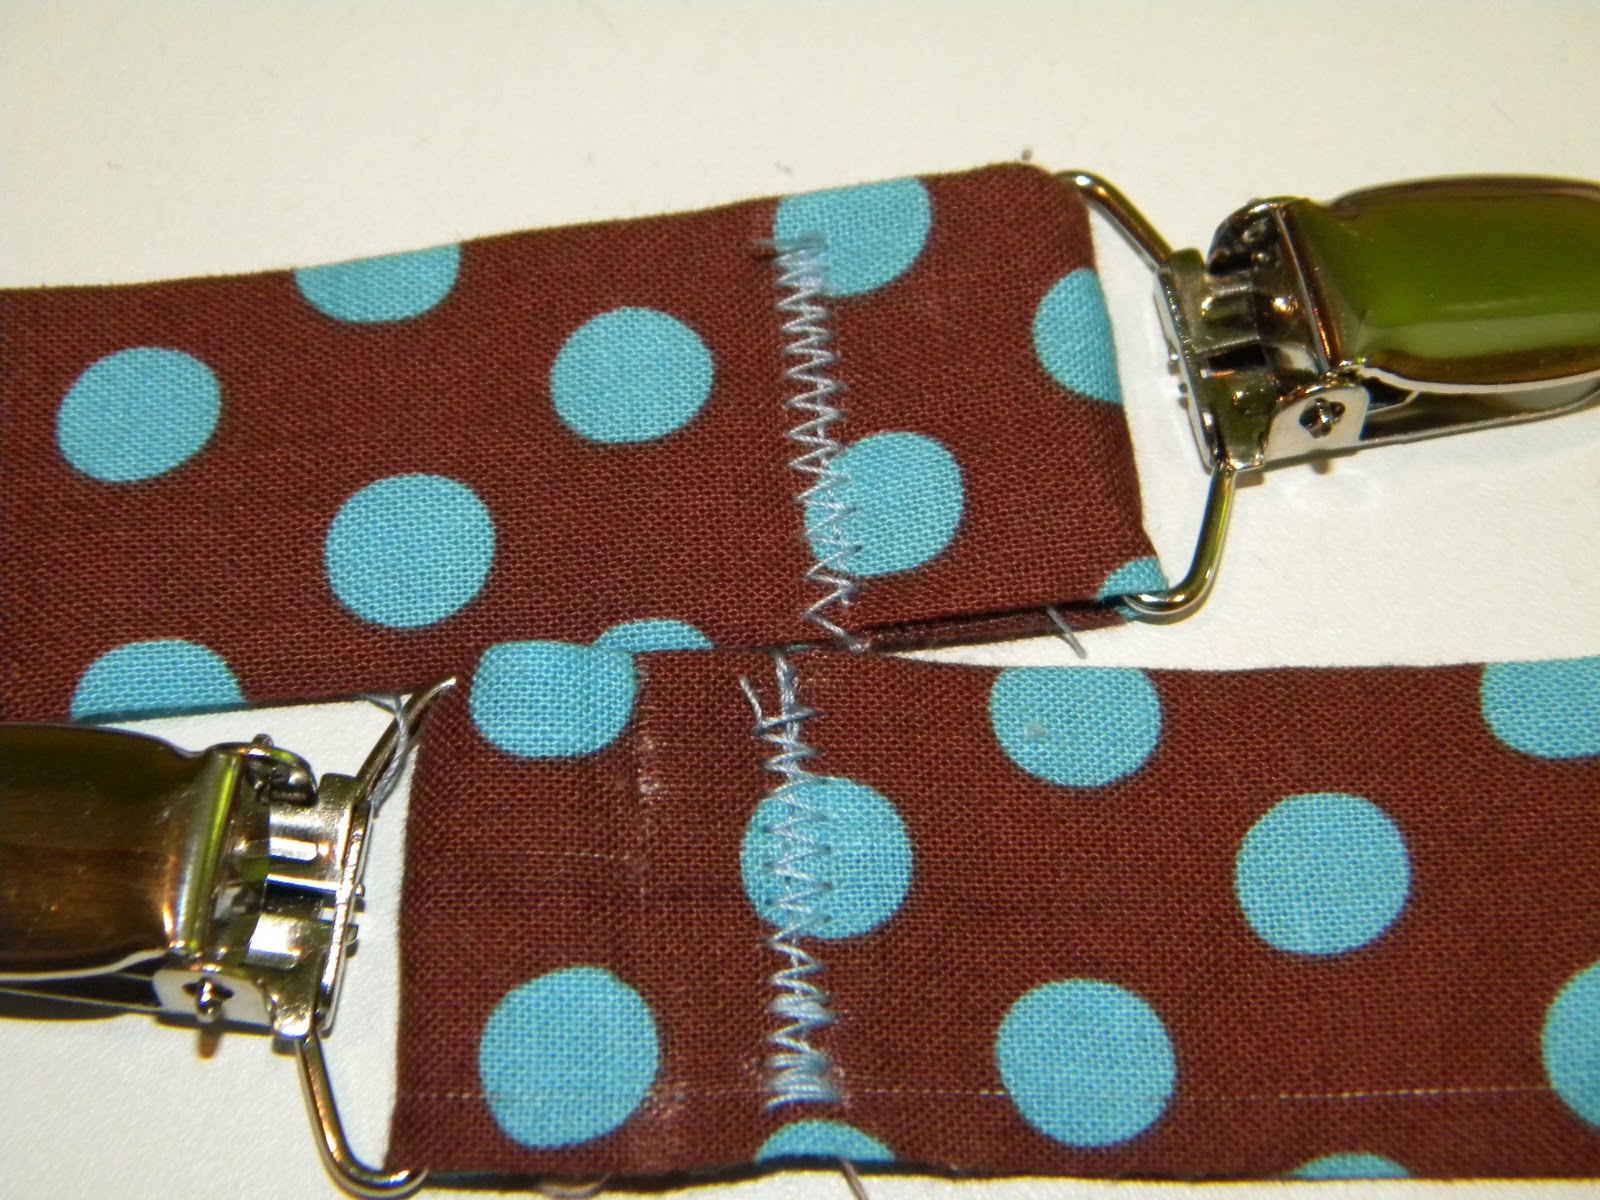
Step 6: Sew the two fabric strips together. Match up your edges and pin.

Sew in a square for durability.

Step 7: Wrap 3×5 piece over elastic. Leave a small gap at the top of the fabric, where you will connect to the “Y”.
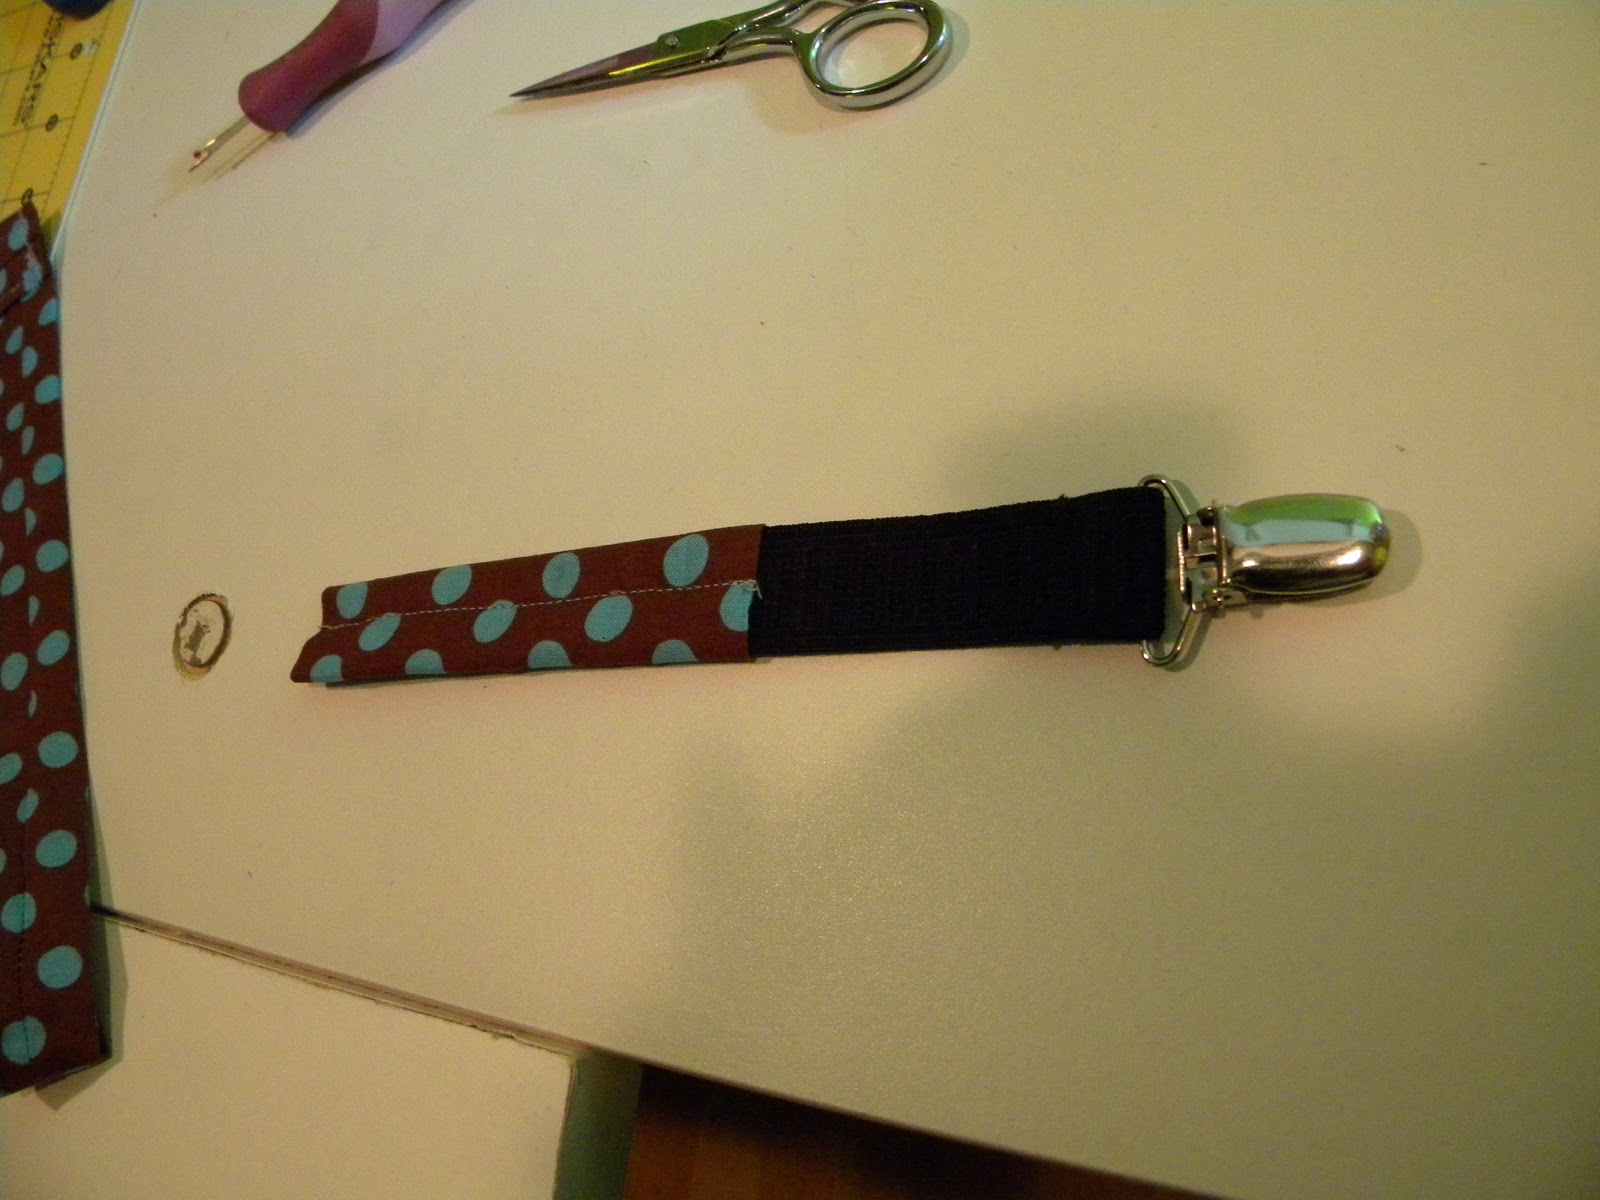
Step 8: Sew “Y” and elastic together.
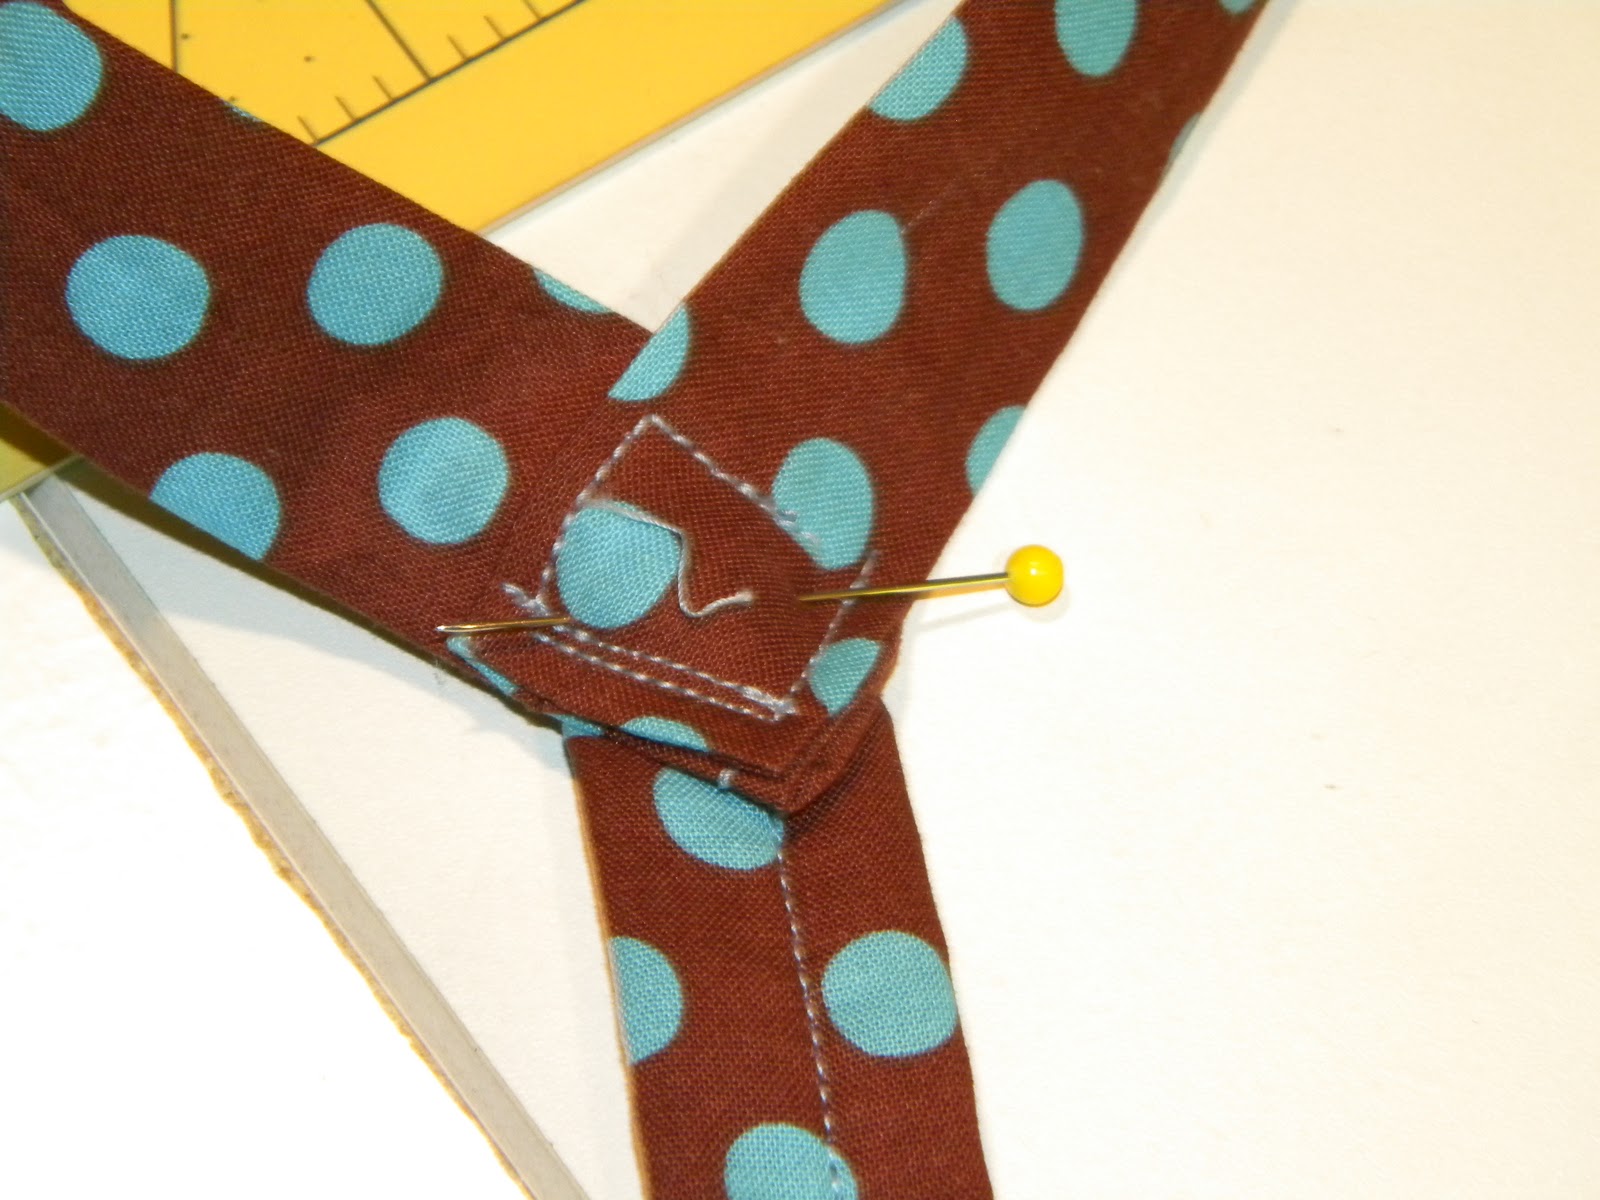
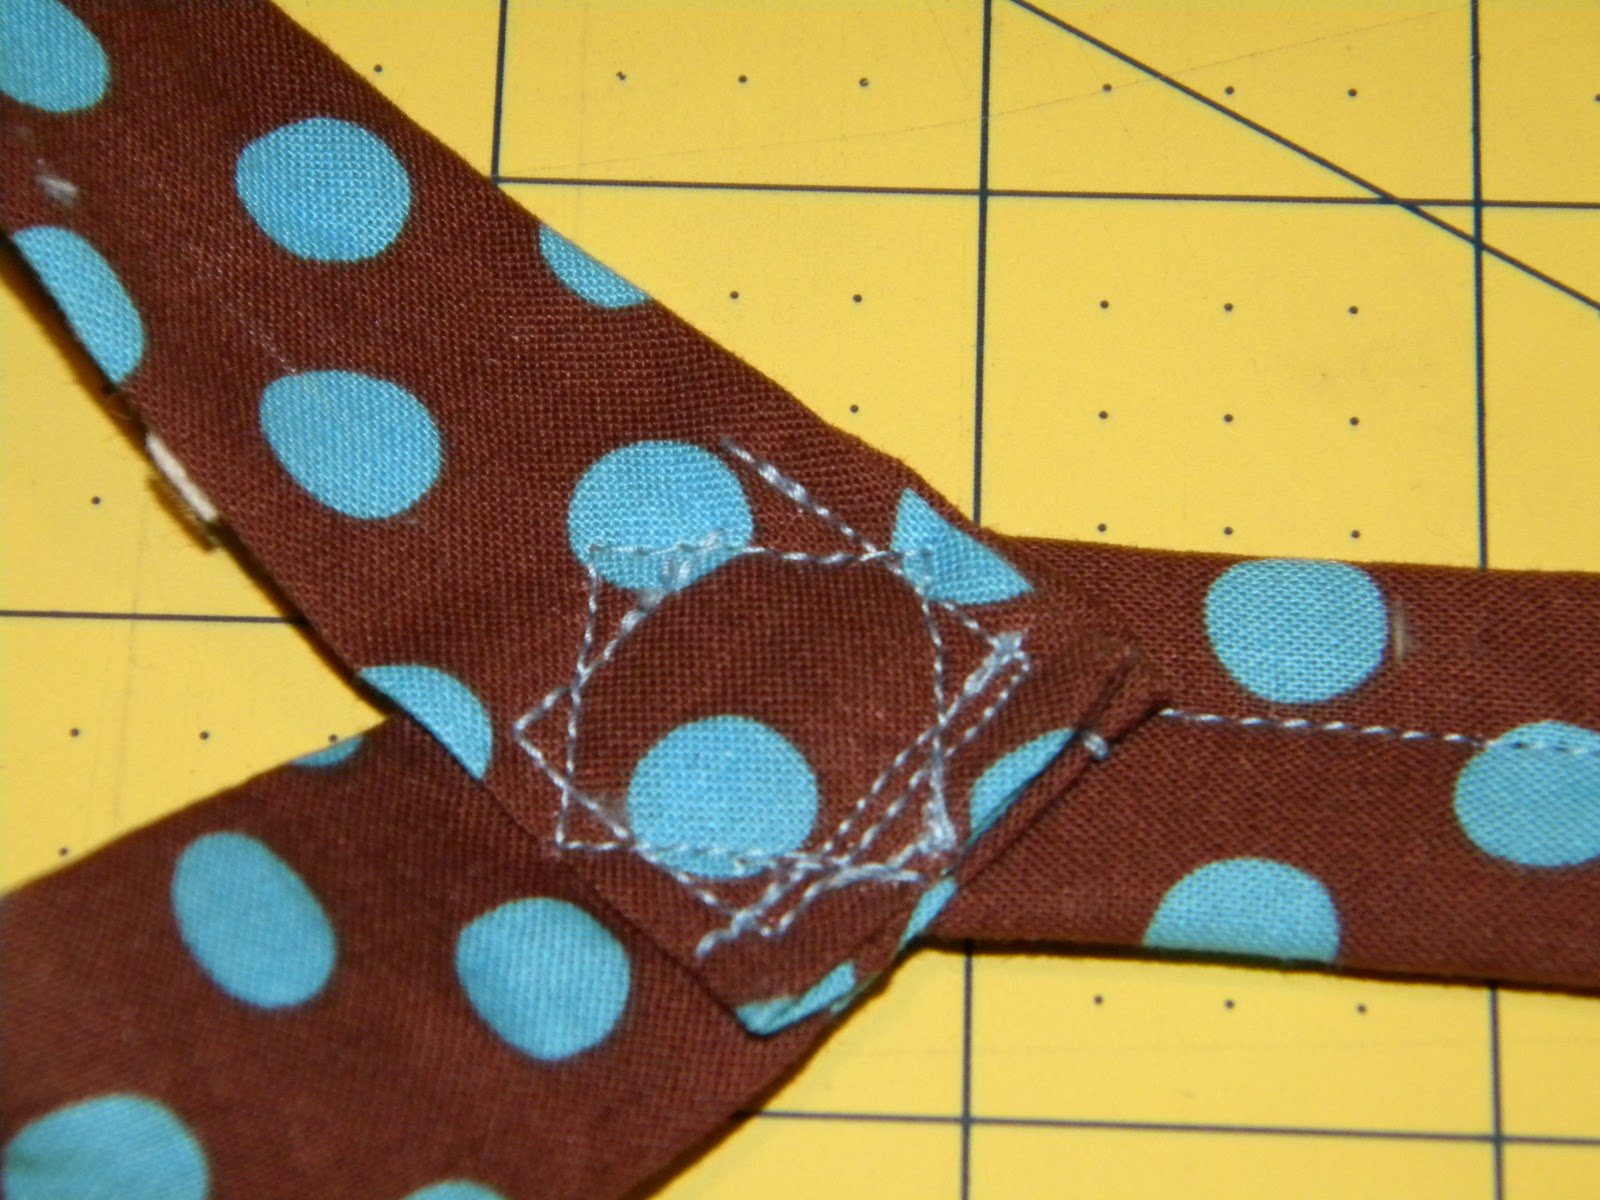
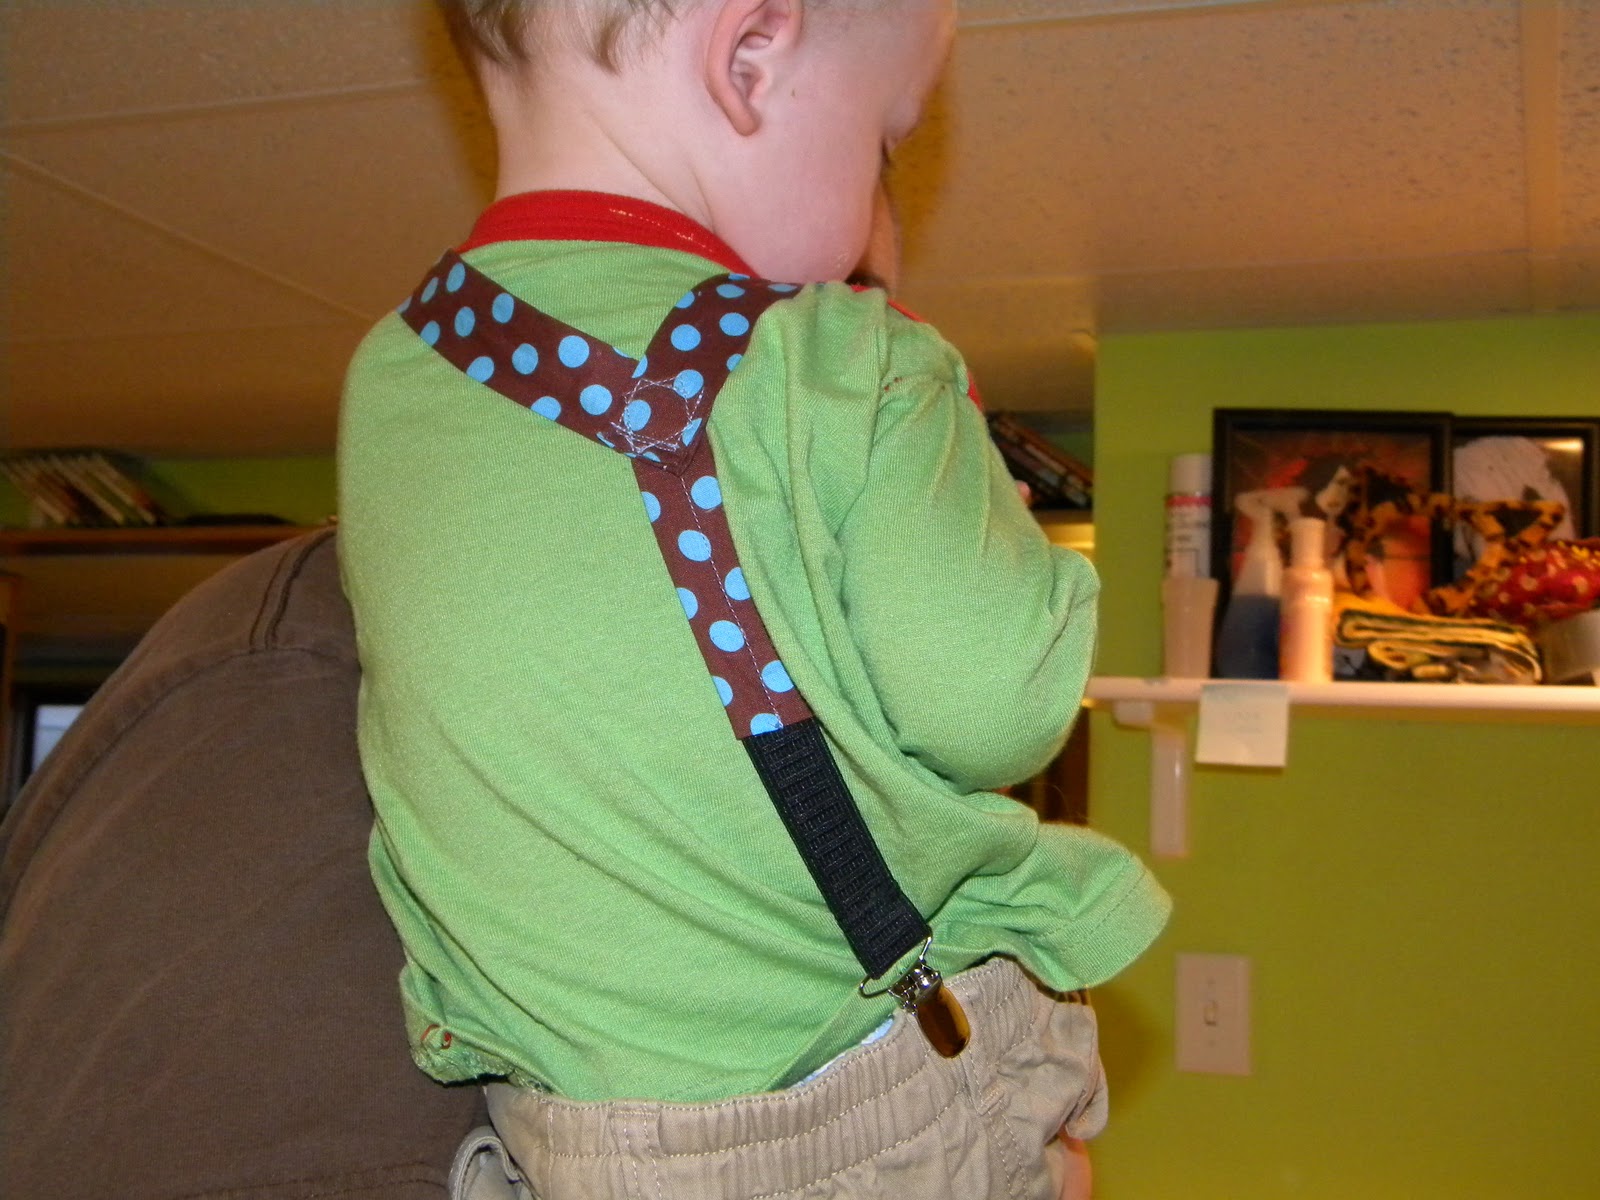
Step 9: Put them on your little man, and try and get a picture with him holding still! 😀
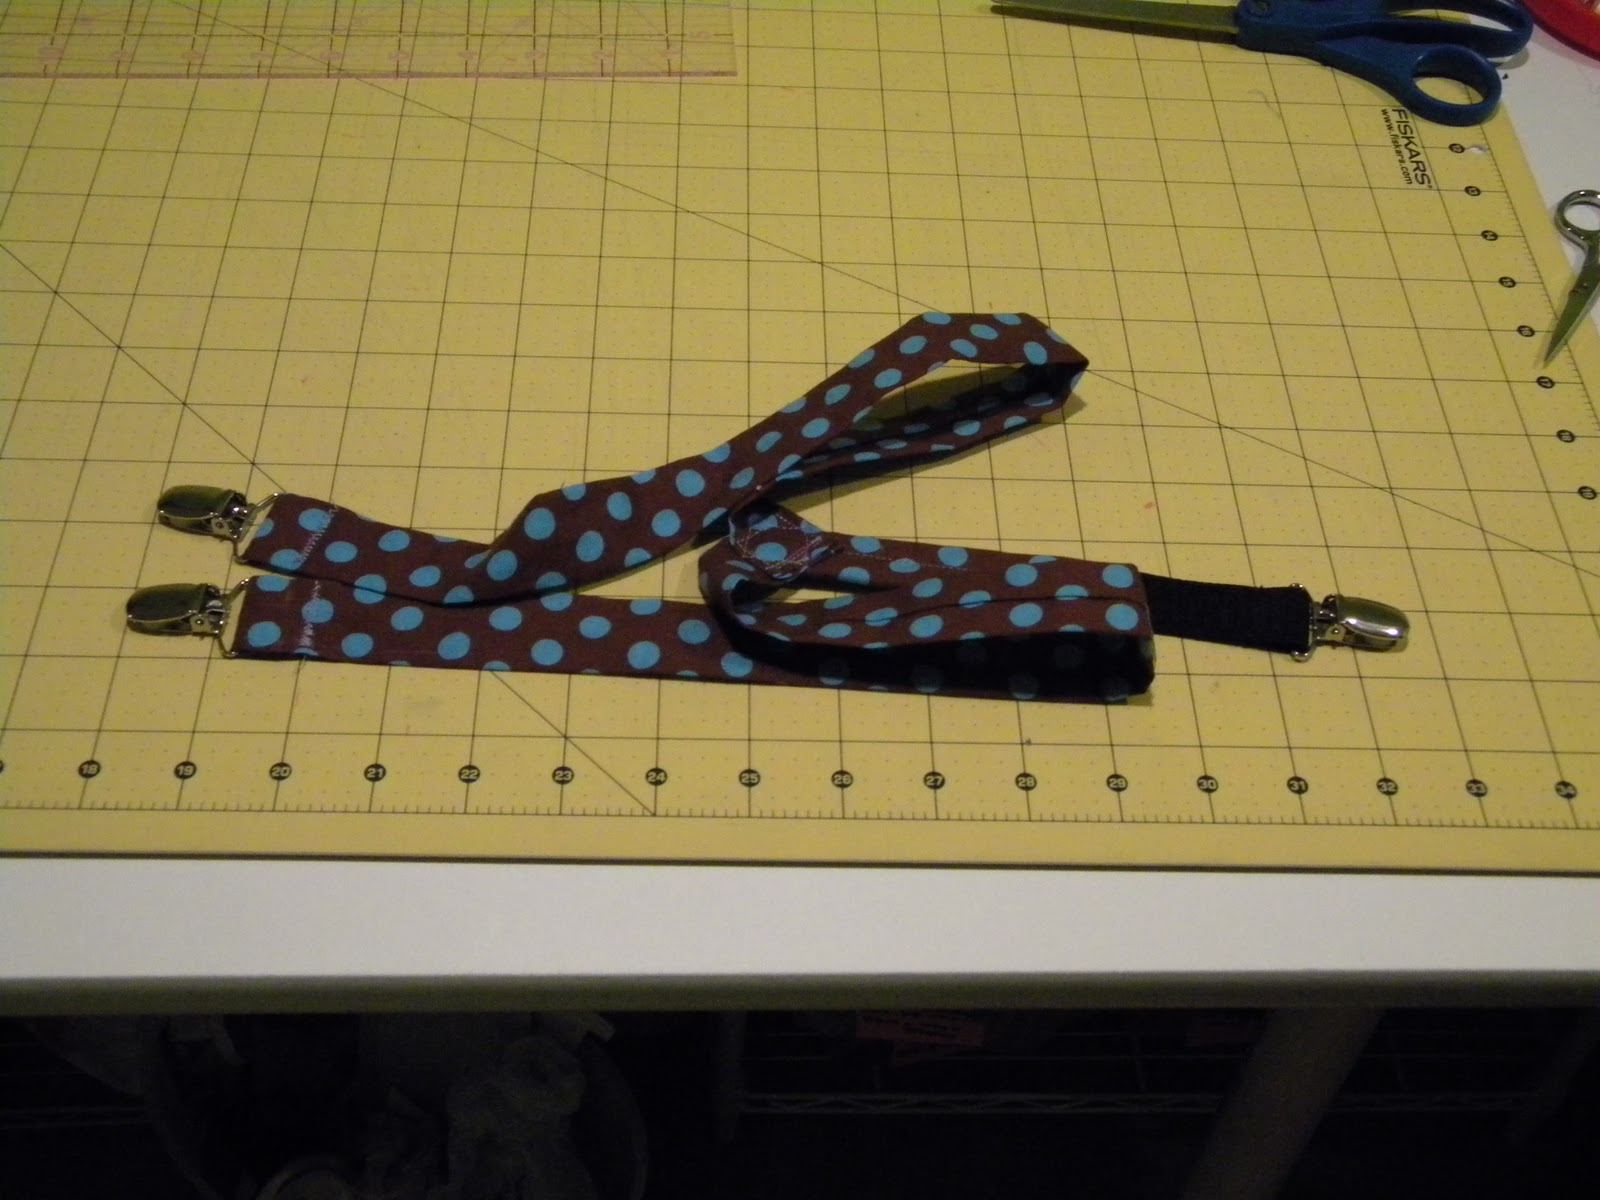
He wasn’t too happy with me or Daddy 😛

Hope this tutorial works for you! If you have any questions you can email me here. Also feel free to visit my blog with my lovely sister here, or my quilting blog here.

If you use this tutorial for suspenders, I’d love to see them in the flickr pool here!!!

——————————————————–

I just love these suspenders and how perfect would they be with a Trendy Tikes boys tie!! Thanks Tiffany for this great tutorial!

P.S. Don’t forget to sign up for free Tipsy updates via RSS or email.

We have decided to truncate our feed to help protect against stolen content. I apologize for any inconvenience. Please love us anyway. 🙂

Baby Week: Chenille Baby Washcloths

November 11, 2010 By Michelle Barneck 4 Comments

Hello tipsy readers! I’m Kara from Creations by Kara and I’m thrilled to be here doing a guest post while cute Michelle is busy doing the new baby thing. (Man I’m jealous!)

I’m a stay at home mom to four boys. I love all things creative crafty. I guess you could say I have “Craft ADD”. I can’t stick with just one thing, I like to try everything. . .

From dollar store projects:

To hair accessories:

To trying new recipes:

To remodeling our master bathroom:

Yep, I try it all, and then I blog about it. Fun times baby!!

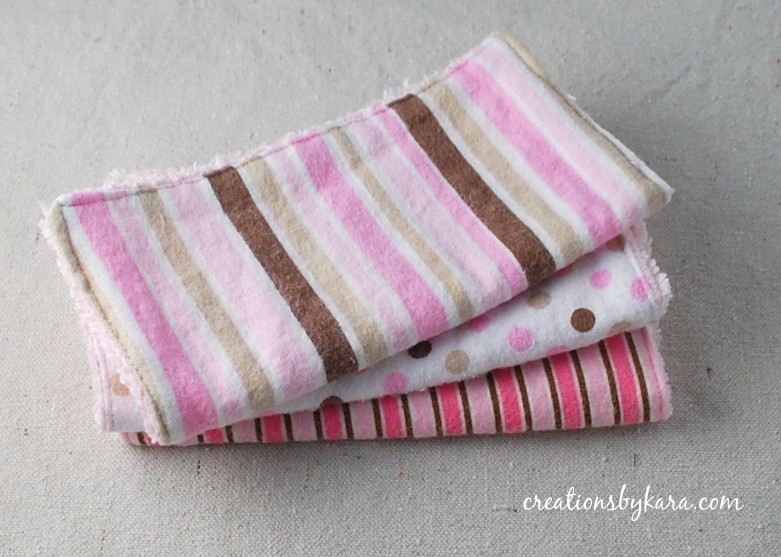
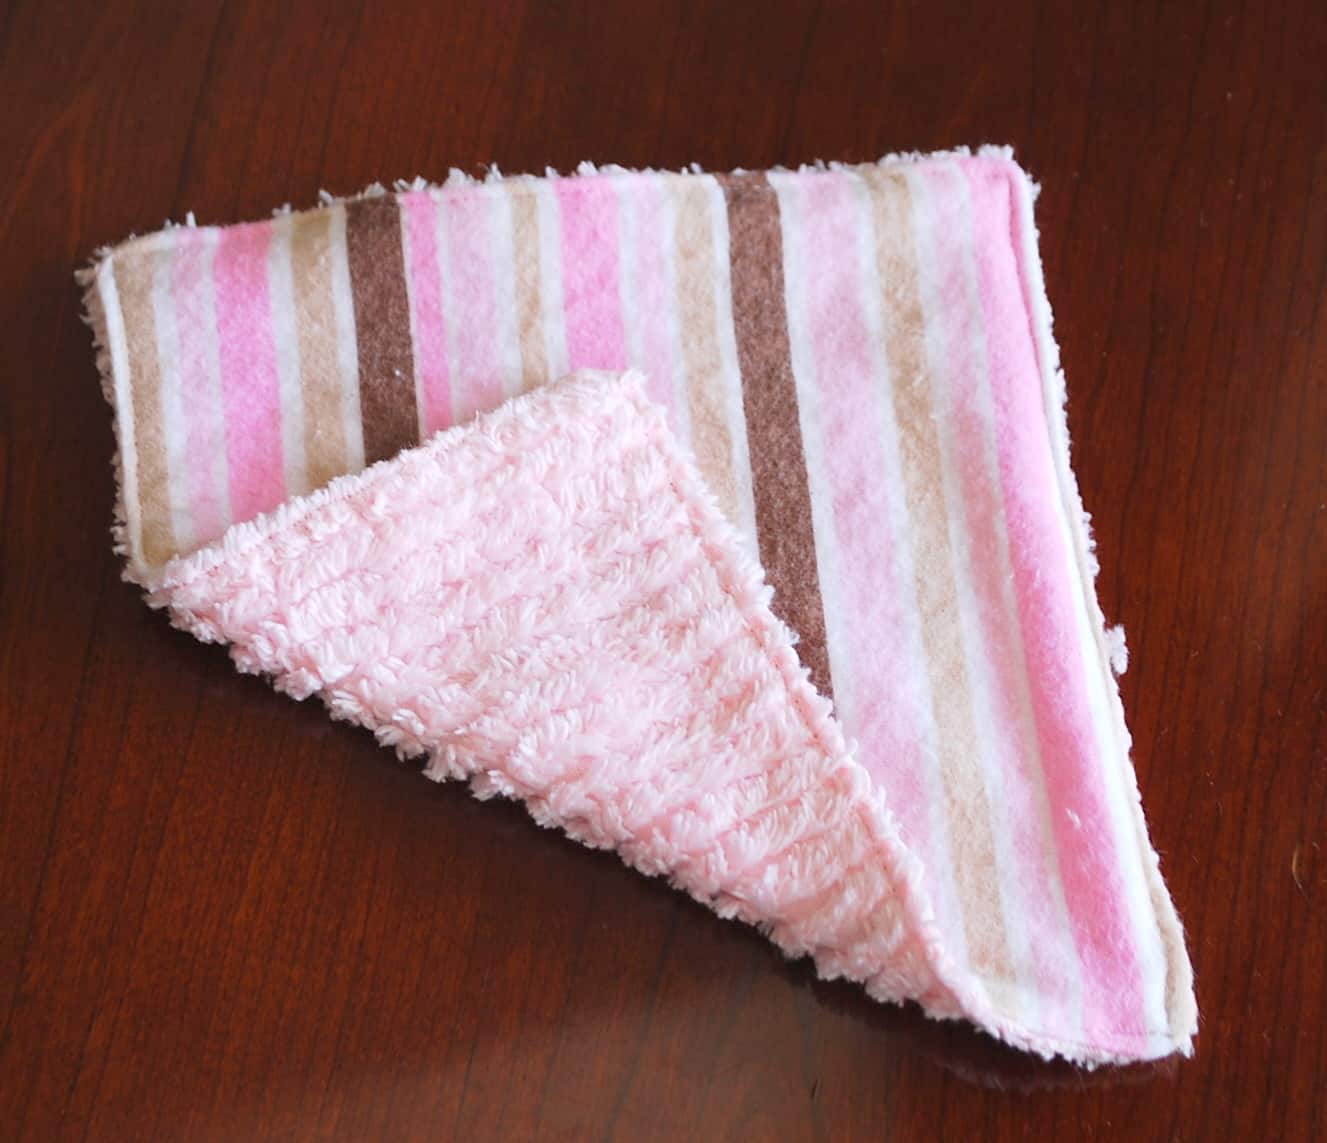
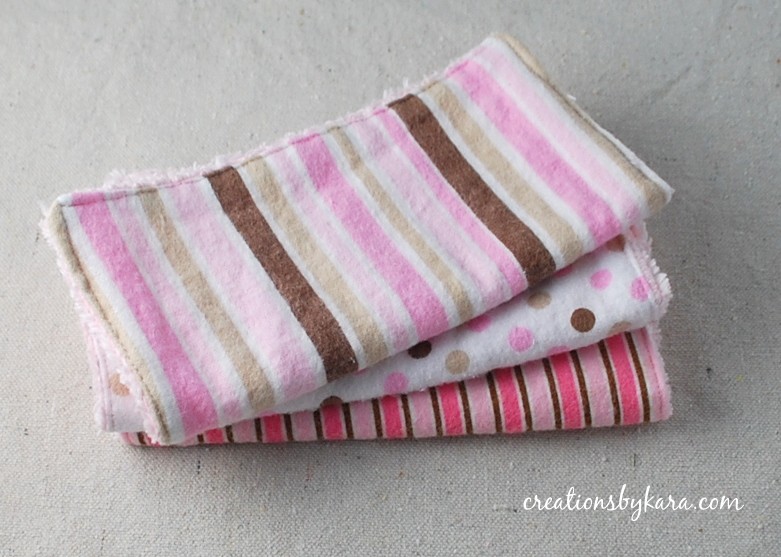
We are also in the process of trying to adopt a baby girl, so I was excited to come up with a baby project. I decided to do something basic that every mom needs. Baby washcloths. I was never thrilled with the kind from the store, they were always a little on the flimsy side. Plus I thought it would be nice to have a really soft side, and a side that had a little more texture. So I came up with these. Chenille backed baby washcloths.

I love how they turned out, and I can’t wait to use them. Hopefully one day very soon!

Here’s how you can make some of your own. Have fun!

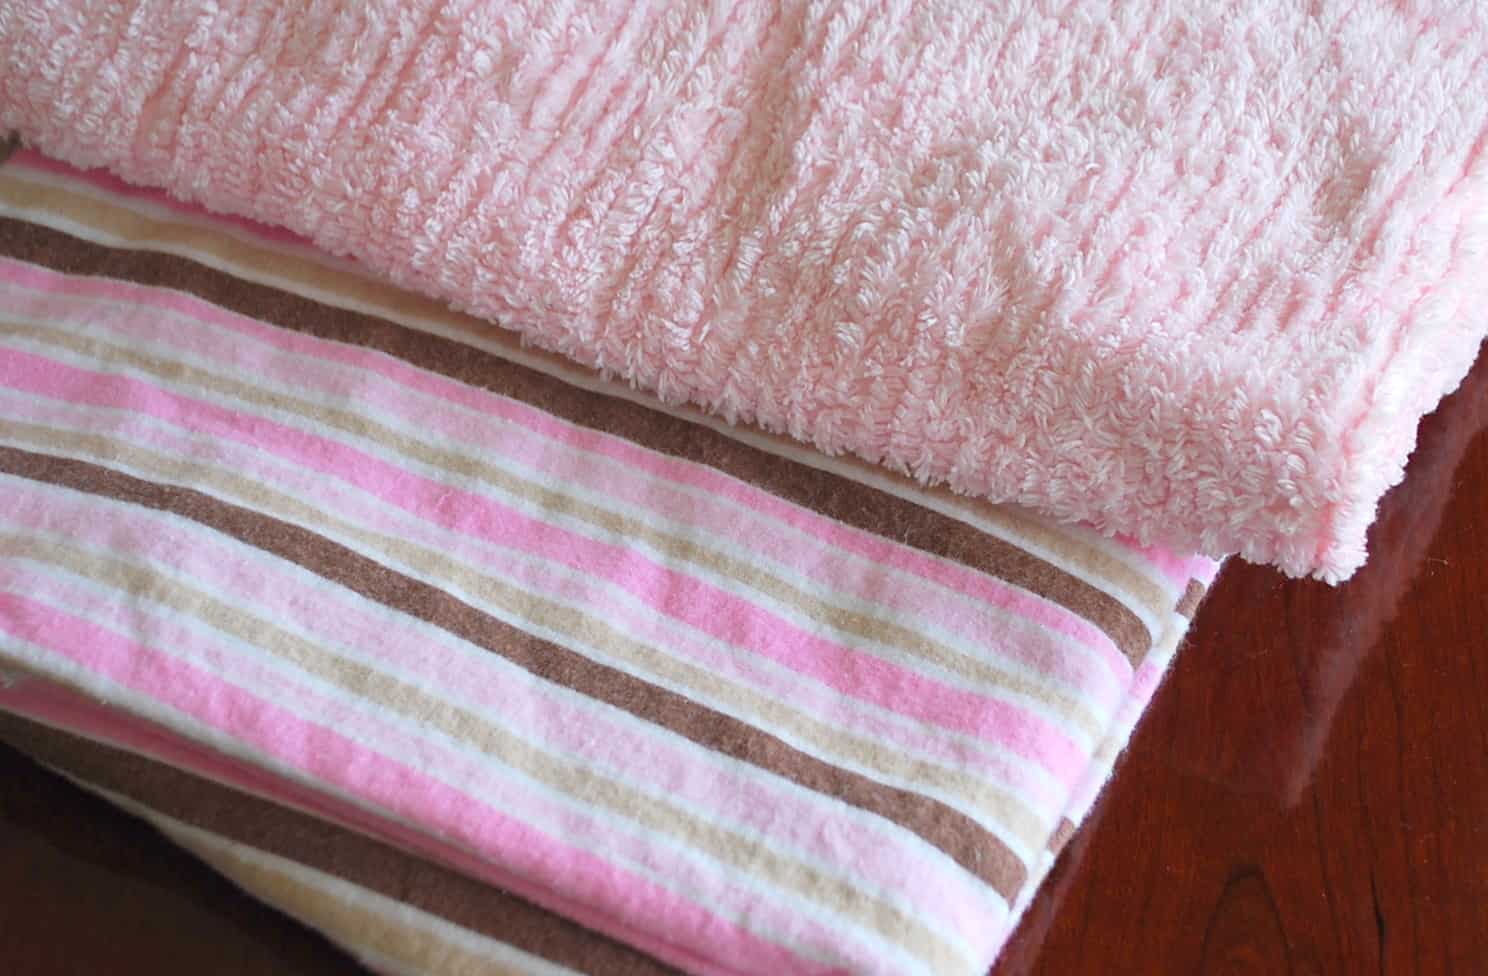
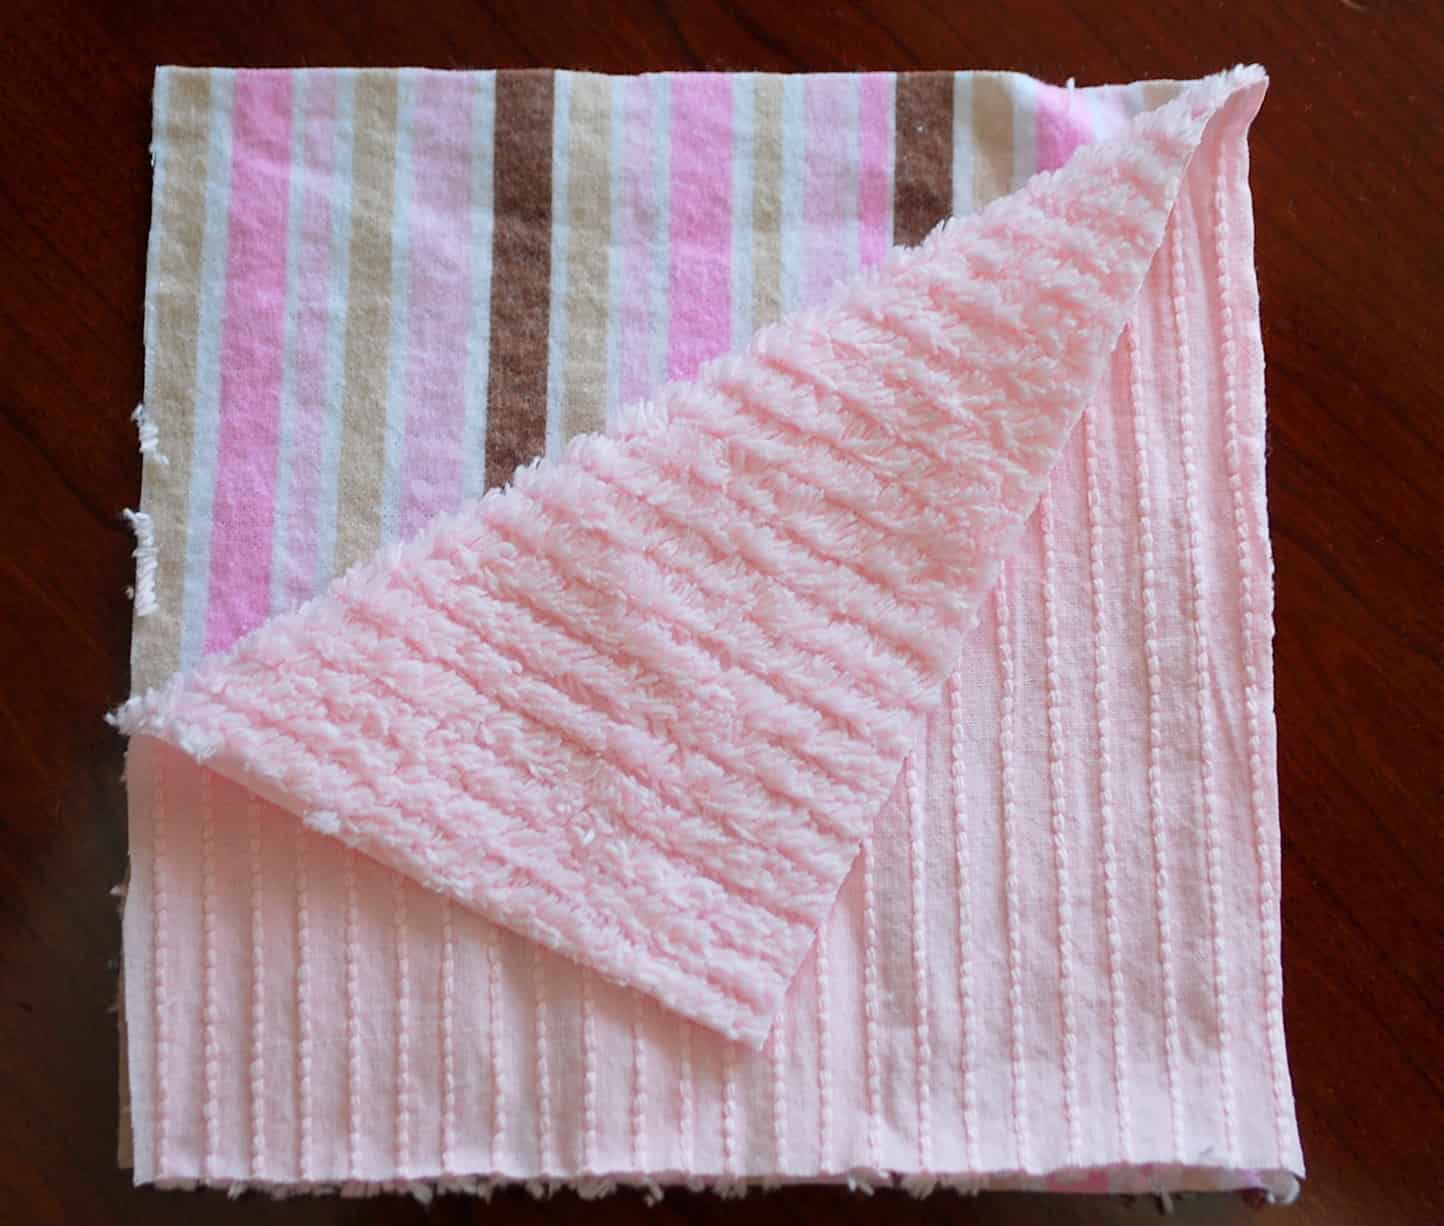
First you need to pick two coordinating fabrics. I used flannel on one side and chenille on the other.

Place the two fabrics right side together and cut a square. I cute mine about 7″.

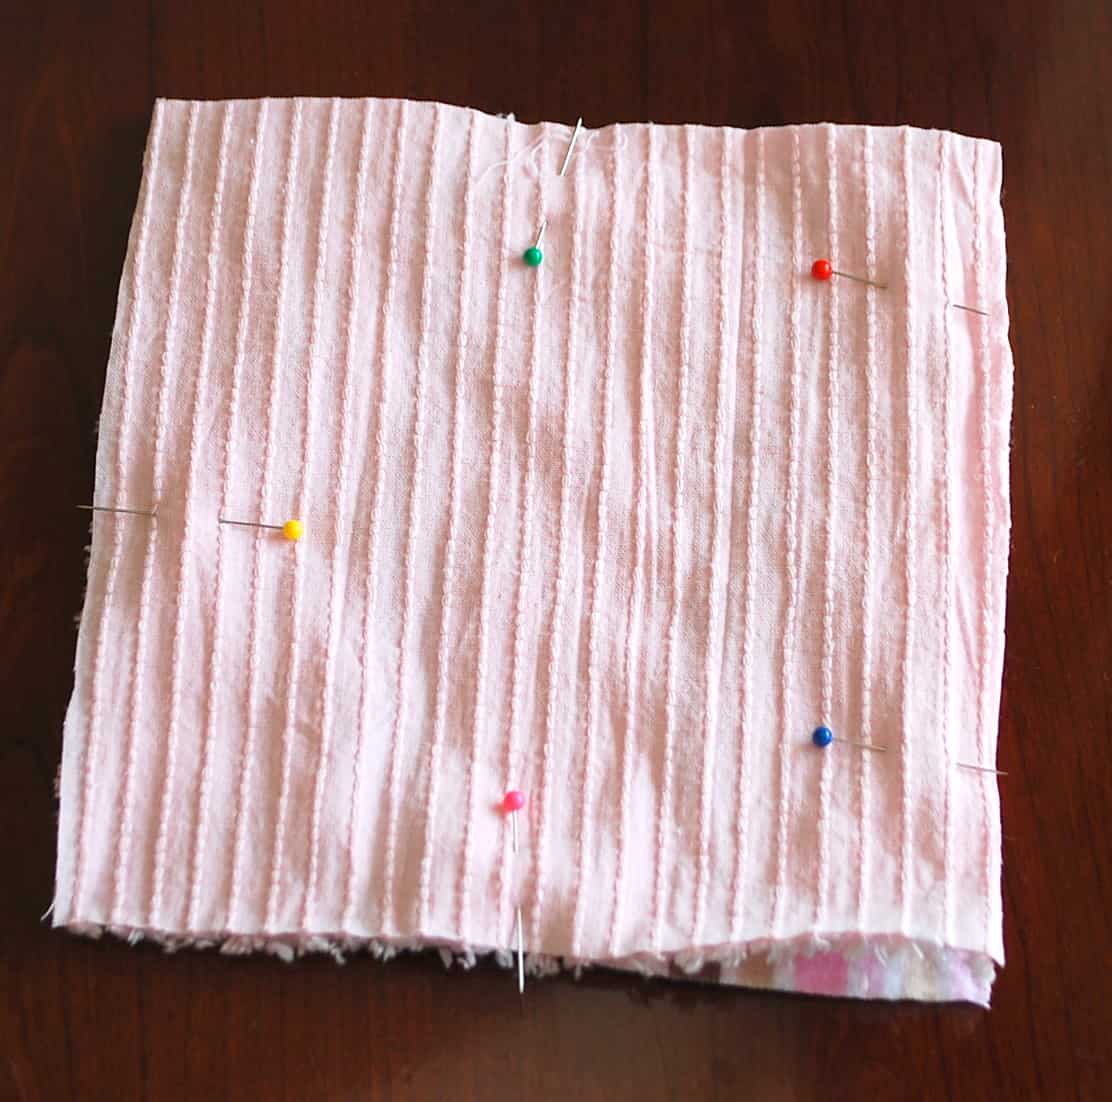
Pin the squares together. You see that space on the left in between the red and blue pins? You are going to leave that open so you can turn the washcloth right side out.

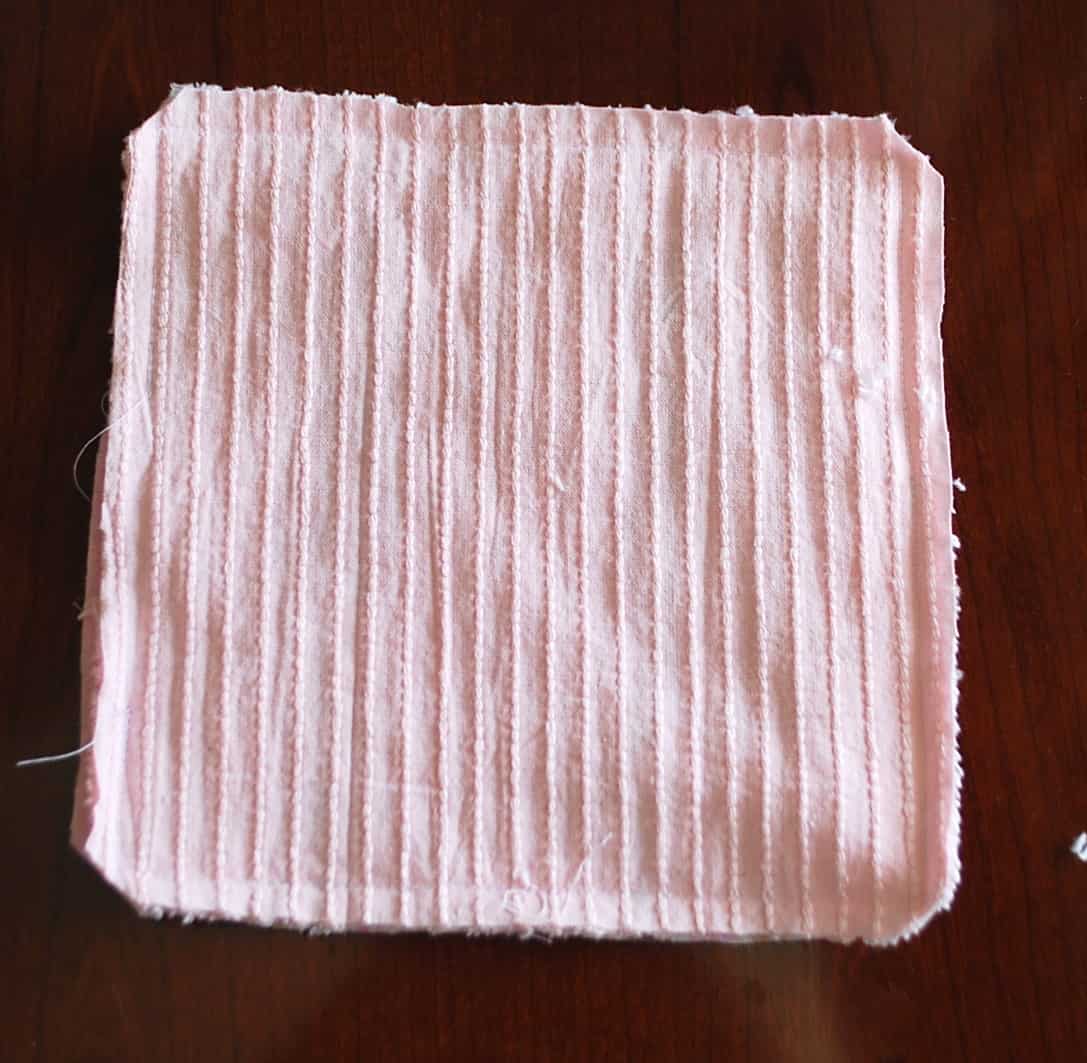
Now sew the squares together, using a 1/2″ seam allowance. Don’t forget to leave that space I talked about open! When you’re finished sewing, clip the corners.

Now turn it right side out.

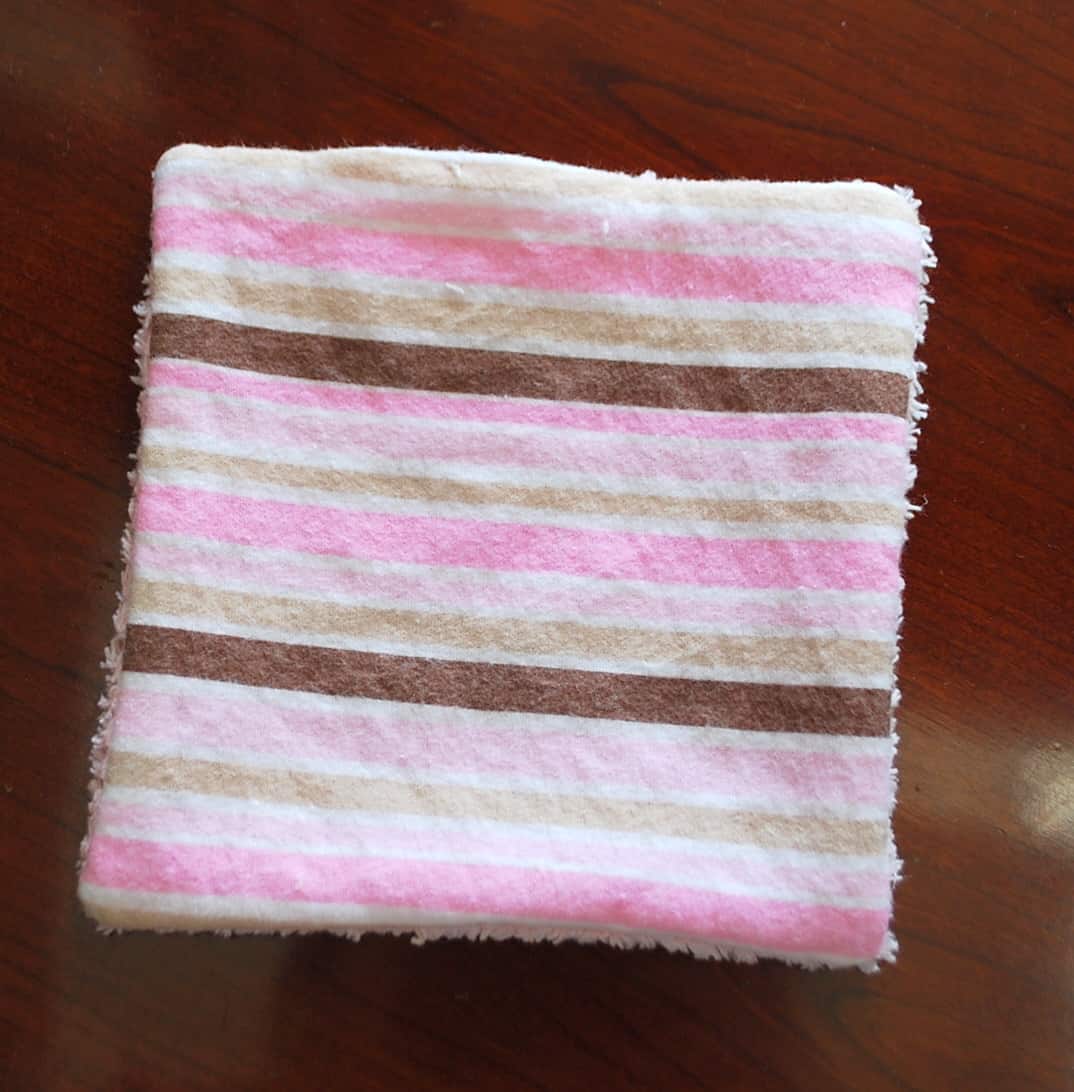
Now you’re going to sew a stitch all the way around the edge. This will not only sew the hole closed, it will make the whole thing more sturdy. Before you start stitching, make sure the pieces of fabric at the opening are tucked in to the inside evenly. You can iron the opening if you want, but you don’t have to. I sewed as close to the edge as I could get.

Stitch up a few of them and you have a great baby shower gift.

Wouldn’t they be perfect tucked in a cute basket with bath supplies?

————————————————————

Thanks so much Kara! I just bought some baby washcloths last night and was unimpressed with the softness and thickness. These are great! And I hope you get your little girl soon!

P.S. Don’t forget to sign up for free Tipsy updates via RSS or email.

We have decided to truncate our feed to help protect against stolen content. I apologize for any inconvenience. Please love us anyway. 🙂

Baby Week: Shirt Bib

November 10, 2010 By Michelle Barneck 133 Comments

Let me introduce myself.
My name is Rebecca and I blog over at Better Life Bags… the blog.

When I’m not crafting, I also run a small business creating custom diaper bags, hand bags, and accessories called Better Life Bags.

I donate 10% of every purchase to low income entrepreneurs in developing countries – which is why we are called “Better Life Bags… making lives better one purse at a time!”

The fun part is that YOU get to pick your own fabrics for the bag you want!
I hope you’ll come check things out.

Anyway…Today I have a great tutorial for you to try out.
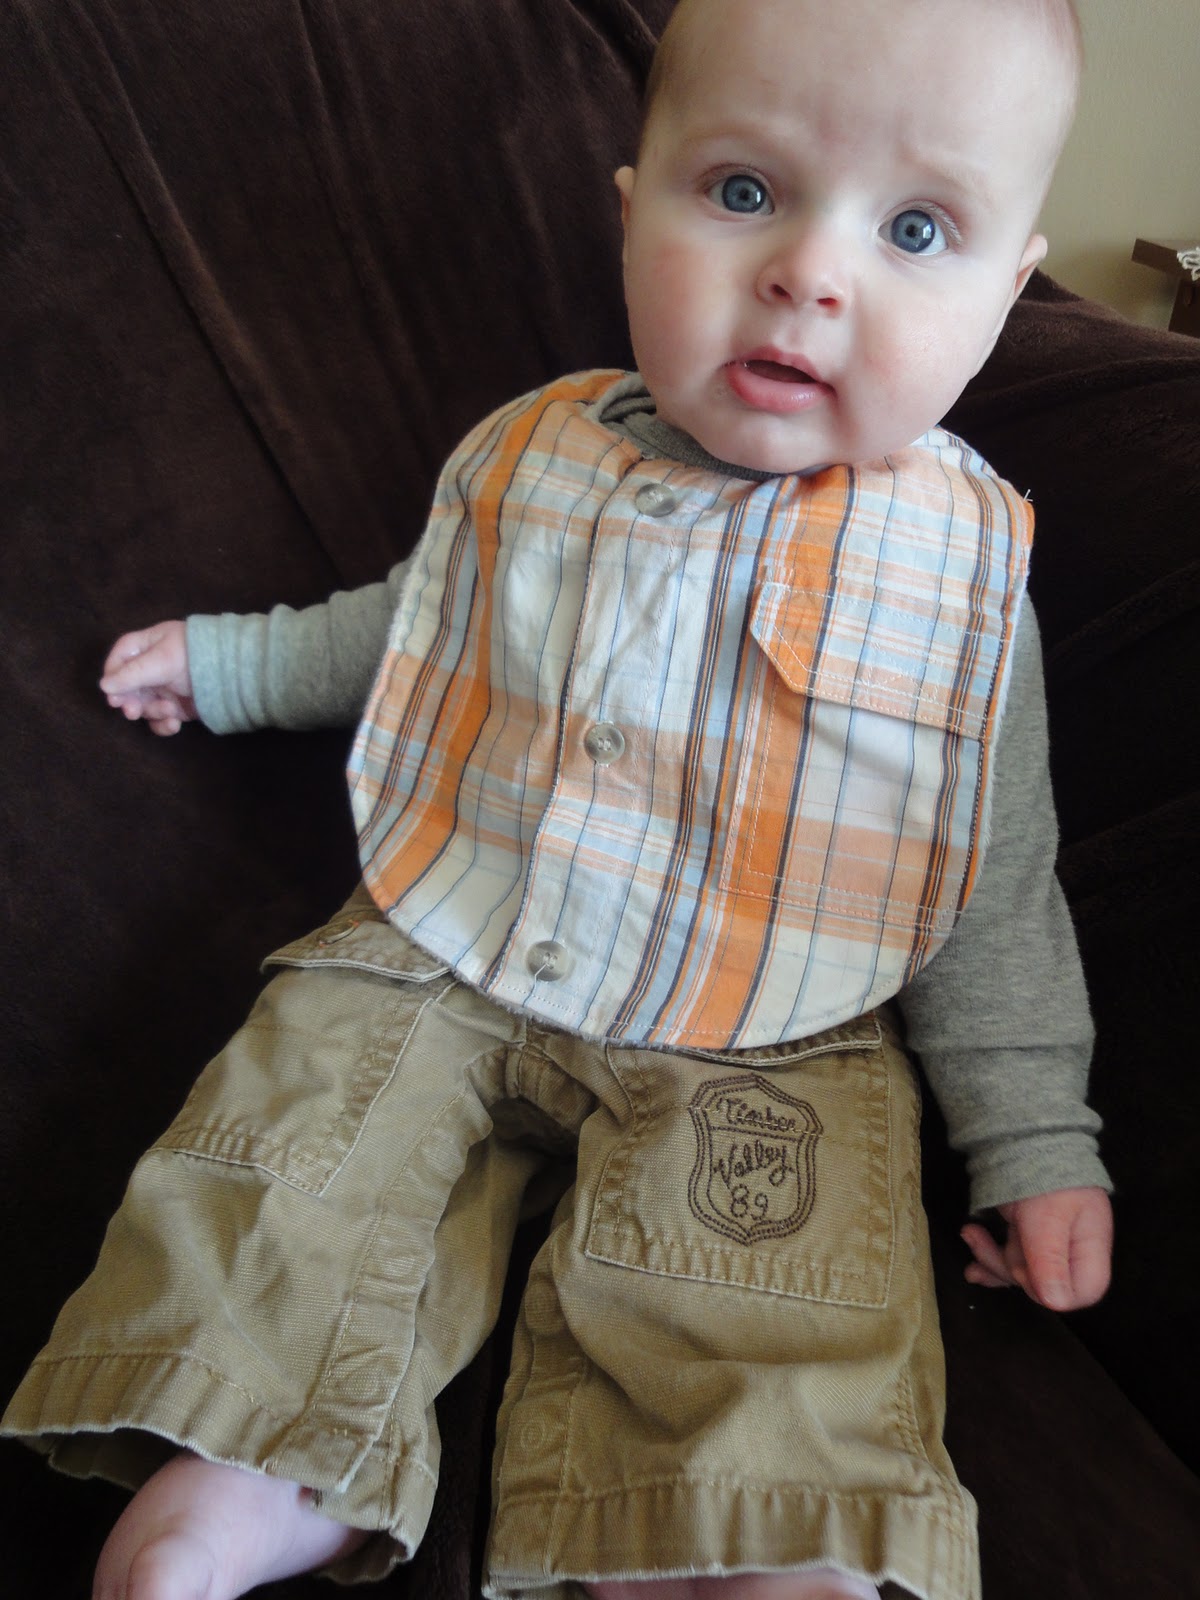
When my son was born, I had the biggest distaste for baby bibs. I hated how “babyish” they looked, yet I knew how functional they were for drool, food, etc…


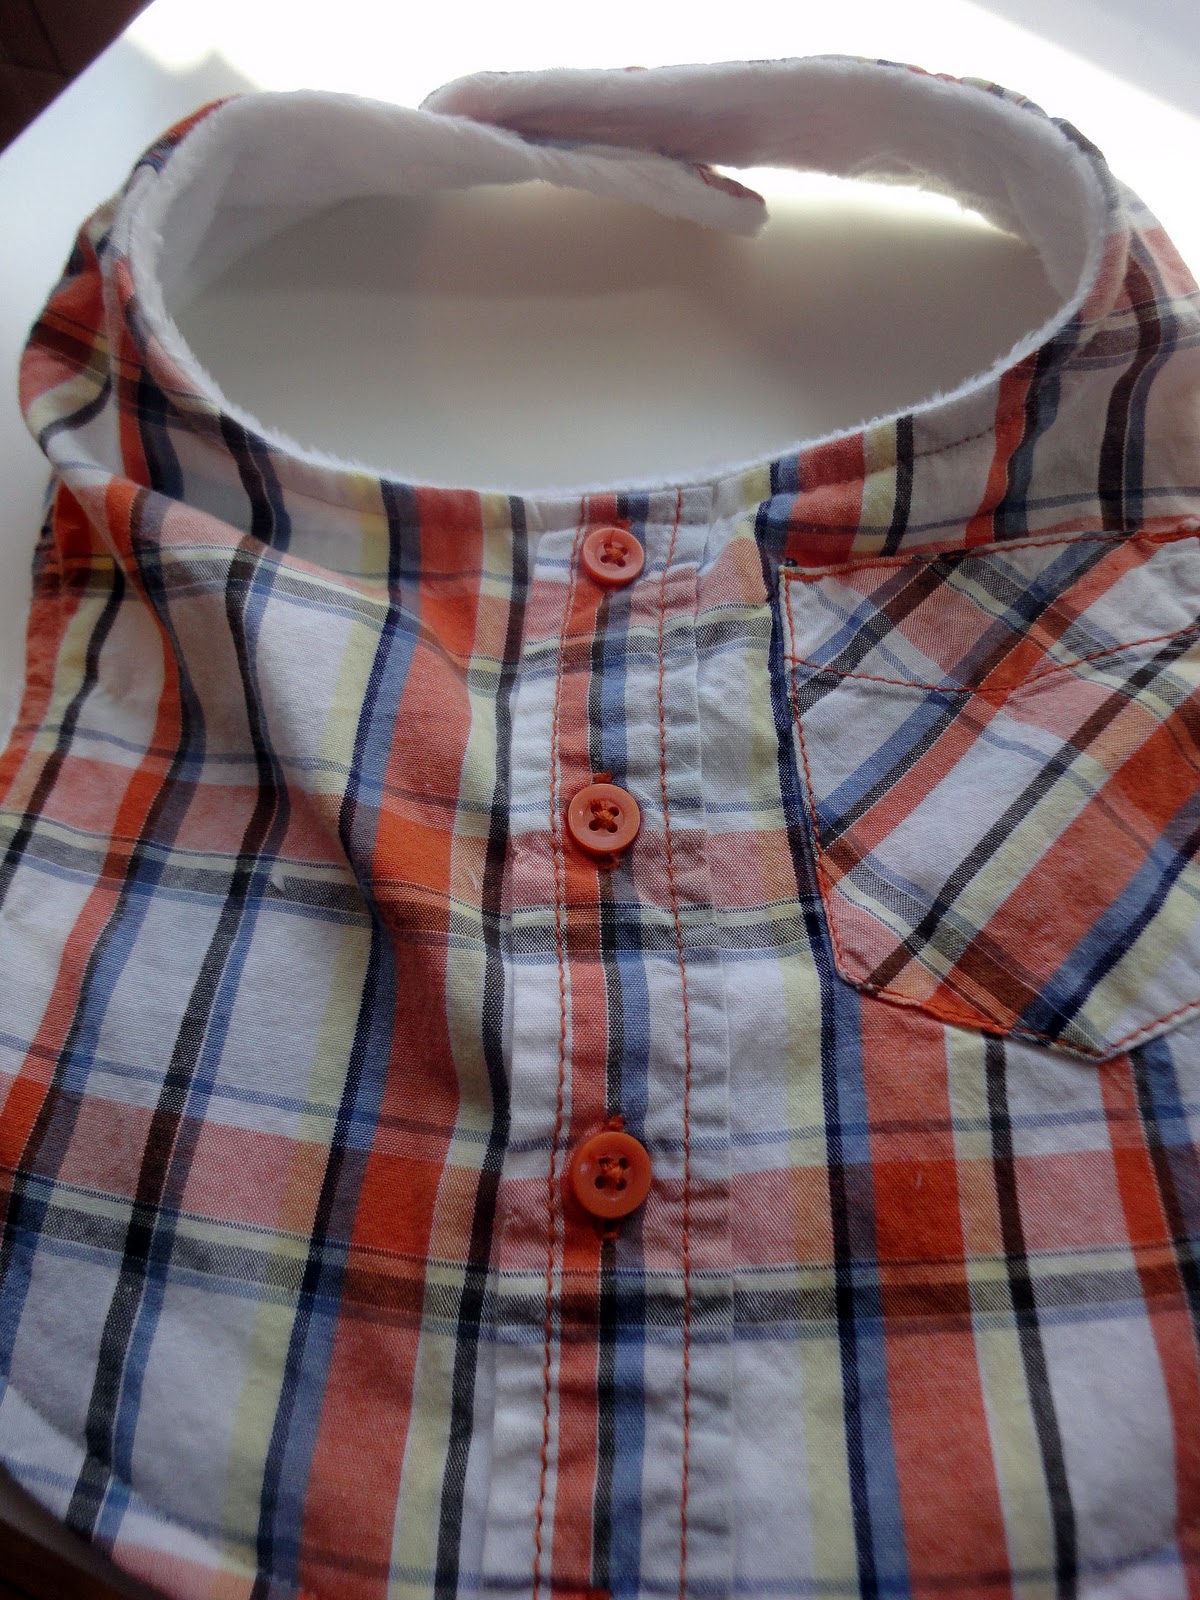
So, I came up with an alternative. Bibs made out of upcycled shirts! So much better.

baby wearing orange plaid shirt bibBaby wearing graphic tee shirt bib

You can make these with either:
adult graphic tees

Shirt bib examples: green with dandelion, blue with recycle symbol, brown with "smooth like butta"

or toddler button down shirts
{You can use an adult men’s shirt, you just won’t be able to fit the cute pocket on the bib.}

Shirt bib examples: green plaid, red plaid, and red, yellow and green plaid

Shirt Bib Instructions:

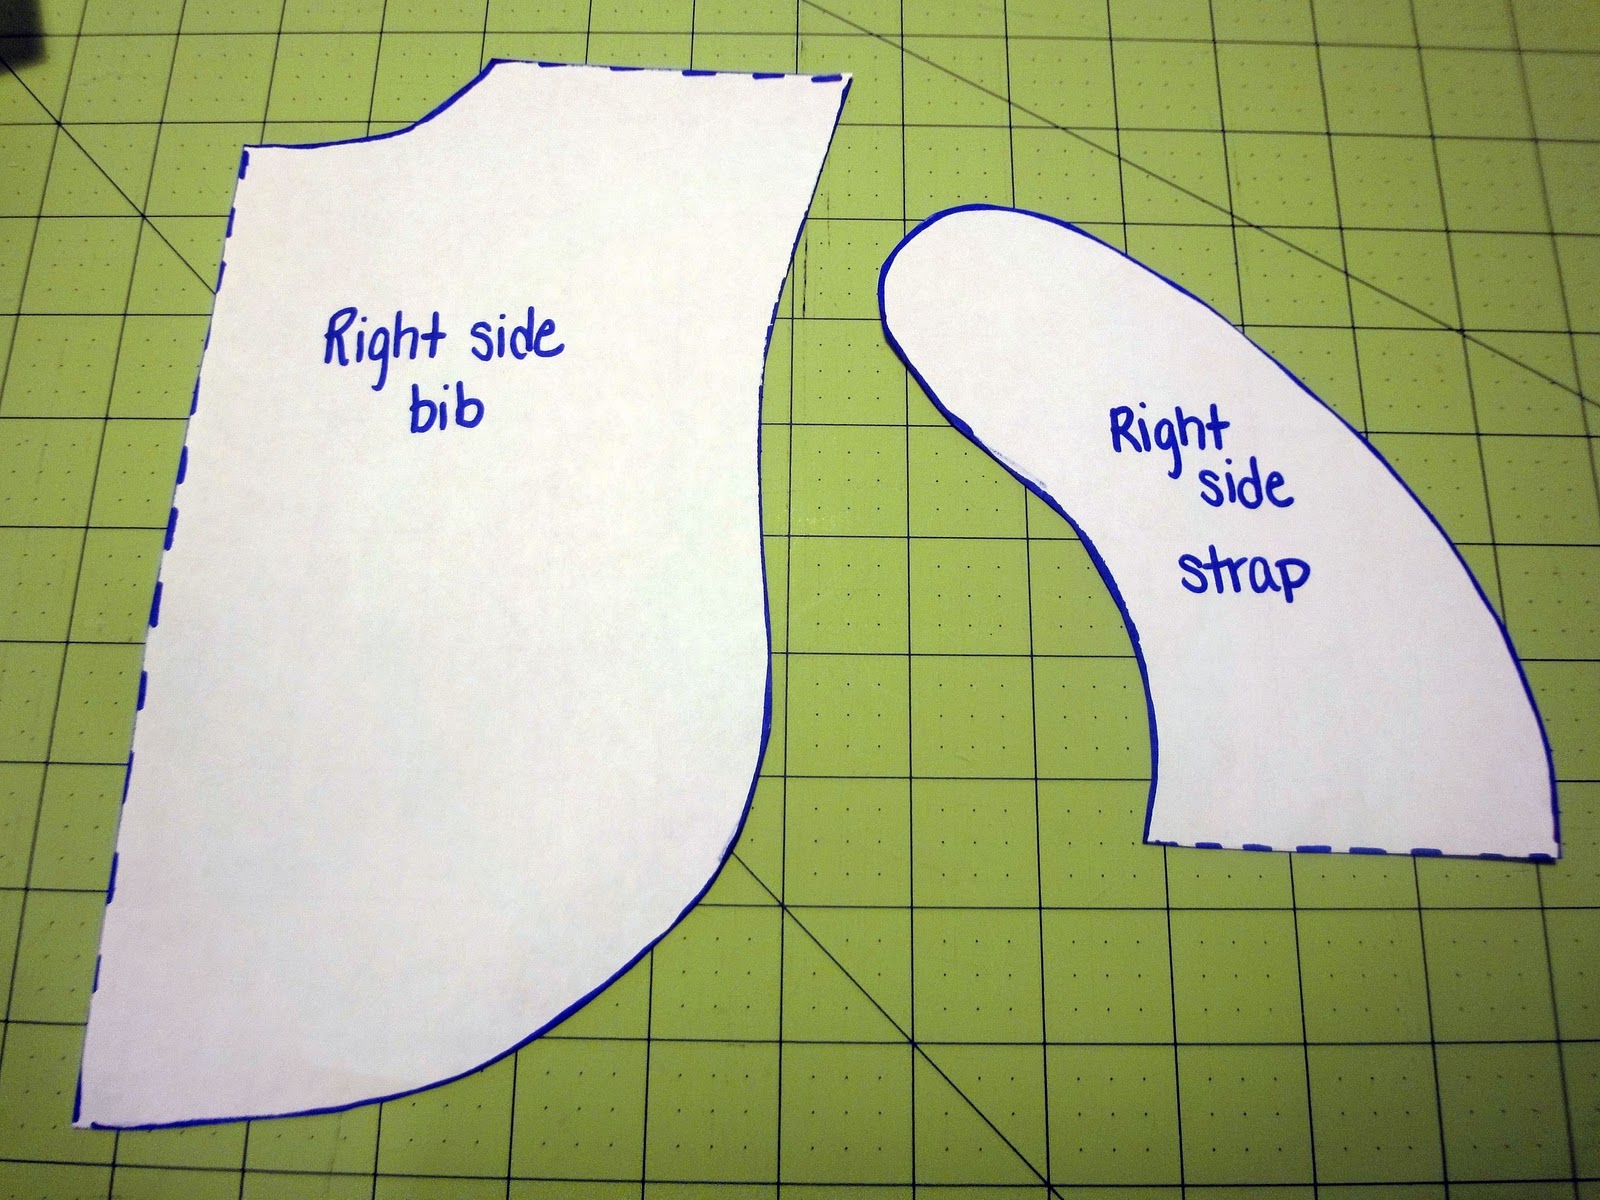
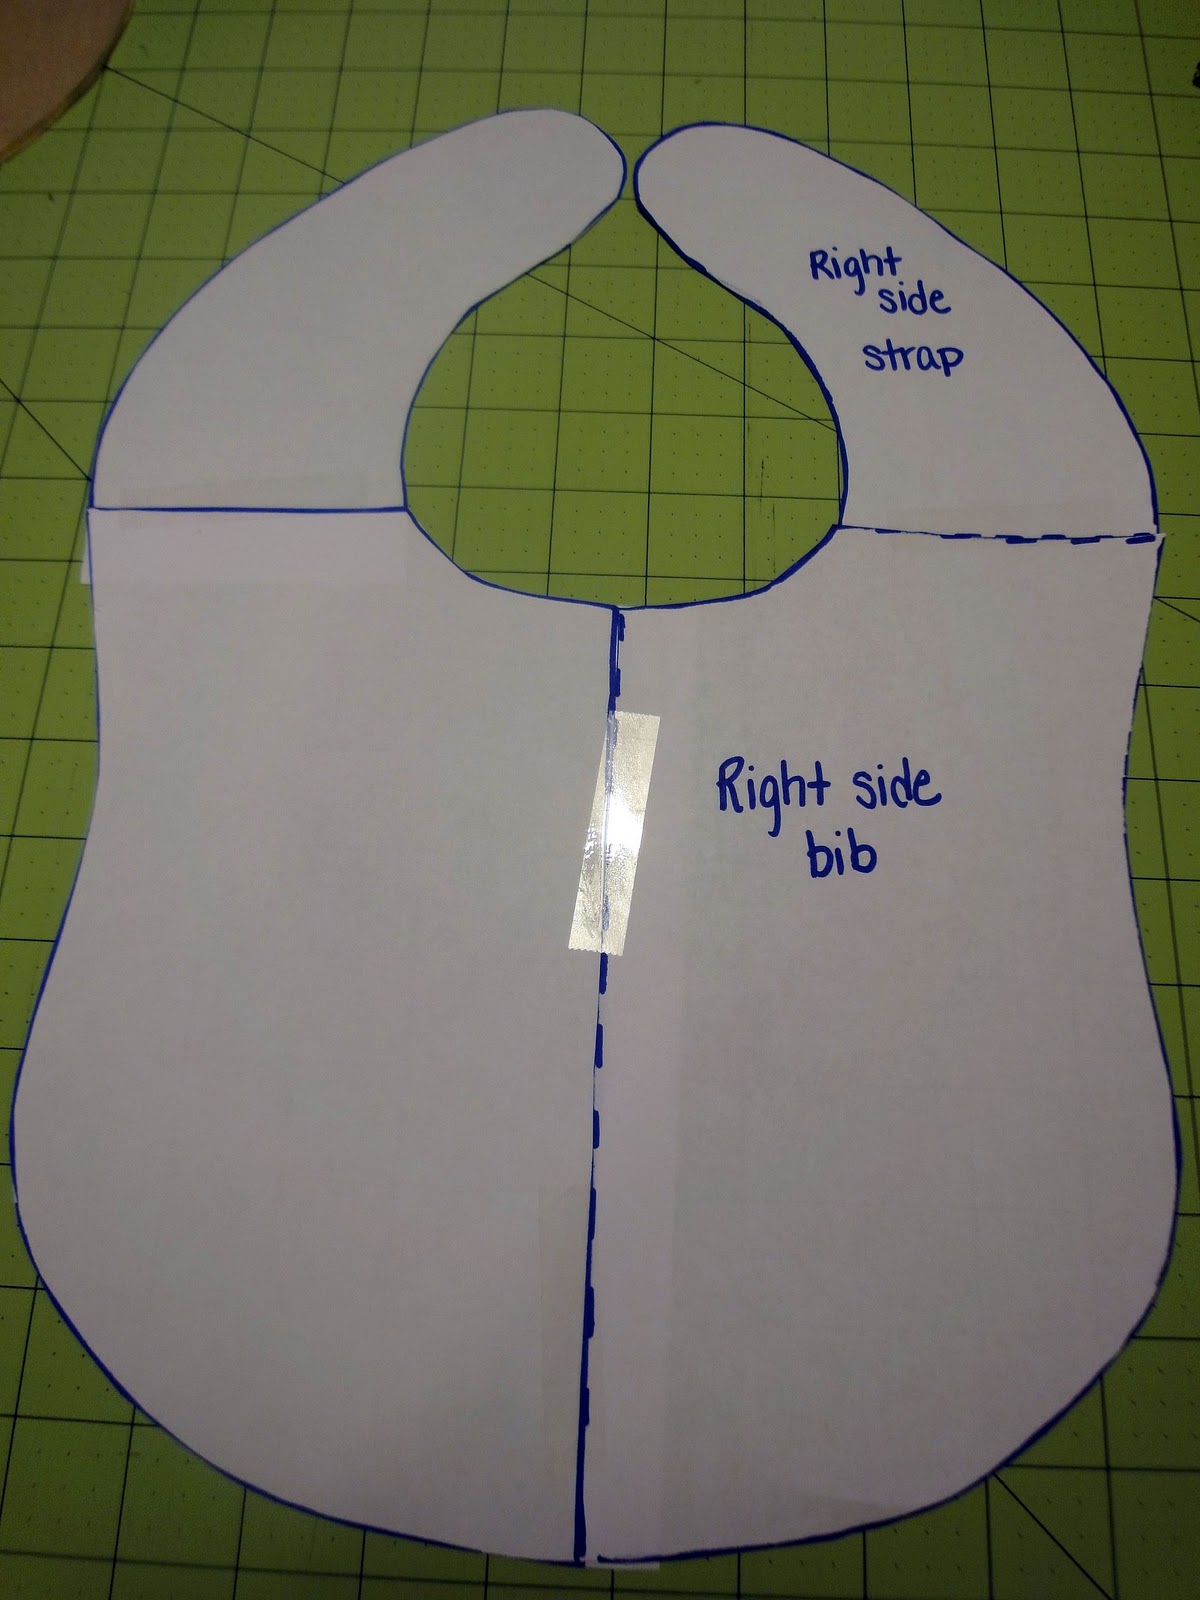
1. First, download the bib pattern here and here.

Pattern and cut steps:

2. Then, cut out the pieces.

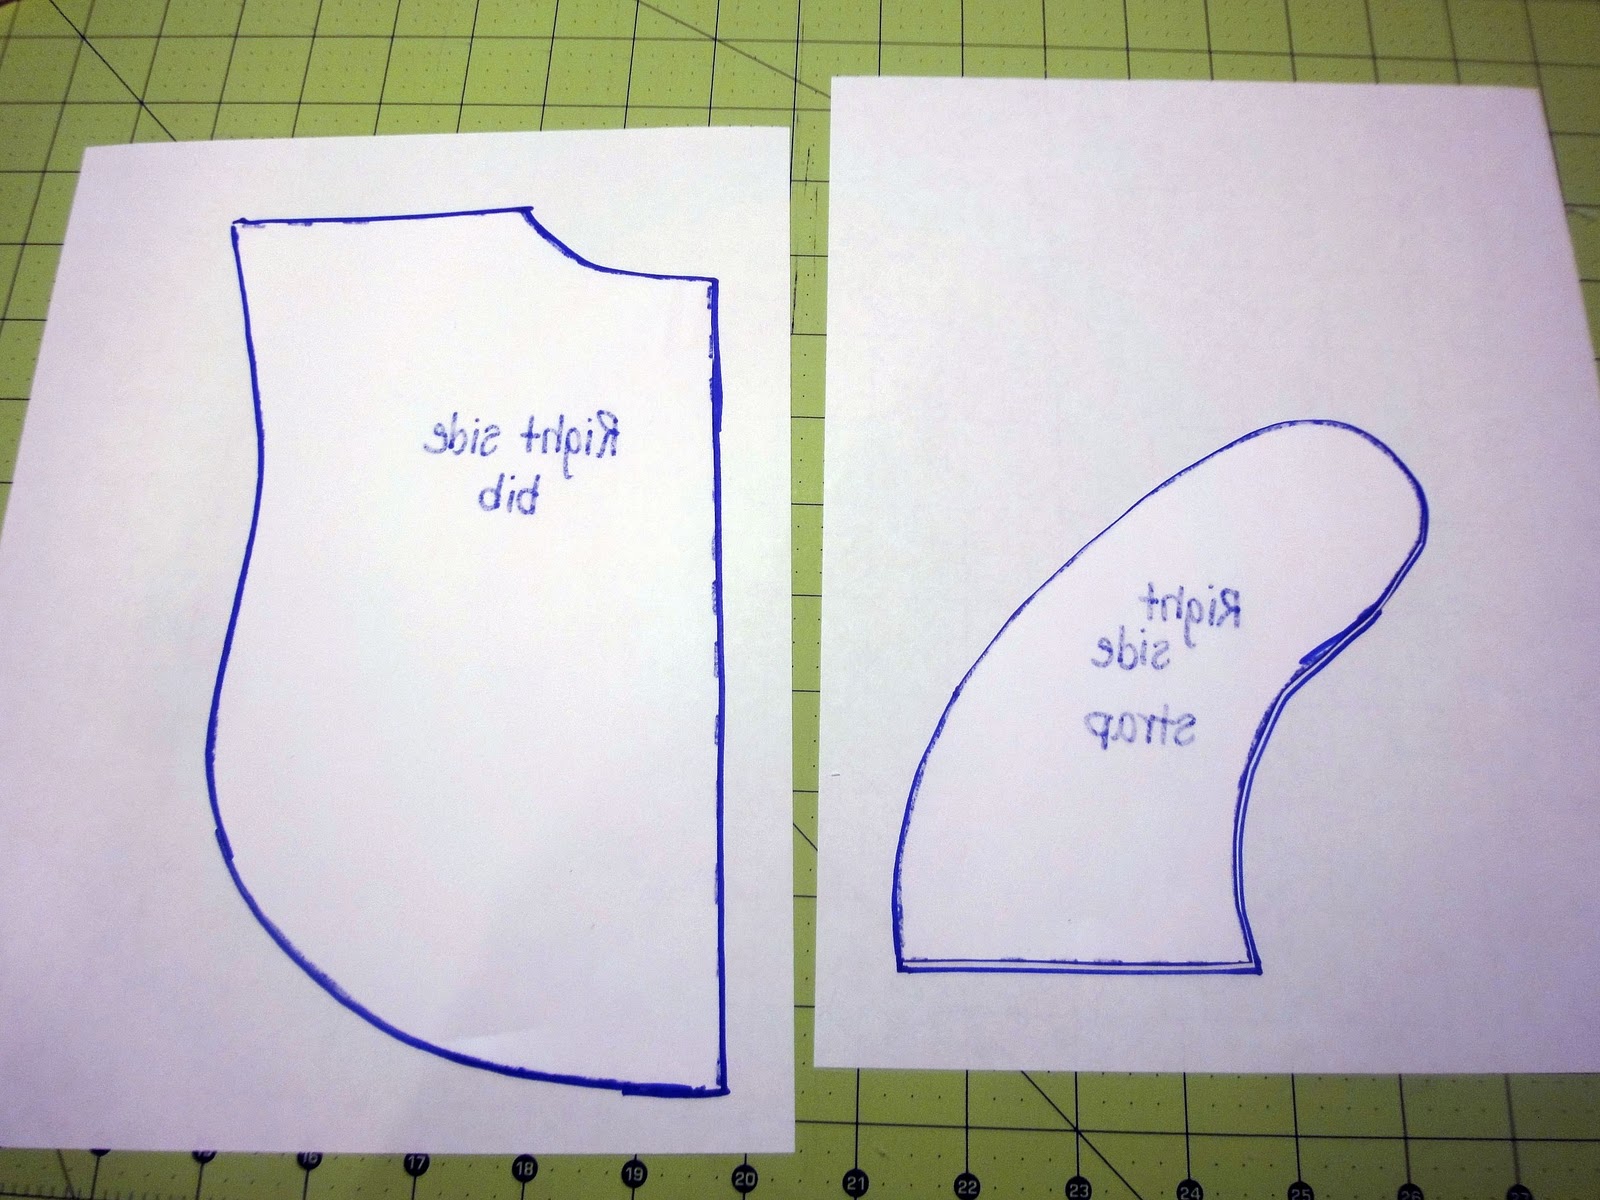
3. Next, trace the pieces backwards onto separate sheets of paper.

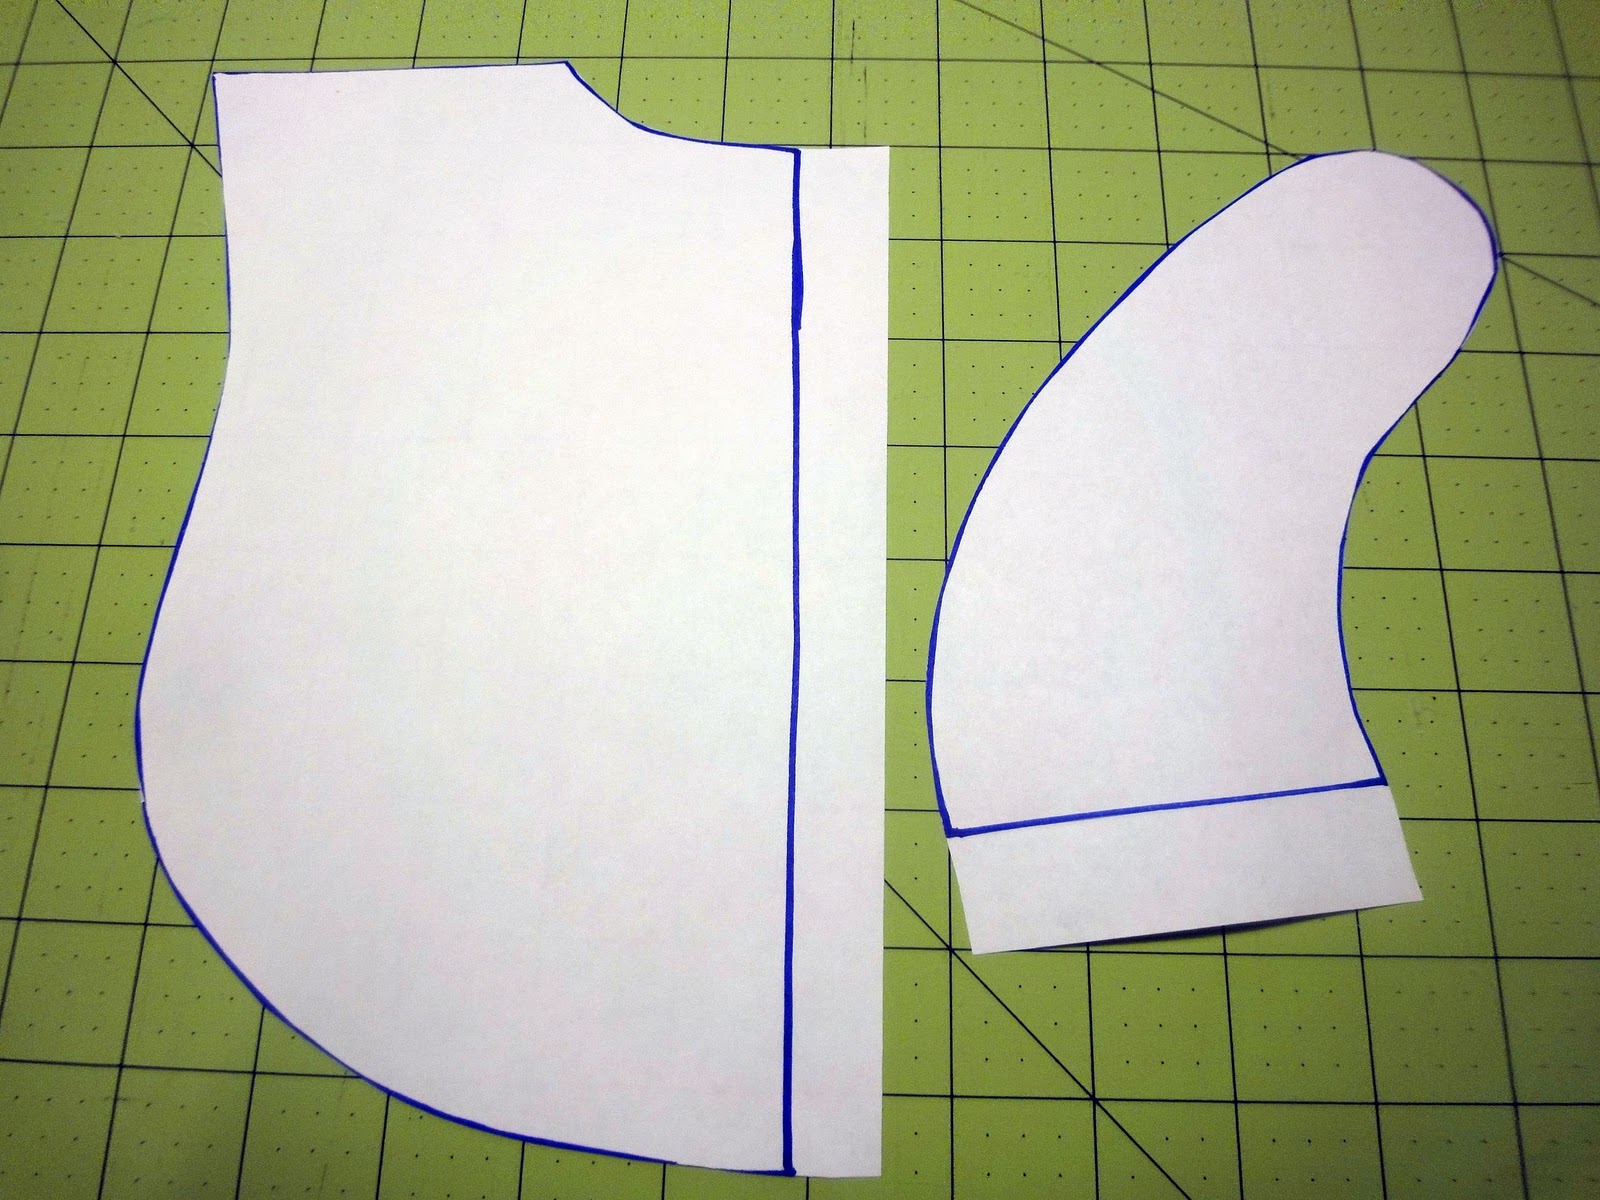
4. Cut out the second pattern pieces except leave a small tab on the side of the bib piece and the bottom of the strap piece (shown below).

5. Then, tape together your bib pattern piece.

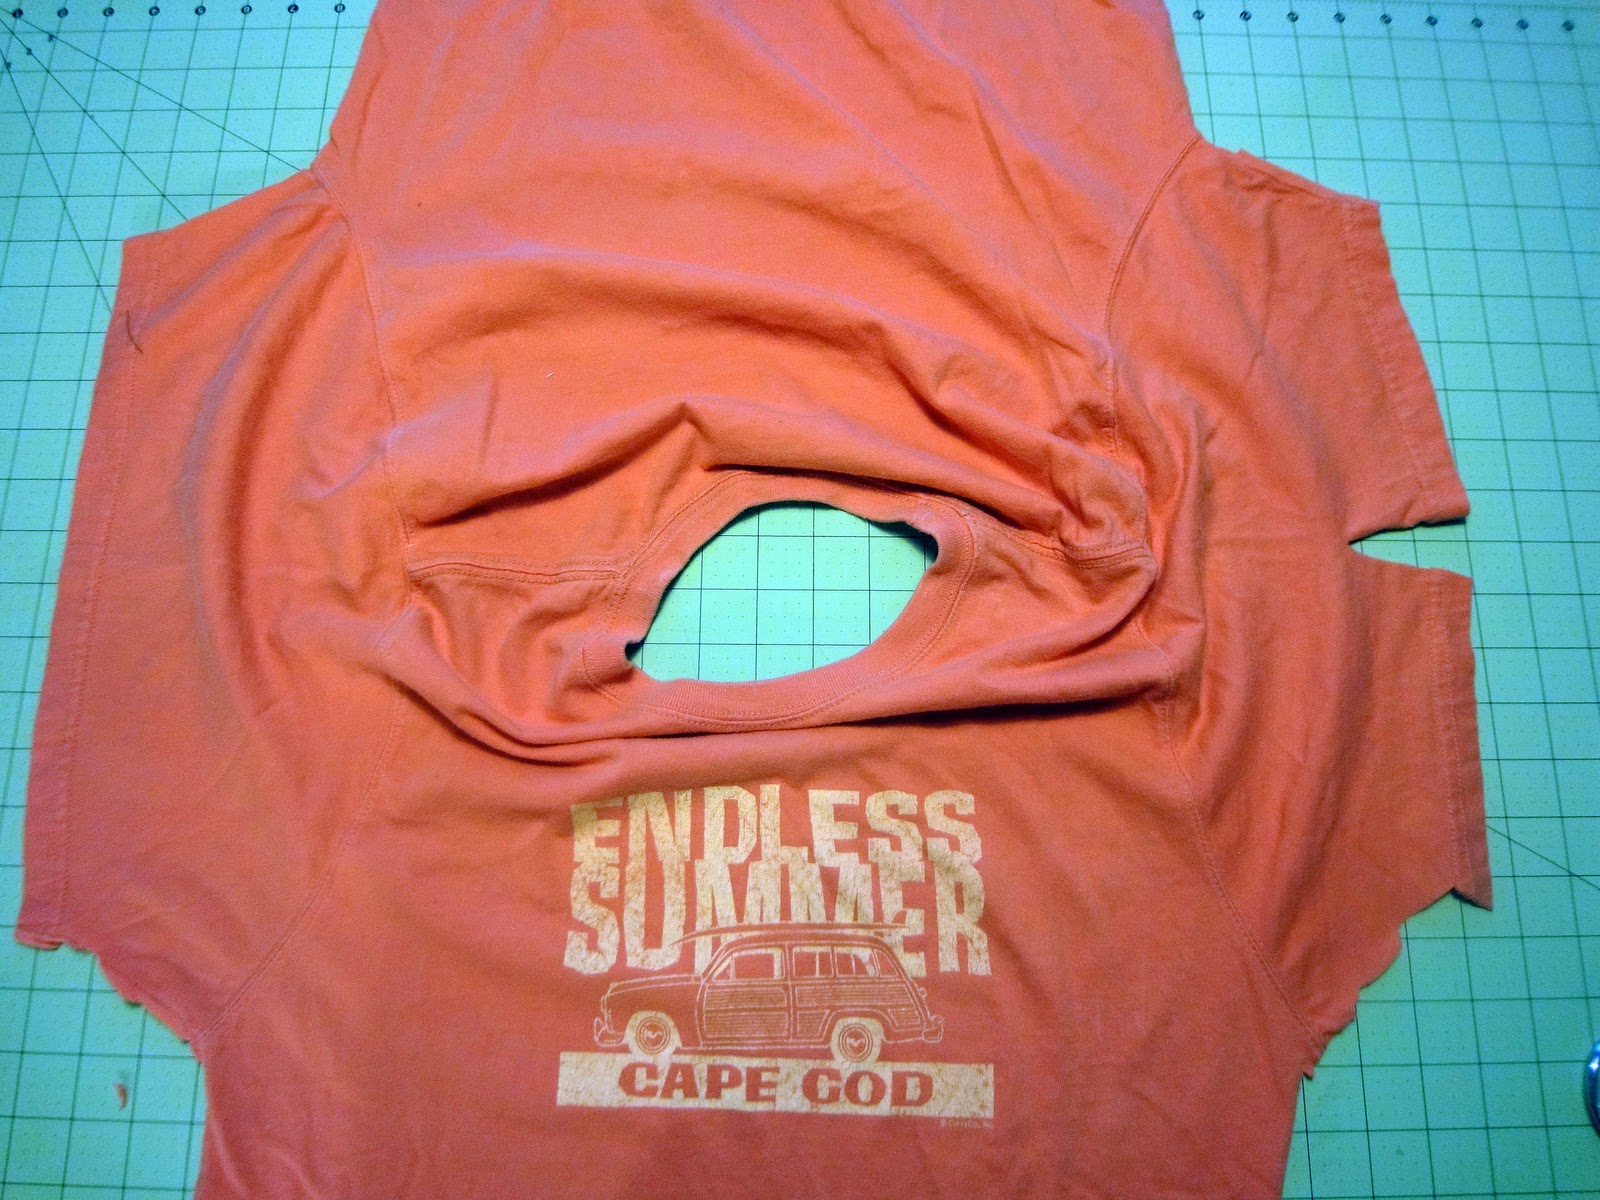
6. Cut your t-shirt down the side seams and lay it open on the table.

Do the same if you’re using a toddler shirt. I usually look for 3T or 4T at the thrift store.

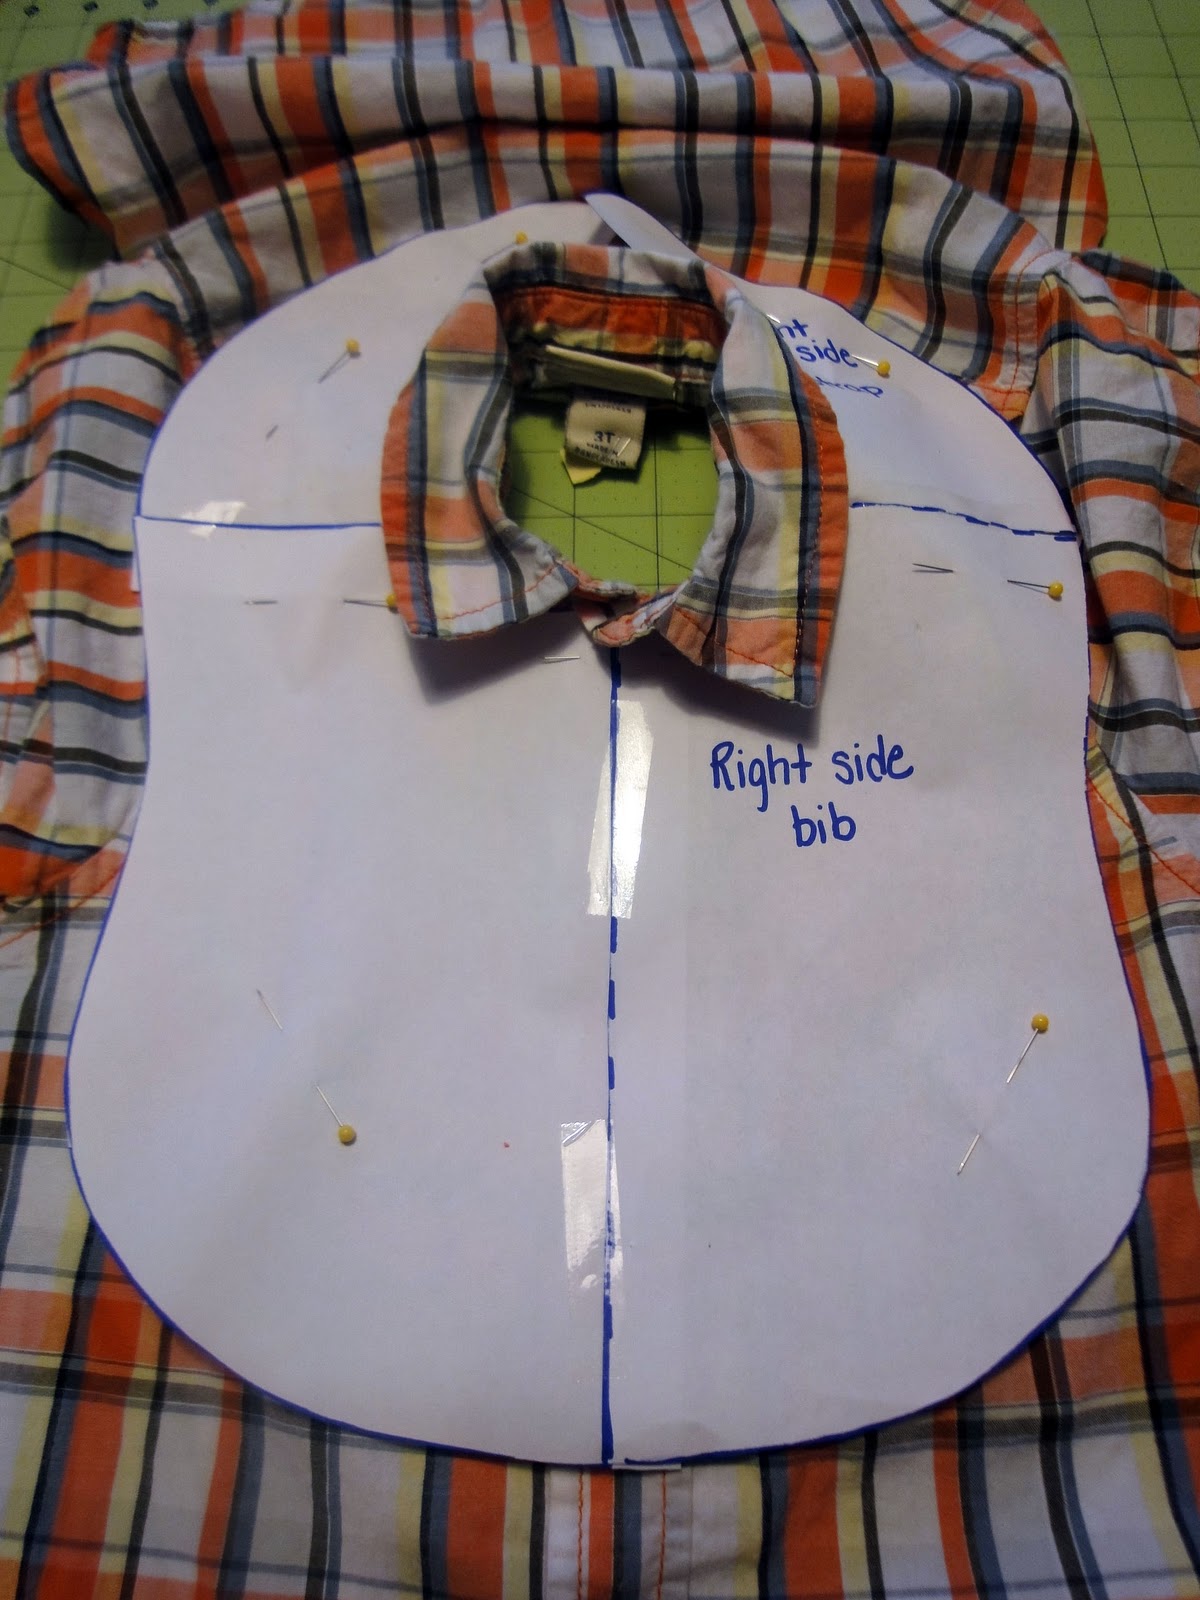
7. Place your pattern piece over the graphic you want to capture.
{You will have to fudge with the strap pieces. It seems that neck holes on adult tees are too big, so the strap ends up a little thinner than the pattern piece. This is upcycling after all!}

With the toddler shirt, be sure cut around the collar.
Also, cut at least 3/4″ above and below any buttons so you don’t have to worry about sewing over them to finish the bib later.

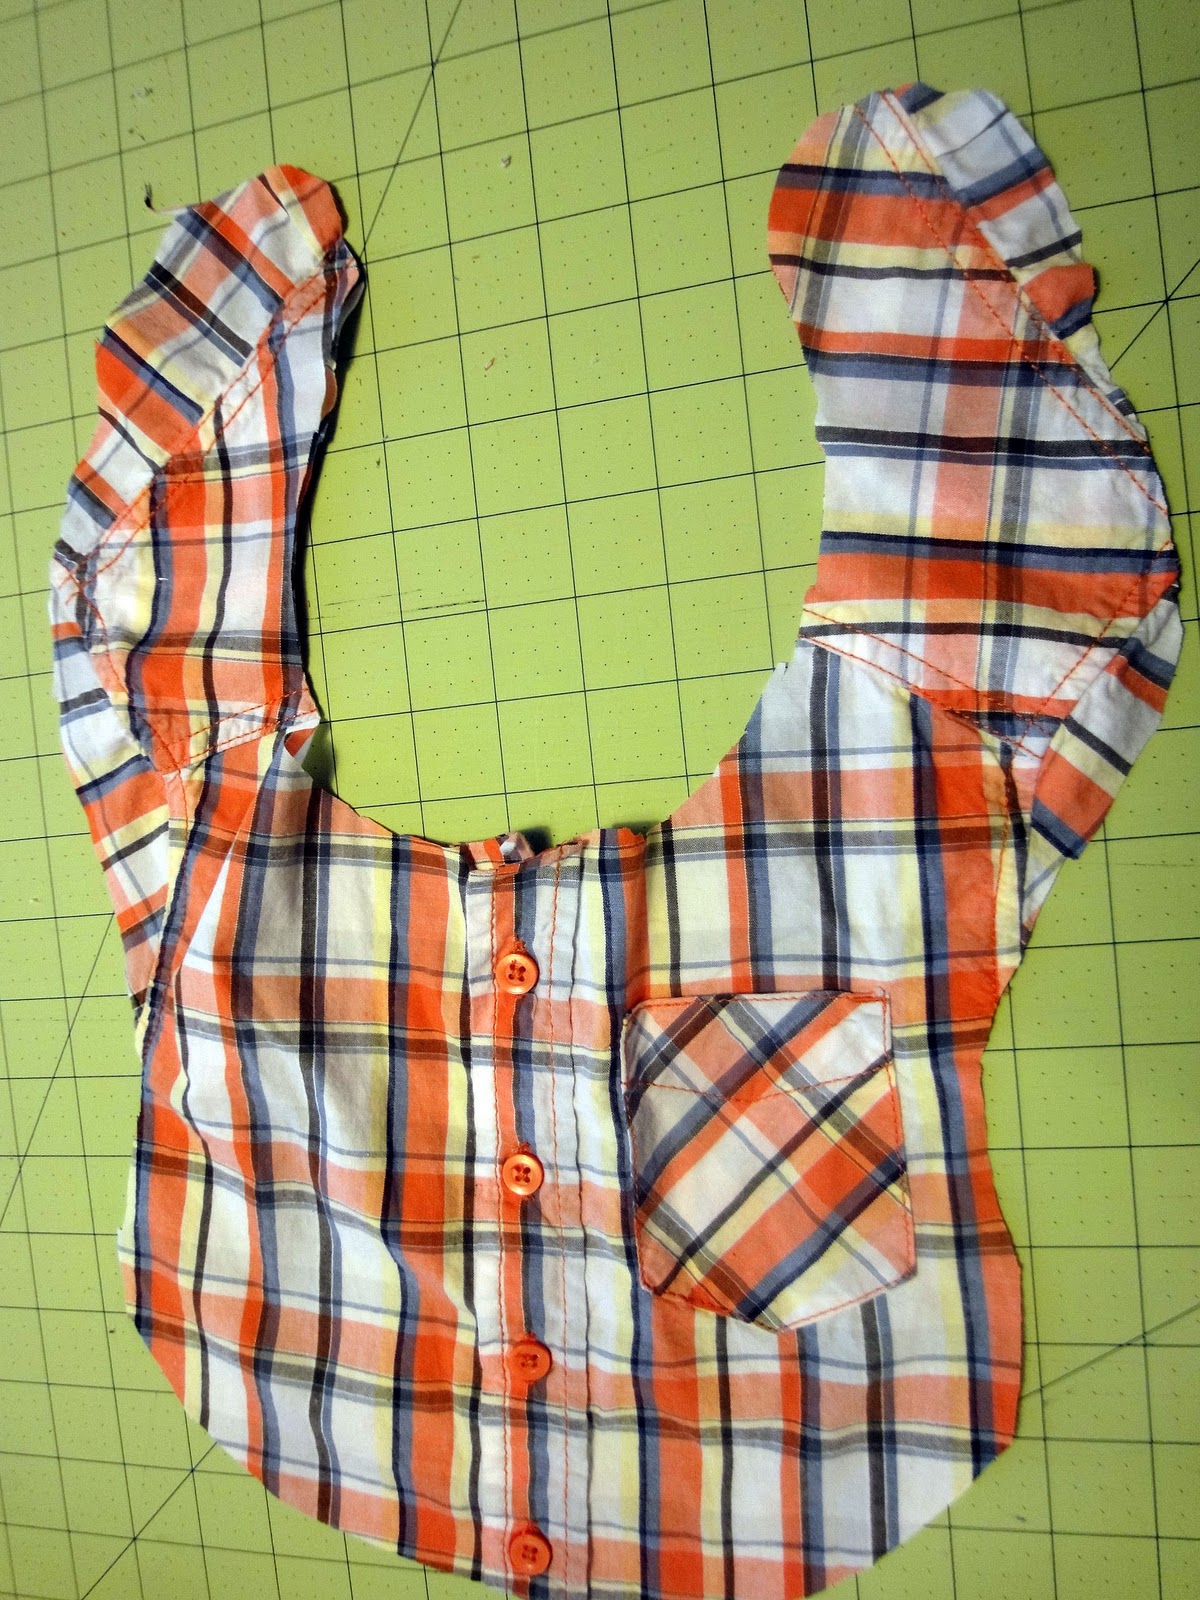
8. Now, cut your bib out.
{Just do your best to shape the straps}

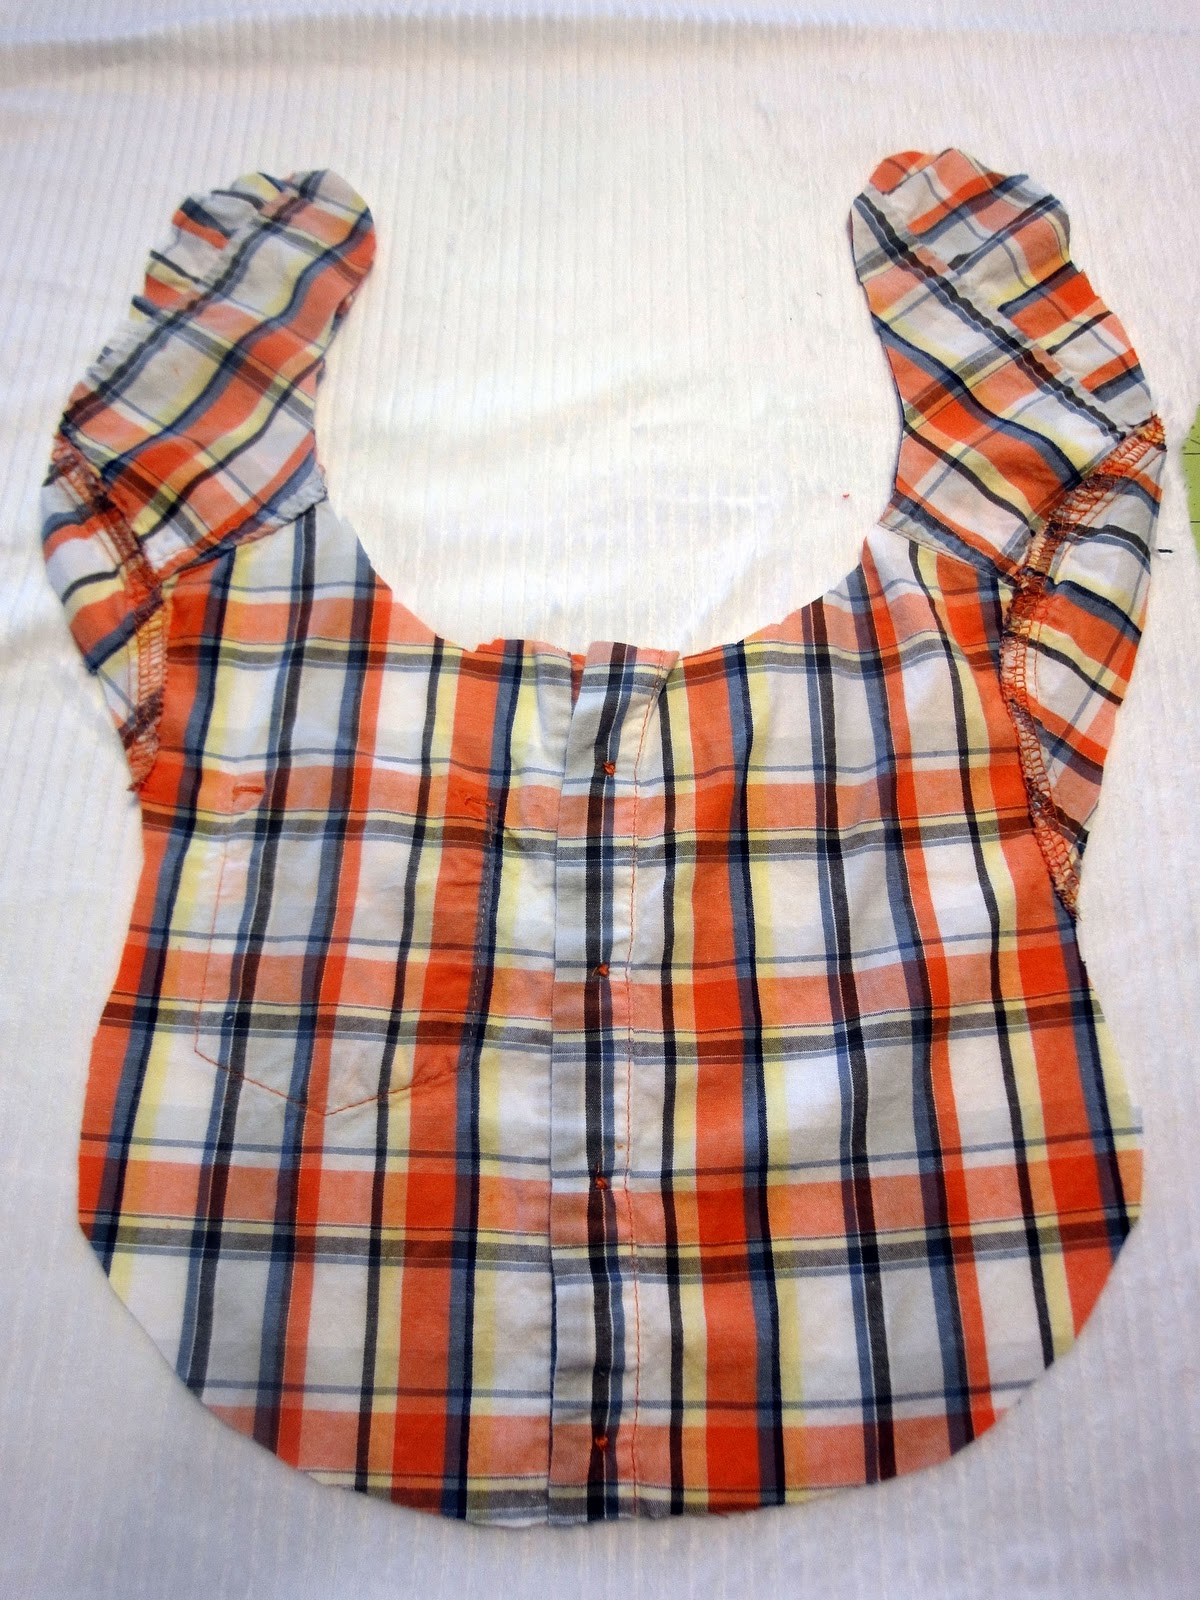
9. Next, use your shirt as the pattern piece to cut out the back of your bib.
Lay your bib upside down on top of the fabric you choose for the bib back, pin, and cut. I use the super soft minky chenille you can find at fabric stores. SO SOFT!

Sewing Steps:

10. Keeping the right sides together of your two pieces, sew with a 1/4″ seam allowance all the way around. Leave a small opening on the side of the bib to turn it inside out.

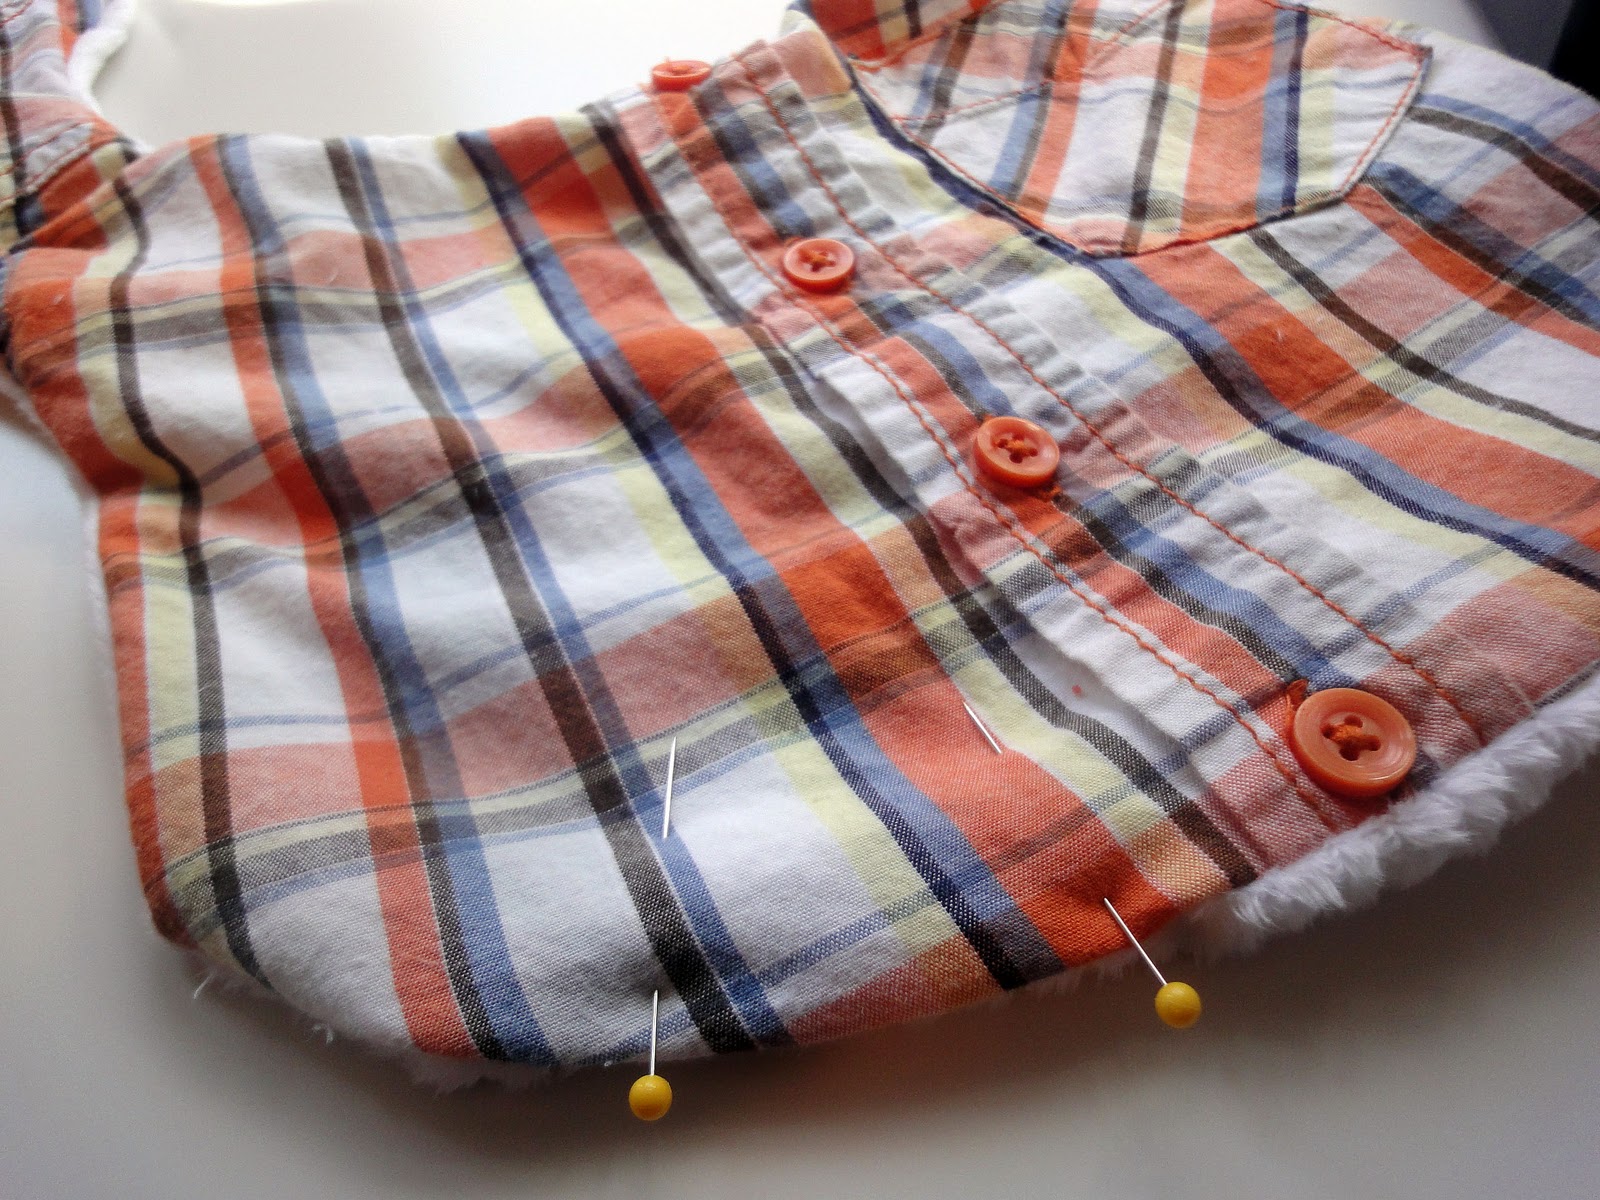
11. Turn your bib inside out and press out the seams.
Fold the opening in and pin it shut.

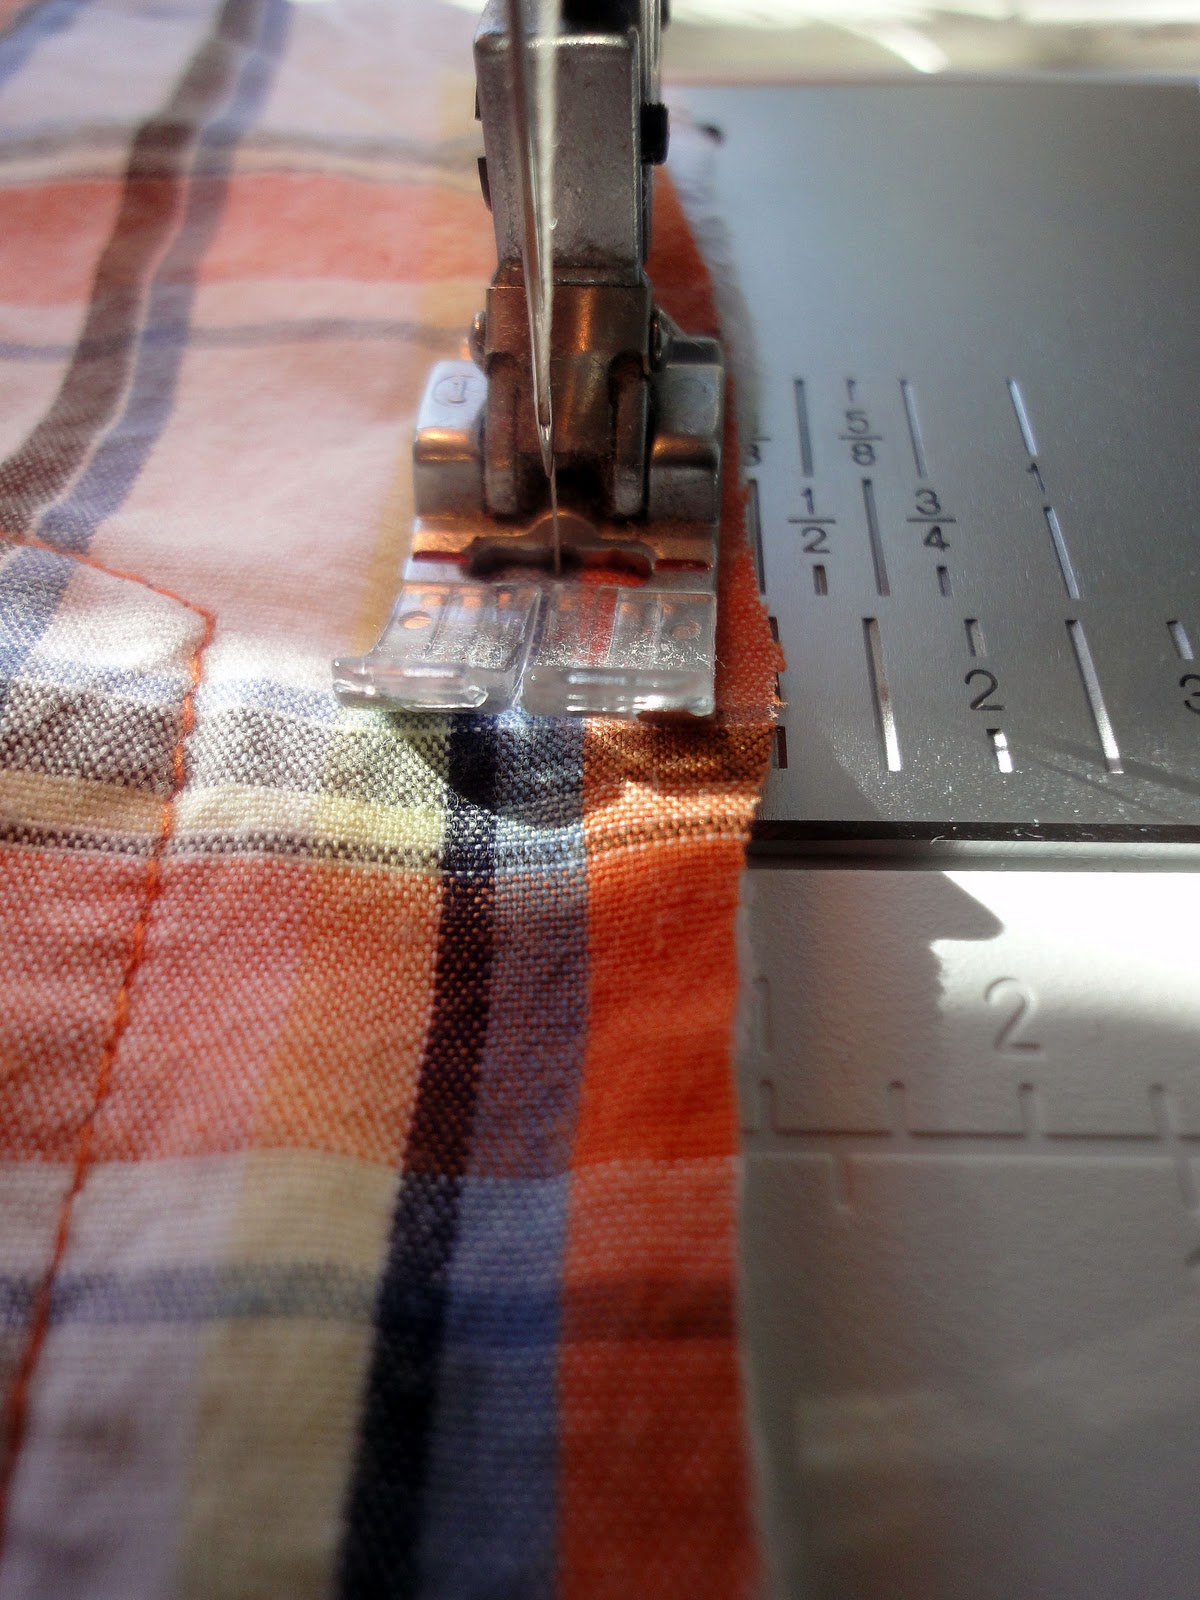
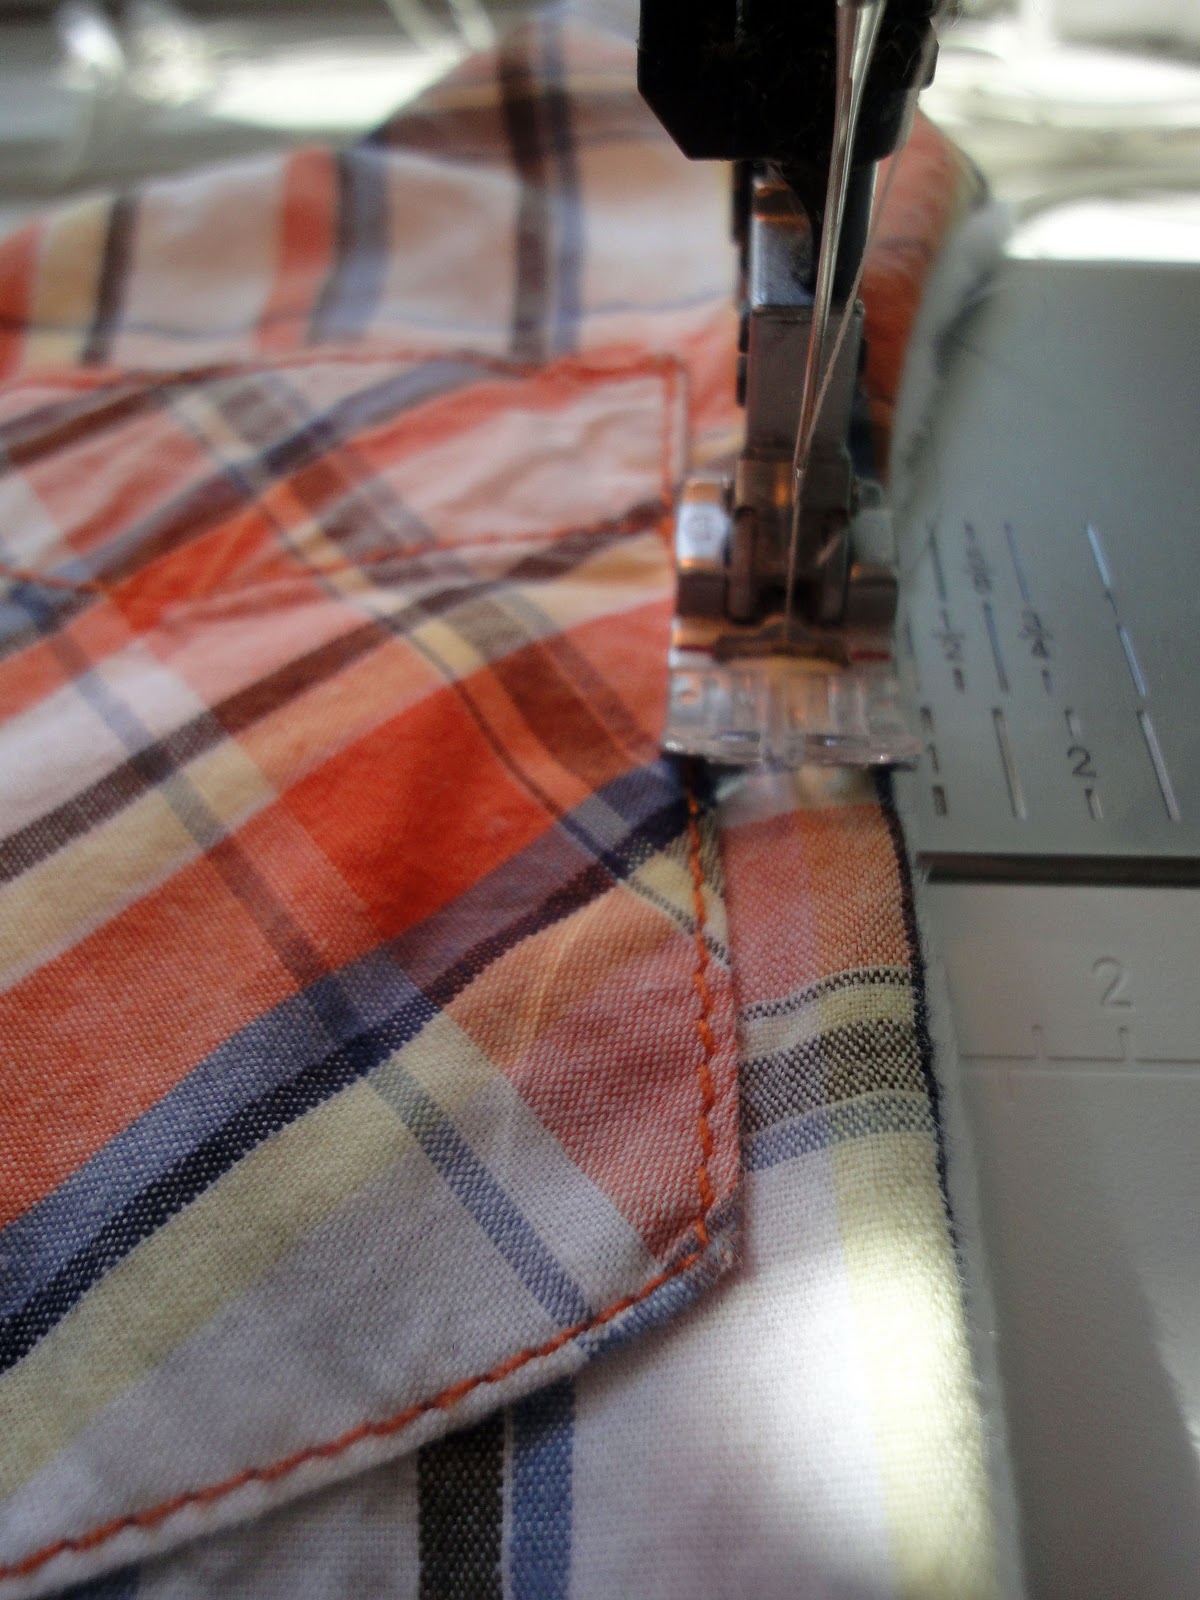
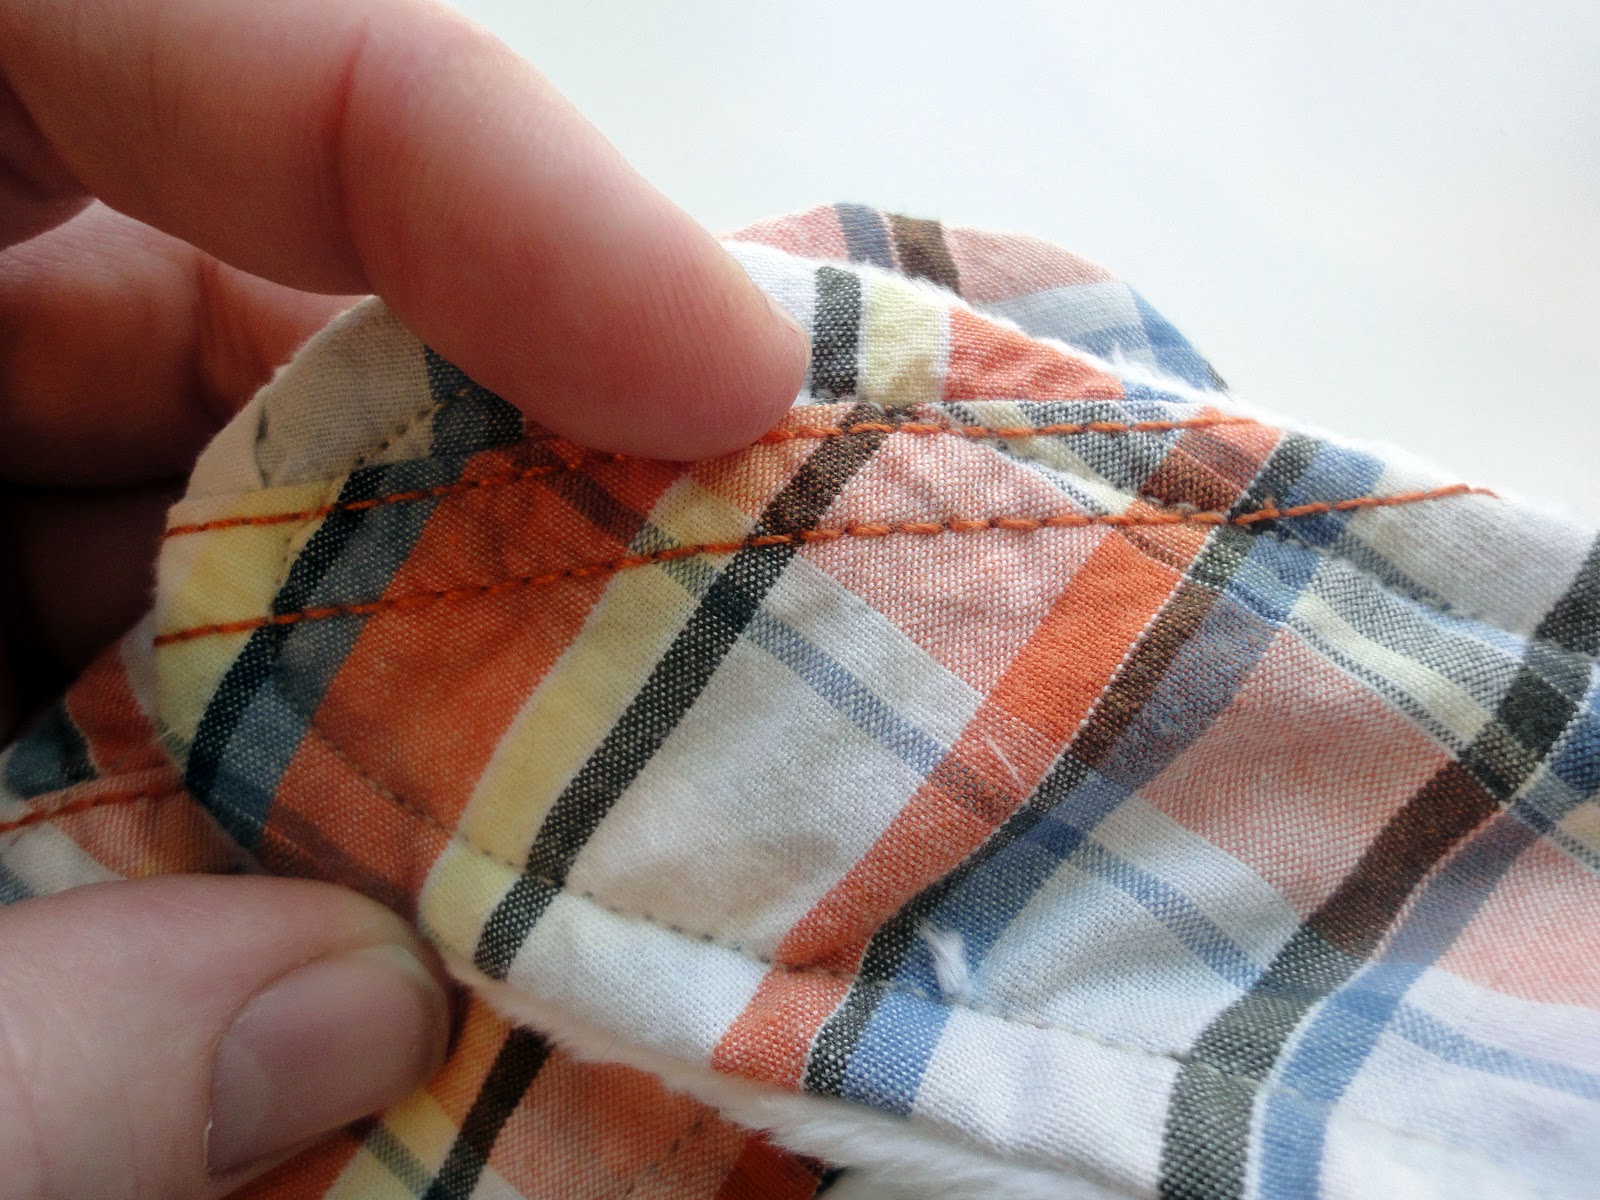
12. Next, sew around the entire bib with a 1/4″ seam allowance.
This is where you need to be careful of buttons getting in the way.

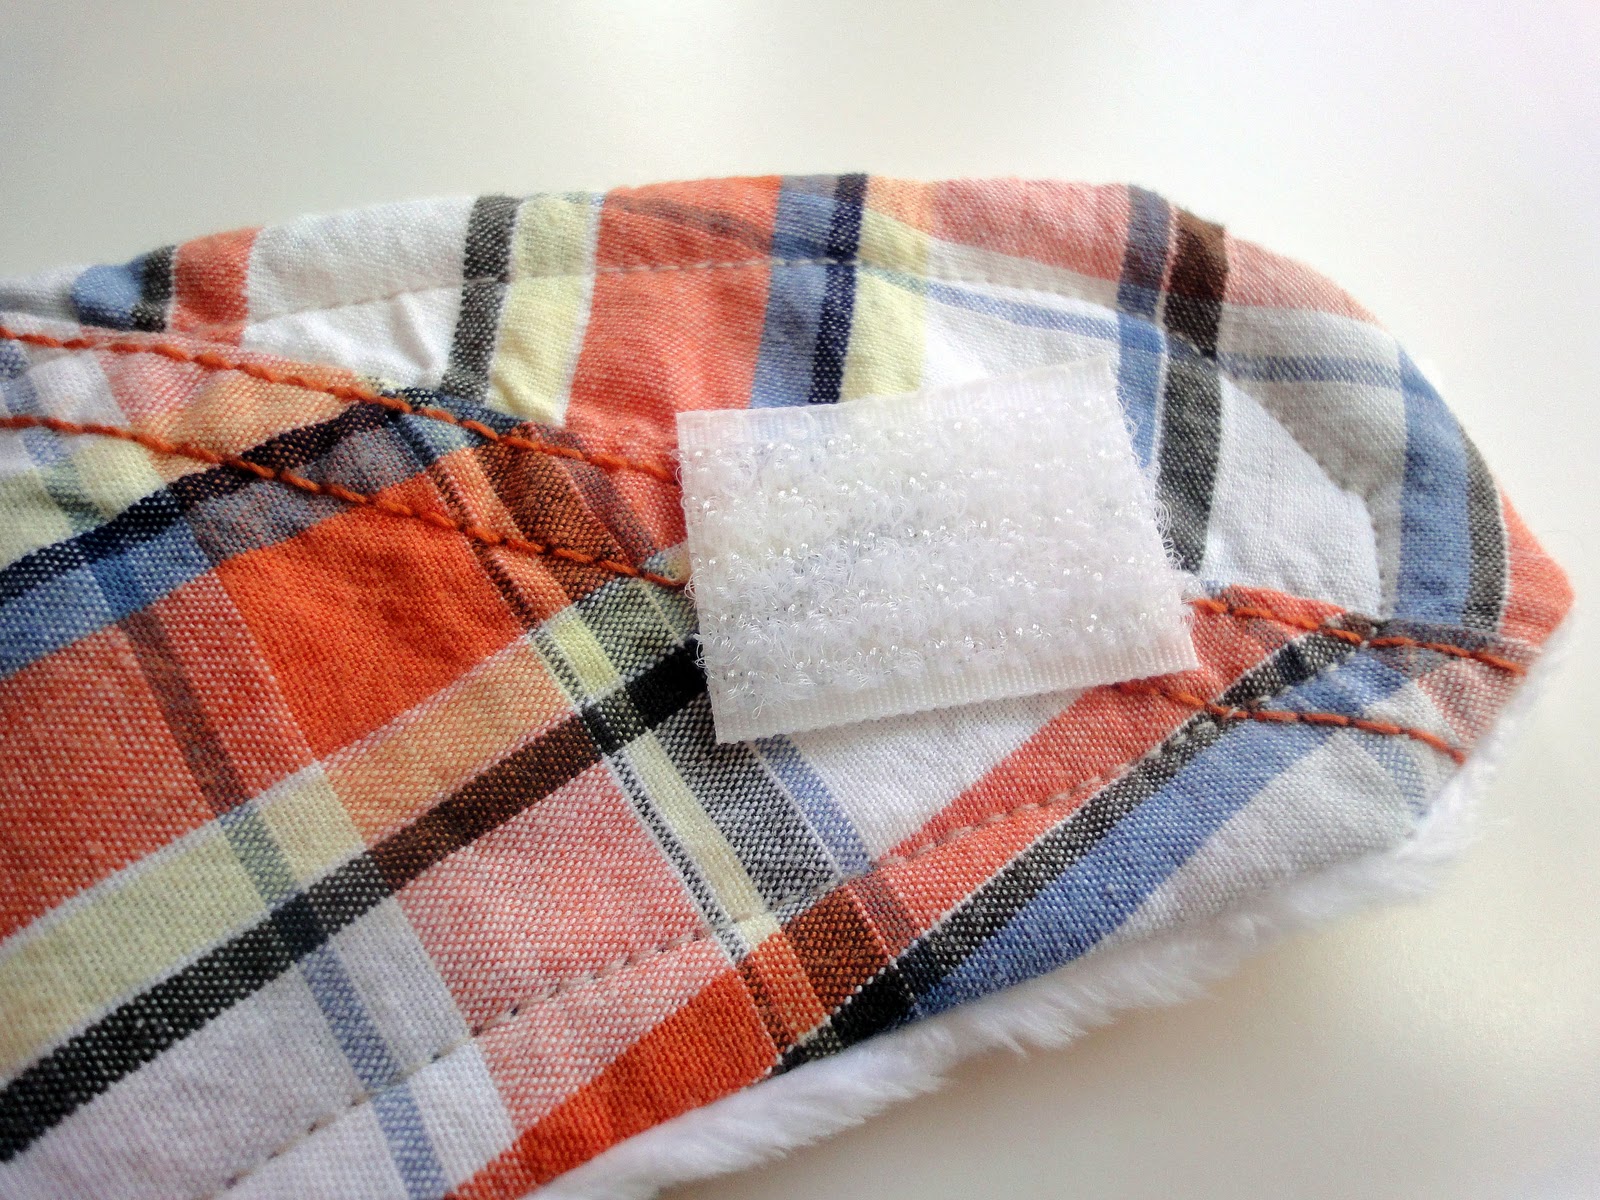
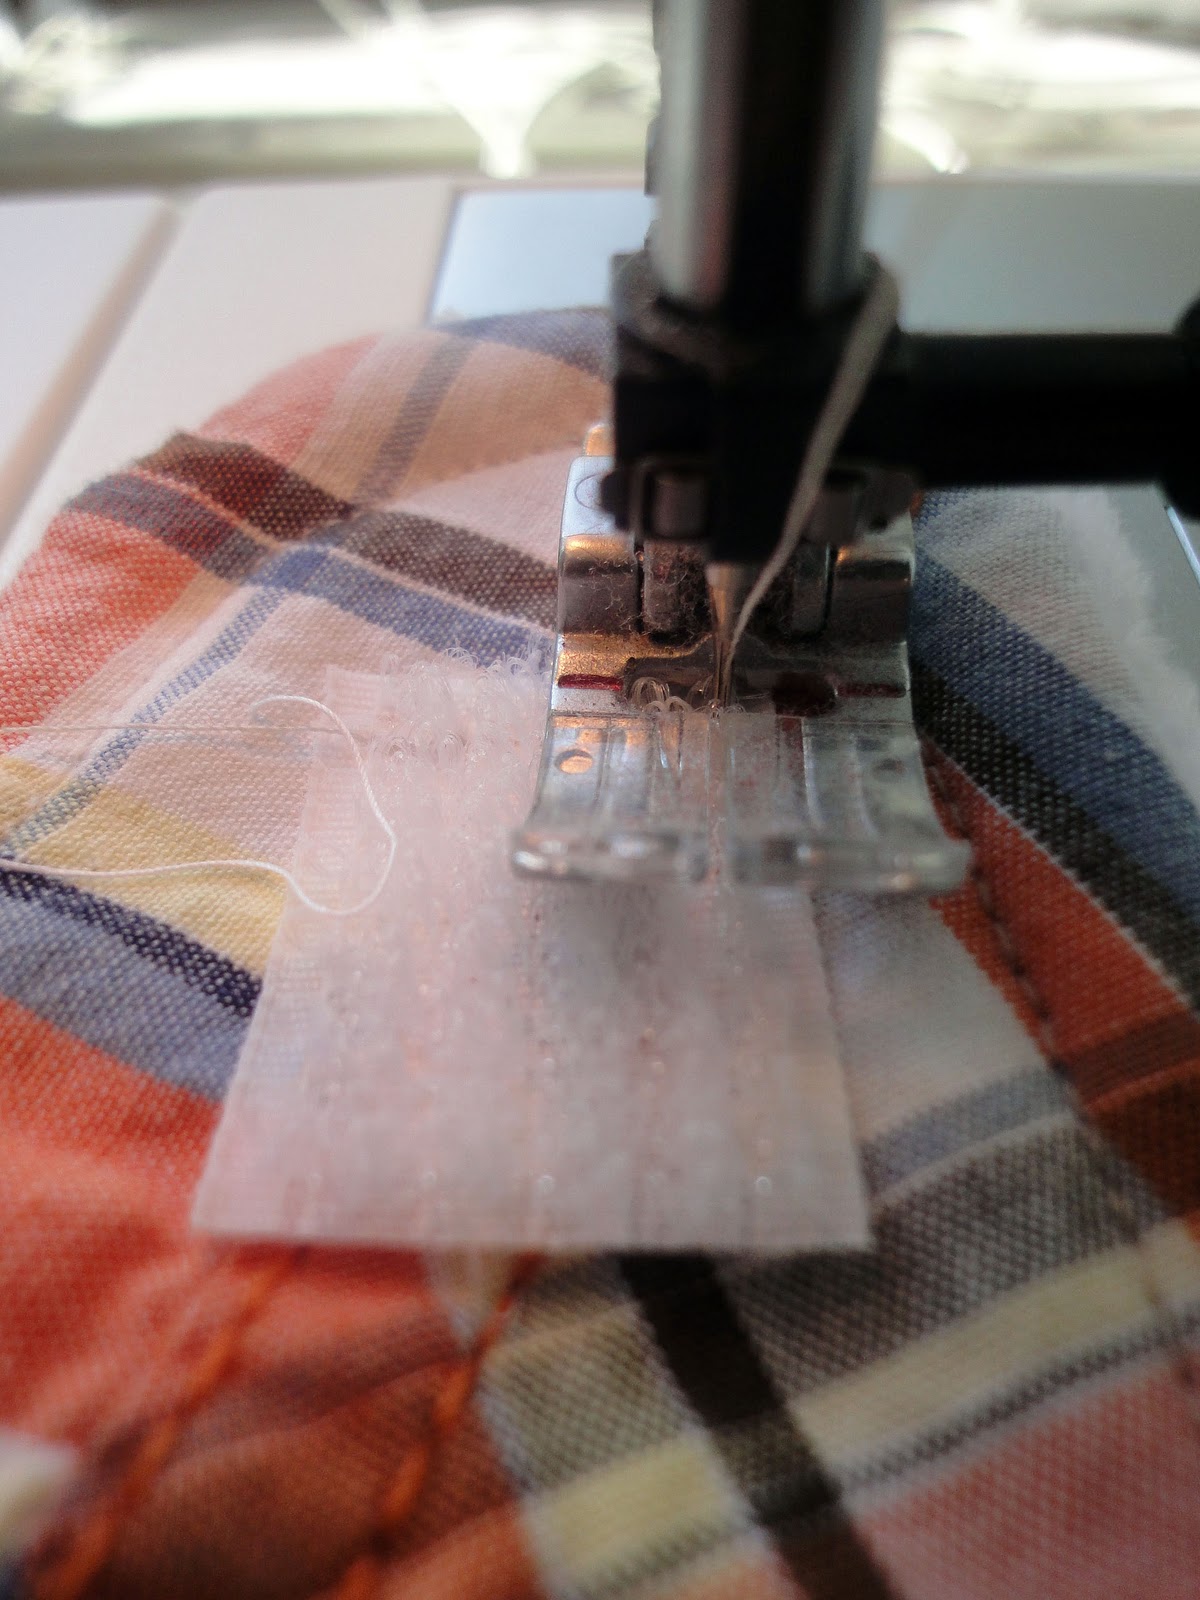
13. Cut a small strip of velcro and place it on the shirt side of one strap.

14. Then, sew around the edges of the velcro.

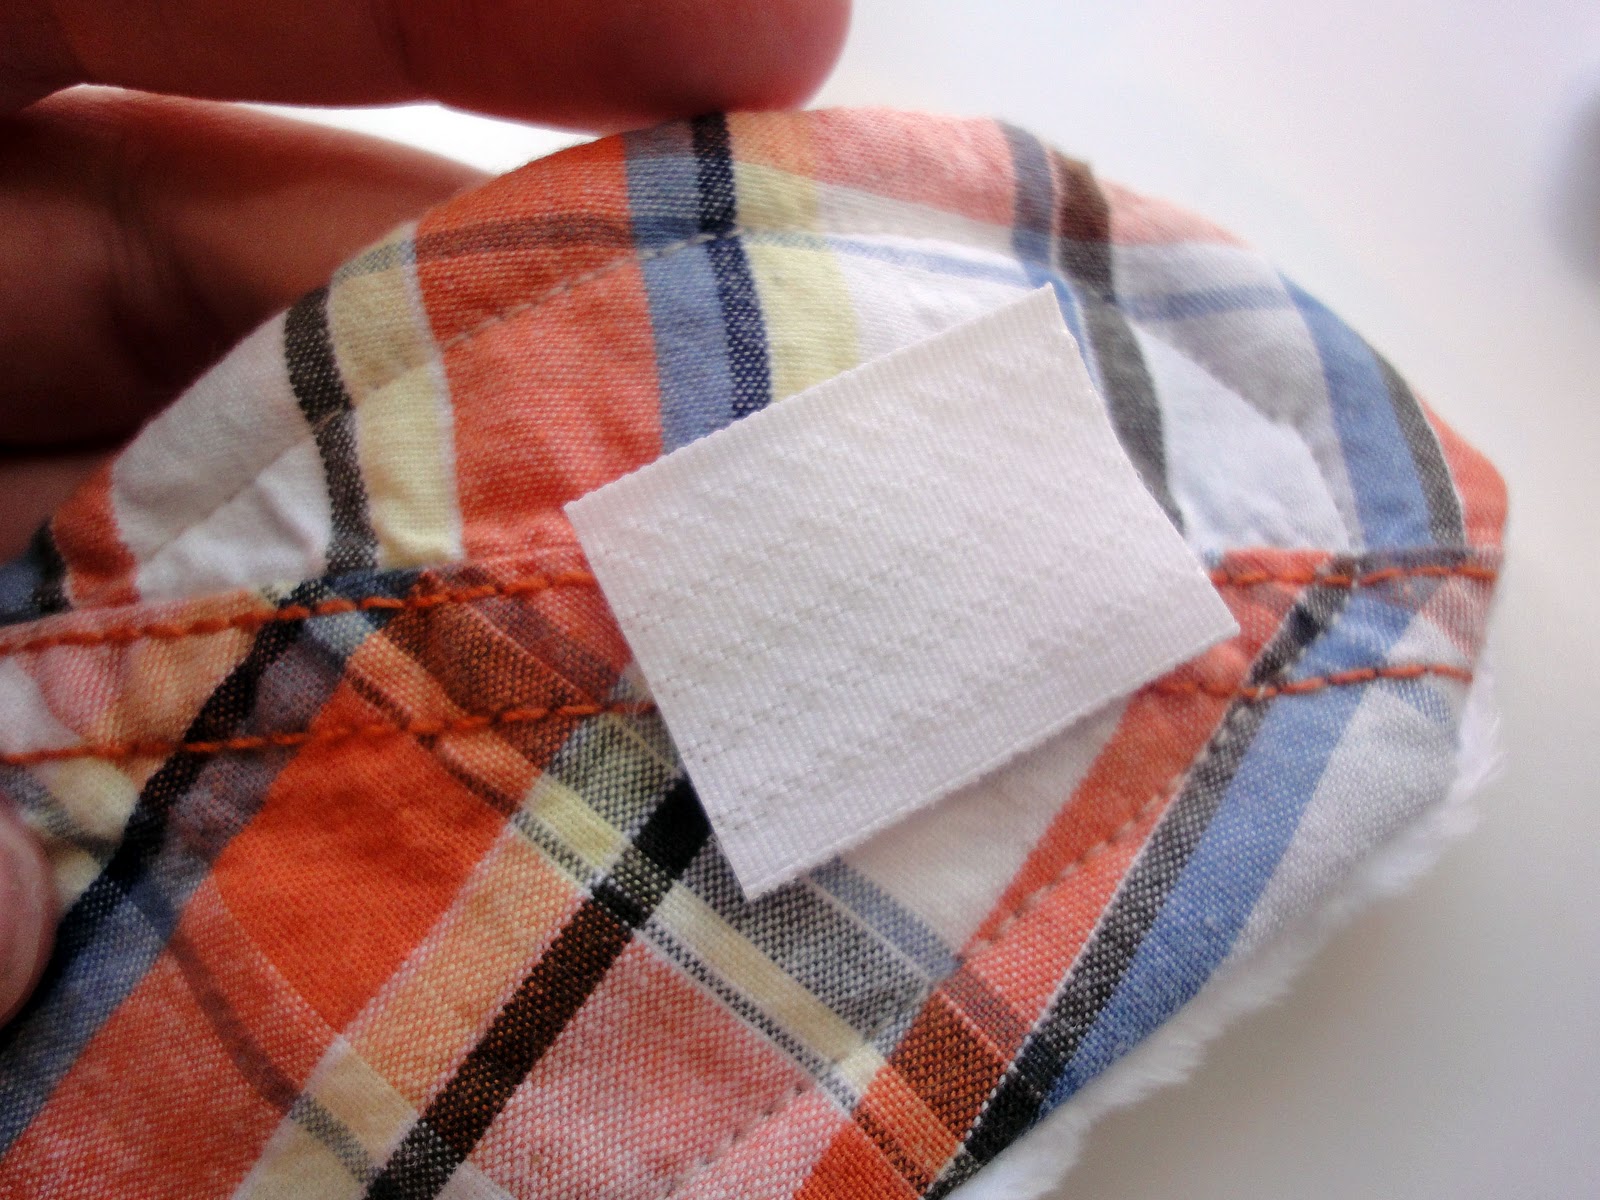
15. Place the other half of the velcro on top of the one you just sewed.

16. Overlap your straps and peel off the second piece of velcro (keeping it in place on the second strap of the bib). Sew this piece of velcro on like you did the first.

17. You’re shirt bib is done!

These make such great baby gifts!
Please use this tutorial for personal use only. Do not sell these bibs.

Come visit me to find lots of tutorials like…

Feature Friday-Blog Swap with Sugar Bee Craft Edition

October 15, 2010 By Michelle Barneck Leave a Comment

Hello A Little Tipsy readers!! I’m excited to be here. I am Mandy from over on Sugar Bee Craft Edition. The obligatory clickable button insert:

I am lucky to stay home with my four kids and enjoy all the fun that comes with it. I also (obviously!) love crafts and creating. Here’s a couple of pictures of the whole gang from our recent vacation:

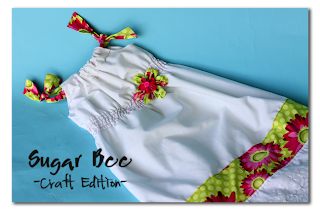
I’ve been blogging on my craft blog for about a year and half now, and it just keeps growing. I feel that if I can do something, you can too, so a lot of my posts are tutorials. I do a lot more than crafts (although plently of those!) – – I especially love easy sewing projects, like this Shirred Pillowcase Dress.

I love making glass tile pendants and made some with pictures and even clipart using the school mascot (perfect gifts for grandmas and teachers!)

I love to feature favorite recipes of mine, like my go-to treat whenever it’s potluck: Furnkies!

I also dabble in photography and photoshop elements tips – I’m not an expert, but I like to share what I know, like how to get that “blurry background” look from your pictures.

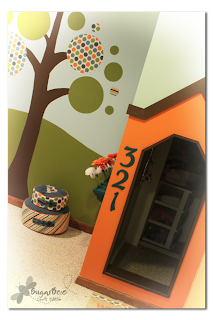
And I did a whole redo of our basement and created a great Playroom all centered around the wall tree that turned out perfect – I LOVE it all!!

Also, I have a link party on Tuesdays called Take-A-Look Tuesday – – where YOU can link up what you’ve been working on – I love checking out all the fun ideas and projects.

Michelle has a few questions, so let’s do that:

  • What is your favorite crafting tool or secret weapon? – sewing machine, for sure. I love all crafts but always come back to sewing. Although I have been into Mod Podge lately (I even did a pair of shoes…)
  • What were you for Halloween last year? – I bought this weird hooped polka-dot outfit thing from a garage sale – after pouring myself into it and wearing it for the evening, I realized that it was kid-sized and passed it on to a delighted 8 year old…
  • What is on your nightstand? – I’m pretty boring- just scriptures and an alarm clock. I’m hoping to spruce up my nightstands a bit and then maybe they’ll be more exciting…..

I hope you’ll swing by and see me in my part of the blog world. Thanks for letting me pop on over here!

P.S. Don’t forget to sign up for free Tipsy updates via RSS or email.
We have decided to truncate our feed to help protect against stolen content. I apologize for any inconvenience. Please love us anyway. 🙂
« Previous Page
Next Page »

  • Bloglovin
  • Facebook
  • Google+
  • Instagram
  • Pinterest
  • RSS
  • Twitter

Hi there! I'm Michelle. Mother of three little boys and one little princess. Welcome to A Little Tipsy, a place for exploring creativity and sharing inspiration.

Follow on Bloglovin


Visit Michelle Barneck {A Little Tipsy}'s profile on Pinterest.

Tutorials by Category


15 Family Reunion Games

Family Reunion Games Collage

15 Sprinkle Party Ideas

Sprinkle Birthday Party
Creative Commons License

© Copyright 2014 A Little Tipsy · Site Designed by The Fairy Blogmother · Web Hosting by RFE Hosting

This website uses cookies to improve your experience. We'll assume you're ok with this, but you can opt-out if you wish.Accept Read More
Privacy & Cookies Policy