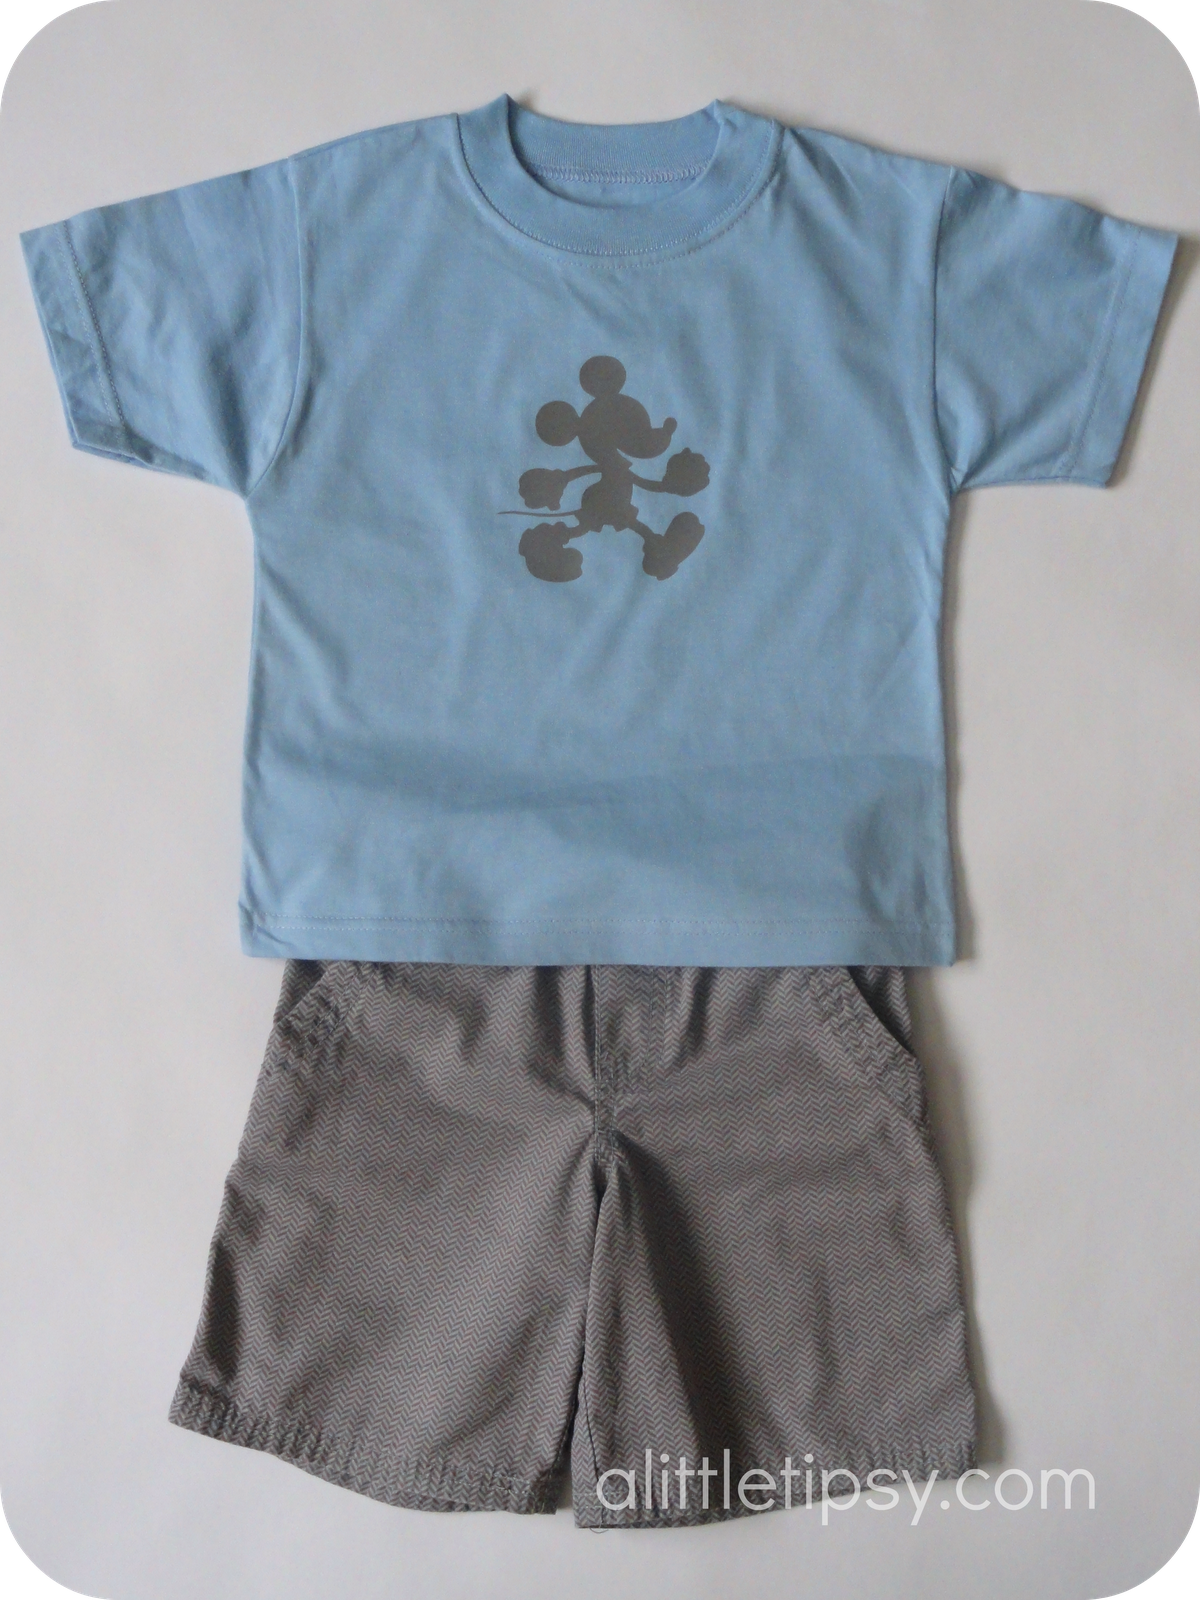
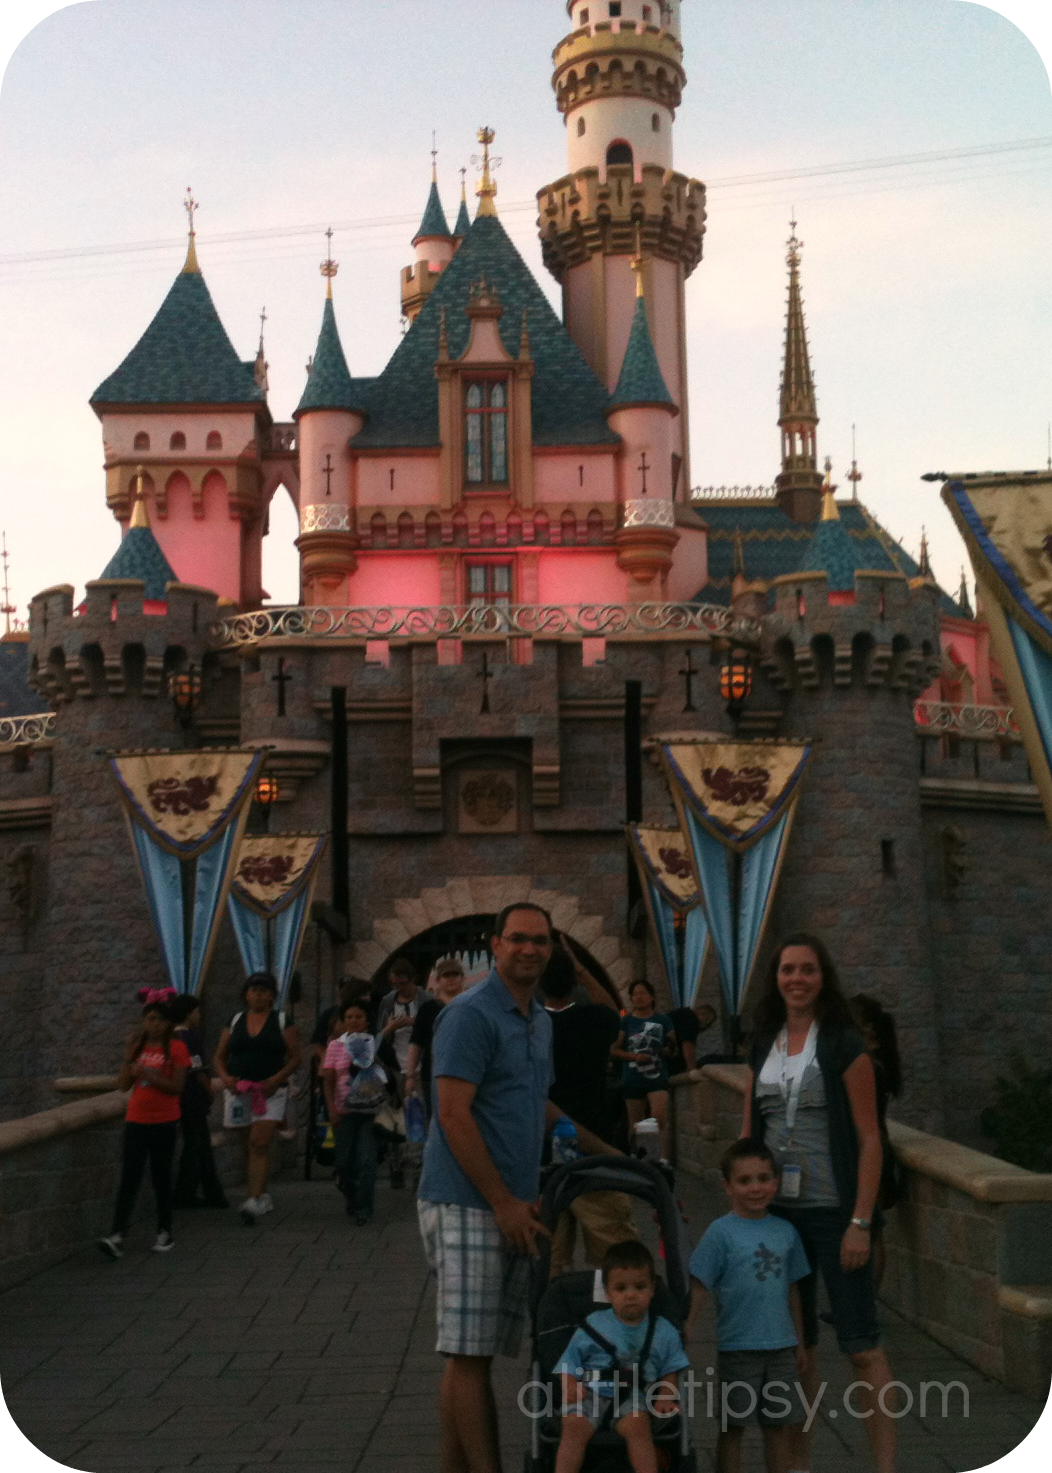
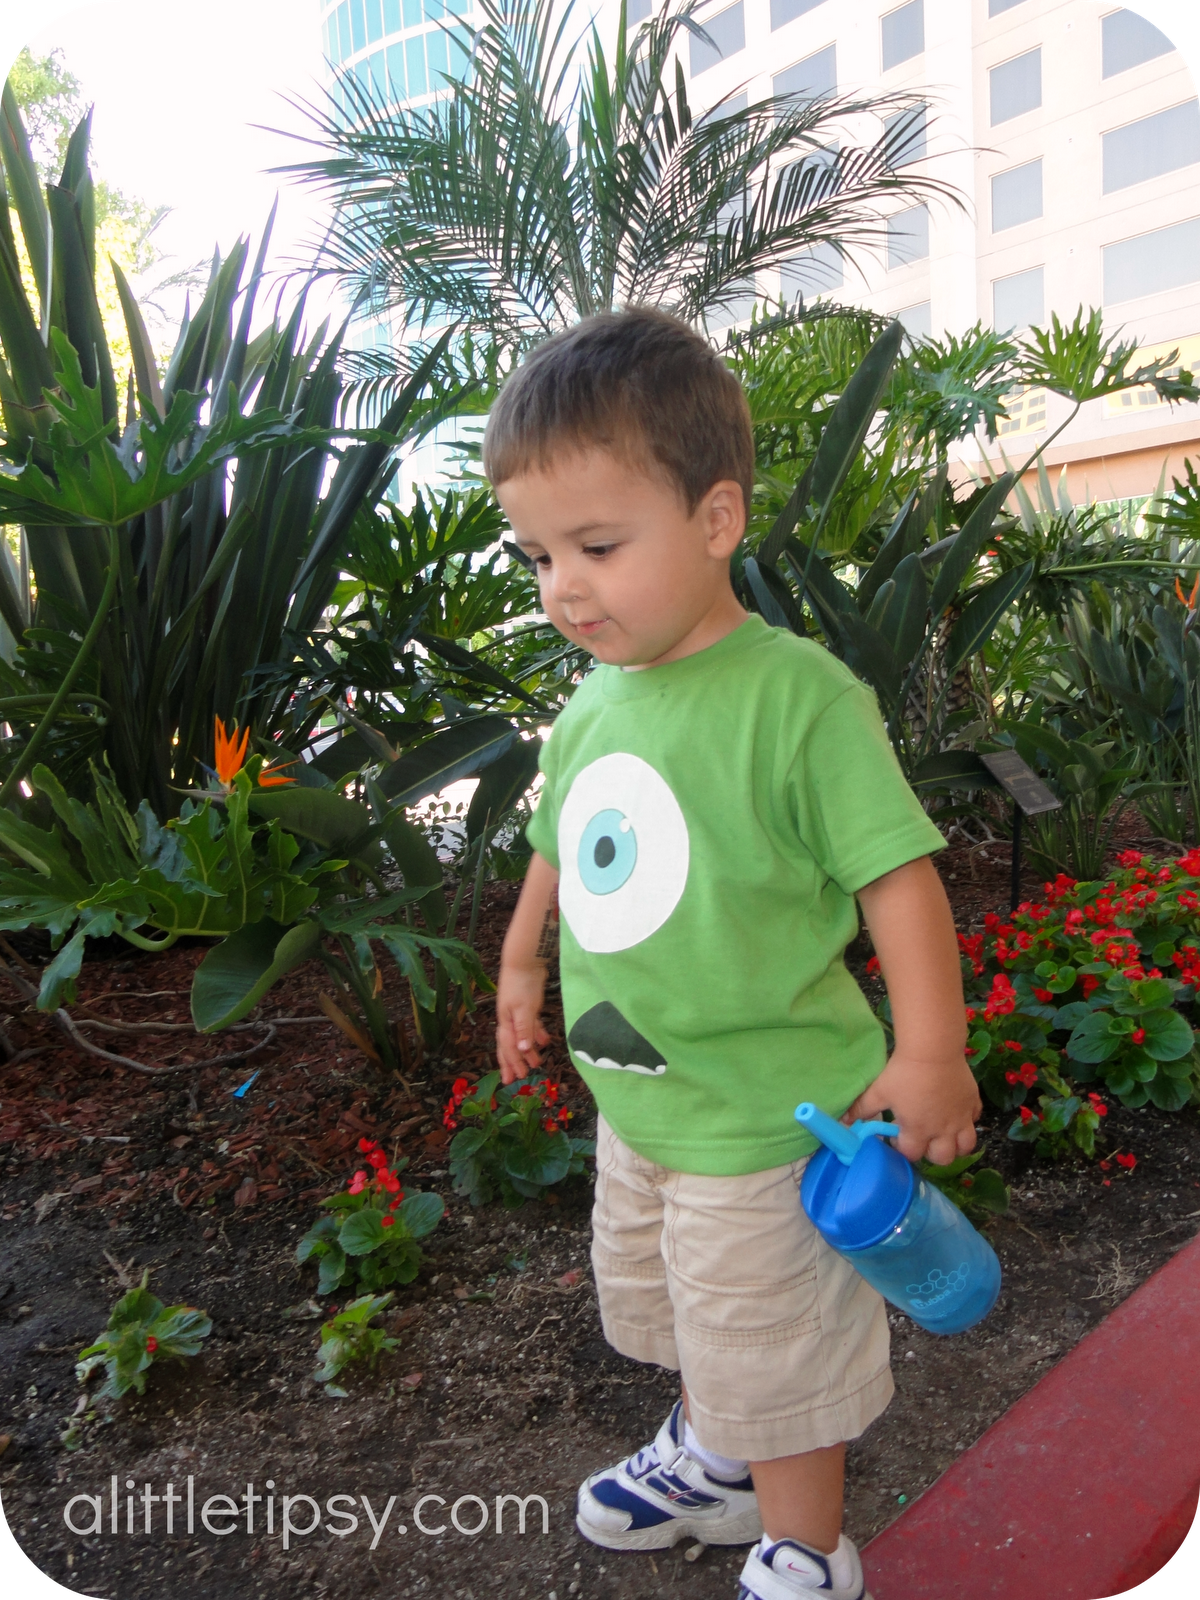
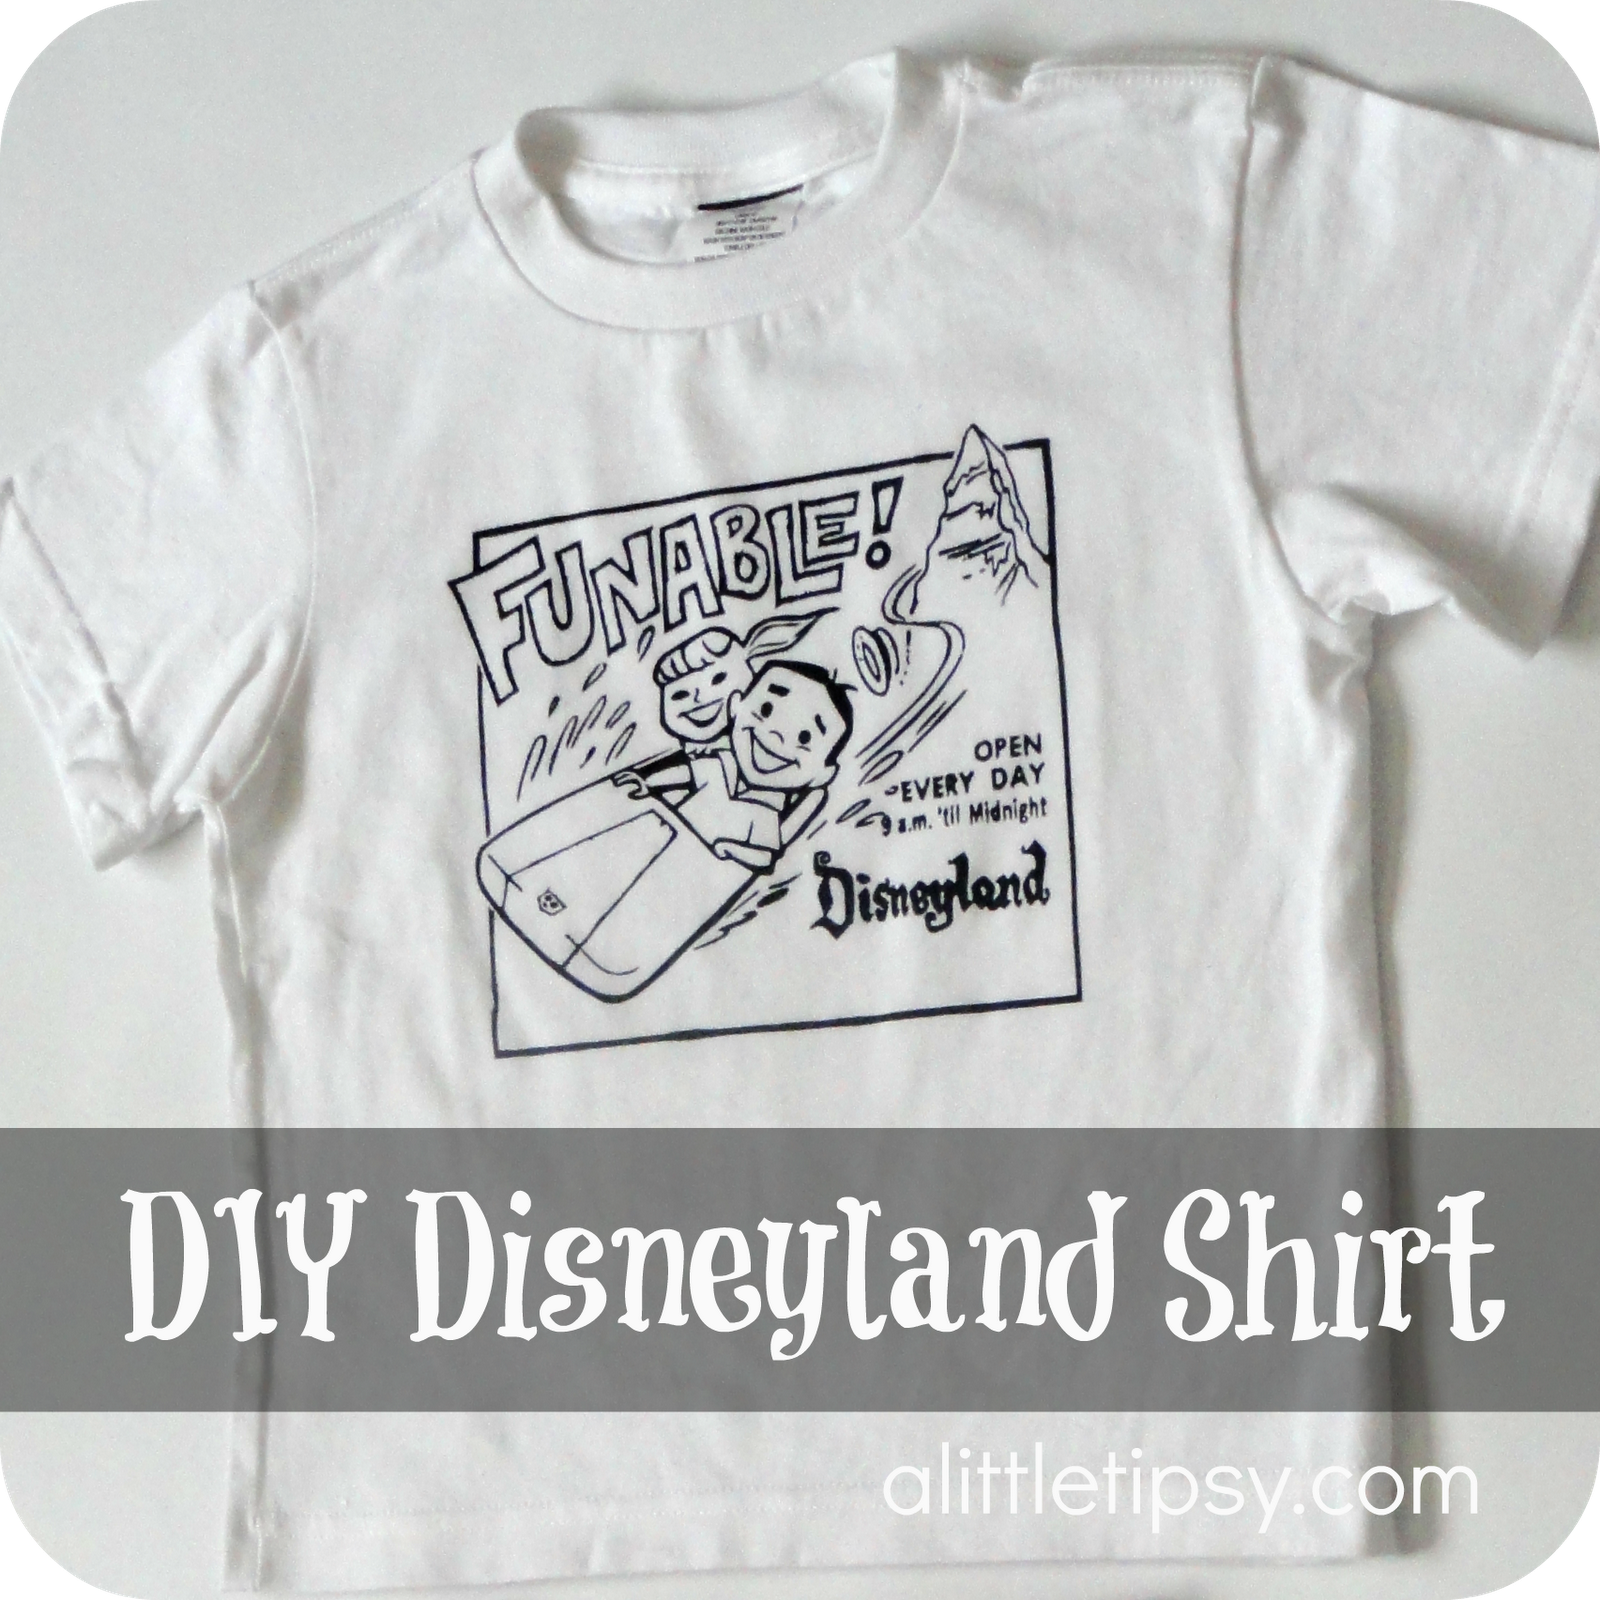
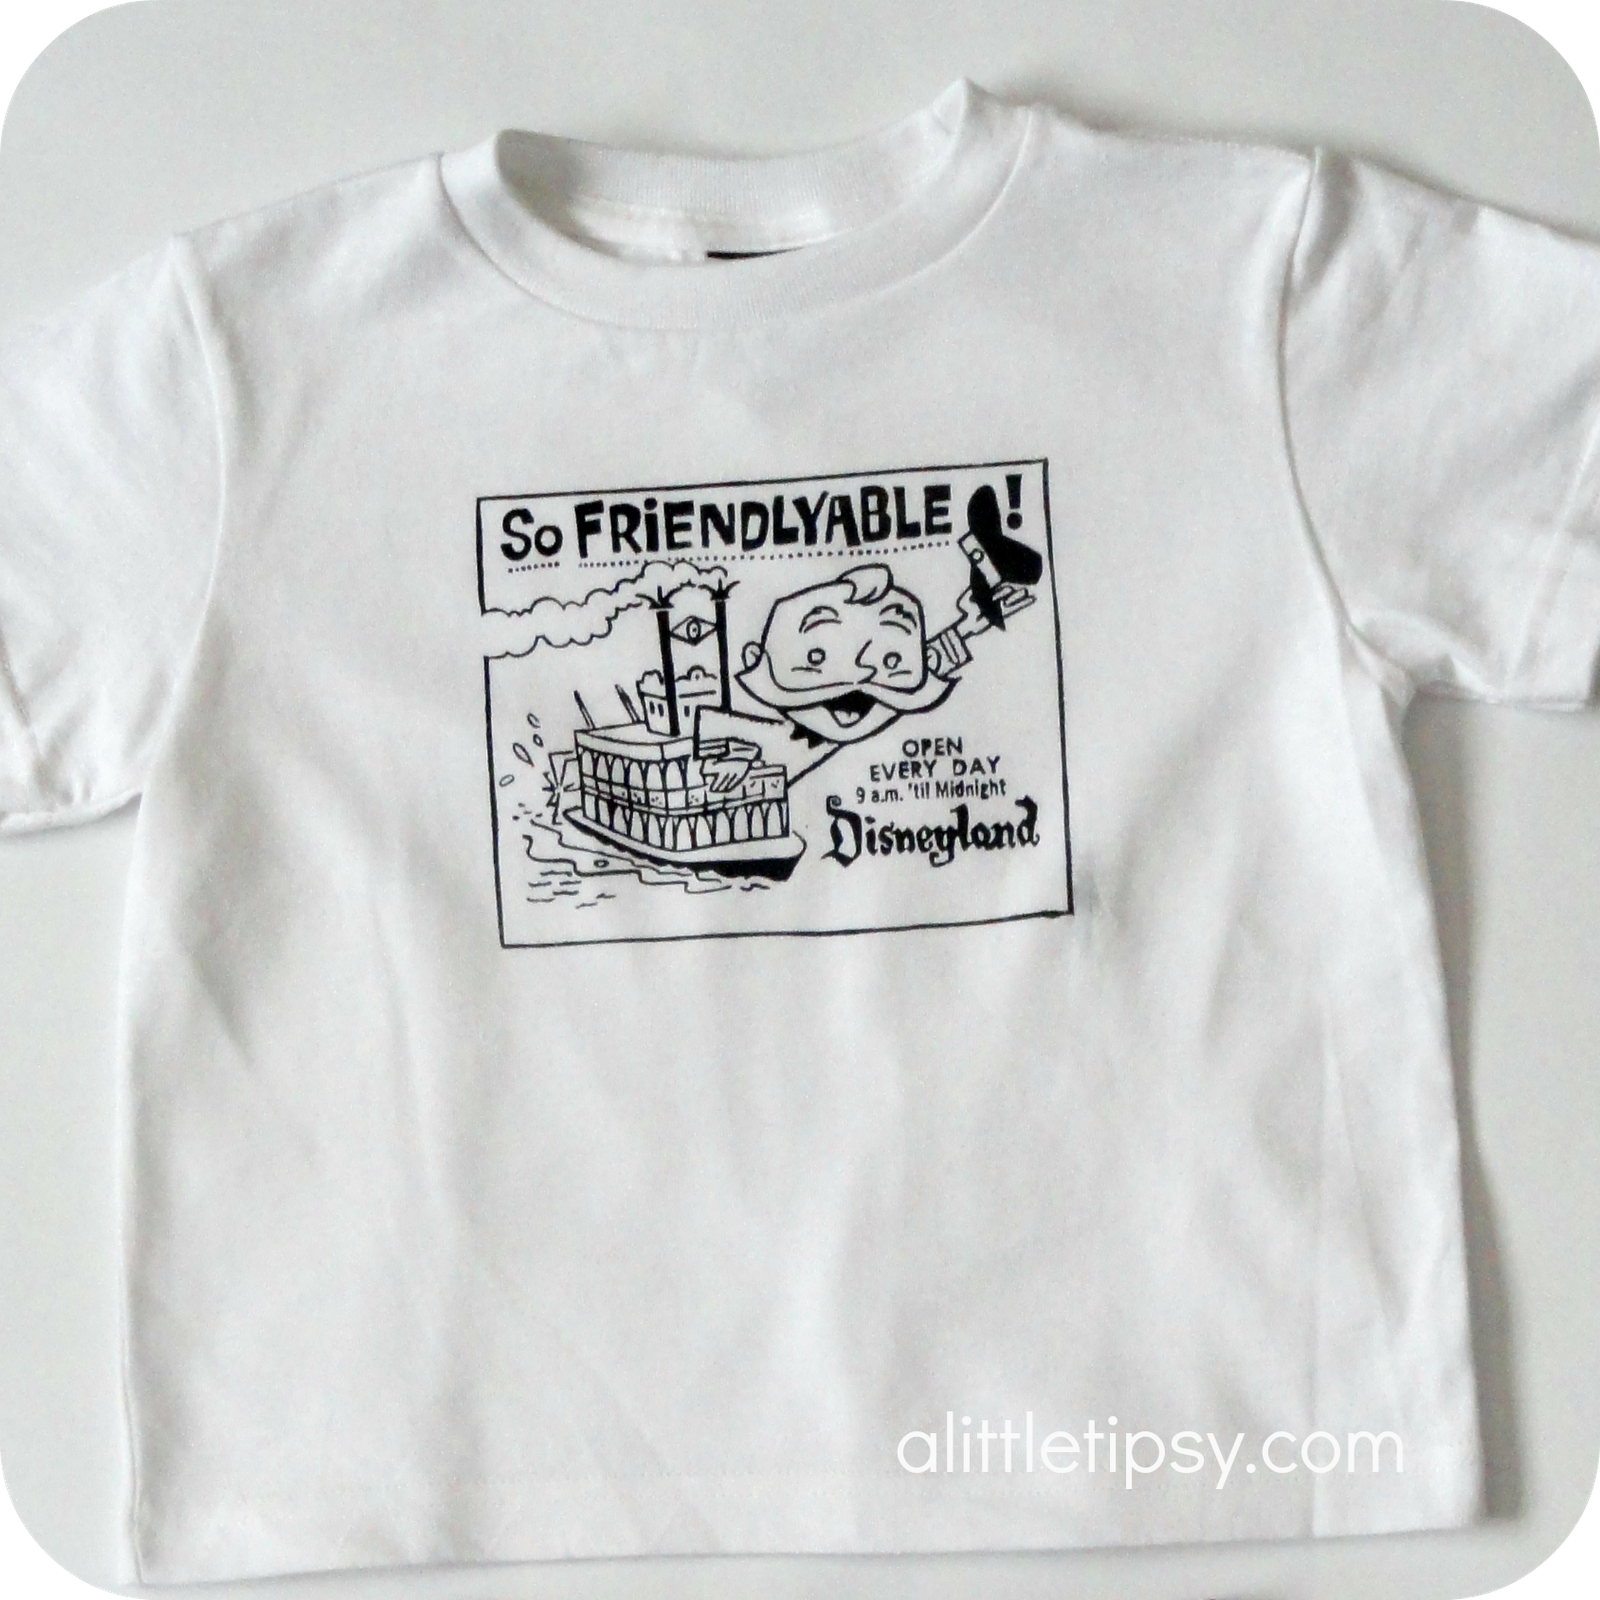
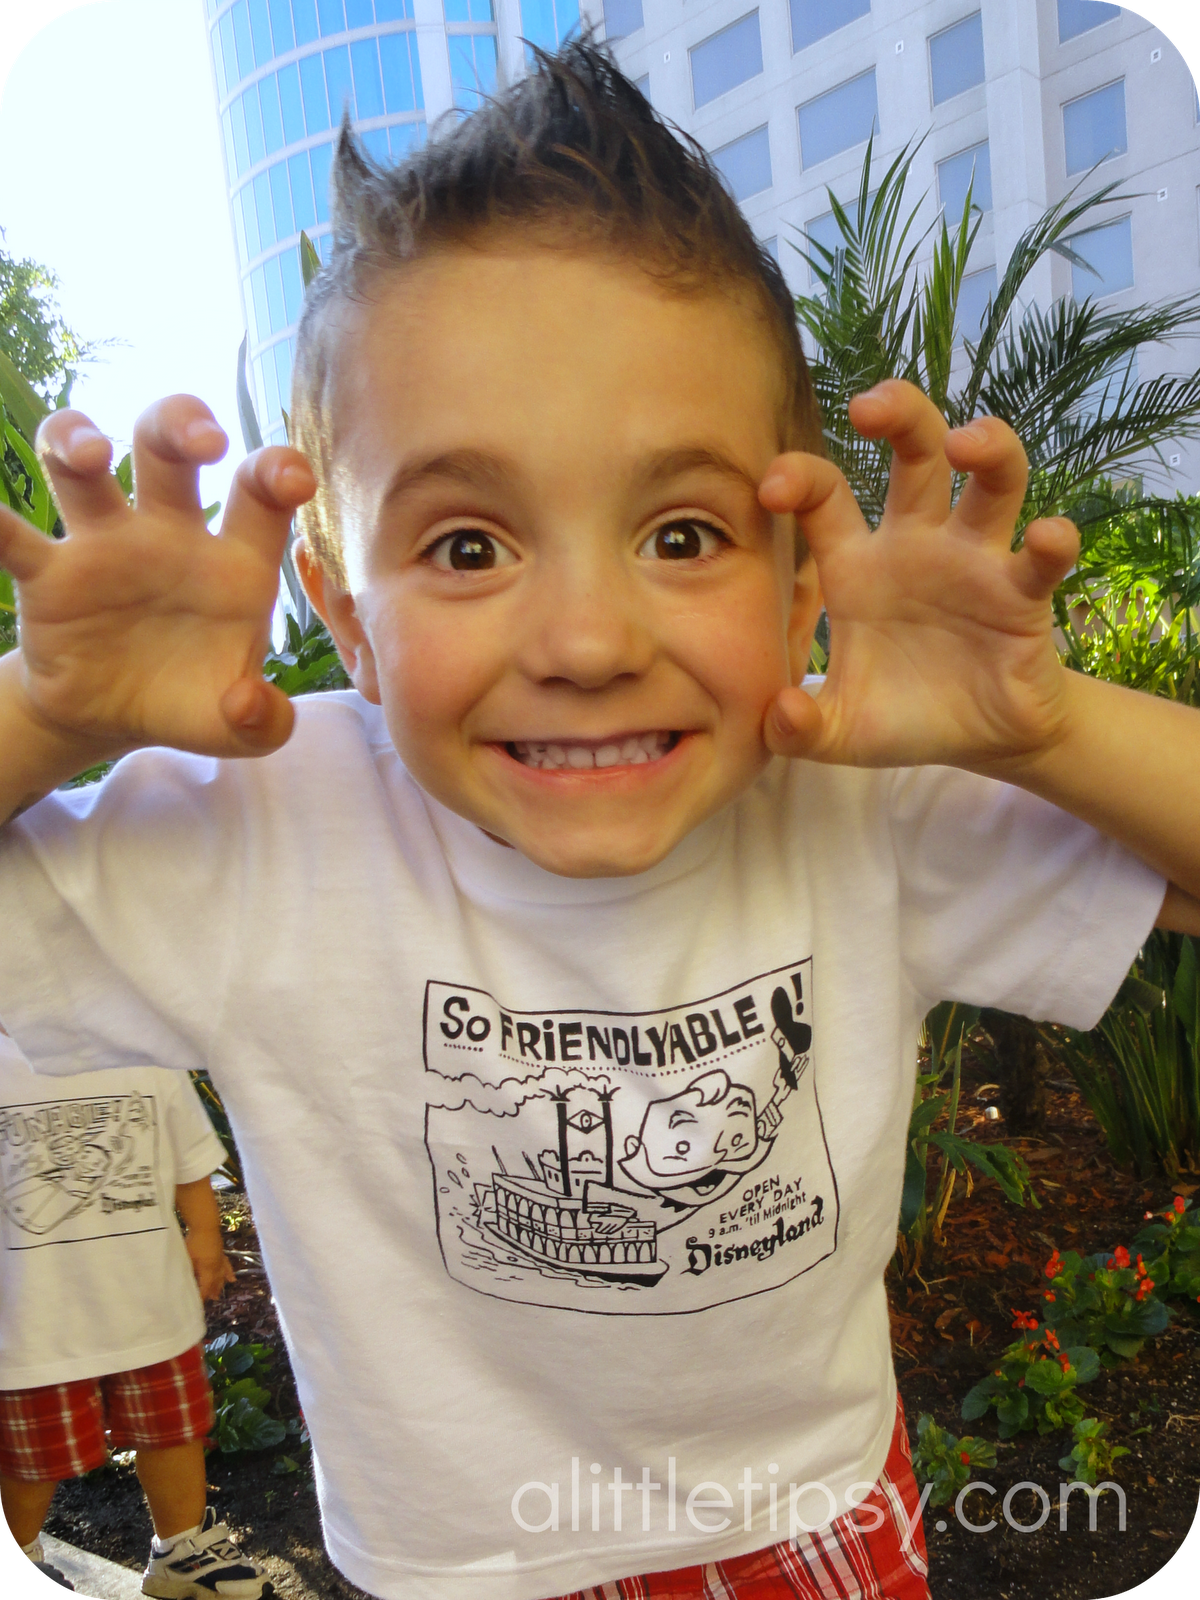
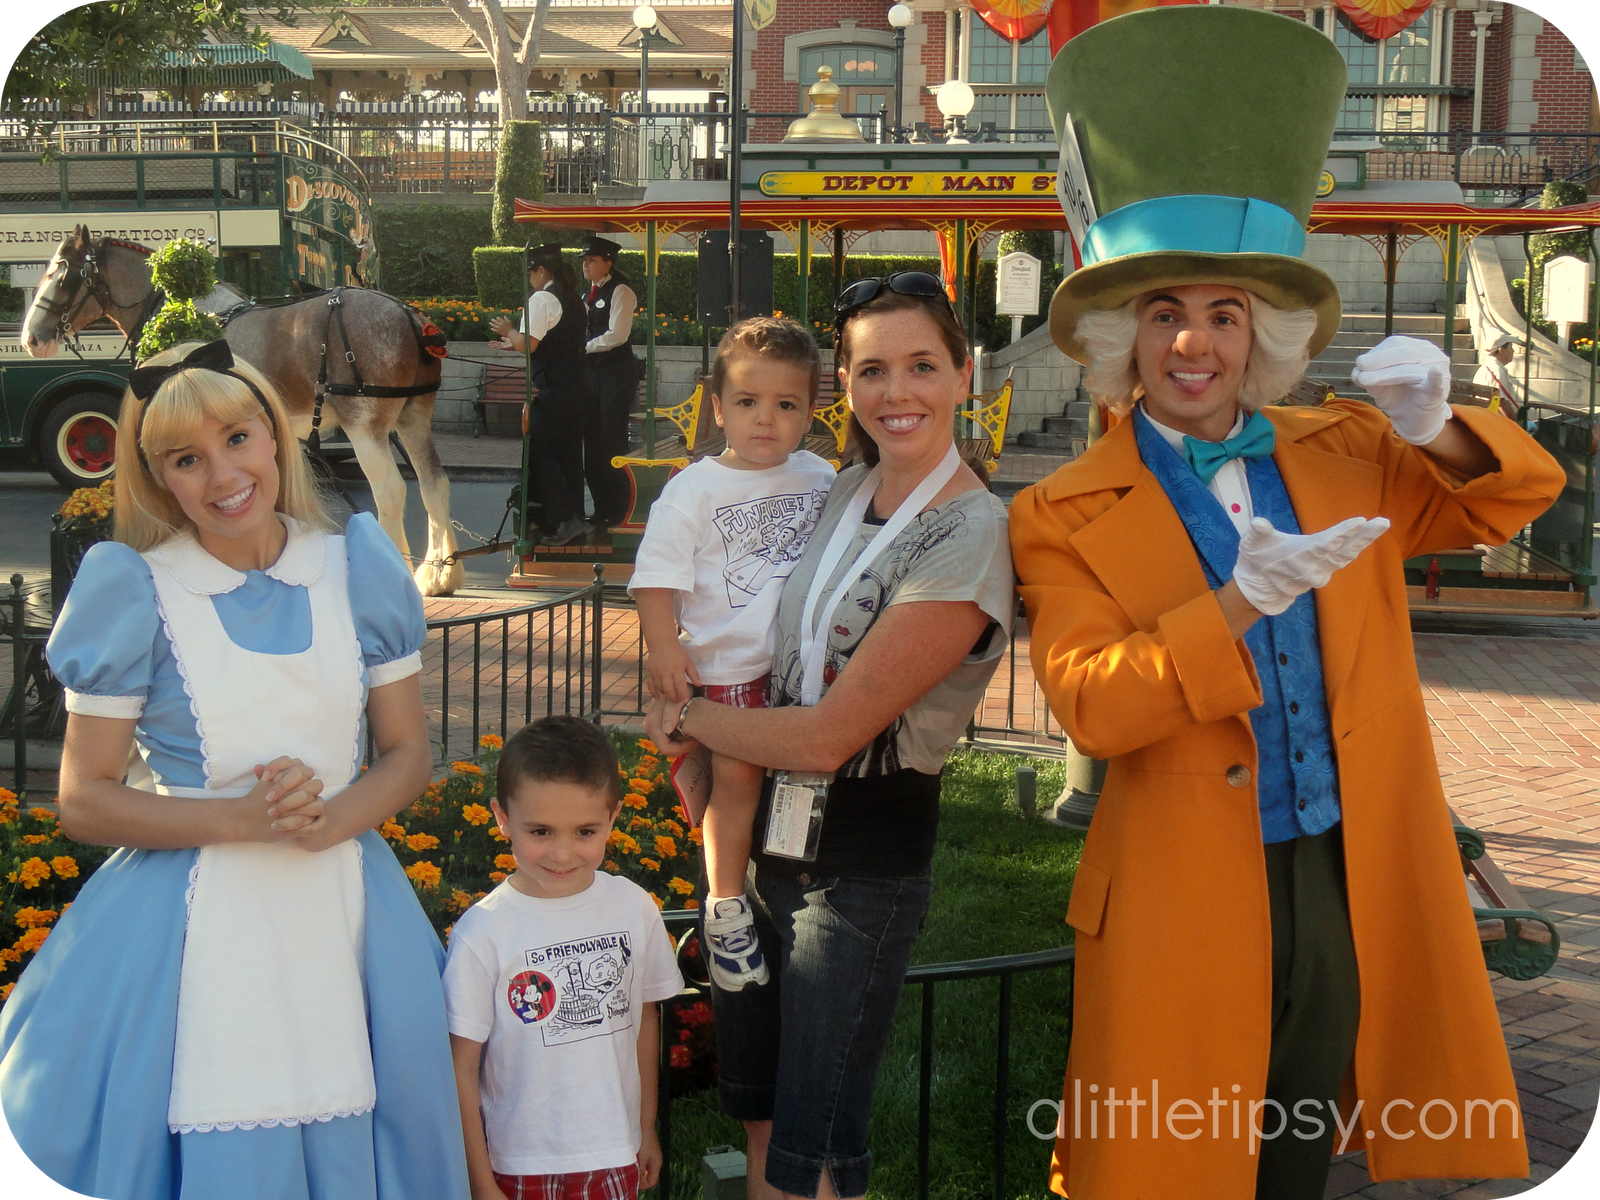
If you have been following me for a while you know that I have a thing for making Disney shirts for my kiddos. There is just something about going to Disneyland knowing that no other kids will have the same shirts. I saw these fun vintage looking ads and knew they had to be part of our Disneyland ensemble.
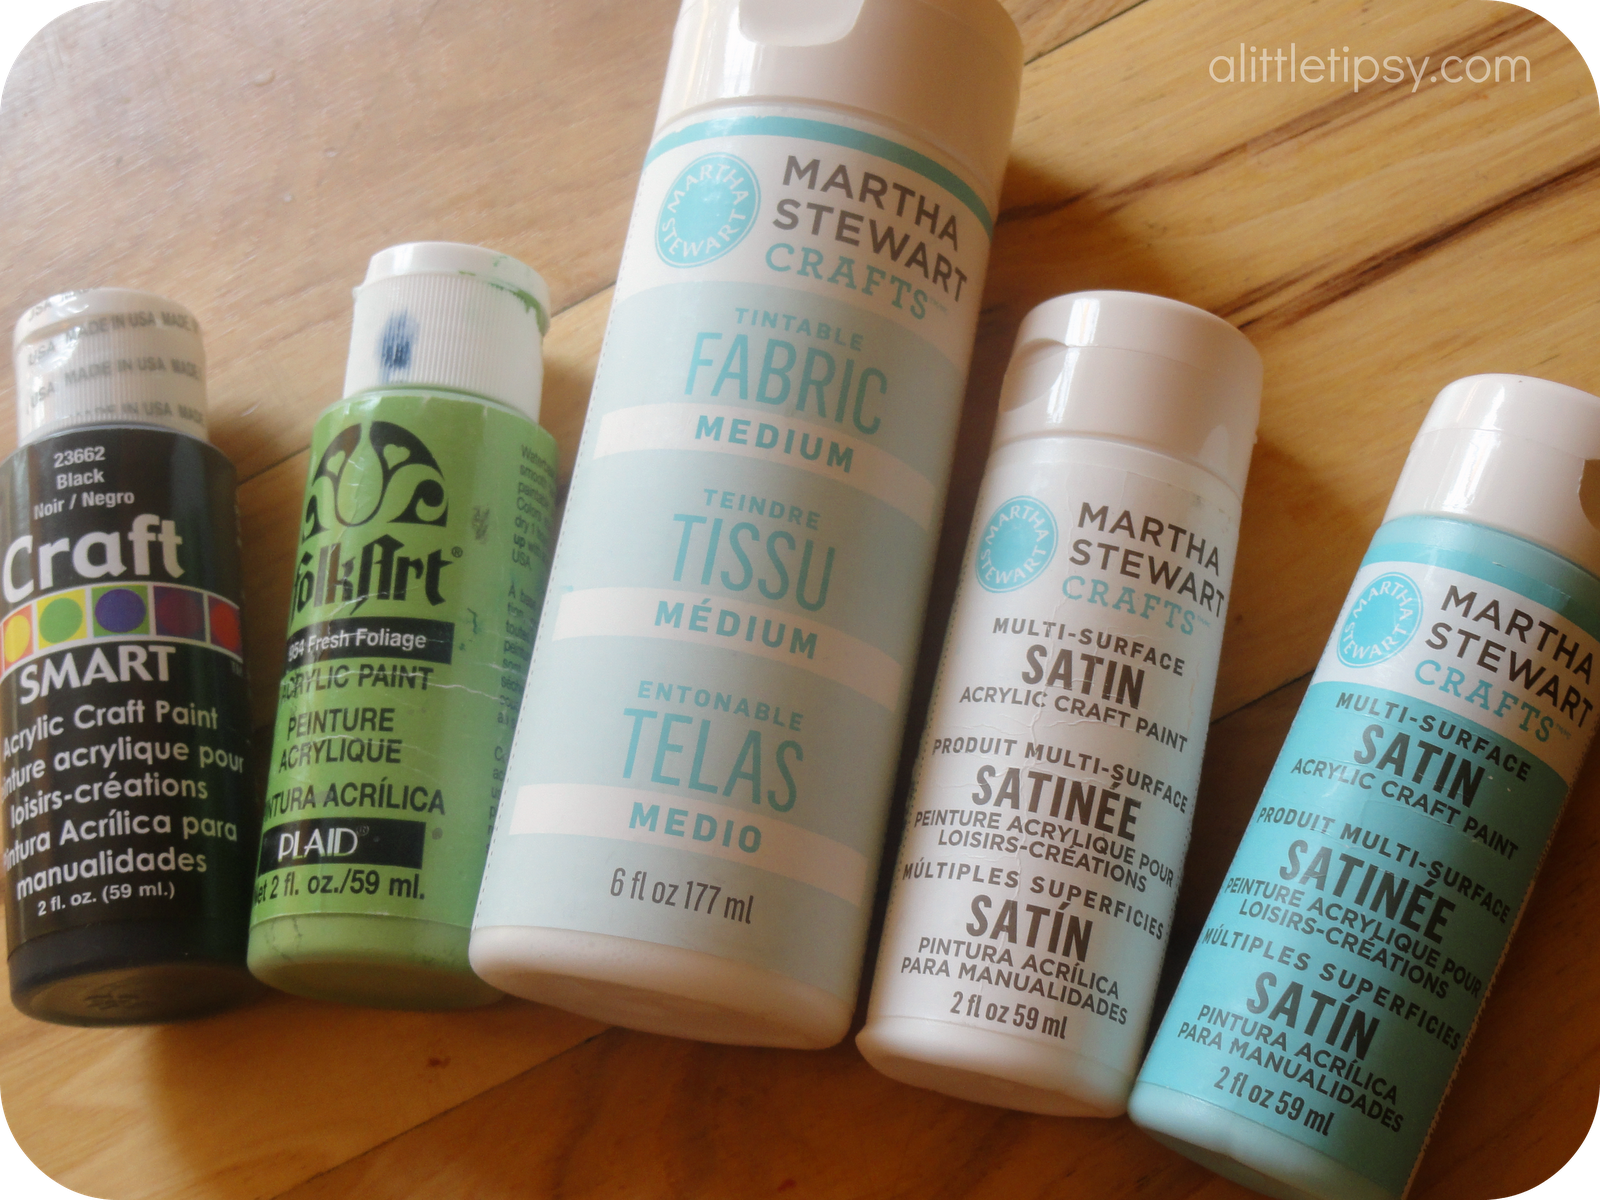
SUPPLIES:
- T-shirt
- Cardboard
- Silhouette
- Contact Paper
- Transfer Tape
- Silhouette Fabric Ink
- Iron
INSTRUCTIONS:
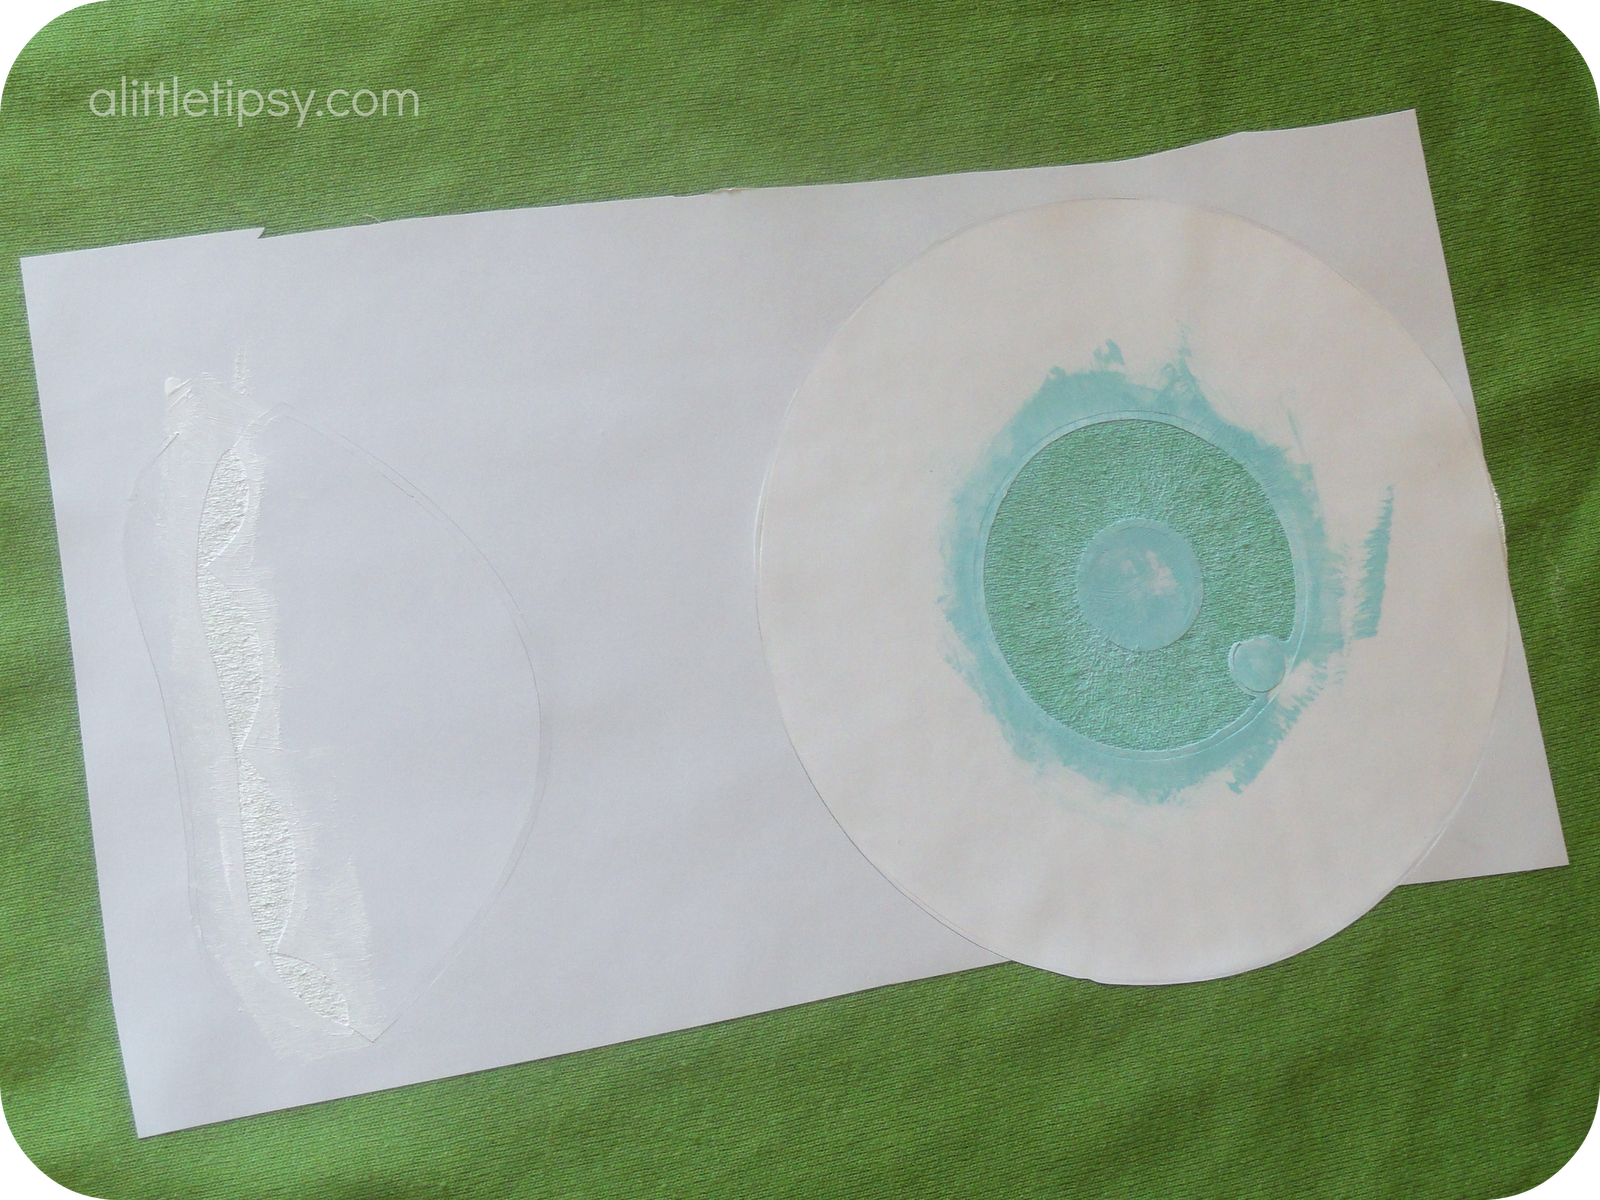
They are actually quite simple to make. Follow the tutorial here to create a stencil of the image in the silhouette software. Since you are creating a stencil and not using heat transfer do not flip it horizontally. Just cut the image as is once it is traced to your liking.
I wanted to save some money and decided to try using contact paper for the stencil rather than the stencil vinyl. It totally worked! Just be careful because the contact paper is very thin, even thinner than regular vinyl so cut accordingly.
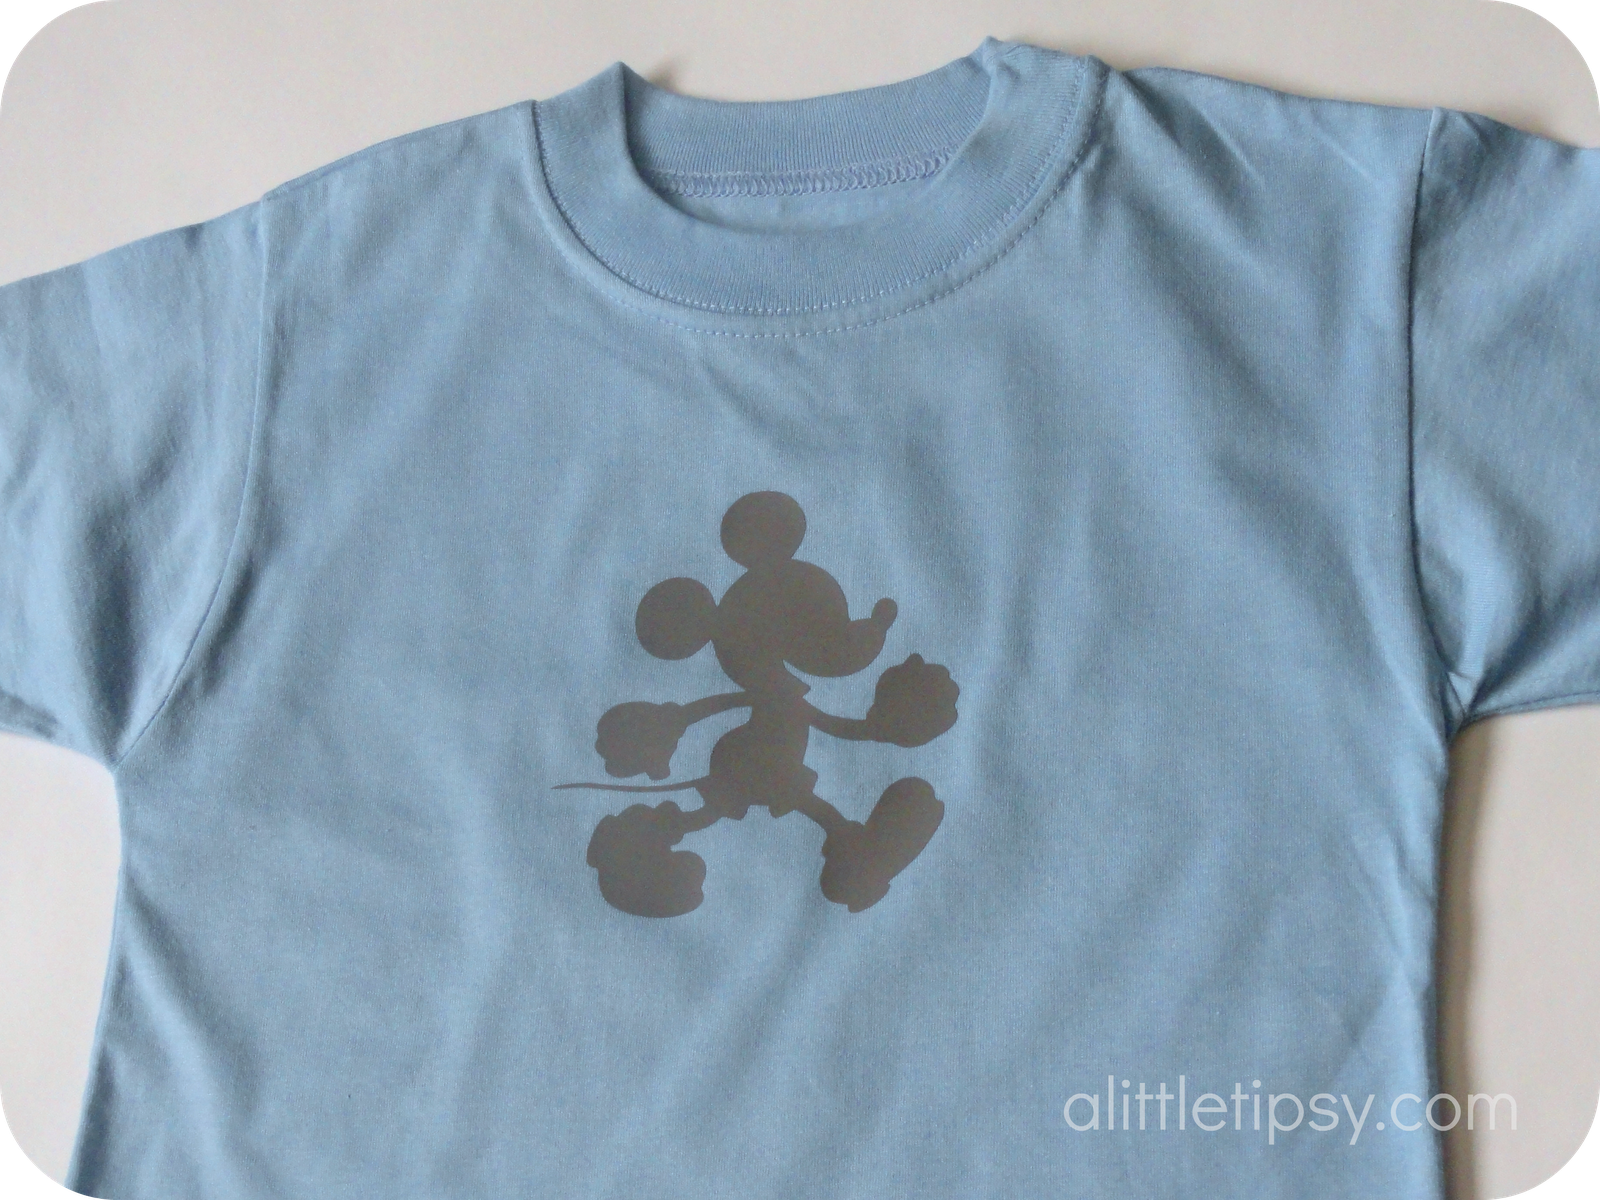
Once you have the stencil cut, transfer to your shirt using transfer tape to keep everything aligned correctly. Place a piece of cardboard inside the shirt to prevent bleeding. Then, with a foam brush blot over the stencil with black fabric ink.

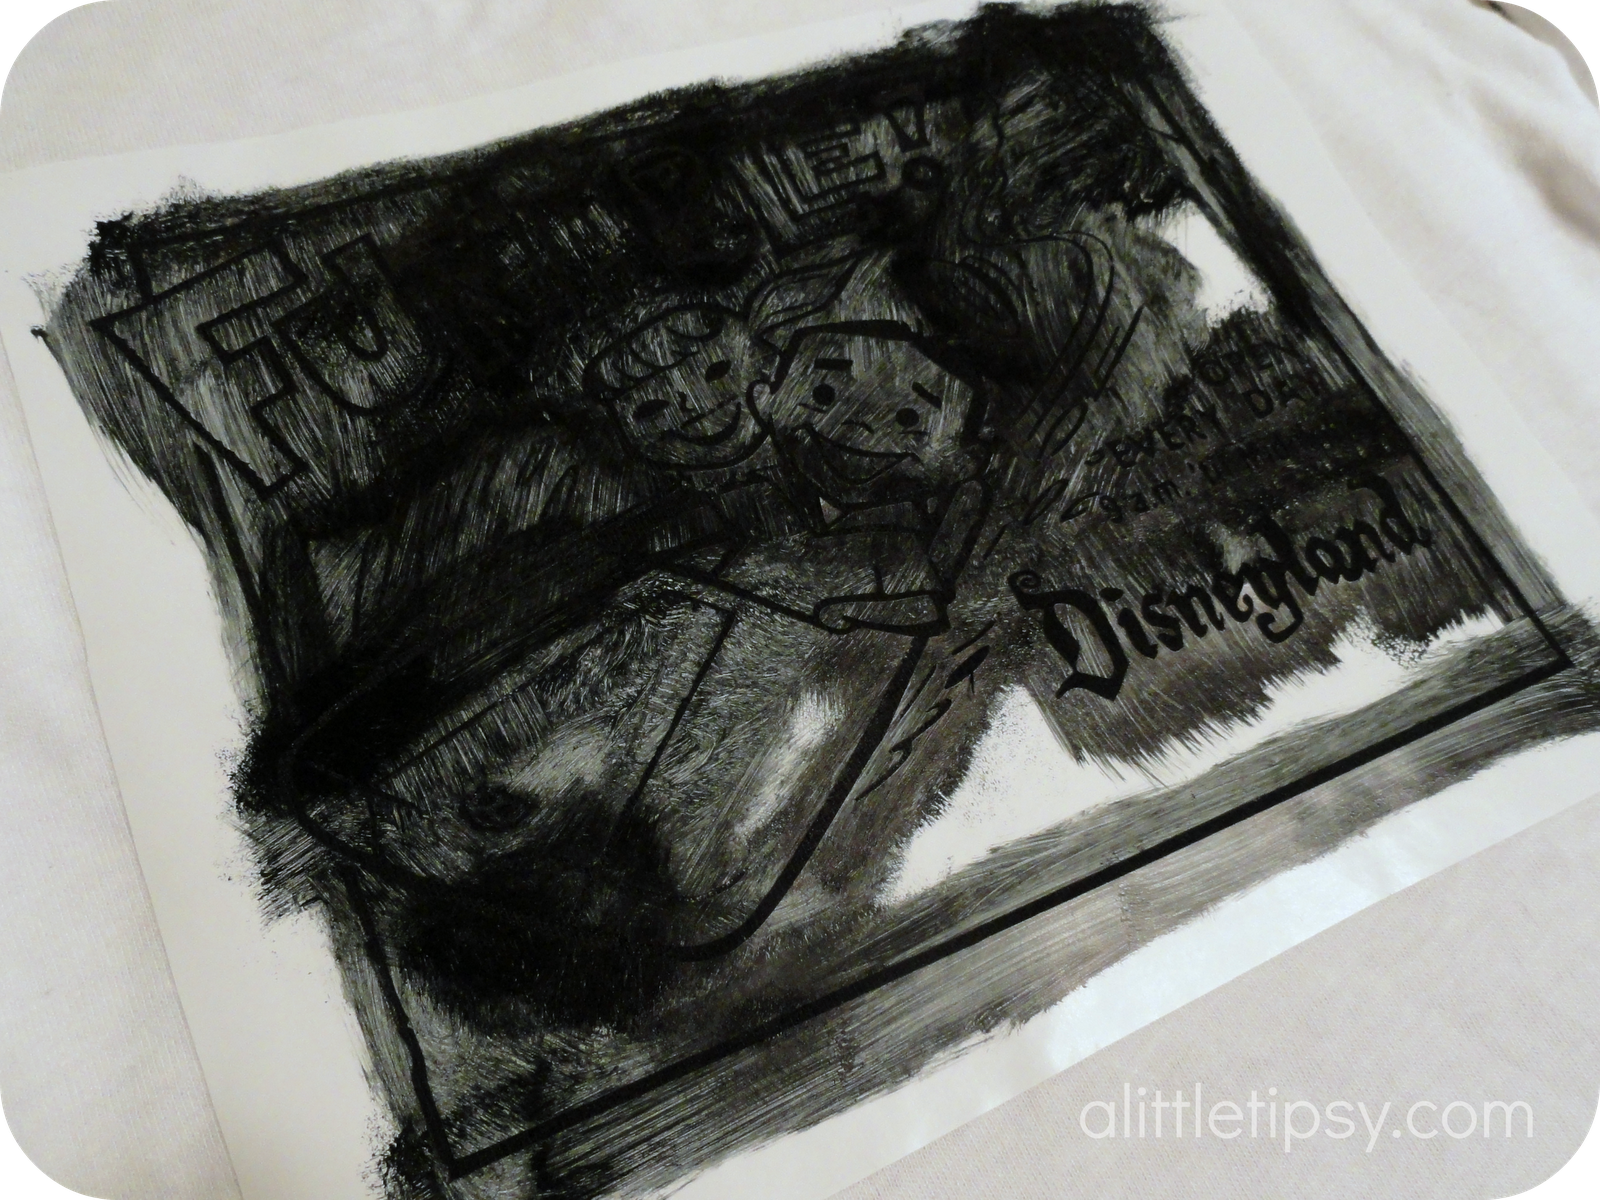
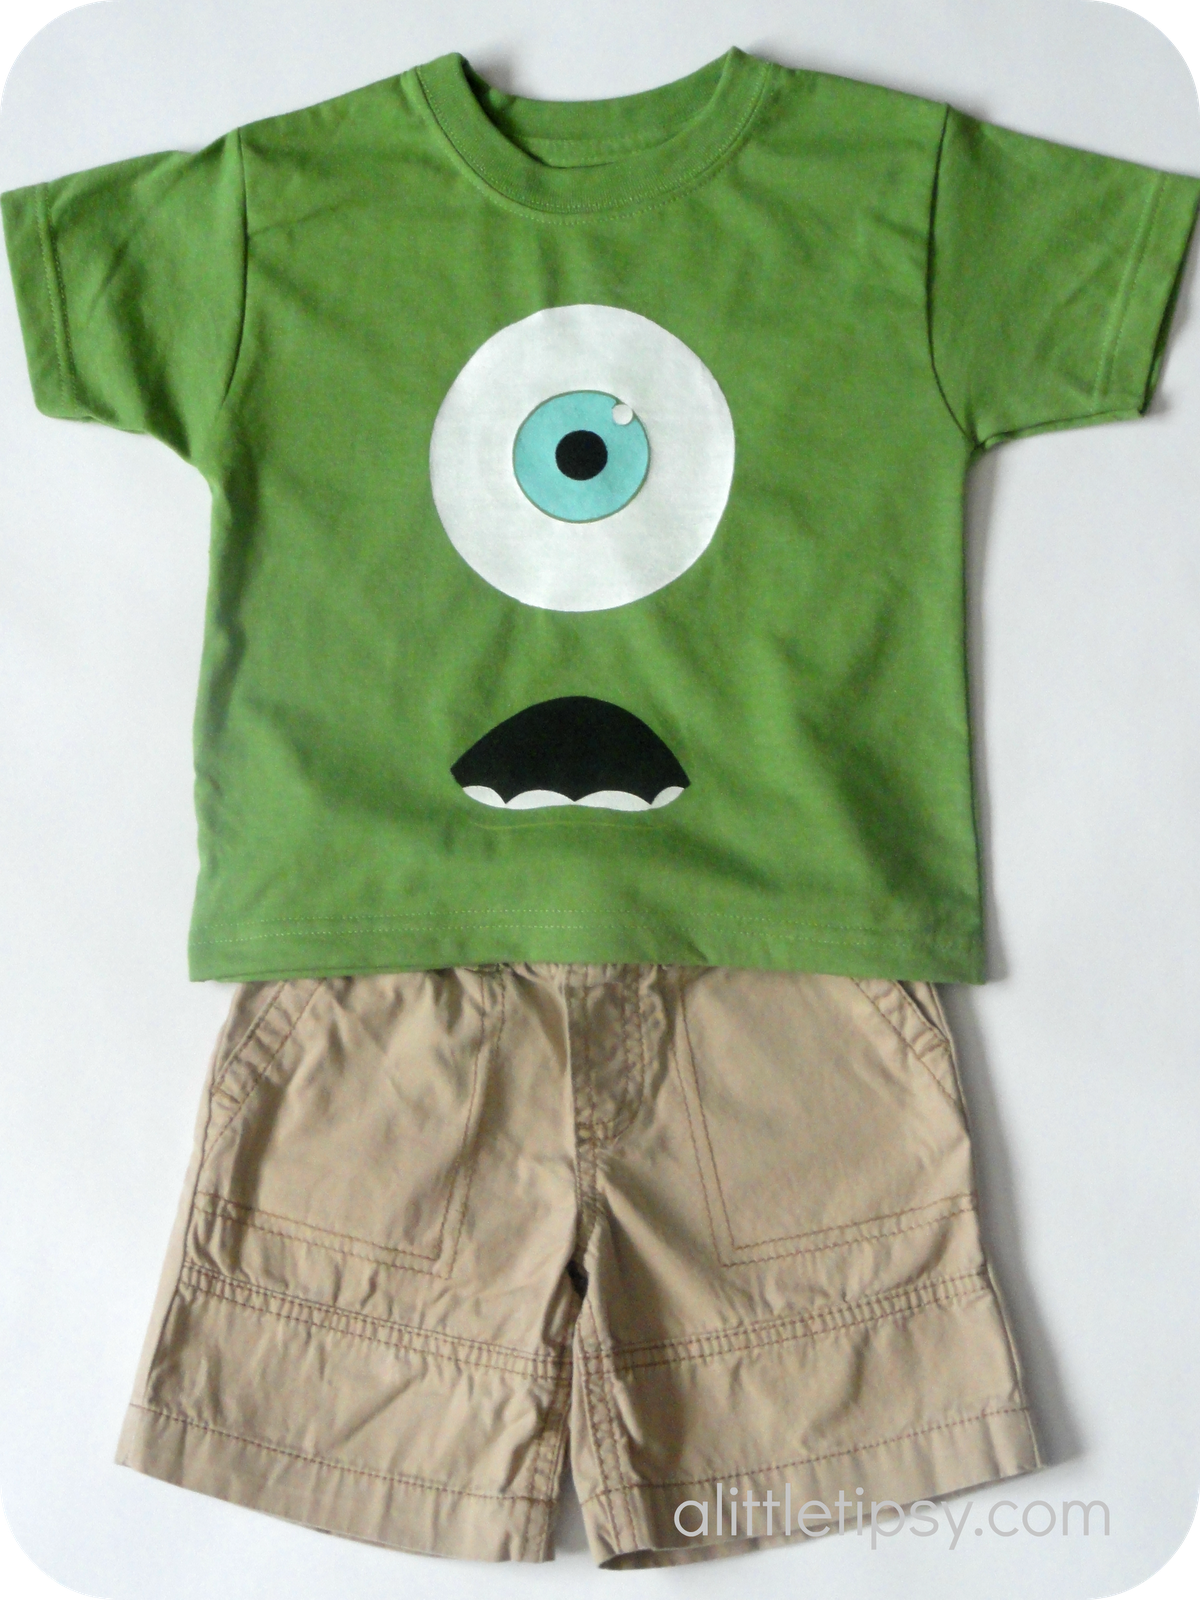
Once the ink dries, remove the stencil and bask in your success.
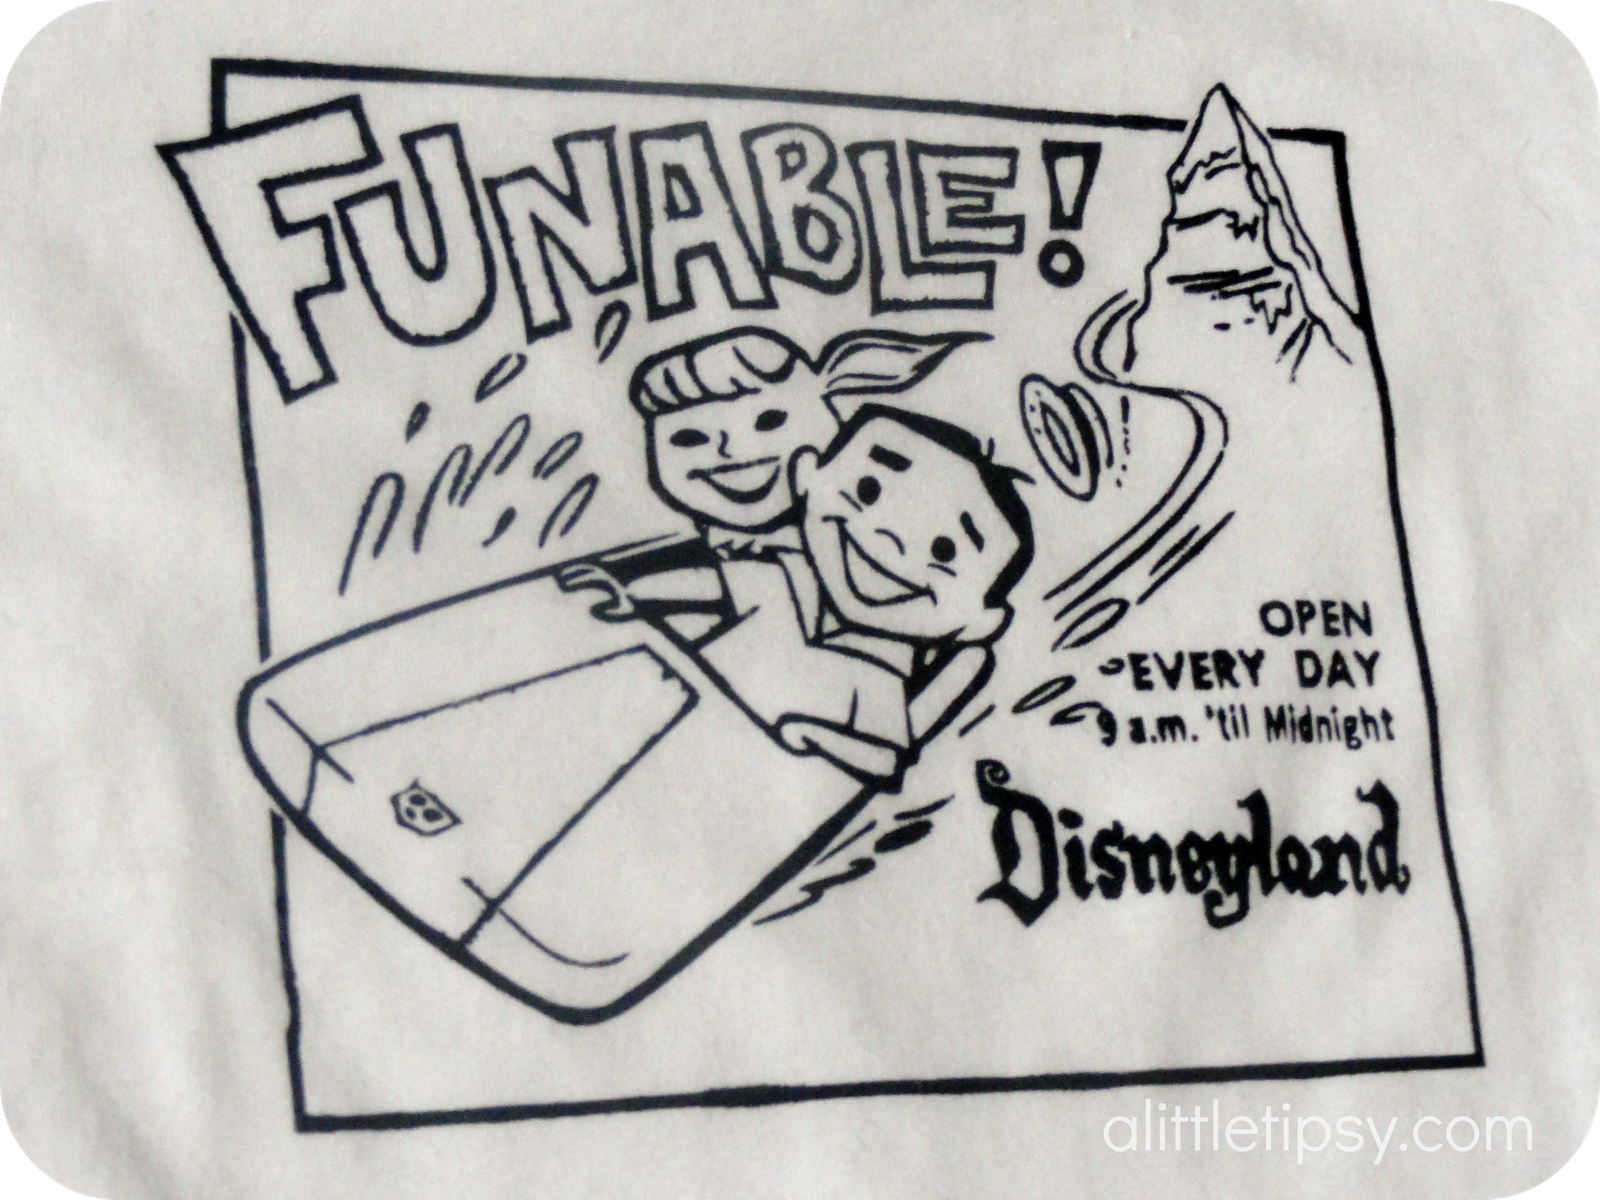
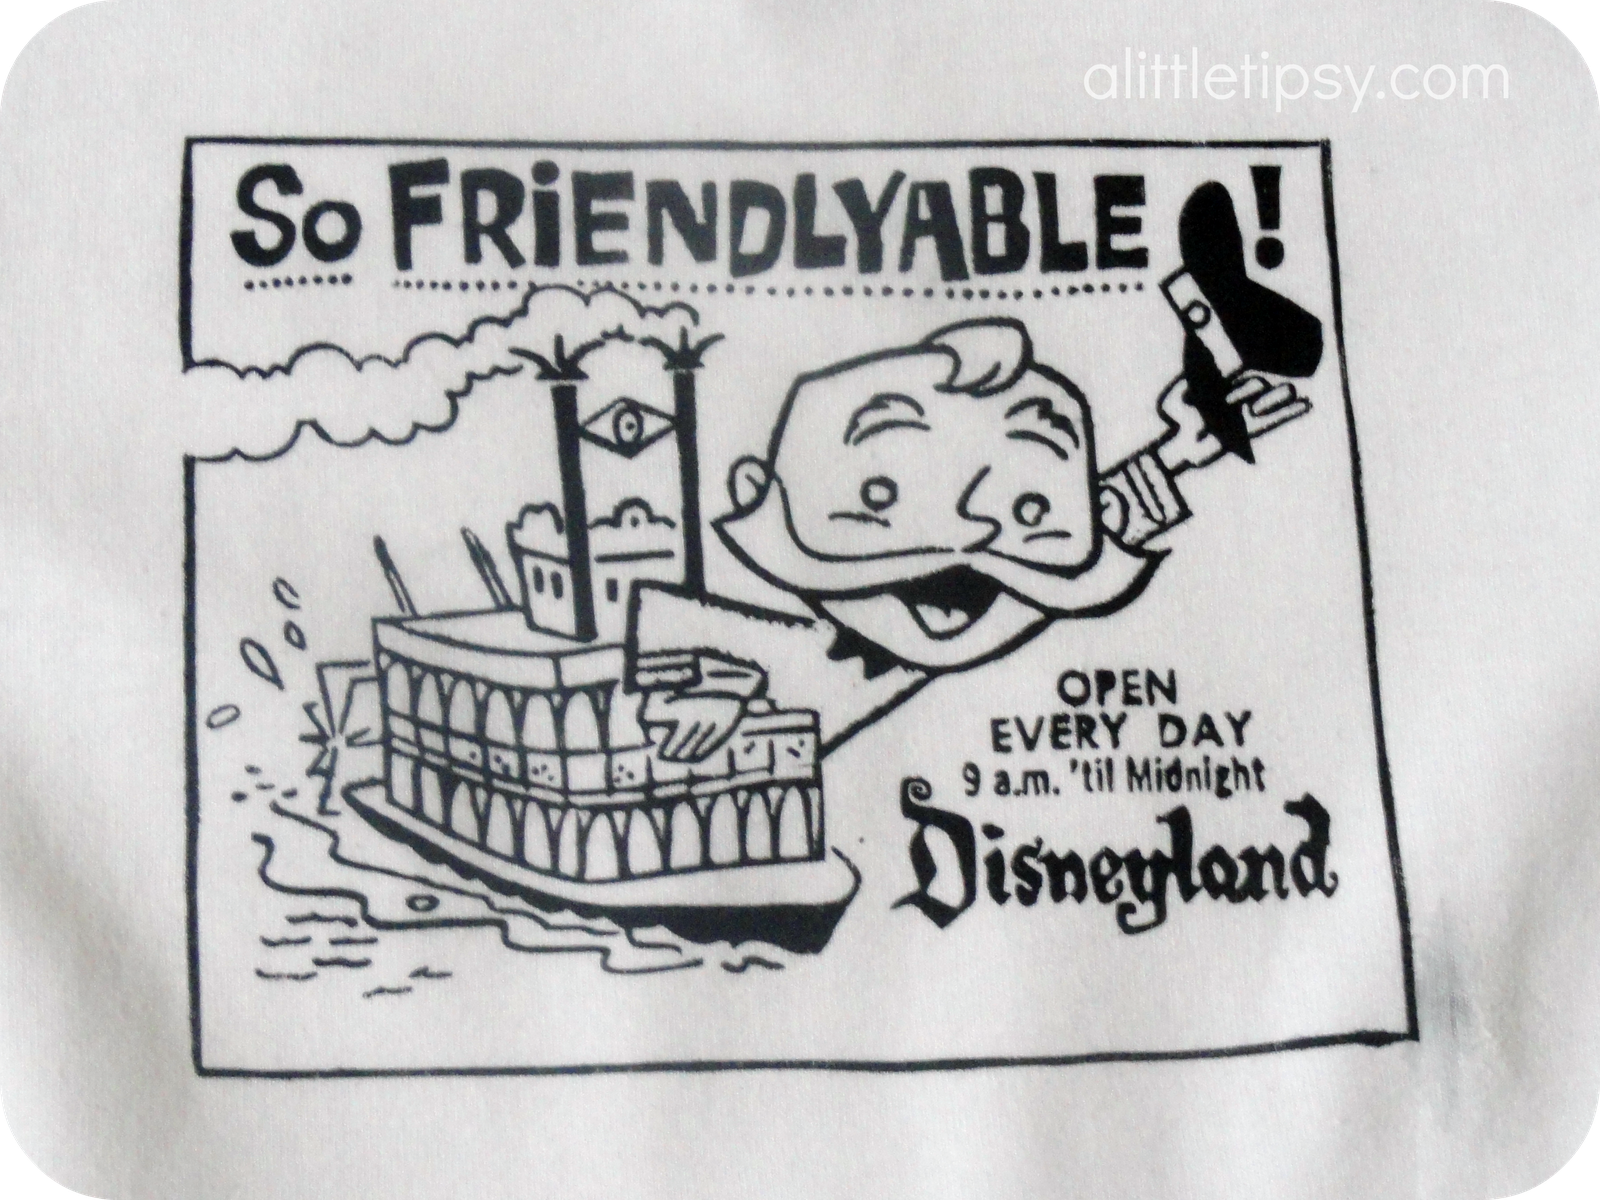
Iron the design to set the ink and now it’s ready to wear!
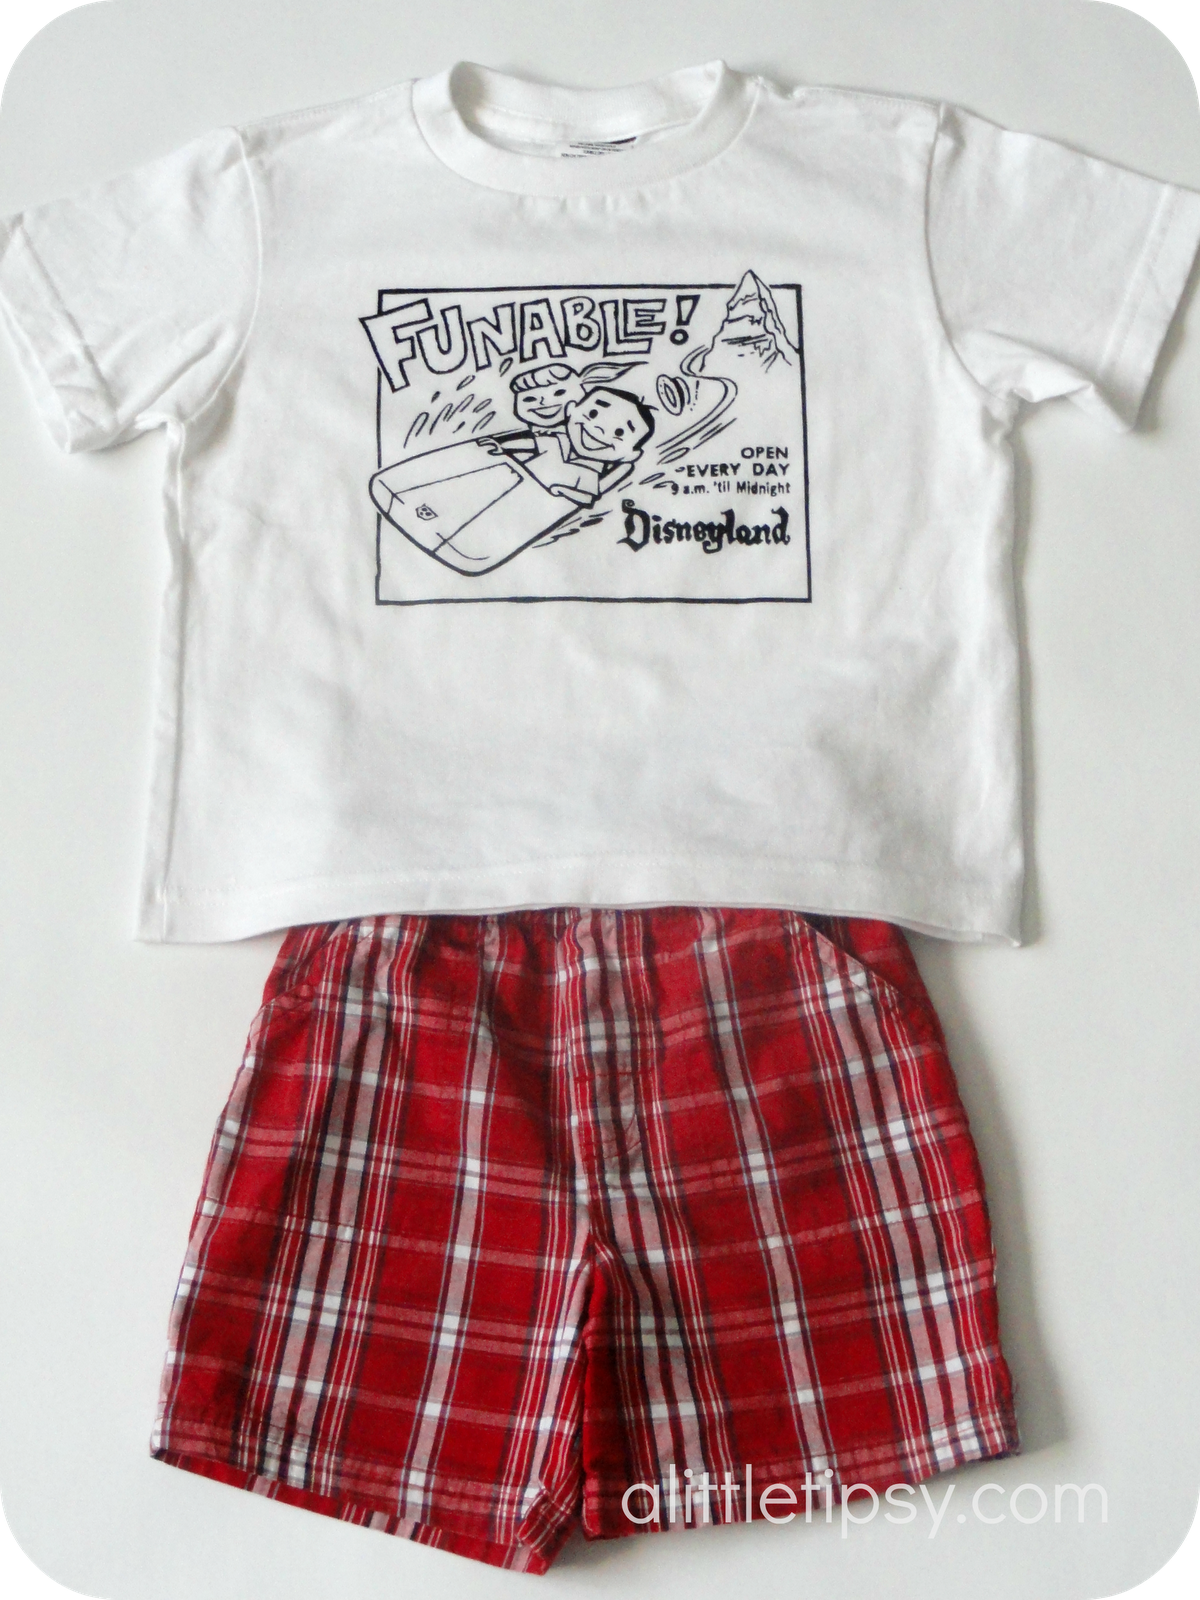
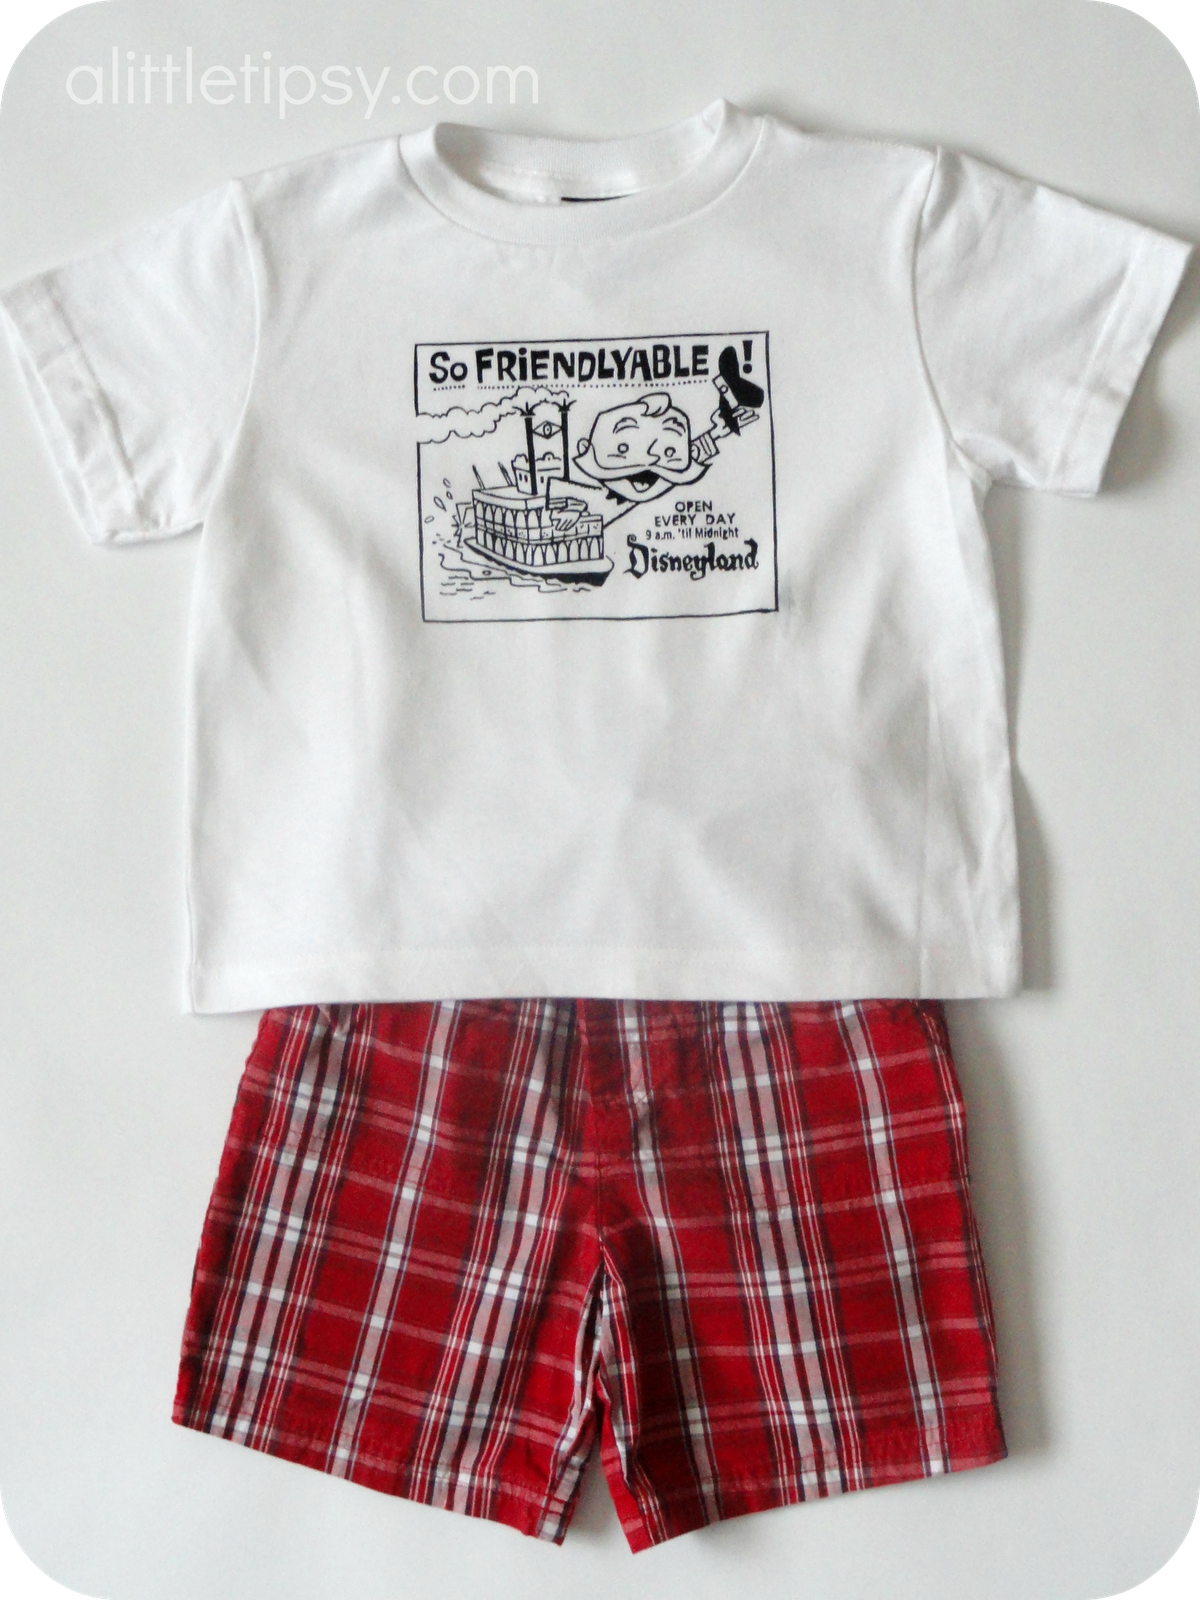
You’re kids are one of a kind, why shouldn’t their shirts be?
These have been washed several times and are holding up wonderfully!

Wednesdays through January
If you liked this project you may also be a fan of our DIY Disney Tattoos for Kids, Mickey Shirts, or Disney Countdown.
P.S. Don’t forget to sign up for free Tipsy updates via RSS or email.
We have decided to truncate our feed to help protect against stolen content. I apologize for any inconvenience. Please love us anyway. 🙂