A Little Tipsy

Creative Tips & Ideas

  • home
  • About Me
  • the tipsy top
  • press
  • projects
  • contact me
[print_thumbnail_slider]

DIY Under $5 {Chocolate Zucchini Bread}

August 31, 2011 By Michelle Barneck 10 Comments

Anyone else’s garden exploding with zucchini? I love it as much as the next girl, but there is only so much you can eat in true vegetable form. Sometimes, I like to go the baked good route and mix chocolate and zucchini. It’s a great way to combine my chocolate addiction with a healthy sidekick.

I like to use the Our Best Bites Chocolate Zucchini Bread recipe which is fantastic as muffins or loaves. It has this sugary crackly top that is truly divine! Yum-o!

We made a great big batch and sent a loaf to little guy’s teacher for the first day of school.

I just wrapped it up in a sheet of parchment, tied it with a red ribbon and added a little note. It makes a yummy teacher appreciation gift.

This recipe has been approved by the chunk. He can’t get enough of it. Thumbs up!


Now it’s time to link up your $5 projects!

Please remember:

  • Only link to your own projects that cost you $5 or less (price does not have to include items you had on hand)
  • You can link past projects that fit the dollar limit, but please only link each project one time to one DIY Under $5 party. Do not link the same project week after week.
  • No linking giveaways or items for sale
  • Please link back so others can join the party and so you have the opportunity to be featured on Saturday!


DIY under $5


P.S. Don’t forget to sign up for free Tipsy updates via RSS or email.

We have decided to truncate our feed to help protect against stolen content. I apologize for any inconvenience. Please love us anyway. 🙂

DIY Under $5 {Oreo Recipe}

July 13, 2011 By Michelle Barneck 10 Comments

With summer comes BBQs and potlucks, so it is always nice to have an easy recipe that is always a crowd pleaser. I have always loved homemade oreos and they can be ready to go in a snap. Add a few sprinkles really takes them up a notch.

Oreo Recipe

Devil’s food cake mix
2 eggs
1 stick of butter softened
Your favorite white frosting
Sprinkles

Mix ingredients together and roll in to one inch balls. Bake at 350 degrees for 10 minutes. Cool on rack. Place a generous amount of frosting between two cookies. Put sprinkles in a bowl and roll the edge of each cookie in the sprinkles until coated.

I love how the sprinkles add a little extra crunch to the Oreos.

Total cost: about $4


Now it’s time to link up your $5 projects!

Please remember:

  • Only link to your own projects that cost you $5 or less (price does not have to include items you had on hand)
  • You can link past projects that fit the dollar limit, but please only link each project one time to one DIY Under $5 party. Do not link the same project week after week.
  • No linking giveaways or items for sale
  • Please link back so others can join the party and so you have the opportunity to be featured on Saturday!

DIY under $5


P.S. Don’t forget to sign up for free Tipsy updates via RSS or email.

We have decided to truncate our feed to help protect against stolen content. I apologize for any inconvenience. Please love us anyway. 🙂

DIY Under $5 {Smores Recipe}

June 8, 2011 By Michelle Barneck 17 Comments

I am excited to share a recipe with you today! The best part about it is that in true tipsy fashion you only need 3 ingredients and about 3 minutes to make these delectable delights! (I shared this a few weeks ago on My Junk Drawer so if it looks familiar, that’s why.)

I have been pining for warm weather (it is finally starting to be nice after weeks and weeks of rain) and the chance to get outside so I decided to bring the outdoors in with a summertime favorite of ours, S’mores!

Or as Buzz Lightyear would call them, “delicious hot schmoes.”

Smores Recipe

Supplies Needed:

  • Graham Crackers
  • Mini marshmallows
  • Almond Bark aka dipping chocolate

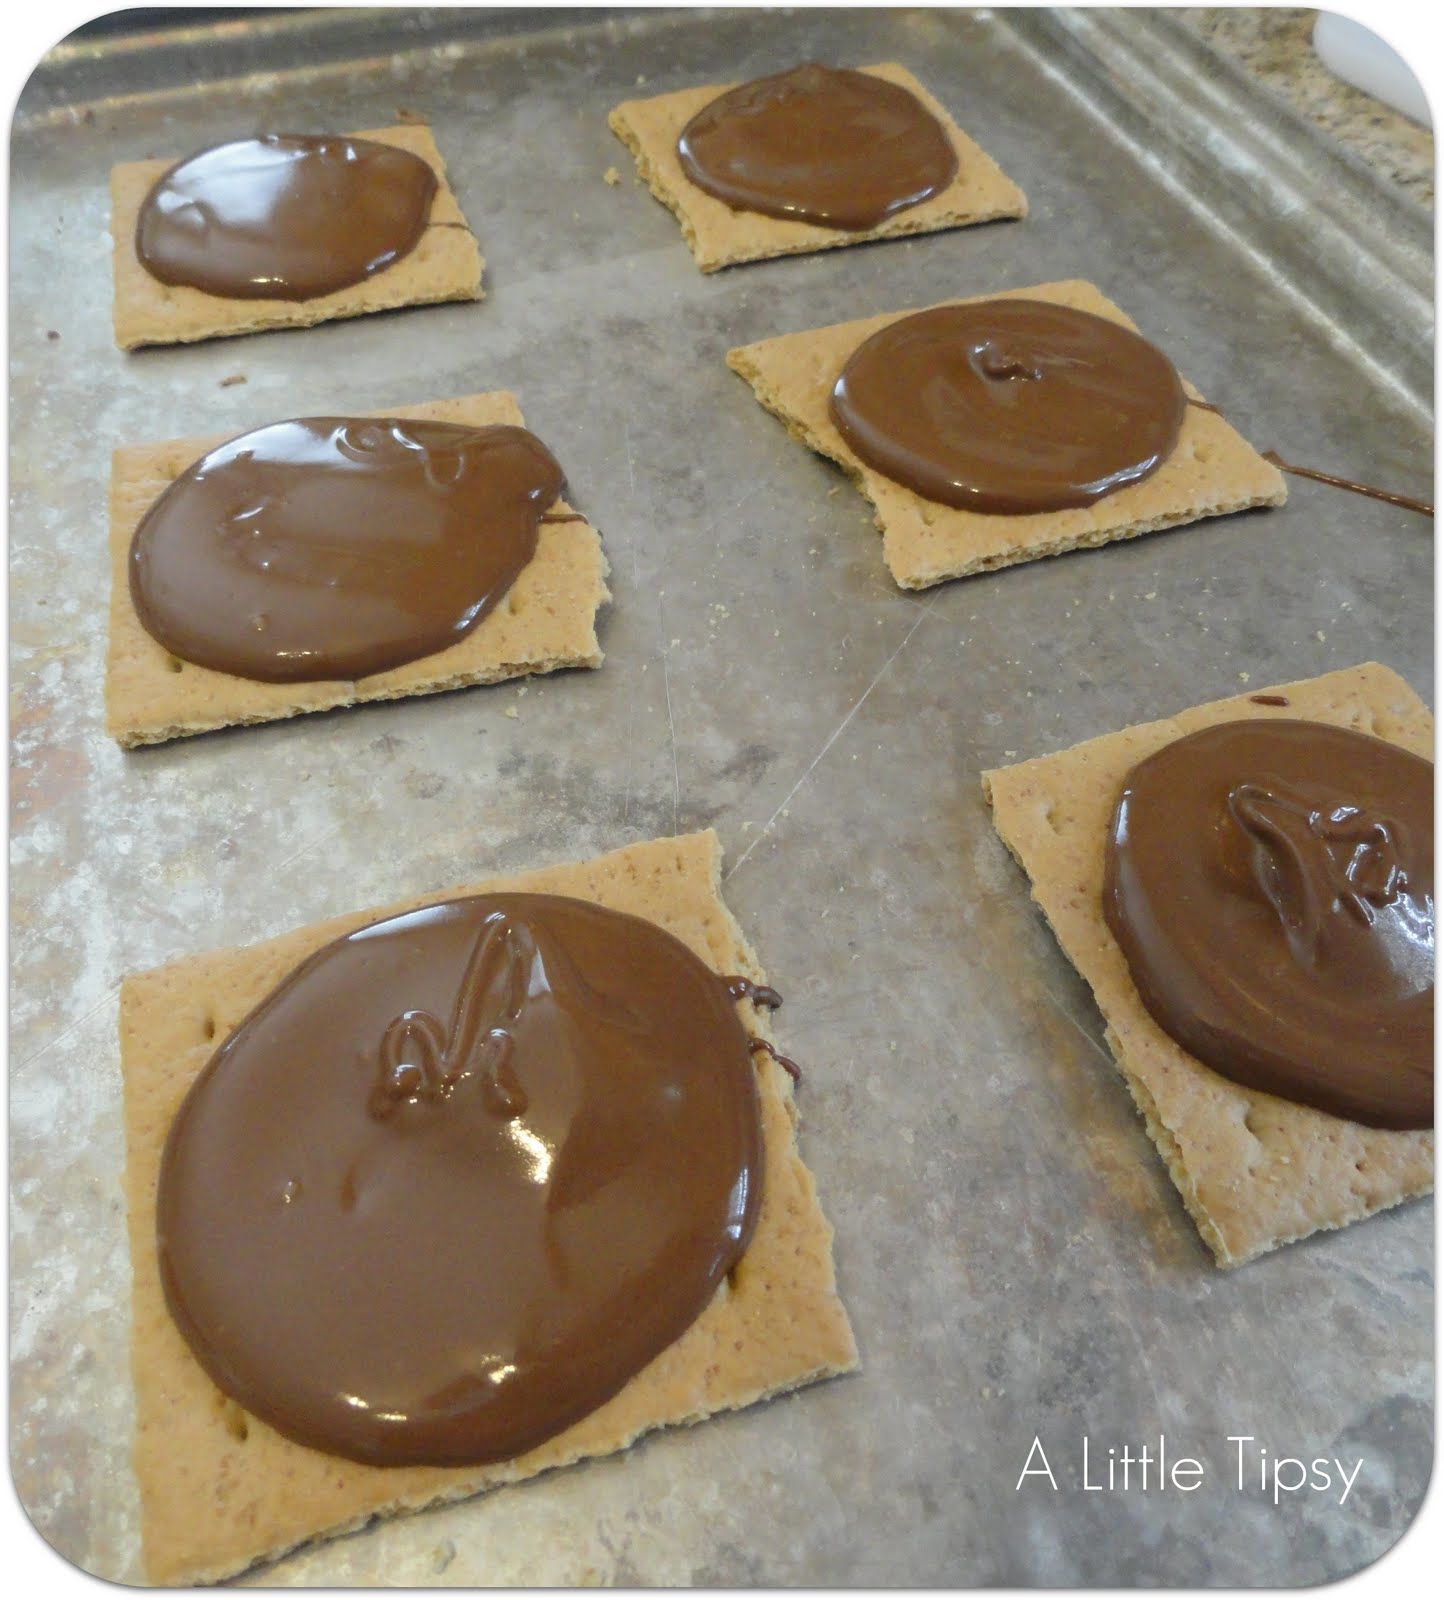
1. Lay out 8 graham squares on a cookie sheet. (I know I only have 6, but I had leftover chocolate so you can do 8.)

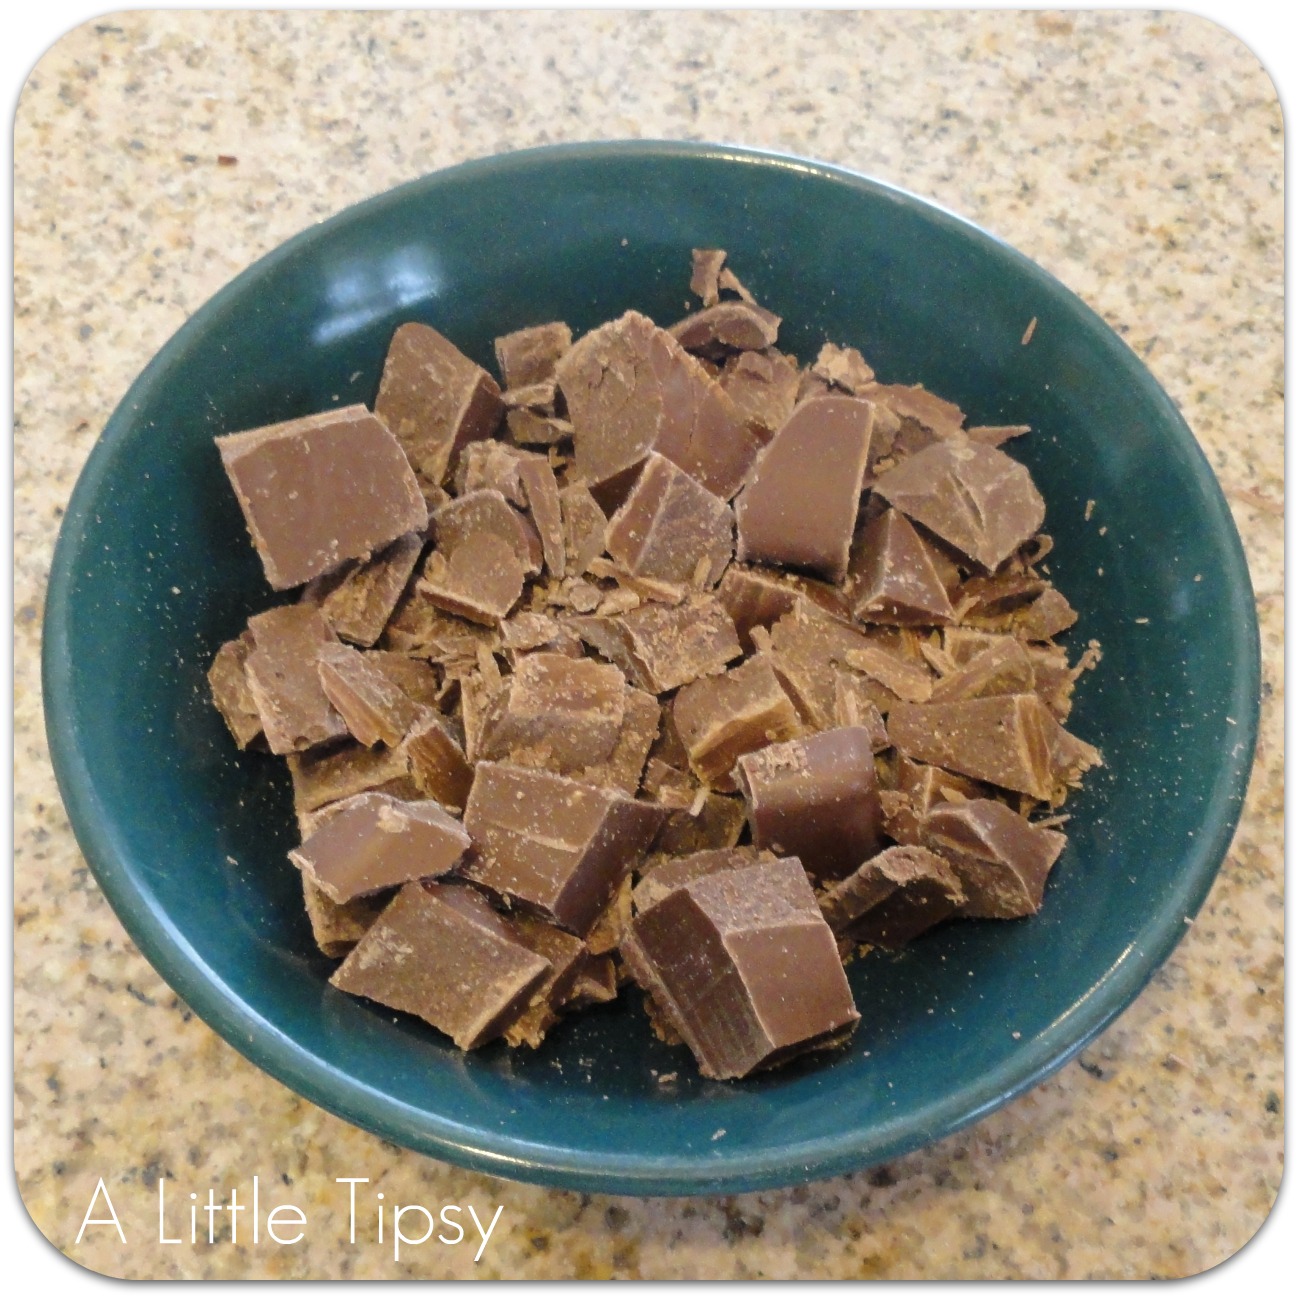
2. Chop up about 2 oz. of almond bark. Microwave for one minute and stir until smooth. Add more time in 15 second increments if needed.

3. Spoon a good amount on to each cracker.

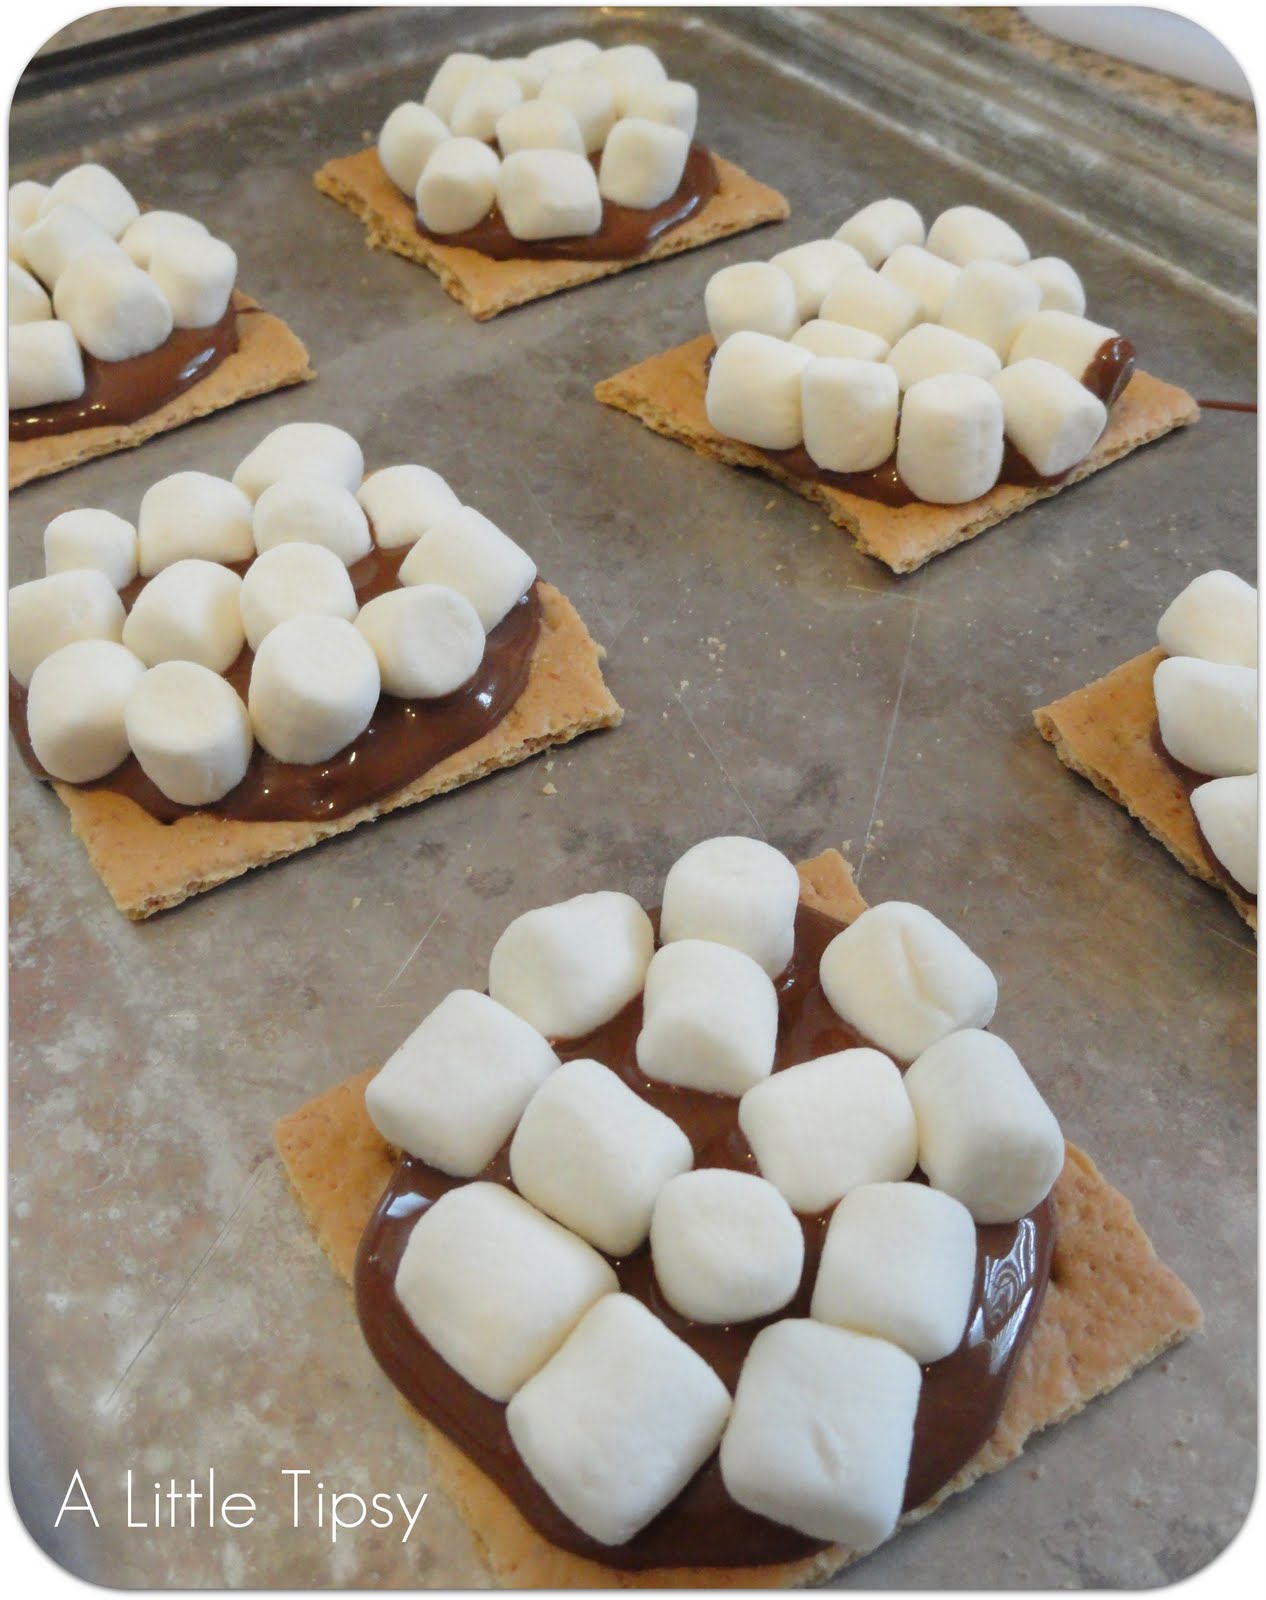
4. Add about 10 mini marshmallows to each cracker.

5. Use remaining chocolate to drizzle on with a spoon.
6. Heat oven to broil and allow almond bark to dry so it is not shiny. Pop them in to the fridge for a minute if you are impatient like me.

7. Put them in the oven for about 1 minute 15 seconds or until golden brown. Watch them closely!!

Wow your unsuspecting kiddo with a totally awesome treat!

Good to the last ooey gooey drop!

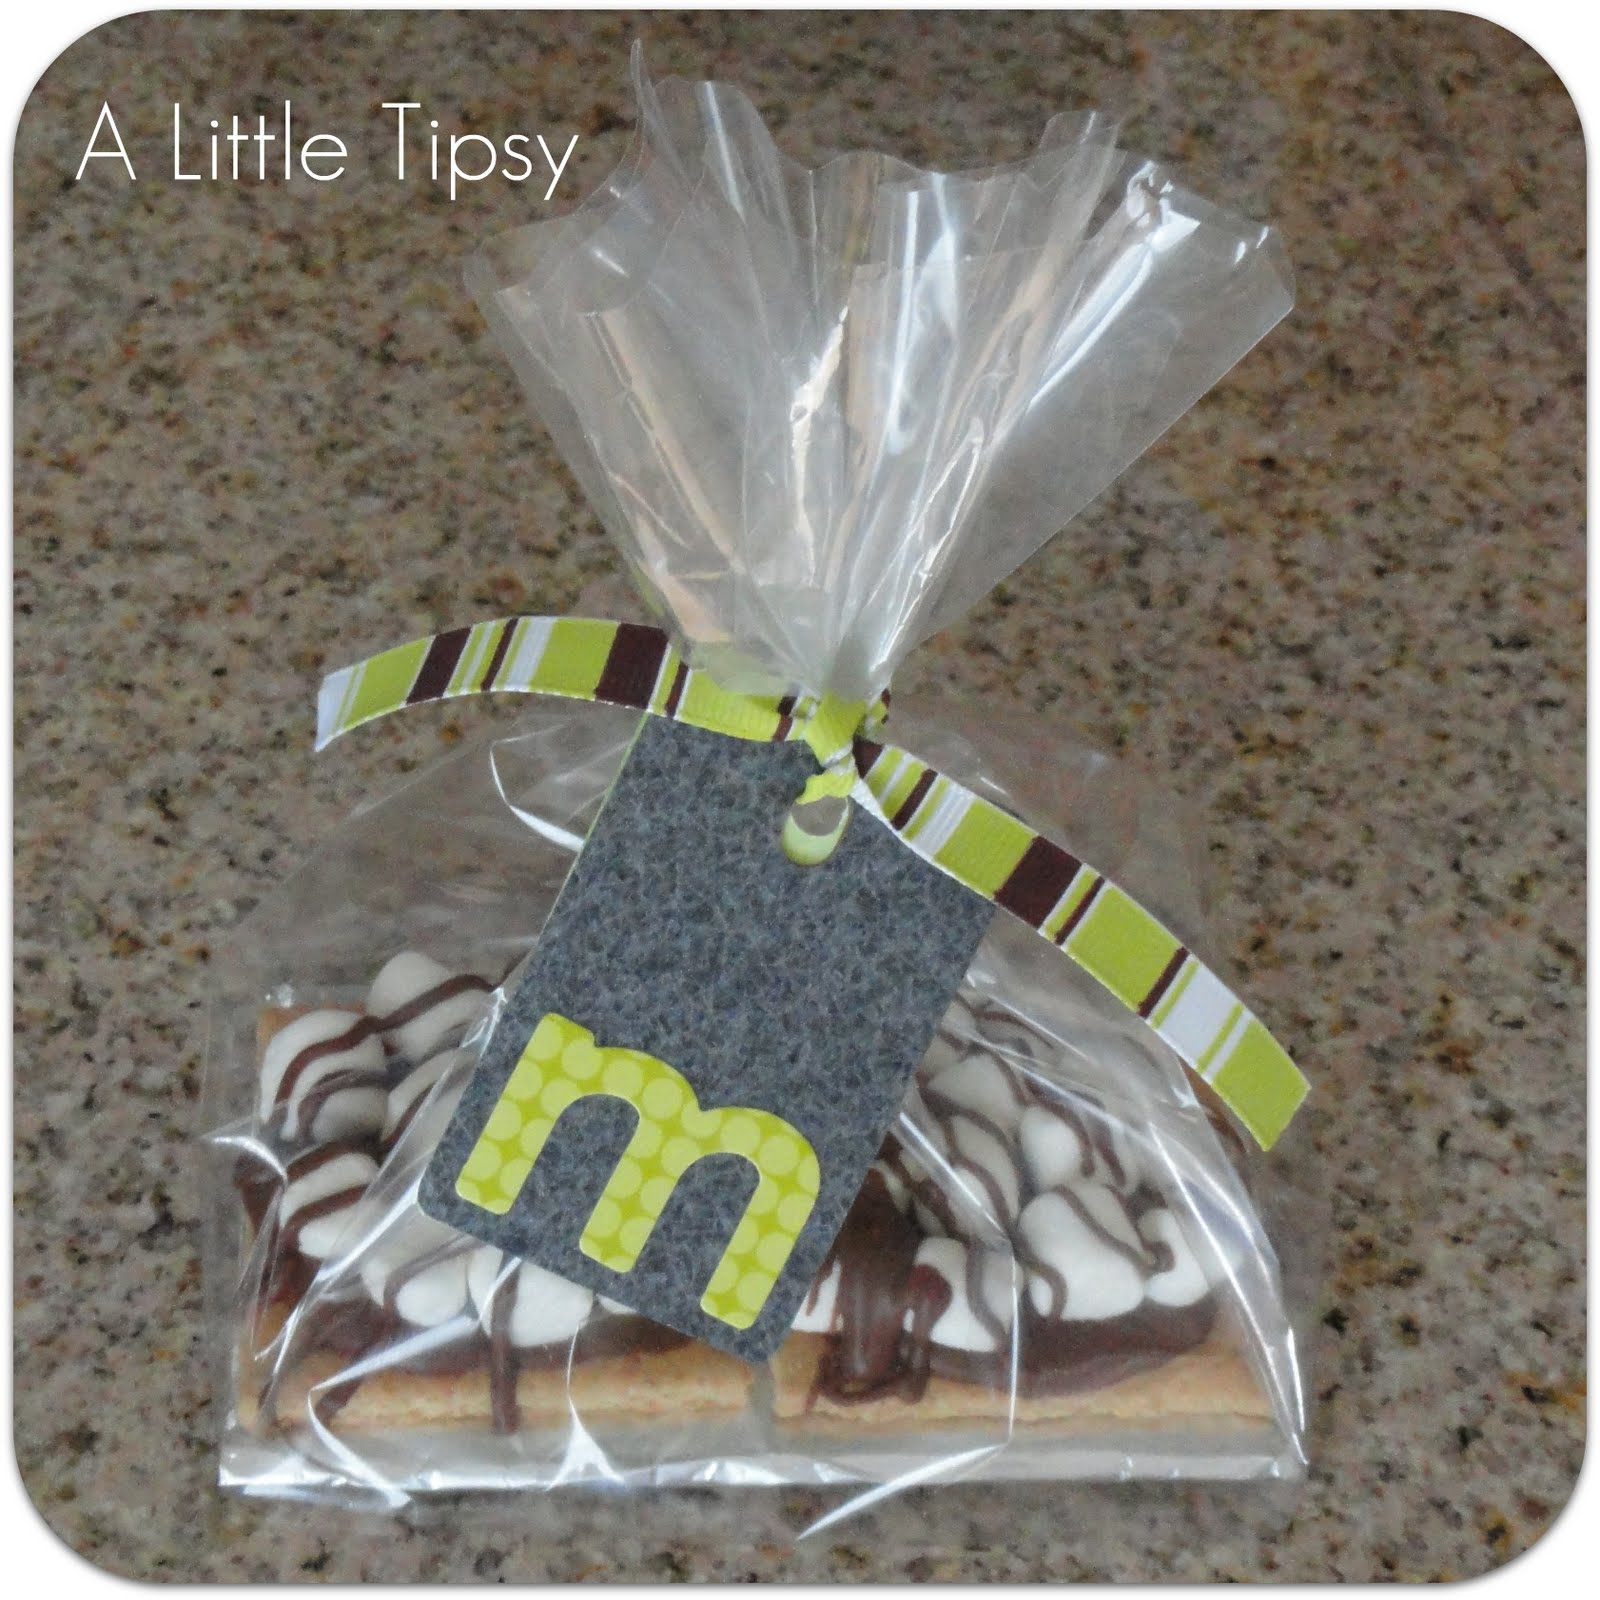
They are also great for a little Thank you or thinking of you gift!
Just skip the broiling step so they can do it on their own and have a nice warm treat.
Cover some cardboard in tin foil, pop it into a treat bag and tie with a ribbon.

My tag is a laminate sample from the hardware store dressed up with a sticker and some paper on the back with directions.

Total cost: $3 to buy the almond bark, I had the rest on hand

Now it’s time to link up your $5 projects!

Please remember:

  • Only link to your own projects that cost you $5 or less (price does not have to include items you had on hand)
  • You can link past projects that fit the dollar limit, but please only link each project once
  • No giveaways or items for sale
  • Please link back so others can join the party and so you have the opportunity to be featured on Saturday!

DIY under $5


P.S. Don’t forget to sign up for free Tipsy updates via RSS or email.

We have decided to truncate our feed to help protect against stolen content. I apologize for any inconvenience. Please love us anyway. 🙂

Feature Friday: My Junk Drawer {Roast Recipe}

May 6, 2011 By Michelle Barneck 2 Comments

Hello A Little Tipsy land!
My name is Kristen, from My Junk Drawer. I am thrilled to be a guest today! I am even more thrilled to have Michelle over on my blog today.

I am a SAHM/full time college student. I am married to a cool surfin’ musician who loves to be a kid. I have 3 cute little kiddos, ages 8, 3, and 1. In between diaper duties, and writing essays I like to create. I like to create with fabric, paper, wood and food. Today I am here to share with you a little bit of my love for food.

I am excited to share this recipe with you today. It is super and easy and super yummy! It makes for a great family meal or a meal you take to a friend in need.

Have you ever planned on cooking a pot roast in your crock pot so at the end of the day you could take a break and not have to slave over the stove to make dinner? Have you ever forgot to turn it on and not realized that it wasn’t on until it was too late to cook it in the crock pot? I have too! Today I am going to share my new way of making a pot roast dinner that tastes even better than in the crock pot. The potatoes and carrots don’t come out soggy, they come out perfect! And it only takes 3 hours, instead of 8!

Here we go…

Ingredients:

meat of choice-about 1/4 lb per person

potatoes-2 per person

one bag of baby carrots

seasoning

Step 1: Preheat oven to 300.

Step 2: Get out your roasting pan.

(I love my roasting pan, the best part is that it was only $8 at Wal-Mart)

Step 3: Prepare your meat by stabbing it a bunch of times with a fork, I think the proper term is tenderize (???).

It should look like this on both sides (look closely, there are a BUNCH of holes).

Step 4: Season it, generously, on both sides.

Step 5: Add water, not too much just enough to cover the bottom of the pan. It should only go up about 1/4 of the height of the meat. Cover with lid.

Step 6: Put it in the oven for about 2 hours. Chop up your potatoes sometime during this 2 hours. At the end of 2 hours it should look like this.

Step 7: Add potatoes and carrots, cover with lid. Put back in oven for 1 more hour.

Step 8: Take the pan out of the oven and test your meat. You do this by sticking a fork in it and twisting it. If the meat pulls apart you are good to go, if it doesn’t pull apart then stick it back in for 30 minutes and you will be good.

This is what you will end up with. Delicious pot roast with meat that melts in your mouth and veggies that have the perfect amount of bite left.

A huge thank you to Michelle for letting me invade her blog today! Make sure you all stop by My Junk Drawer and look around, I promise you will find something you like. 🙂

——————————————————————–

Thanks for stopping in Kristen! I am definitely going to try this one! I have a secret. I have never cooked a good roast. I can’t seem to find a happy medium with my hot running crock pot, so I am off to get myself a roasting pan!

P.S. Don’t forget to sign up for free Tipsy updates via RSS or email.

We have decided to truncate our feed to help protect against stolen content. I apologize for any inconvenience. Please love us anyway. 🙂
« Previous Page
Next Page »

  • Bloglovin
  • Facebook
  • Google+
  • Instagram
  • Pinterest
  • RSS
  • Twitter

Hi there! I'm Michelle. Mother of three little boys and one little princess. Welcome to A Little Tipsy, a place for exploring creativity and sharing inspiration.

Follow on Bloglovin


Visit Michelle Barneck {A Little Tipsy}'s profile on Pinterest.

Tutorials by Category


15 Family Reunion Games

Family Reunion Games Collage

15 Sprinkle Party Ideas

Sprinkle Birthday Party
Creative Commons License

© Copyright 2014 A Little Tipsy · Site Designed by The Fairy Blogmother · Web Hosting by RFE Hosting

This website uses cookies to improve your experience. We'll assume you're ok with this, but you can opt-out if you wish.Accept Read More
Privacy & Cookies Policy