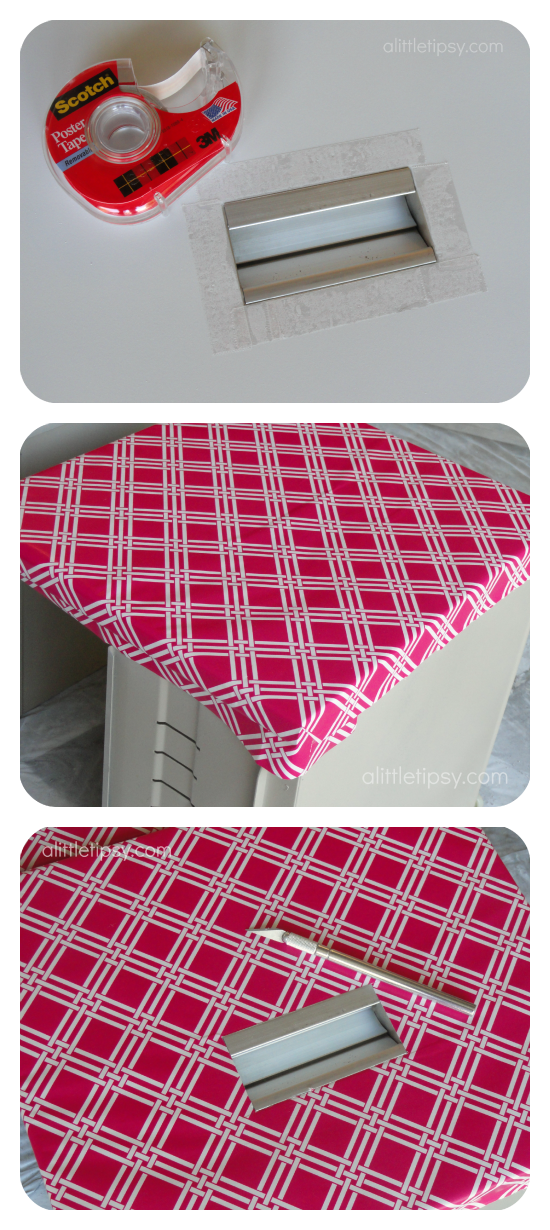
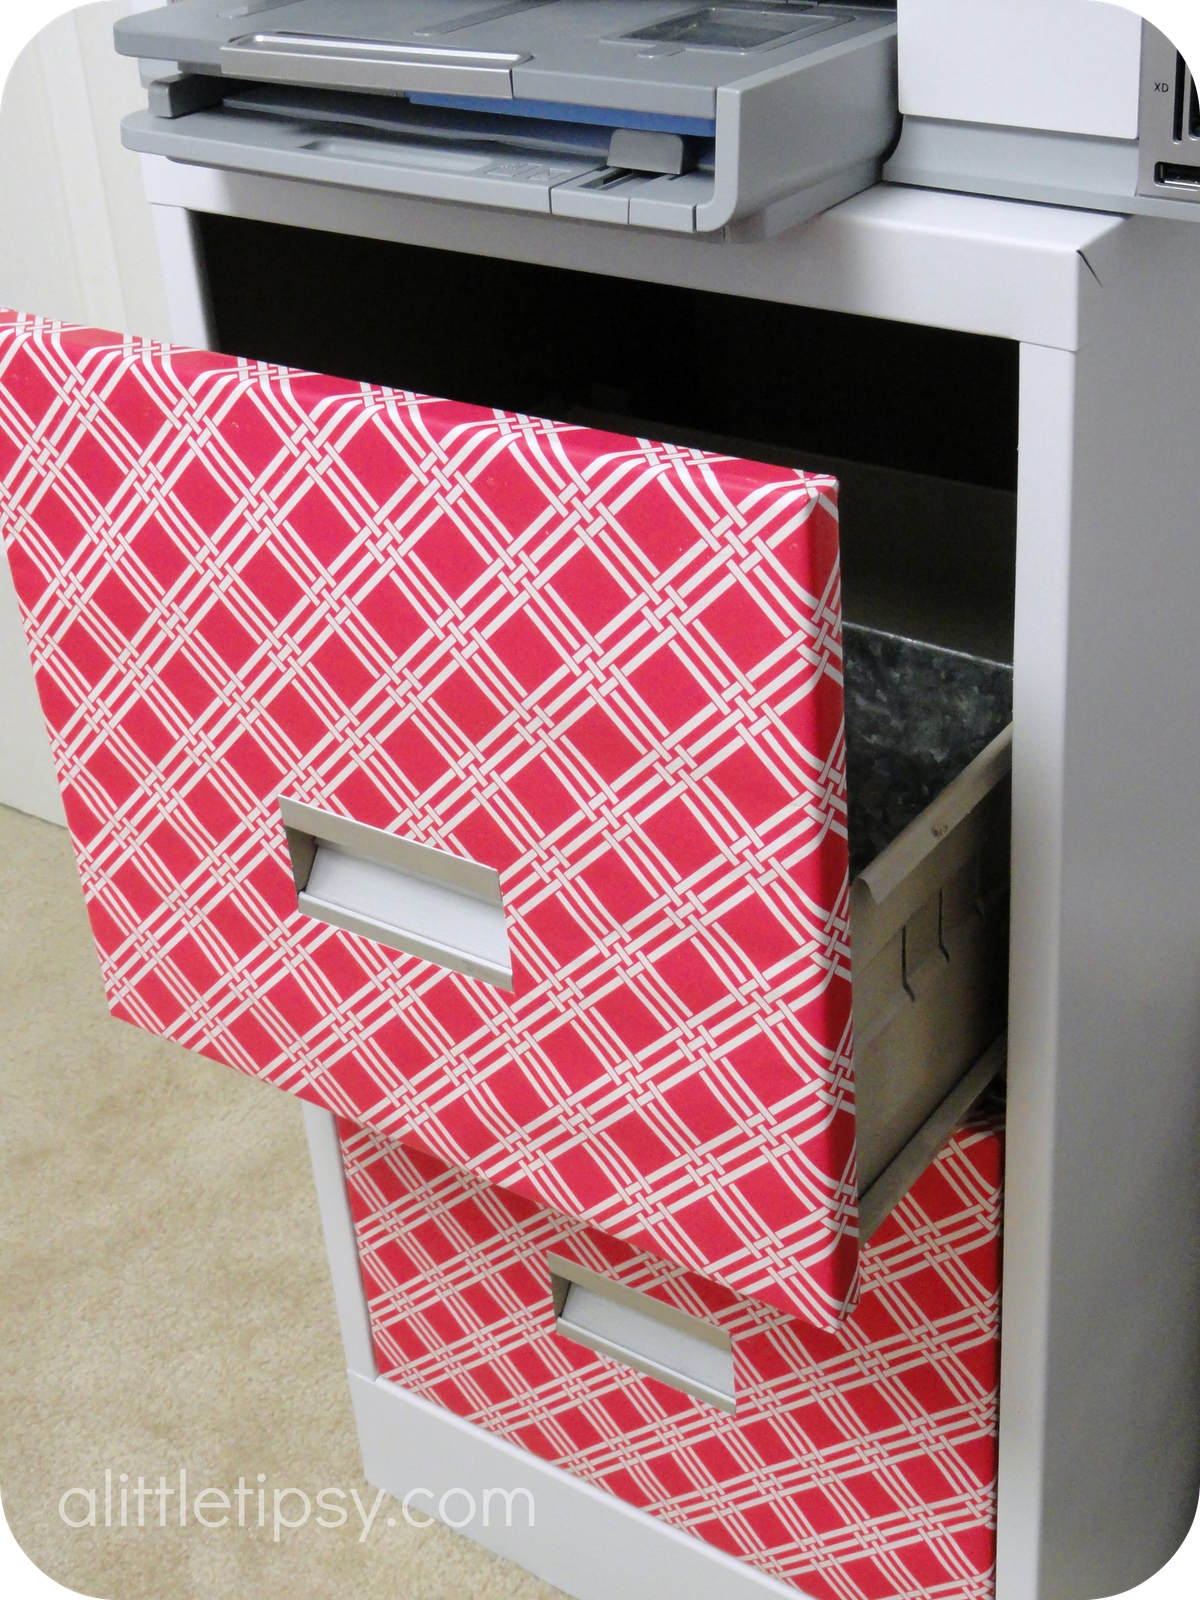
If you have read more than a couple of my posts you are well aware that I am a budget kind of girl. I figure why spend money if you don’t have to? During my craft room/office update I made good use of my trusty sidekick Mr. Spray Paint. It can give new life and use to all sort of items as you’ll see throughout this post.
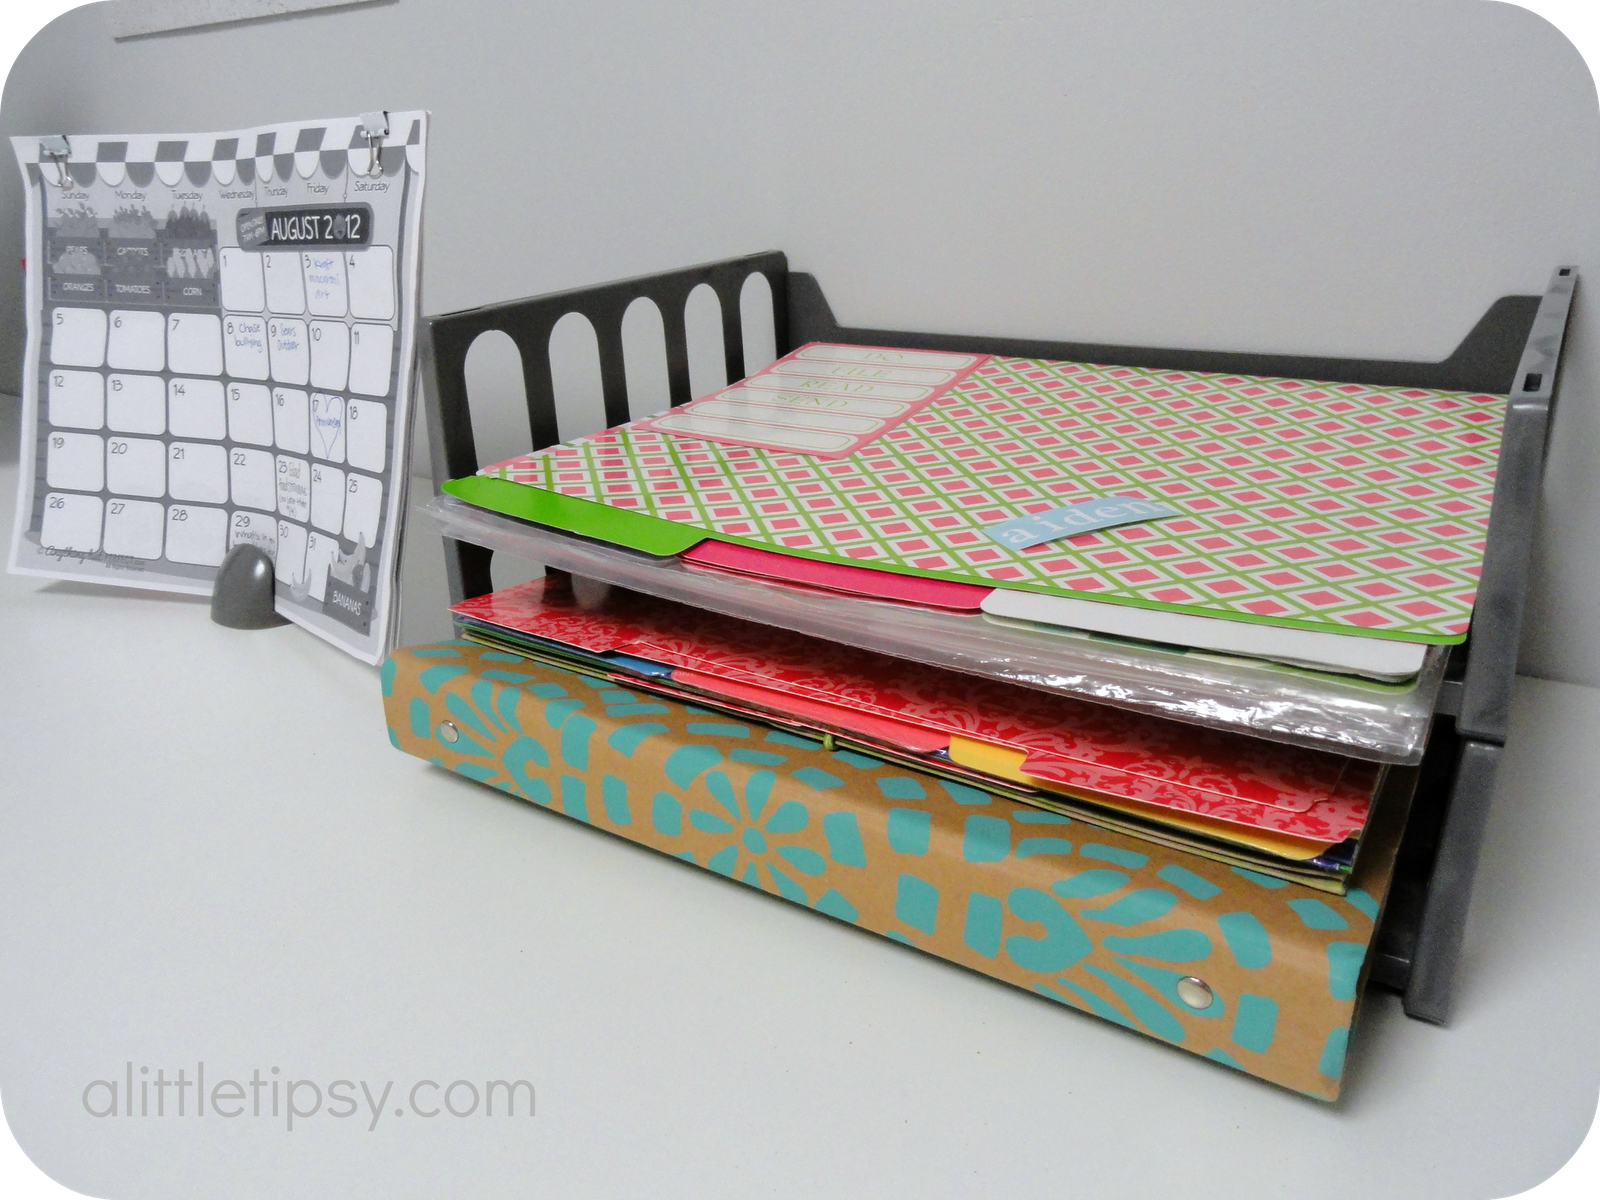
I had these office accessories on hand, but I was over the black and needed a color that would flow better in my space and be a little more soothing.
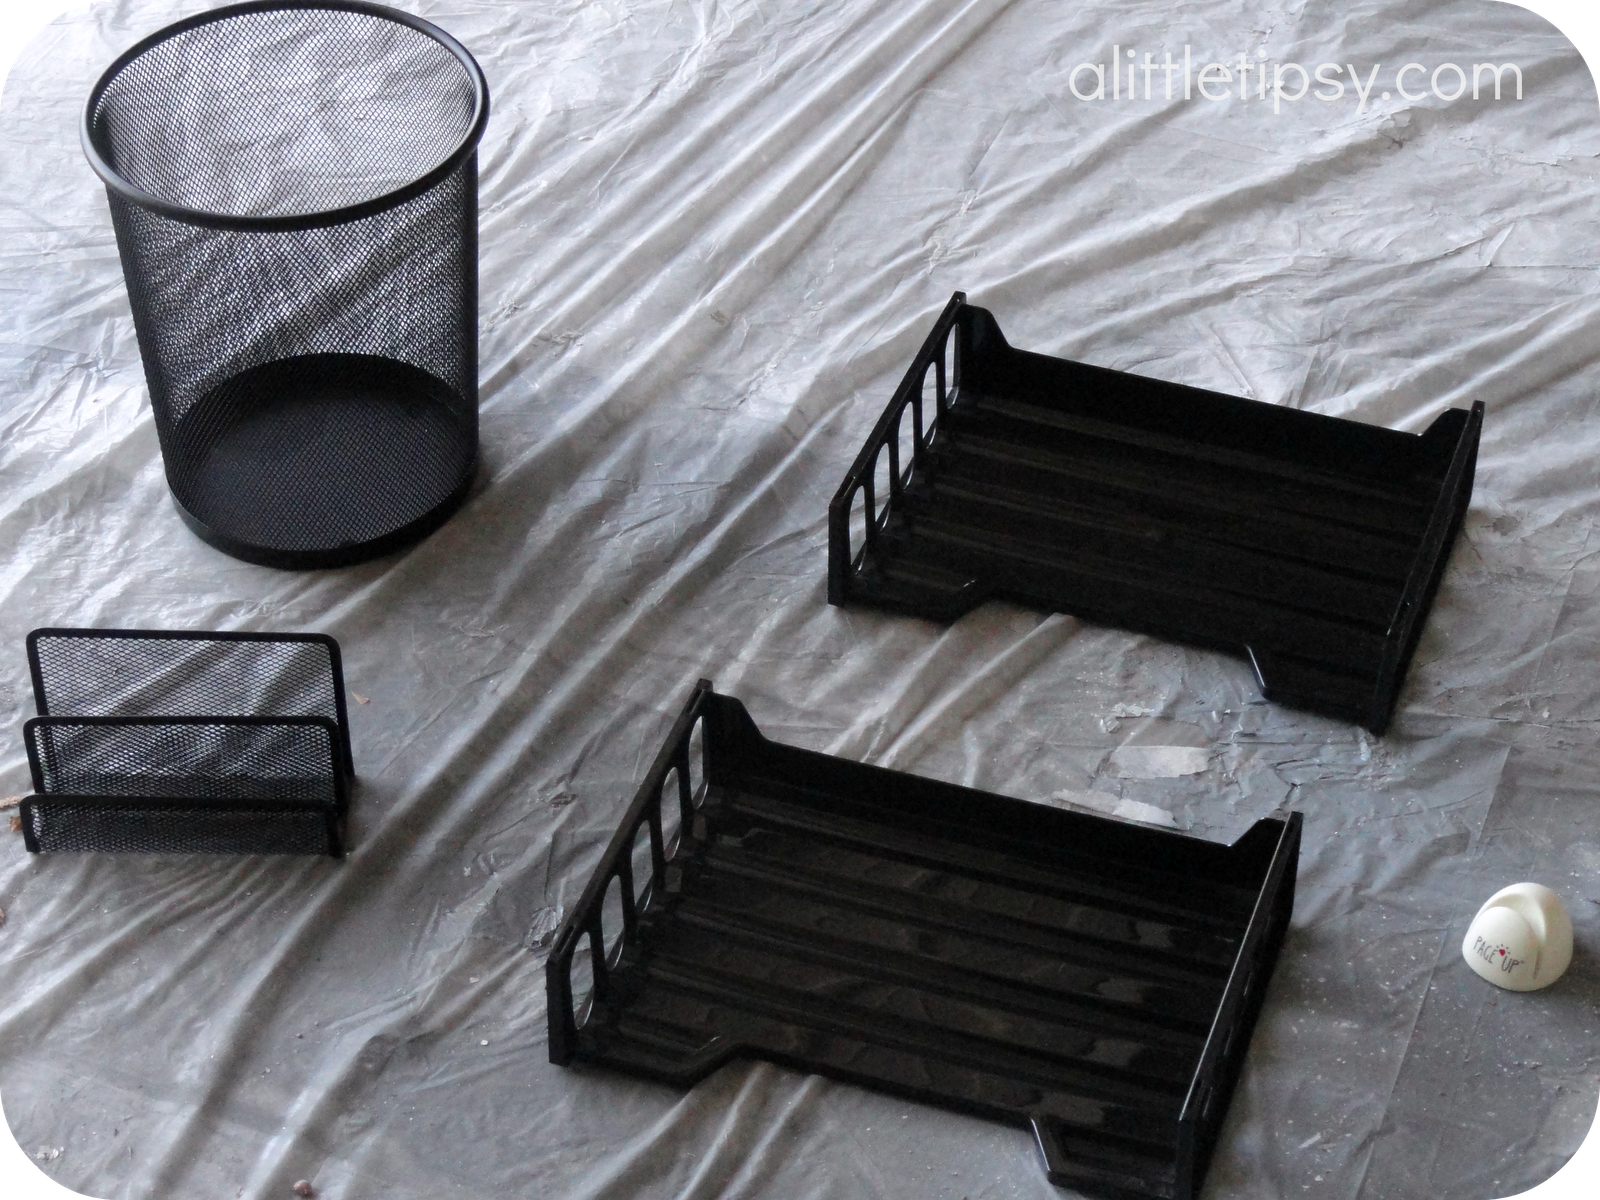
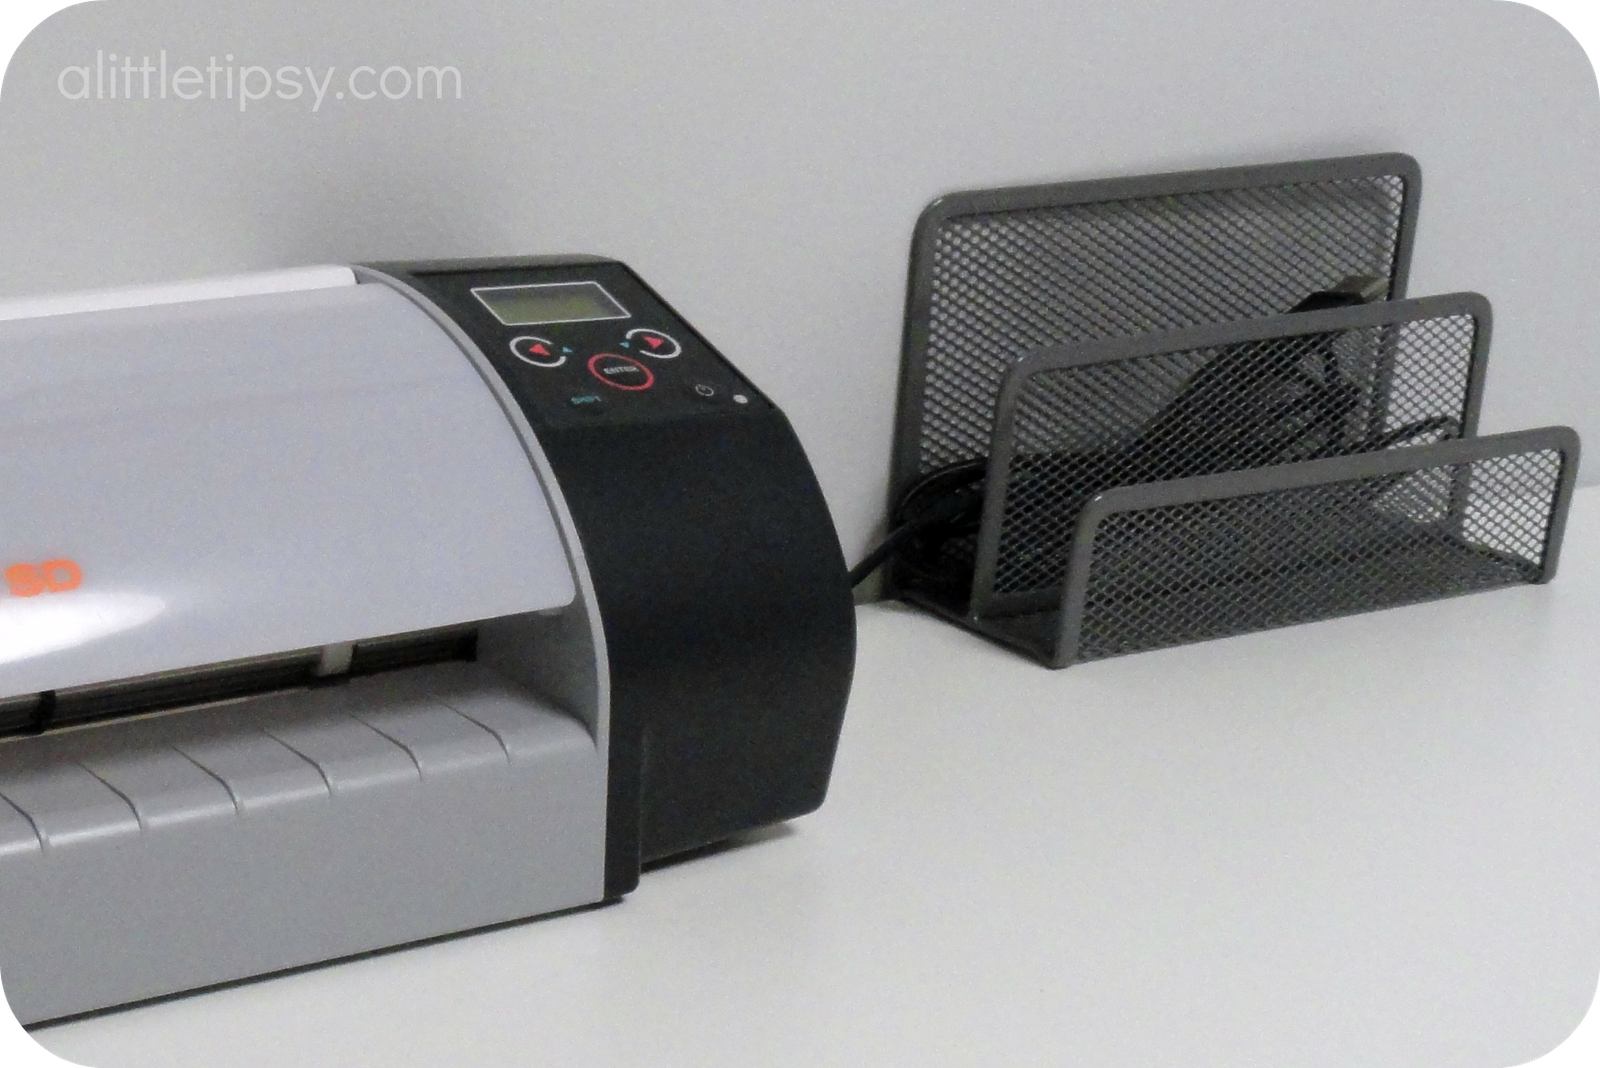
A can of Rustoleum Ultra Cover 2x in Satin Granite was the answer. I love the dark gray against the barely gray walls.


I also used it on some non-conventional items. The best way to describe the former color of this 75 cent thrift store lazy susan is putrescence. It is totally thanking me for taking it out of it’s misery.

And can you guess what I used to hold my decorative tapes?
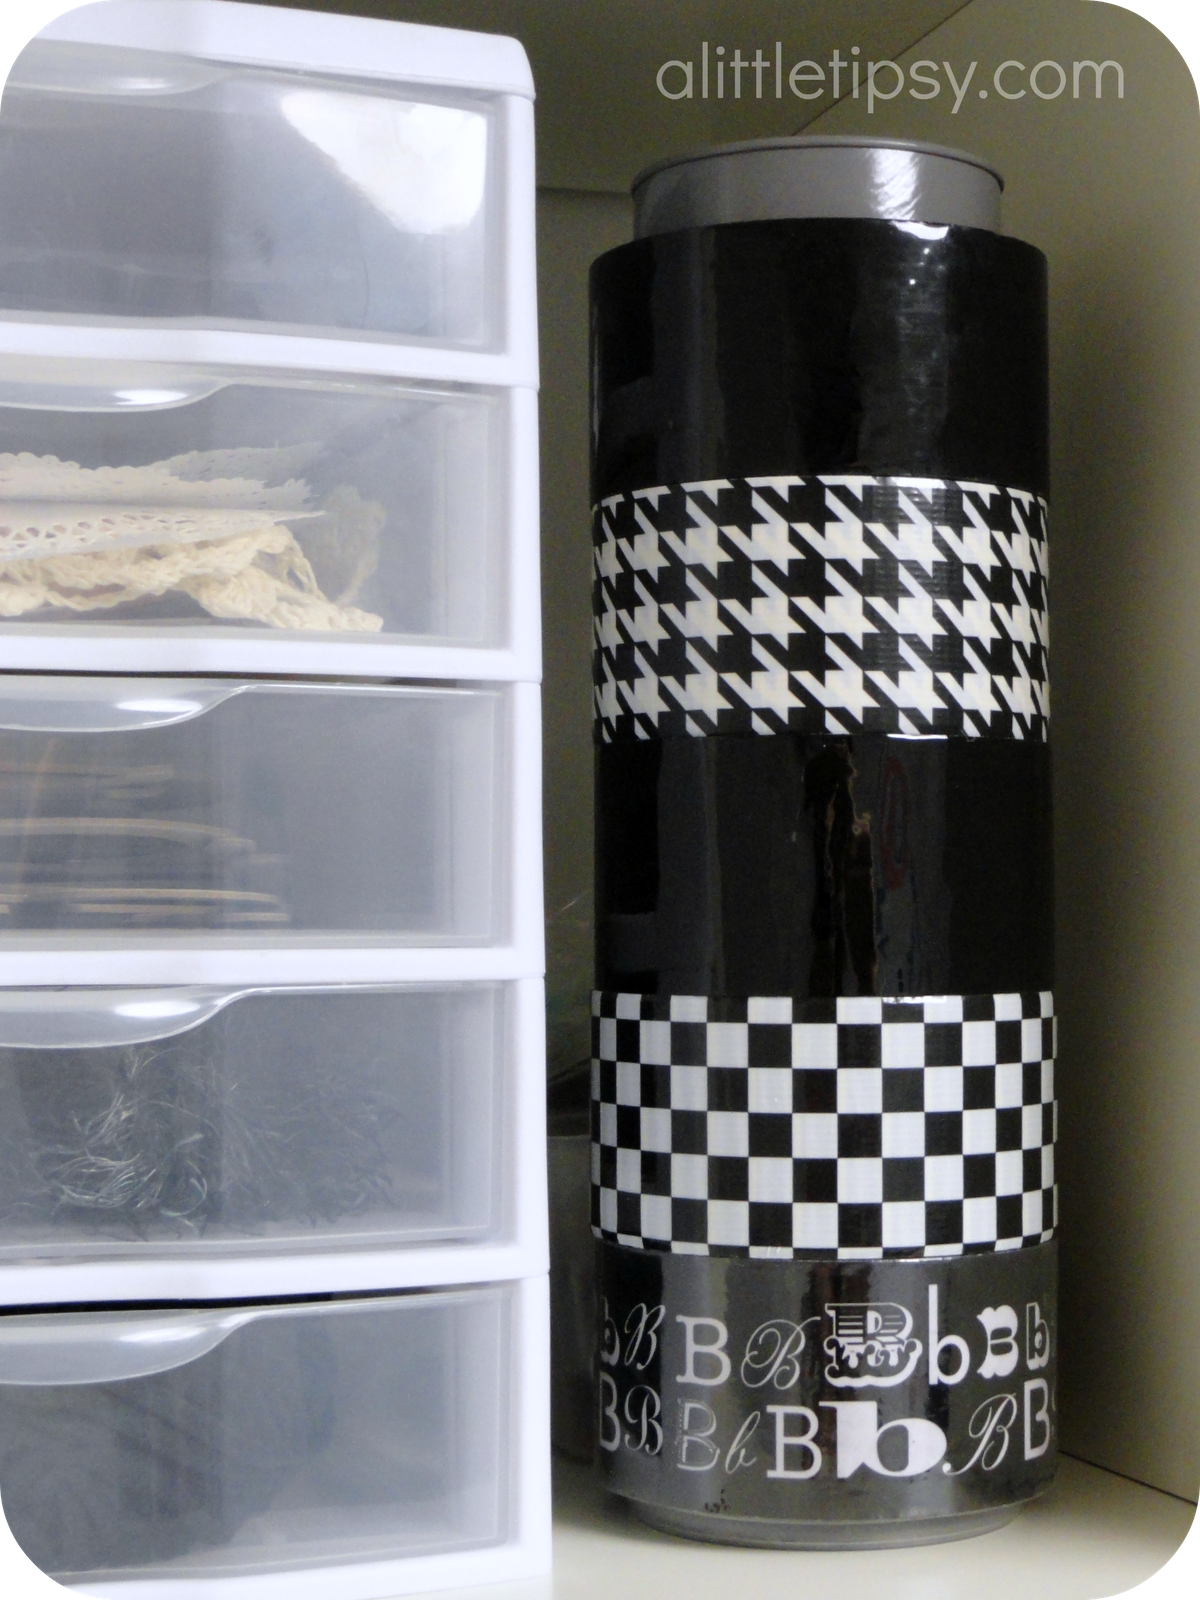
Yes friends, I spray painted a Pringles can. It was the perfect size!
These accessories were the perfect addition to my office update.
What have you updated with spray paint?
P.S. Don’t forget to sign up for free Tipsy updates via RSS or email.
We have decided to truncate our feed to help protect against stolen content. I apologize for any inconvenience. Please love us anyway. 🙂

.png)