A Little Tipsy

Creative Tips & Ideas

  • home
  • About Me
  • the tipsy top
  • press
  • projects
  • contact me
[print_thumbnail_slider]

Hex Pencil Case Tutorial

August 13, 2013 By Michelle Barneck Leave a Comment

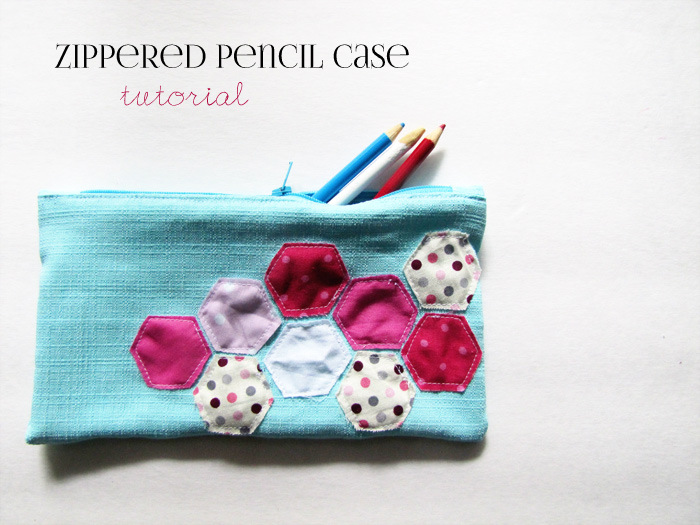
Hi again, A Little Tipsy readers! I’m stopping by from mama says sew again to share the tutorial for this zippered pencil case with you. Don’t let the zipper scare you! It’s actually really easy to sew up.

See the full tutorial.

It’s the perfect time of year to make one! My kids are getting ready to go back to school, and what better way to show their personality than to make them their own pencil case? Okay, really, I’m sure there are lots better ways to show their personality, but it’s still fun to have something that no one else will have.
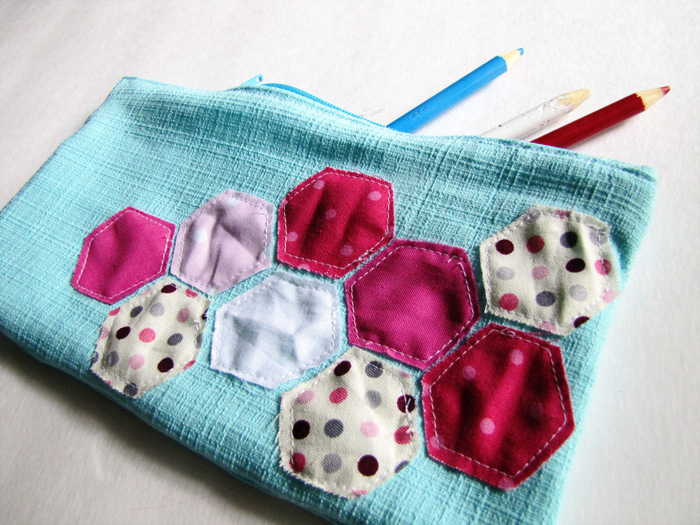
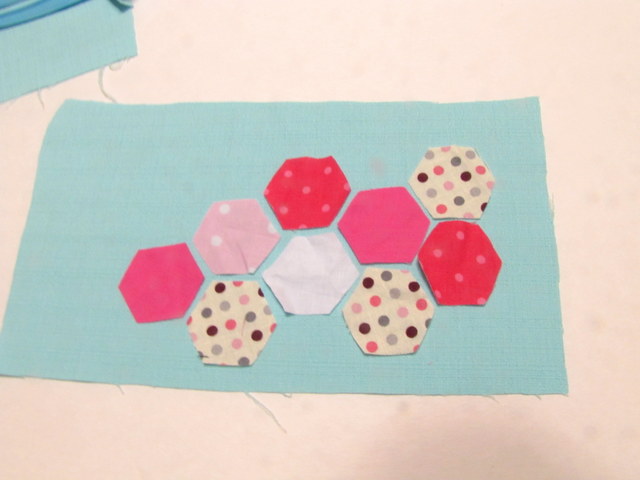
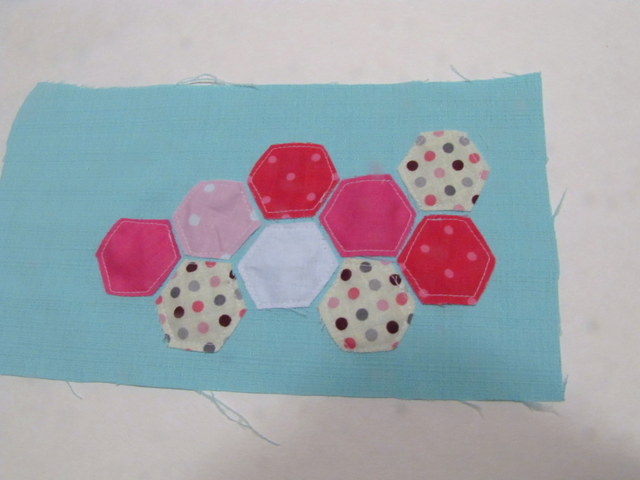
I appliqued hexagons in a honeycomb pattern, but you could do whatever you want. Here’s what to do.
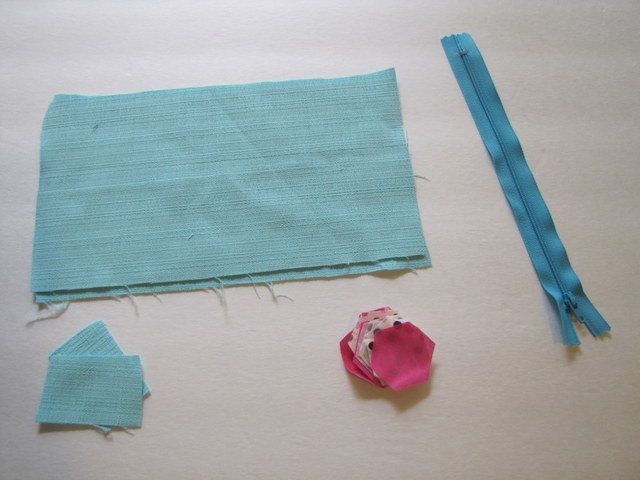
You will need:
  • Fabric (scraps work great)
  • 7 inch zipper
  • Sewing supplies, such as scissors and thread

First, cut out your fabric. My rectangles are 6 inches by 10.5 inches. Also cut out your applique pieces {here is a hexagon template if you want}, and some scraps for the zipper ends {to make the zipper long enough for the pouch}. 
First, stitch one of your scraps to the bottom of the zipper with right sides together, like this:
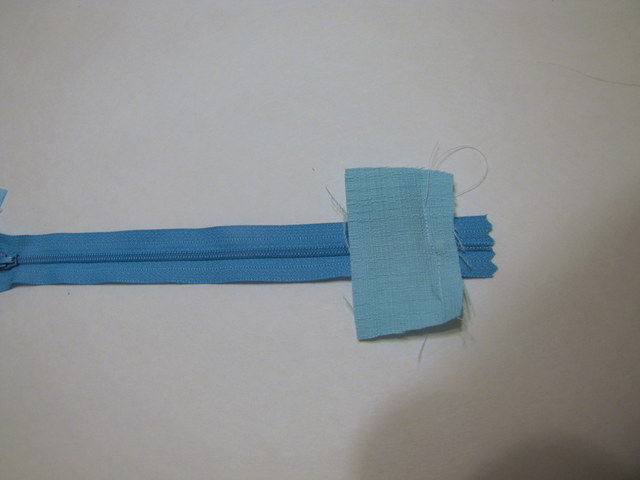
Trim off the end of the zipper.
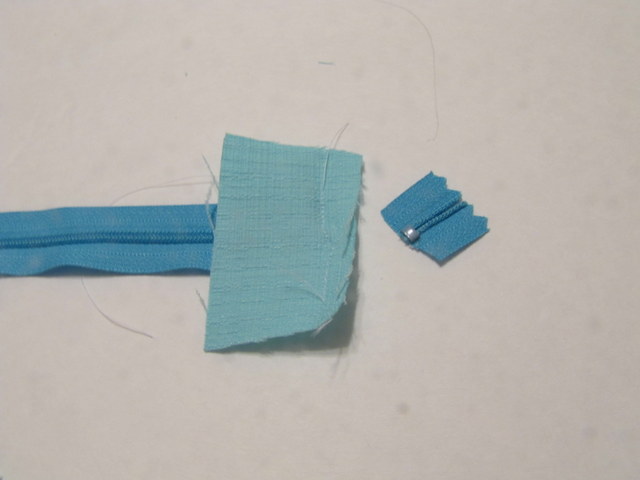
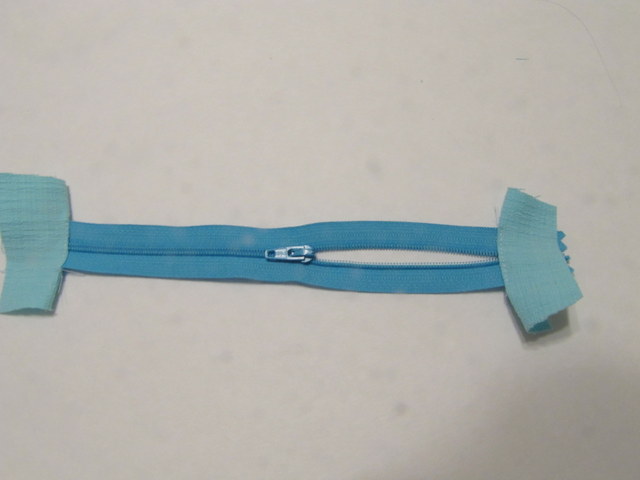
Repeat with the other end and the other scrap piece. Your zipper should now be 10 inches long, including the fabric {or the total length of the top of the pencil case, if you made it different dimensions}.
Next, applique your case. I arranged the applique pieces how I wanted them.
Then just stitched them in place.
Line up the zipper with the top of the pouch. The zipper should be face down on the top of the pouch. Stitch the zipper to the pouch along the top edge of the zipper and pouch.
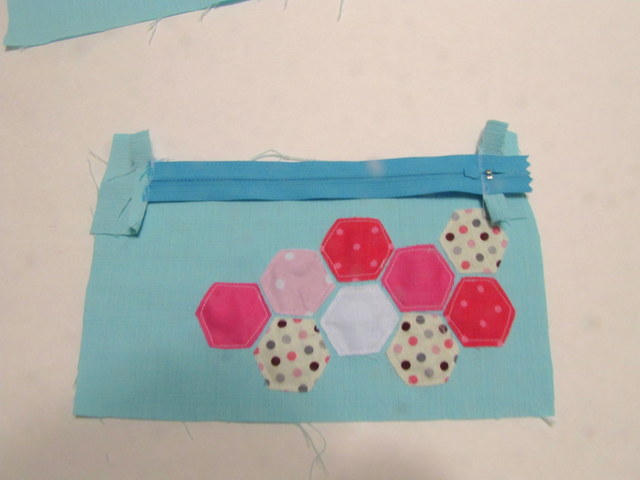
Then stitch the back of the pouch to the zipper the same way. When you’re done, it should look like the picture below. Press flat and topstitch along the edges of the zipper if desired.
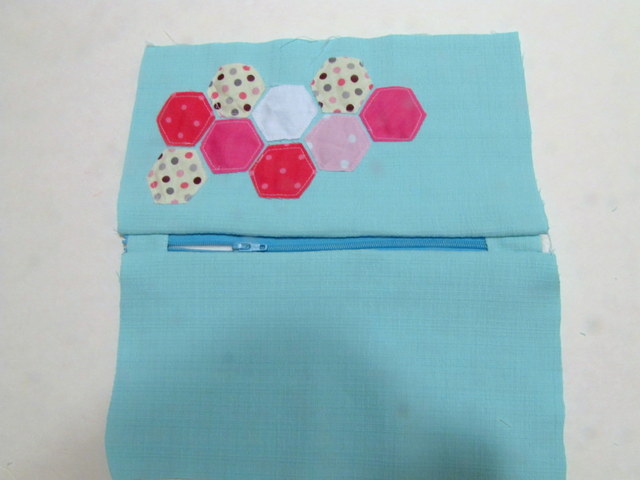
Fold the pouch so that right sizes are together and stitch it down one side, across the bottom, and up the other side. Make sure the zipper is open when you do this so that you can turn the pouch right side out! You can zig zag the raw edges to help keep them from fraying.

Ta da! All set for school! 
———————————————————————
Thanks Terra! I love the pattern and colors you used and it’s so perfect to use up those scraps we all having hanging about!
We have decided to truncate our feed to help protect against stolen content. I apologize for any inconvenience. Please love us anyway. 🙂

Easy Painted Notebook Paper Frames

July 31, 2013 By Michelle Barneck 8 Comments

This post is sponsored by Michael’s and their Back to School Challenge.
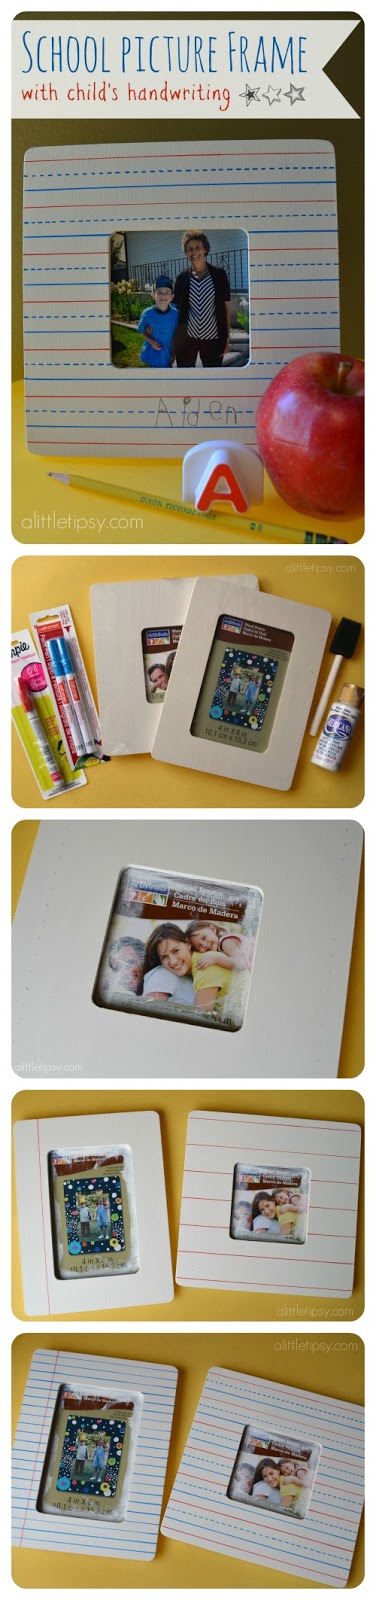
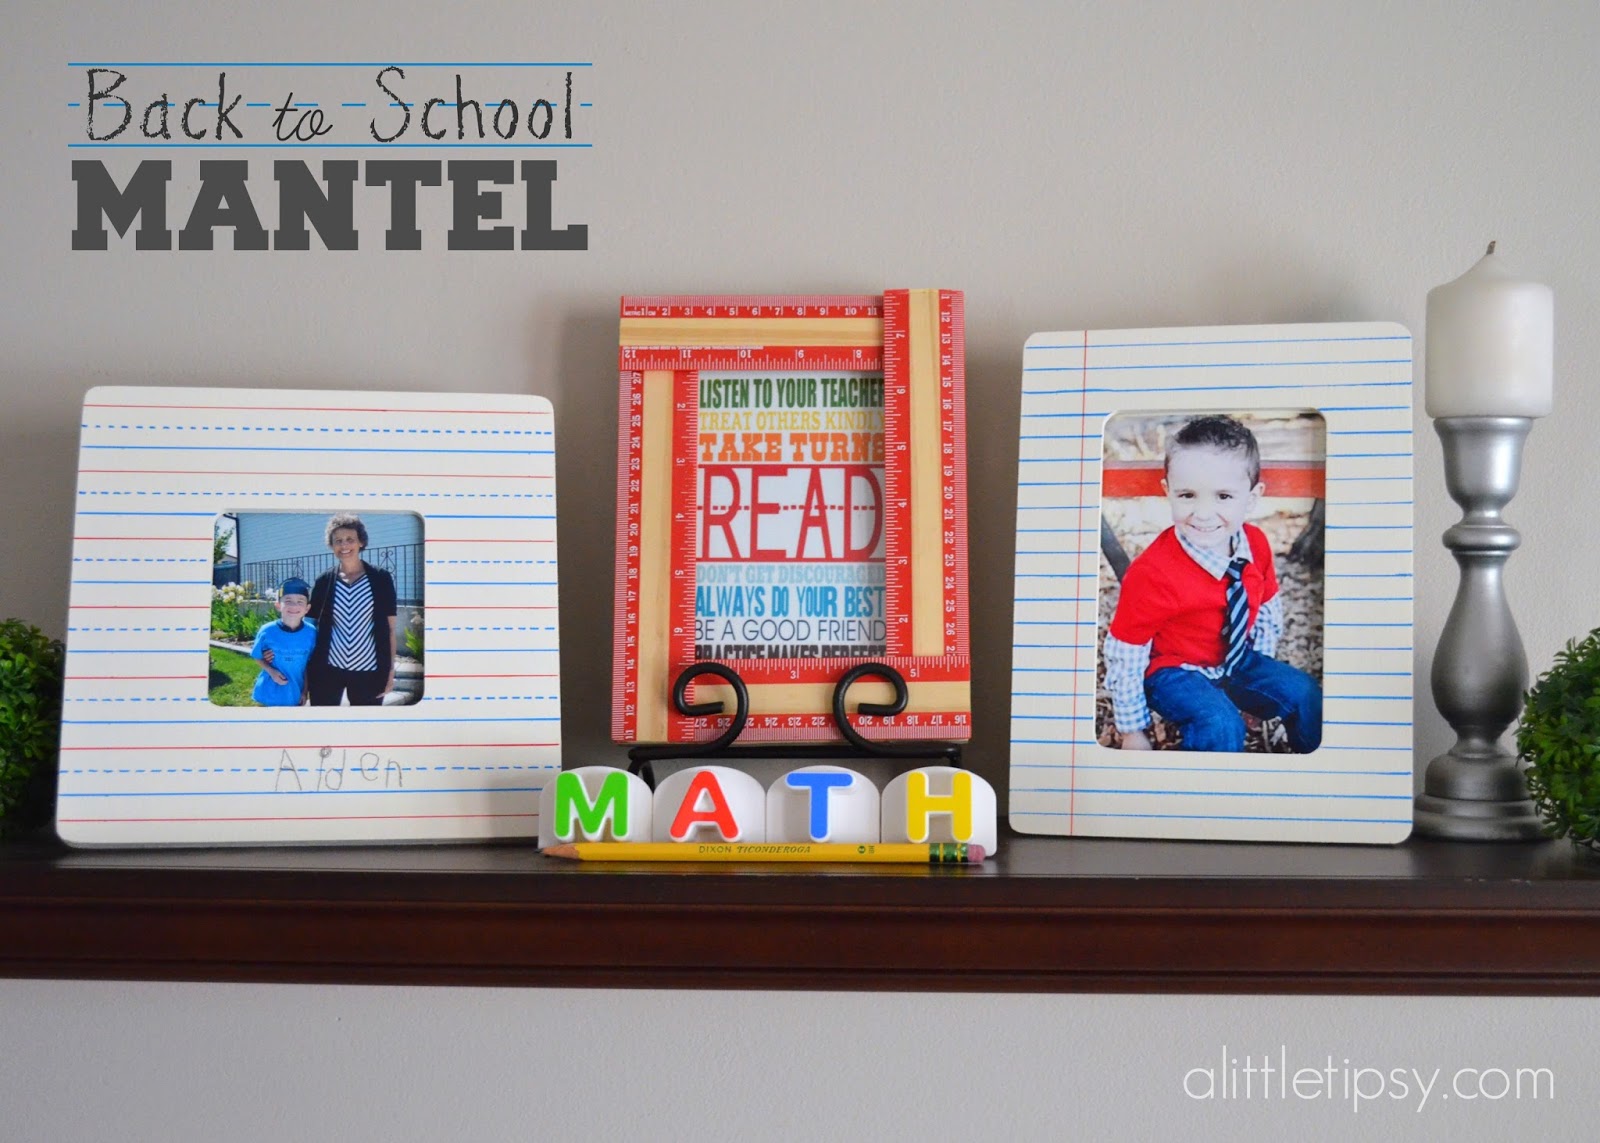
I have a thing for back to school. Something about fresh notebooks and backpack shopping gives me a big grin. I am a nerd. I loved school and want my kids to love it too. There is something fun about capturing those first day excitement and end of year celebrations which brings me to my project…School Picture Frames. I joined up with Michael’s to participate in their First Day of School Challenge and I think you’ll like what I came up with. This is not my first rodeo, see my ruler frame and back to school frame, this year I went with paper.


The notebook paper frames are hand painted, but sooo easy! I made two versions one frame with college rule paper for the older kids and one frame with the “learn to write” paper for little kids (see picture on left).

They are perfect for your first day of school pictures and I love that they can preserve your little person’s adorable handwriting.


SUPPLIES:

Wood Frames ($1 each)
White Craft Paint
Foam Brush
Ruler
Pencil
Red Fine Tip Paint Pen
Blue Fine Tip Paint Pen
Mod Podge or Clear Spray Paint

*all available at Michael’s*


DIRECTIONS: 

1. Paint the frame white. I used three coats. Let dry.

2. Using your ruler make marks on each side of the frame where you want the lines to go. I spaced my lines one centimeter for both versions, you just alter the colors of the lines for the learn to write paper.

3. Using your ruler add the red lines with your paint pen. One line going down vertically about an inch from the left side for the college ruled or every 3rd pencil mark for the learn to write. Let dry.

4. Using your ruler add the blue lines with your paint pen. For the college ruled on each pencil mark. For the learn to write, one under each red line. After the blue lines are dry, go back and add the blue dashed lines after your blue lines are dry.

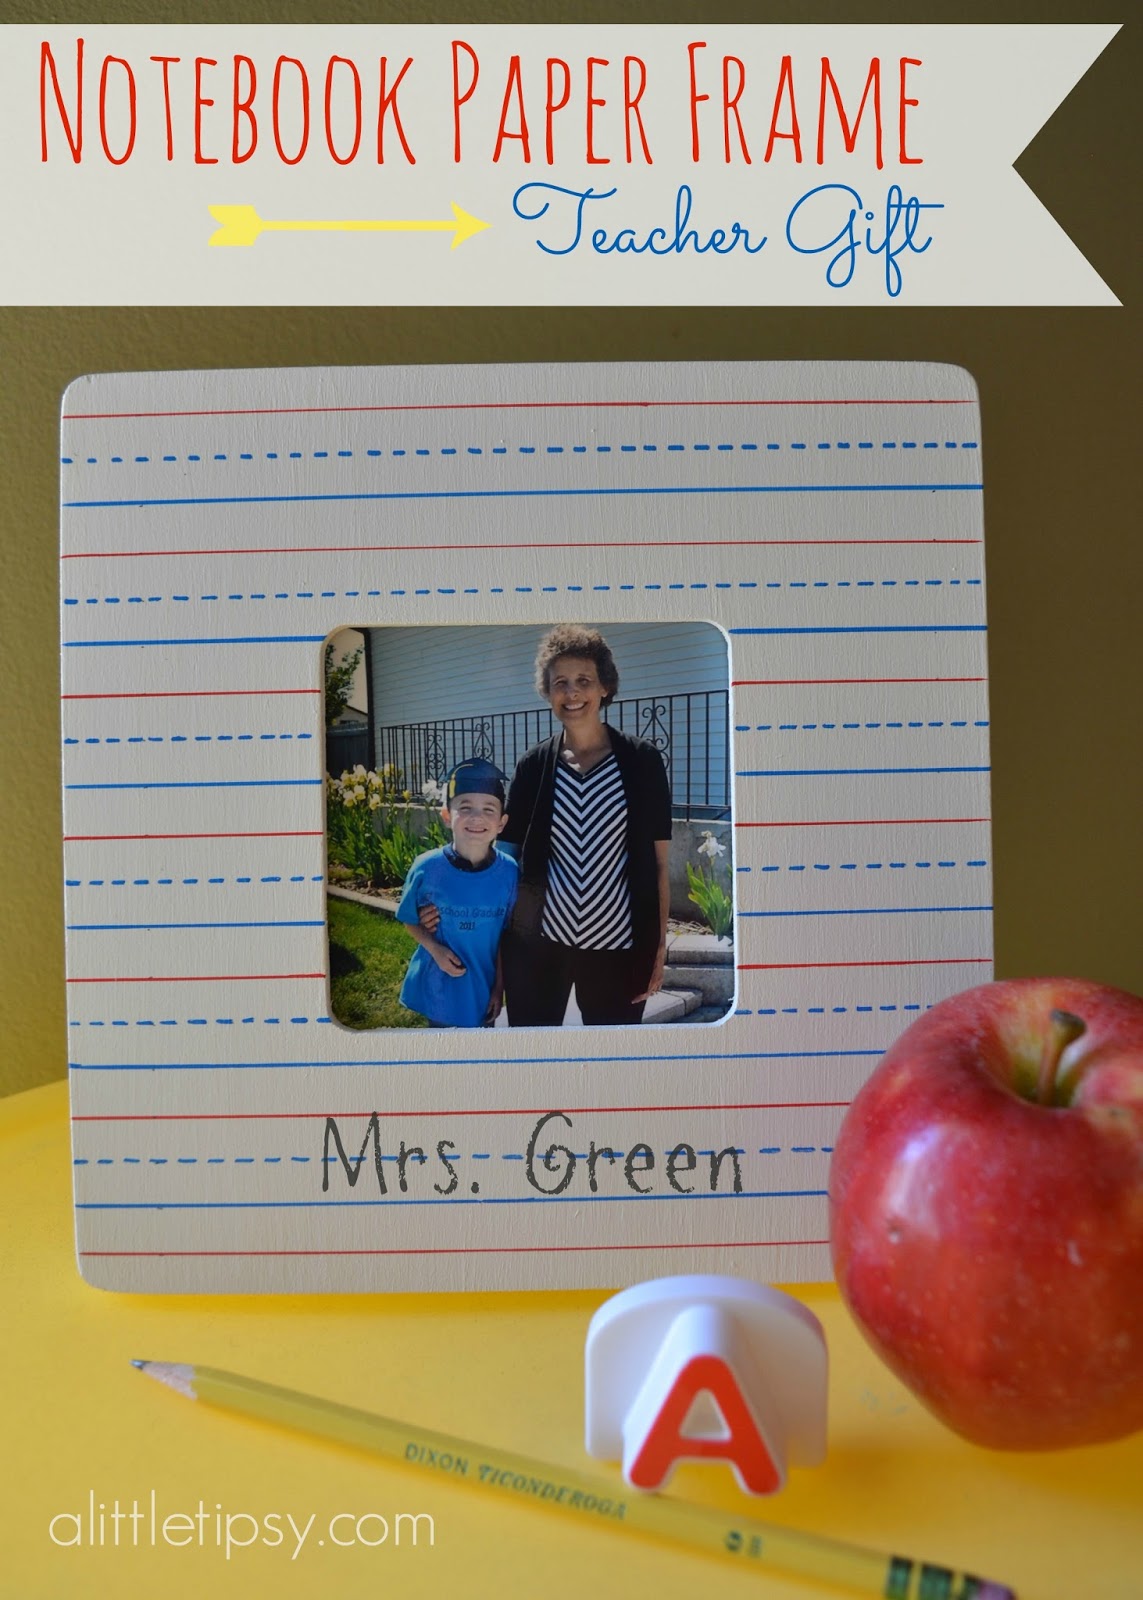
5. To personalize, have your child add their name with a pencil or add the teacher’s name and use for a gift.

6. Cover with protective clear coat.

Not bad for buying all the supplies (most of which you may have on hand) for about $10 right?

Speaking of gifts for teachers, Michael’s offers a 15% off discount for teachers everyday! Talk to a store associate for more info. Also, be sure to download the Michael’s app so you always have their deals and coupons at your fingertips! I love just pulling out my smartphone and getting a discount!

Last, but not least, here is how I put it all together. I still can’t believe my little guy is starting Kindergarten. Tear.

Disclosure: I was provided a Michael’s gift card to pick up supplies for this challenge.

We have decided to truncate our feed to help protect against stolen content. I apologize for any inconvenience. Please love us anyway. 🙂
ABC Letter Chips

July 30, 2013 By Michelle Barneck Leave a Comment

Hello Little Tipsy readers! I’m Kelly from Smart School House and, as I’m sure you can imagine, I love educational crafts. The other day my toddlers (2 and 3 years old) were playing with their play-dough while I was preparing their lunch. My daughter, Stella, absolutely LOVES those unbaked tortillas that you can find in the refrigerator section of any grocery store (or Costco in our case). It dawned on me that I could combine the play-dough activity with lunch for an educationally fun experience!

Read more of this fun tutorial…

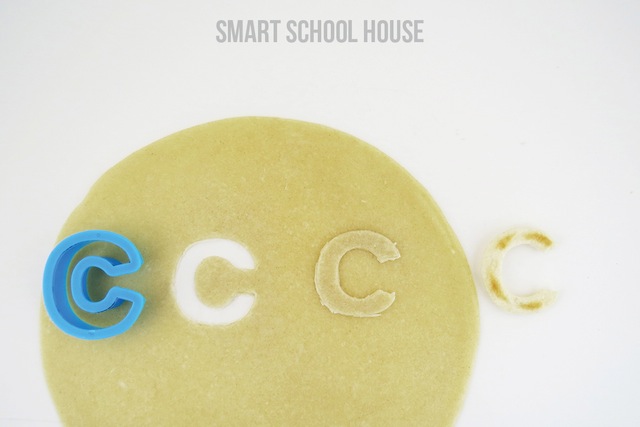
These fun chips are made from play-dough letter cutters! The play-dough cutters make creating shapes and letters in uncooked tortillas so easy. In fact, the dough of the uncooked tortillas is thinner than play-dough, so this educational craft is as easy as can be for mommies. Be sure to scrub off any play-dough with some soap and water before making your ABC chips (play-dough is not fun to eat hehe!).

To make the ABC chips, simply place the letters on the tortilla like so:

Next, place the letters on a griddle and cook the letters according to the directions on the tortilla package. In this case, I cooked the letters for about 30 seconds on each side (so easy!!).

The neat thing about these chips is that they aren’t too crunchy for the little mouths of toddlers. Yet, they are crisp enough to dip into any fun dips that your toddlers may like. My little ones, Stella & Mitch, absolutely loved “playing with their food” so to speak. It was the perfect time for me to sit with them and teach them letters.

Stella is 3 and recognizes most of her letters. So for her, I would say things like, “Where is the letter T, can you find the T?” Mitch is 2 and still learning to identify the letters of the alphabet. So for him, I lined up a series of about 4-5 letters and pointed to each one while saying its name. For example, “This is the letter I and this is the letter L.” What I love about these ABC chips is that the activities can be modified for different ages. If your child is having a difficult time learning their letters (or maybe reversing their letters), then this is a perfect activity for them!

You can even use the letters to form a series of words that will put a smile on any beginning readers face:

If you are looking for more educational activities for your little ones, feel free to stop by Smart School House and say hello! Check out this other fun DIY activity that can help children learn their letters:

Thank you for having me here!

——————————————————————————
My kiddos love helping cook and my little guy starts kindergarten this week so it is the perfect back to school activity! Thanks Kelly!
We have decided to truncate our feed to help protect against stolen content. I apologize for any inconvenience. Please love us anyway. 🙂
Bottle Piggy Banks #12MonthsofMartha Giveaway

June 28, 2013 By Michelle Barneck 27 Comments

Disclosure: Martha Stewart provided the books for review/giveaway. The strong opinions are as always my own. 
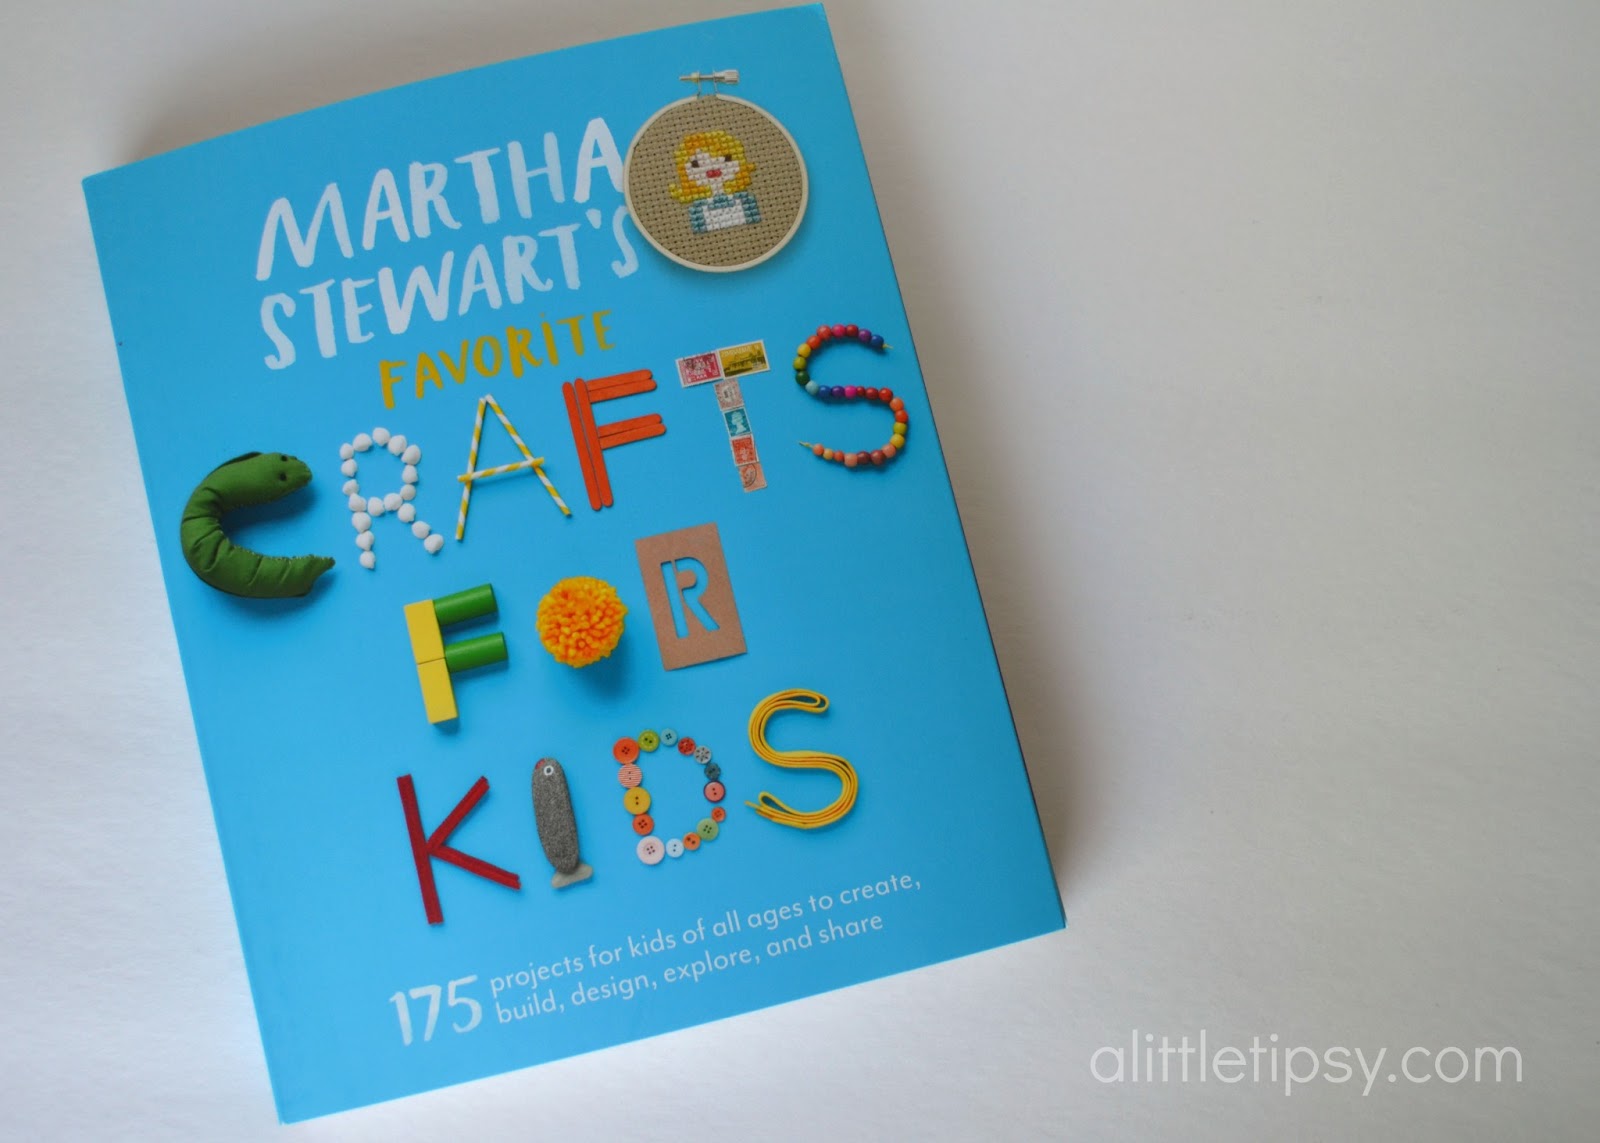
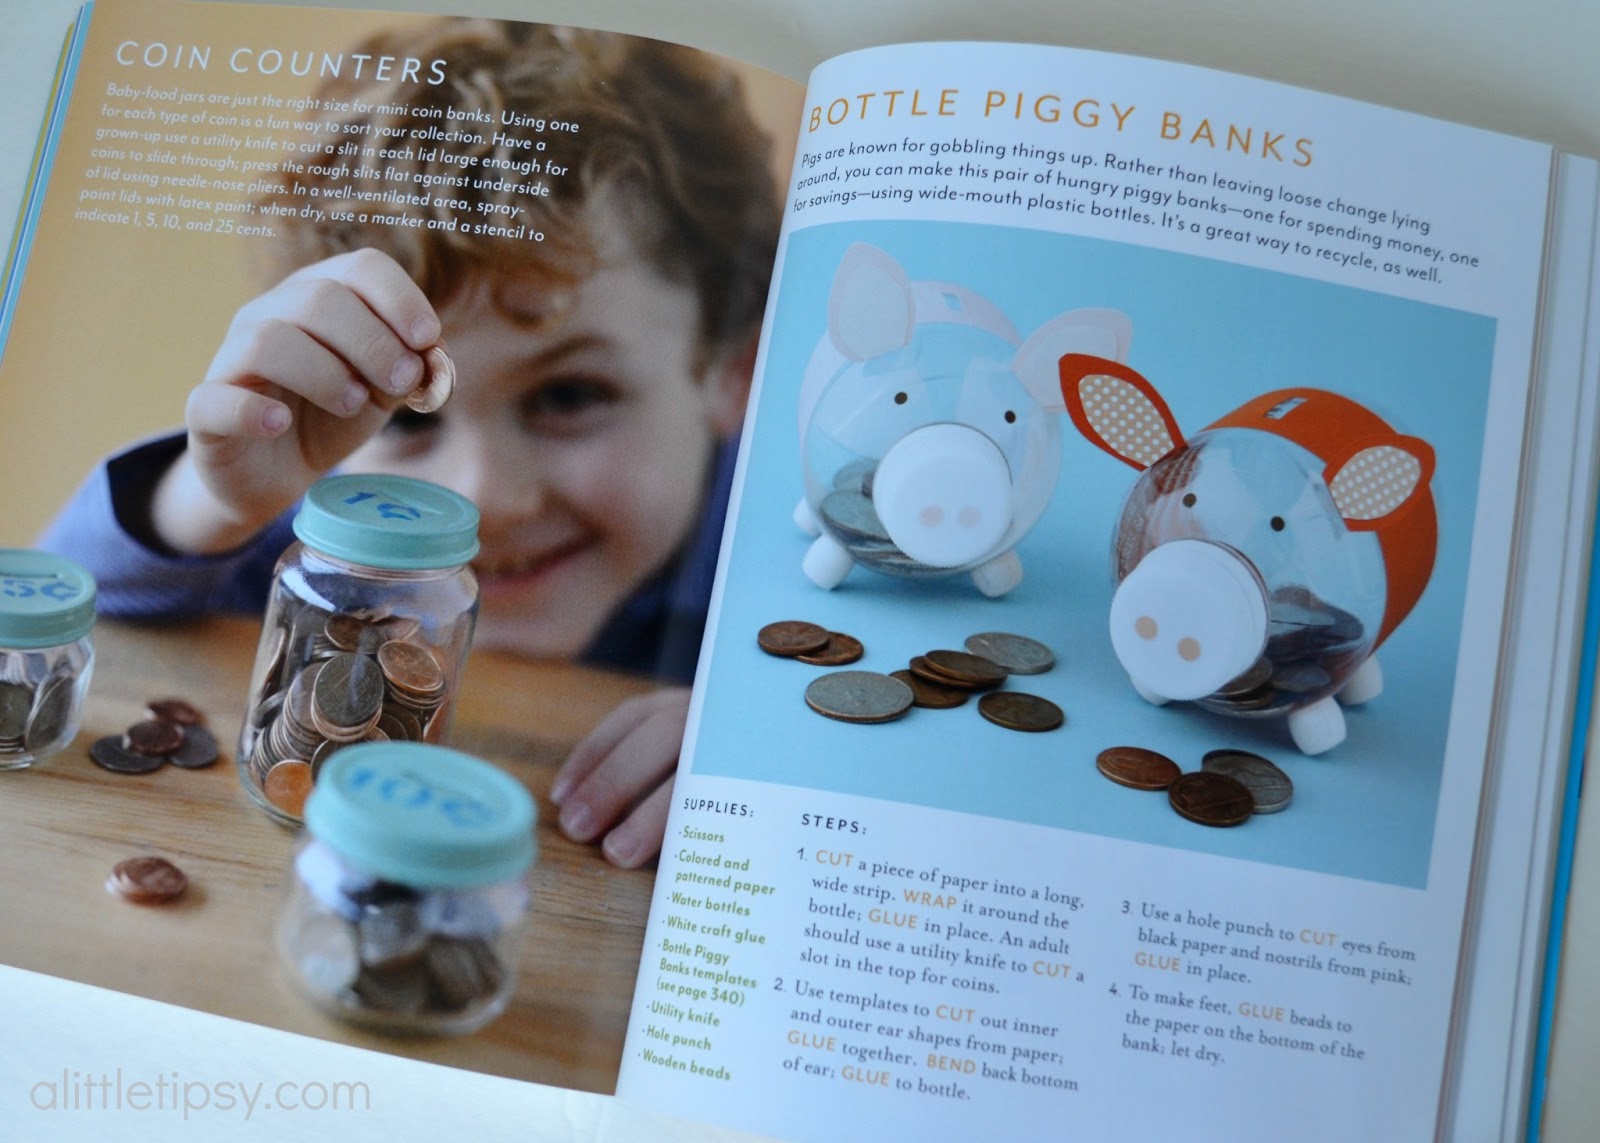
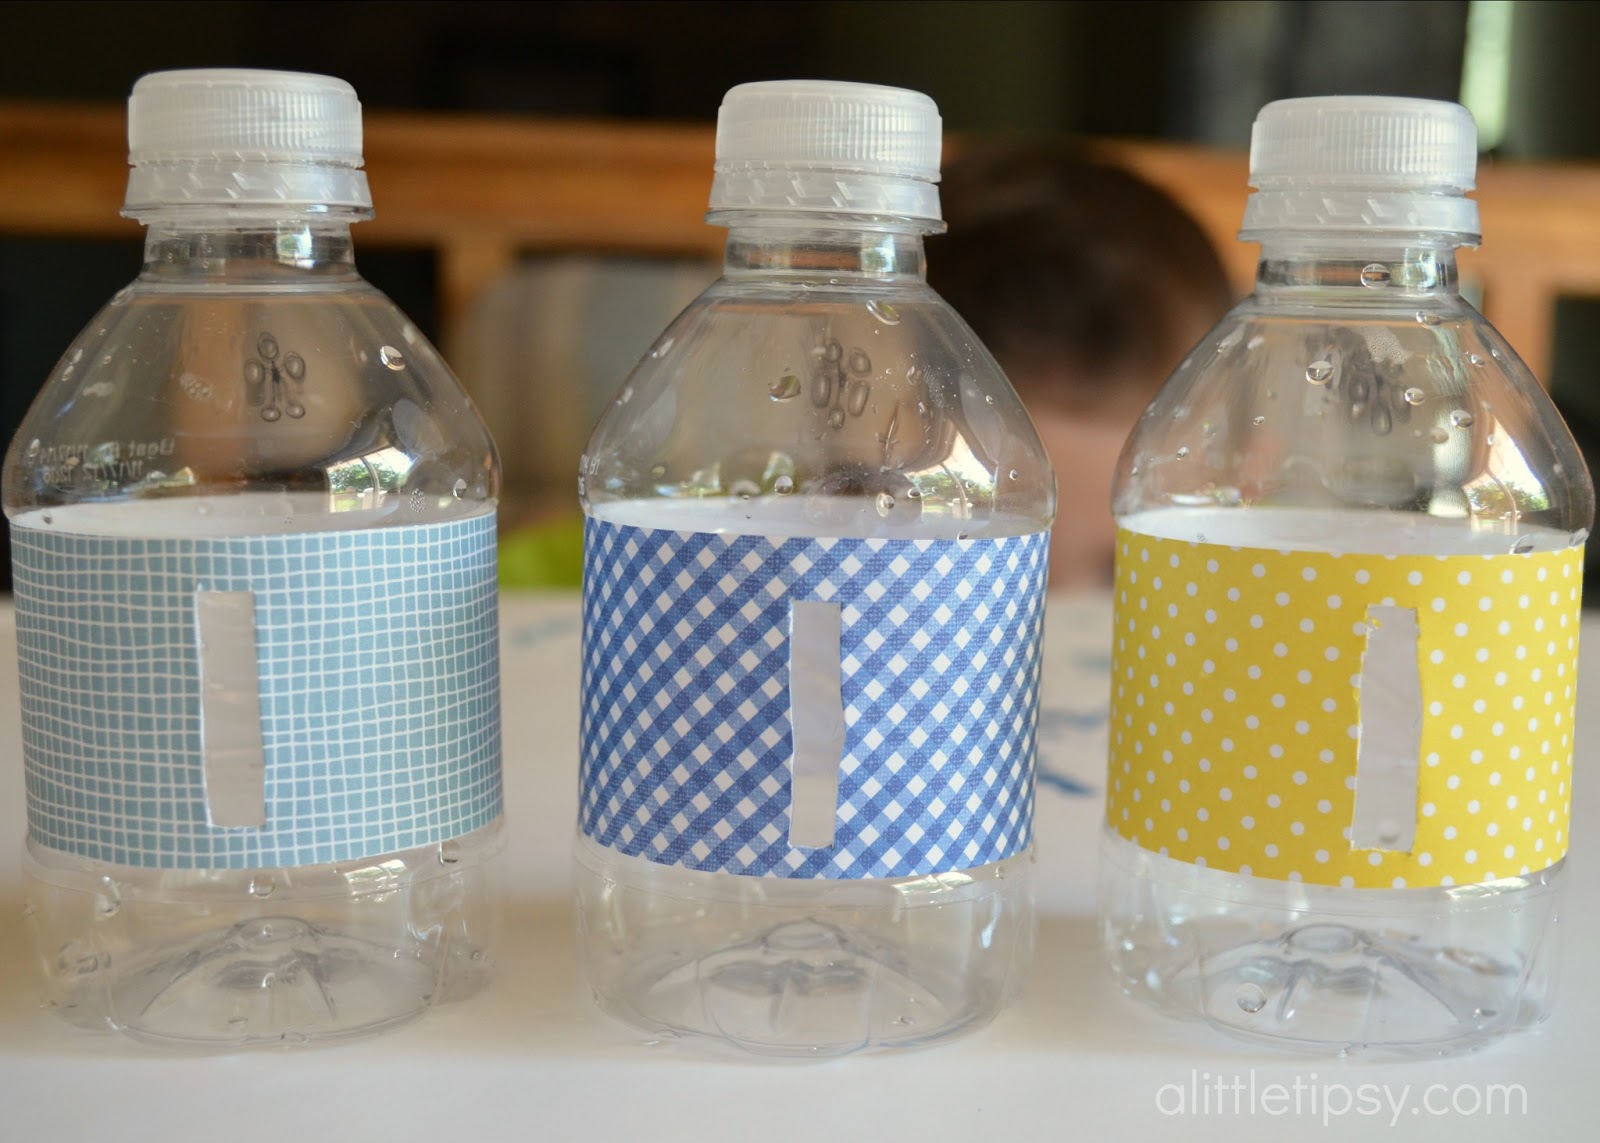
We have been having so much fun this summer with field trips and crafts. It is the perfect time to enjoy time with the kids and create which is why I was thrilled when I received Martha Stewart’s Favorite Crafts for Kids to try out. I heard tons of oohs and aahs and “I want to make that!” as we flipped through the book. We plan on making many of the items from the book, but settled on bottle piggy banks to start out.
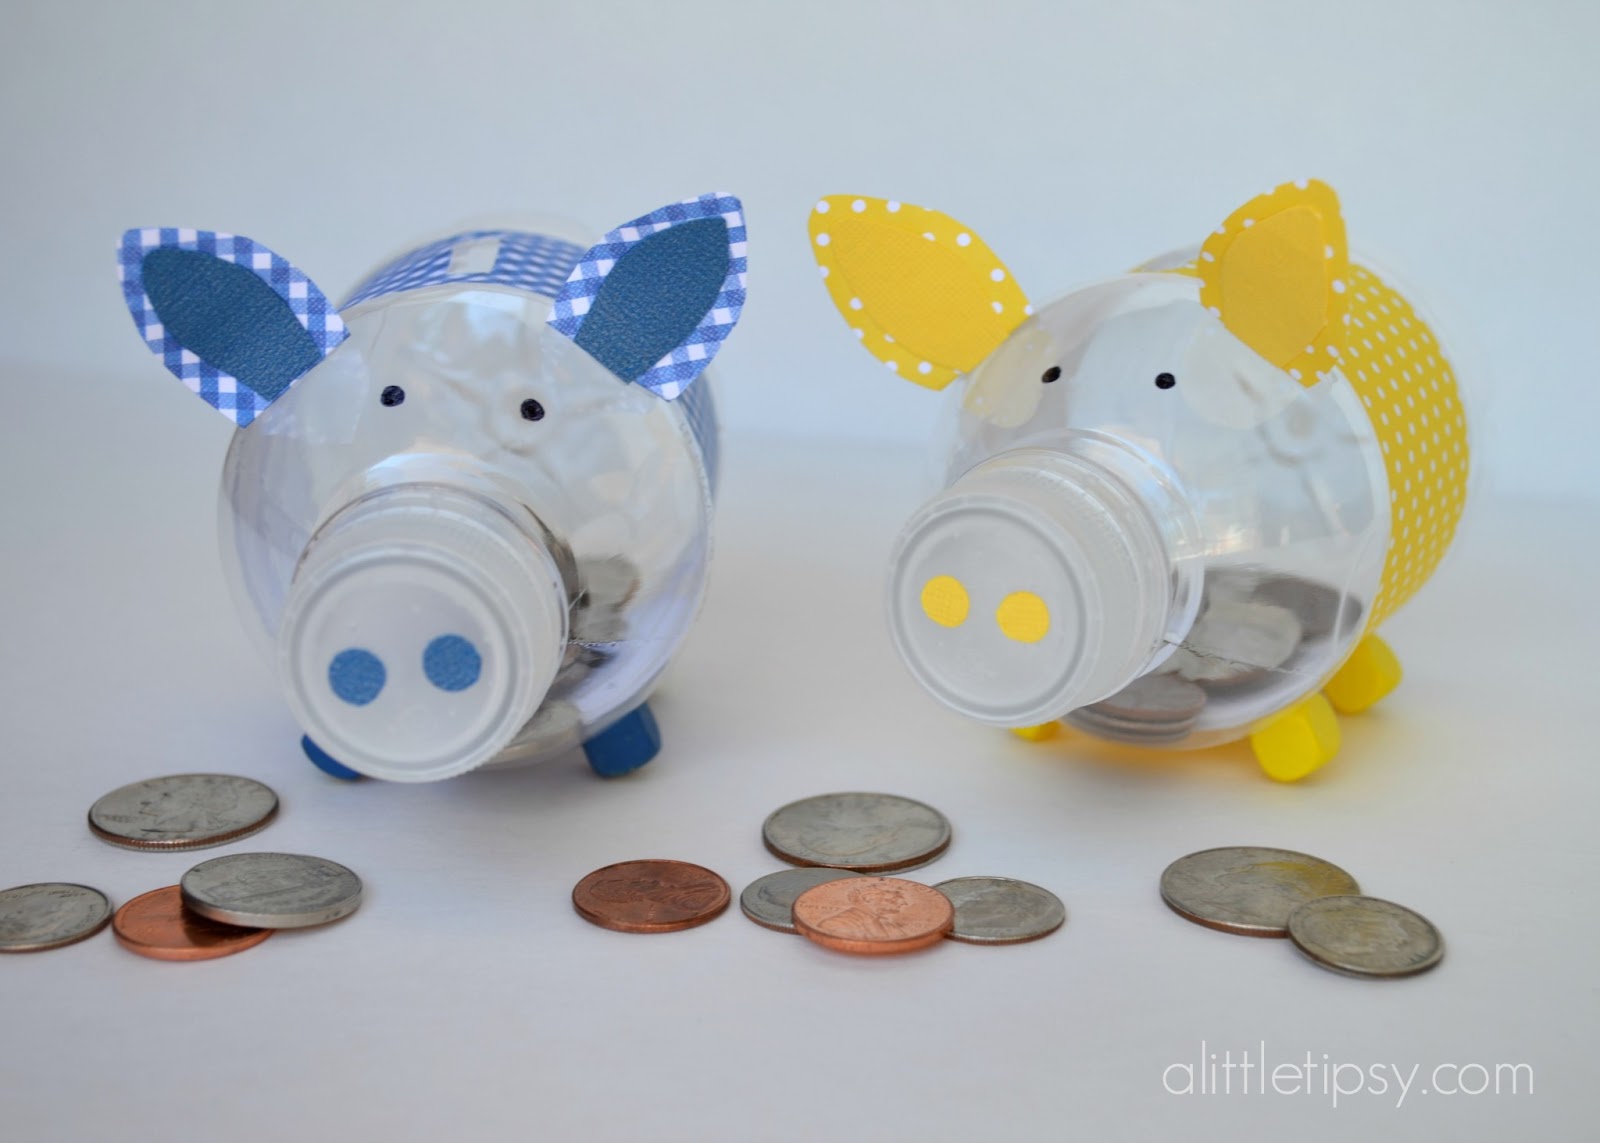
Aren’t they the cutest little oinkers? I am loving this book!
The instructions are simple and the pictures are of course fabulous.
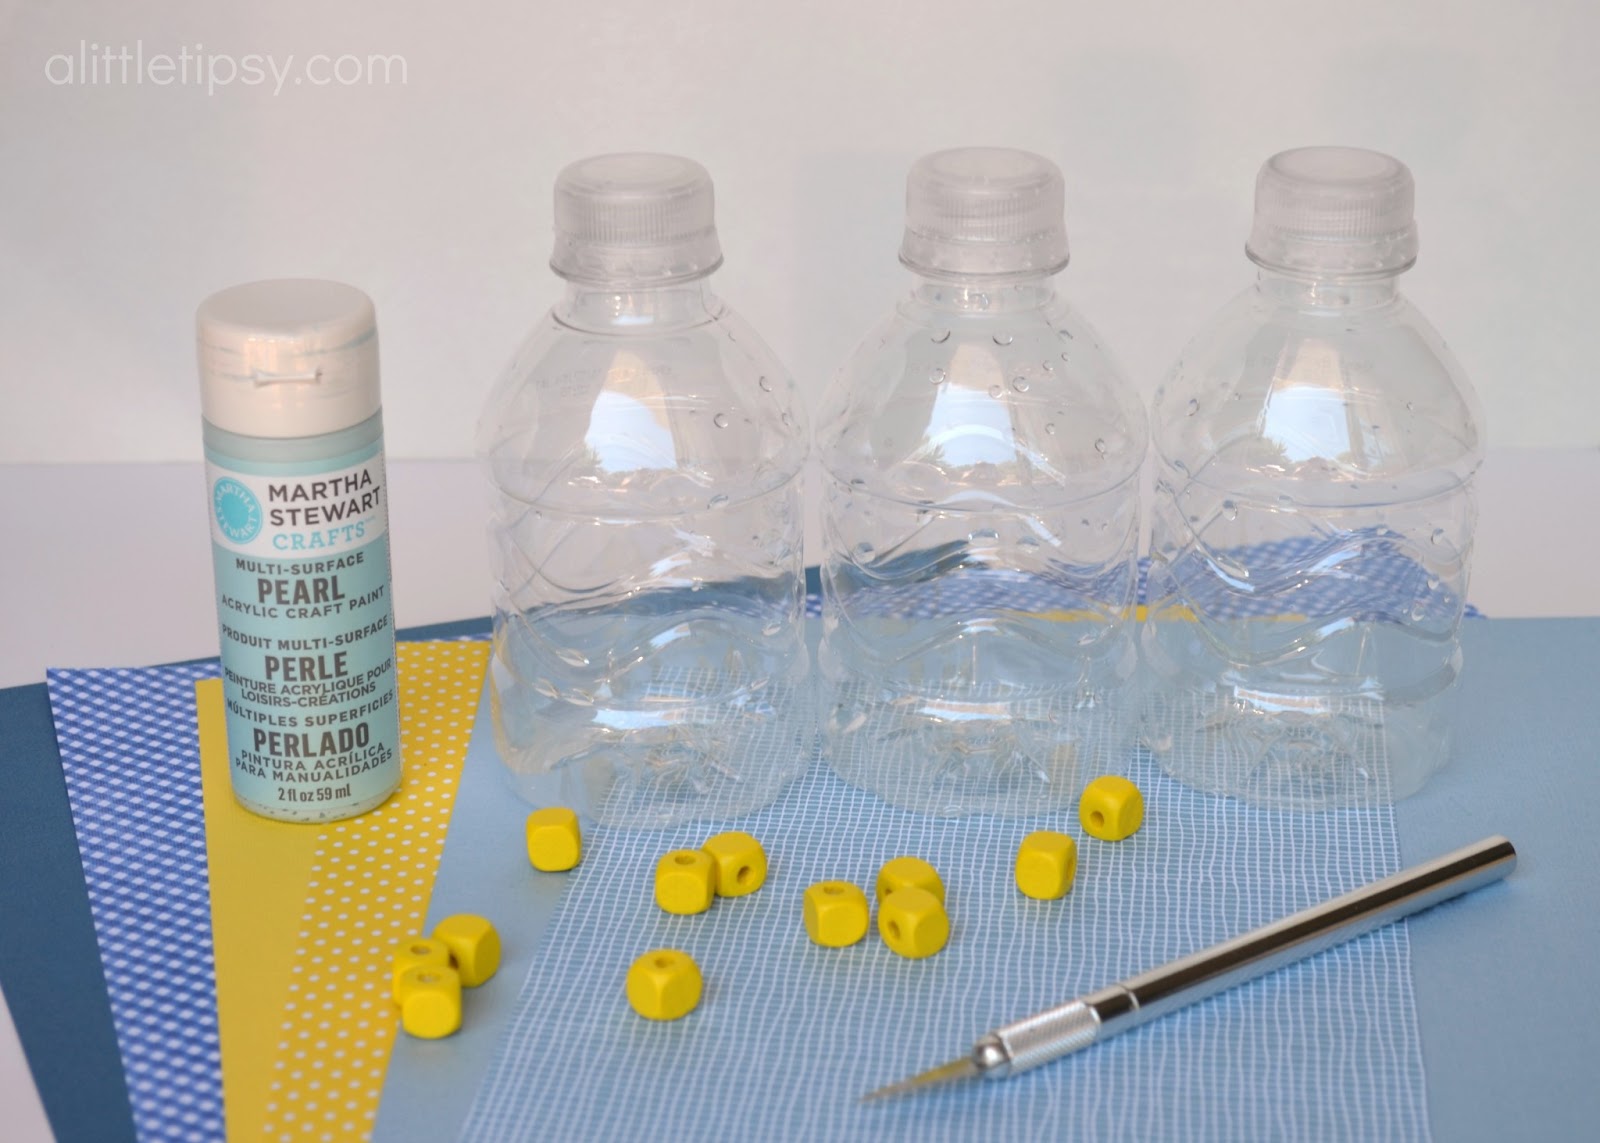
SUPPLIES NEEDED:
  • Scissors
  • Colored & Patterned Paper
  • Mini Water Bottles
  • Double Sided Tape (optional)
  • White Craft Glue
  • Utility Knife
  • Template for ears from pg. 340
  • Hole Punch
  • Sharpie (optional)
  • Wooden Beads
  • Acrylic Paint (optional)

INSTRUCTIONS:
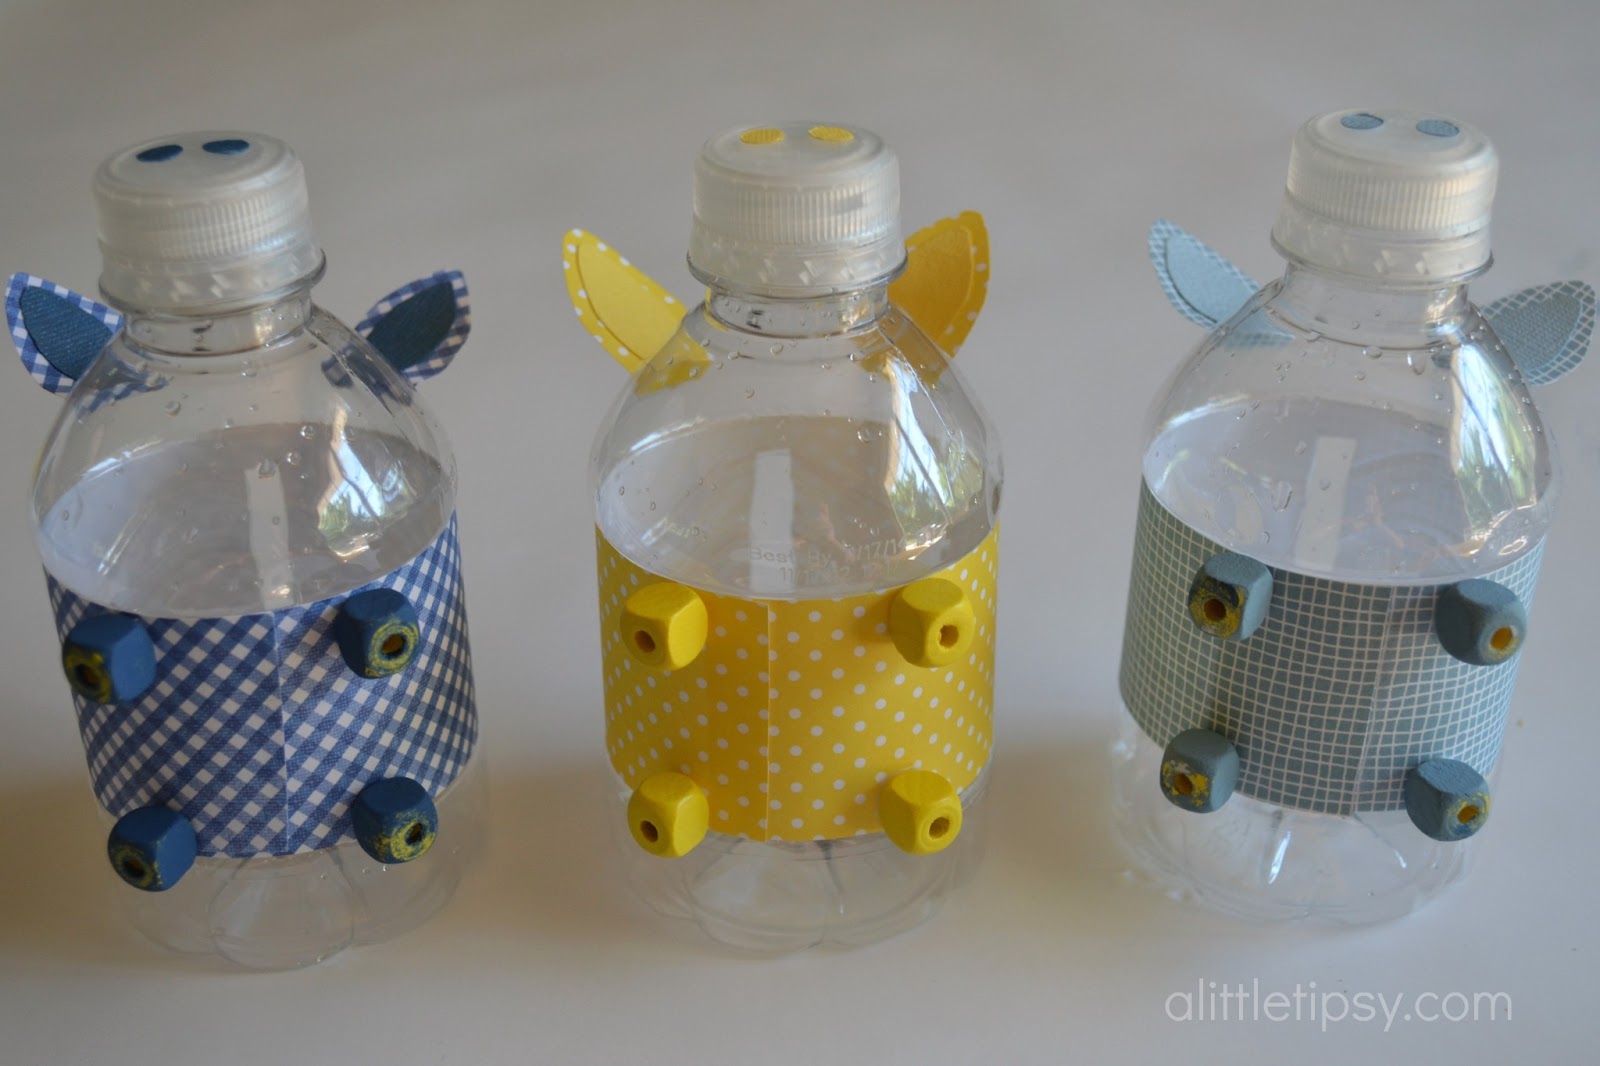
1. We opted to paint our feet aka wooden beads to match our paper. If you are going to do this, paint them first to allow time to dry.
2. Cut long strips of paper to go around the bottles. You can glue them in place, or if you have little hands helping opt for double sided tape.

3. ADULTS: use a utility knife to cute a slot in the top for coins.

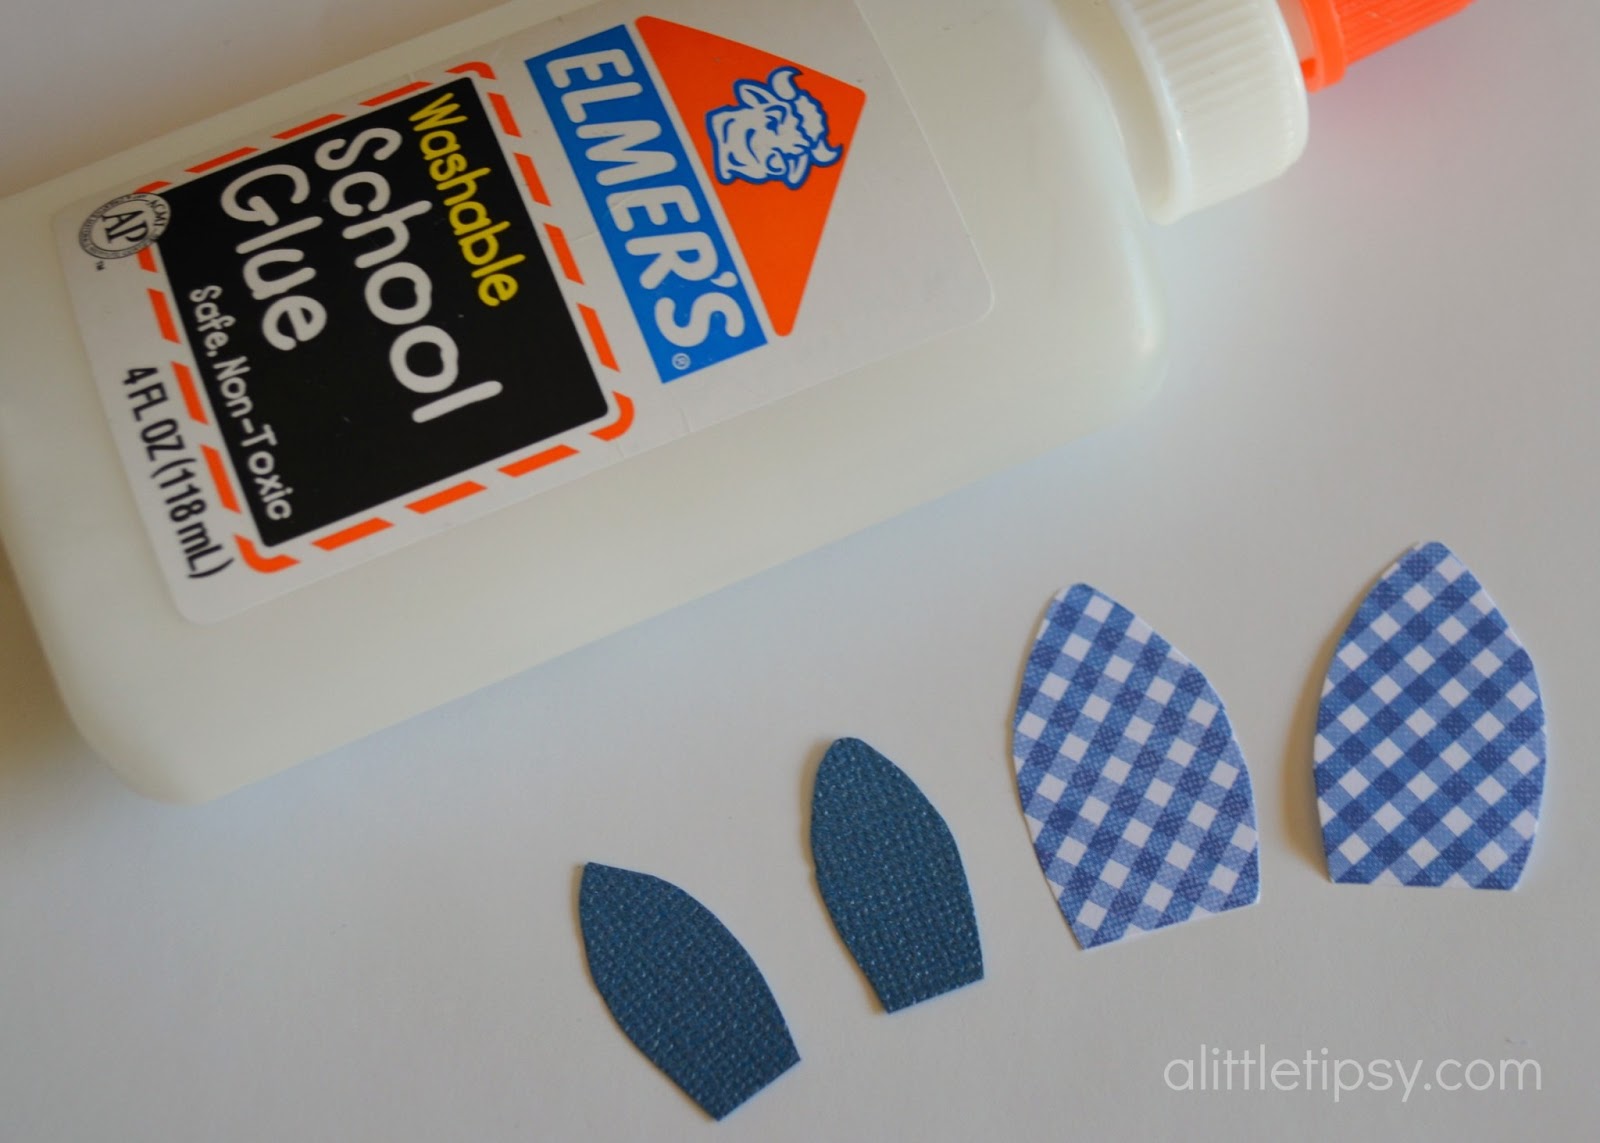
4. Use templates to cut out inner and outer ear. Glue together, bend back bottom of ear, glue to bottle.

5. Glue beads to the bottom of the piggy bank for feet.
6. Use a hole punch to make nostrils and (if you have a tiny punch) eyes and glue them in place. If you only have the standard punch you can color on eyes with a Sharpie.

Let the glue dry completely and feed those little piggies some coins. My little guys love doing tasks to earn coins to put in their banks! It’s always nice to have a new form of motivation!

Want a Martha Stewart’s Favorite Crafts for Kids book of your own? Enter below to win!

a Rafflecopter giveaway

Follow my blog with Bloglovin

We have decided to truncate our feed to help protect against stolen content. I apologize for any inconvenience. Please love us anyway. 🙂
« Previous Page
Next Page »

  • Bloglovin
  • Facebook
  • Google+
  • Instagram
  • Pinterest
  • RSS
  • Twitter

Hi there! I'm Michelle. Mother of three little boys and one little princess. Welcome to A Little Tipsy, a place for exploring creativity and sharing inspiration.

Follow on Bloglovin


Visit Michelle Barneck {A Little Tipsy}'s profile on Pinterest.

Tutorials by Category


15 Family Reunion Games

Family Reunion Games Collage

15 Sprinkle Party Ideas

Sprinkle Birthday Party
Creative Commons License

© Copyright 2014 A Little Tipsy · Site Designed by The Fairy Blogmother · Web Hosting by RFE Hosting

This website uses cookies to improve your experience. We'll assume you're ok with this, but you can opt-out if you wish.Accept Read More
Privacy & Cookies Policy