Is it the fourth Friday already? I swear it sneaks up on me every month. Well, you know what that means. It’s Point of View time!! This months theme was “Back to School” and I am loving what the girls came up with! Just take a look…
I’m not going to lie, I was stumped with this month’s Point of View theme “Back to School.” My oldest just started his first year of preschool so I have not had a lot of experience in school themed crafts or teacher appreciation etc. I asked the hubs what was the first thing that came to mind with “back to school” and he said, “pencils and paper”. So, I ran with it.
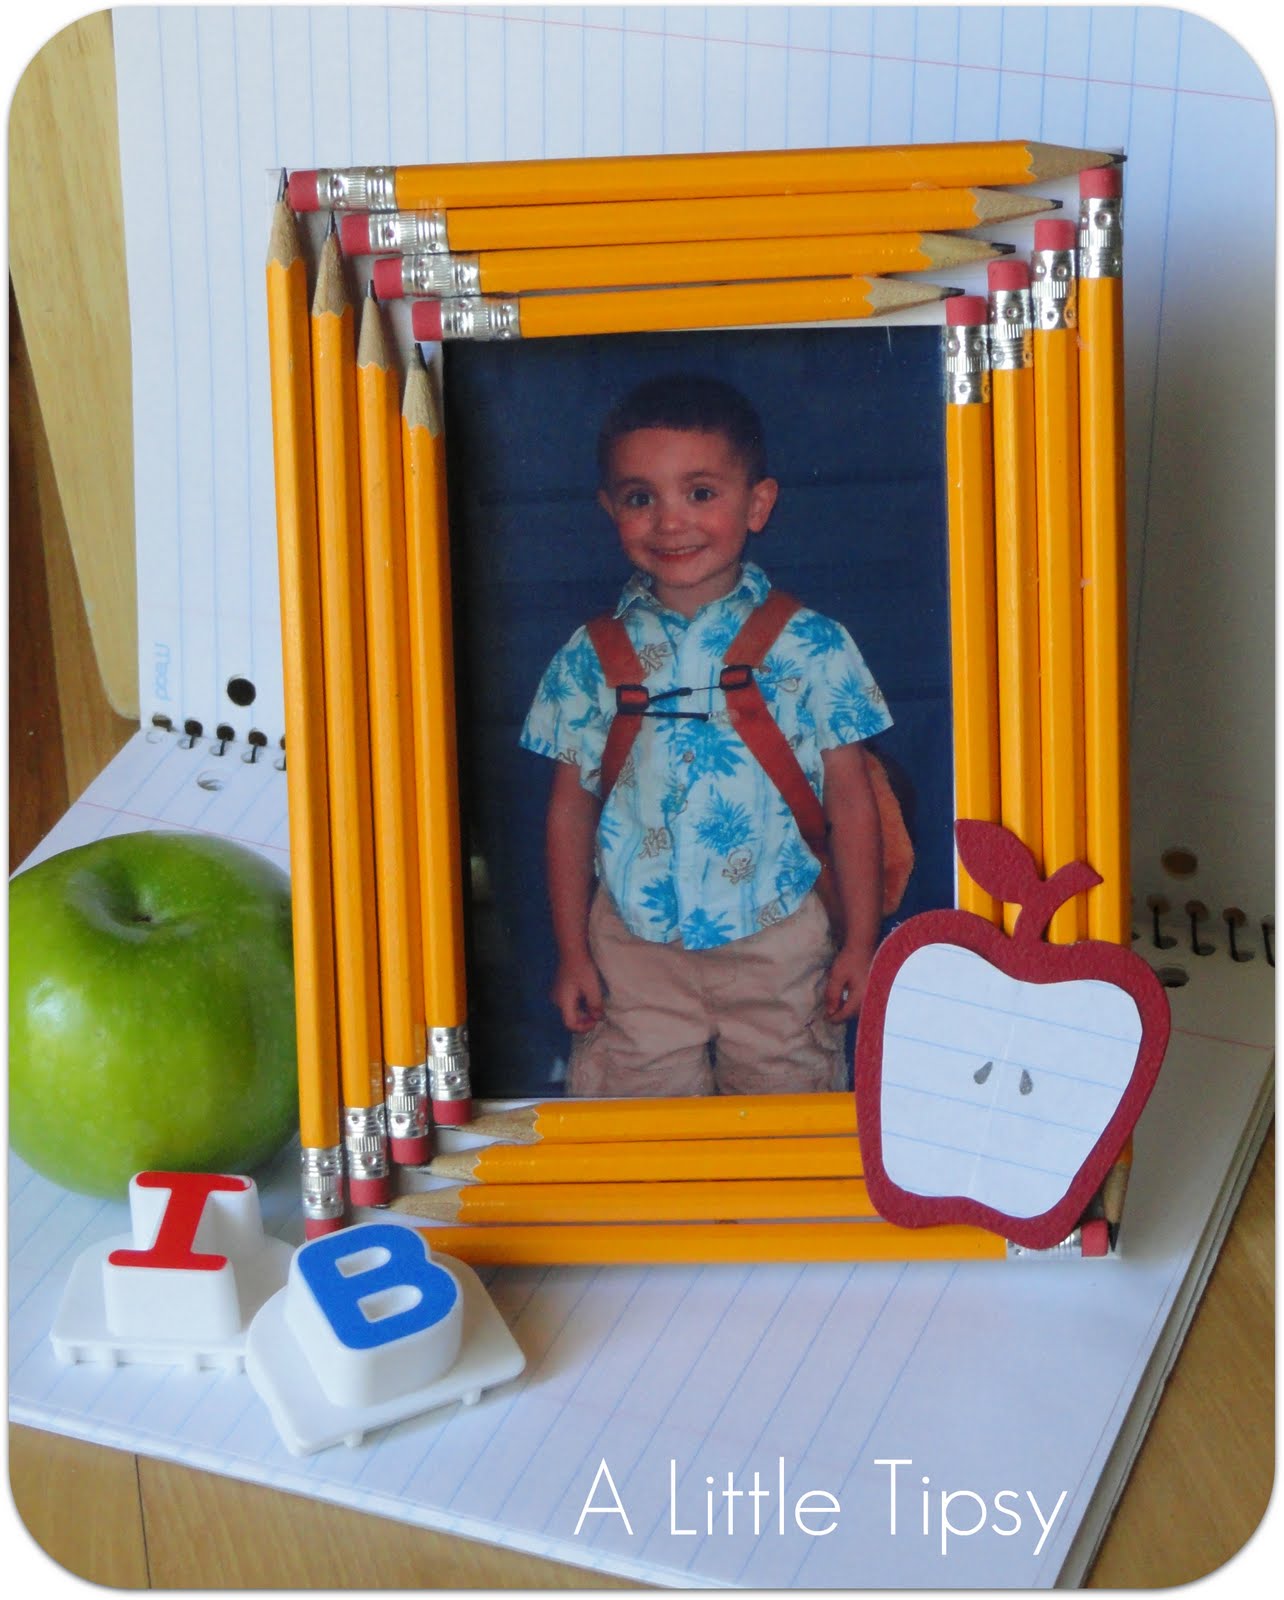
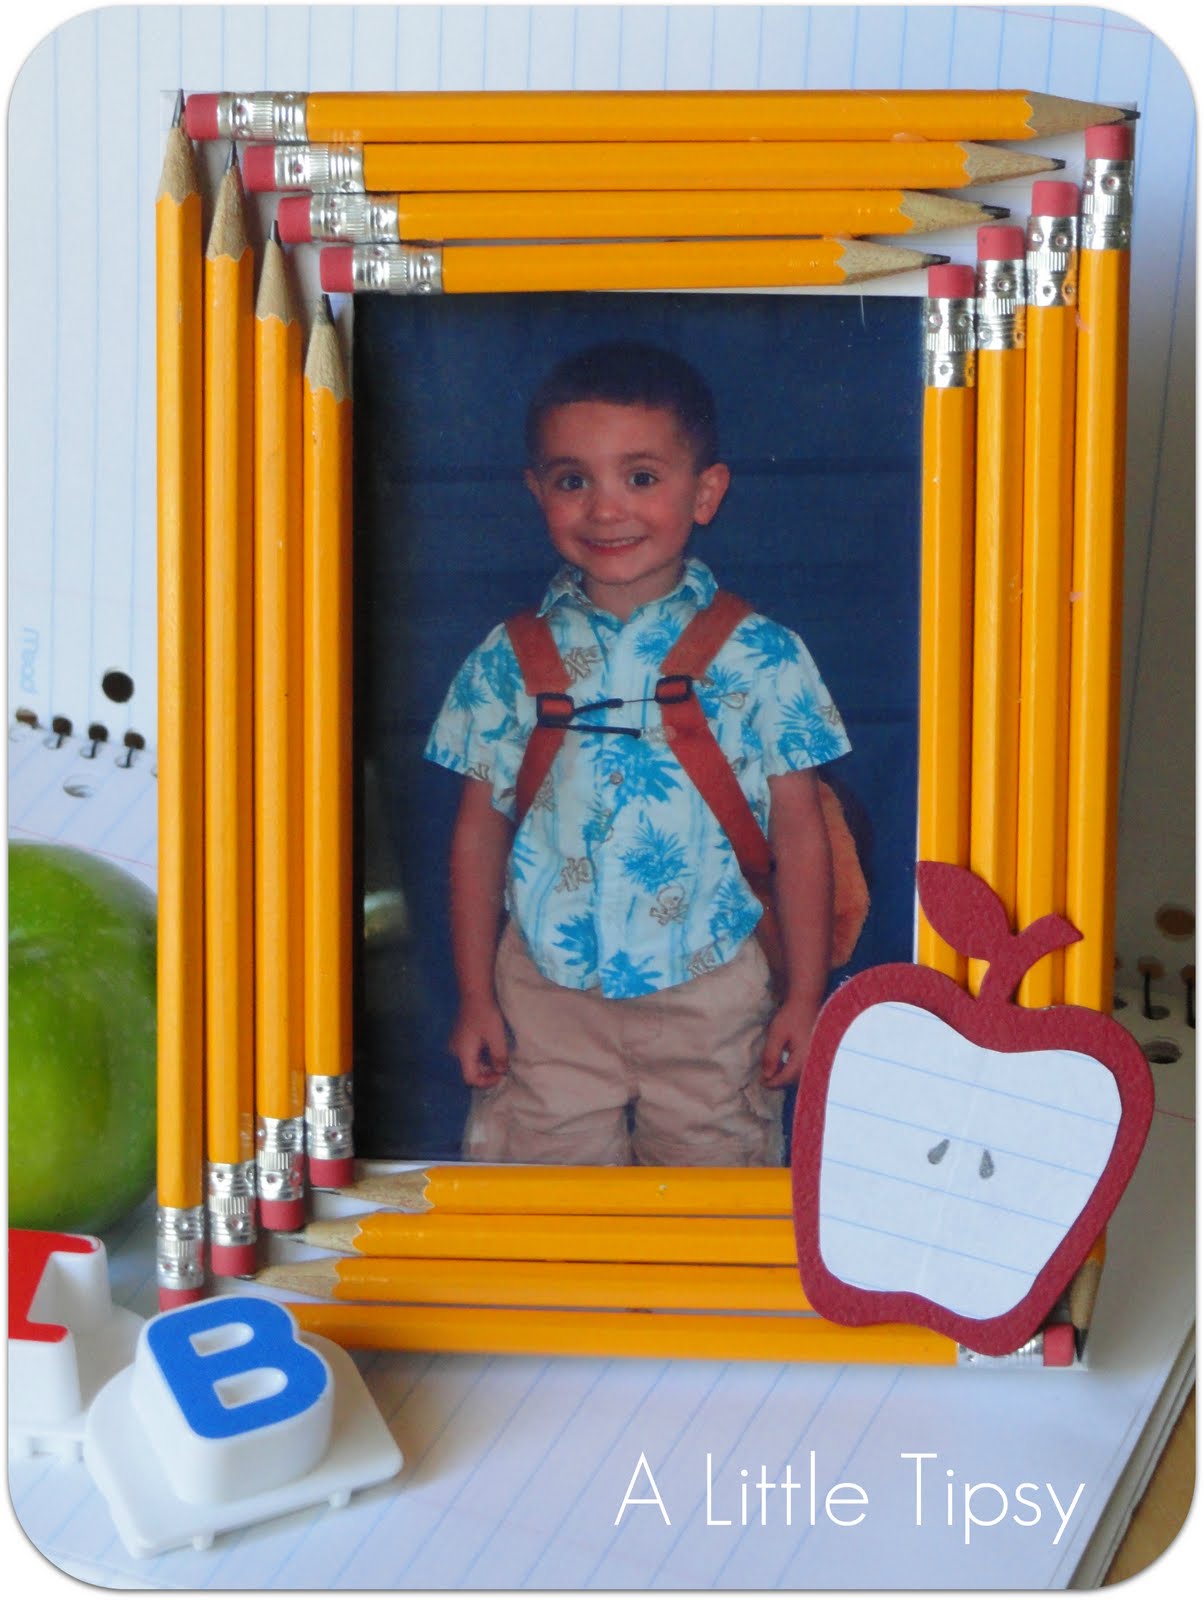
I took a cute picture of my son on his first day of school and wanted a special way for him to display his big boy milestone. But, in true Tipsy style I did not want to spend a lot or buy some really cheesy, overly colorful back to school frame. So, I made one out of the true symbols of back to school: pencils and paper.
Want to make your own? Here’s what you’re going to need.

Supplies needed for Back to School frame:
- 4×6 picture frame (mine was from Dollar Tree, the plain wood frames from Michael’s were too long for my pencils)
- 16 pencils, may want to have extras in case you break one or make one too short (they have packs of 16 at Dollar Tree, got my packs at Office Depot)
- Pencil sharpener
- Hack saw
- Foam brush
- White lined paper
- Mod Podge
- Exacto knife
- Hot glue
- Red cardstock apple
- School Picture
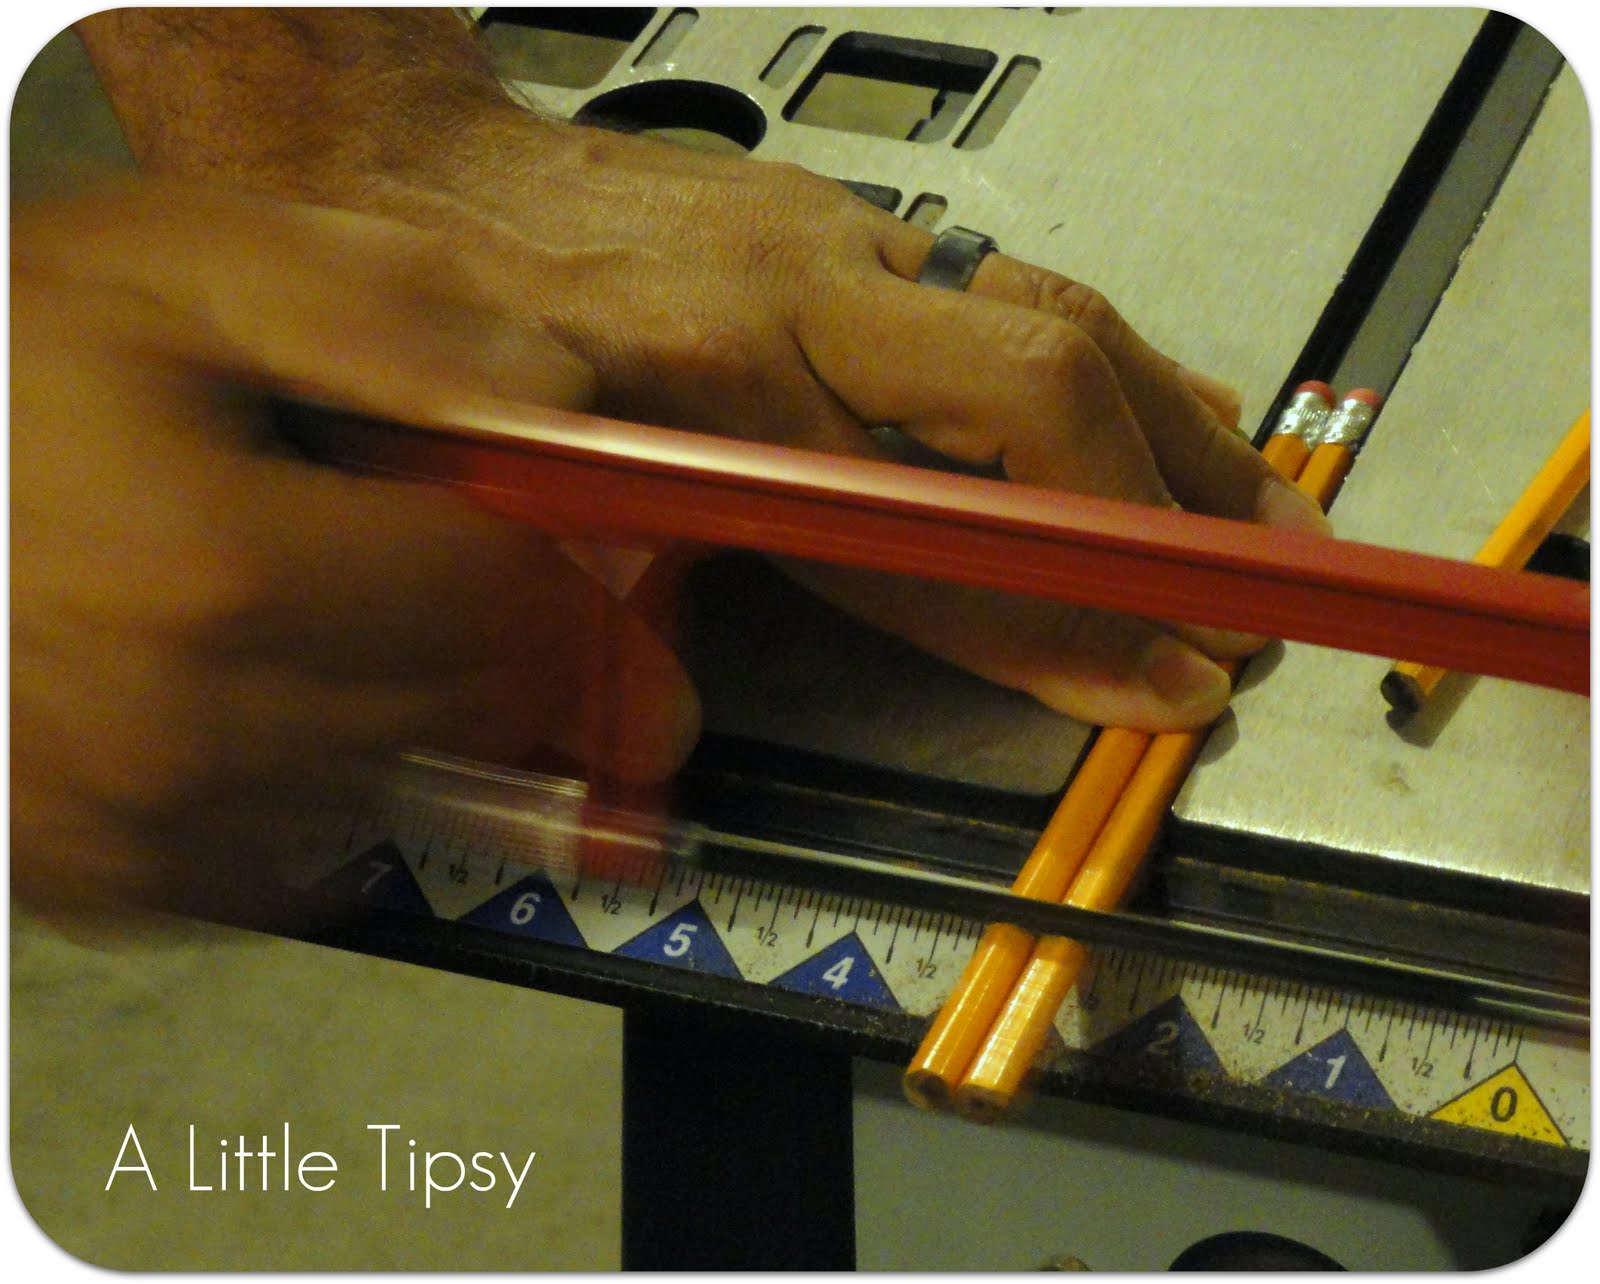
1. Lay your pencils on your frame and mark them where you want the end to be for them to fit all puzzle like on a diagonal.

2. Slice off the extra with a hack saw so you don’t have to sharpen the pencils for hours (or be like me and recruit the hubs to do so). Our table saw had the perfect little groove to hold two pencils in place which was great since you need two of each size.
3. Sharpen the pencils to a point until they all fit perfectly on the frame.

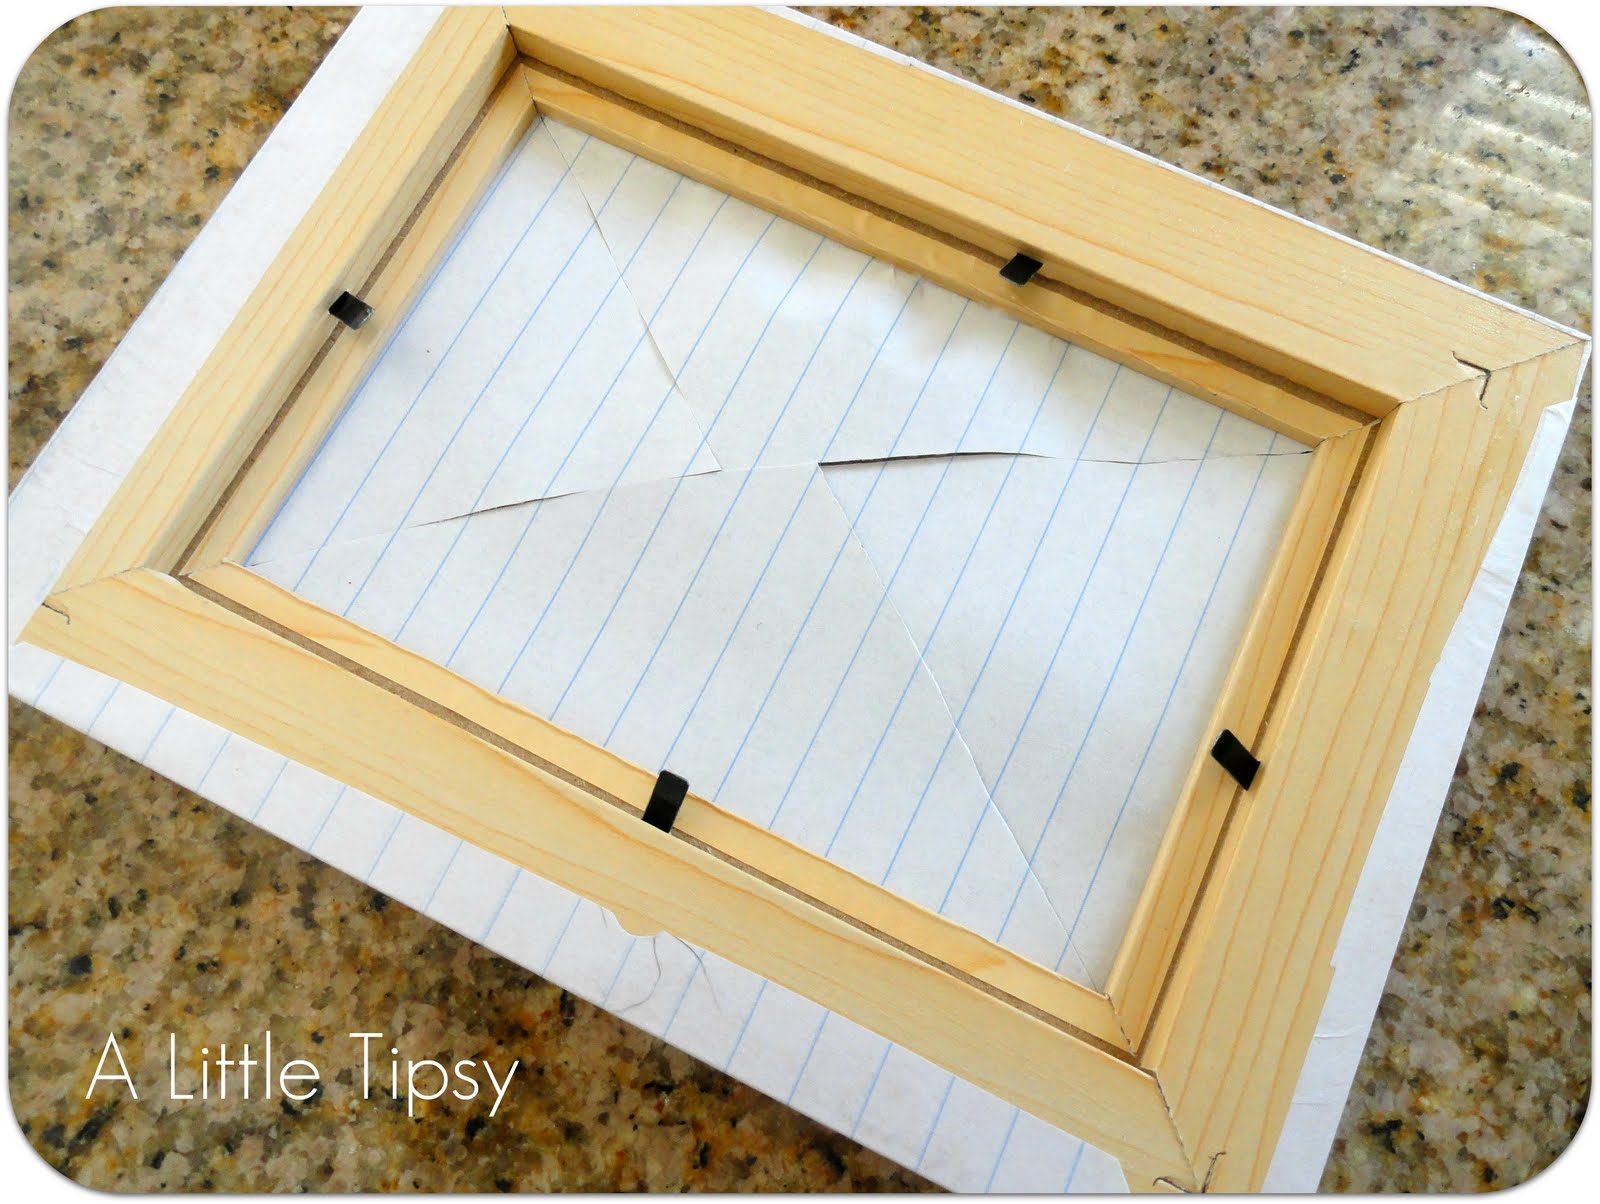
4. Brush a light coat of Mod Podge over your frame and lay a sheet of lined paper over it carefully smoothing over the front of the frame. The only part that will show are the corners, so if it creases a little don’t worry.

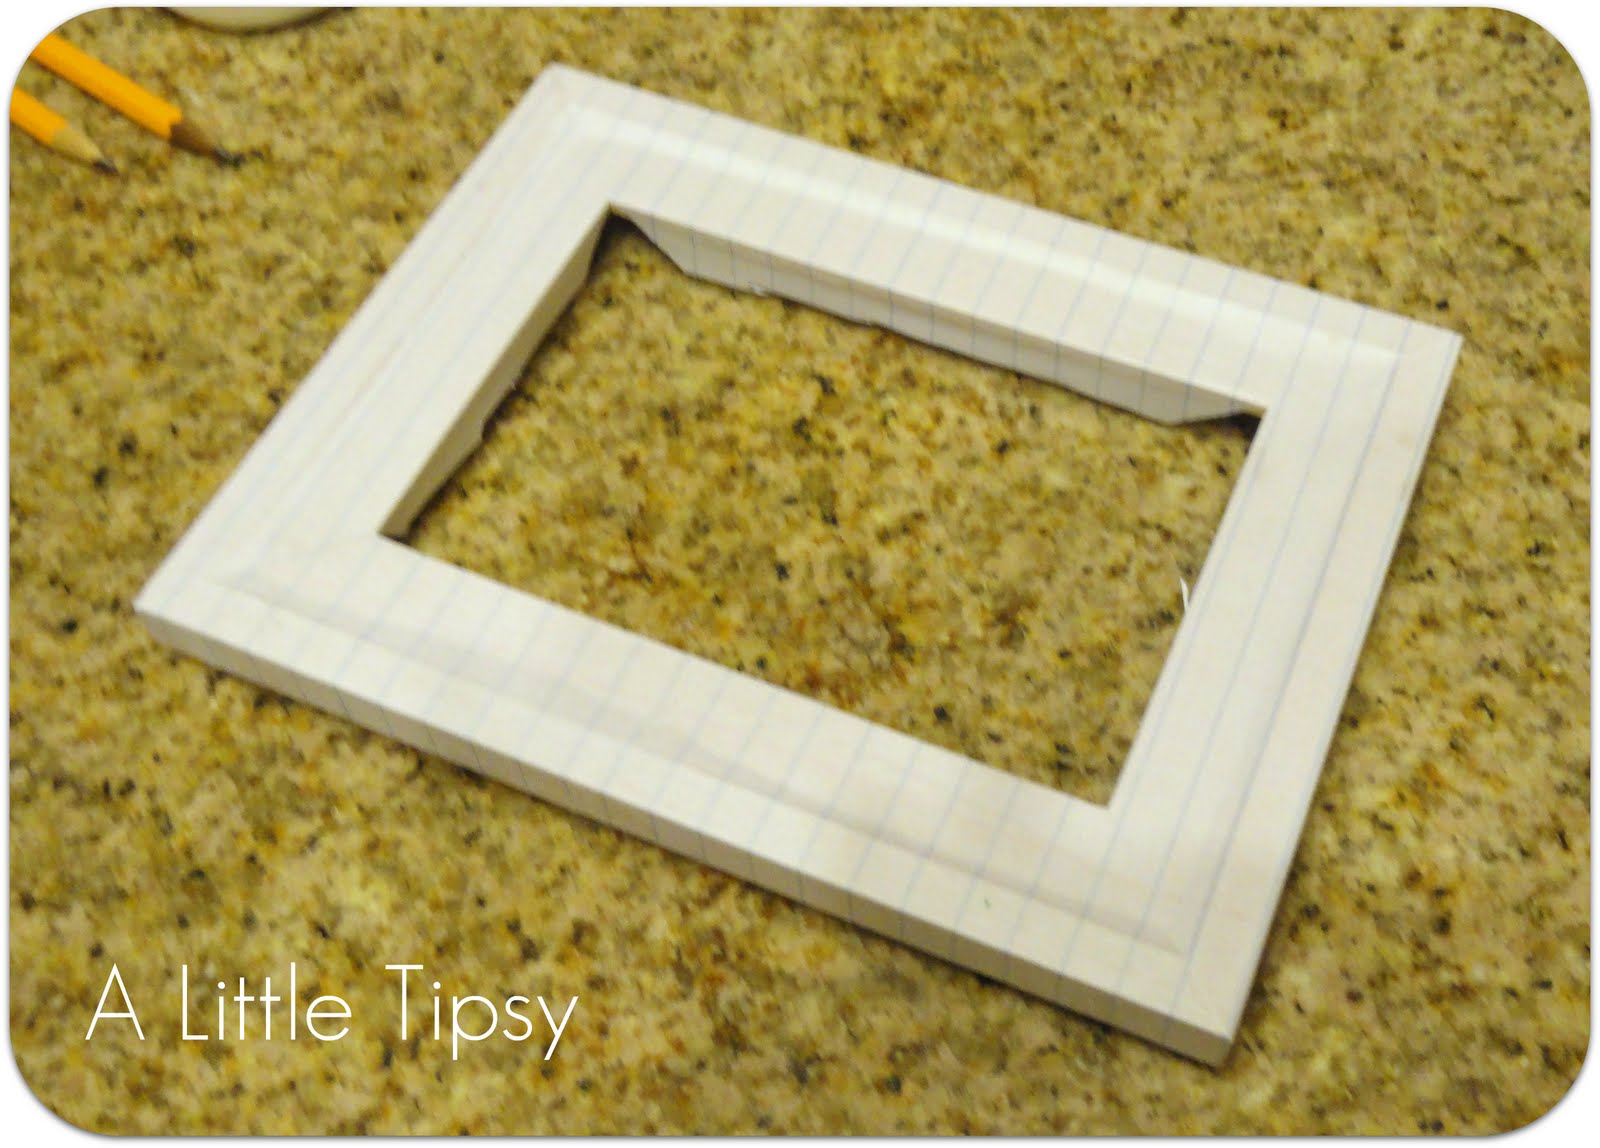
5. Mod Podge the edges of the frame and wrap the paper around folding on the corners like a present. Mod Podge the paper around to the back of the frame so the sides look nice and finished.


7. Trim off the excess paper. You will fold the paper under the picture when you put it in.
8. CAREFULLY hot glue each pencil in place. I had all the pencils in place so I could see exactly where they needed to go. I put 3 or 4 tiny dots of hot glue on the back of each pencil.
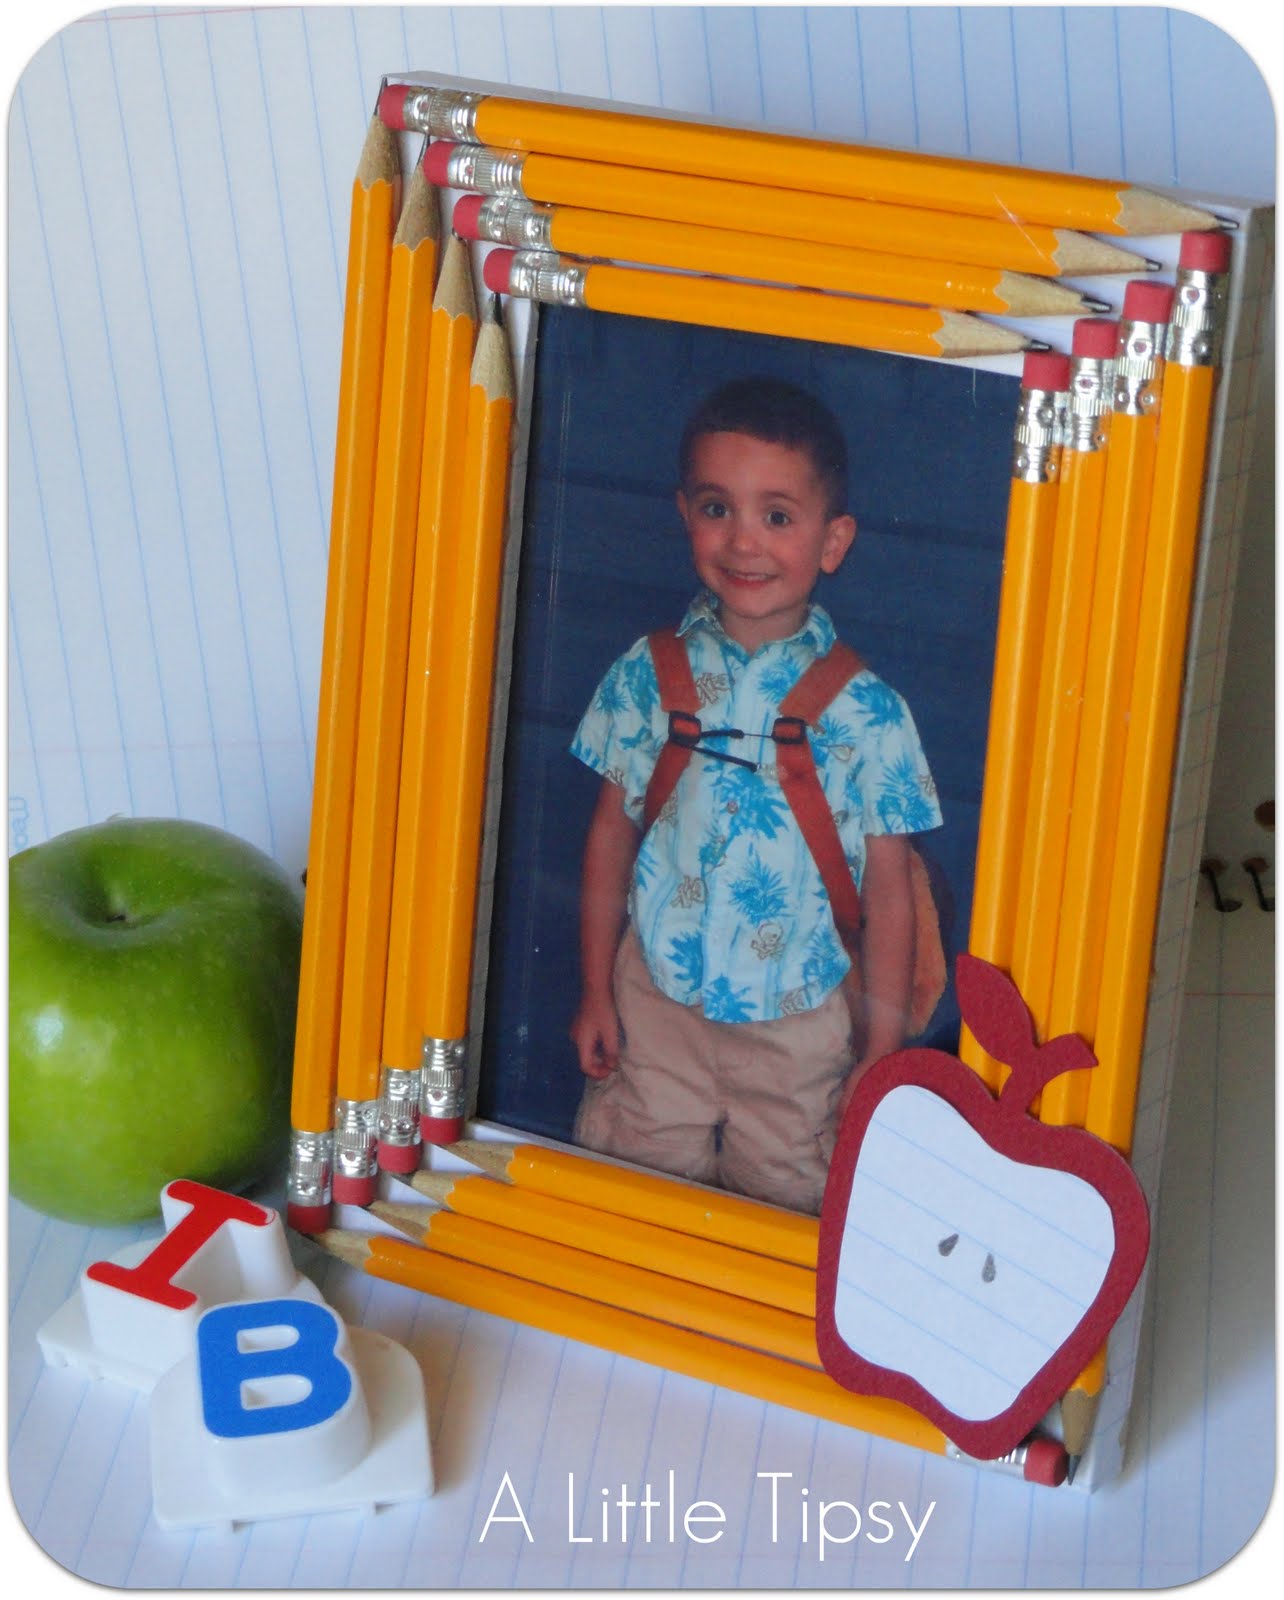
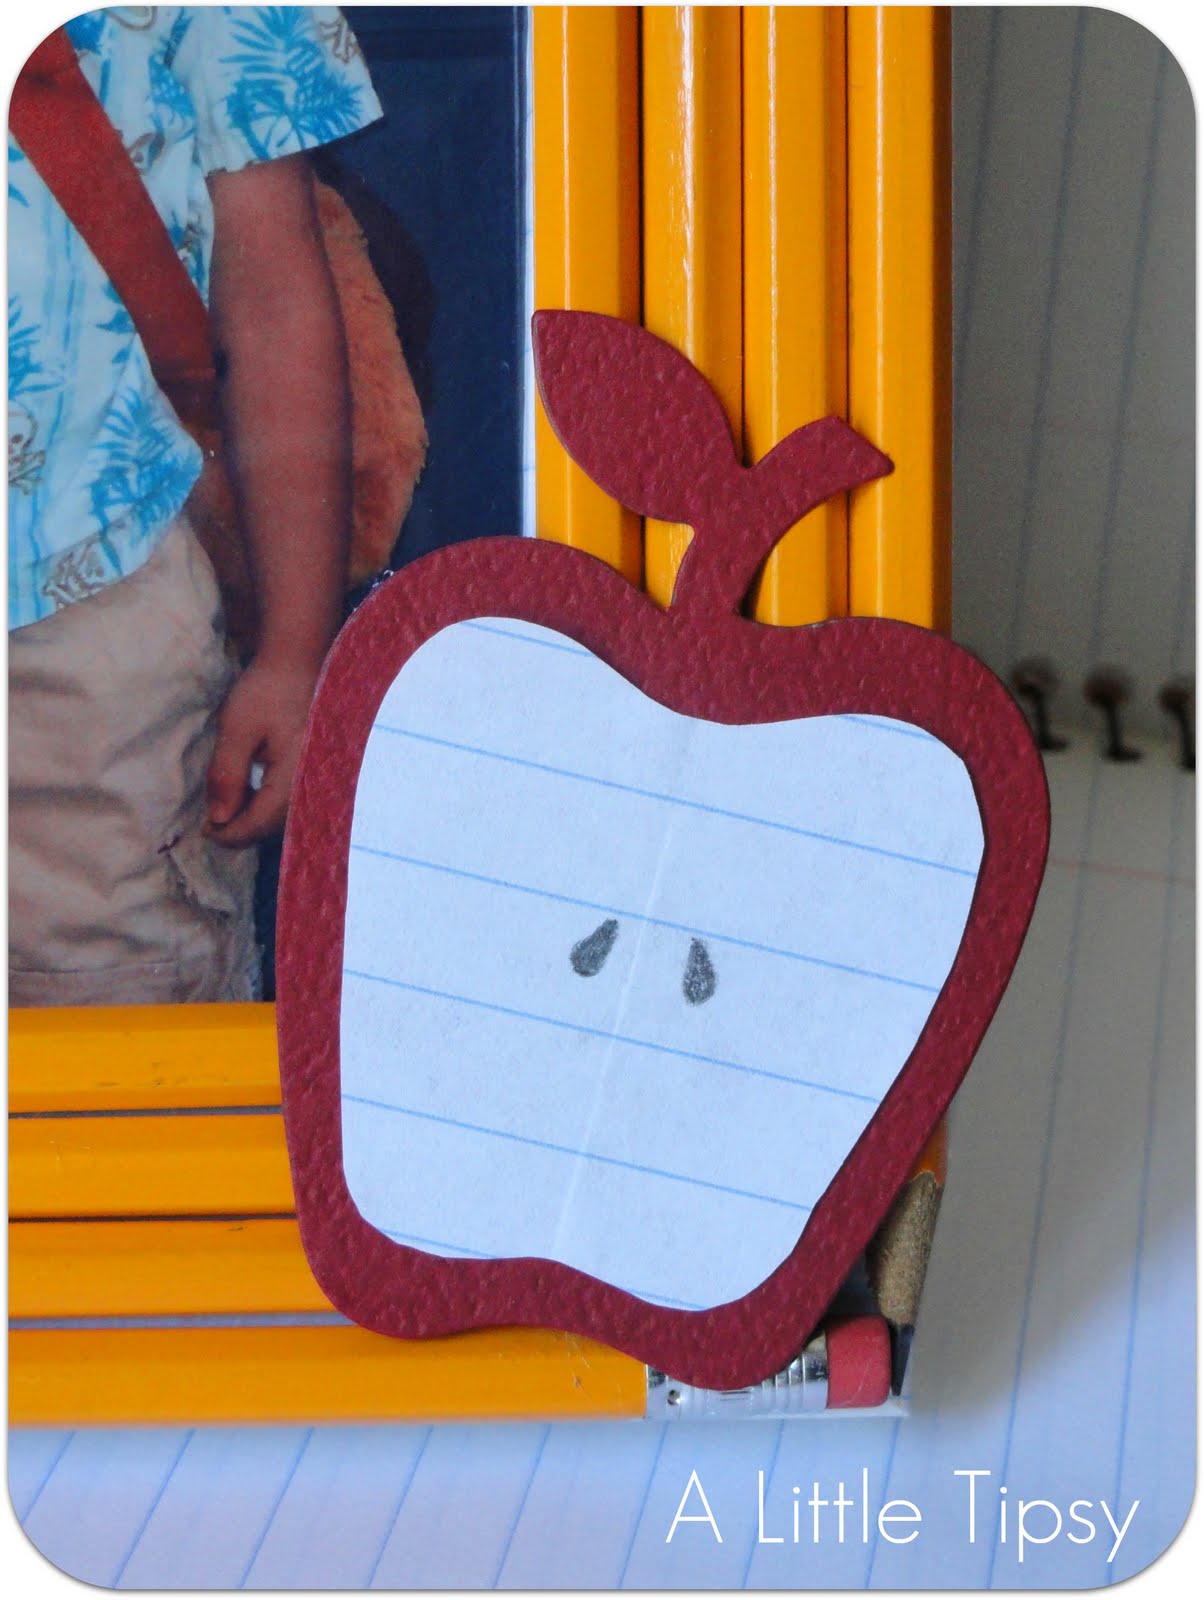
9. Add a cardstock apple (found in my scrapbook stash). I cut a little piece of lined paper and penciled some seeds o it to add a little dimension.
10. Add your favorite back to school photo (the one with him wearing his life jacket to look like muscles was a close second) to finish it off.
Back to School!
- Link up your own current or past projects as long as they fit the theme: Back to School
- Link back so others can join the party and so you can have the chance to be featured by one of the Point of View girls!


Linking up with:
Design Dazzle
P.S. Don’t forget to sign up for free Tipsy updates via RSS or email.
This is a great idea for back to school photos. I am a new blog follower!
What a darling idea Michelle! I love the sharpened pencils- it would be a fun teacher gift too!
xoxo,
Amy
Very cute idea, Michelle! I love that you Mod Podged with an actual sheet of notebook paper… too cute! Love the look of the sharpened pencils, too.
What a cute idea! I love the sharpened pencils and the notebook paper. Thanks for hosting the party this month!
So cute Michelle! I second Gwen, I LOVE the notebook paper involved, it’s darling!
I love this pencil frame! And the notebook paper behind, is just too cute. That apple is adorable with the notebook paper as well. Thanks for sharing.
This is precious! It would make a great gift—maybe two should be made: one to keep and one to give. 🙂 Love it!
Blessings~
Daune
I love your frame. I was just thinking today that I’ve completely missed the back to school stuff.
Great idea for a party!
Perfect idea to display their first day of school pic. You are so creative and nice to share your idea so we can make one too. FYI: I can’t get your first pic to load from this post. But I’m going to pin this project on Pinterest right now. Great job!
I put a twist on this craft when the brown pencils were out of stock at the store: http://aidenandmaya.blogspot.com/2011/09/1st-day-of-kindergarten-frame-for-gavin.html
Love this back to school themed craft! Sharing this on my page here http://bit.ly/KidsHavingFunTimes. Thanks!