A Little Tipsy

Creative Tips & Ideas

  • home
  • About Me
  • the tipsy top
  • press
  • projects
  • contact me
[print_thumbnail_slider]

Tooth Fairy Pillow for Little Girls

June 25, 2013 By Michelle Barneck 1 Comment

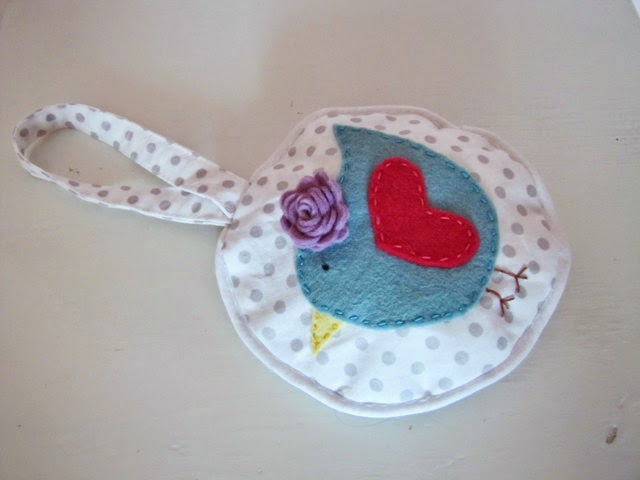
Hi everyone! This is Terra from mama says sew. Today I’m going to share the tutorial for this Tooth Fairy Pillow with you.
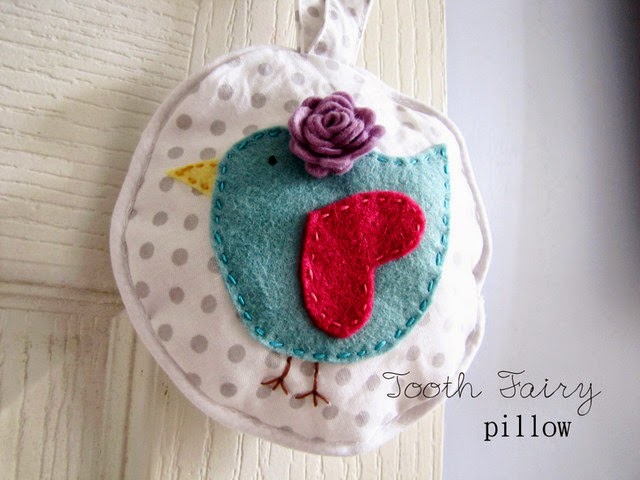
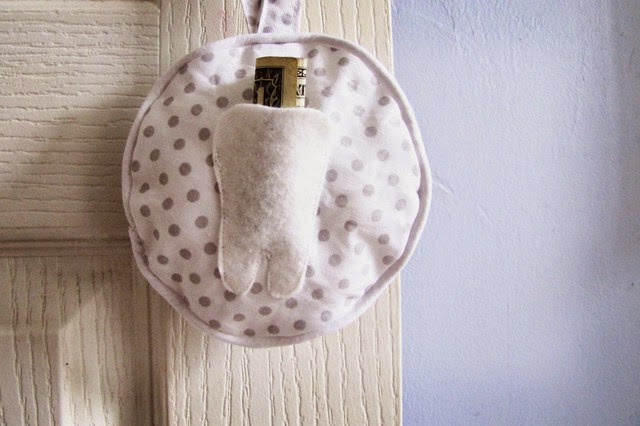
A little while ago, our daughter lost her first tooth. She was so excited to leave it under her pillow and get a surprise from the tooth fairy. The next morning, however, she came into our room, very disappointed, saying that the tooth fairy hadn’t left her anything. Well, I was pretty sure that the tooth fairy had left something, because I know her {or in this case, him} personally, so I told her to go look again. But with this pillow, she can hang her tooth on her bedpost, and the tooth fairy can slip the surprise into the tooth pocket, with no worries about it getting lost {or waking her up}.
Click for the full photo tutorial.

Here’s how I made mine. I did an etsy search to get some ideas {and there are pages and pages of tooth fairy pillows} so head over there if you want some other ideas {or want to buy one instead of make one}.
You’ll need:
Fabric scraps
Piping {optional}
Embroidery floss
Felt
Batting
Basic sewing supplies
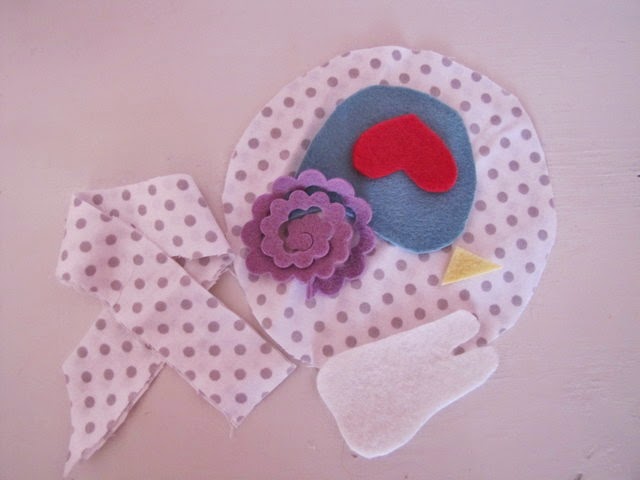
I started by cutting out two circles for the pillow and two strips of fabric for the door hanger. Then cut out some felt shapes. You can download the template for the bird here.
Pin your piping around the edge of one of the circles, overlapping at the ends.
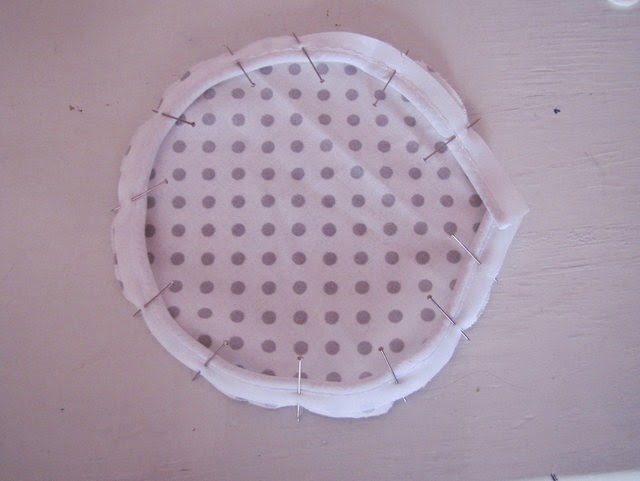
Open up one end of the piping and snip off the thread inside.
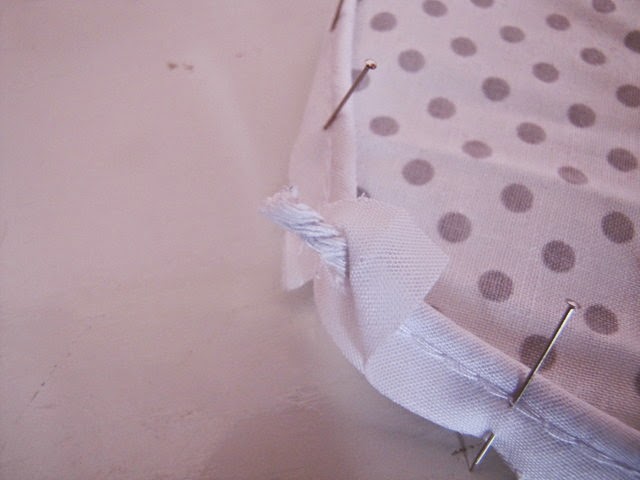
Pin the piping casing over the other end of the piping, so that all raw edges are enclosed.
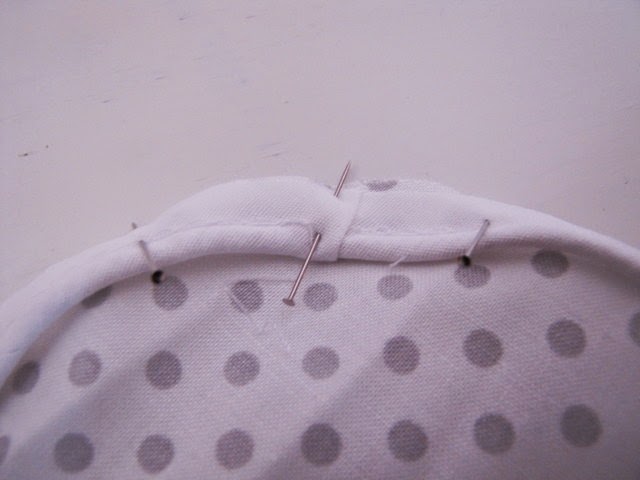
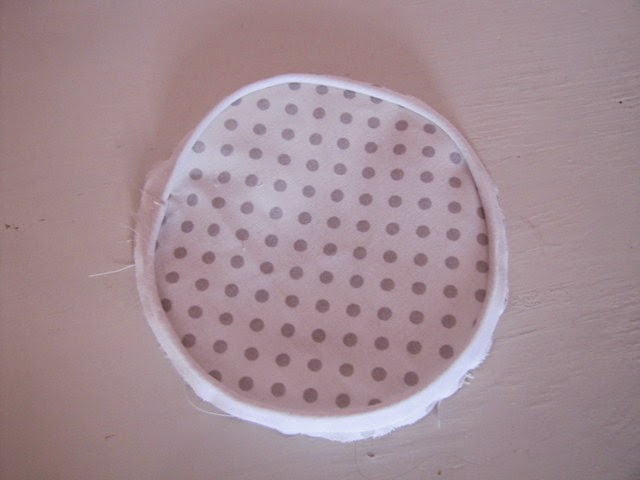
Baste the piping to the pillow. It is helpful to use a zipper foot. You can leave the piping off, or you could add a ruffle in place of the piping.
Sew on the tooth pocket, making sure to leave the top of the tooth open, so it is actually a pocket and not an applique.
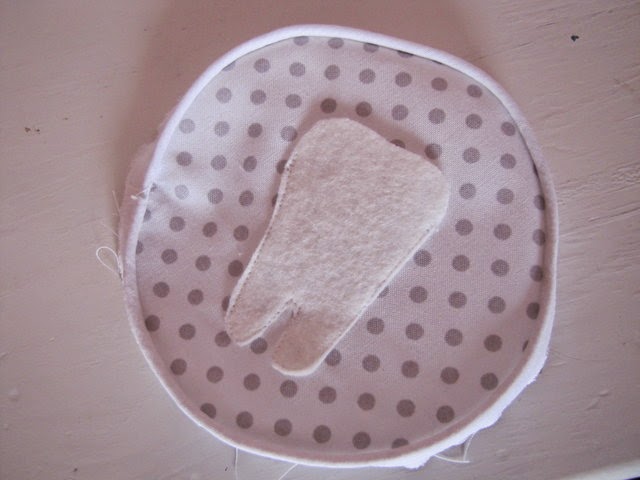
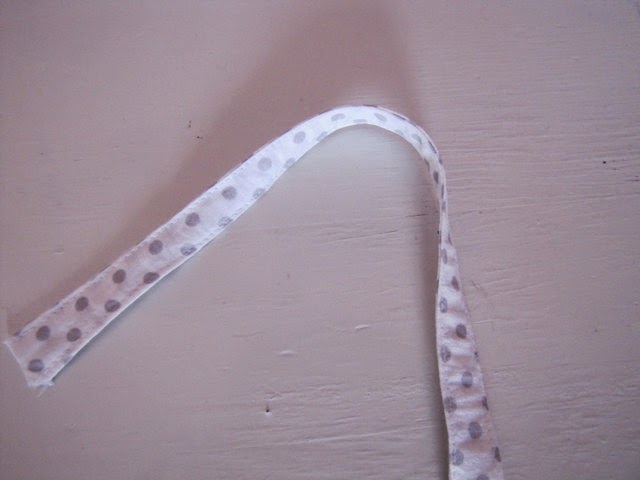
Sew your fabric strips together, then turn right side out and topstitch the sides, to make the hanger.
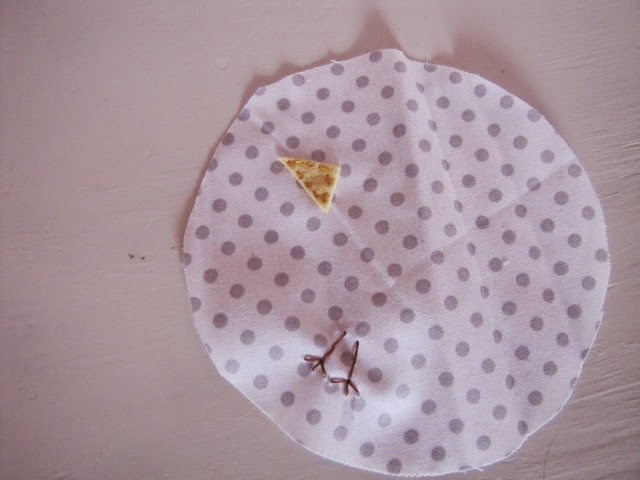
 Sew on the beak and embroider some feet.
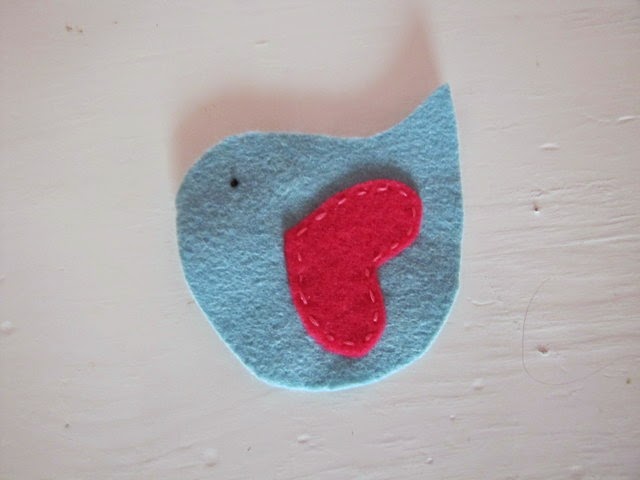
Sew the wing to the bird, and then make a french knot for the eye.
Sew the bird to the pillow.
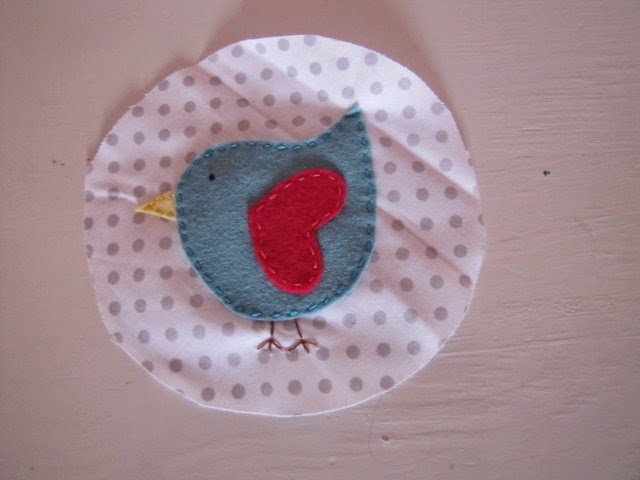
Pin the hanger to the tooth side of the pillow.
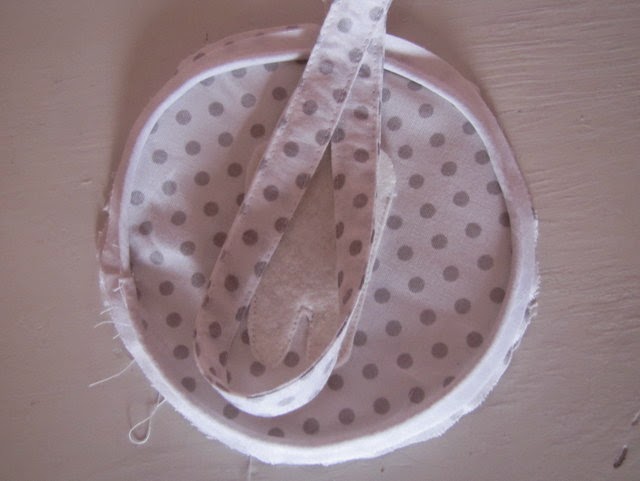
Layer the bird on top, right sides together with the other pillow circle. Stitch all the way around, leaving a small opening to turn.
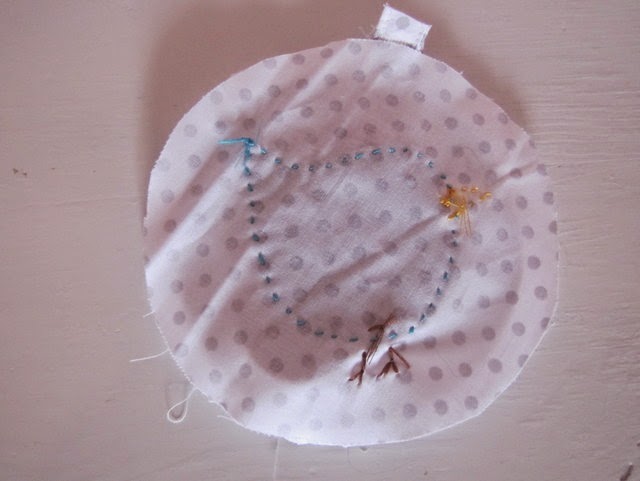
Turn the pillow right side out and stuff it with some batting. Slip stitch the pillow closed.
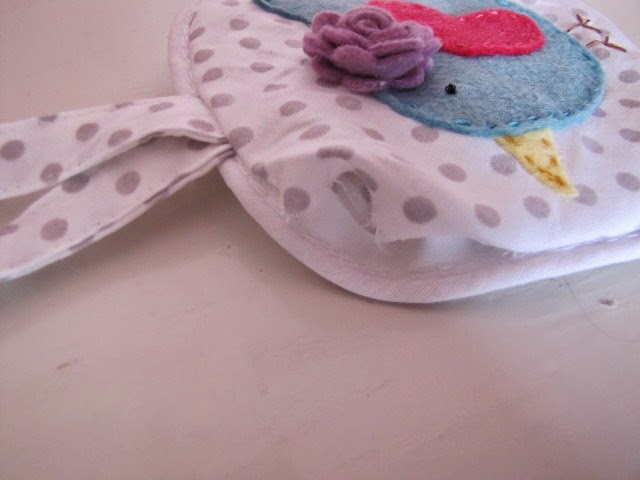
Now you’re ready for the tooth fairy! This would be easy to switch up for a boy-you could do dinosaurs, trucks, or whatever your little guy likes.

————————————————————————
Absolutely adorable Terra! I love the idea of hanging it on the bedpost so there is never any confusion/waking scares. Thanks for sharing!

We have decided to truncate our feed to help protect against stolen content. I apologize for any inconvenience. Please love us anyway. 🙂

How to Splatter Paint Using a Toothbrush

June 21, 2013 By Michelle Barneck Leave a Comment


Disclosure: This post is sponsored by the good people at Burg Pediatric Dentistry.

Summer is here and as parents that means donning our boredom buster tool belt. I am a firm believer that activities do not have to be expensive. With a little creativity you can have a blast with a few things already in your cupboard! I remember as a child of the eighties splatter painting. I saw spin art among other things from my childhood like neon and acid wash back in the stores, so why not bring on the splatter paint?
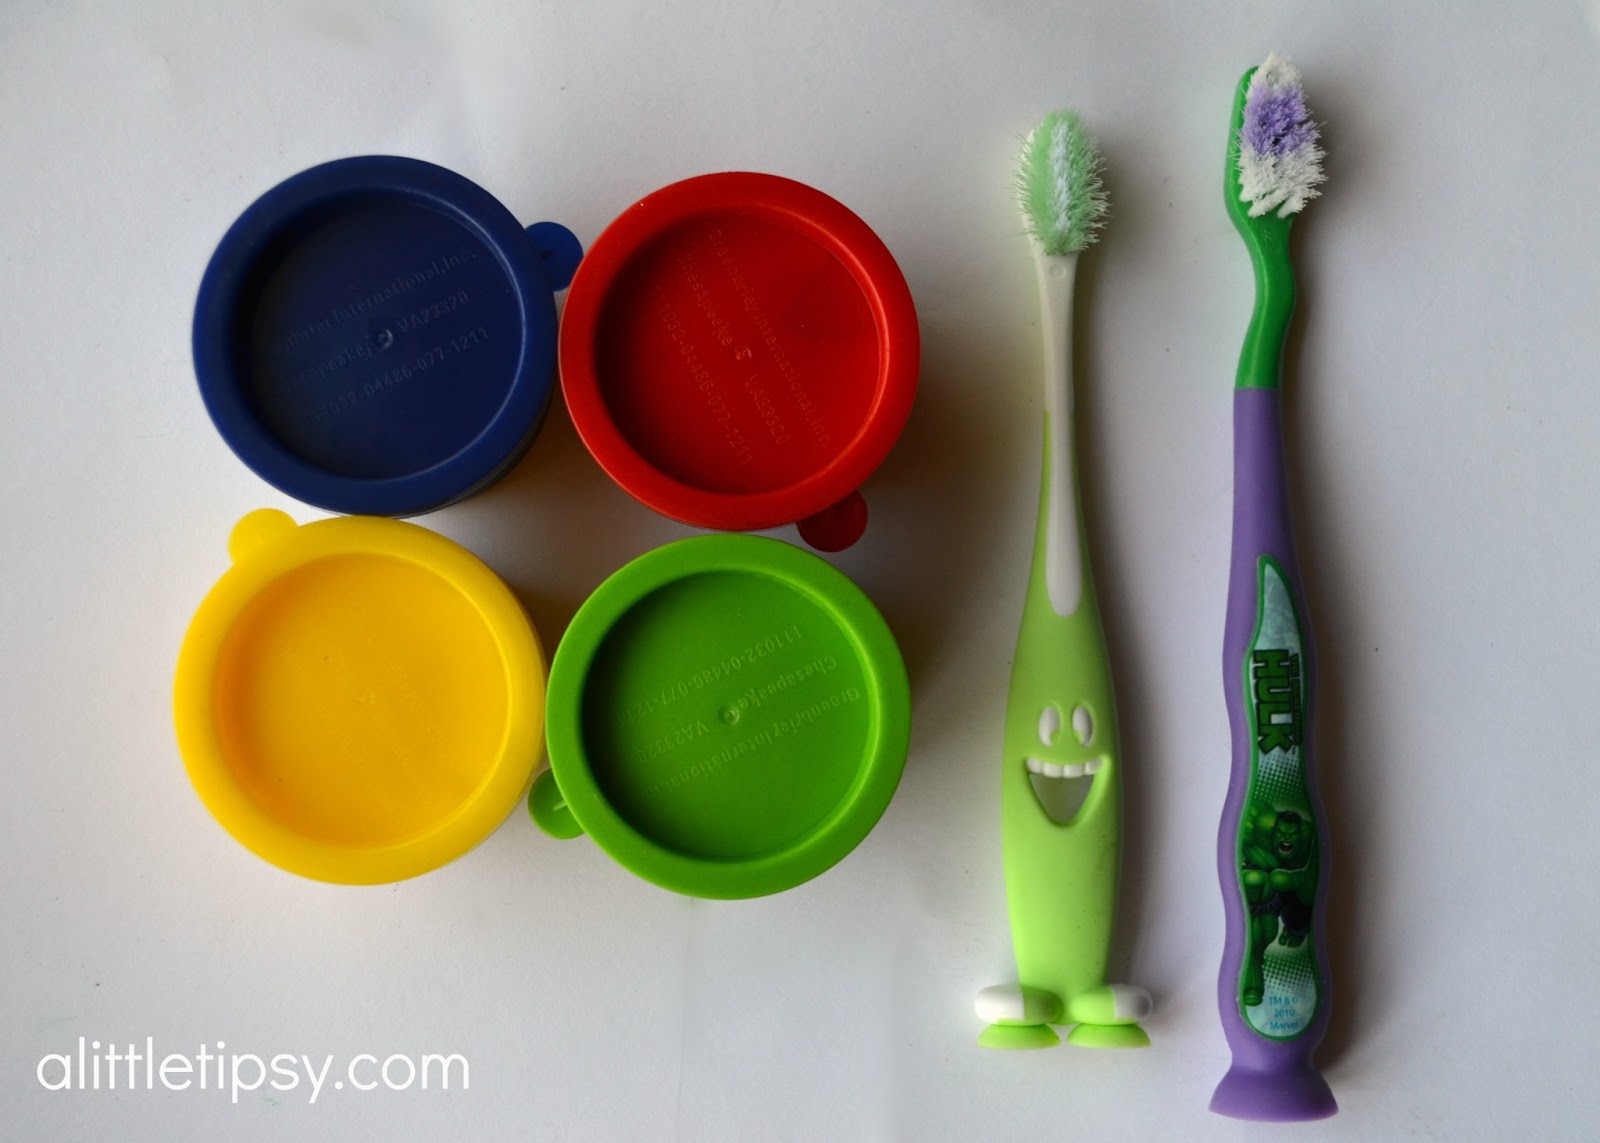
All you need is:
  • Washable Finger Paint
  • Toothbrushes (be sure to disinfect if using old ones!)
  • Butcher Paper
CLICK HERE FOR THE PICTURE & VIDEO TUTORIAL


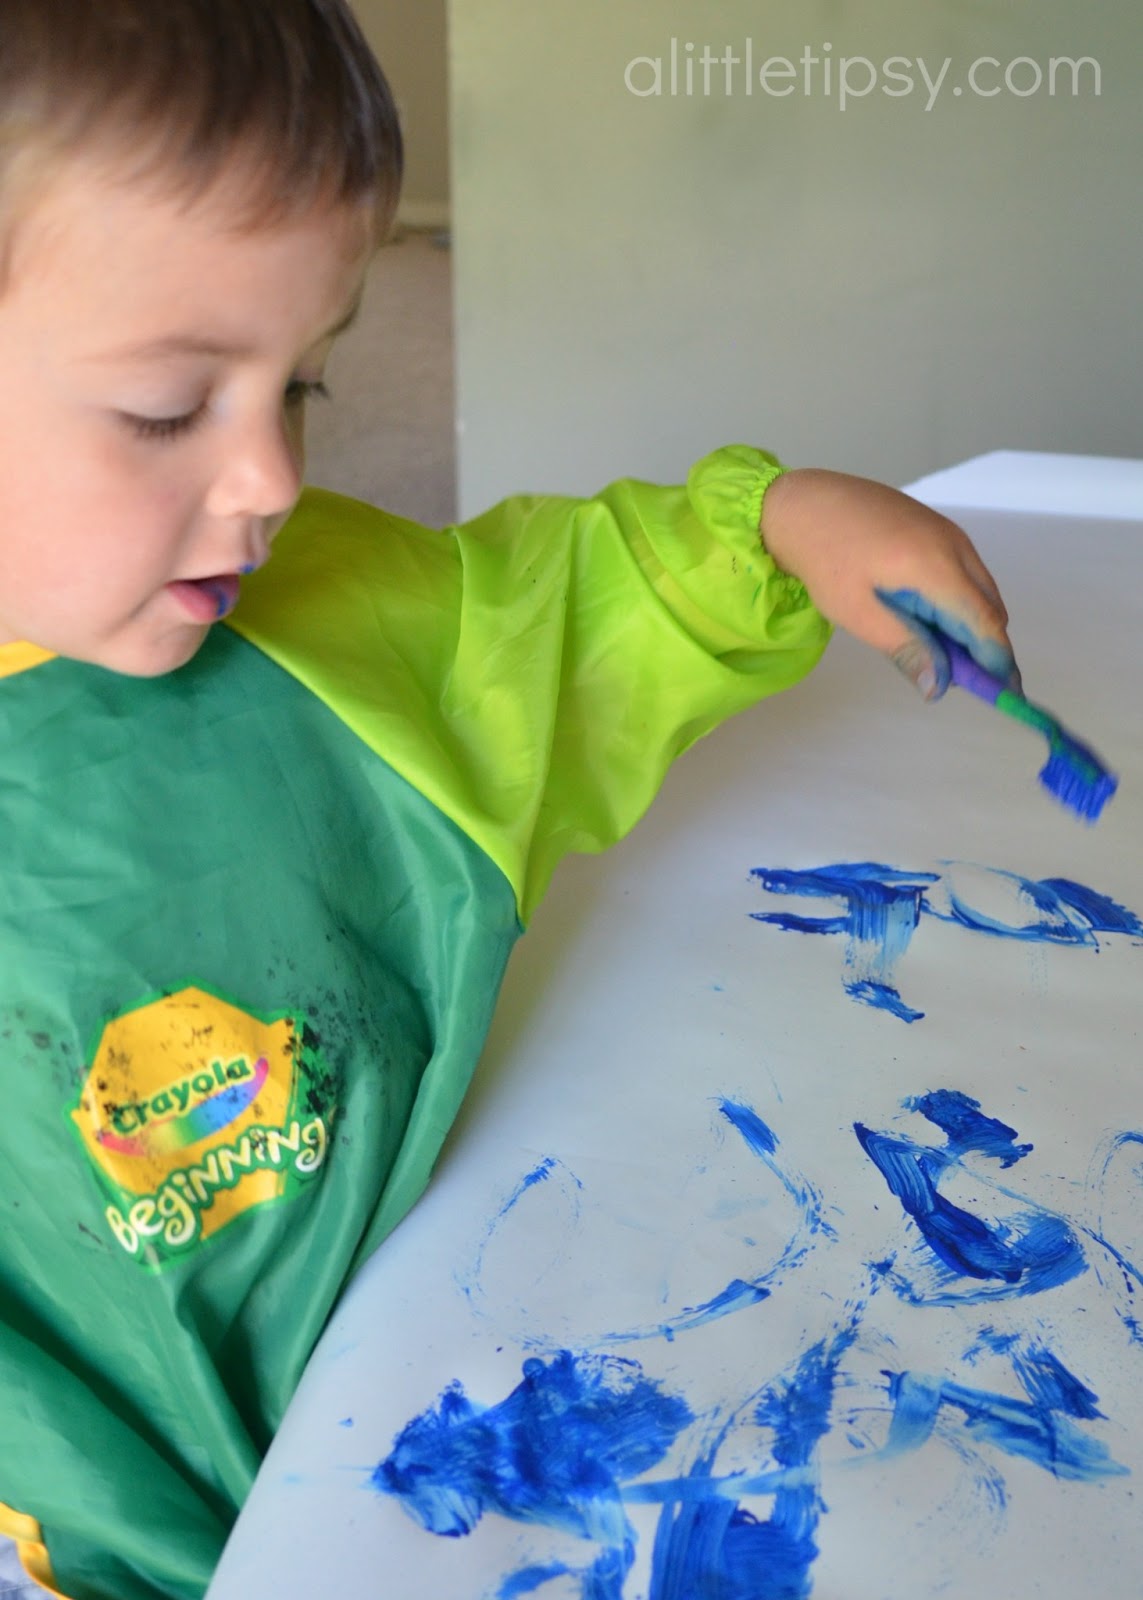
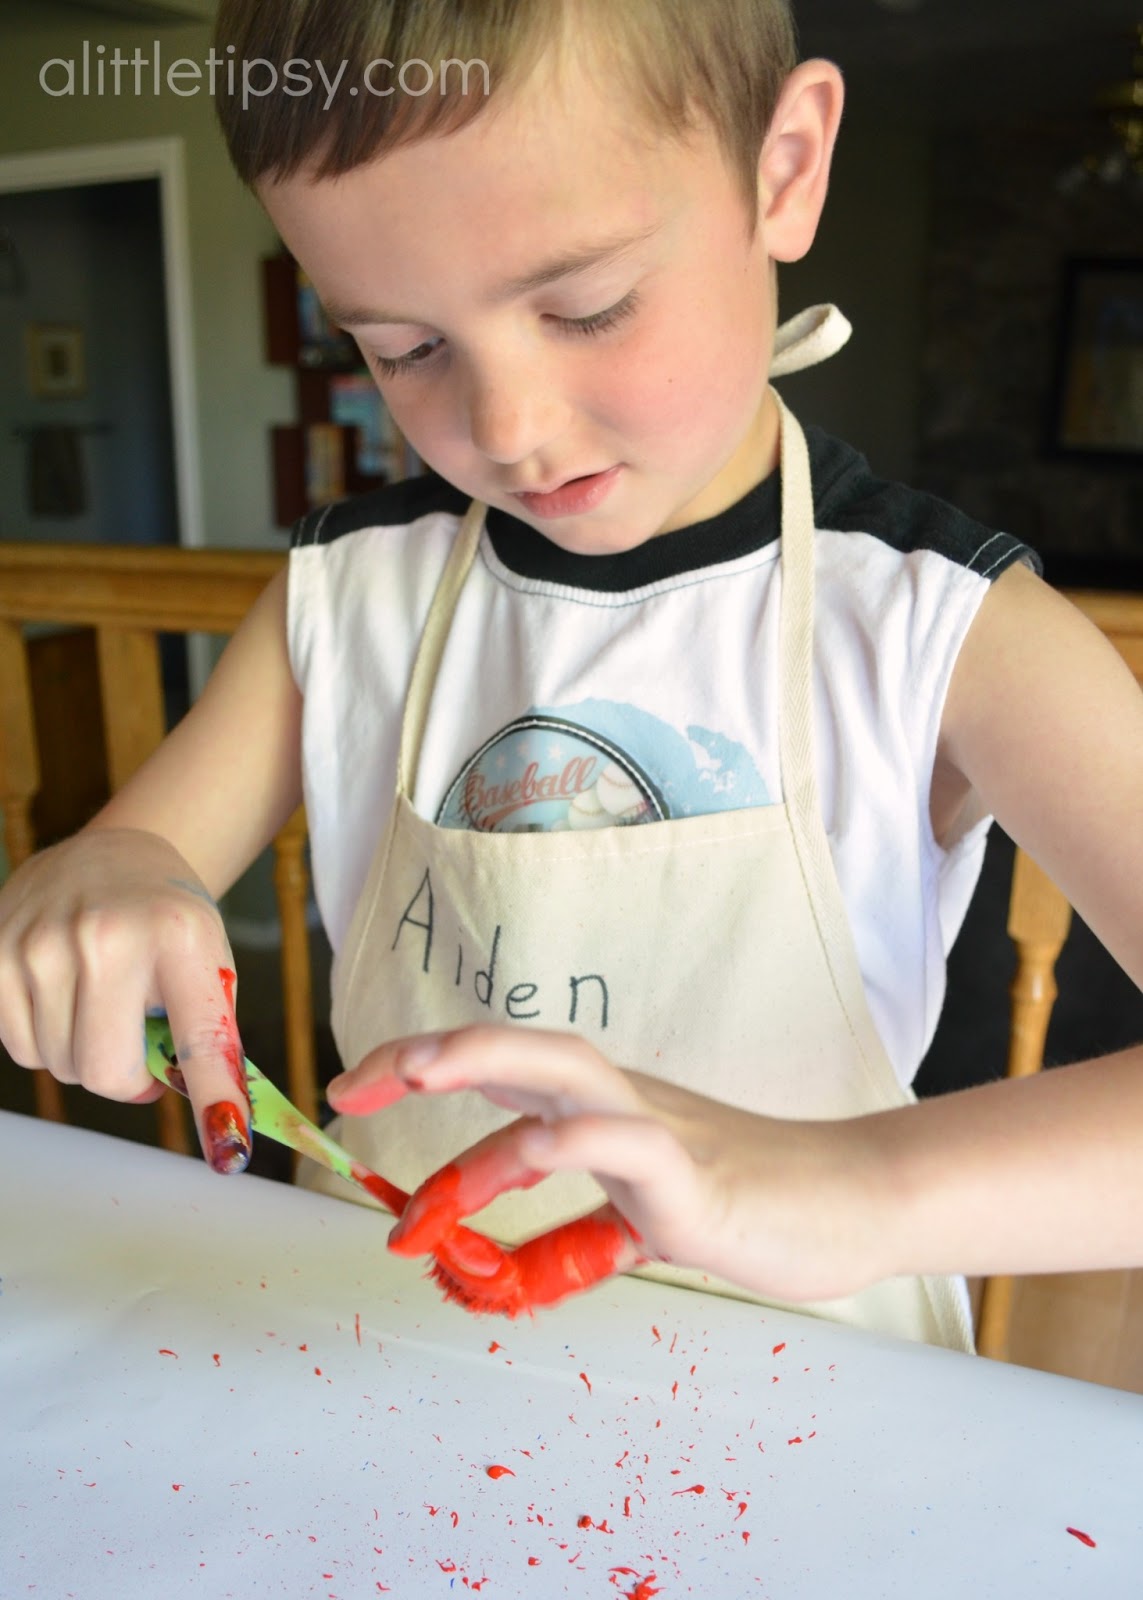
1. Cover your surface with butcher paper and cover the kids with aprons or smocks because things are going to get messy.
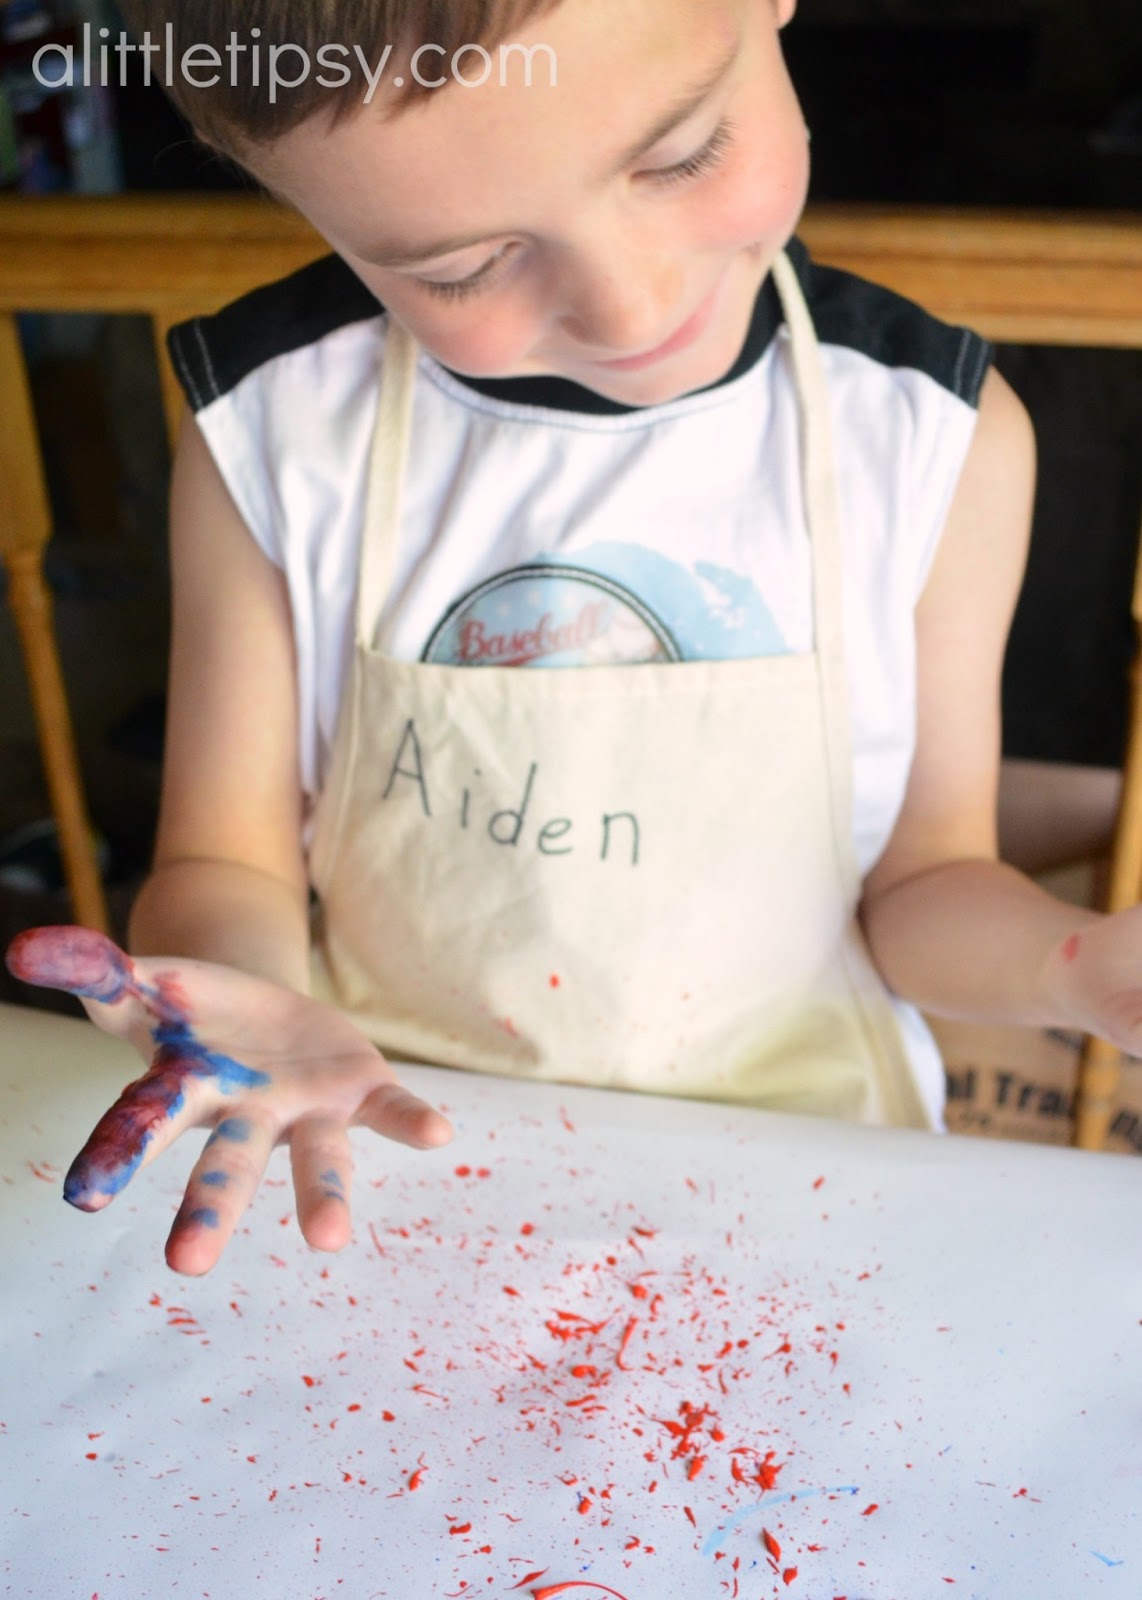
2. Dip the brush in the paint and holding the brush close to the paper comb over the bristles with your finger sending the paint flying. Older kids can hold the brush with their four fingers and use their thumb to comb the bristles, but for little ones it is easier to hold the brush in one hand and use the other hand to comb.

3. Have fun creating fireworks, starry skies, or anything else your kiddos can come up with.
This video will show you in a little more detail how to splatter paint with a toothbrush and also how to create planets with the suction cup end.

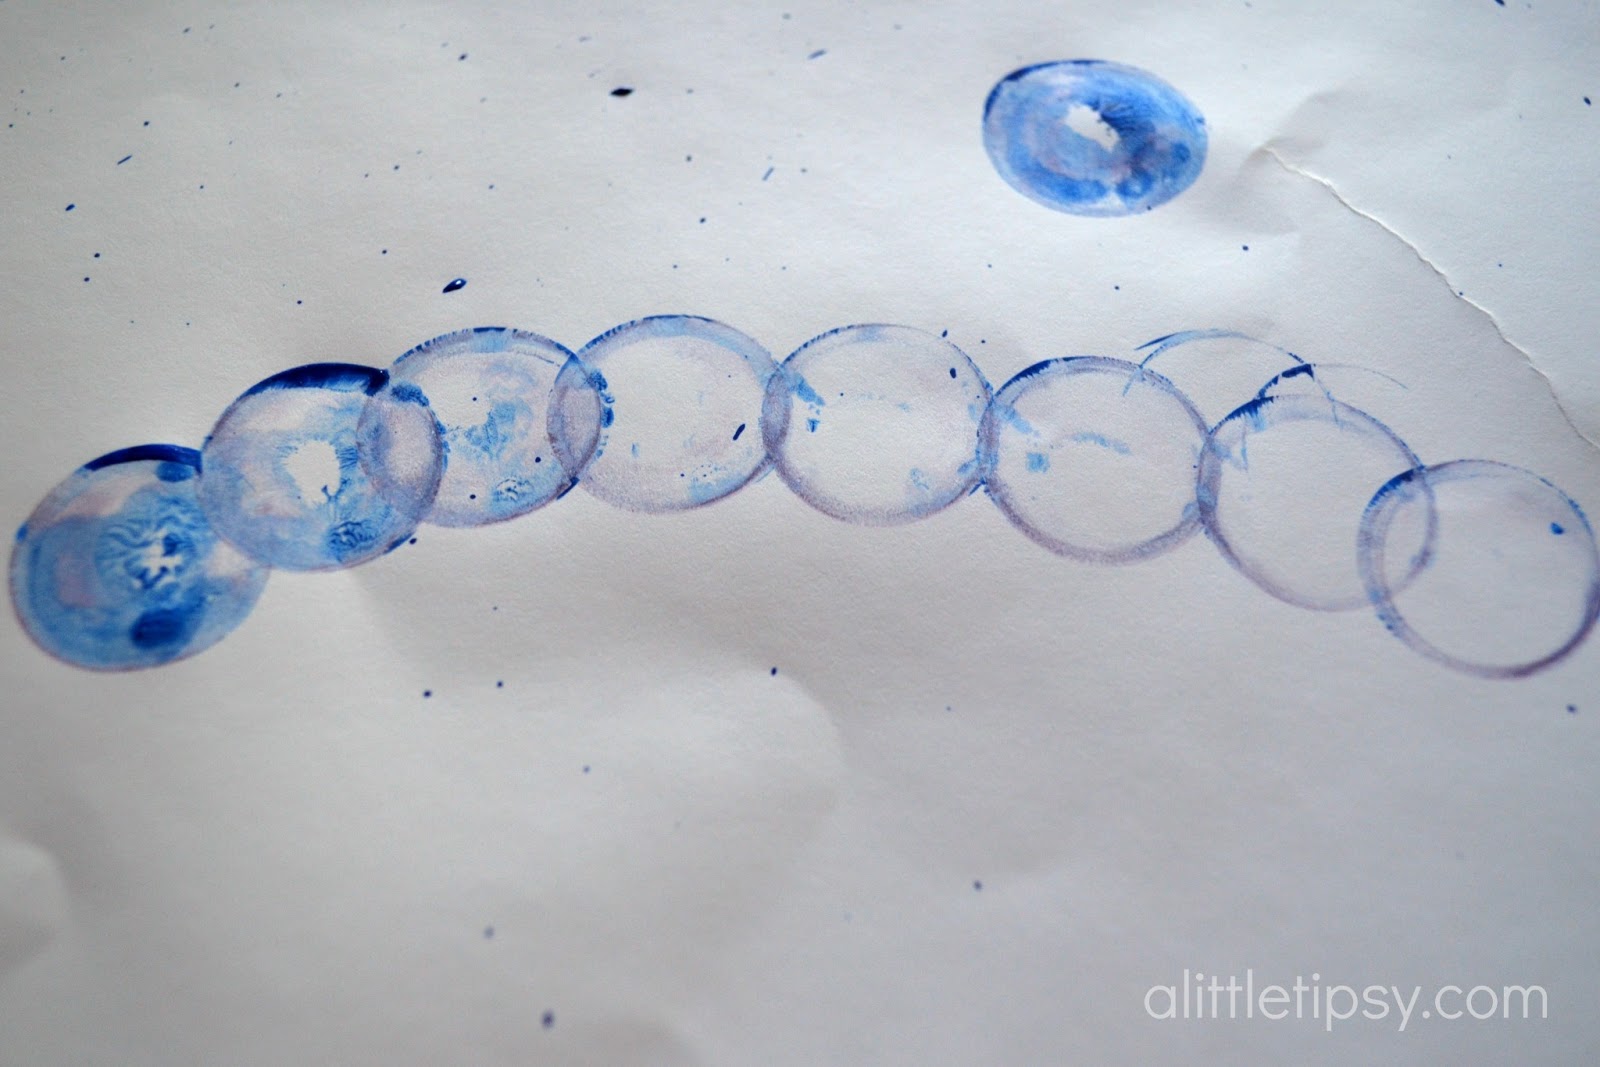
If your toothbrush has a suction cup end, you can create planets by dipping it in the paint and stamping with the suction cup.

This one reminds me of phases of the moon or a planet traveling through the solar system.

For toddlers, just hand them the toothbrush and let them paint with it like a regular brush. They love it!

Thanks to Burg Pediatric Dentistry for sponsoring this post to show us toothbrushes are not only tools for healthy teeth, but tools for fun!

We have decided to truncate our feed to help protect against stolen content. I apologize for any inconvenience. Please love us anyway. 🙂
15 Sprinklicious Party Ideas

June 10, 2013 By Michelle Barneck 6 Comments

It’s was my birthday yesterday. Since I could not fit you all in my house I decided why not throw a little sprinkle party here and share a whole bunch of super fun ideas. I was looking over my perfect party pinterest board and a sprinkles cake caught my eye. That was it. I love polka dots and I also love a nice crunch and sprinkles combines the two. It was a match made in heaven!

15 Fun Sprinkle Party Ideas

The sprinkle party idea all started with this amazing sprinkle cake…
Sprinkle Cake from Birchgrove Bakery via Storyboard Wedding
Birchgrove Bakery 4 Tier Sprinkle Cake With White Bows
Sprinkle votive candles from BHG.com
So easy and so cute!
Valentine Votive
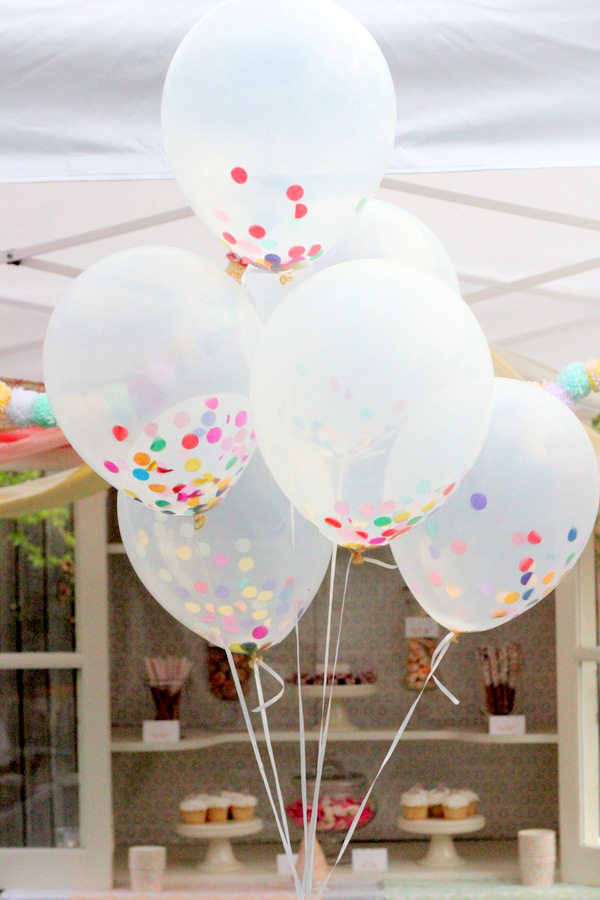
Confetti Balloons from Kojo Designs
Love this simple idea for a big impact!
Sprinkles Tablescape from Mirabelle Creations via Hostess with the Mostess
So many adorable dots!
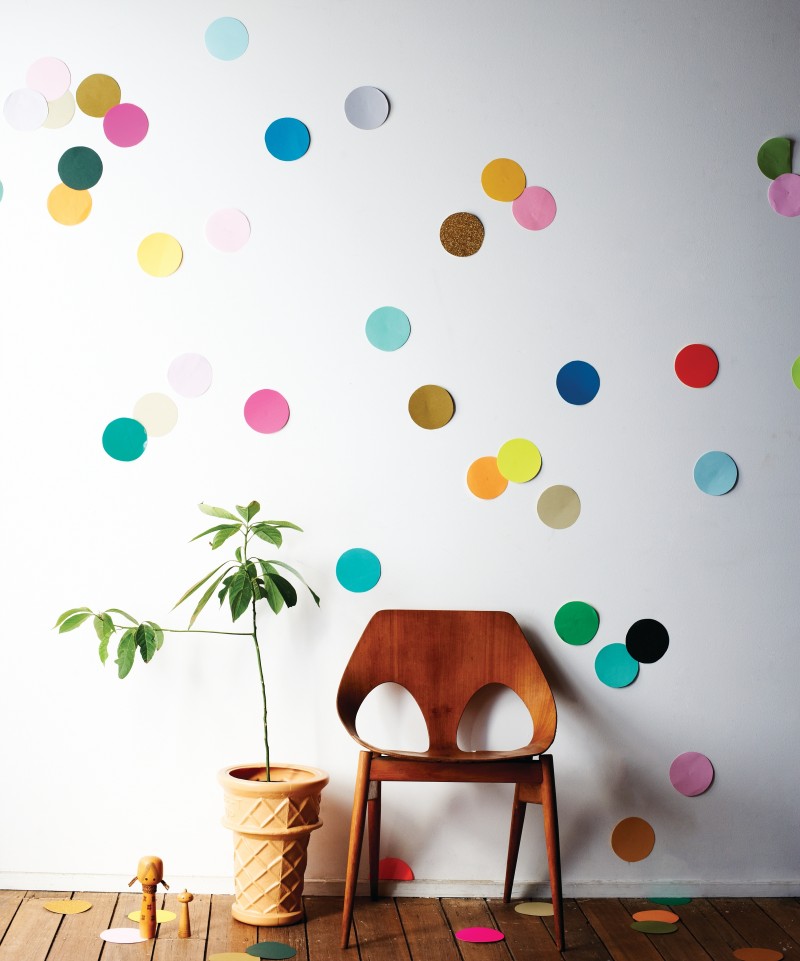
Confetti Wall from Beci Orpin via Wee Birdy
Even the kiddos could take care of this one!
Find & Keep by Beci Orpin via WeeBirdy.com
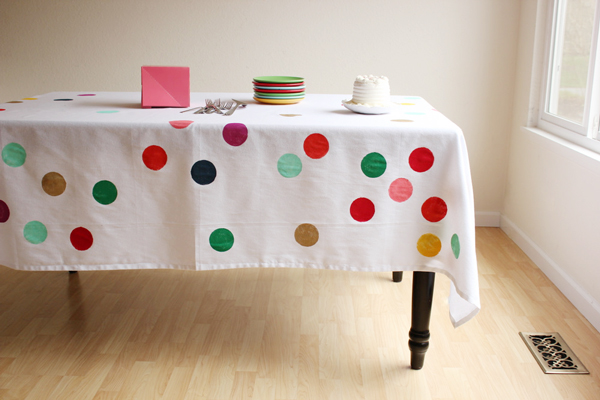
DIY Confetti Tablecloth from Oh Happy Day
Spotted Masking Tape from Papermash to make these cute cups.
Easy and economical!
Spotted masking tape
Confetti Dot Ice Cream Spoons from Shop Sweet Lulu
Sprinkle Waffle Cones from Cake Time
I could take one right about now!
wafers-ice cream cones
Mini Milkshake Shooters from Hey Gorgeous Events
How cute and tasty is this?!
Sprinkle Push Up Cake Pops from Kiki’s List
I love the colorful layers to complement the sprinkles!
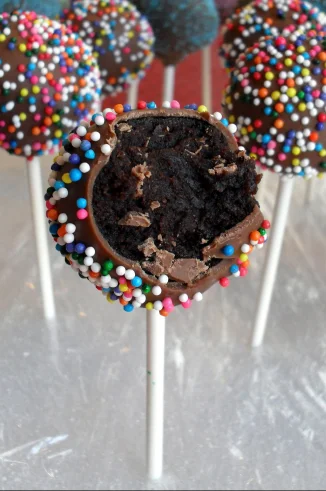
Sprinkle Cake Pops from Veronica’s Cornicopia
Sprinkle Strawberries via Pinterest (no original source, please let me know if you know it so I can credit)
The “healthy” treat option.
Homemade Oreos from A Little Tipsy
A colorful addition to a classic.
Sprinkle Popcorn Balls from Sprinkle Bakes
For more awesome sprinkle party ideas, be sure to visit my Perfect Party Pinterest board.  We are always adding fun new themes and ideas to throw awesome parties with ease.

How To Remove Sticker Residue

June 4, 2013 By Michelle Barneck 5 Comments

Hello again, it’s Aly from Entirely Eventful Day here to share a helpful tip with you…

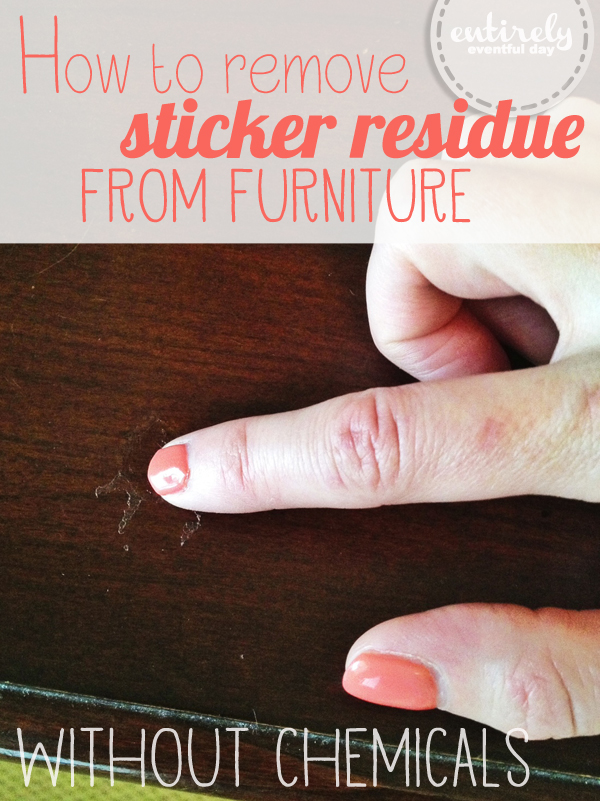
I have kids. And what I really want to know is why do they insist on sticking stickers on my furniture? I used to stress about it, not anymore. Now I know how to remove stickers from furniture without chemicals and it’s oh, so easy. Don’t you want to know how…

READ MORE…


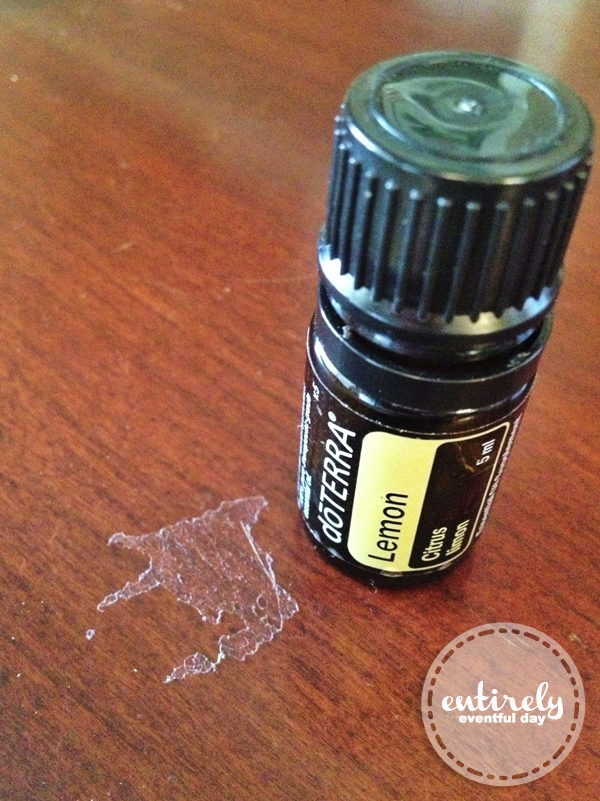
Tada! Just put a little lemon oil on your finger and rub it on the sticker residue. I was skeptical, but this is amazing and it works! Plus, you don’t have to worry about it taking finish off your furniture.

PS, this is just the brand of lemon oil I happen to own.  This isn’t an advertisement. I’m sure any brand would work just fine.  I hope this relieved a little stress for you.  Next time your kid covers your coffee table with My Little Pony stickers you won’t need to fly off the handle. Just rub a little yummy smelling oil on it.  You’re welcome.

——————————————————————————–
Great tip Aly! I am always finding sticker on furniture and walls so this will definitely help keep the peace. Now if I could just get them to stop leaving stickers on their shirts when they go through the wash!

We have decided to truncate our feed to help protect against stolen content. I apologize for any inconvenience. Please love us anyway. 🙂
« Previous Page
Next Page »

  • Bloglovin
  • Facebook
  • Google+
  • Instagram
  • Pinterest
  • RSS
  • Twitter

Hi there! I'm Michelle. Mother of three little boys and one little princess. Welcome to A Little Tipsy, a place for exploring creativity and sharing inspiration.

Follow on Bloglovin


Visit Michelle Barneck {A Little Tipsy}'s profile on Pinterest.

Tutorials by Category


15 Family Reunion Games

Family Reunion Games Collage

15 Sprinkle Party Ideas

Sprinkle Birthday Party
Creative Commons License

© Copyright 2014 A Little Tipsy · Site Designed by The Fairy Blogmother · Web Hosting by RFE Hosting

This website uses cookies to improve your experience. We'll assume you're ok with this, but you can opt-out if you wish.Accept Read More
Privacy & Cookies Policy