A Little Tipsy

Creative Tips & Ideas

  • home
  • About Me
  • the tipsy top
  • press
  • projects
  • contact me
[print_thumbnail_slider]

Kid Friendly Lunch

July 22, 2010 By Michelle Barneck 12 Comments

Looking for some kid friendly food this summer? This is what my little one lovingly calls “tray food.” We put lots of little finger foods in a fun ice tray. He loves to gobble them up out of their little slots and I love that he is filling up on healthy foods.

We try to have something from each food group to fill his tray.

Above: Mini rice cakes, ham, clementine, carrots, string cheese
Below: String Cheese, nuts, craisins, carrots

Some of our other tray food faves are: popcorn, celery, raisins, grapes, and olives. Really anything that is small and can be eaten with fingers.

I originally saw this idea on Supermom Central last fall.

P.S. Don’t forget to sign up for free Tipsy updates via RSS or email.

We have decided to truncate our feed to help protect against stolen content. I apologize for any inconvenience. Please love us anyway. 🙂

Teaching Toddlers Colors

June 28, 2010 By Michelle Barneck Leave a Comment

This fun toddler activity combines hand eye coordination with learning colors. They get to build a tower increasing their coordination, but can only use the specified color.

For instance, we used yellow. He had to find a yellow block and then add it to the tower. Once the tower was built he would knock it down and we would start again.

He loved playing it over and over and it really helped with his color recognition.

P.S. Don’t forget to sign up for free Tipsy updates via RSS or email.

We have decided to truncate our feed to help protect against stolen content. I apologize for any inconvenience. Please love us anyway. 🙂

Father’s Day Art Project and Gift Wrap Idea

June 18, 2010 By Michelle Barneck 5 Comments

My little one wanted to paint today, so I turned it into a Father’s Day Art Project. It turned out so cute that the art project then turned in to the gift wrap for our Father’s and Grandfather’s Day Presents.

I just drew the outline of a tie on a big sheet of white paper and let him have at it with the finger paint. We did one color and let it dry for a bit, then added a second color.


Once he was done I traced the outline with a Sharpie to make it stand out and cut the tie out. We wrote a little note on the one being sent in the mail and attached the other two to blue gift bags.

Happy Father’s Day!!

Linking up:
Join  us Saturdays at tatertotsandjello.com for the weekend wrap up  party!

P.S. Don’t forget to sign up for free Tipsy updates via RSS or email.

We have decided to truncate our feed to help protect against stolen content. I apologize for any inconvenience. Please love us anyway. 🙂

Cute Bean Bags from Worn Out Socks

May 24, 2010 By Michelle Barneck 24 Comments

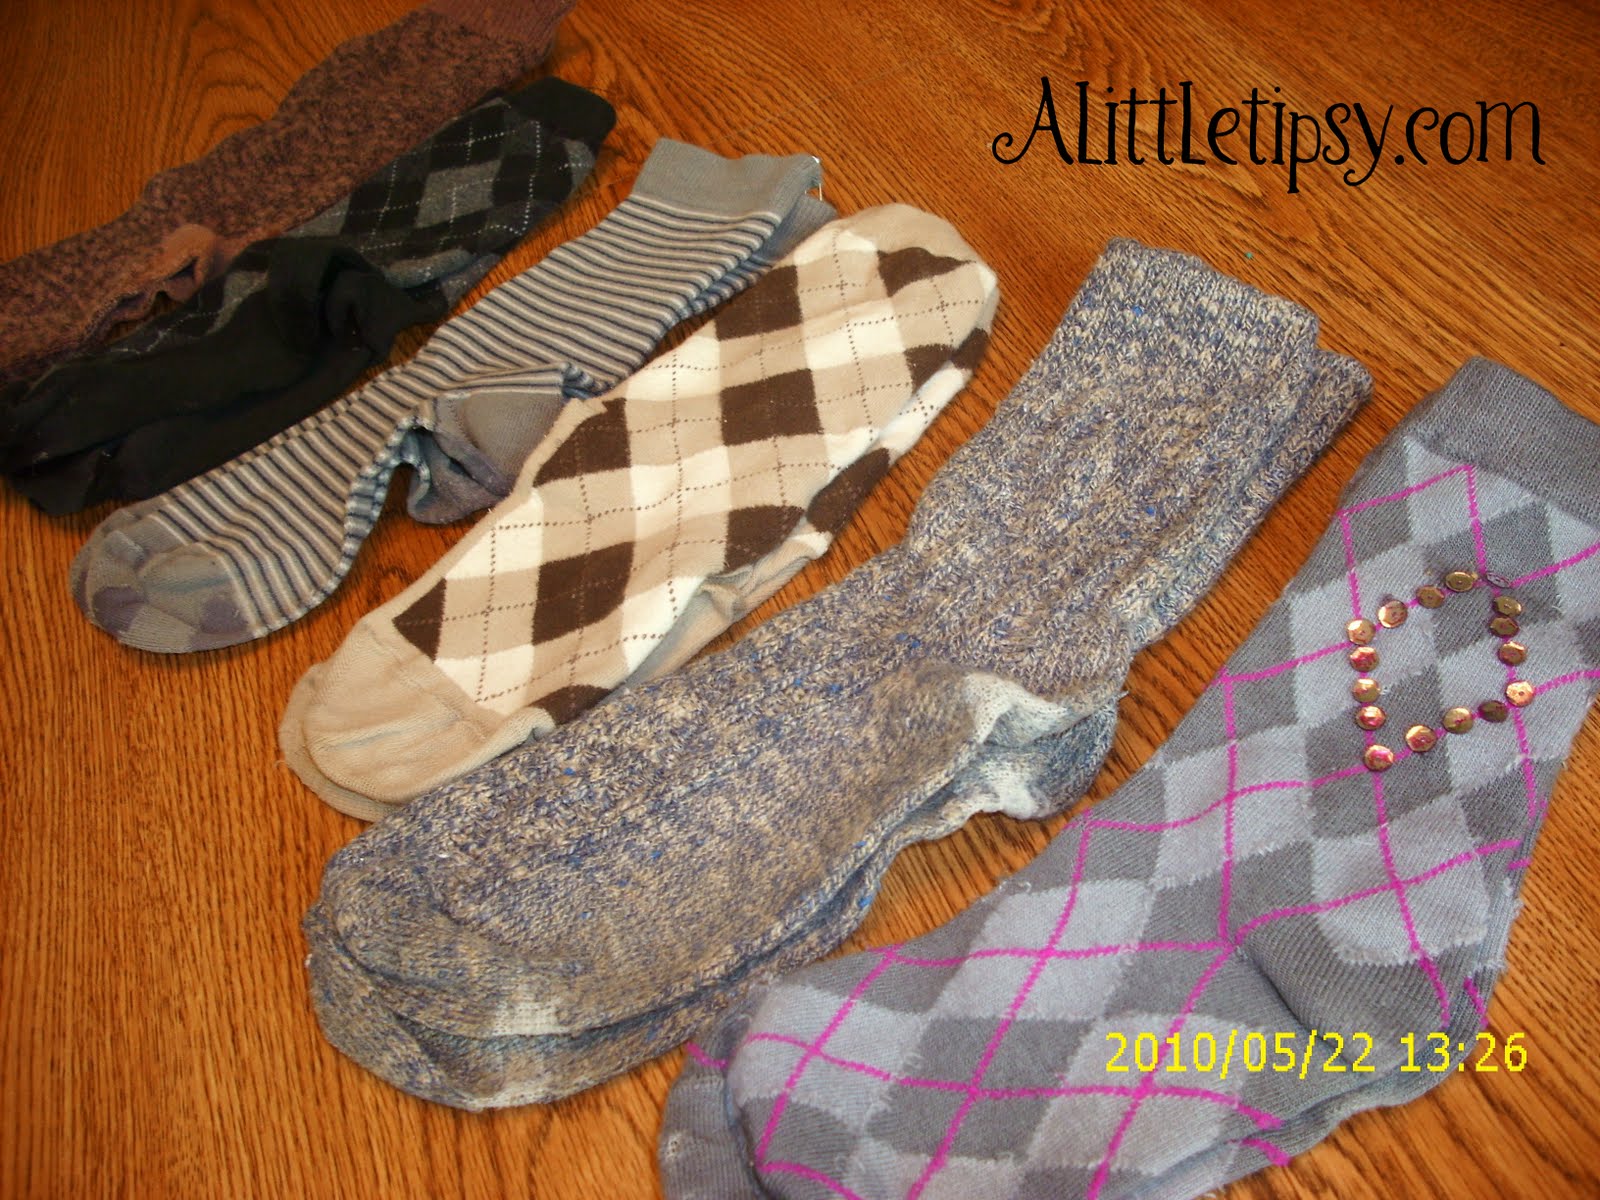
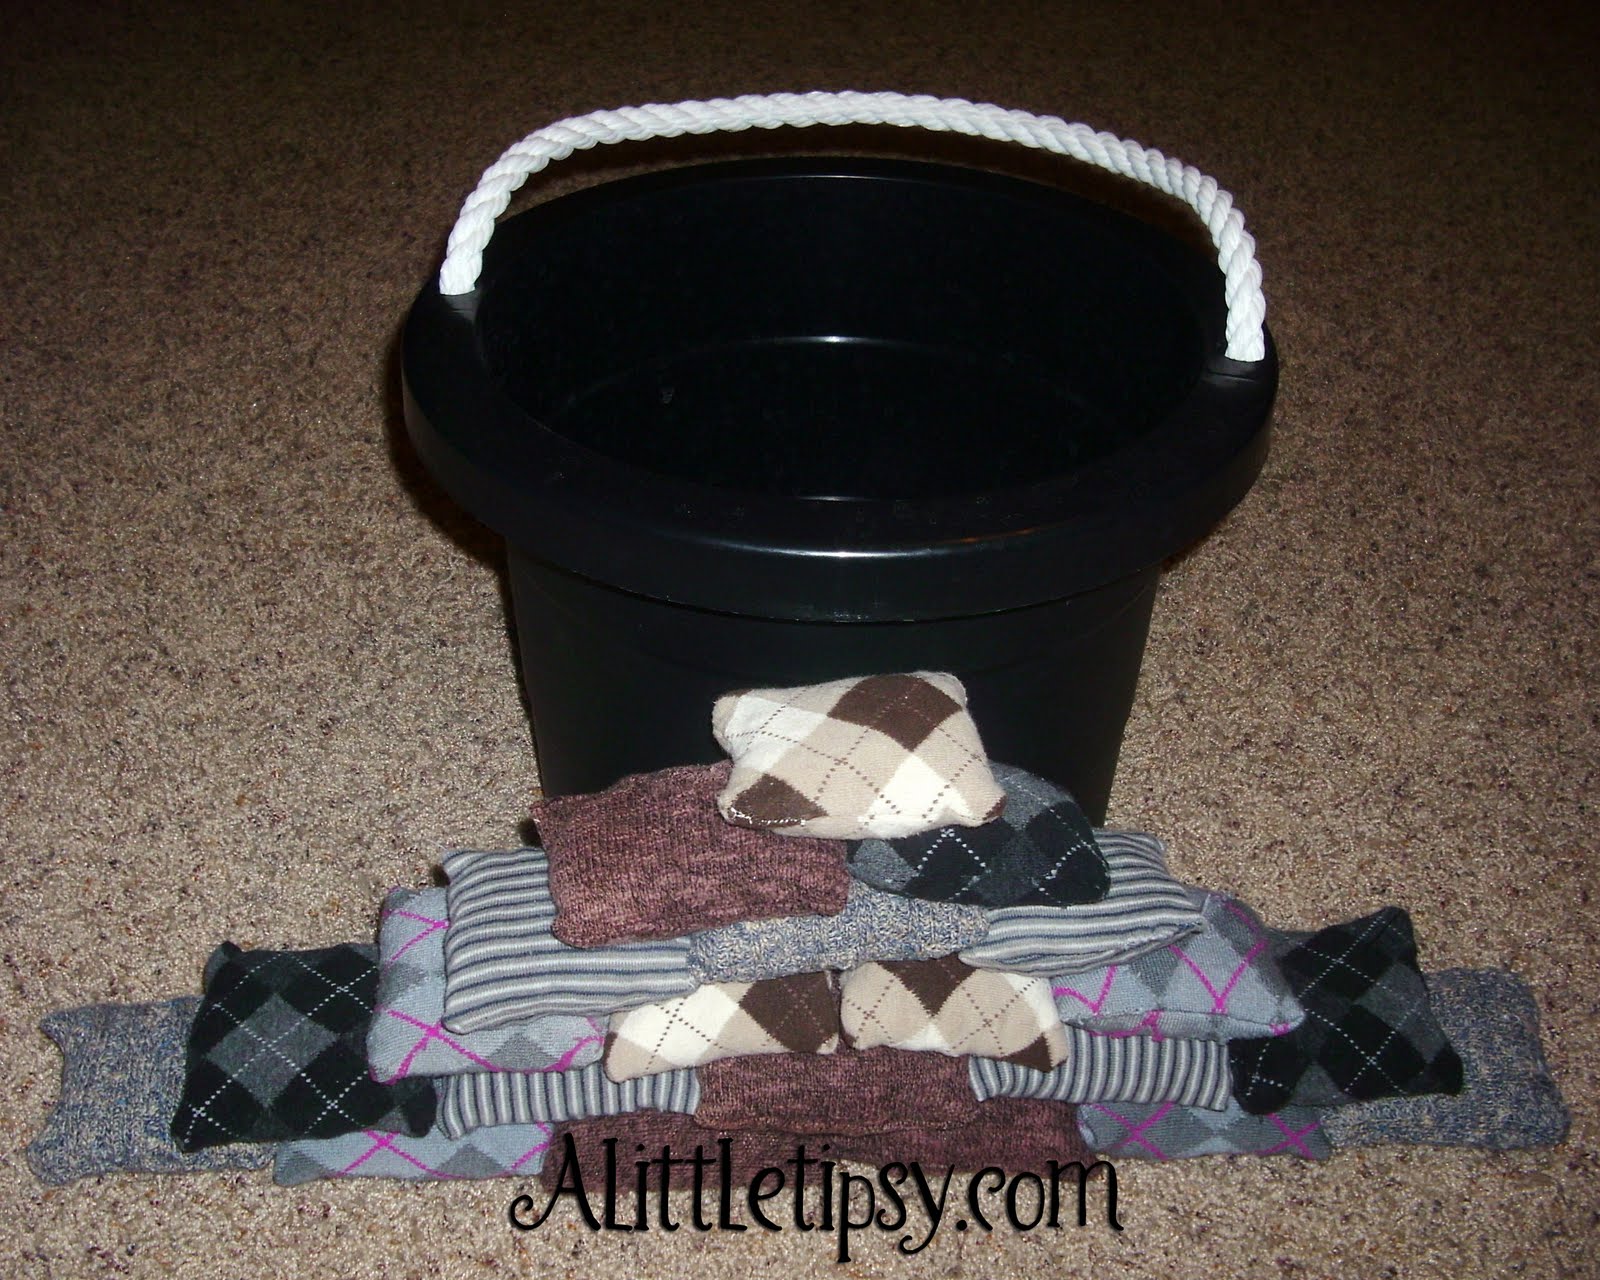
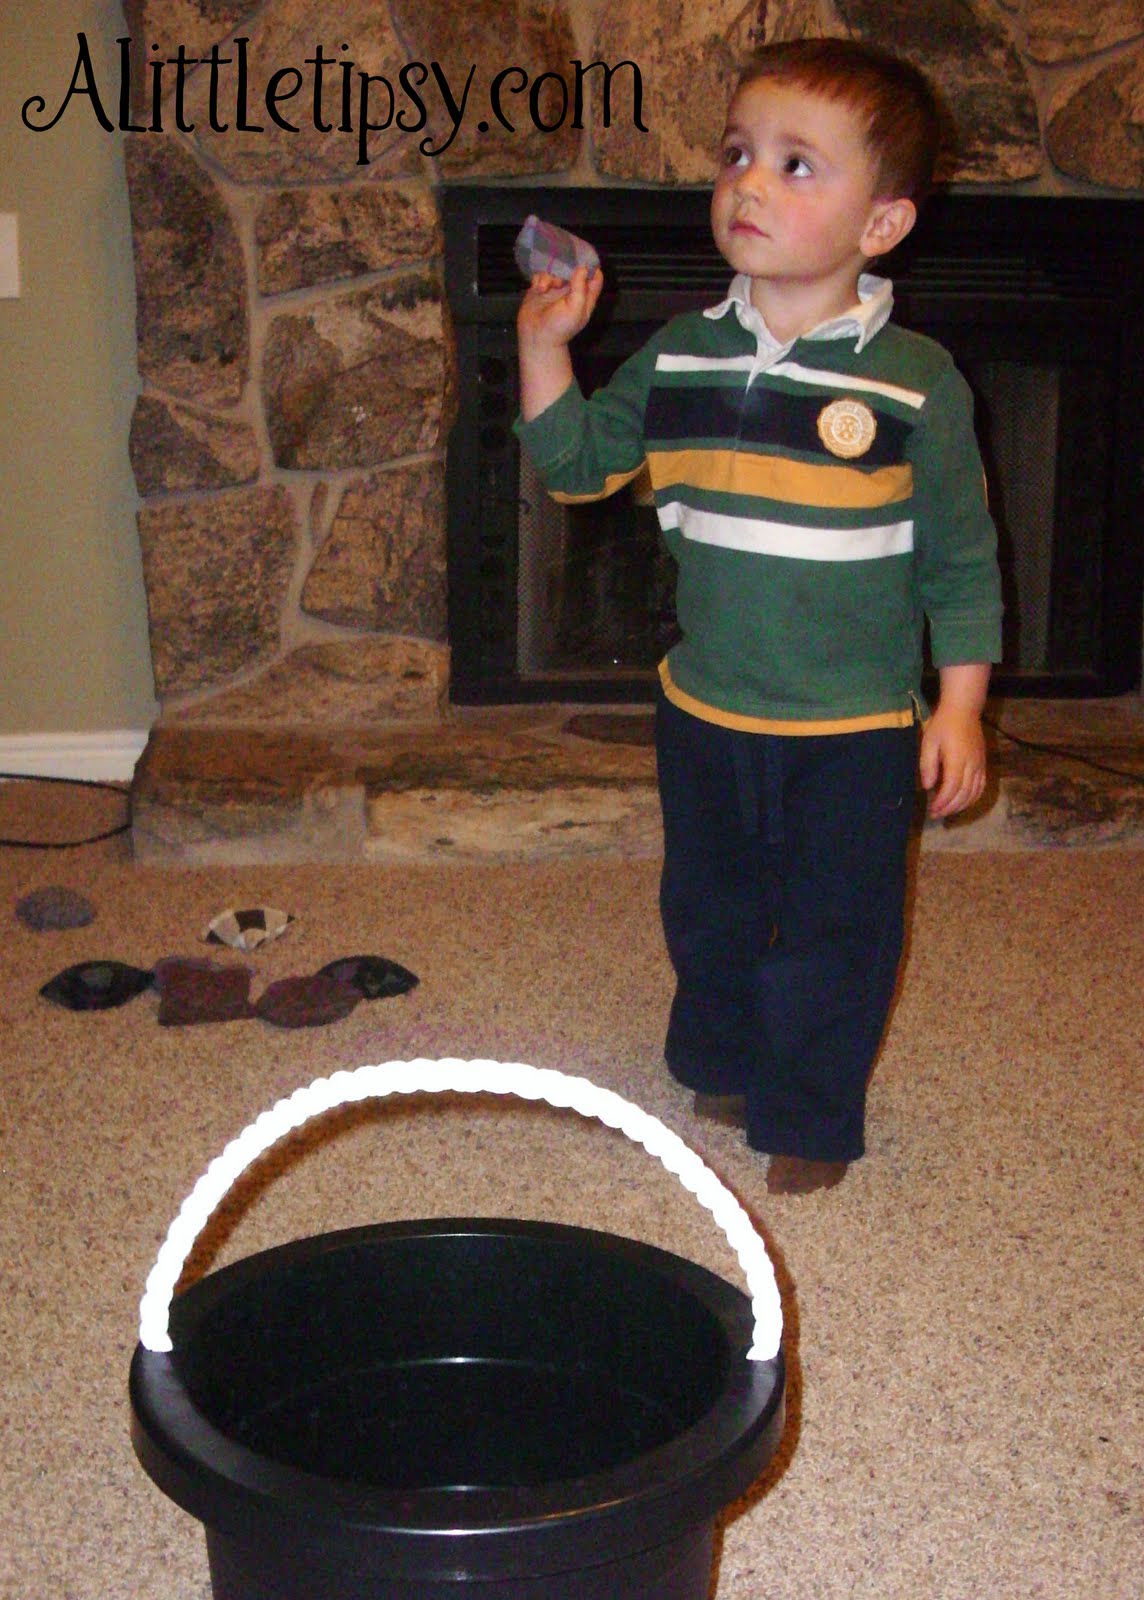
Am I a hoarder? Maybe, but sometimes I just can’t seem to get rid of things. Like my cute socks that are perfectly good accept for the heels and the toes. A little pathetic that I did not just send them to their landfill grave, but I just knew I could do something with them, someday. Well, today is that day. I introduce to you the Sock Bean Bag.

The fun patterns make me oh so happy and the recycling is a total bonus!
(See honey, another craft using only what I had.)

Items needed:

  • Worn out socks
  • Scissors
  • Sewing Machine
  • Pinto beans (or any other cheap filler) I used 4 lbs for 21 small bean bags.
  • Card stock
  • Bowl
  • Needle & Thread

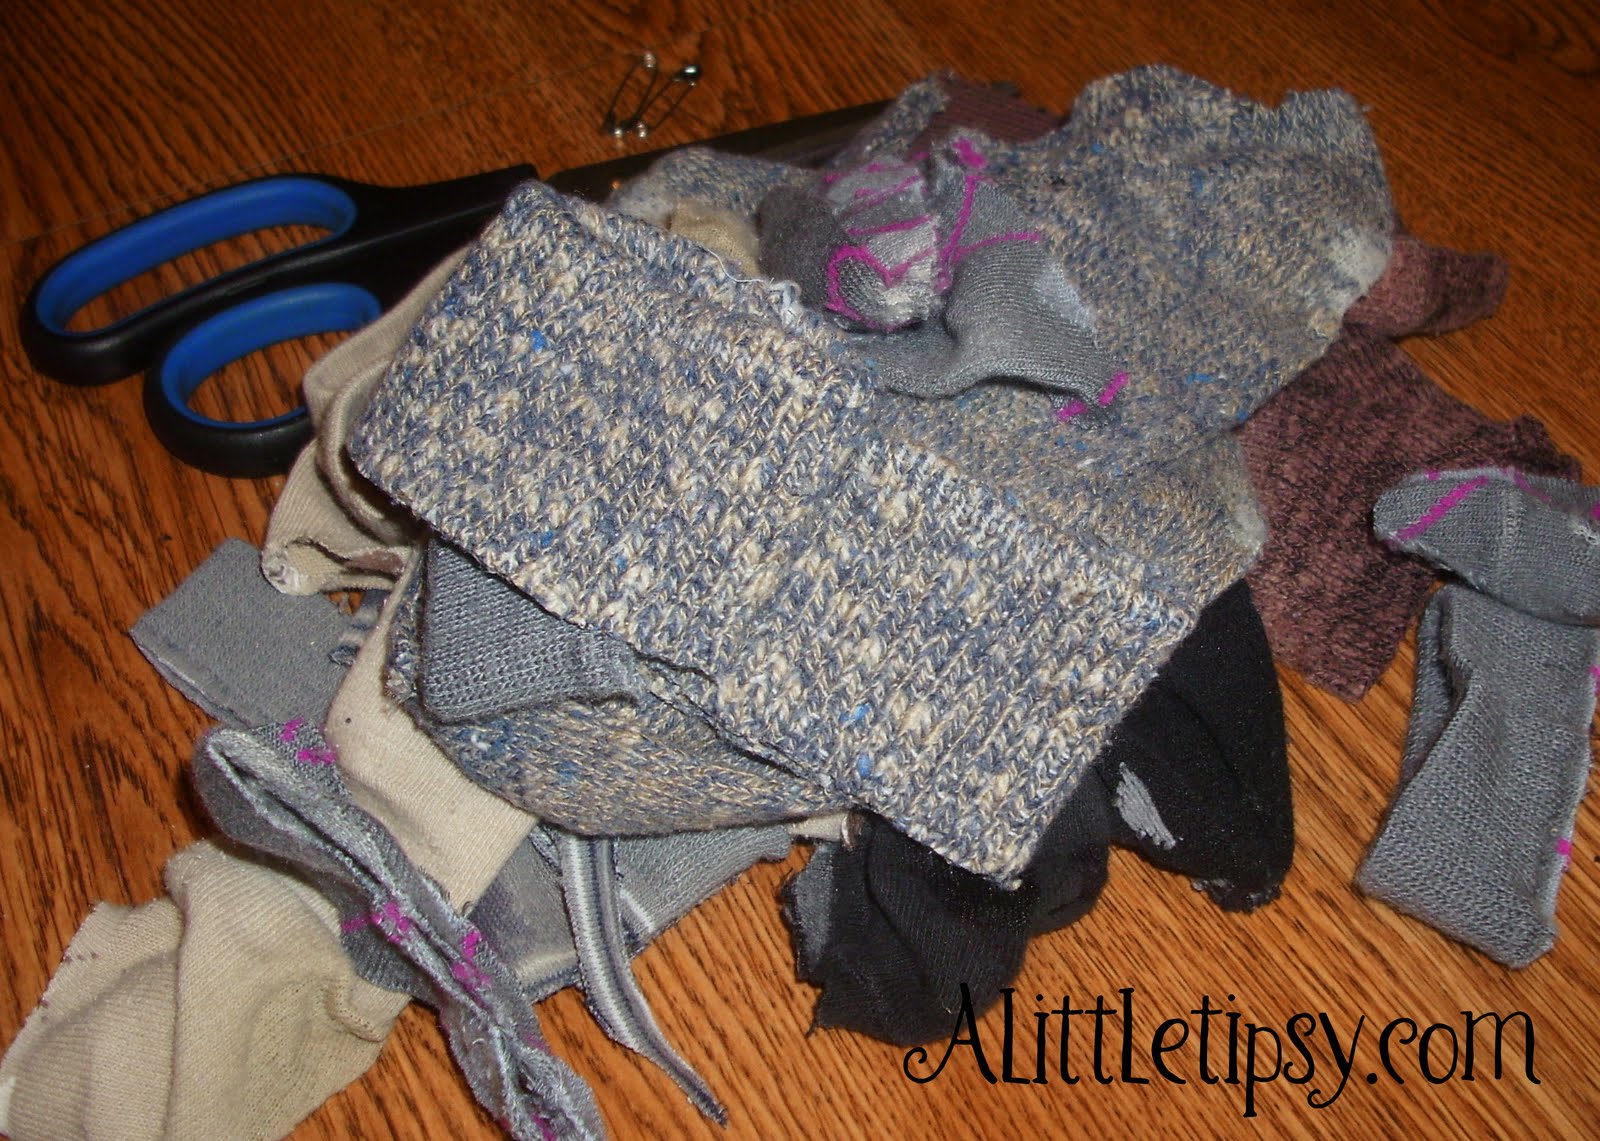
1. Cut the usable material from your socks. I used the ankle tube part and the top of the foot from most. You will have a big pile of scraps that don’t make the cut. (Notice the pins, they are from my sock matching system)

2. With the sock inside out, sew the edges using a straight stitch on your sewing machine. Be sure to leave a 1 1/2 inch open to turn them right side out and put the beans in.

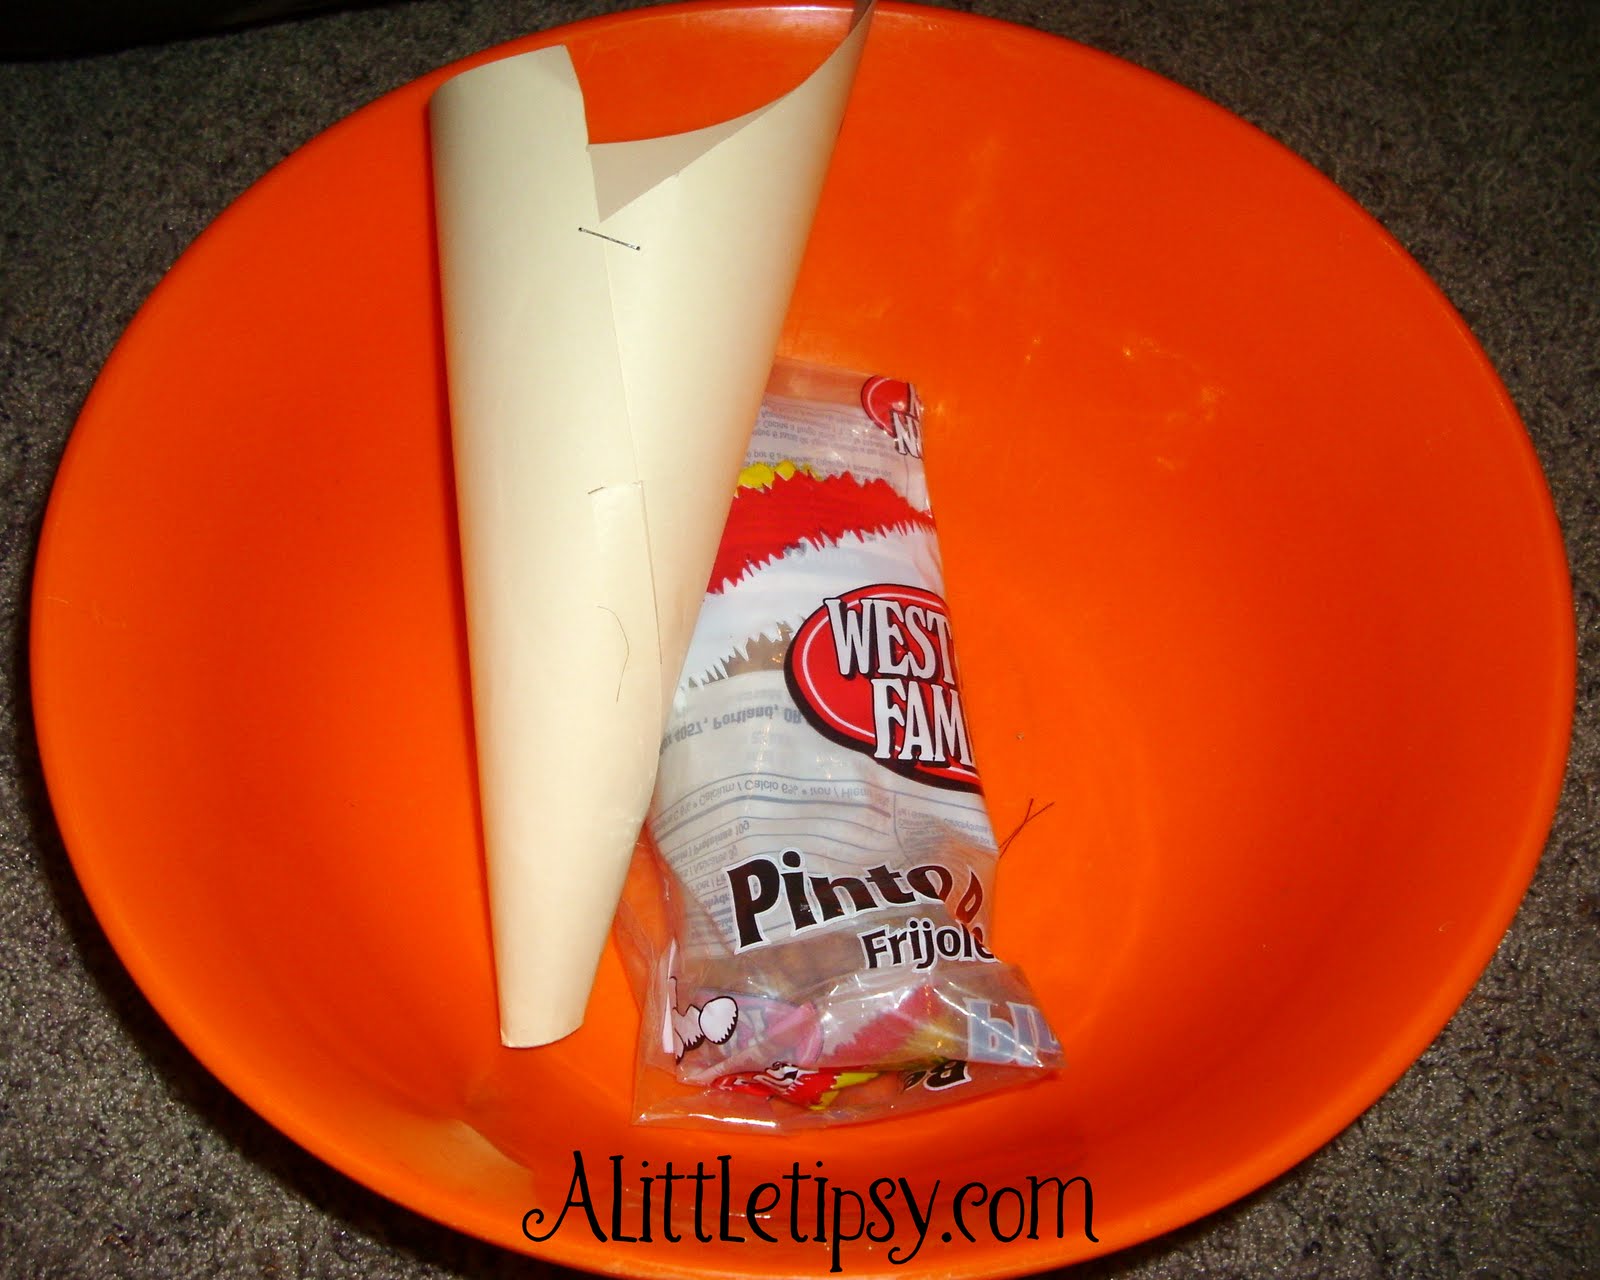
3. Make a cone with your card stock to help you pour in the beans. (My funnel’s hole was too small) I did this over a bowl so any beans that spilled would not scatter. I found the easiest way to get them really full was to keep pulling the funnel in and out so it pushed the beans down while it poured more in.

4. Sew the hole shut by either using your machine (if you don’t mind the change in seam) or whip stitching it with a needle and thread.

5. Now grab a bucket and practice your throw!

Linking up with:
Made By You Monday
Just Whipped Something Up
Making the World Cuter
Market Yourself Monday
Make Your Monday
Motivate Me Monday
It’s So Very Creative

P.S. Don’t forget to sign up for free Tipsy updates via RSS or email.

We have decided to truncate our feed to help protect against stolen content. I apologize for any inconvenience. Please love us anyway. 🙂
« Previous Page
Next Page »

  • Bloglovin
  • Facebook
  • Google+
  • Instagram
  • Pinterest
  • RSS
  • Twitter

Hi there! I'm Michelle. Mother of three little boys and one little princess. Welcome to A Little Tipsy, a place for exploring creativity and sharing inspiration.

Follow on Bloglovin


Visit Michelle Barneck {A Little Tipsy}'s profile on Pinterest.

Tutorials by Category


15 Family Reunion Games

Family Reunion Games Collage

15 Sprinkle Party Ideas

Sprinkle Birthday Party
Creative Commons License

© Copyright 2014 A Little Tipsy · Site Designed by The Fairy Blogmother · Web Hosting by RFE Hosting

This website uses cookies to improve your experience. We'll assume you're ok with this, but you can opt-out if you wish.Accept Read More
Privacy & Cookies Policy