A Little Tipsy

Creative Tips & Ideas

  • home
  • About Me
  • the tipsy top
  • press
  • projects
  • contact me
[print_thumbnail_slider]

Boy Week: Turkey Craft

November 17, 2010 By Michelle Barneck 3 Comments

Hi. I’m Tauni from It’s a Tradition. I am so excited to be guest posting on A Little Tipsy today.

Its a Tradition

Like Michelle, I am surrounded by boys. I am always looking for fun things to create with them…Some of them, like the Halloween cookie house we created, fall flat. Others, like this fun turkey hat, are such a hit they become a tradition…

I think the kids table is more fun than ever with this playful turkey hat, with brightly colored feathers and the ever popular googly eyes!

Pottery Barn inspired turkey hat

This is a simple project that takes about an hour at most. Not only that, but most of the items can probably be found around the house…

Pottery Barn inspired turkey hat supplies

Start with a piece of fabric that wont fray. In the photo of the finished turkey hat above, I used brown felt. For this tutorial however, I used yellow fleece. The best thing about fleece is that it has a bit of stretch in it – you can make a one size fits all!

Pottery Barn inspired turkey hat Step 1

With your fabric folded, cut out a strip of fabric. For my headbands I cut the fleece a little big – 18 inches long – because I couldn’t measure all of the kids heads…I went with three inches wide.

Pottery Barn inspired turkey hat Step 2

Once your fabric is trimmed, sew around all of the edges. I went with a straight 1/4 inch seam (but I have also used a zig zag stitch). When finished, it should look like this:

Pottery Barn inspired turkey hat Step 3

Next, prepare the body of the turkey. I’ve tried this two ways. I created a pattern for the first set I made. You can pick it up over on my blog It’s a Tradition. For this set of hats however, I decided to wing it and see how hard it would be…

For the body of the turkey, I used two sides of a class as a guide.

Pottery Barn inspired turkey hat Step 4

Pottery Barn inspired turkey hat Step 5

Next up, the feathers. Again, I winged it 🙂 Just sketched the feathers out on some felt, but the patter is available over on my blog.

Pottery Barn inspired turkey hat Step 5

With felt, I like to do a lot of the sewing before I cut the shapes out. Sew around the edges of the body, leaving a little room at the bottom for stuffing. Sew all the way around the edge of the feathers and then straight up the center…

Once the items are sewn up, go a head and cut them out with scissors (don’t worry if the shapes aren’t perfect, it all works out).

Pottery Barn inspired turkey hat Step 6

Once everything is cut out, arrange the feathers on the headband.

Pottery Barn inspired turkey hat Step 7

I pinned the feathers down and then stitched along the bottom of each to secure them (with the bigger feathers in the pattern, it may be helpful to tack them down up higher as well).

Once the feathers are stitched on, go ahead and add the body. I simply stitched around the outside of the turkey’s body again. Glue on googly eyes, gobble gobble and beak (yes, I forgot the beak in this case).

Next, add a little velcro to the edges of the hat so that it can be adjusted and secured. You just need to use the rough side, as it will stick directly to the fleece.

Pottery Barn inspired turkey hat Step 8

Super great! You’re all done. Unless you want to add some embellishments…We added names to ours.

Pottery Barn inspired turkey hat Step 9

Even with the embellishments, these aren’t as fancy as some of Pottery Barn’s hats, but hey we’re talking boys here. Cutesy just doesn’t fly!

If you like this project stop by my blog. This week, I am posting alternate versions of the Thanksgiving hat. And, though I don’t have any girls, I’ve even come up with a girls hat…

Thanks Michelle. It was fun participating in your boys week!

————————————————————————

Thanks Tauni for such a fun turkey craft just in time for Turkey day!

P.S. Don’t forget to sign up for free Tipsy updates via RSS or email.

We have decided to truncate our feed to help protect against stolen content. I apologize for any inconvenience. Please love us anyway. 🙂

Feature Friday-Blog Swap with Oopsey Daisy

October 22, 2010 By Michelle Barneck 3 Comments

I am Alison, the crazy lady behind Oopsey Daisy and I can’t wait to get a little tipsy! Thanks for having me here today, Michelle!

Once upon a time, I was a first grade teacher. Now, I am a happy stay-at-home Mommy to my almost-two-year-old Little Man. He is a handful, but he inspires a lot of creativity, too! When he sleeps, I craft. I am always trying new things, pulling out stitches, and laughing at all of my stupid mistakes. There are plenty of “oopseys” in my craft world along with the occasional “daisy”, too!

Michelle wanted me to answer a few questions:

What is your favorite crafting tool or secret weapon? My secret weapon is definitely my seam ripper! I couldn’t live without it. I am constantly making mistakes, so I need to rip out my stitches and start over again! Although I have figured out ways to use scissors and even my teeth, the seam ripper is my weapon of choice!

What color are your toenails? Yikes, this is embarrassing! I am in dire need of a pedicure. You see, every time my husband has been out of town for a while, I reward all of my single parenting with a pedicure! The leftover color from my last pedicure is a dark magenta color.

If you were a Halloween character, who would it be and why?
A witch. A good witch… you know, like Samantha from Bewitched. I would love to just wiggle my nose and have things go my way! Especially when it comes to cleaning the bathtubs, emptying the dishwasher, ironing my husbands’ shirts, oh yes and washing lettuce! (Just a few of my least favorite chores!) I would love to have more time to craft!

Here is a little peek into my world:

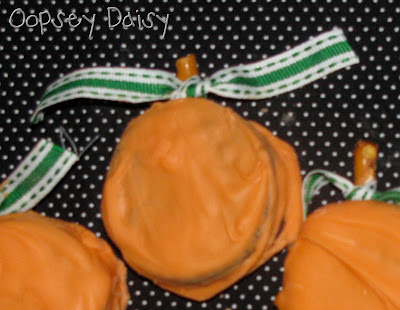
What better way to celebrate Halloween than with a tasty treat?! I recently made these Oreo pumpkins:

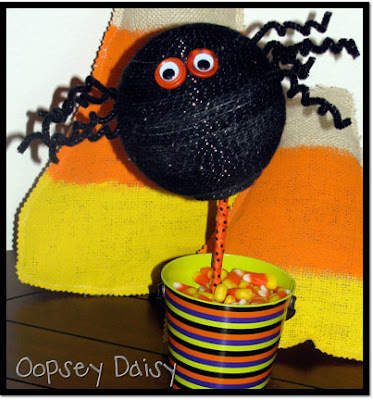
I just can’t stop filling my tiny apartment with Halloween decor! I made this spider topiary

especially for my Little Man!

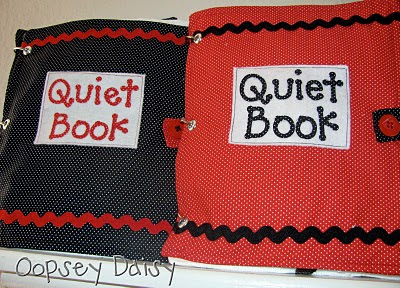
These 2 quiet books were my big project for the entire year! I also shared printable templates for 9 pages:

PLUS I recently began a fun “Mommy School” program for my Little Man. I share all my ideas on Saturdays, and I compiled all of my latest ideas into one giant “L is for leaves” packet.

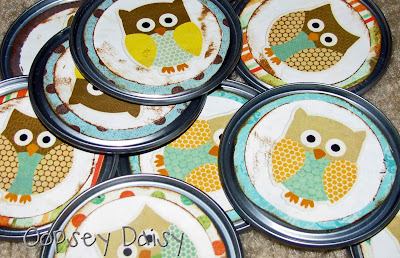
I have been hoarding frozen juice can lids for weeks just so I could make this owl matching game.

Finally, I created this little Sunday ABC Book to keep Little Man occupied during church! Come by and print your own. This would be a great stocking stuffer!

I hope you will come by Oopsey Daisy and say hello! Every day is an adventure! Thanks so much, Michelle, for letting me give a personal tour of my little world!

P.S. Don’t forget to sign up for free Tipsy updates via RSS or email.
We have decided to truncate our feed to help protect against stolen content. I apologize for any inconvenience. Please love us anyway. 🙂

Cereal Treat Sunday-Eyeball Recipe

October 11, 2010 By Michelle Barneck 11 Comments

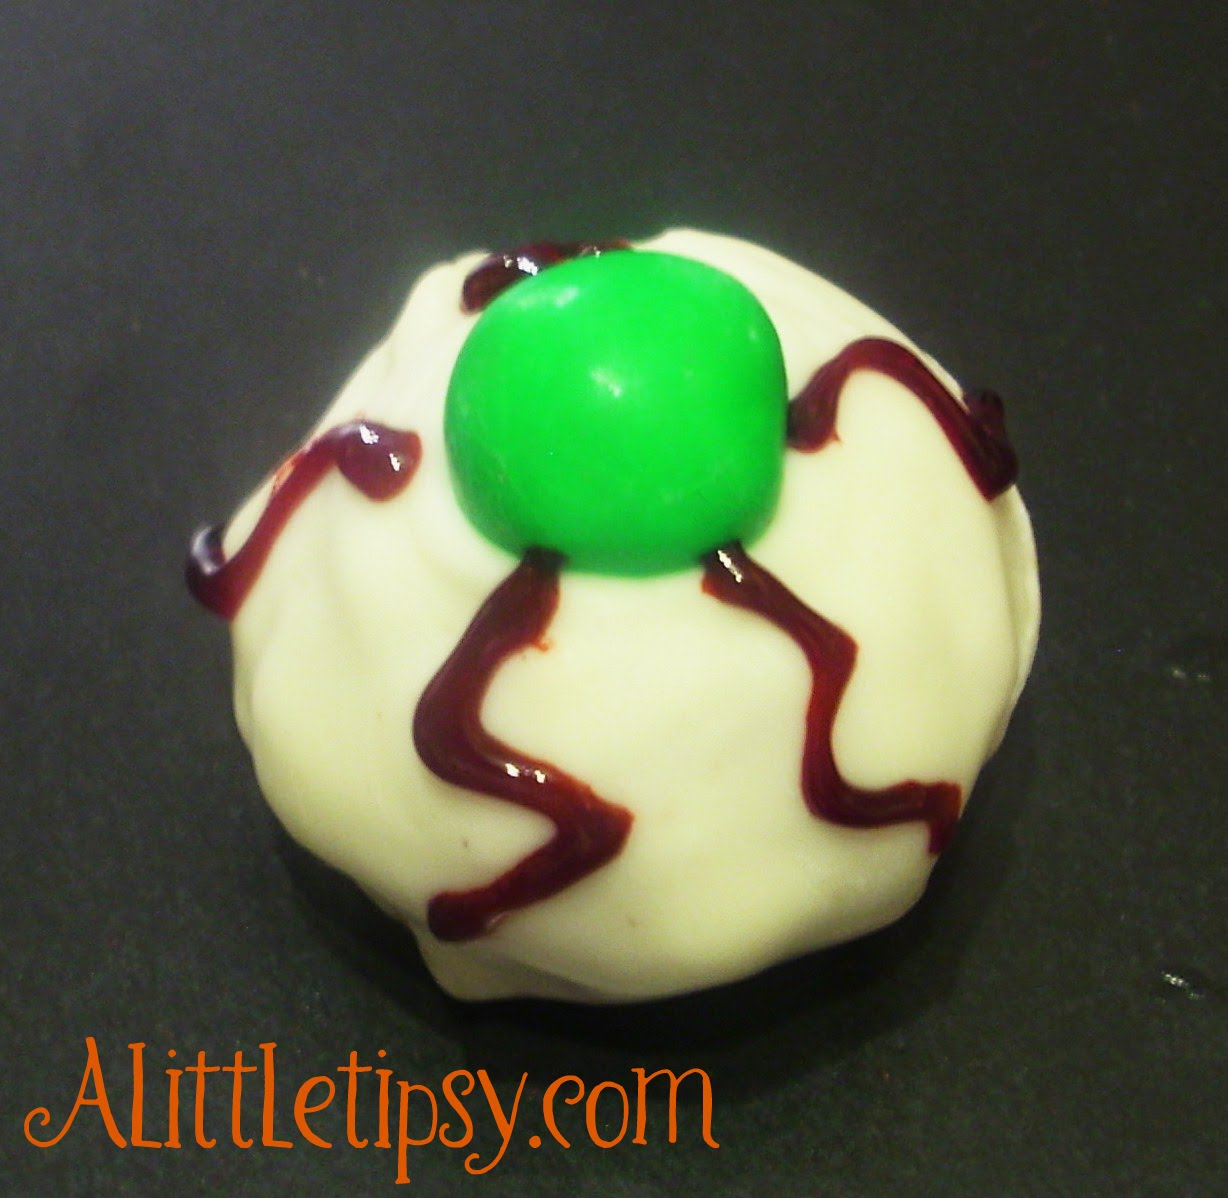
If it is a peanut butter crunch treat covered in chocolate, I don’t care if it is in the shape of an eyeball, I’ll eat it! Here’s a fun little eyeball recipe to add to you Halloween collection. The best part is you can make two eyeball versions with one recipe.

Eyeball Recipe yield: 14 monster eyeballs

  • 3/4 Cup crunchy peanut butter (creamy is way too sticky to roll into balls, trust me)
  • 1/2 Cup powdered sugar
    1 Cup Reeses Peanut Butter Puff Cereal, crushed
  • 1 cup chocolate chips (I used half white and half semi sweet because I wanted to make both versions)
  • 1 teaspoon Crisco
    1 small bag M&M’s (I used the pretzel ones because that’s what I had)
  • Red gel frosting for white eyeballs and green frosting for brown eyeballs

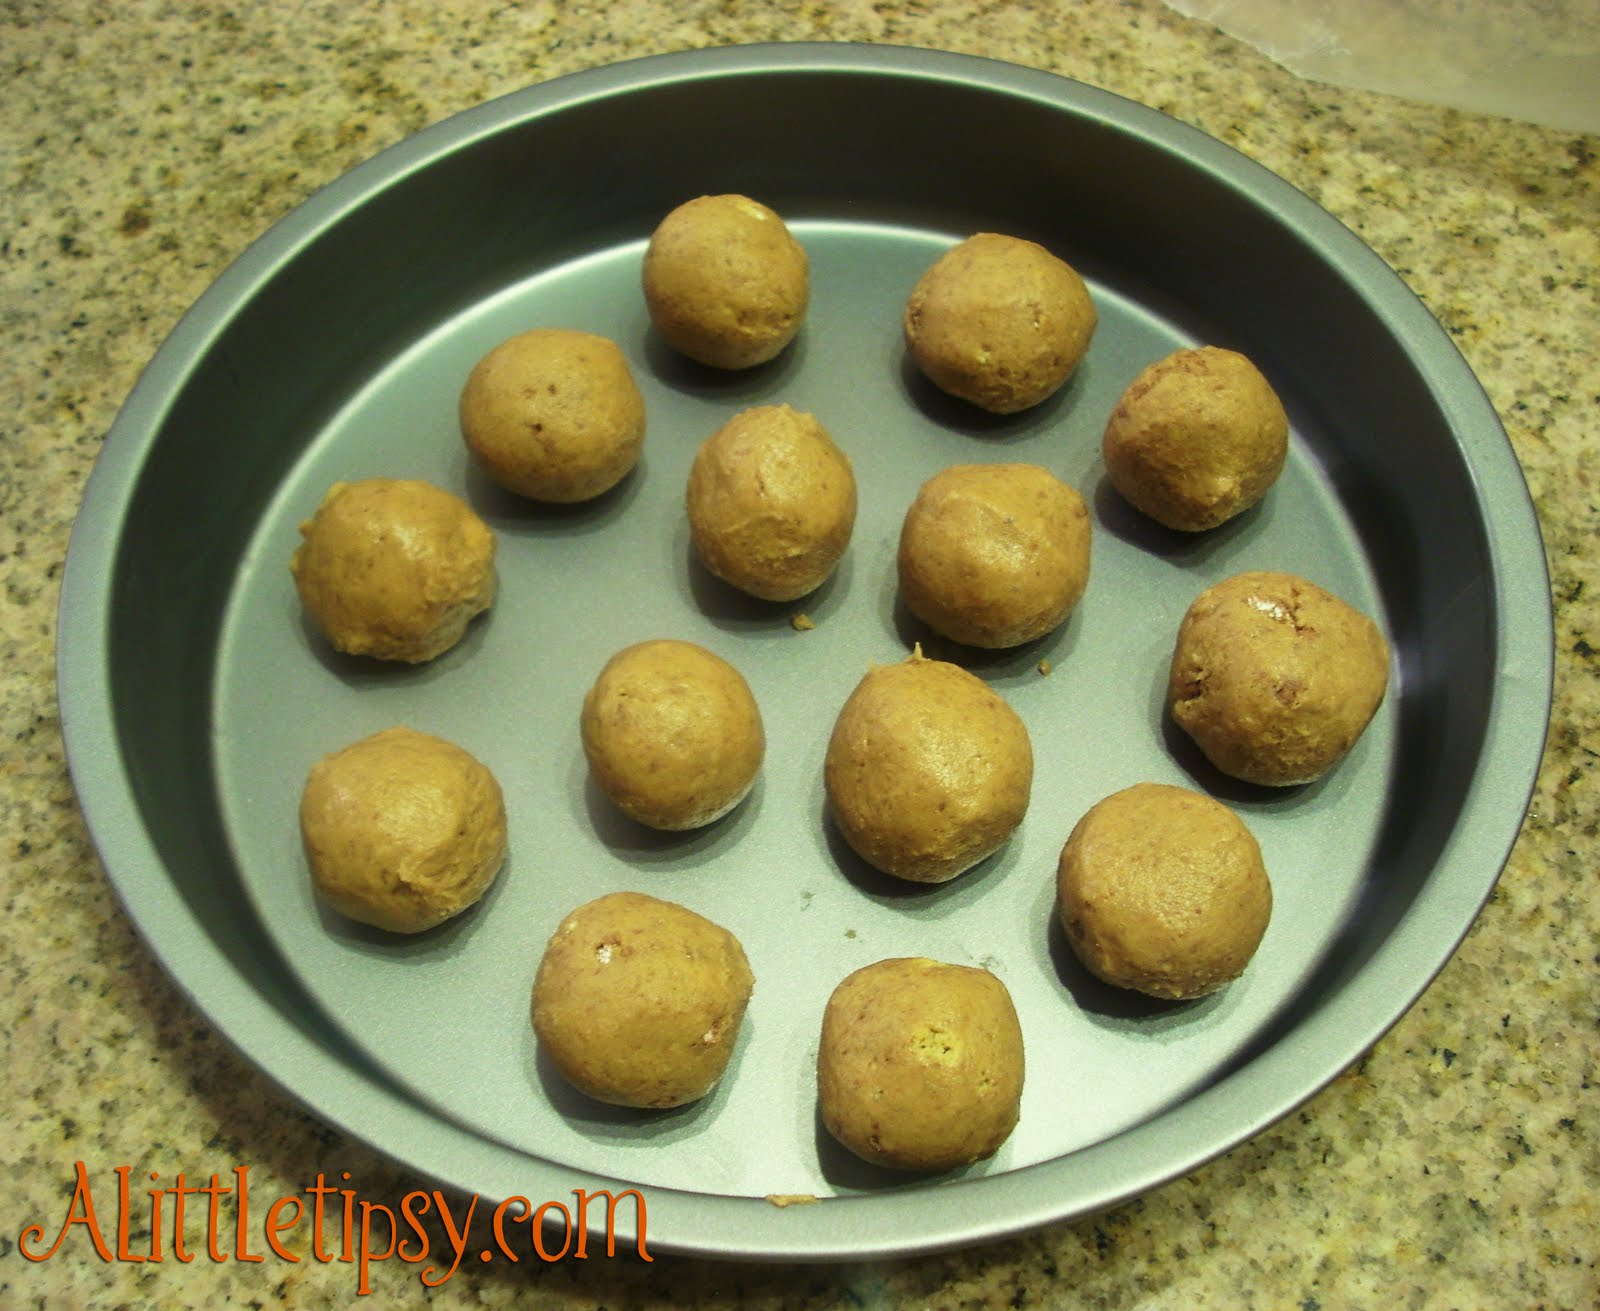
1. Place peanut butter, powdered sugar and crushed cereal into a large bowl. Mix until dough forms. Take 1 Tablespoon pieces and roll into balls. Freeze for 15 minutes.

If you do both versions do a 1/2 cup choc chips and 1/2 teaspoon crisco of each kind of choc chip.

White version

2. Melt chocolate and crisco in microwave on 50 percent power stirring often. Drop the balls into the chocolate and move around with a spoon until covered. Remove them with the spoon letting the excess drip off. Place on wax paper and place M&M in center. Allow chocolate to harden and add squiggles of red gel frosting. Serve chilled.

Brown version

2. Melt chocolate and crisco in microwave on 50 percent power stirring often. Using two toothpicks about 1/3 inch apart dip peanut butter balls into chocolate leaving top centers open. Place on wax paper and let chocolate harden, then place M&M in center of opening to cover toothpick holes and form the eye. Add eyelashes with green frosting. Serve chilled.

Toddler twist: Let your little one crush the cereal using a toy hammer. Thanks to Tauni for this great idea of how to make cooking more boy friendly!

I got the original monster eyeball recipe from Picky Palate and altered it.

Linking up:
Motivate me Monday
Craftomaniac Monday
Market yourself Monday
Just Whipped Something Up
It’s So Very Creative

P.S. Don’t forget to sign up for free Tipsy updates via RSS or email.
We have decided to truncate our feed to help protect against stolen content. I apologize for any inconvenience. Please love us anyway. 🙂

Preschool at Home

October 5, 2010 By Michelle Barneck 21 Comments

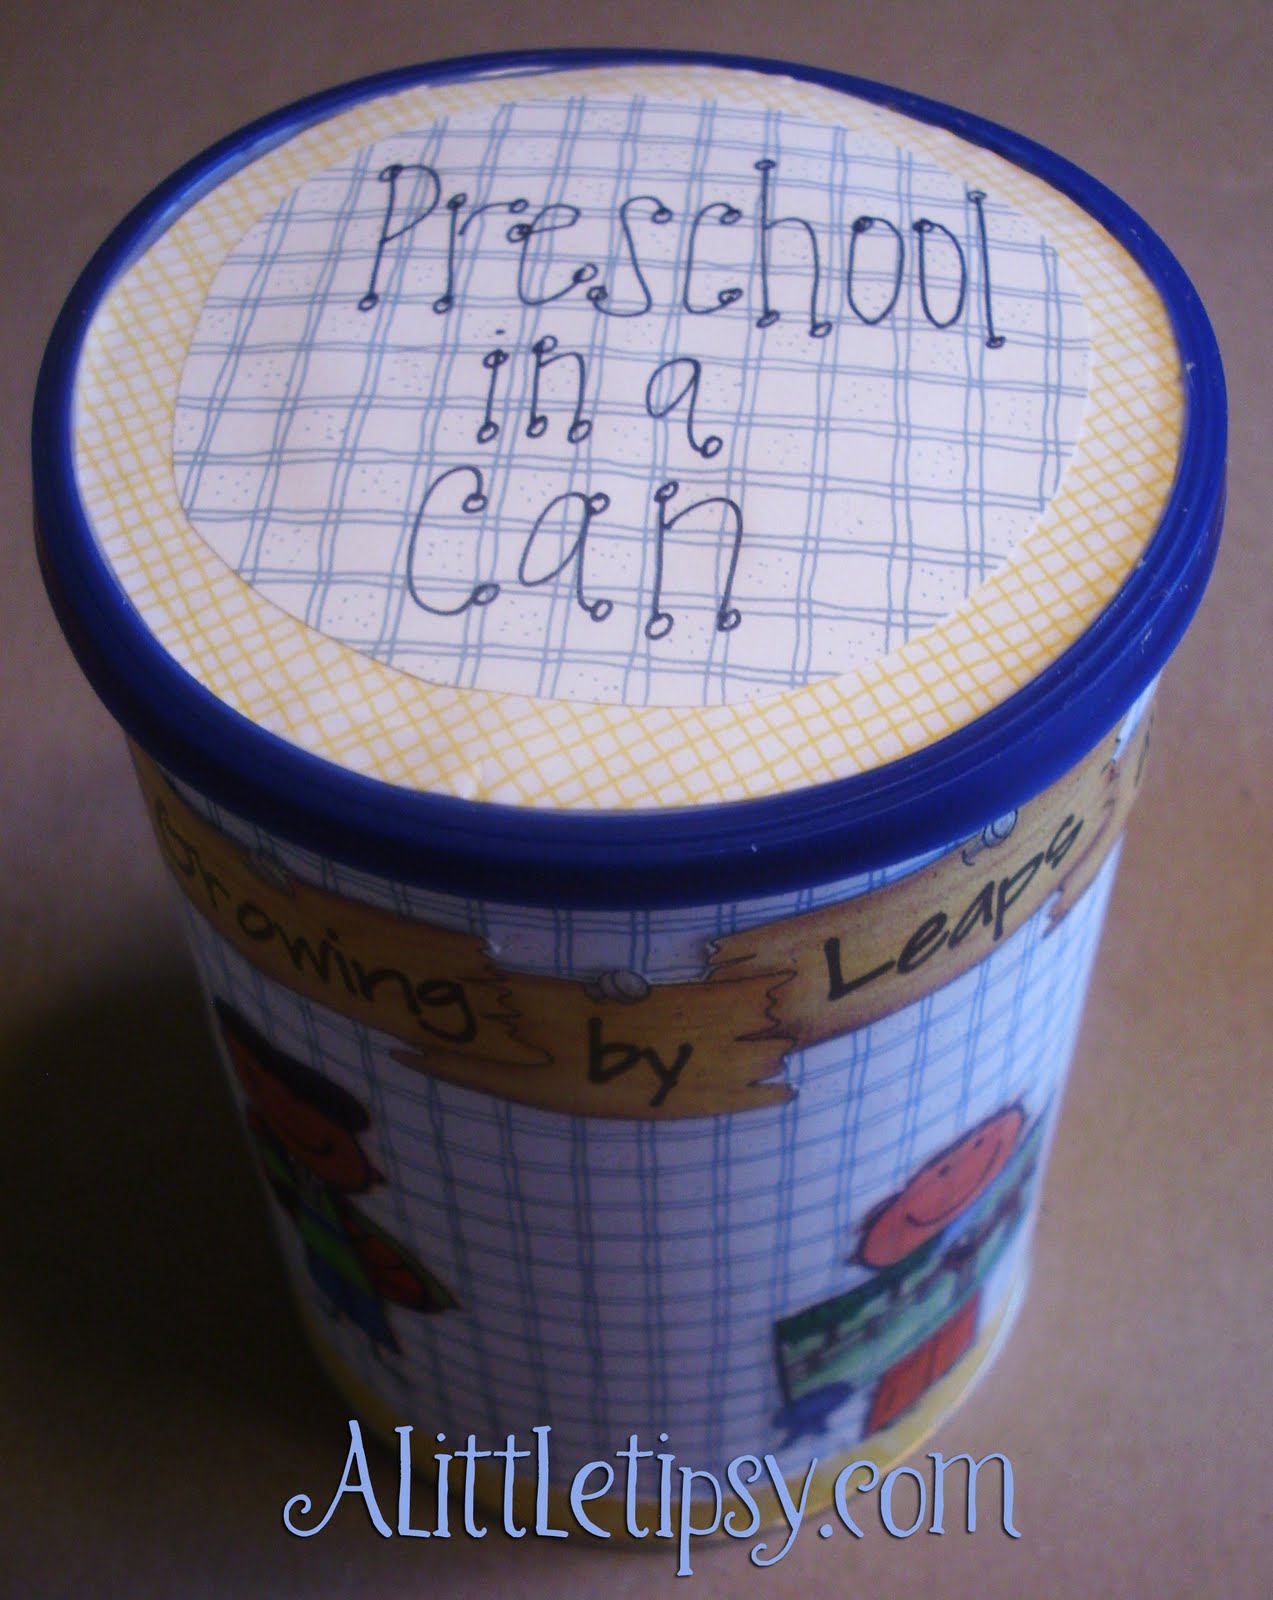
My 34 month old is not quite ready for official preschool, so I decided to make an activity can so we could do preschool at home. This way I don’t have to go through all the work of having a complete lesson plan everyday, but he still gets educational and developmental activities worked in to his schedule. I color coded little sticks and put them in a can so we could pull out activities in a variety of areas each week including: Art/Music, Science, Physical, and Language development.

Preschool at Home Can

Supplies needed:

  • Big popsicle sticks aka tongue depressors
  • Colorful paper
  • Paper cutter
  • Scissors
  • Pen
  • White Glue
  • Fine tip Sharpie
  • Can (mine was an Ovaltine can with a lid from La Choy noodles because I wanted blue not brown)

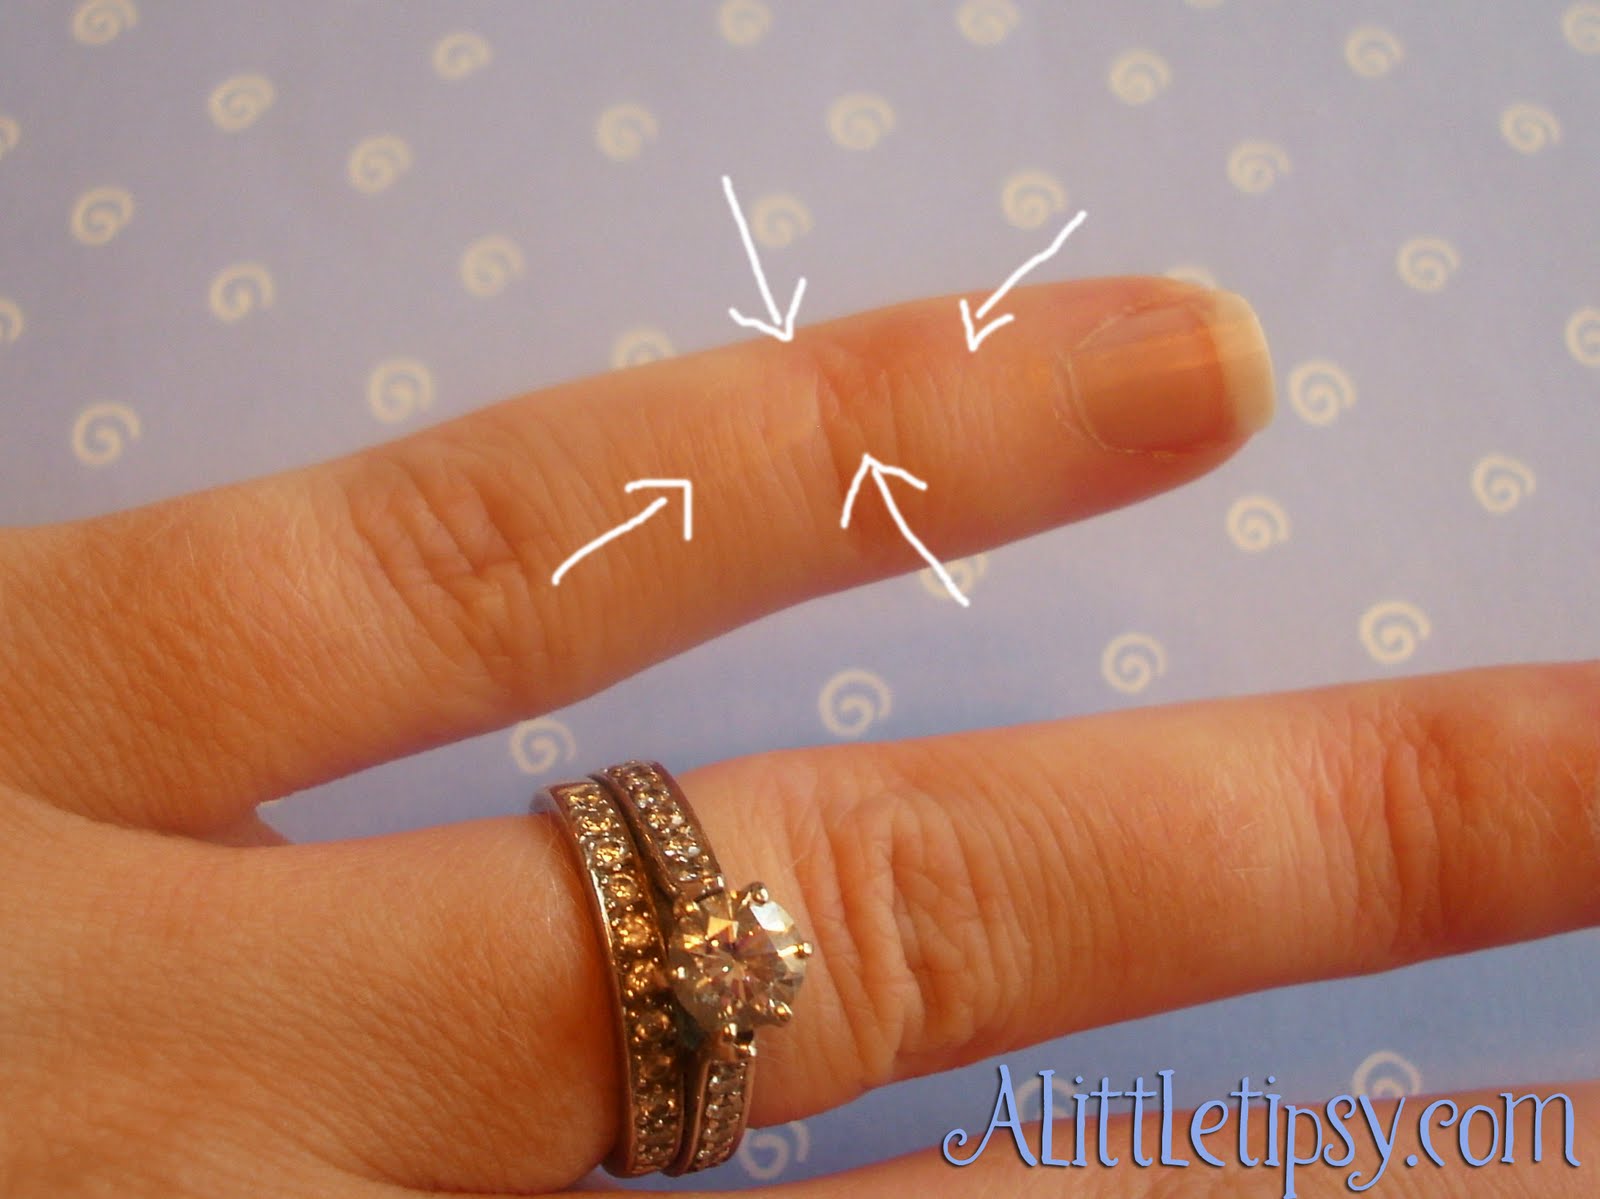
I was going to glue the paper to the sticks and then exacto knife the edges clean, but then I remembered a 4th grade incident where they handed me a 2 liter bottle and a box cutter and wanted me to make a bird feeder resulting in this scar. I’m pretty sure box cutters are banned from Elementary schools now.

Anyway, I quickly realized that cutting the paper to size first would be way easier and safer.

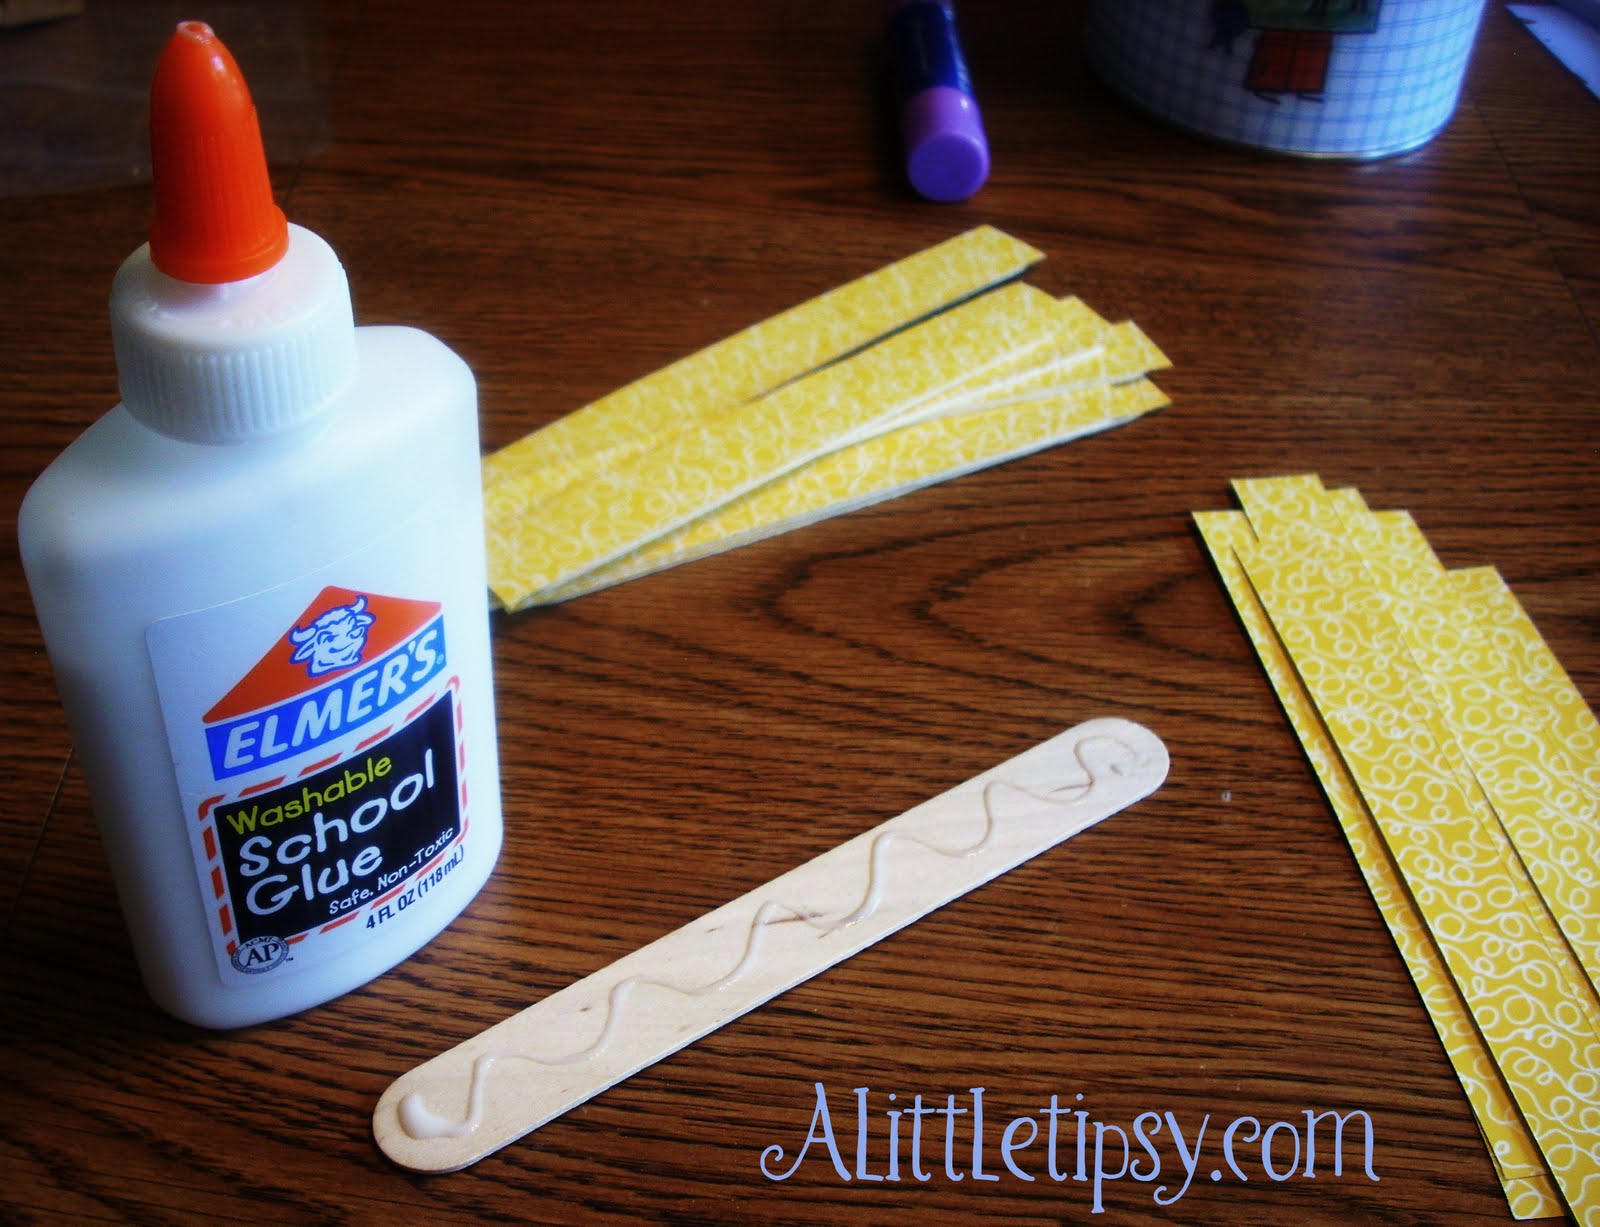
1. Place a popsicle stick on the back of one of the decorative papers and mark the height. Then, mark the width, continuing across the whole page to fit as many as you can.
2. Using your paper cutter, cut out all the little popsicle stick sized rectangles.

3. Using a squiggle of glue secure a paper strip to the stick. Trim the excess corners with your scissors.

4. Once you have your sticks in four colors (Art/music, Science, Physical, Language), write the coordinating activities on the sticks using a fine tip Sharpie. I got mine from many resources, so I also put the reference of where to find the activity description whether a book, magazine, etc.


Edit: I got many of my preschool at home activity ideas from Family Fun magazine, Utah Family Magazine, and lots from my kid friendly and preschool collections of bookmarks from blogs.

5. Decorate your can however you like and place the completed sticks inside.
6. I figured 4 days a week for preschool at home was plenty so we will draw a different colored stick each day so we get activities in each area.

Linking Up:
Get Your Craft On
Anything Related
Toot Your Horn Tuesday
Topsy Turvy Tuesday
Take-A-Look Tuesday

P.S. Don’t forget to sign up for free Tipsy updates via RSS or email.
We have decided to truncate our feed to help protect against stolen content. I apologize for any inconvenience. Please love us anyway. 🙂
« Previous Page
Next Page »

  • Bloglovin
  • Facebook
  • Google+
  • Instagram
  • Pinterest
  • RSS
  • Twitter

Hi there! I'm Michelle. Mother of three little boys and one little princess. Welcome to A Little Tipsy, a place for exploring creativity and sharing inspiration.

Follow on Bloglovin


Visit Michelle Barneck {A Little Tipsy}'s profile on Pinterest.

Tutorials by Category


15 Family Reunion Games

Family Reunion Games Collage

15 Sprinkle Party Ideas

Sprinkle Birthday Party
Creative Commons License

© Copyright 2014 A Little Tipsy · Site Designed by The Fairy Blogmother · Web Hosting by RFE Hosting

This website uses cookies to improve your experience. We'll assume you're ok with this, but you can opt-out if you wish.Accept Read More
Privacy & Cookies Policy