A Little Tipsy

Creative Tips & Ideas

  • home
  • About Me
  • the tipsy top
  • press
  • projects
  • contact me
[print_thumbnail_slider]

Heber Valley Railroad’s North Pole Express

December 11, 2010 By Michelle Barneck 9 Comments

I have always wanted to ride one of the Heber Valley Railroad trains, so when they contacted me to bring my family on the North Pole Express train I jumped at the chance!

We arrived at the little gift shop to get our tickets and my little guy had a heyday checking out all the train themed merchandise. Be sure to arrive 15 minutes early to get your tickets as the trains leave right at their scheduled time. You know all those cartoons with the conductor tapping his watch. Not just on tv people. πŸ™‚

We were in the caboose which was pretty cool. We found a great spot and got the family settled. I love that the benches are adjustable so you can ride forward or backwards. It was nice to turn one around so my whole family could sit together. It was super fun to sit by Quinn and Shannon‘s families on the train.

We did some serious window watching and then came the cookies and hot chocolate. Mrs. Clause even brought us the recipe for Santa’s favorite cookies.

We sang carols along with the “emcee” (though she could not carry a tune) and daddy shared some snuggles with our candy cane baby.

Then, the big guy arrived. As you can see my little one pinned him before he could get very far through the door.

Lucky for us, we were in the very back of the train so he was one of the first to get to chat with Santa. He asked him if he had been a good boy and he said, “no.” Santa told him he still had time to start being good before Christmas.

He loved talking with Santa, but was disappointed to learn that he did not have any candy canes. But, Santa did come equipped with old fashioned wooden tops.

He thought the top was pretty darn cool once he figured out what it was. He was so proud that he could spin it all by himself.

Our littlest one even joined in the Santa fun.

All in all we had a great time. It was such a great way to kick off the holidays as a family.

And of course I want to help you enjoy the Heber Valley Railroad’s North Pole Express!

Call the Heber Valley Railroad directly at 435-654-5601 and ask for the β€œUtah Blogger” discount. Tell them A Little Tipsy sent you to get $5 off coach tickets on December 14, 15 and 16.

P.S. Don’t forget to sign up for free Tipsy updates via RSS or email.

We have decided to truncate our feed to help protect against stolen content. I apologize for any inconvenience. Please love us anyway. πŸ™‚

Feature Friday-Blog Swap with obSUESSed

December 10, 2010 By Michelle Barneck Leave a Comment

I’m so glad I get to visit at A Little Tipsy today. I’m Victoria and I’m obSEUSSed about children’s books, kid crafts and family fun, here to wish you a MERRY GRINCHMAS!

I blog about bringing stories and characters to life by doing crafts and activities with your kids. There are so many things you can do to get your children excited about reading.

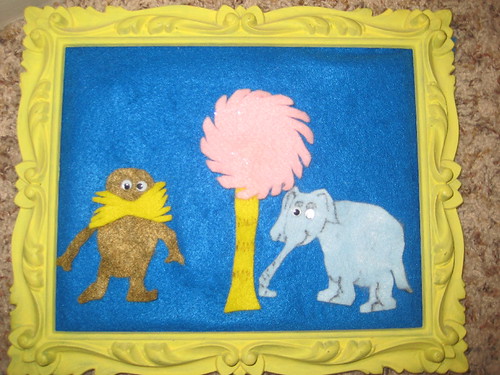
Things like making a flannel board with characters for any of your favorite books.

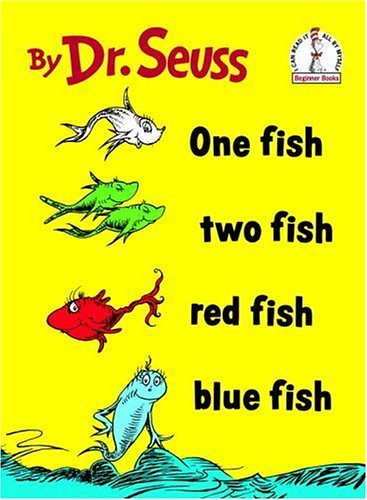
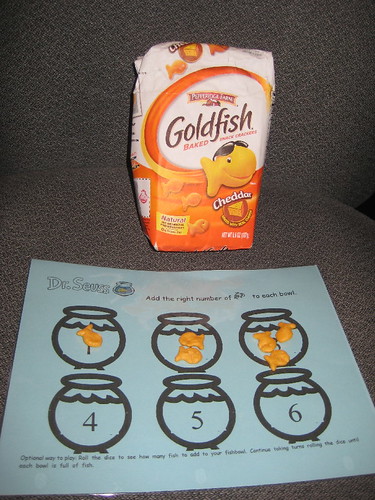
Or helping your children practice counting by printing the “1 Fish 2 Fish” FREE placemat I created.

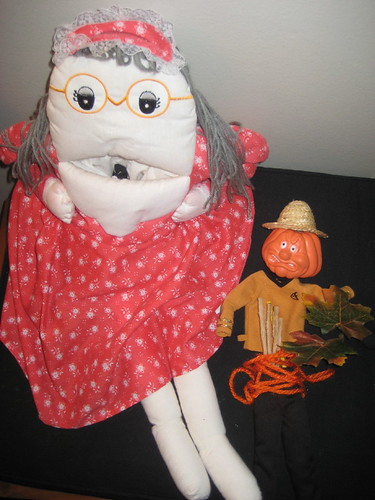
Or making your own Old Lady Puppet (I love puppets) and collecting props to go with any of the “Old Lady Who Swallowed a Fly” books. She also swallowed a bell, some leaves, some snow, a pie, a bat, a hamburger, and a variety of other books.

Our kids love to have tea parties with their favorite characters too.

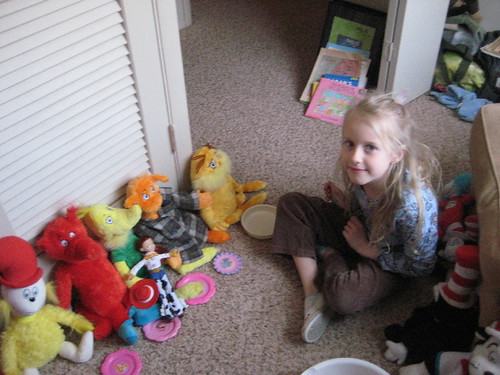
Many of my posts are Dr. Seuss related, but most are about incorporating any type of children’s books into our lives.

ART IMITATING LIFE or LIFE IMITATING ART?
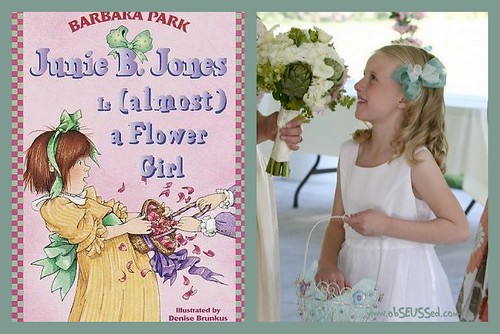
Anytime we want to learn more about something in our life, we go to the library and check out a book. Like this past summer my daughter was asked to be a flower girl so we checked out a ton of books at the library about flower girls and found this Junie B. Jones one that helped spark her interest in starting chapter books.

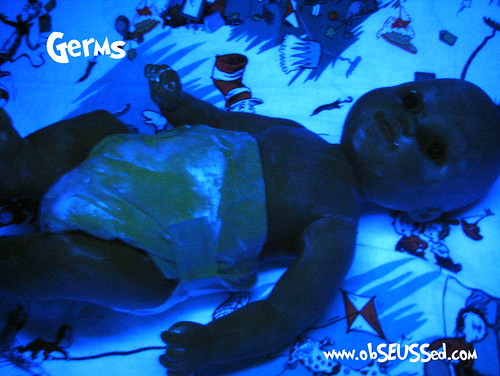
When going back to school we read books about germs and I have a special lotion that glows in black light to show kids hidden germs all over the house. They have to be Germ Detectives.

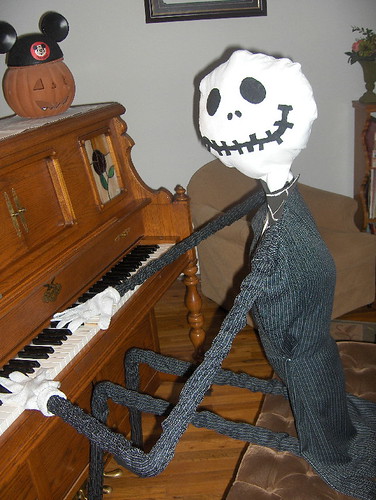
We’ve created our own Jack Skellington from the Nightmare Before Christmas. The older kids watch the movie and we all read the picture book. Our kids love saying hi to him at Halloween time. He’s almost become part of the family.

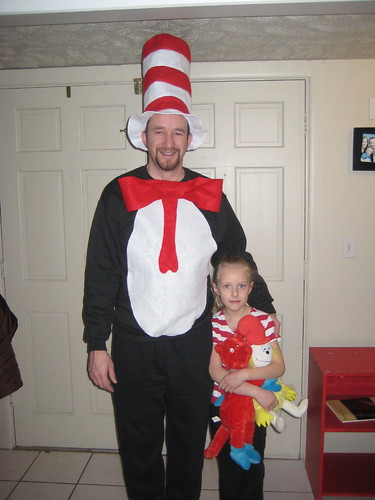
We’re not afraid to dress up either to bring characters to life. My husband often uses our Cat in the Hat costume for story time at school. Especially in March during Dr. Seuss’ birthday.

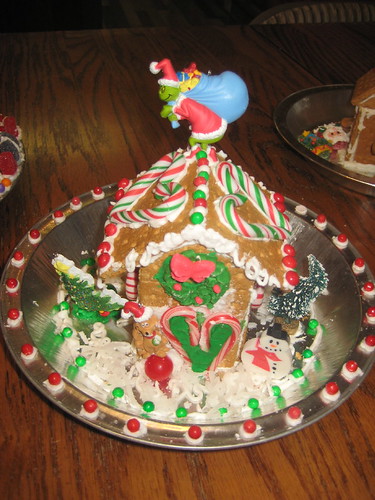
For the Holidays we are starting to create a Who-ville Village to spice up the common graham cracker house. I also posted a recipe for the perfect Gingerbread House Icing.

Thank you Michelle for letting me stop by A Little Tipsy.

“From Here to There, From There to Here, Funny Things Are Everywhere.”

Drop by obSEUSSed for more Splendiferous Fun!

obSEUSSedButton

———————————————————————-
Thanks for swappin’ it up Victoria! I am lovin’ the Old lady who swallowed a fly doll and I can’t wait to print out the placemat!

Also, the winner of the Tiny Prints $50 giveaway is…

Deb said… I am a FB fan too. Thanks for the fun.

Congrats Deb!

P.S. Don’t forget to sign up for free Tipsy updates via RSS or email.
We have decided to truncate our feed to help protect against stolen content. I apologize for any inconvenience. Please love us anyway. πŸ™‚

Nativity Advent

December 5, 2010 By Michelle Barneck 14 Comments

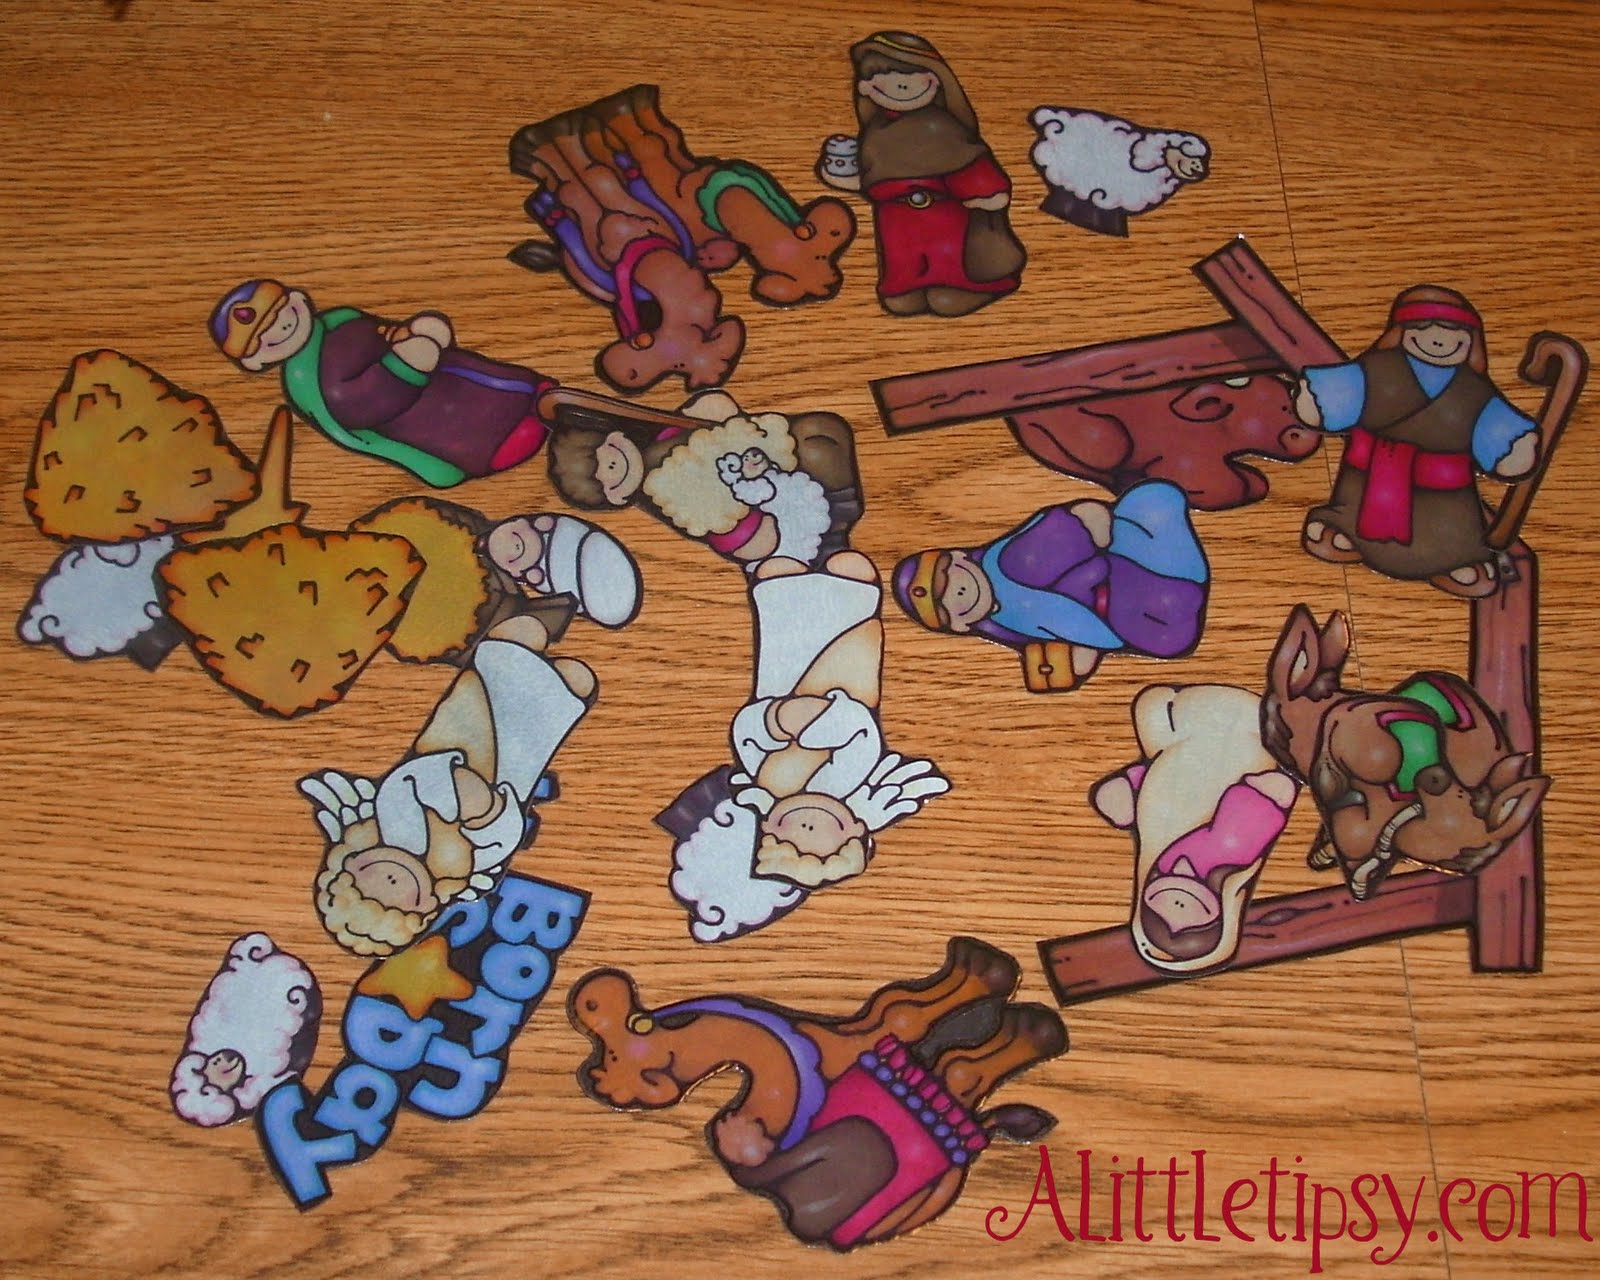
I wanted an advent calendar that would be fun for the kiddos, but also help us keep a Christ centered Christmas. Enter the nativity advent. We add a piece of the nativity everyday until we add the baby Jesus on Christmas. My mom also sent me an email with a scripture for each day so it goes along perfectly!

Here is the scripture advent called “Remember in December.” Just click the thumbnail below. I wish I knew the source, but it just came in an email.

Photobucket
Now for the how-to for the

Nativity Advent

Supplies needed:
  • Cardstock
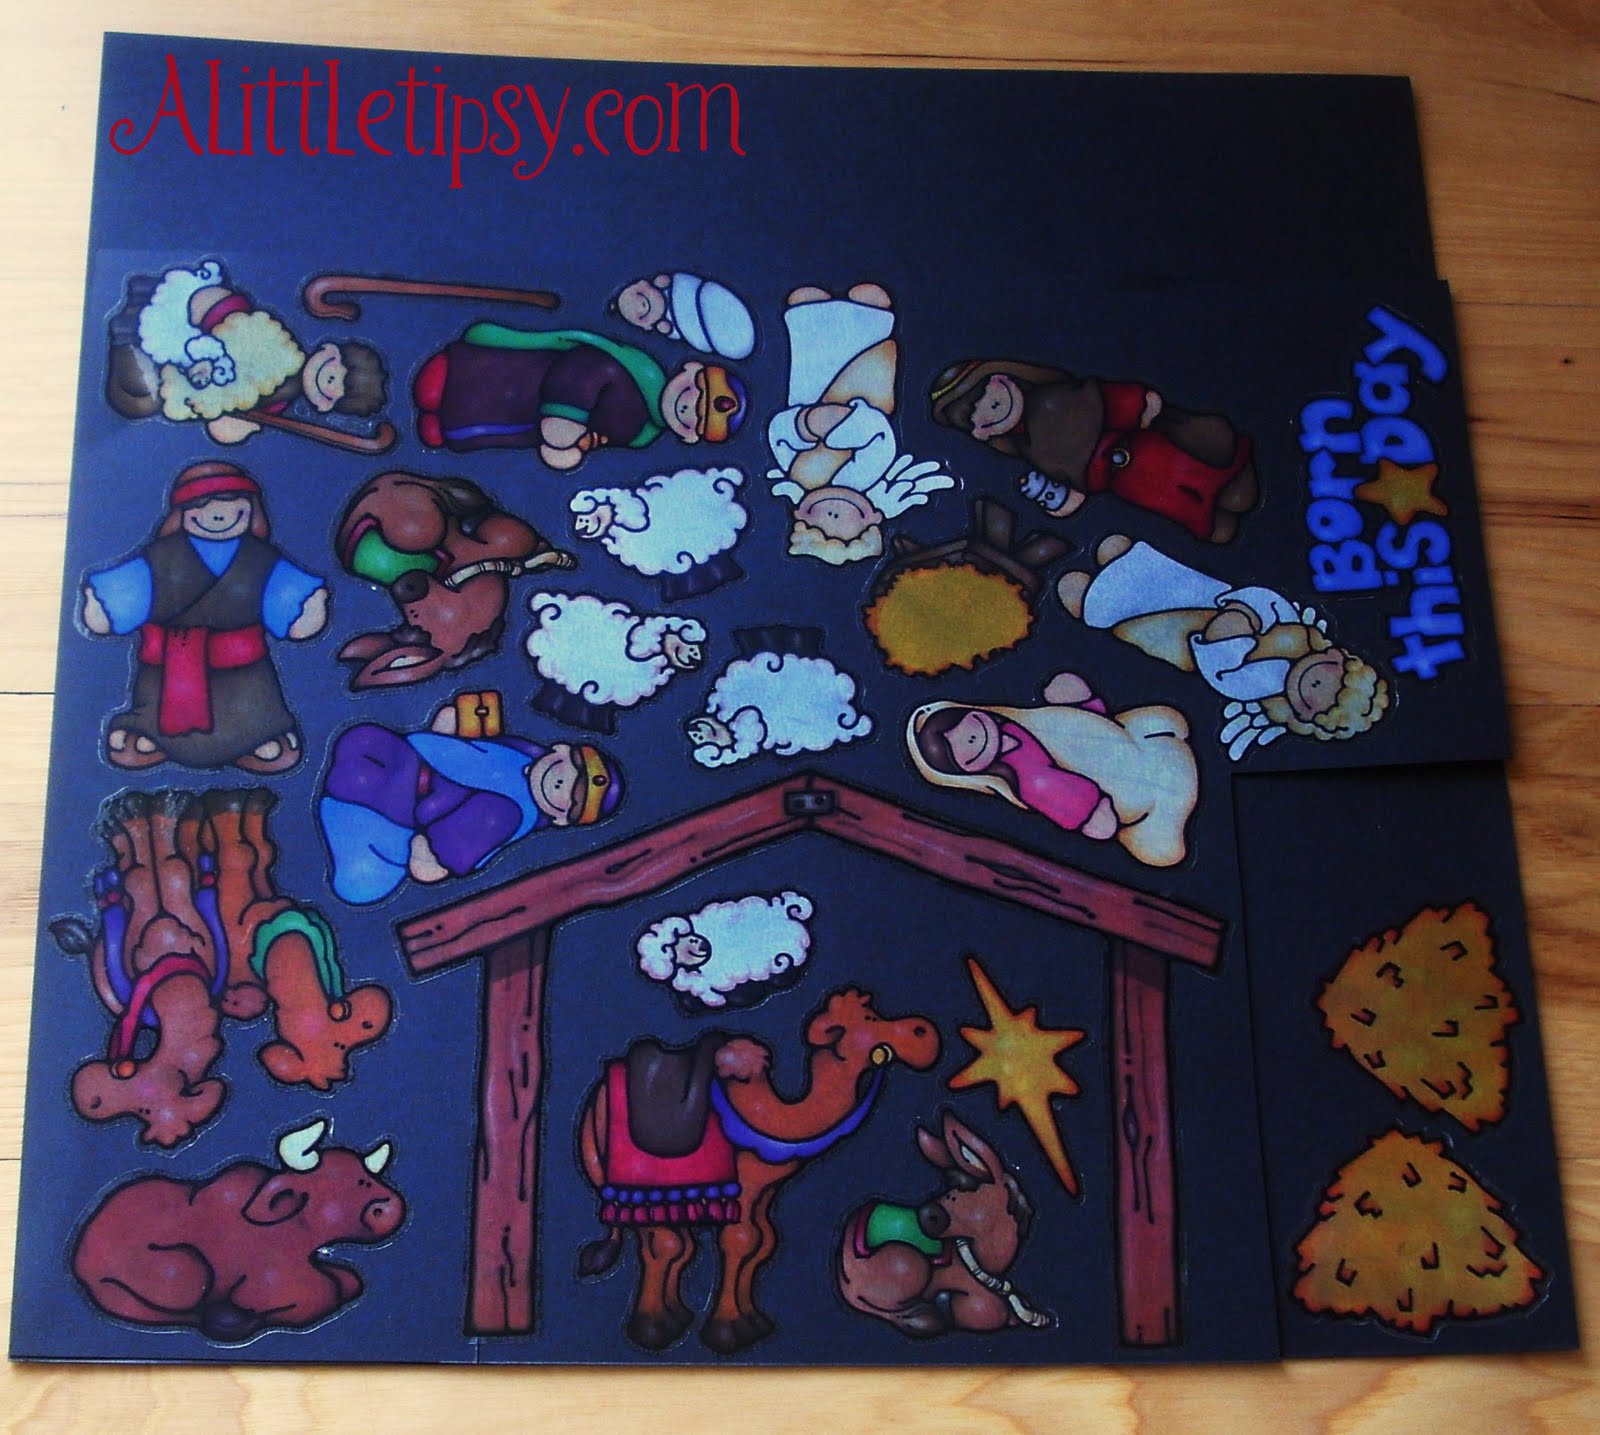
  • Nativity Stickers (mine were Stickopotamus brand dug out from the depths of my scrapbooking supplies)
  • Scissors
  • Double stick tape
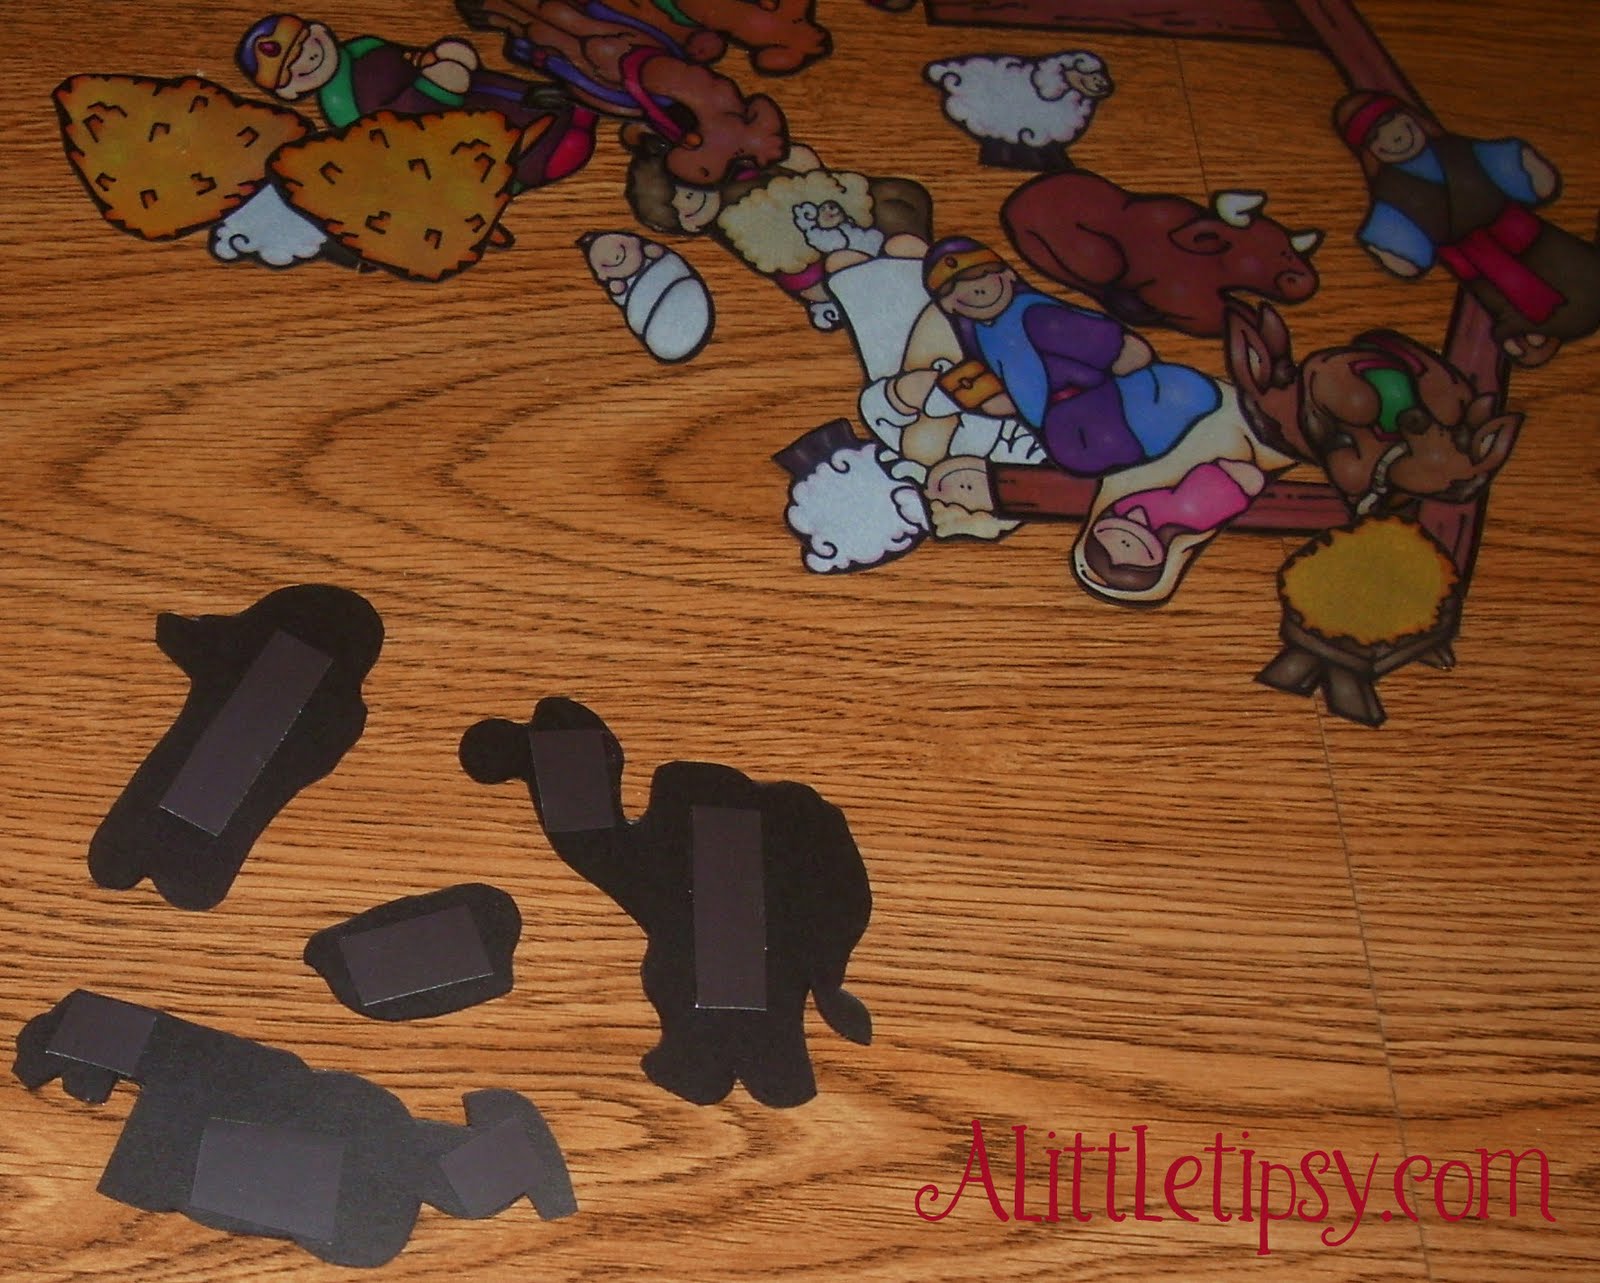
  • Magnets (I cut up the ones that come on phone books)
  • Staples

1. Stick the stickers to the cardstock.

2. Cut them out.

3. Attach magnets to the back with double stick tape.

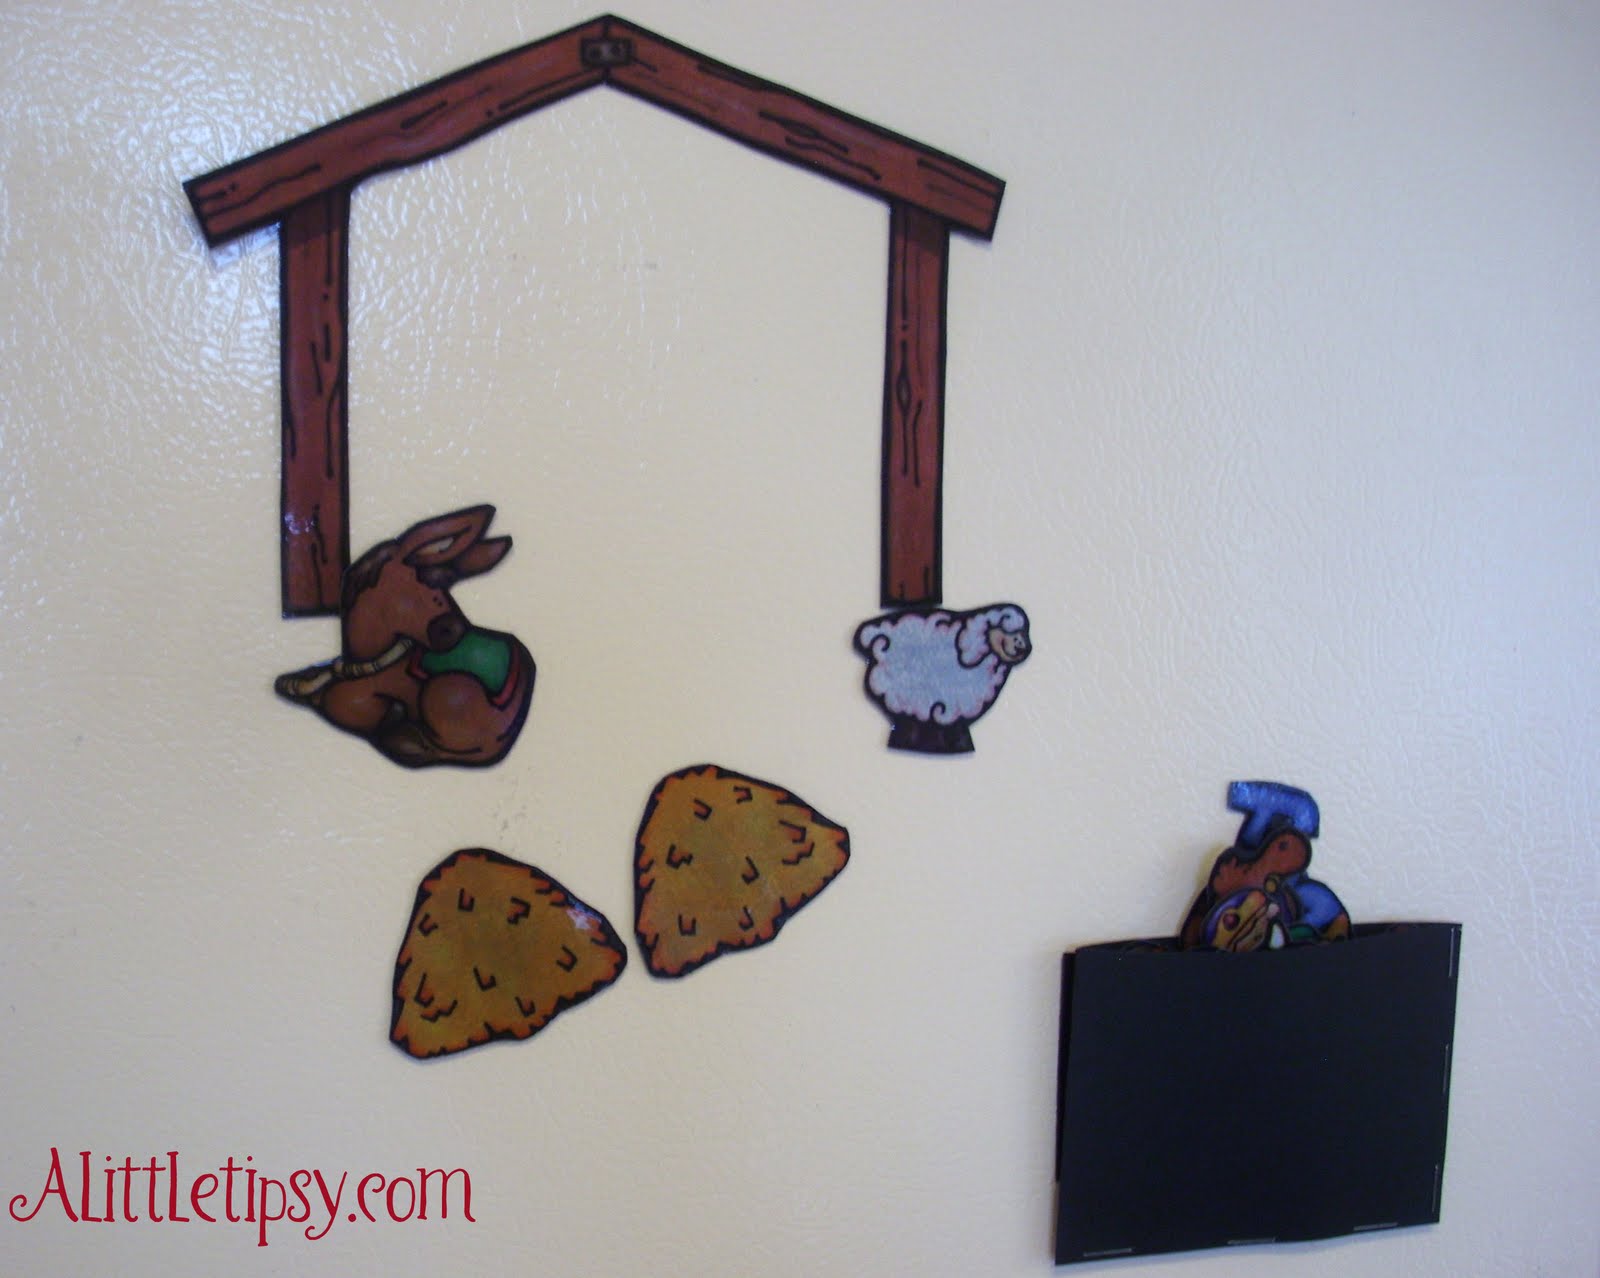
4. Make a little envelope to house the nativity pieces by stapling together a piece of cardstock.

5. Then, put up one piece a day until Christmas. We put them on the fridge so it would be in the middle of everything. I tried a cookie sheet first, but ha ha, the magnets did not stick.

It will look like this on Christmas day. I am lovin’ our little Nativity advent!

Linking up:
Motivate me Monday
Craftomaniac Monday
Market yourself Monday
Just Whipped Something Up
Making Monday Marvelous
I Wear Crafty Pants on Monday
It’s So Very Creative
All About You Monday
Making the World Cuter
Made By You
Mad Skills

P.S. Don’t forget to sign up for free Tipsy updates via RSS or email.
We have decided to truncate our feed to help protect against stolen content. I apologize for any inconvenience. Please love us anyway. πŸ™‚

Boy Week: Puffy Paint

November 19, 2010 By Michelle Barneck Leave a Comment

Hello Little Tipsy readers! I’m Ashlee from I’m Topsy Turvy, and I’m so excited to be here today sharing my boy craft with you! I have two boys of my own, I also have 2 girls. My girls are actually kind of Tomboys, so they enjoyed this craft as much as the boys did. I got this craft idea from my toddler’s preschool teacher. He came home with the coolest art project. It was this strange puffy material. This is SO much fun, and I can’t wait to share it.

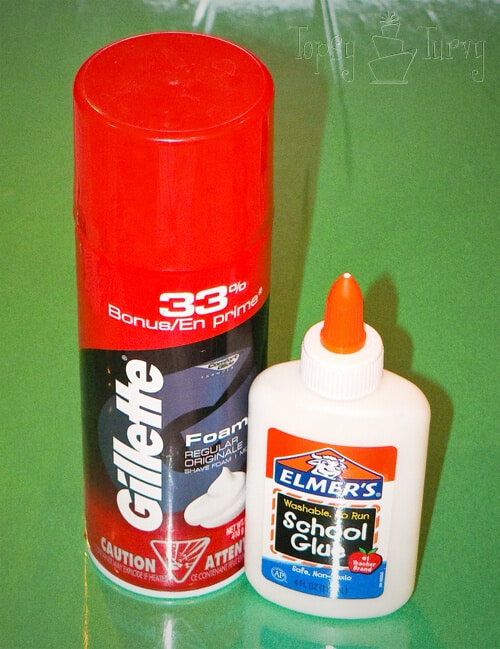
It couldn’t be simpler. You want equal parts elmer’s glue and Foamy shaving cream. You can also use coloring (I used food coloring) if you want to.

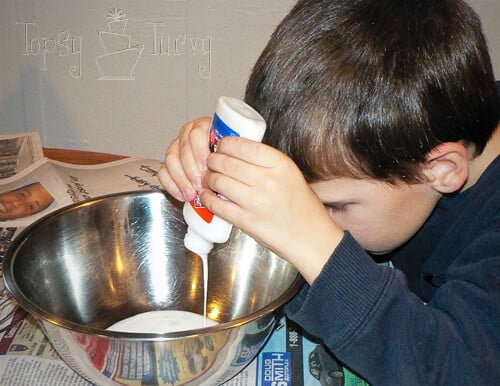
Using a LARGE metal bowl pour in your glue. As a food handler I have to make sure I say this. Use metal because it’s non porous and it will come completely clean. You wouldn’t want to prepare or serve food in something that wasn’t completely clean of the shaving cream and glue.

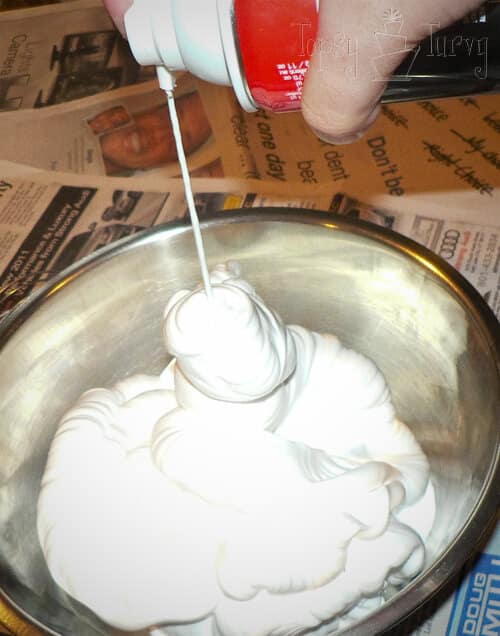
Next spray in the foamy shaving cream. You want there to be about equal parts. I tried to keep it at 4 oz each. It’s all a guessing game. It will still work okay with a little too much or a little less. Although it might change the consistency.

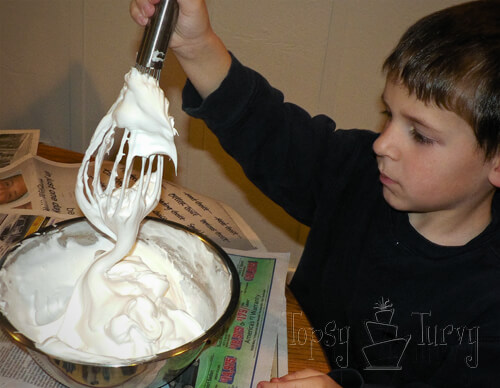
Now you want to mix it all together. Mix it good.

One way to make sure it’s mixed completely is to add color. Lego boy picked grey, boring, but it works, we could easily tell once everything was mixed together.

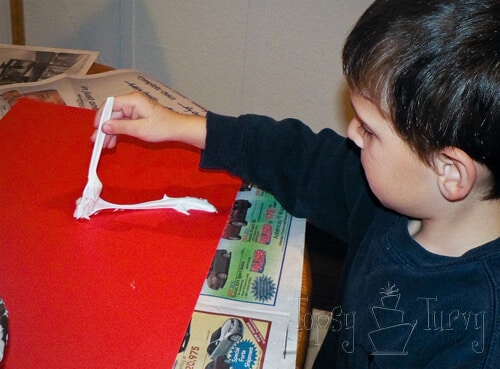
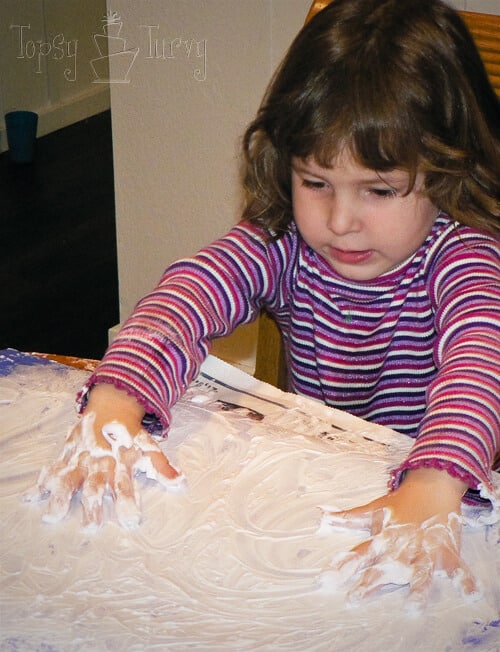
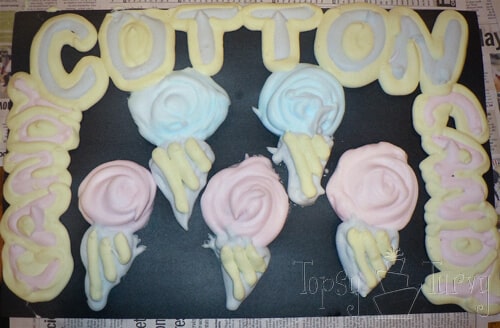
Now start painting! You can use anything you want. Forks, spoons, paint brushes…

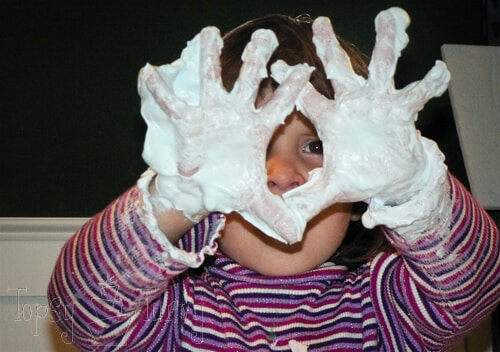
fingers and hands… etc… Whatever you can think of!

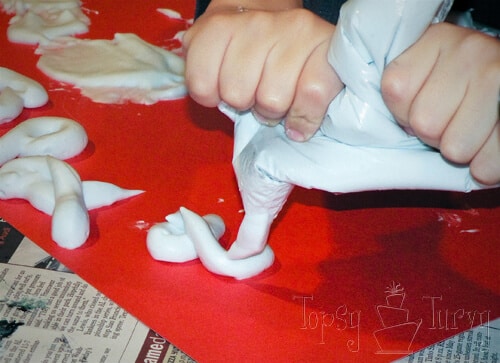
My personal favorite? Baggies. I filled up sandwich bags with the foam and cut a corner. You can use cake decorating bag, I have a ton, but I thought the kids hands would have an easier time with this style than with decorator bags. It makes it easy to write with, or make lines.

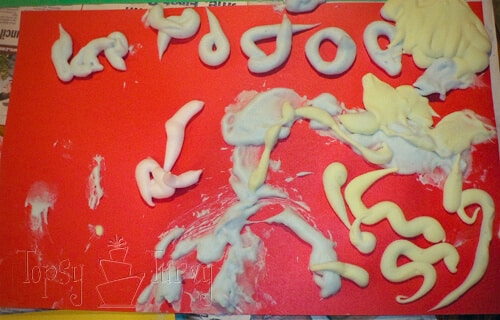
Or like Lego Boy, “snakes”. Here is his finished artwork. It stays puffy and soft when it drys. It’s really very VERY cool! You’ll love it. The kids still love to touch it and play with it after it’s dried!

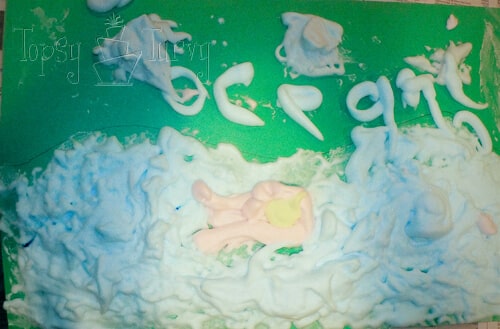
Here is what The Reader created, her own ocean with a little pink fish and grey clouds.

And mine. I wasn’t really going for anything. Just playing and making globs. You can also use glitter, sprinkles, toys really anything you can think of to embellish it.

And if you have kids like mine They’ll enjoy playing with the paint and much as they enjoy creating the artwork. The great news? It washes up easily! Off the kid, off the table, off the walls and where ever else your child is talented enough to get it!

So have fun creating your own puffy paint project with your little boy (or girl). It’s cheap, easy, and oh so fun! I think I enjoyed it as much as the kids did. And once you think about it there are endless possibilities for this. Create your own 3D ice cream cone, car, decorate a picture frame, 3D hand print’s, etc…

———————————————————

Thanks Ashlee, I can’t wait to try this out with my 3 year old. He will love it. I am totally going to add it to my Preschool at Home Can!

P.S. Don’t forget to sign up for free Tipsy updates via RSS or email.
We have decided to truncate our feed to help protect against stolen content. I apologize for any inconvenience. Please love us anyway. πŸ™‚
« Previous Page
Next Page »

  • Bloglovin
  • Facebook
  • Google+
  • Instagram
  • Pinterest
  • RSS
  • Twitter

Hi there! I'm Michelle. Mother of three little boys and one little princess. Welcome to A Little Tipsy, a place for exploring creativity and sharing inspiration.

Follow on Bloglovin


Visit Michelle Barneck {A Little Tipsy}'s profile on Pinterest.

Tutorials by Category


15 Family Reunion Games

Family Reunion Games Collage

15 Sprinkle Party Ideas

Sprinkle Birthday Party
Creative Commons License

© Copyright 2014 A Little Tipsy · Site Designed by The Fairy Blogmother · Web Hosting by RFE Hosting

This website uses cookies to improve your experience. We'll assume you're ok with this, but you can opt-out if you wish.Accept Read More
Privacy & Cookies Policy