A Little Tipsy

Creative Tips & Ideas

  • home
  • About Me
  • the tipsy top
  • press
  • projects
  • contact me
[print_thumbnail_slider]

Printable Behavior Charts

February 24, 2011 By Michelle Barneck 14 Comments

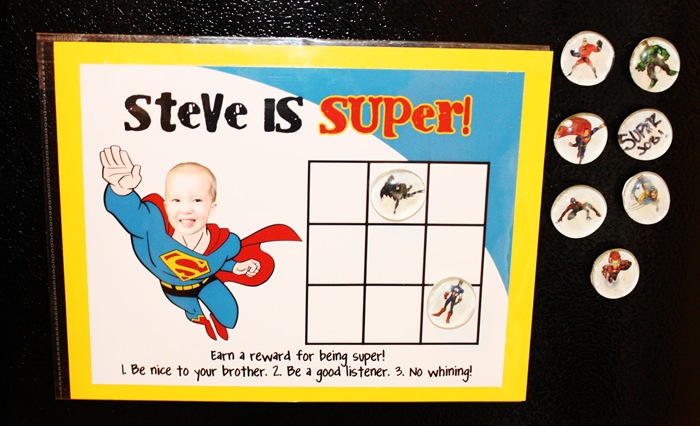
I needed a little help in getting my kiddo motivated to listen and obey. I decided to make it fun with a colorful chart where he would earn points toward a prize. I figured if I was going to go to all the work to put something together I better share! Here are the free printable behavior charts, just choose boy or girl and add your child’s name at the top. I laminated mine with clear contact paper so I could use it over and over with a dry erase marker.


Click on the image you want below to print it full size.

Boys printable behavior chart
printable behavior chart

Girls Printable Behavior Chart
printable behavior chart

Add the point value needed at the bottom by the arrow and also at the top of the rectangle so you can color in the points as they earn them on the graph. I added a little picture of what he is earning also so he can see it every time we add or take away a point.

The point value varies on how big the prize is. It took him about 3 weeks to earn Candy Land, but just 3 days to earn a Toy Story velvet paint page. He averages about 5 points per day.
I used Everyday Mom Ideas “L’il Monster” free digital scrap kit to make my behavior charts.

The girls at Pocket Full of Posies have a SUPER cute behavior chart too!

steve is super
Linking Up:
Transformation Thursday
Strut Your Stuff
Show Off Your Stuff

P.S. Don’t forget to sign up for free Tipsy updates via RSS or email.

We have decided to truncate our feed to help protect against stolen content. I apologize for any inconvenience. Please love us anyway. 🙂

Marshmallow Pops

February 9, 2011 By Michelle Barneck 10 Comments

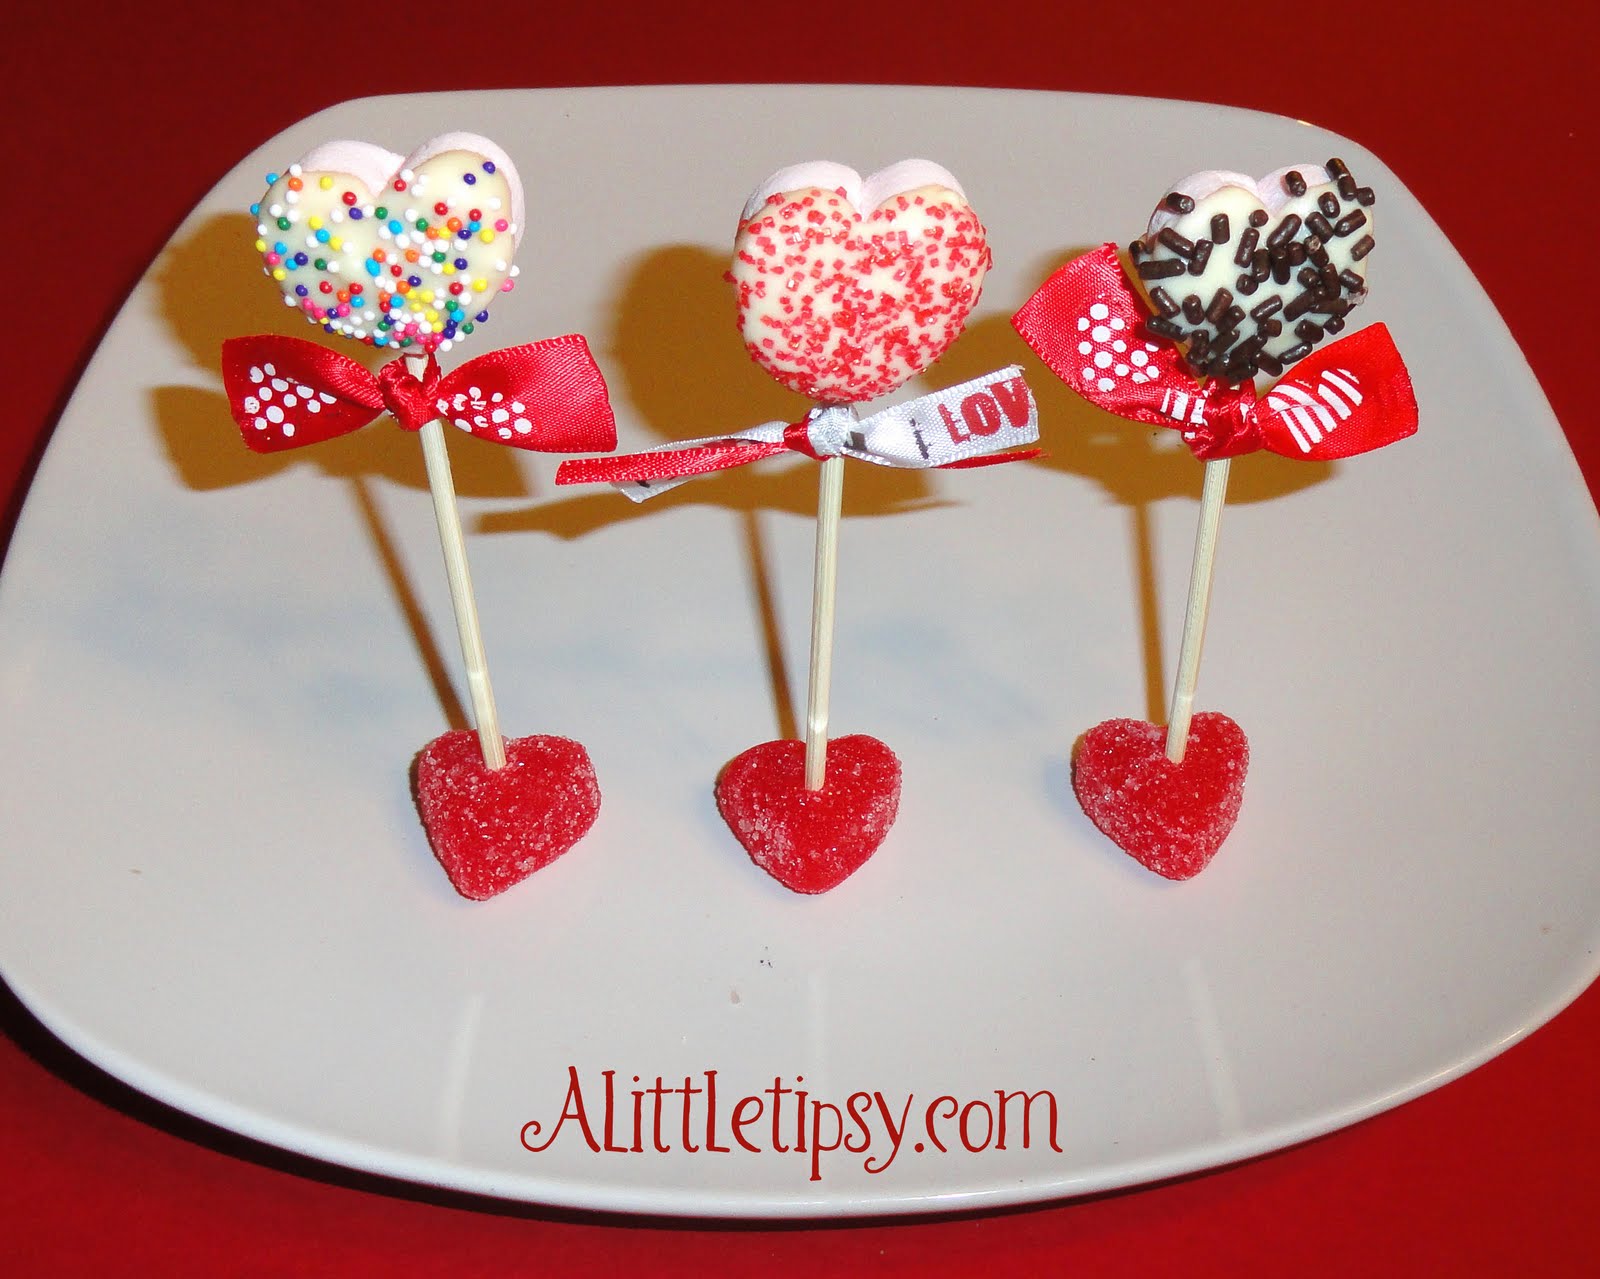
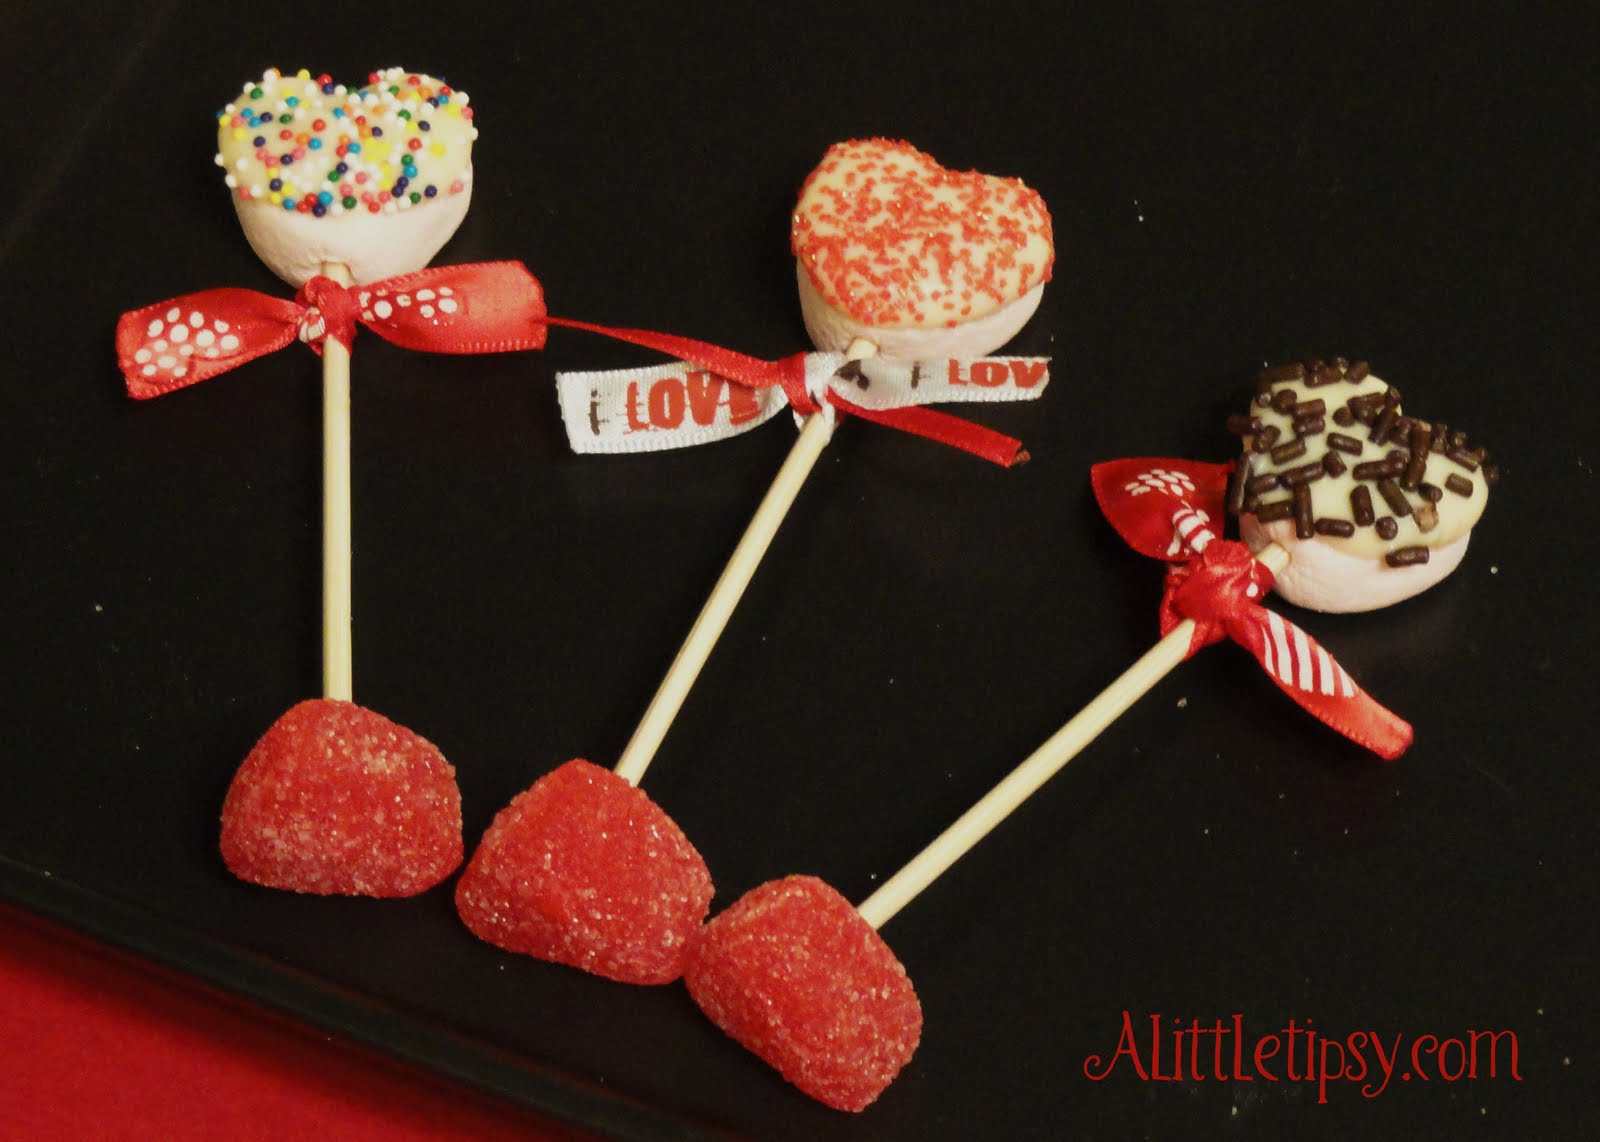
Need a fun quick Valentine treat for the kiddos? How about some cute little marshmallow pops. They are super fast and cause big smiles.

What you will need for Marshmallow Pops:

  • Heart shaped marshmallows
  • White or chocolate chips (whatever you want to dip them in)
  • Jelly Hearts
  • Sprinkles
  • Skewers or sucker sticks (cut the skewers in thirds with heavy duty shears, mine are Cutco)
  • Ribbon

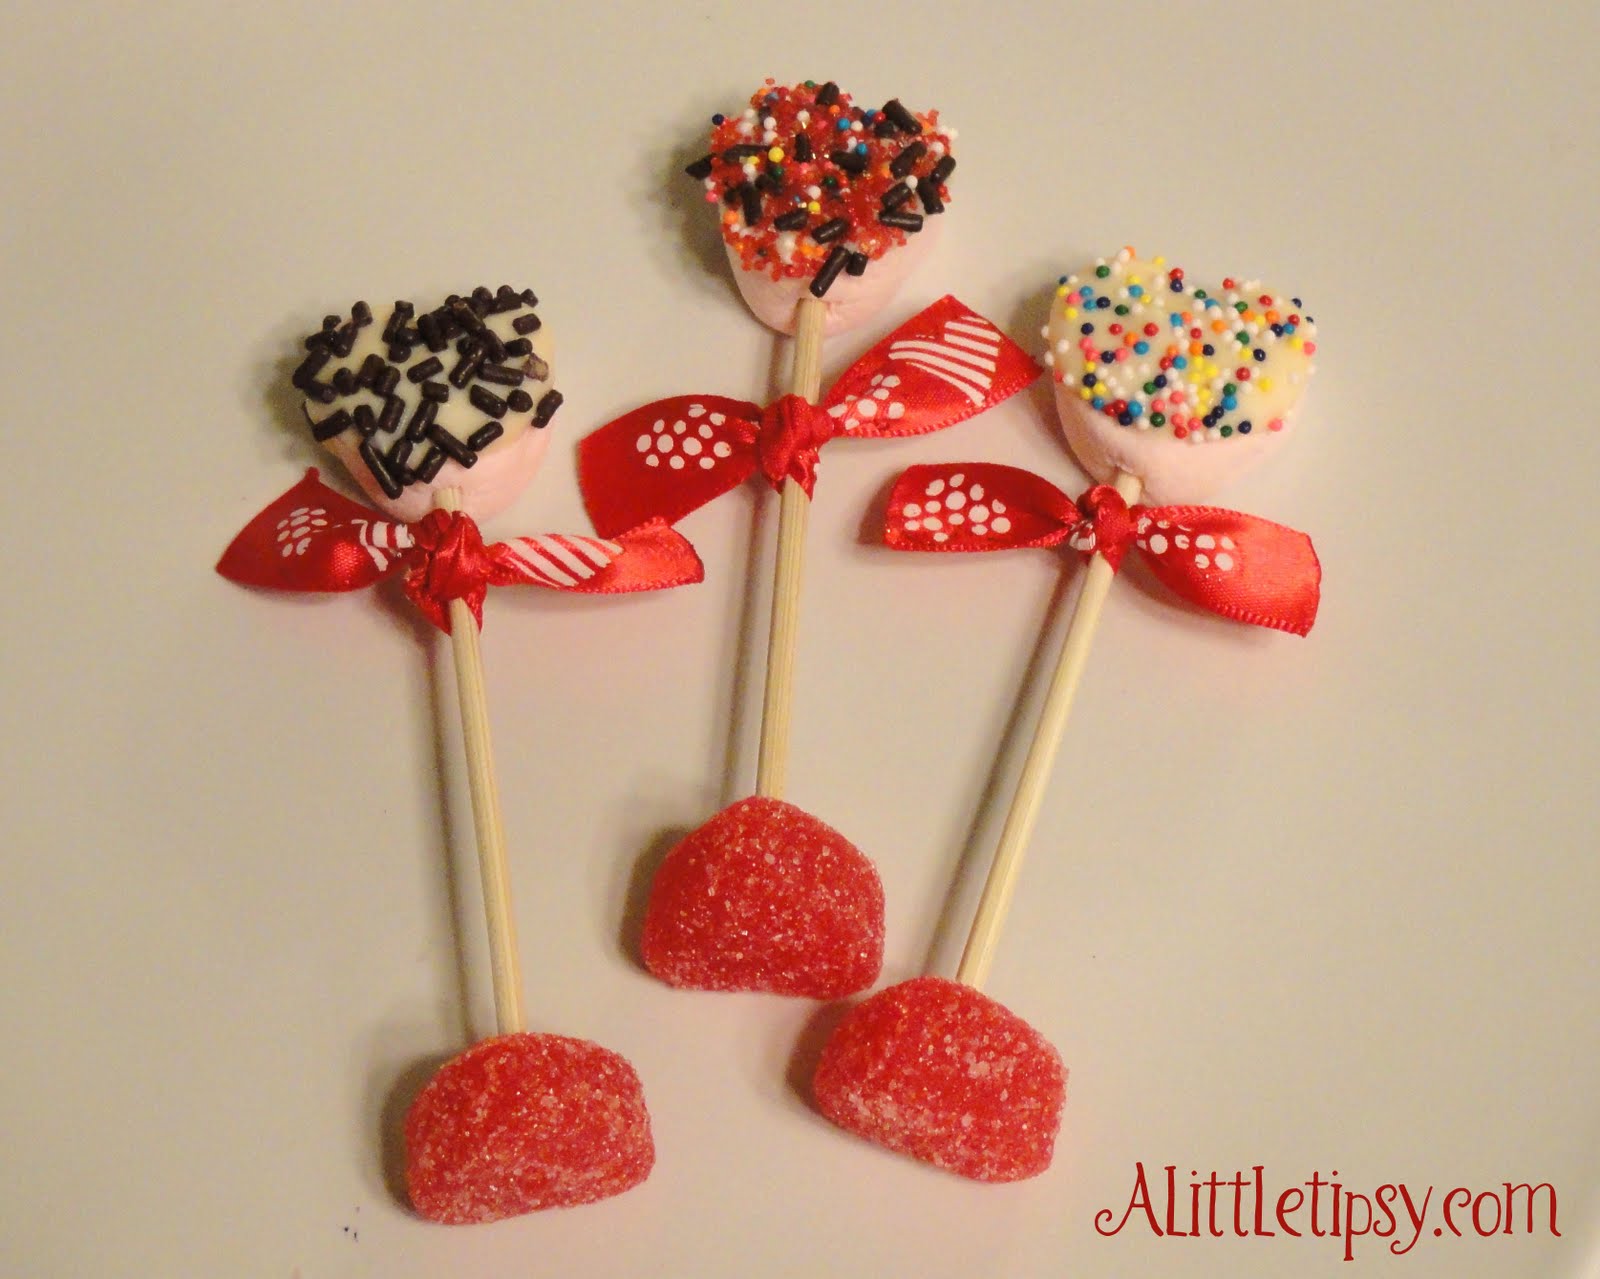
Put a marshmallow on top of a stick. Dip it in melted chips. Sprinkle with sprinkles. (ha ha) Put a jelly heart on the bottom to make it stand up. Put in fridge for a minute to harden chocolate faster. Add a little flair with ribbon.

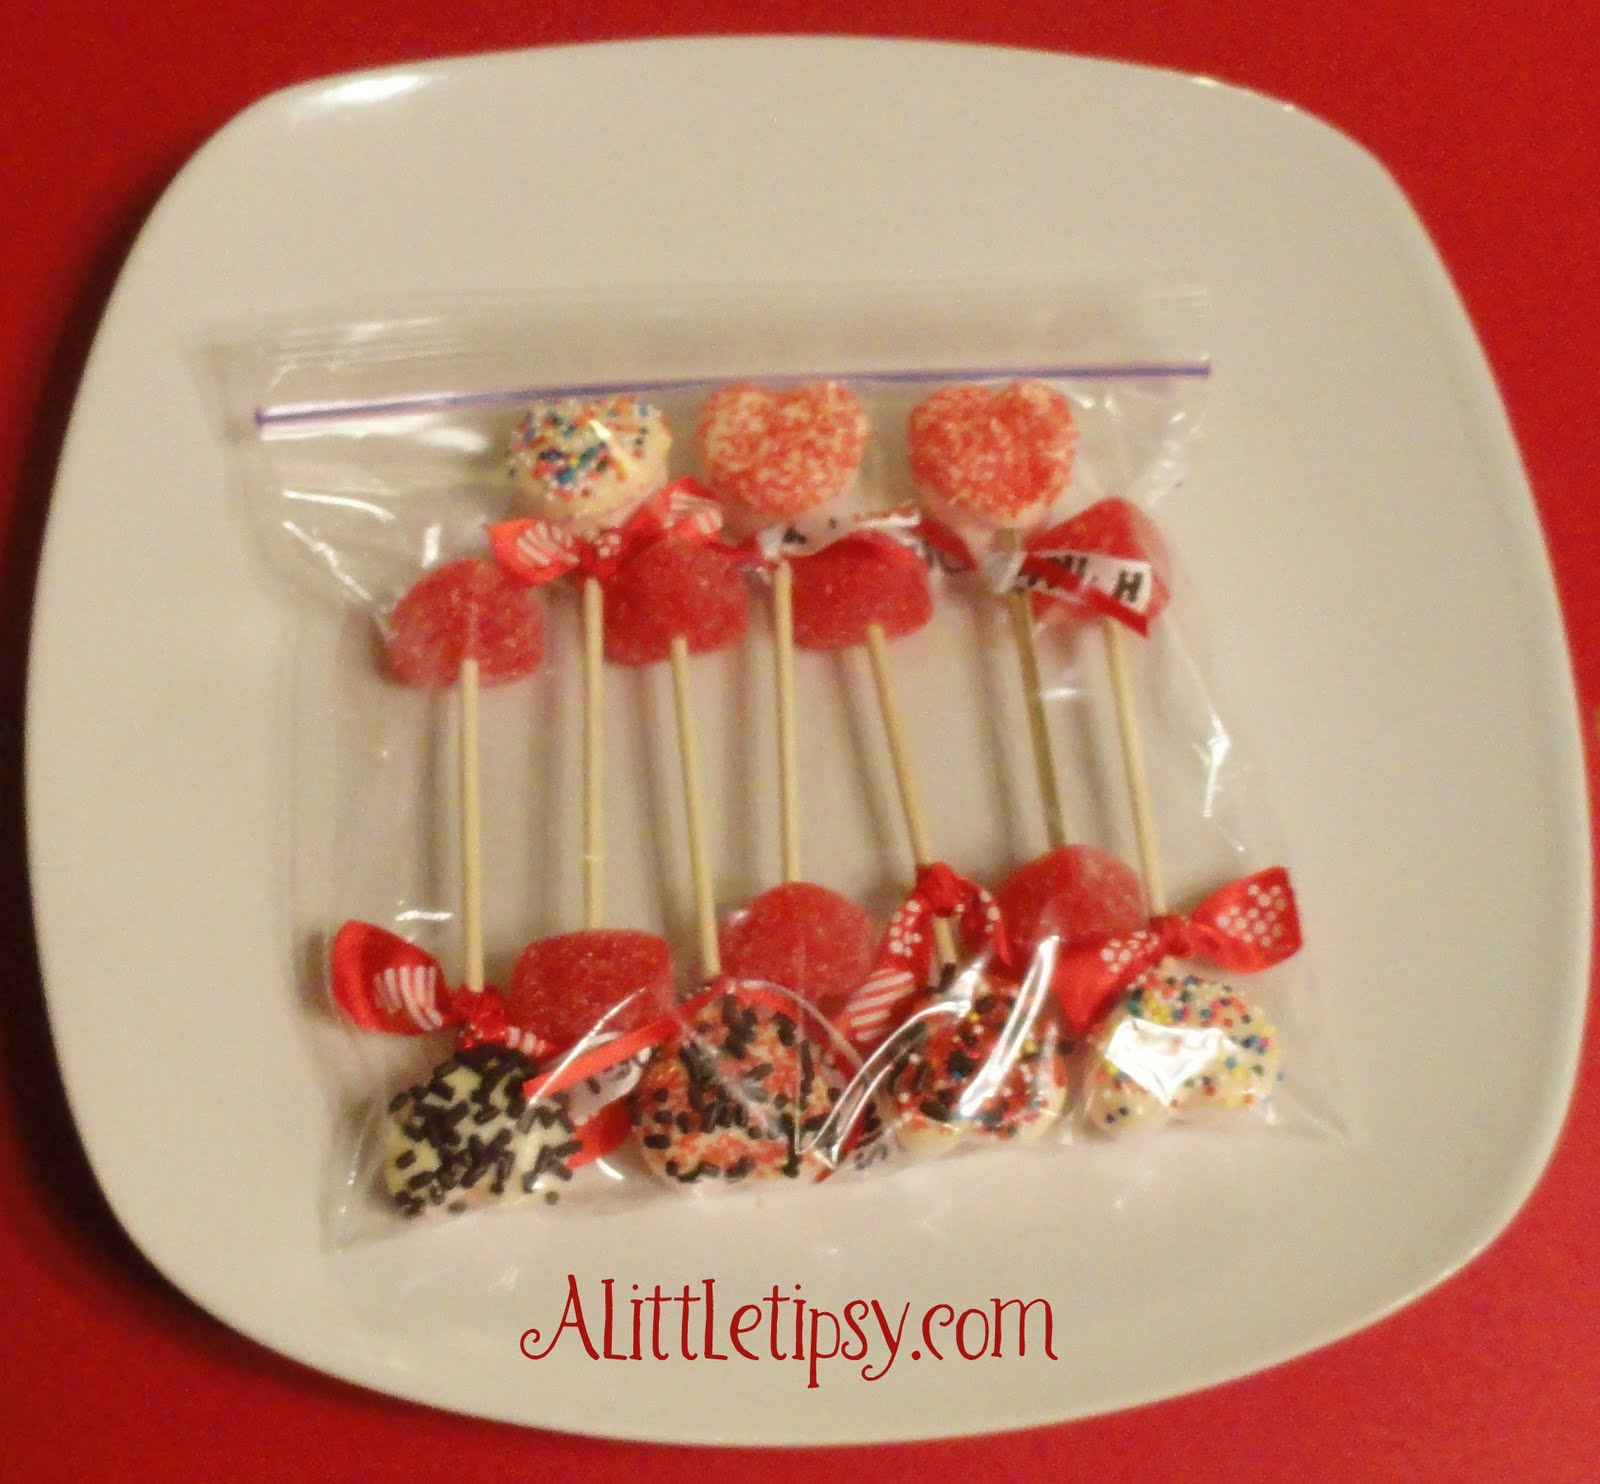
Store in a Ziploc bag so the marshmallows don’t harden.

Linking Up:

Strut Your Stuff
Show Off Your Stuff
Show and Tell
Look What I Made
Whatever Goes Wednesday
Works for Me Wednesday
Sugar & Spice & Everything Nice

P.S. Don’t forget to sign up for free Tipsy updates via RSS or email.

We have decided to truncate our feed to help protect against stolen content. I apologize for any inconvenience. Please love us anyway. 🙂

Make Snow Cones

January 31, 2011 By Michelle Barneck 3 Comments

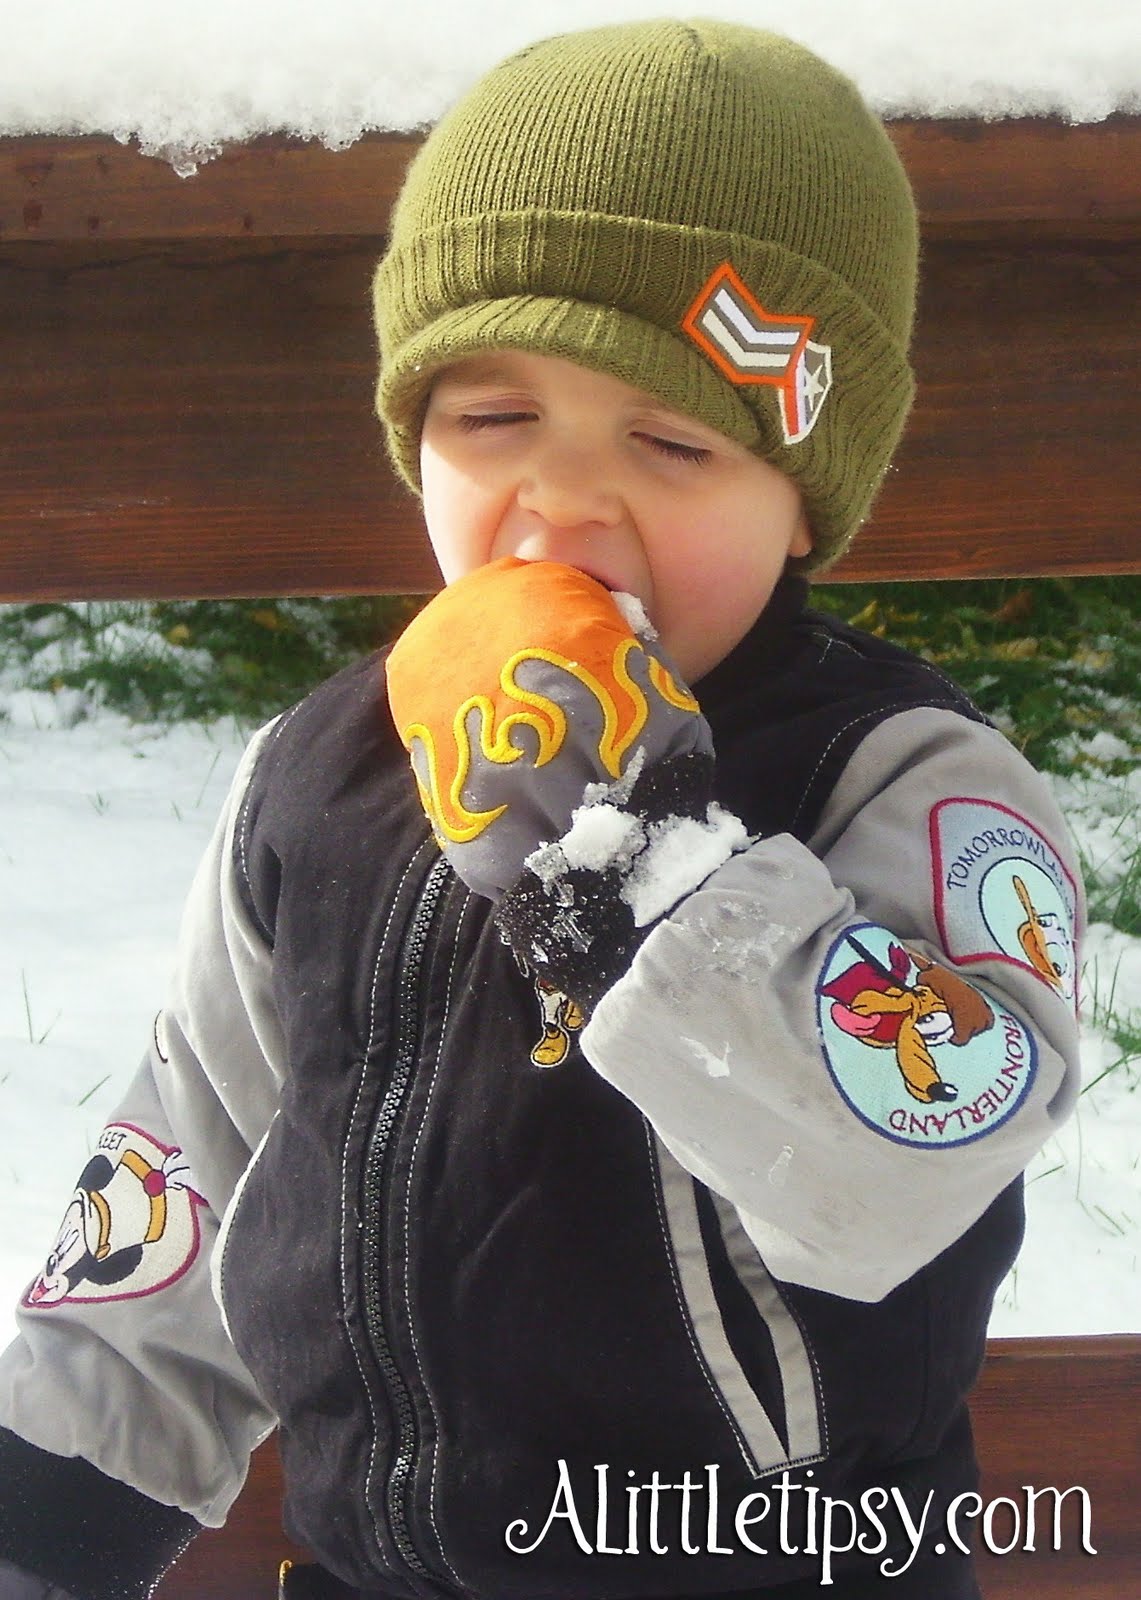
It’s here. It’s plentiful, so why not make use of it?!

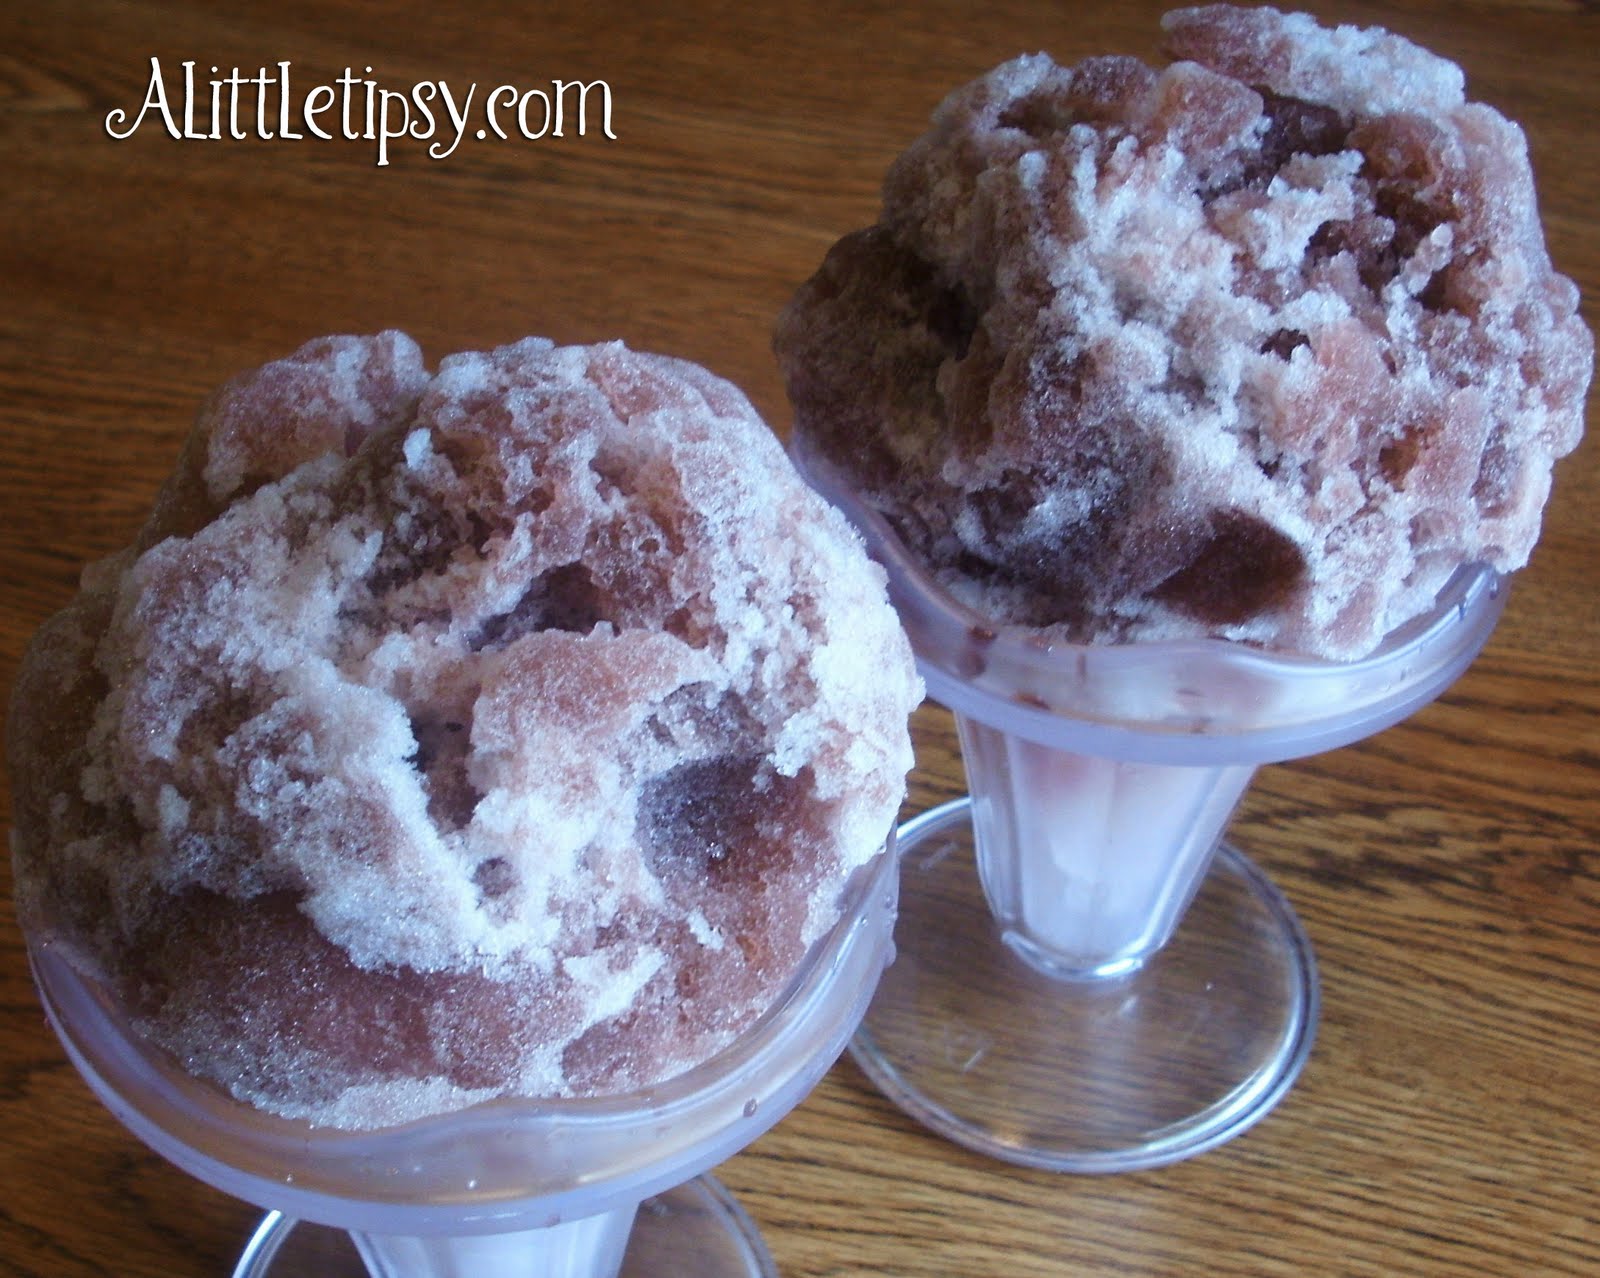
My little guy could sit outside and eat snow for hours so I decided to bring it inside and make snow cones. It is oh so easy to add a little flavor and kick up the fun.

How to Make Snow Cones

1. Scoop up a bunch of clean fresh white snow.

2. Mix up some “snow cone syrup.” I used one of those Welch’s single serving packets meant for a water bottle and mixed it with about 6 oz. of water. Countrytime, Hawaiian Punch (get them at Dollar Tree) and Kool-Aid makes the packets too so you could have a variety of flavors.

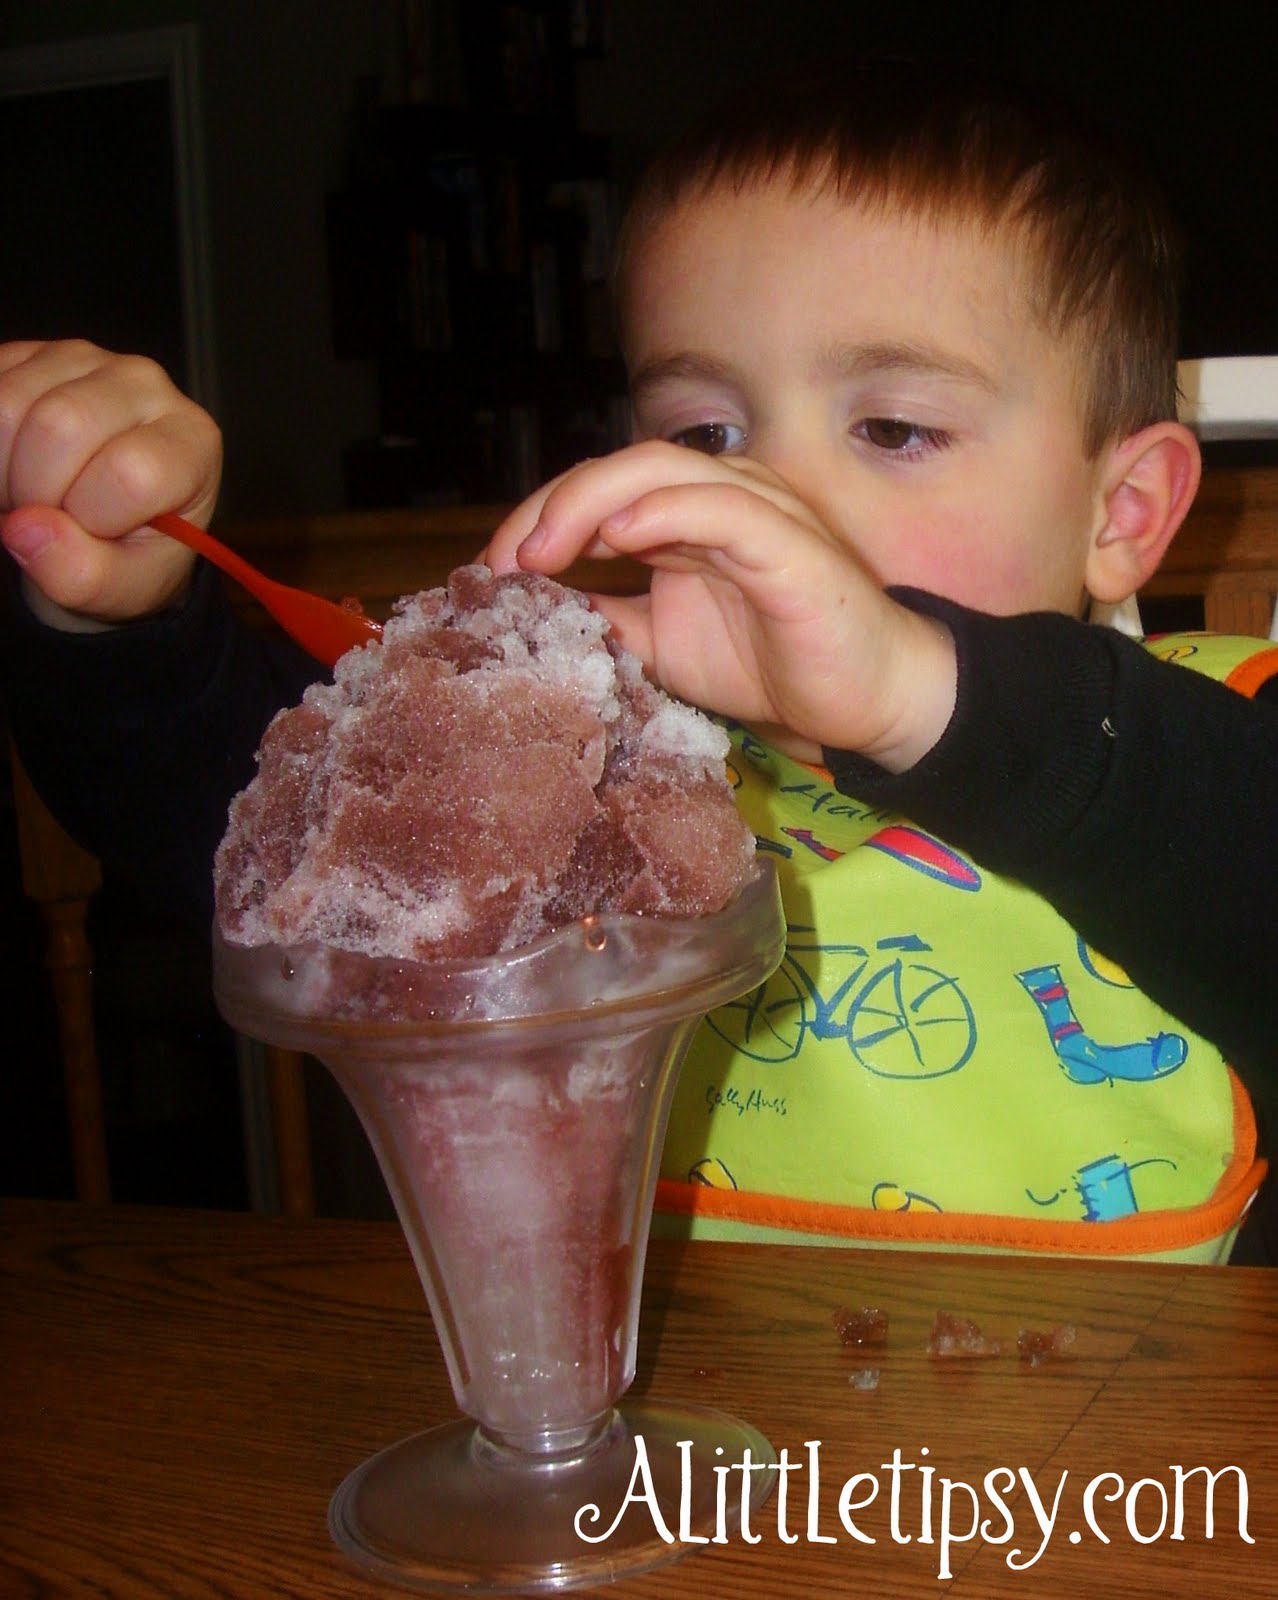
3. Pour it on.

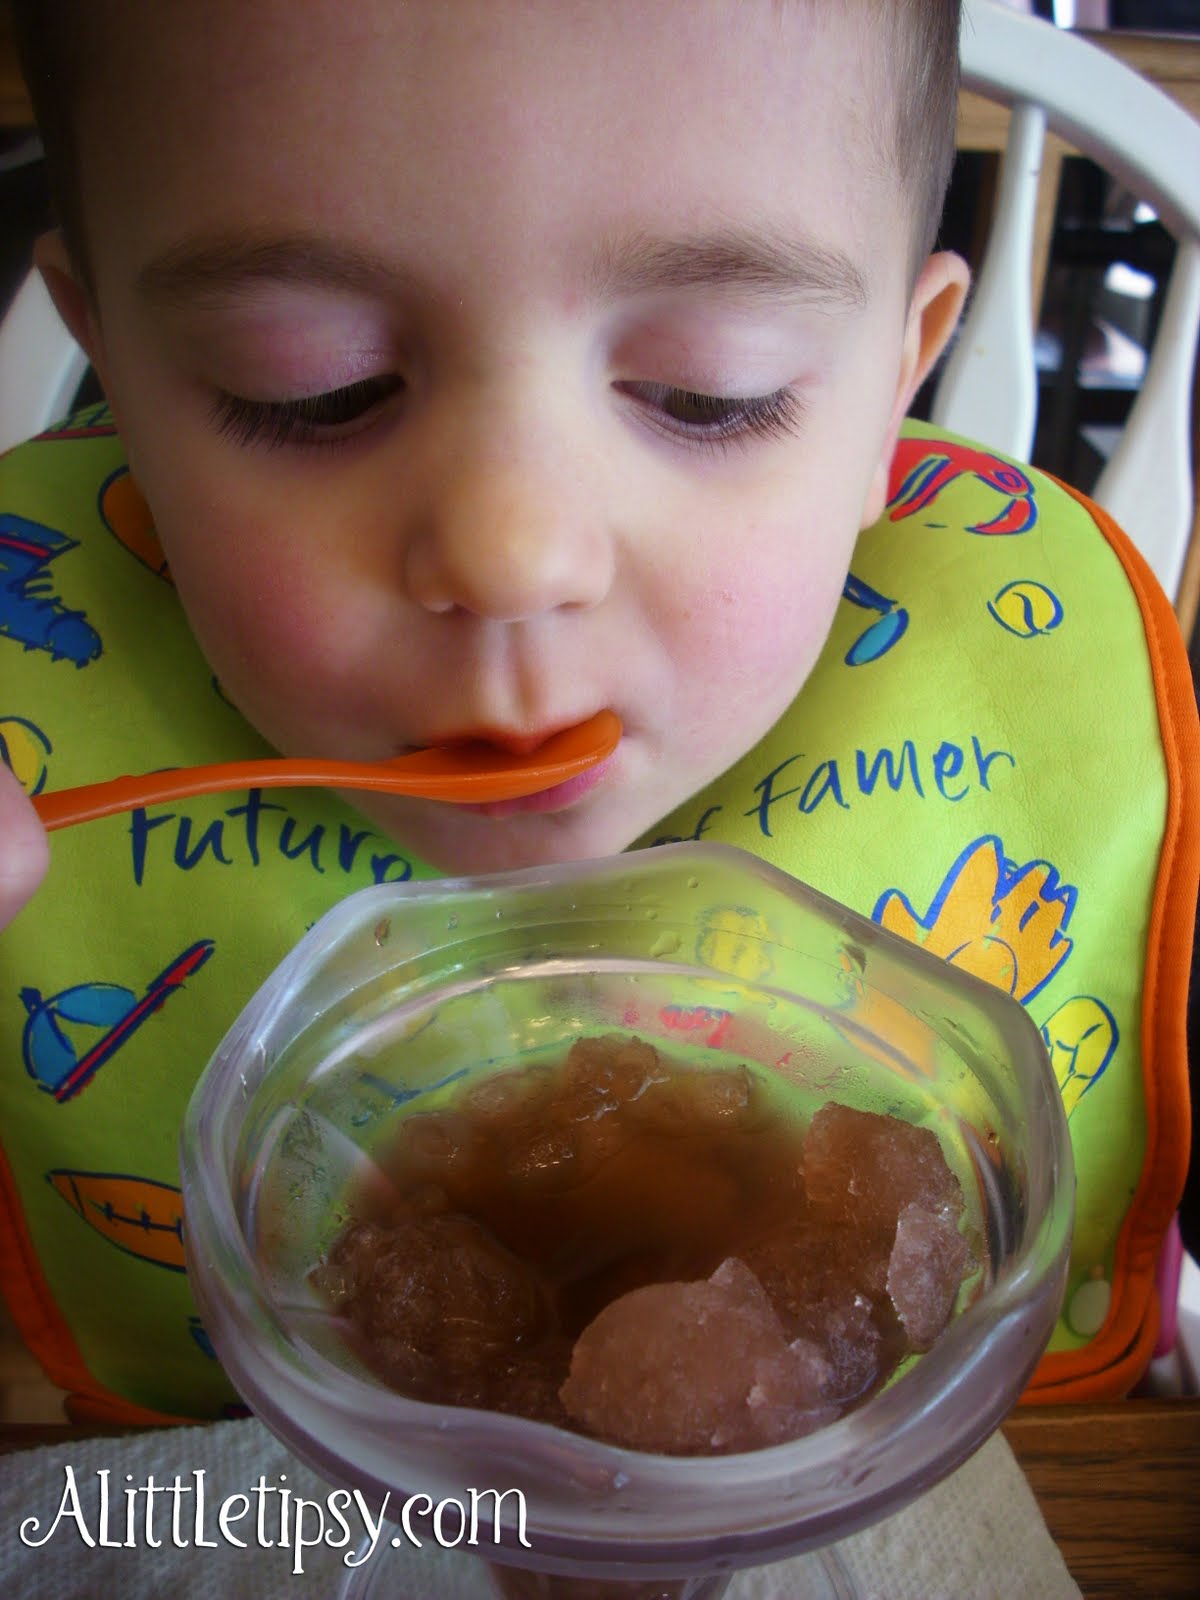
He sat there and ate it until it was gone.

P.S. Don’t forget to sign up for free Tipsy updates via RSS or email.

We have decided to truncate our feed to help protect against stolen content. I apologize for any inconvenience. Please love us anyway. 🙂

A New Twist on New Year’s Eve

December 30, 2010 By Michelle Barneck 1 Comment

After having kids, it is inevitable that every New Year’s Eve won’t be the all-night bash it once was. Instead of thinking about how that sassy little party dress is just hanging in the back of your closet, why not have a celebration with your children? Help your kids make a few party accessories and create some memories together. Sure, it isn’t the same as sipping bubbly at the hottest new club downtown, but I guarantee you will ring in the new year with a smile. Roll up your sleeves and dig in!

Times Square Ball

Image source

The Countdown Ball

Your kids may not be able to stay awake long enough to see the infamous Times Square ball drop at the stroke of midnight, so what better than having them make their own? You can find everything you need at your local craft supply store. Take a single, metallic chenille stem (known in my day as a “pipe cleaner”) and push it into a simple 2-3” Styrofoam ball. You will want about 1-1/2” of the chenille stem stuck into the foam. Then, have your child cover the entire surface of the foam ball with sequins, using either craft glue or stick pins to attach them. If you use glue, allow the glue time to dry.

Crown

A plain, foam crown can typically be purchased from any local craft store. But, you can also fashion one from a piece of poster board if you feel comfortable drawing the shape and cutting it out. If you go the poster board route, you will just need to use a stapler or glue to attach the two ends together. Using sticky foam letters or perhaps some glitter paint, help your child write “Happy New Year” or “2011” on the front of the crown. Your child can decorate it however he or she wants to make it their own.

Shakers

Have some empty water bottles in your recycling bin? Take them out, wash and rinse them, then remove the label. Use construction, wrapping or scrapbook paper to cover the exterior. Let your child get creative with stickers, paint, markers, crayons, sequins, ribbon and any other supplies you may have to personalize their shaker. Once the shaker is decorated, fill it with simple dried beans, then screw the lid on very tight.

Noisemaker Horns

No New Year’s Eve is complete without noisemakers. Now, I know what you’re thinking. You’re thinking, “Are you kidding me? My kids are loud by themselves and they already have a zillion toys with lights, buzzers and whatever else that give me a headache.” As a mother, I can attest with every ounce of my being that my children are indeed noisemakers on their own, without the assistance of a novelty toy. Trust me. However, on this one special night, I think making noisemakers is mandatory. Take a piece of poster board and shape it into a cone. Glue or staple it into place. Then, take shiny wrapping paper and cover the outside of the cone, attaching it with glue or double-sided tape. If you have curling ribbon on-hand, cut a few pieces and curl them with scissors (parents, please do that part!). Then take some glue or double-sided tape and attach the ends of the curled ribbon to the inside of the wider end of the cone. Voila! A simple “horn” the kids can yell or blow through, but nowhere near as noisy as the store-bought kind. Perfect.

Click here and scroll down to print image as coloring page.

You don’t have to be Martha Stewart to make some fabulous New Year’s Eve crafts with your children. Simple ideas, familiar supplies and a little creativity will go a long way to make precious memories. And, if you are lucky, your kids will have so much fun during their little party that they will wear themselves out and fall asleep early, leaving you and your significant other with some peace and quiet to sip champagne and toast to the New Year!

Bio: Maria Rainier is a freelance writer and blog junkie. She is currently a resident blogger at First in Education, where recently she’s been researching online mechanical engineering degrees and blogging about student life. In her spare time, she enjoys square-foot gardening, swimming, and avoiding her laptop.

———————————————————————————————

Thanks to Maria for some fun ideas to do with the kiddos! I love the idea of making your own countdown ball. Many times we let the kids watch the ball drop in NY (10 o’clock our time) and then get them off to bed. 🙂


P.S. Don’t forget to sign up for free Tipsy updates via RSS or email.

We have decided to truncate our feed to help protect against stolen content. I apologize for any inconvenience. Please love us anyway. 🙂
« Previous Page
Next Page »

  • Bloglovin
  • Facebook
  • Google+
  • Instagram
  • Pinterest
  • RSS
  • Twitter

Hi there! I'm Michelle. Mother of three little boys and one little princess. Welcome to A Little Tipsy, a place for exploring creativity and sharing inspiration.

Follow on Bloglovin


Visit Michelle Barneck {A Little Tipsy}'s profile on Pinterest.

Tutorials by Category


15 Family Reunion Games

Family Reunion Games Collage

15 Sprinkle Party Ideas

Sprinkle Birthday Party
Creative Commons License

© Copyright 2014 A Little Tipsy · Site Designed by The Fairy Blogmother · Web Hosting by RFE Hosting

This website uses cookies to improve your experience. We'll assume you're ok with this, but you can opt-out if you wish.Accept Read More
Privacy & Cookies Policy