A Little Tipsy

Creative Tips & Ideas

  • home
  • About Me
  • the tipsy top
  • press
  • projects
  • contact me
[print_thumbnail_slider]

Scrap Wood Pumpkins with The Contractor Chronicles

August 25, 2014 By Michelle Barneck Leave a Comment

Hello Little Tipsy Readers!! It is good to be here again sharing a fun little project while Michelle is out with her sweet new baby! I know Michelle in real life so I am so excited for her and cannot wait to hold her little one! For those that don’t know me, I am Amanda and I blog alongside my husband over at The Contractor Chronicles. We love to share our knowledge of tools, our fun projects and our house remodels with our readers! Since we are going into cooler fall weather, I wanted to share a fun and simple Fall project that anyone can make with wood from your scrap pile, scrap wood pumpkins!

Scrapwood Pumpkins (12) copy

All you need for this project is a couple pieces of 2×4 wood and 2×6 wood! I found both in my scrap pile – but feel free to swing by Home Depot and grab a one of each a make a few of these for your home! Cut your pieces down – I cut two 2×4’s at 6 inches and two 2×6’s at 7.5 inches. I just did what I thought looked best – but make some bigger and smaller if you want too!

Scrapwood Pumpkins (16) copy

I used Rustoleum Cinnamon and sprayed the wood down.

Scrapwood Pumpkins (1) copy

When they were dry, I used my cornercat and sanded the edges a bit.

Scrapwood Pumpkins (3) copy

Lastly – and the thing that makes the pumpkin – I tied the whole thing up with green ric rac! I love it! It makes it look wavy – sort of like a real pumpkin!

Scrapwood Pumpkins (5) copy

I tied the top in a bow to look like “leaves.”

Scrapwood Pumpkins (8) copy

And you’re done! So simple but super cute!!

Scrapwood Pumpkins (14) copy

Thanks so much for having me today and please stop by and say hello and see what other projects we have been working on!

Faux Drawer Console Table (44) copy Toy Truck Book Ends (63) copy Easy One Hour Rustic Blanket Ladder
Faux Drawer Console Table – Toy Truck Bookends – Blanket Ladder

You can also follow us here on our social media as I am always showing sneak peeks at the projects we are working on!

Follow Us On Facebook Follow Us On Twitter Follow Our Feed Follow Us On Instagram Follow Us On Pinterest

Halloween Silhouettes with Organize and Decorate Everything

August 15, 2014 By Michelle Barneck Leave a Comment

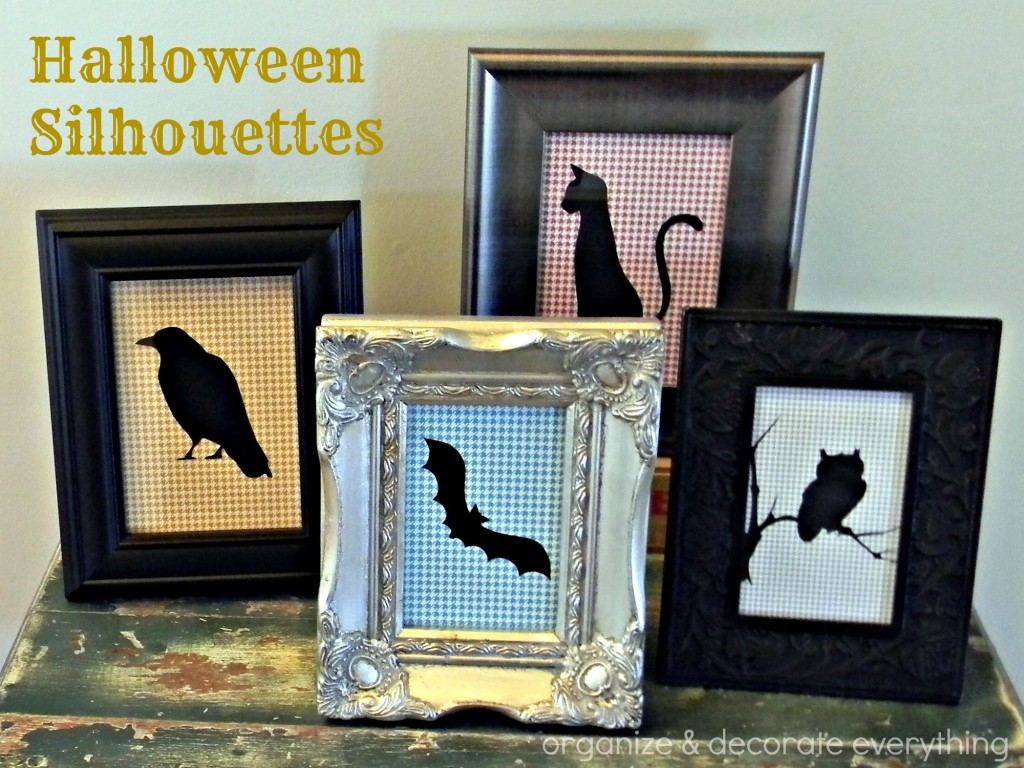
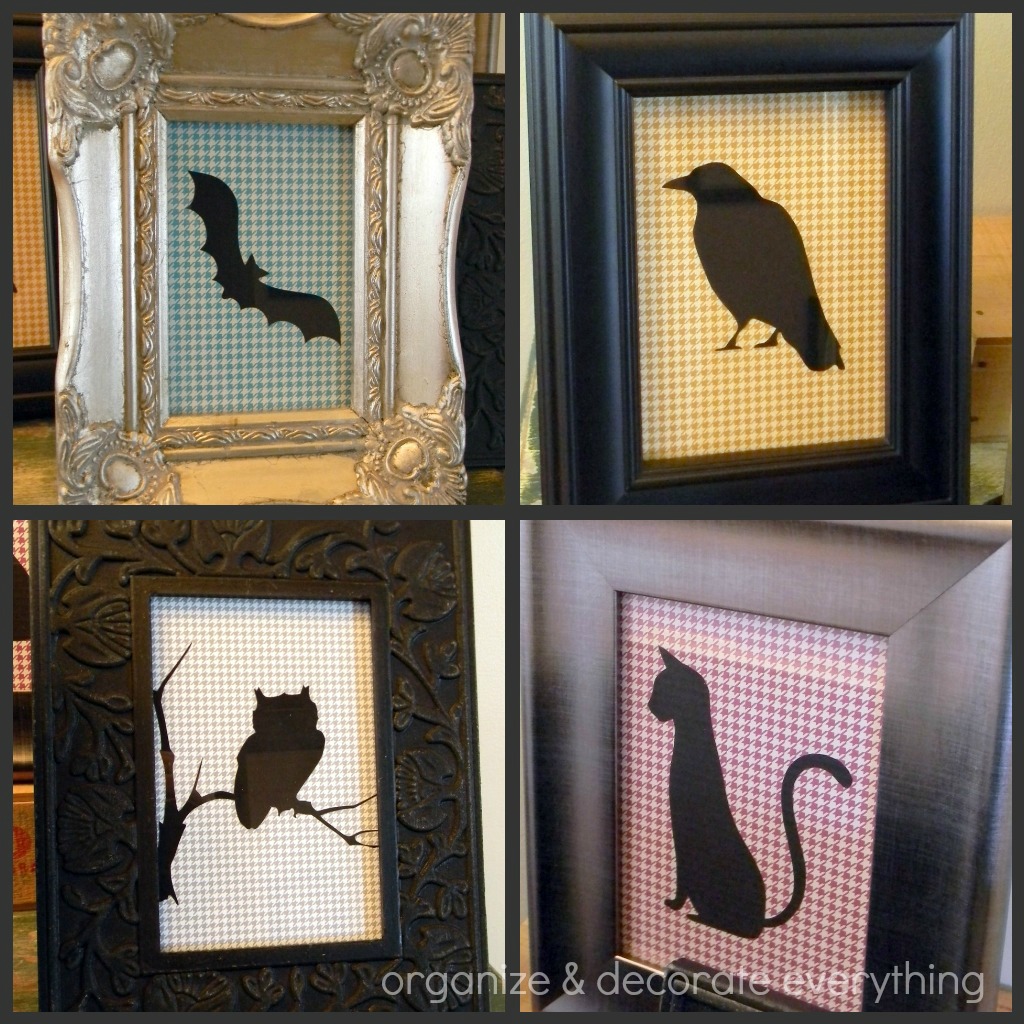
Halloween Silhouettes

Hi Everyone! It’s Leanne at Organize and Decorate Everything. I’m so happy to be here while Michelle takes time to enjoy her cute little man and the rest of the men in her family. I love decorating for the holidays and Halloween happens to be one of my favorite. While I love traditional colors I also like to break away from them from time to time. I love how these silhouettes represent Halloween but don’t scream Halloween in your face.

Halloween Silhouettes 4

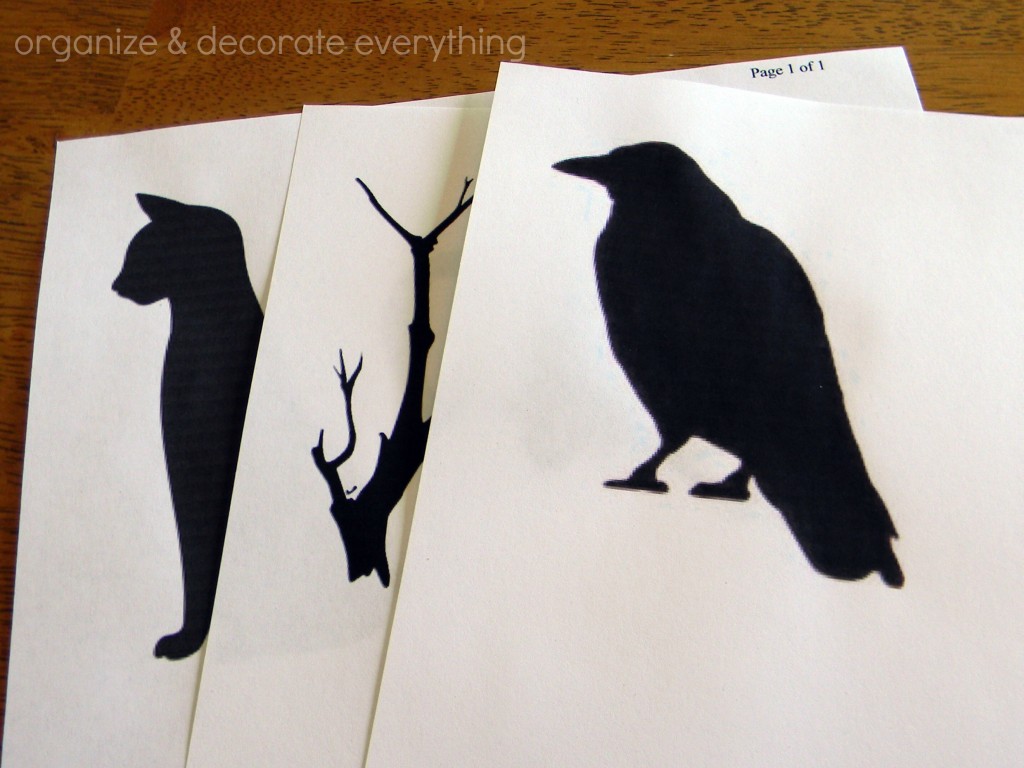
The best part is that you don’t need a cutting machine or anything fancy to make them, just a computer and a printer. I’ve heard from my readers so many times that things were cute but they weren’t able to duplicate them because they didn’t have a machine. Well, I’ve got you covered with this project. Just google different silhouette images, size them, and print them out. Use your imagination to come up with your favorite group of images.

Halloween Silhouettes 3

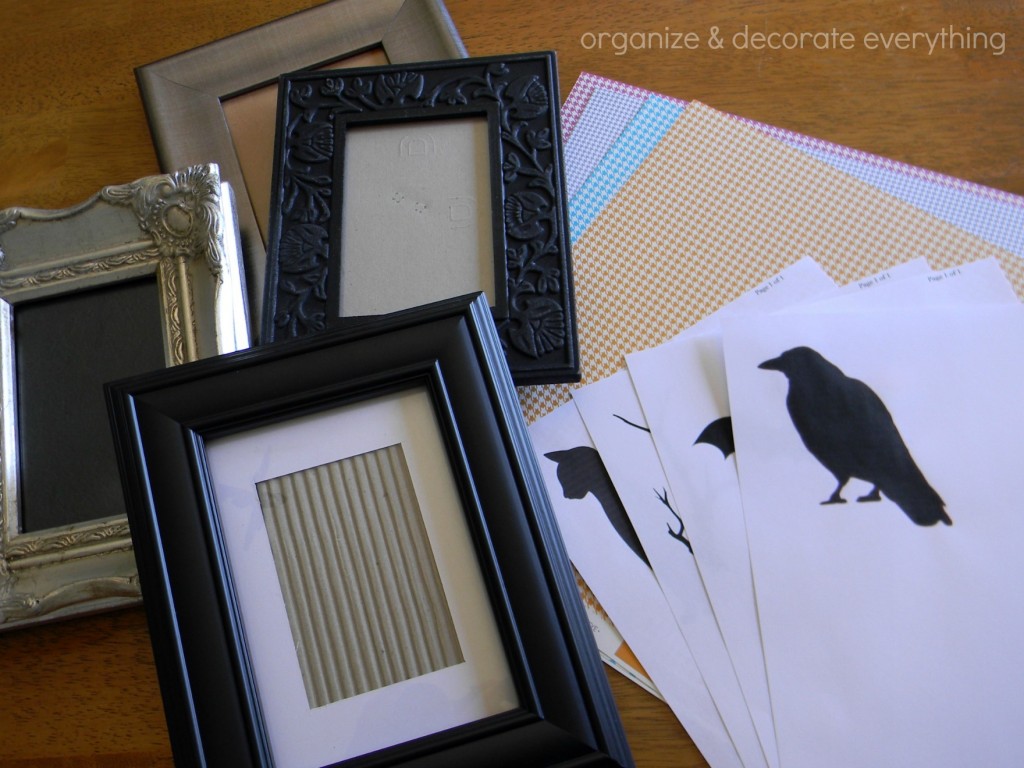
I chose scrapbook paper in different colors but the same pattern as the background for the silhouettes. Then I went through my frame stash and chose the frames I wanted to use. Yard sale frames are a good choice for Halloween decor. They don’t even have to be the same color.

Halloween Silhouettes 5

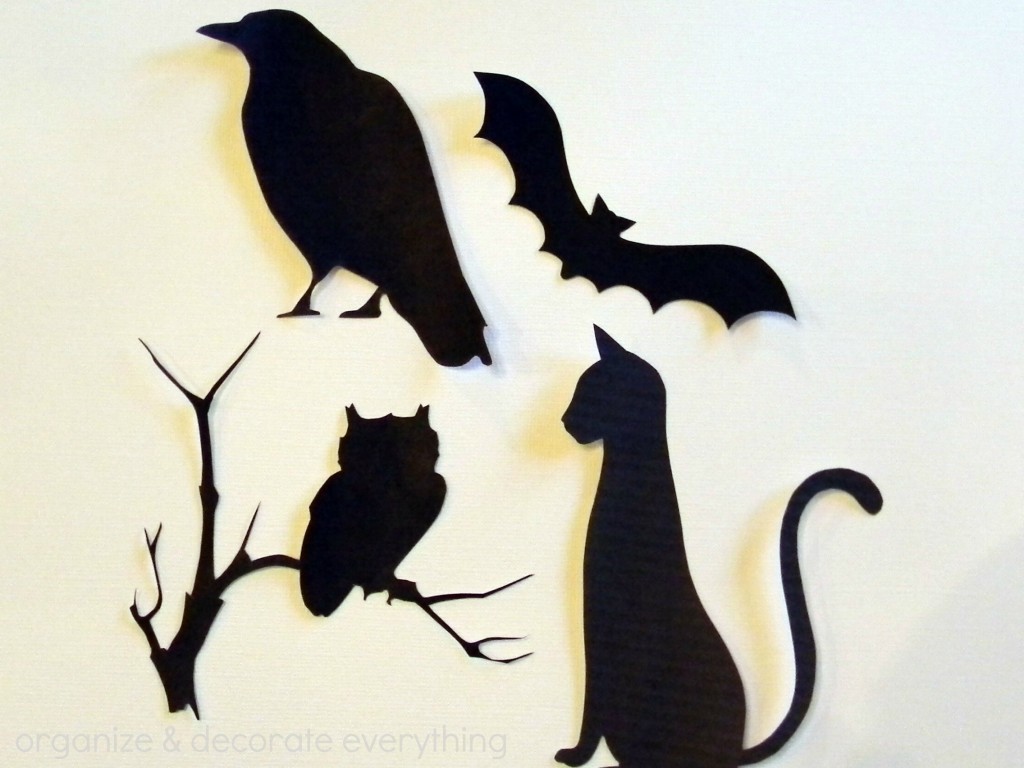
Cut out the silhouettes. I found ones with not much detail (except for the tree the owl’s perched on) to make it easier.

Halloween Silhouettes 6

Cut the scrapbook paper to fit the frame then glue the silhouette on the paper. I used a regular glue stick. As you might notice I trimmed the tree a bit to fit perfectly on the paper.

Halloween Silhouettes 2

That’s it! Now you have 4 framed pieces for Halloween for very little cost. Thank you for letting me share a Halloween craft with you. I know it’s only August but I like to plan ahead and have all my projects finished. Here are a few more projects you might like.

Laundry Room Organizing Collage.1

Organizing the Laundry Room

pencil and cork wreath

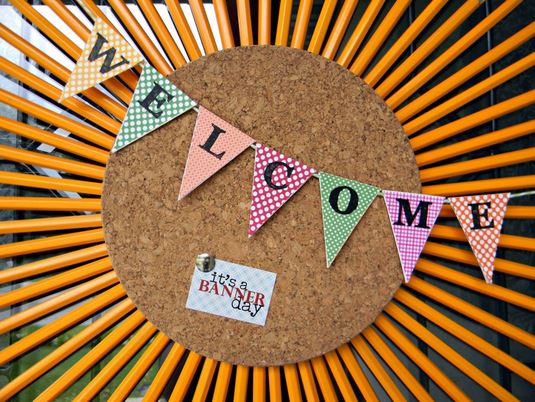
Pencil and Cork Wreath

Painted Soda Can Vases 3.1

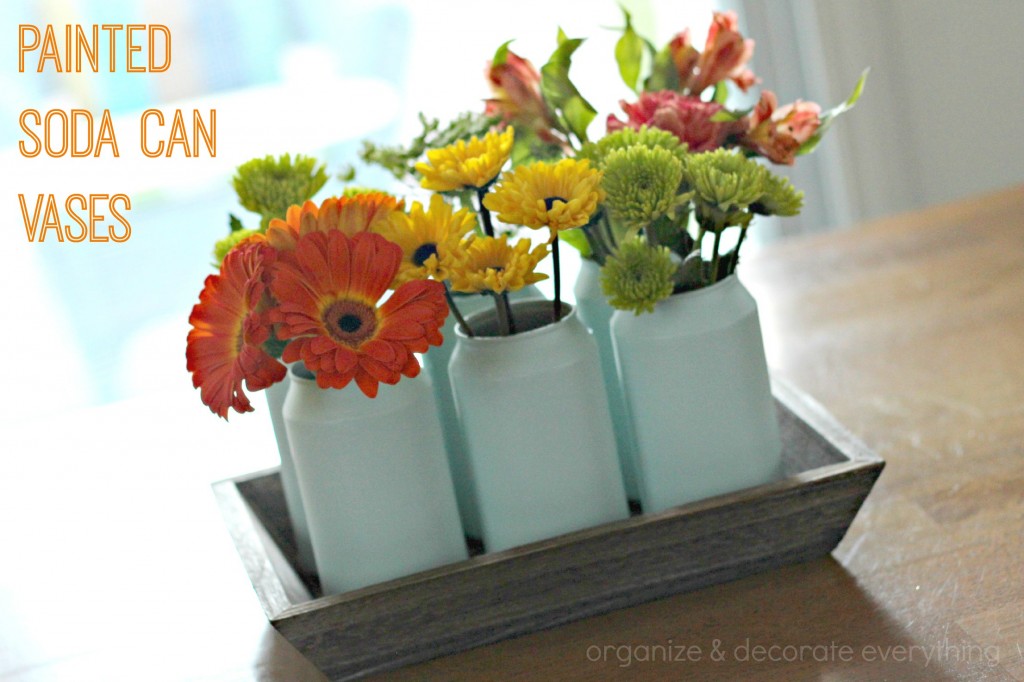
Painted Soda Can Vases

4th of July Shirts: Pledge of Allegiance Flag

June 27, 2014 By Michelle Barneck 4 Comments

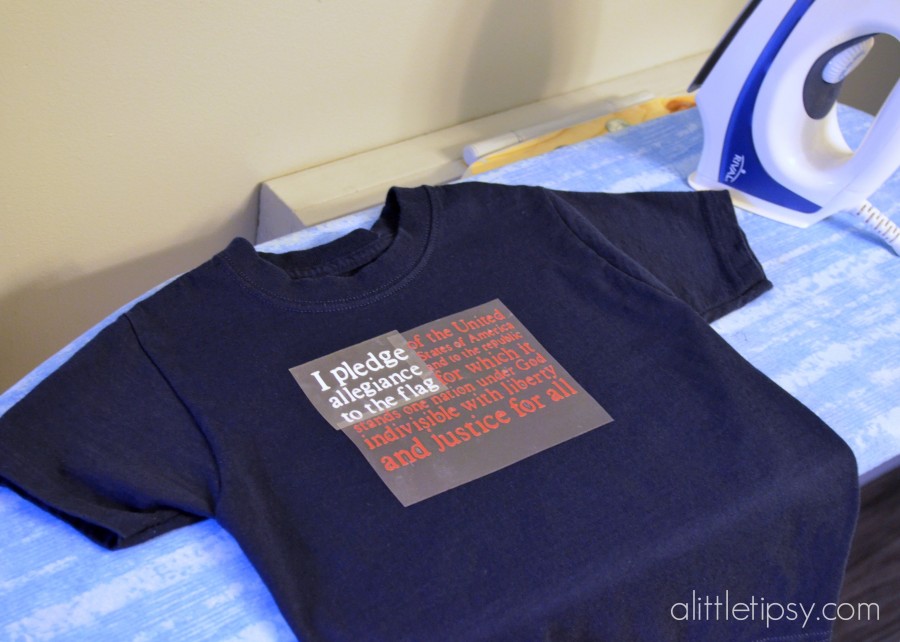
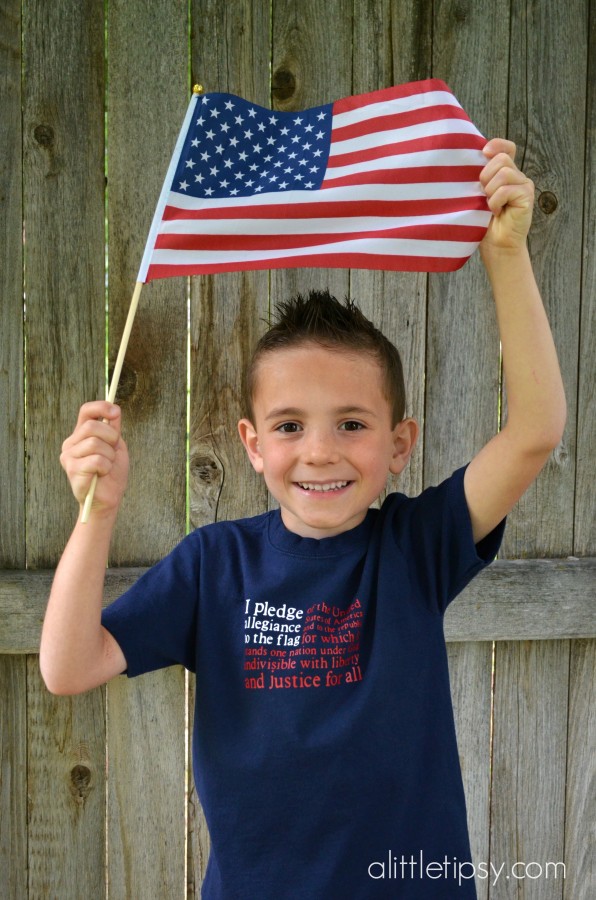
July 4th is right around the corner! Every clothing store around is selling flag shirts for a little USA spirit, but why not make some of your own? I love to put my boys in customized shirts and figured this would be the perfect opportunity for a little patriotic display of The Pledge of Allegiance. We kept the flag in there too for good measure.

4th of July Pledge of Allegiance Flag Shirt

You may recognize the design from a flag canvas I made for my house last year. I loved it so much I figured why not spread the joy to shirts?!

SUPPLIES:

  • Cricut Design Space Software
  • Cricut Explore
  • White Heat Transfer
  • Red Heat Transfer
  • Navy Shirts
  • Weeding Tool
  • Clean Cloth
  • Iron

I took this image from last years post and uploaded it in to Cricut Design Space. Cleaned it up, made a copy of the image and hid the contour to separate the white and red areas alternately on the two images. I was planning to share the design and save you a lot of work, but the software will not let you share designs of things you upload.

It will be easiest to just choose a font you like and copy my layout by typing in text boxes. Trust me. Then group the text boxes so you can move them as two images the white letters and the red letters.

Size the flags according to the size of shirt. Now you are ready to cut. Be sure your shirts are pre-washed to remove any shrinkage.

Be sure to flip the letters horizontally before cutting so they won’t be backwards! Cricut Design software has a check box to remind you of this on the cut screen. Select the iron-on setting (I use a Cricut Explore so mine is on a dial on the machine) and you are good to go. Load the heat transfer vinyl shiny side down and cut. You will load the mat twice, once with the white and once with the red.

Weed your vinyl removing all excess from between the designs. Be sure all the i’s have their dots.

Preheat the iron on it’s hottest setting with the steam turned off. Place the groups of white letter and red letters on the shirt to make sure you get them in the right place.

Iron on Heat Transfer 4th of July Shirts

Then remove the red letters and apply the white ones first. Place a clean cloth over it (I use a tea towel) and press firmly for 30 -40 seconds. Let it cool a bit and check for adherance. If it lifts up try 20 more seconds. If it is stuck remove the clear sheet and place the red letters in place to iron. Cover with cloth and iron as before.

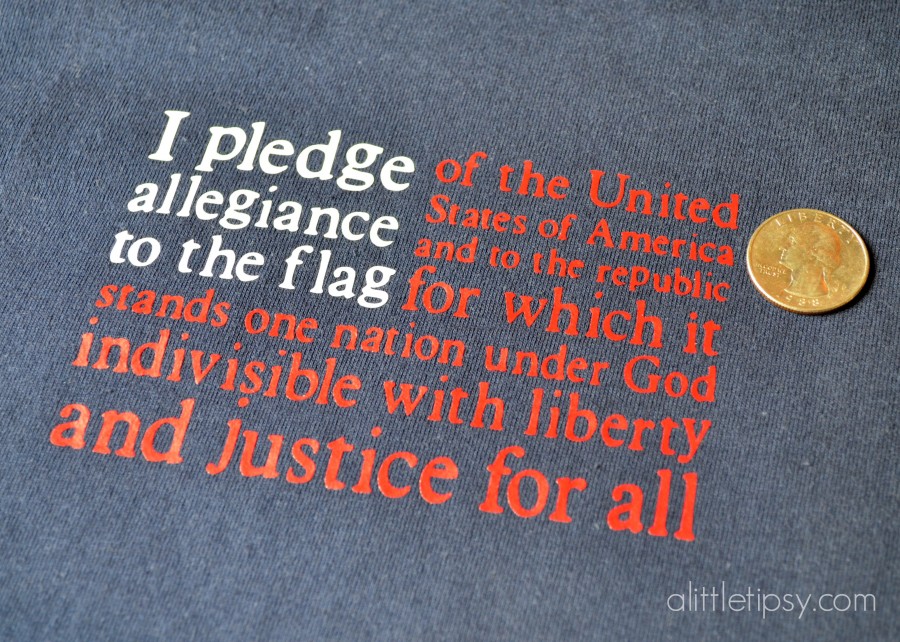
For my boys shirts (size 4 and 6) the letters ended up tiny!! This was proof how accurately the Cricut Explore can cut. Look at them next to a quarter. Crazy!

Cut details with Cricut

I love how our 4th of July shirts turned out and can’t wait for them to sport them next week!

4th of July Shirt Pledge of Allegiance Flag

4th of July Pledge of Allegiance Flag Shirts

Iron-on Version Shirts for Father’s Day or New Dads

May 27, 2014 By Michelle Barneck 6 Comments

Product was provided by Expressions Vinyl.

It seems simple to shop for the Dad who loves fishing or golf. But, what about those of us married to computer geeks? They already have their laptop, tablet, and accessories. And even if they didn’t, sometimes it is hard to know what would be best with all the tech lingo specs that can confuse even the most savvy. We love to make Dad something special for Father’s Day and involving the kids is a total bonus. With a new little one on the way I wanted some coordinating shirts for them to sport so what do you do with a Computer geek dad and soon to be three boys? I introduce the version shirt.

version shirts for computer geeks

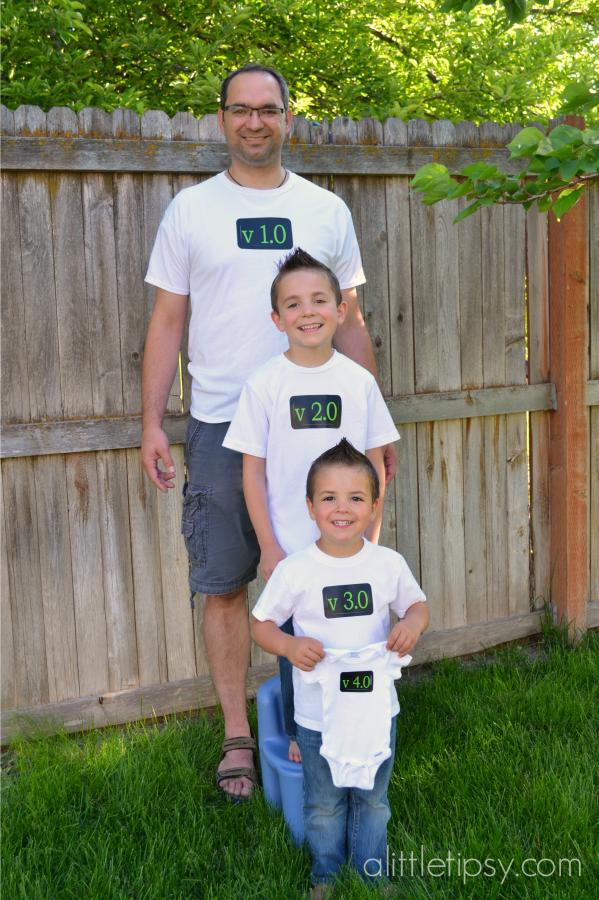
Hubby is a software developer and is always talking about how they are getting the next version ready for launch so I thought how perfect to incorporate that into shirts with our brand new version on his way in August!

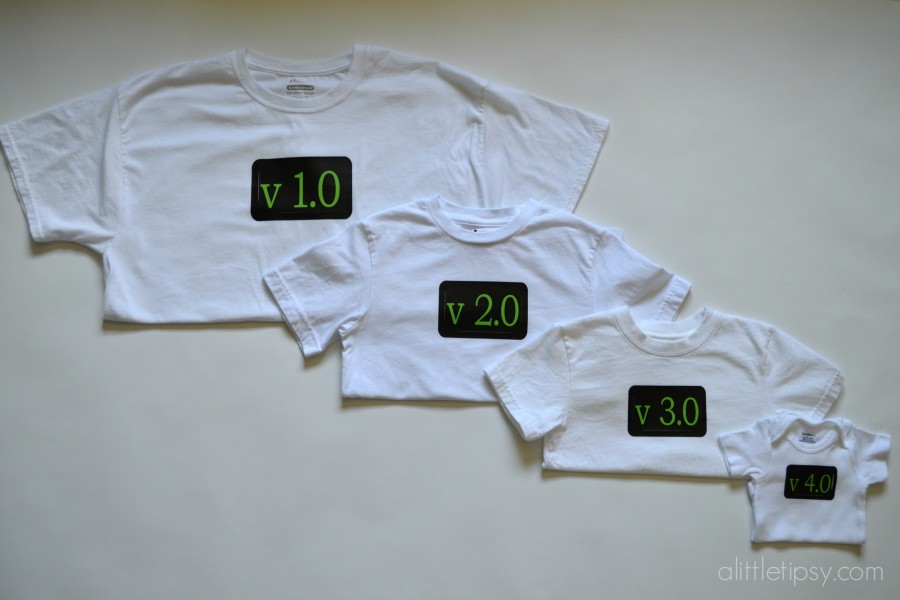
I wanted our version shirts to look like the old school command prompt screen so I chose green apple on black for the heat transfer vinyl. The process is so simple!

1. In the Cricut Design Software find a rounded rectangle and using Bookman Old Style font place the letters v 1.0 for Dad, v 2.0 for the first child, and so on in each rectangle. I sized the rectangles and letters according to the size of shirt. Now you are ready to cut.

2. Be sure to flip the letters horizontally before cutting so they won’t be backwards! Cricut Design software has a check box to remind you of this on the cut screen. Select the iron-on setting (I use a Cricut Explore so mine is on a dial on the machine) and you are good to go. Load the heat transfer vinyl shiny side down and cut.

3. Weed your vinyl removing all excess from between the designs.

iron on version shirts

4. Cut apart the rectangles and version groups to prepare for ironing. Preheat the iron on it’s hottest setting with the steam turned off. Place a black rectangle down 1-3 inches from the neck of the shirt (depending on size of shirt) with the shiny side up. Place a clean cloth over it (I use a tea towel) and press firmly for 30 -40 seconds. Let it cool a bit and check for adherance. If it lifts up try 20 more seconds. If it is stuck remove the clear sheet and place the letters in the center of the rectangle. Cover with cloth and iron as before.

version shirt iron on

That’s it! You have a personalized gift for Dad that appeals to his fabulously geeky nature!

Version shirts for dad and kids

These version shirts are a huge hit with the hubby and I can’t wait for version 4.0 to arrive so he can don his!

version 4 shirt for 3rd baby

Our little family just keeps getting better with each new version!

Computer geek version shirts

« Previous Page
Next Page »

  • Bloglovin
  • Facebook
  • Google+
  • Instagram
  • Pinterest
  • RSS
  • Twitter

Hi there! I'm Michelle. Mother of three little boys and one little princess. Welcome to A Little Tipsy, a place for exploring creativity and sharing inspiration.

Follow on Bloglovin


Visit Michelle Barneck {A Little Tipsy}'s profile on Pinterest.

Tutorials by Category


15 Family Reunion Games

Family Reunion Games Collage

15 Sprinkle Party Ideas

Sprinkle Birthday Party
Creative Commons License

© Copyright 2014 A Little Tipsy · Site Designed by The Fairy Blogmother · Web Hosting by RFE Hosting

This website uses cookies to improve your experience. We'll assume you're ok with this, but you can opt-out if you wish.Accept Read More
Privacy & Cookies Policy