A Little Tipsy

Creative Tips & Ideas

  • home
  • About Me
  • the tipsy top
  • press
  • projects
  • contact me
[print_thumbnail_slider]

DIY Under $5: Make Stockings

December 7, 2011 By Michelle Barneck 2 Comments

Last year, right before Christmas I realized that with the birth of our second son in November we were short one stocking. That of course wouldn’t do, so I decided to make stockings. I always loved the look of cable knit stockings so I decided to make stockings out of old sweaters. Lucky for me it is most delightfully simple.

(hard to get a great picture of the texture at 8 pm)

I purchased sweaters at the thrift store, but you could use some you own if you like the colors.
  1. Turn the sweater inside out and use the finished bottom of the sweater as the top opening of your stocking.
  2. Trace the shape of an old stocking on to the sweater with a sharpie.
  3. Cut out the shape and sew the edges together with a sewing machine.
This is one of the few sewing projects I have done completely on my own. Trust me it is so easy to make stockings!

Now let’s see what you’ve been up to!


I enjoy so much your $5 projects that I decided to add an addition link section for anything under $15! That’s right. It will open up a place to show additional projects that can’t be purchased with an Abe Lincoln, but are still totally affordable! I can’t wait to see more from you!

Please remember:

  • Only link to your own projects that cost you $5 or less (price does not have to include items you had on hand) or $15 or less in the 2nd section.
  • You can link past projects that fit the dollar limit, but please only link each project one time to one DIY Under $5 party. Do not link the same project week after week.
  • No linking giveaways or items for sale
  • Please link back so others can join the party and so you have the opportunity to be featured on Saturday!



DIY under $5


Projects under $5

Projects under $15

P.S. Don’t forget to sign up for free Tipsy updates via RSS or email.

We have decided to truncate our feed to help protect against stolen content. I apologize for any inconvenience. Please love us anyway. 🙂

Neighbor Gift

November 28, 2011 By Michelle Barneck 10 Comments

I did this neighbor gift idea as a guest post as part of Swell Noel on Positively Splendid, but thought I would share here for anyone who missed it.

————————————————————————–

Last year we received a super cute neighbor gift; a box of tissues with a note that read “We tissue a Merry Christmas and a healthy New Year.” I love creative themey gifts, so I ran with it and it will be my son’s teacher gift this year.

I used the tissue box idea and added an array of health related items:
Wet wipes
Throat drops
Hand Sanitizer
Emergen-C packets
Chapstick
Added some snowflake filler aka pieces of silk flowers that look like snowflakes.
Then, I made some matching tags using wrapping paper, thin white cardboard, glue and glitter paint.
Cut out a snowflake. Glue it to the cardboard. Cover the white areas with glitter glue using the Martha Stewart fine tip top that screws right on to the paint bottle. Let it dry.
Cut out the snowflakes and write “We tissue a Merry Christmas…” and “and a healthy New Year!” on the back.
I love how it turned out and everything cost me under $10! Everything but the glitter paint, glue and cardboard was from Target. Easy as pie and perfect for an fun teacher or neighbor gift!

P.S. Don’t forget to sign up for free Tipsy updates via RSS or email.

We have decided to truncate our feed to help protect against stolen content. I apologize for any inconvenience. Please love us anyway. 🙂

Christmas DIY with Martha Stewart

November 21, 2011 By Michelle Barneck 14 Comments

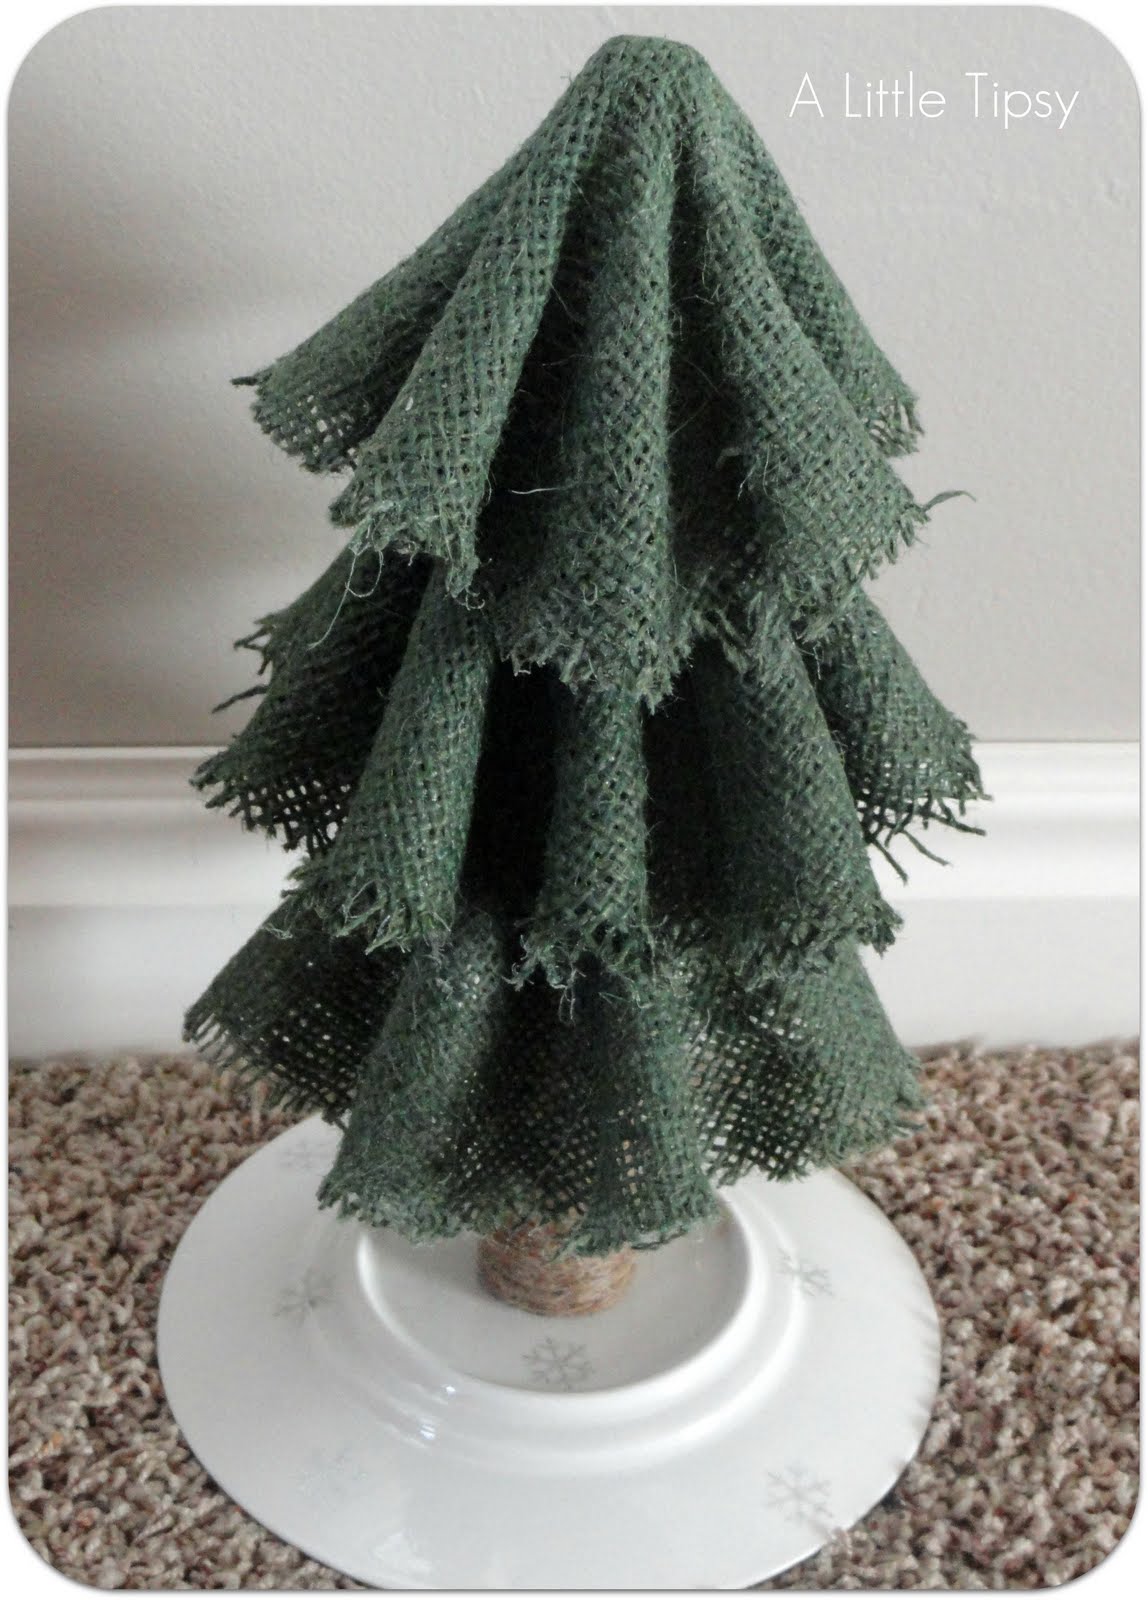
With snow on the ground holiday creating is in full force and I am so excited to share this Christmas DIY project! The Christmas decor in my front room is a little more rustic so I thought a burlap Christmas tree would be the perfect addition.

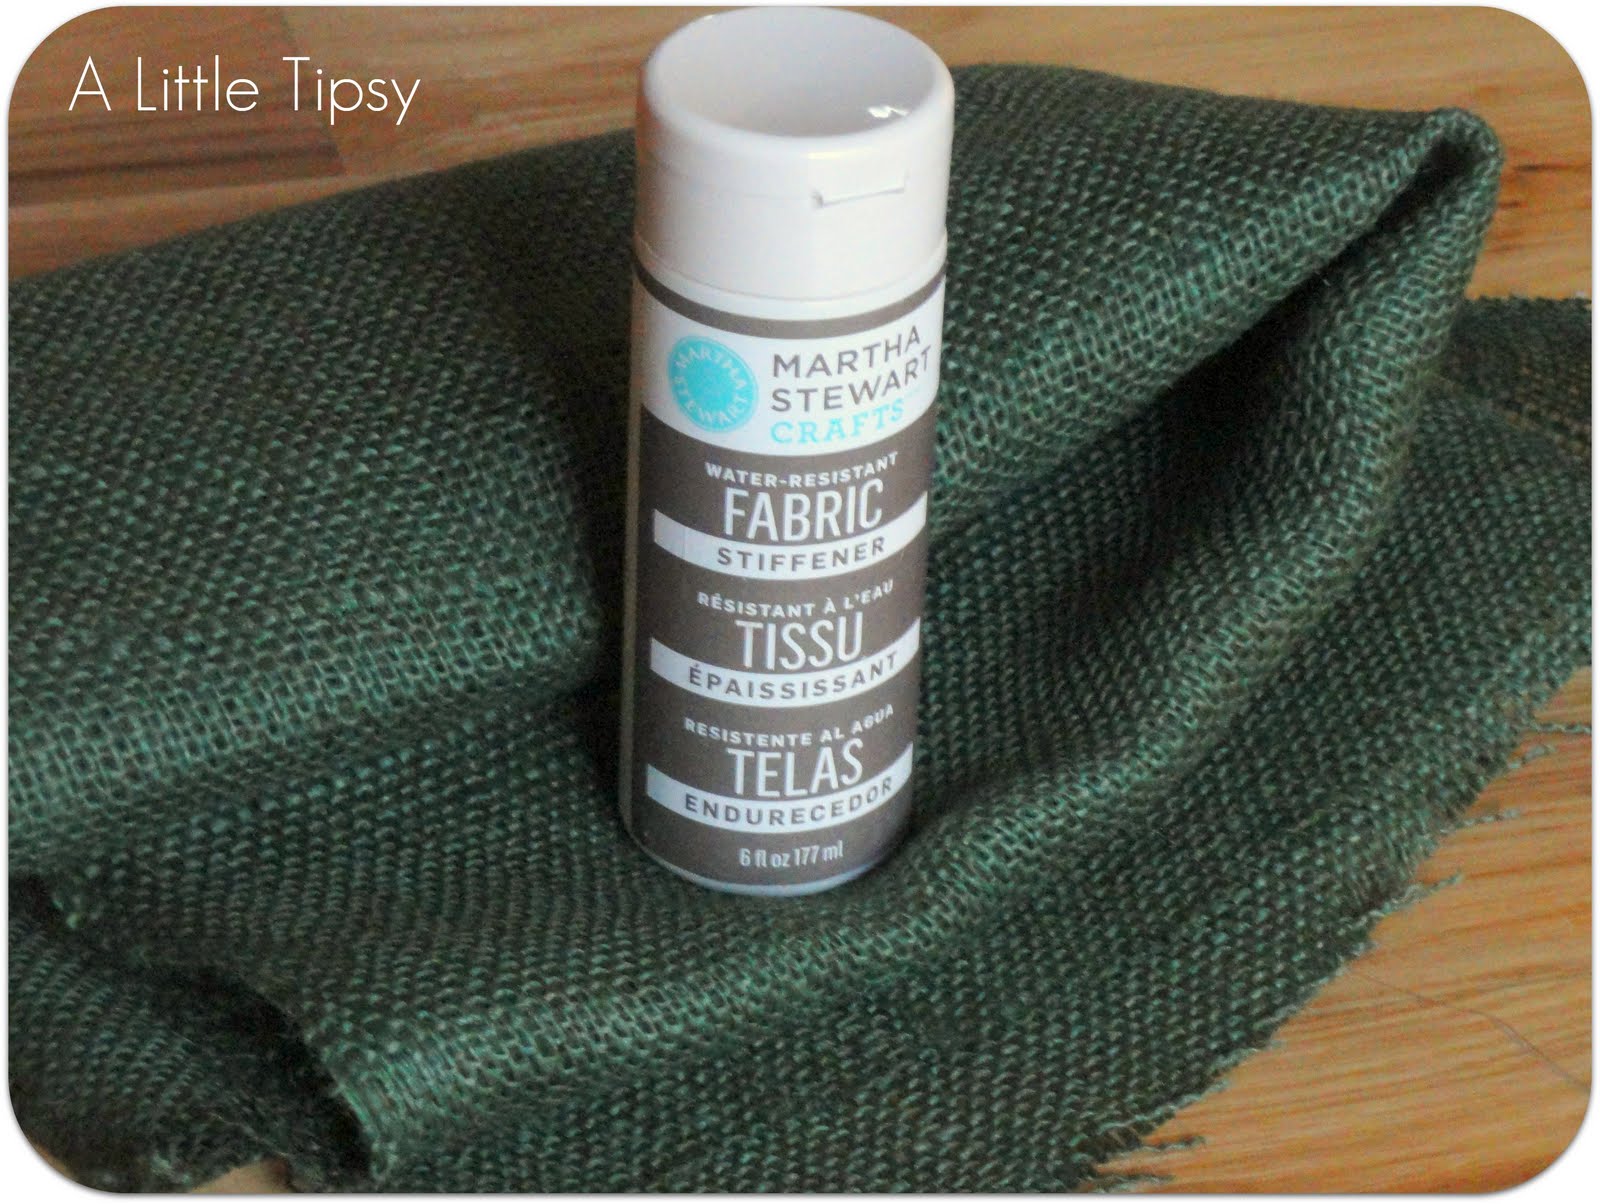
Start out with some green burlap and Martha Stewart Water-resistant fabric stiffener.
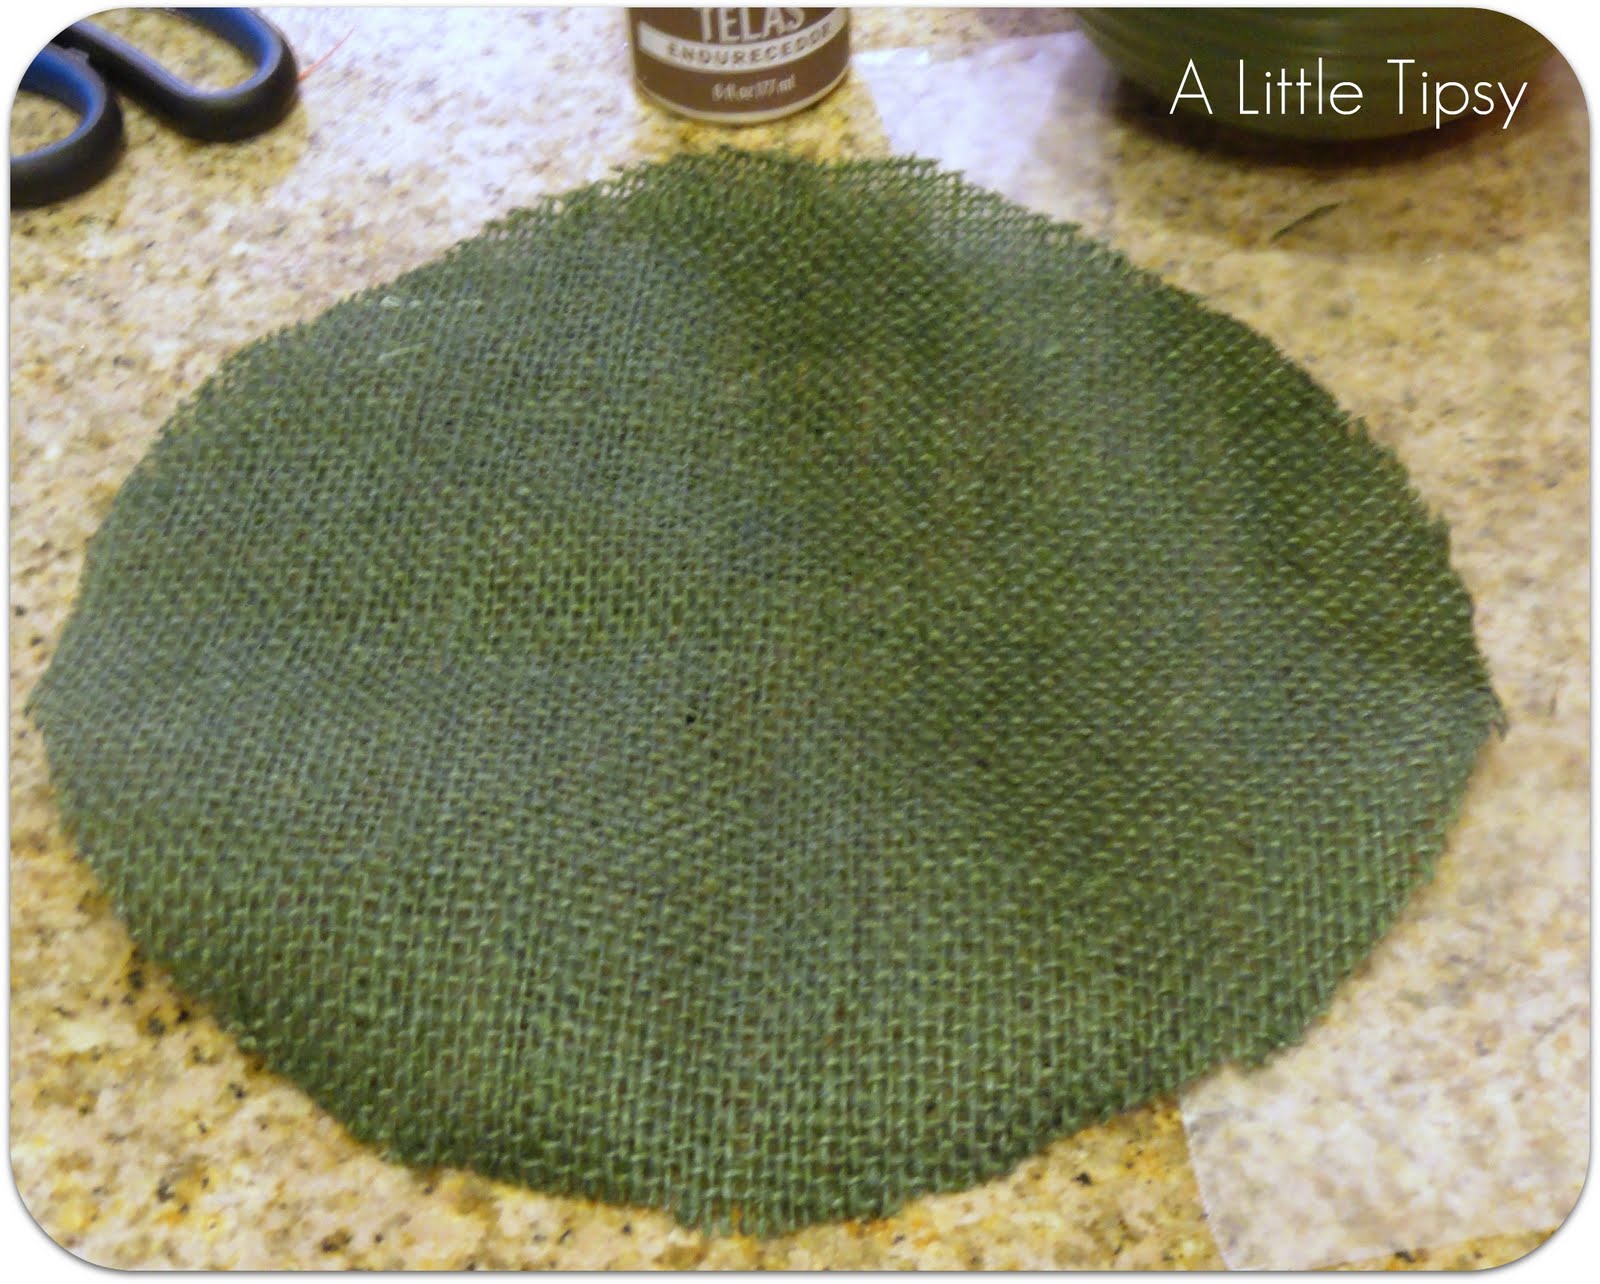
Cut three circles from your burlap.

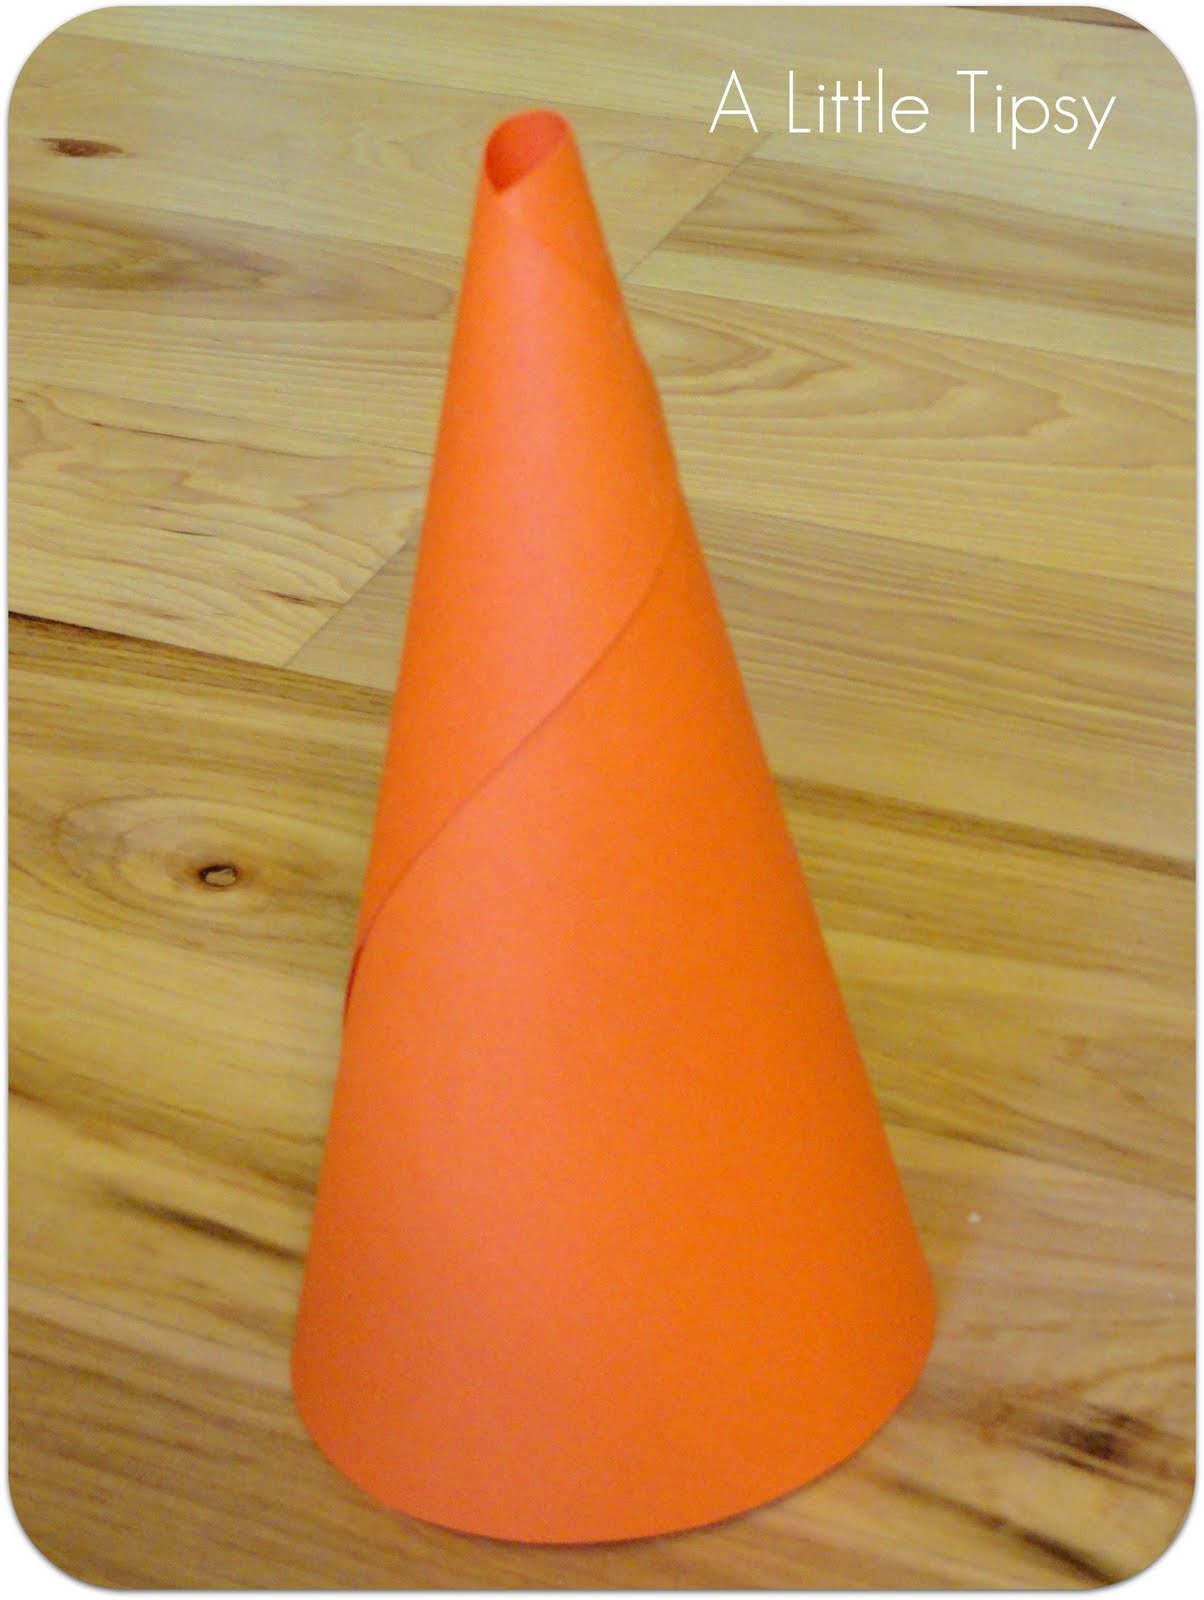
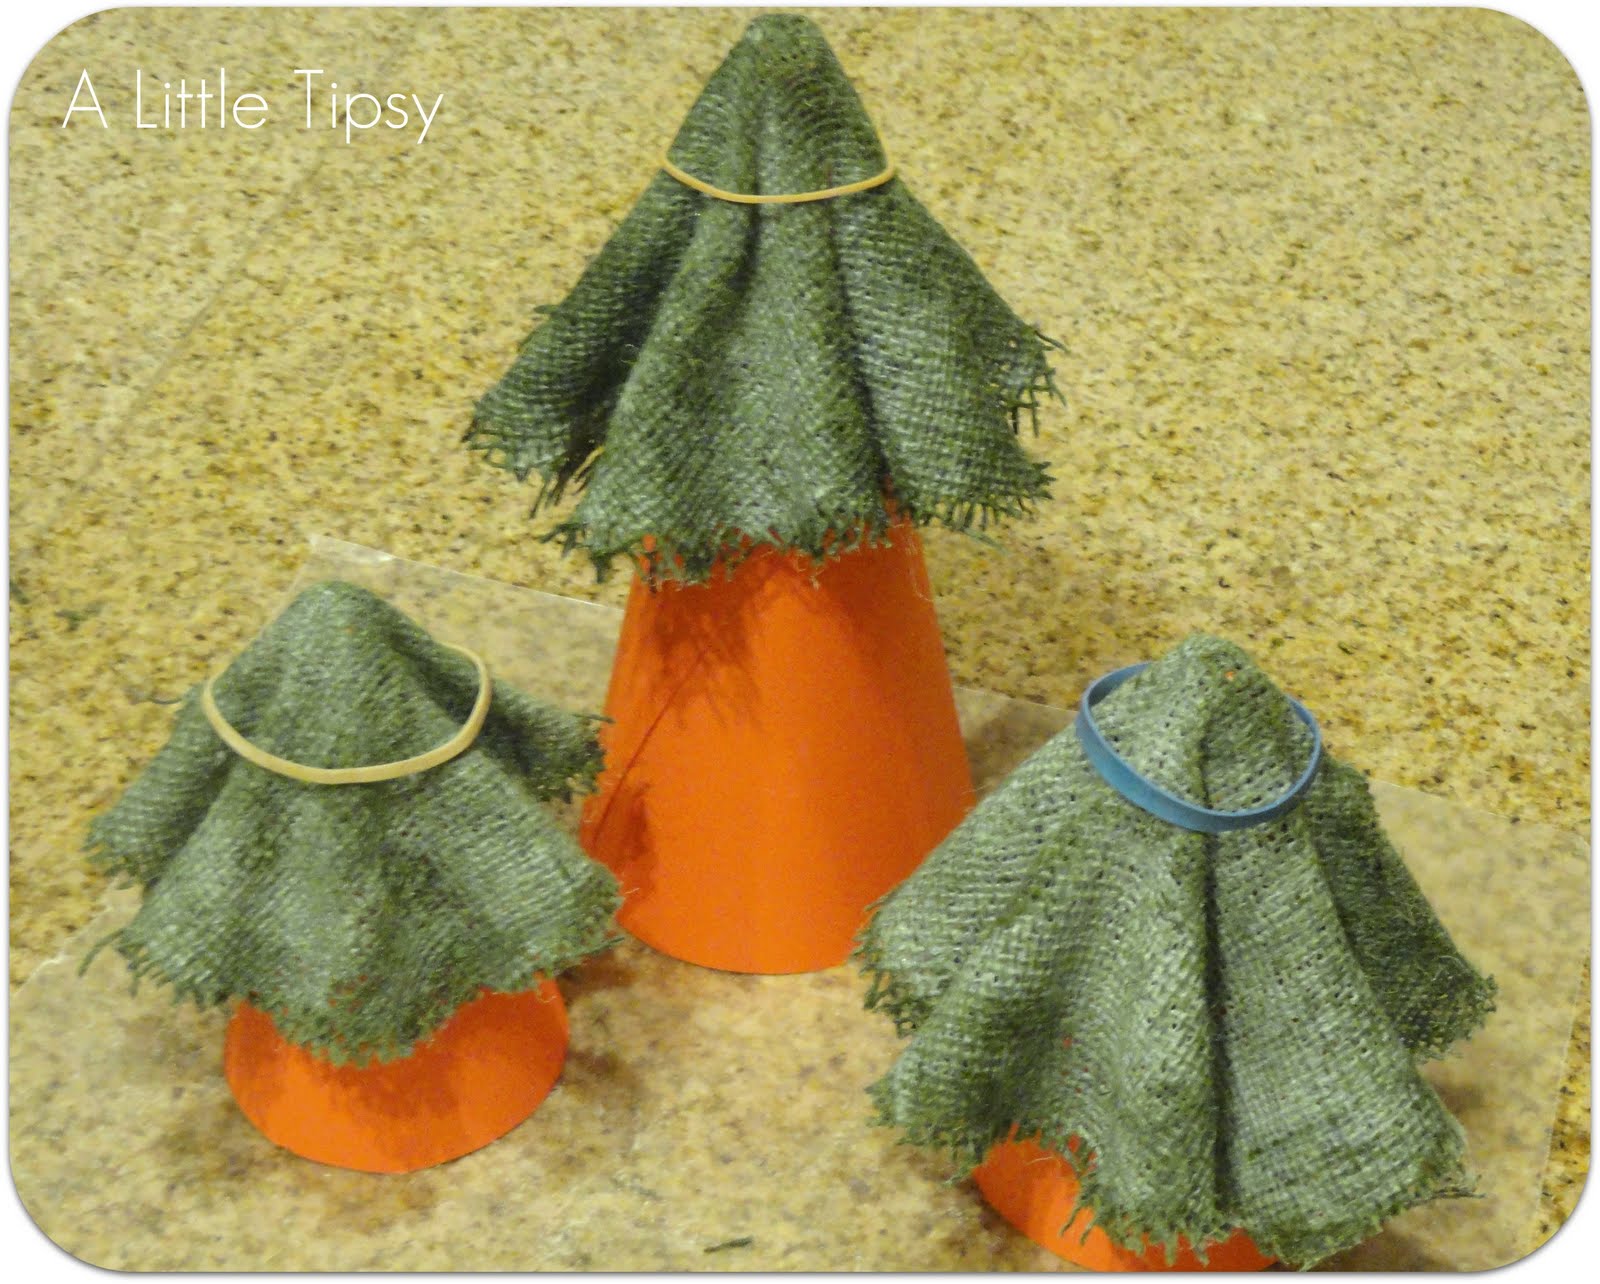
Make three cones out of cardstock by rolling it and hot gluing in place.
This is my ode to the road construction that’s been going on around here.
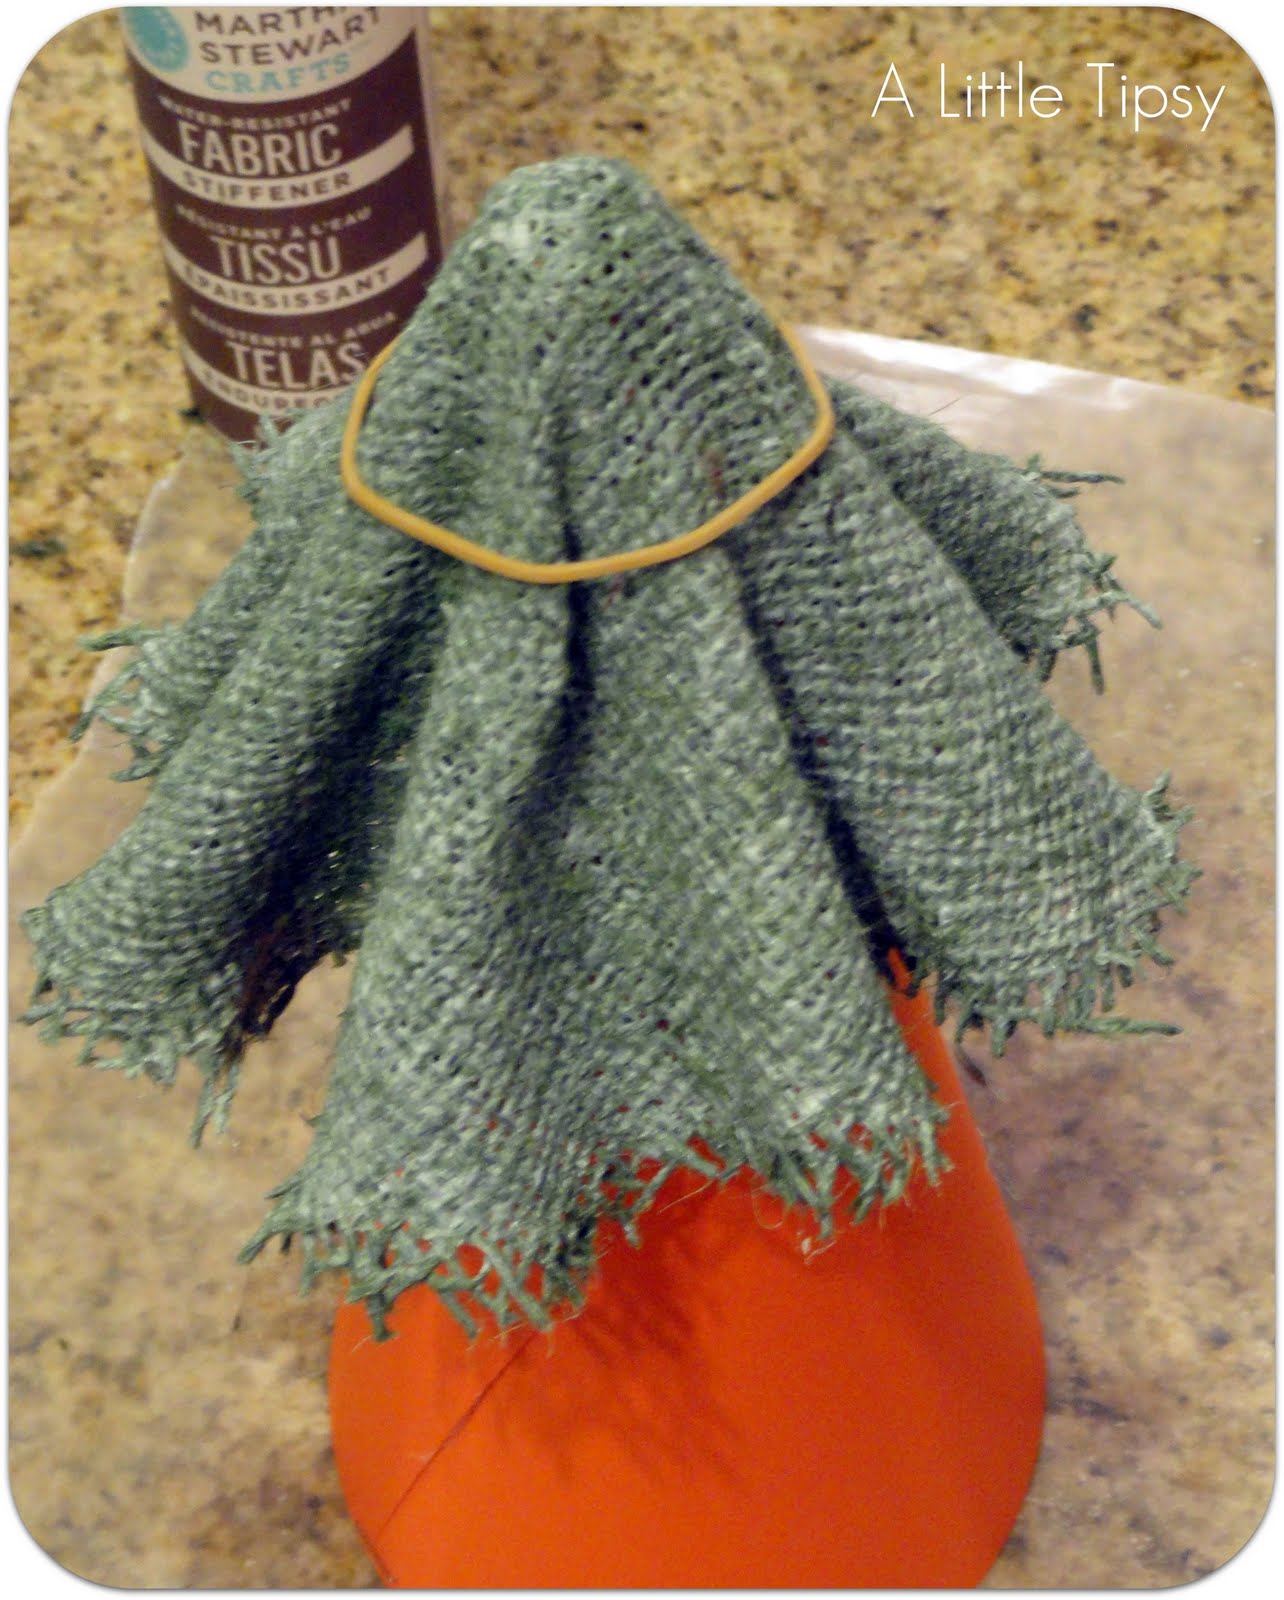
Over a piece of wax paper, douse your circles in fabric stiffener spreading it evenly over the whole surface. I just used my hands so I could really get both sides completely drenched on both sides.
Lay your circles over the cones, helping them to ripple just how you want them. I put a rubber band lightly around the top to help them stay, but it really isn’t necessary. Let them dry overnight.
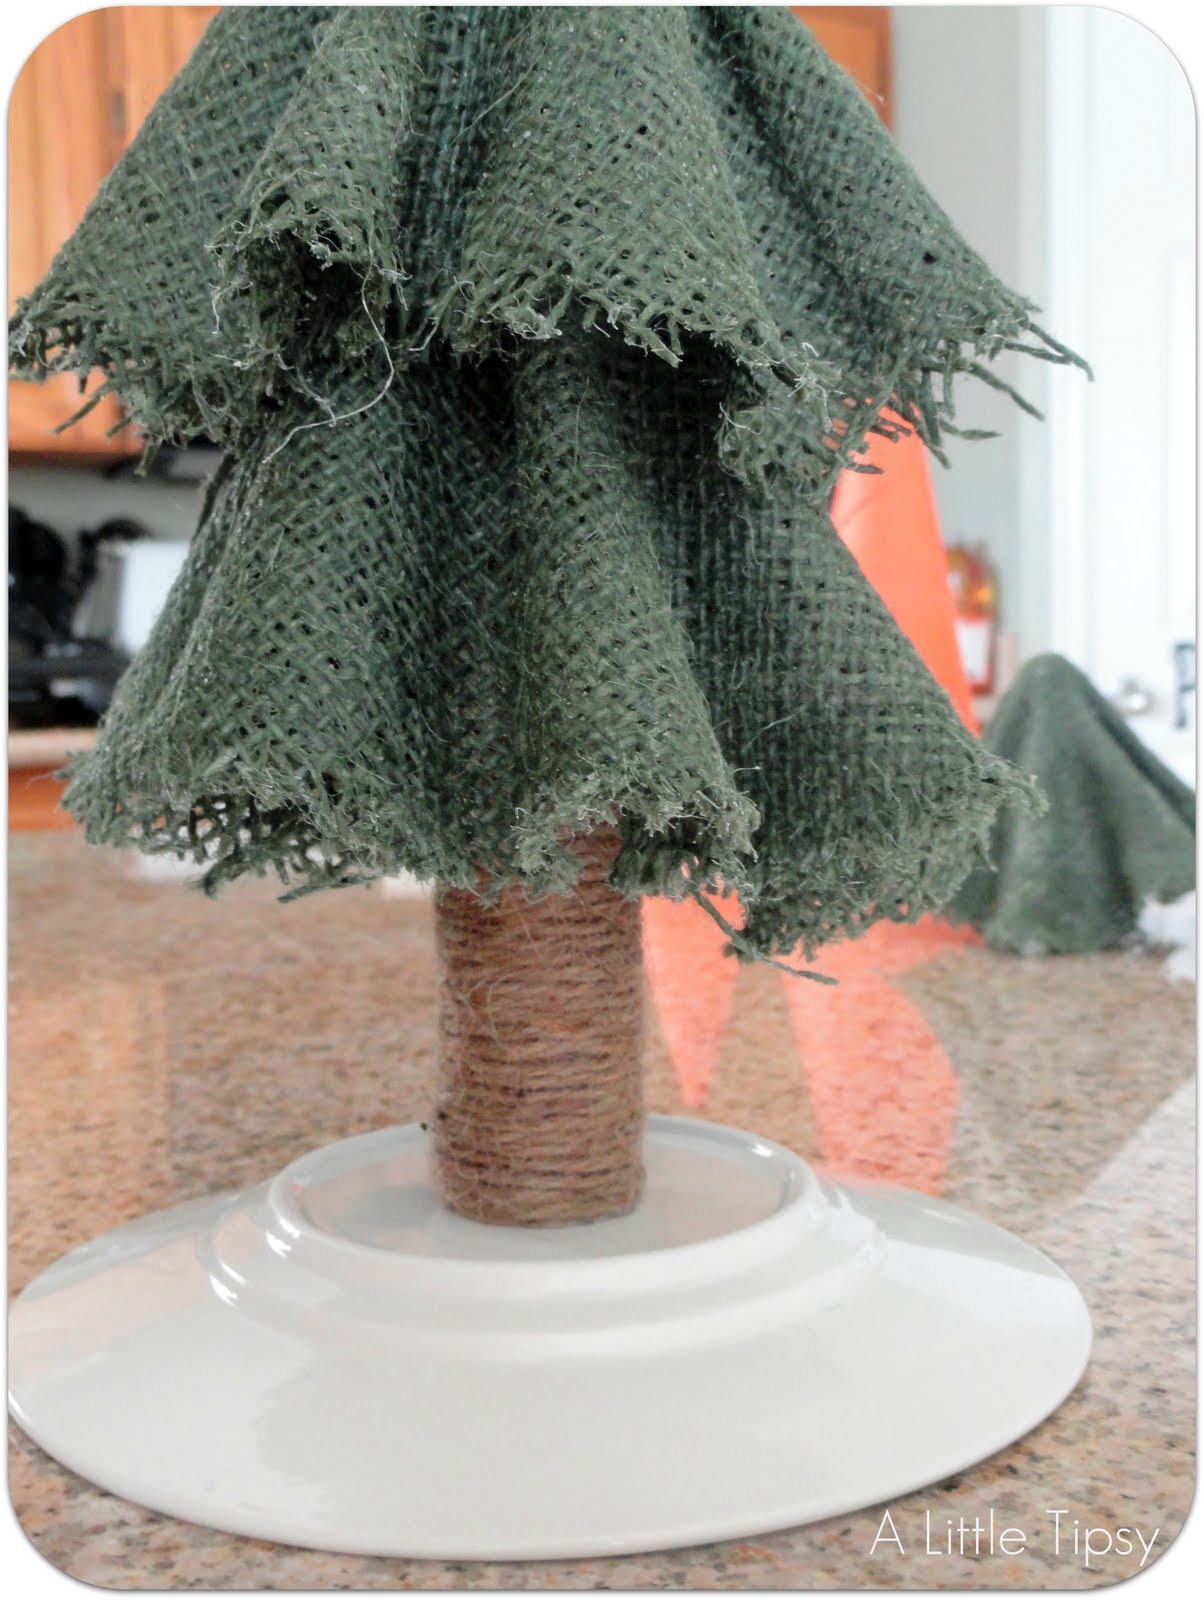
Cut a sturdy cardboard tube (smaller and thicker than a paper towel roll, I think mine may have been the middle of a tiny wrapping paper roll?) to size. About half of what is shown here.
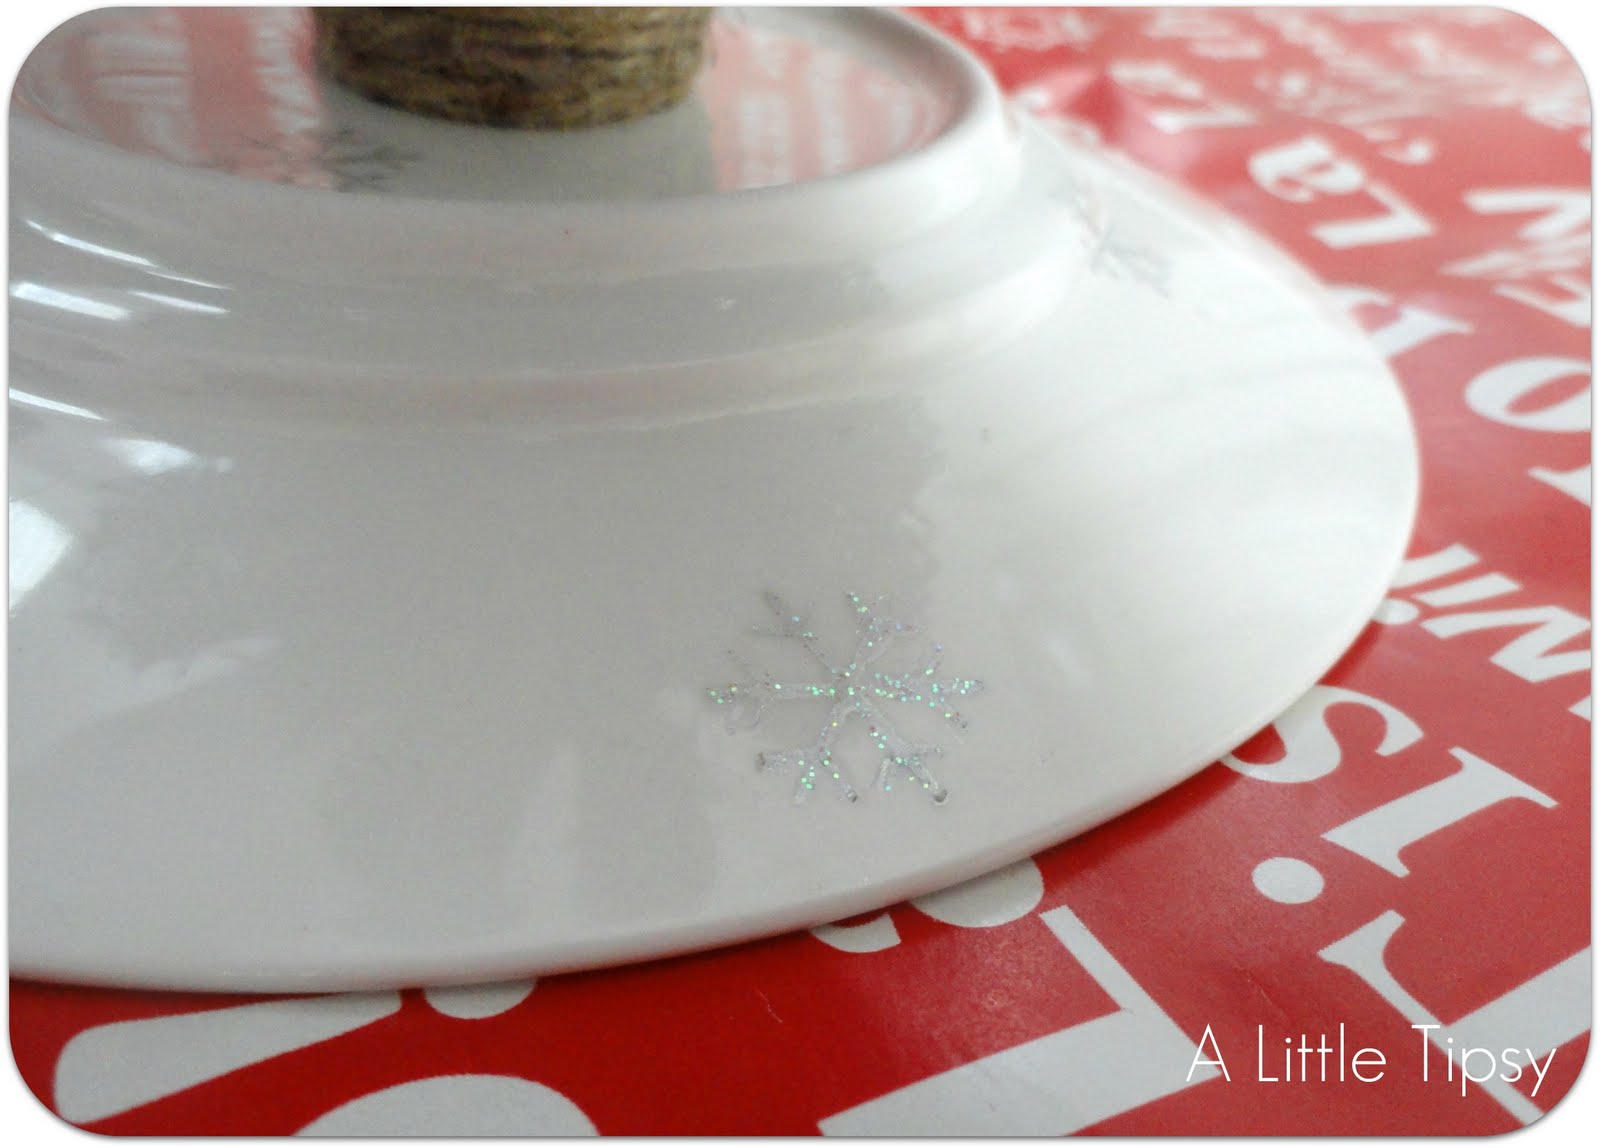
Cover in garden twine securing with hot glue along the way. Hot glue it to an upside down dessert plate.

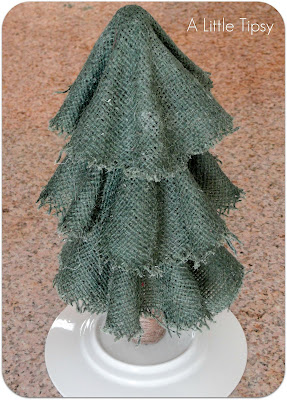
Hot glue on your “circles” one by one. This can get tricky gluing where the ripples touch the next layer without having the glue show.
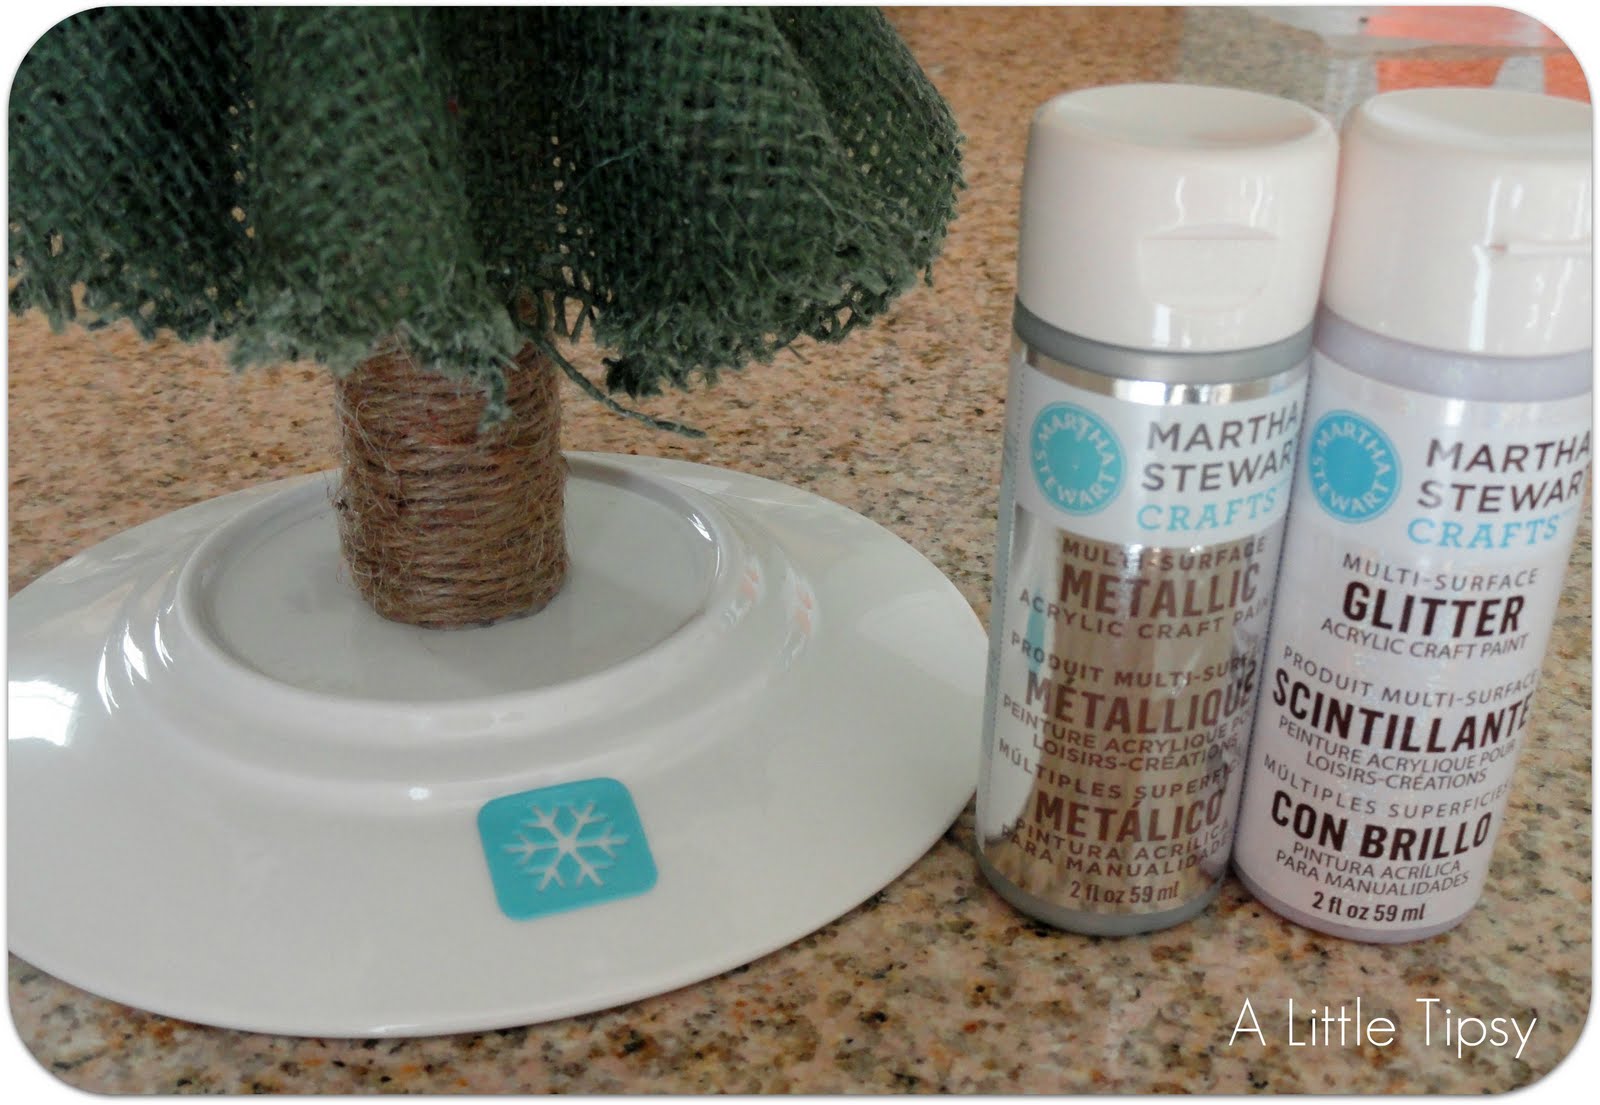
Grab your Martha Stewart Adhesive stencils.

Use the smallest snowflake and stencil all around the plate with Martha Stewart silver metallic paint.
I love that you can literally stencil ANYWHERE wtih these! Can you imagine trying to get in that tiny nook with a regulr stencil?! These were so easy to use I had all the snowflakes done in like 5 minutes!
I let the silver dry and then went back over and hand painted glitter paint over each snowflake.
Now here she stands, waiting patiently for the rest of the Christmas decor to join her on the day after Thanksgiving.
Check out these other fun Christmas DIY projects!
Tatertots & Jello: Holiday Stenciled Sign

The Silly Pearl: Fabric Pinecones
Oopsey Daisy: Holiday Beadboard Frame
Prudent Baby: Patchwork Baby Onesie Christmas Stocking
I received product and payment for this post – all opinions and project instructions are my own.

Linking up:

Market yourself Monday
Making Monday Marvelous
Making the World Cuter
Motivate me Monday

P.S. Don’t forget to sign up for free Tipsy updates via RSS or email.

We have decided to truncate our feed to help protect against stolen content. I apologize for any inconvenience. Please love us anyway. 🙂

Donut Snowman on a Stick: Once There was a Snowman, Snowman, Snowman…

November 18, 2011 By Michelle Barneck 25 Comments

We’re debuting the Point of View theme ideas a little early this month because though GIFTS is a fitting theme for Black Friday we though you might be busy with gifts elsewhere. 😉

Michelle (Stay right here!)
Leanne (Organize and Decorate Everything)
Amy (Ameroonie Designs)
Gwen (Gwenny Penny)
Debra (Housewife Eclectic)
Caitlin (Cait. Create.)
Jonie (Just Between Friends)
& YOU!!
 
We want to see your Point of View on gifts so be sure to link up your gift ideas on the Point of View link up on Organize and Decorate Everything!
 
Without further adeiu, an ode to the Snowman.
I grew up with a little song called “Once There was a Snowman.” Are you with me here?
Once there was a snowman, snowman, snowman.
Once there was a snowman tall, tall, tall.
In the sun he melted, melted, melted.
In the sun he melted small, small, small.
Lyrical genius right?
I saw the donuts with the carrot nose and thought an expansion on that idea would be the perfect homage to said song.
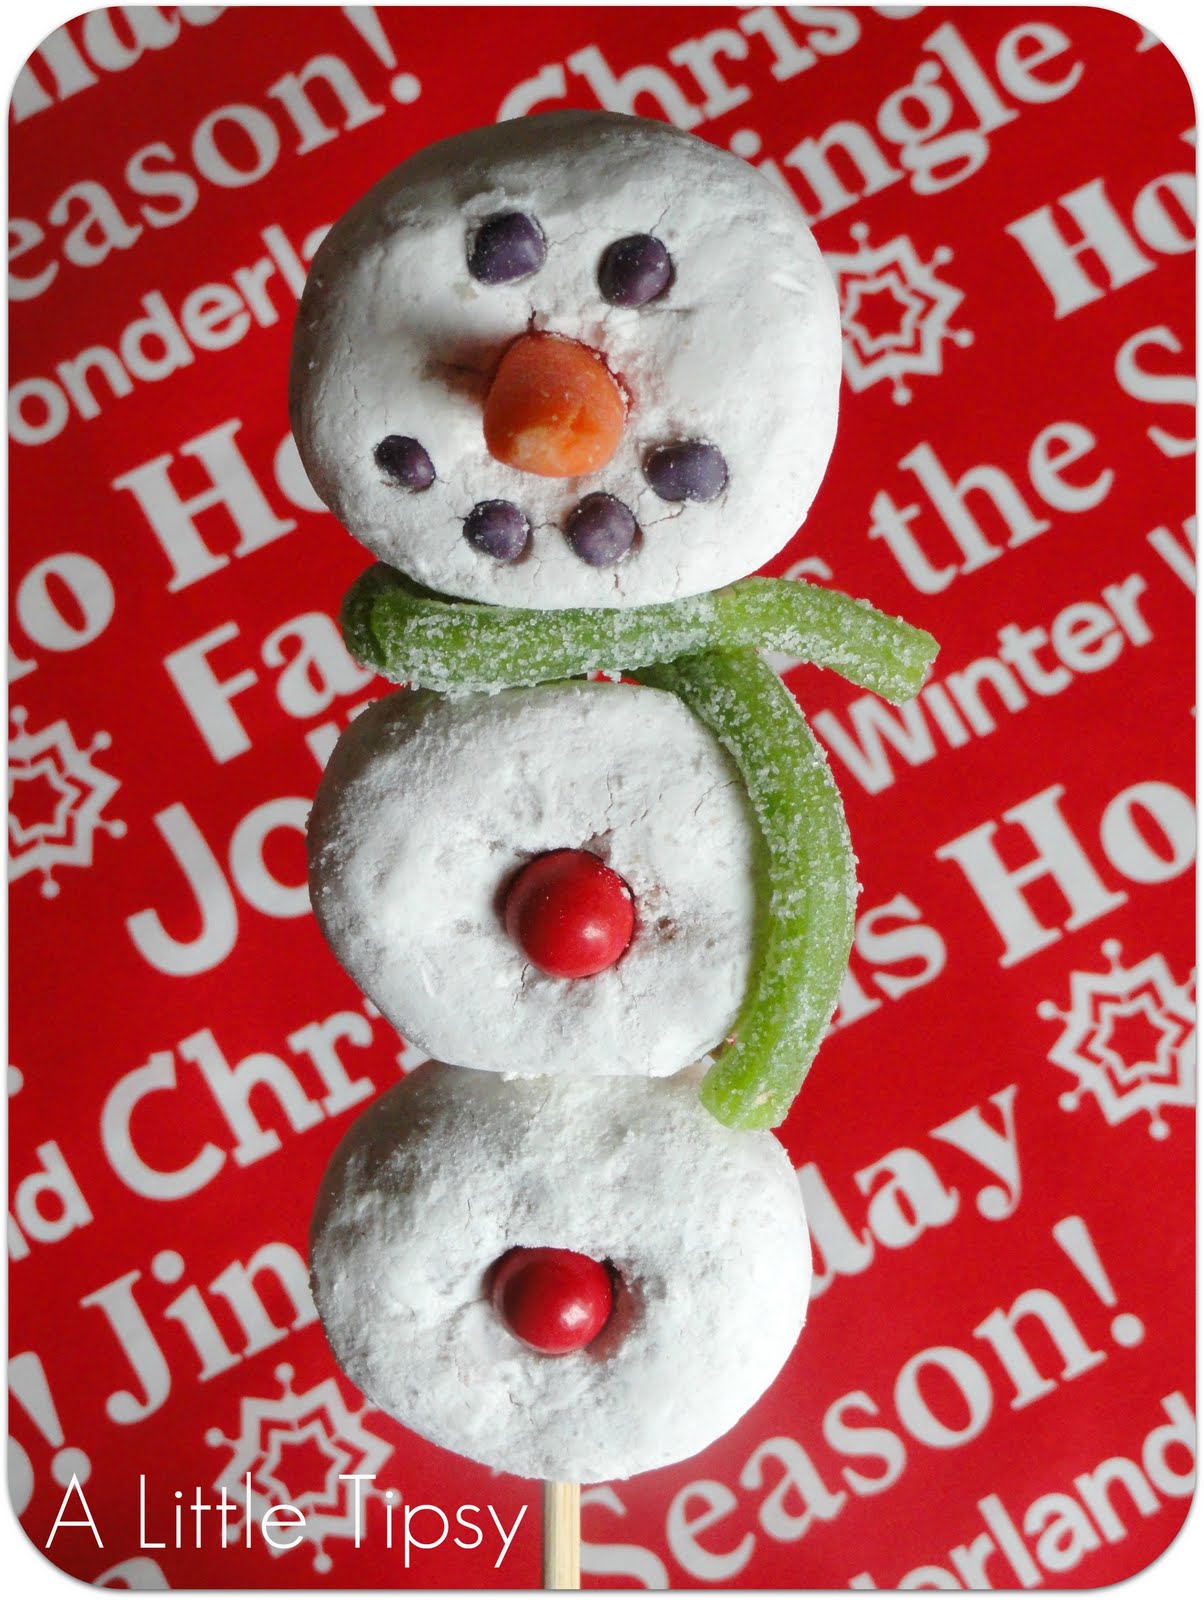
{Donut Snowman on a Stick}
CAREFULLY (two donuts were harmed in the making of this snowman) skewer three powder donuts.
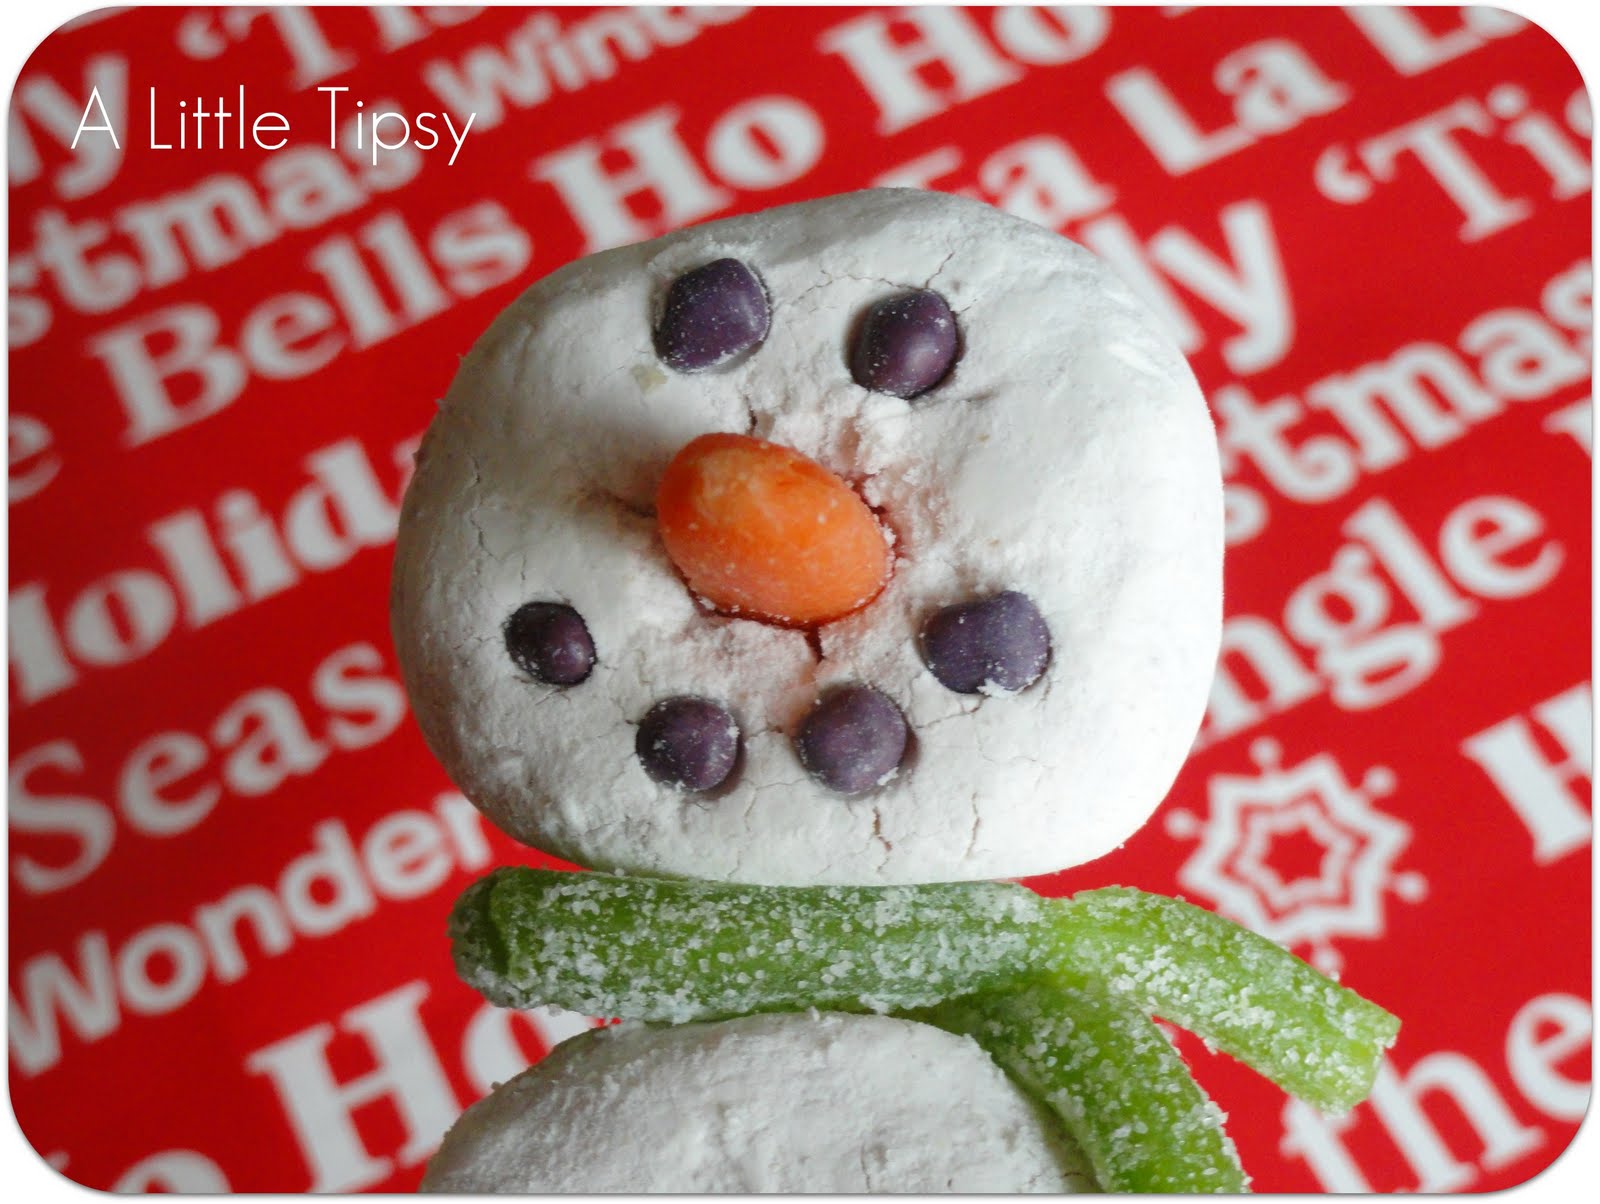
Cut a baby carrot in half and put in hole for nose. Add grape Nerd eyes and mouth to look like coal. You my need a dob of frosting or honey to hold them in place.

Add a green apple sour straw as a scarf. Break a toothpick in half and secure the scarf by poking the toothpick through the straw and in to the donut on the top where they overlap and on the bottom of the piece that hangs down the front. You can see the tiny dot of the toothpick on the bottom of the scarf.

Add two red jawbreakers as buttons.
Place in a treat bag with a bow and pass out to your friends.
They will have all sorts of fun singing the song and gobbling him up small, small, small.
Be sure to visit the other girls for some great gift ideas and link up your gift ideas on the Point of View link up on Organize and Decorate Everything for your chance to be featured!


« Previous Page
Next Page »

  • Bloglovin
  • Facebook
  • Google+
  • Instagram
  • Pinterest
  • RSS
  • Twitter

Hi there! I'm Michelle. Mother of three little boys and one little princess. Welcome to A Little Tipsy, a place for exploring creativity and sharing inspiration.

Follow on Bloglovin


Visit Michelle Barneck {A Little Tipsy}'s profile on Pinterest.

Tutorials by Category


15 Family Reunion Games

Family Reunion Games Collage

15 Sprinkle Party Ideas

Sprinkle Birthday Party
Creative Commons License

© Copyright 2014 A Little Tipsy · Site Designed by The Fairy Blogmother · Web Hosting by RFE Hosting

This website uses cookies to improve your experience. We'll assume you're ok with this, but you can opt-out if you wish.Accept Read More
Privacy & Cookies Policy