A Little Tipsy

Creative Tips & Ideas

  • home
  • About Me
  • the tipsy top
  • press
  • projects
  • contact me
[print_thumbnail_slider]

DIY Under $5: Making Fabric Flowers

March 23, 2011 By Michelle Barneck 8 Comments

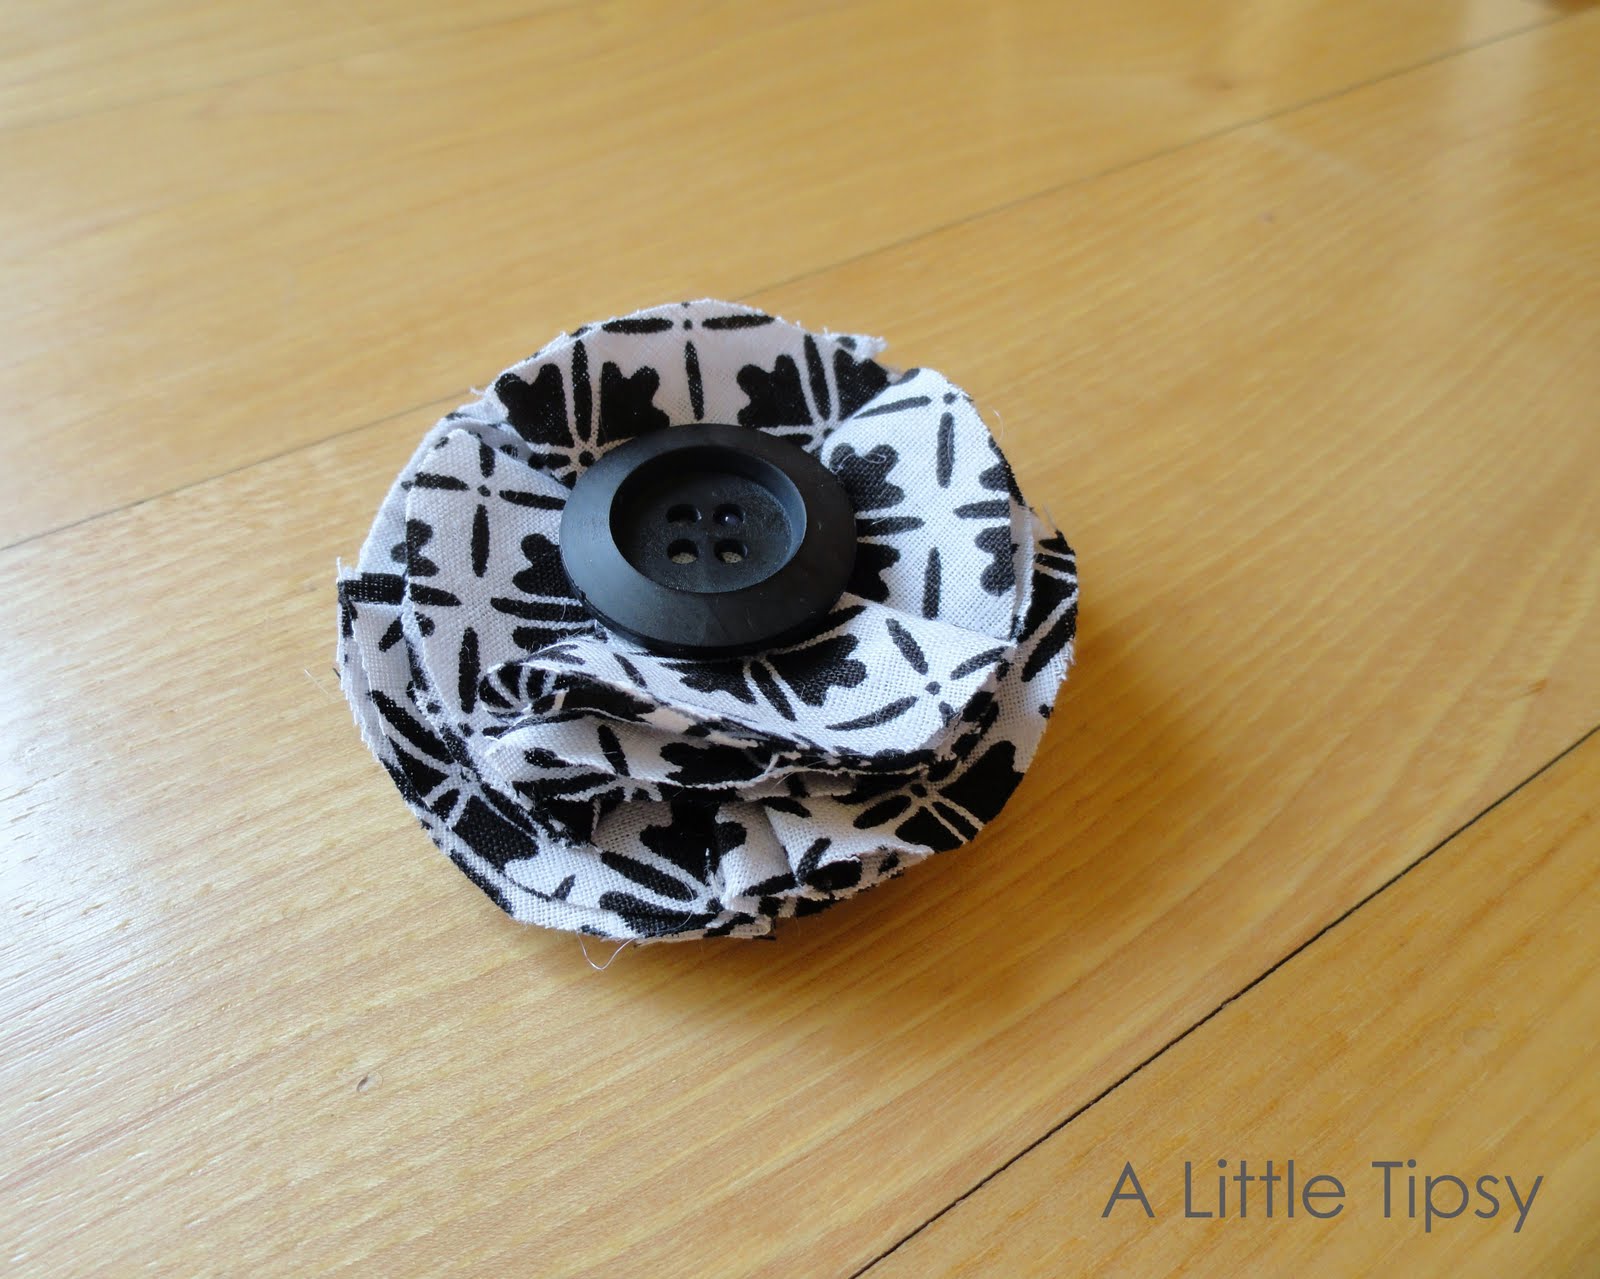
I wanted a little something to spruce up my wardrobe, but did not want to dent my pocket book. I pulled out my fabric stash and got to work. I made a few little fabric flowers (you have seen them EVERYWHERE), but made them so I can interchange them and wear them a whole bunch of ways depending on my mood and outfit.

How to make Fabric Flowers

Supplies:

  • Scrap Fabric
  • Buttons
  • Hot Glue

Cost: FREE!!

Everything I used for making these fabric flowers was stashed in a drawer or on a shelf.

1. Cut out four fabric flowers. (I liked the back of this material better. It looked aged and had a burlap/canvas feel.)
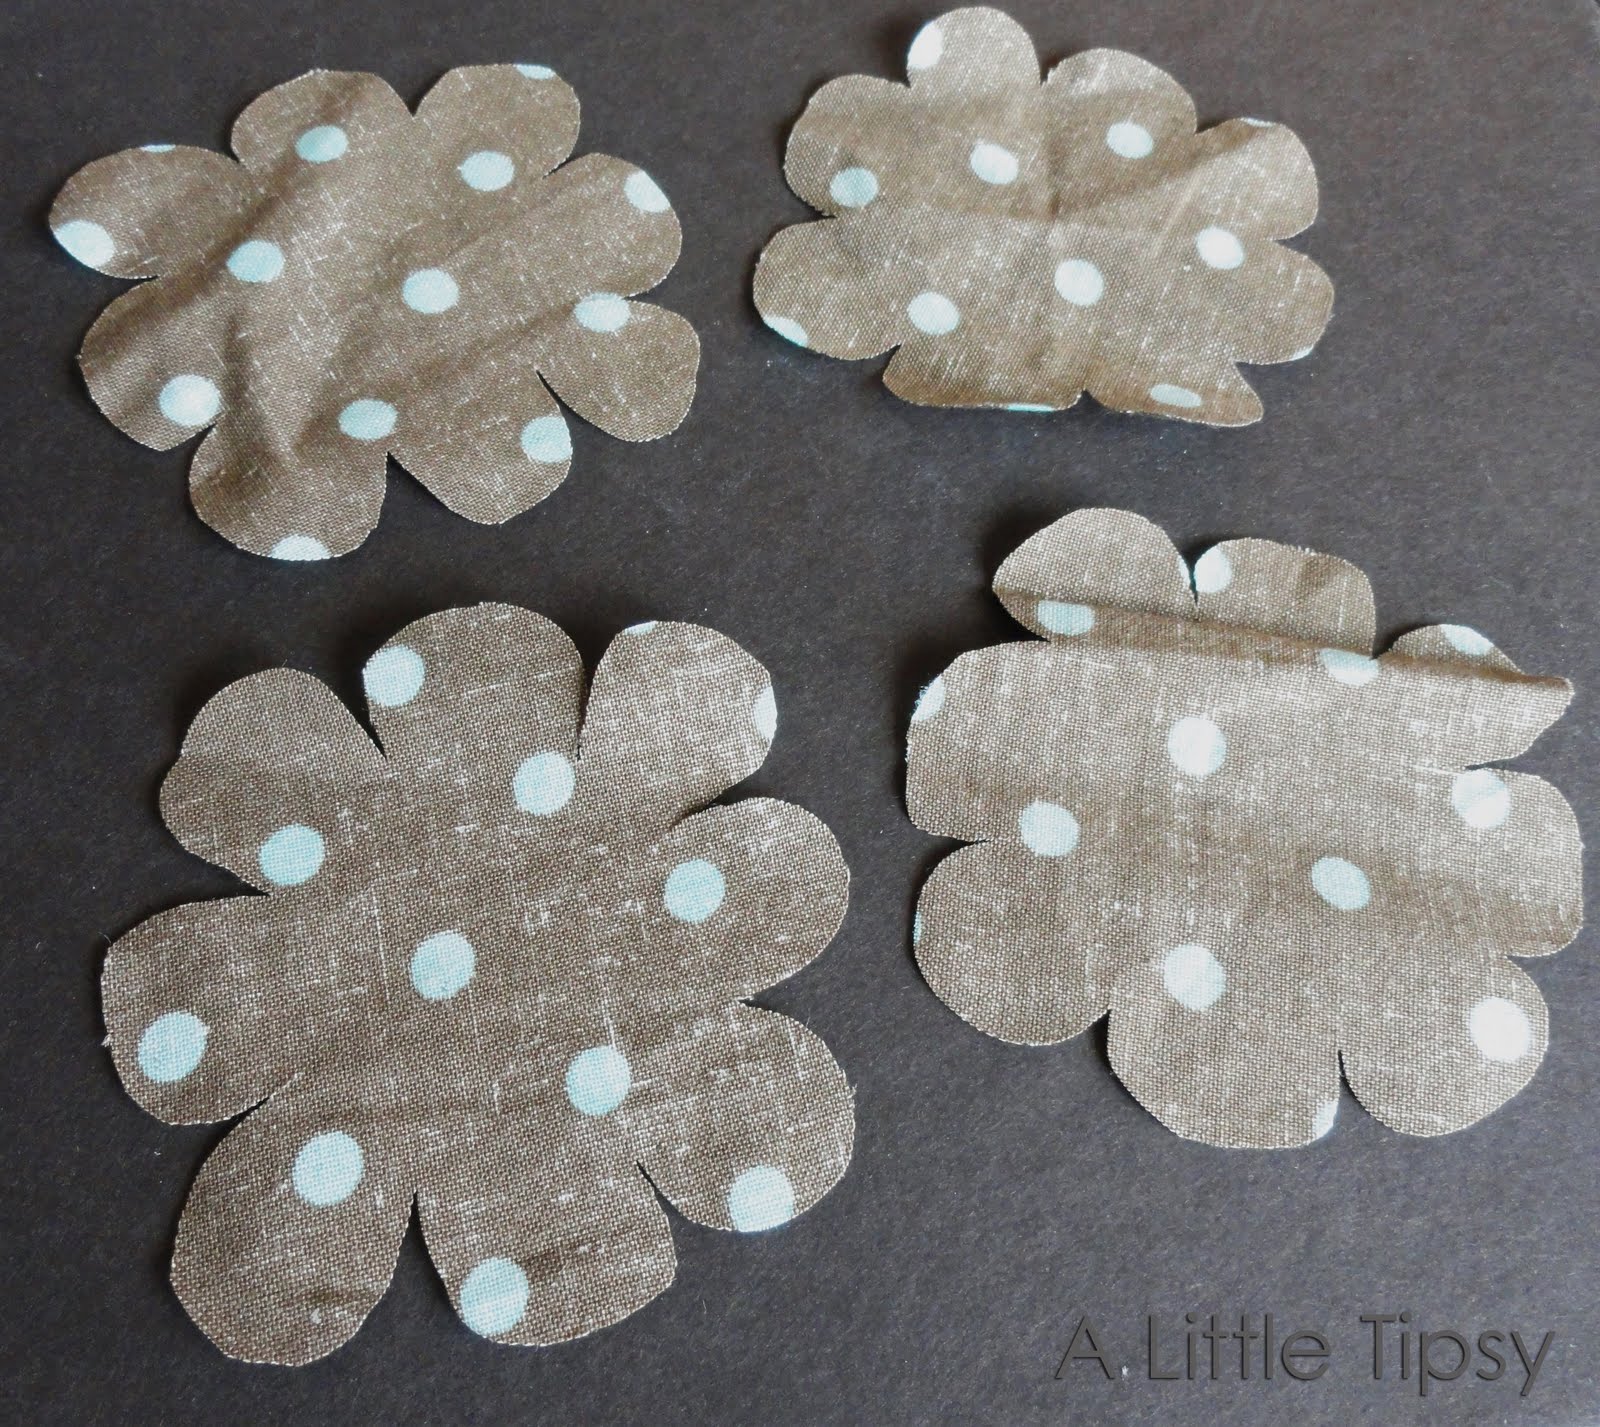
2. Fold each flower in half and then in half again.
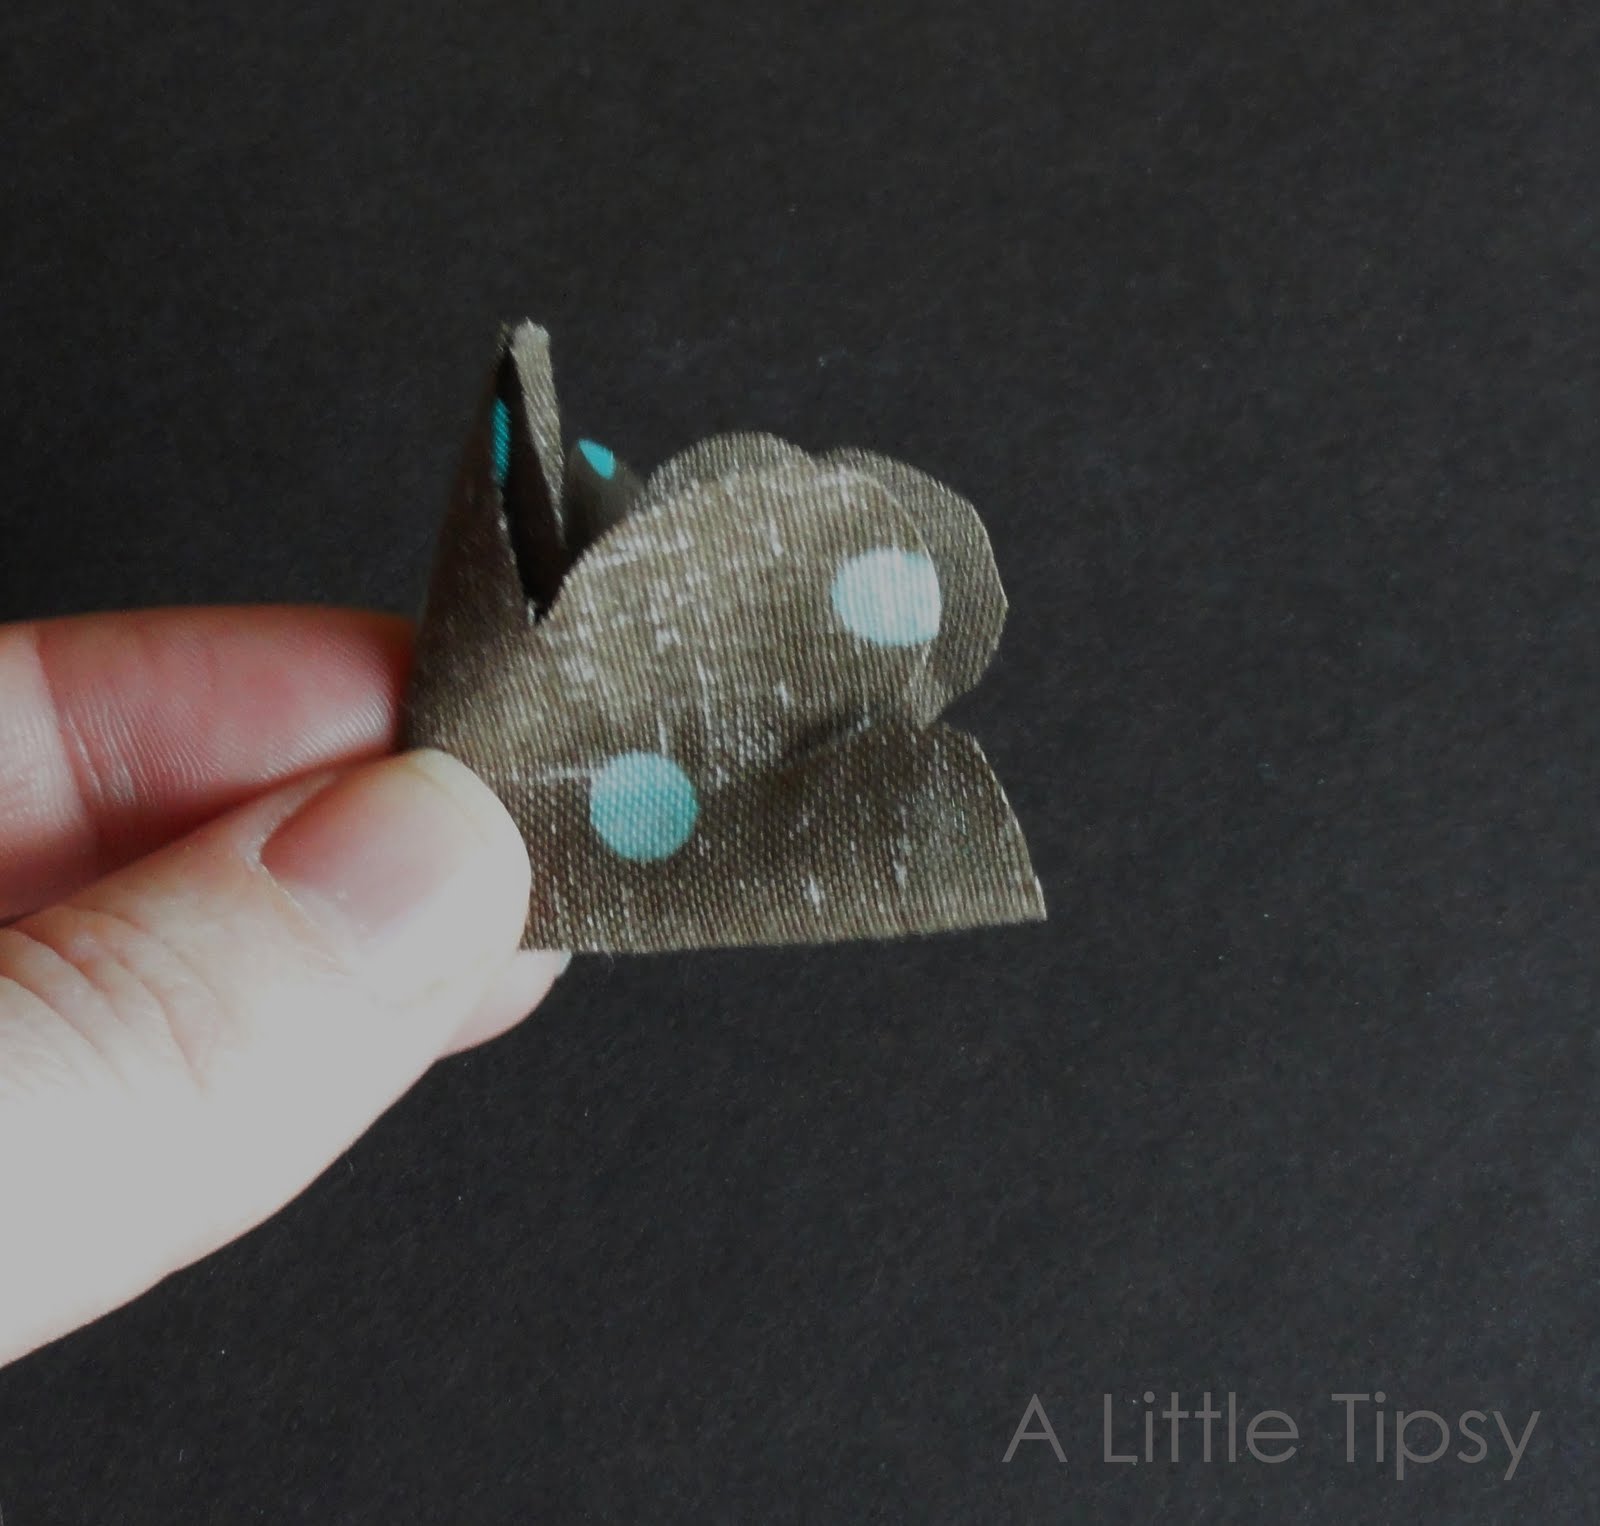
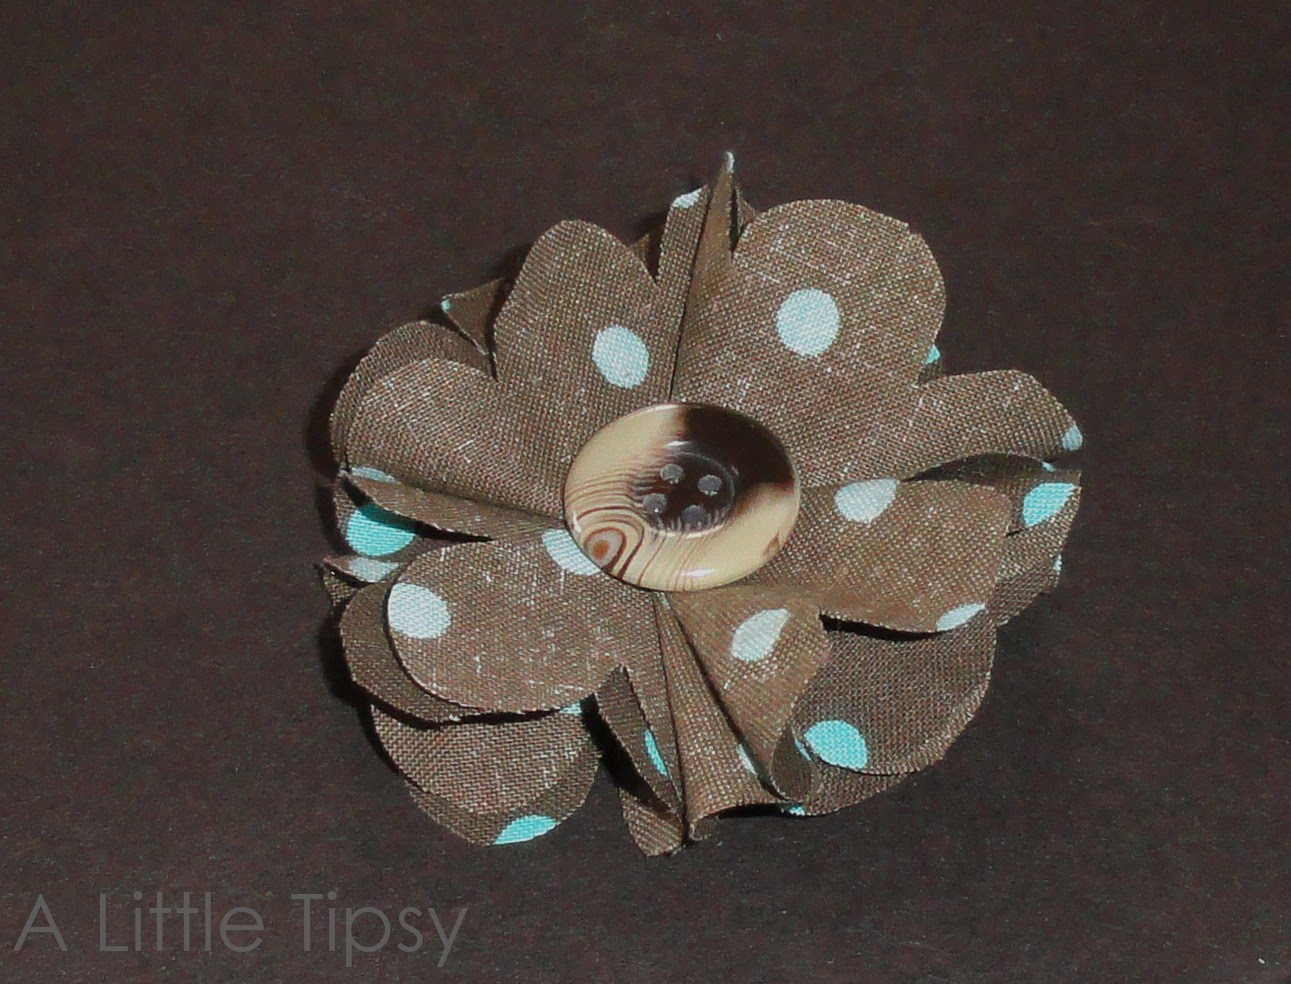
3. Glue all four folded flowers to a circle of felt or cardstock. Add a button to the middle.
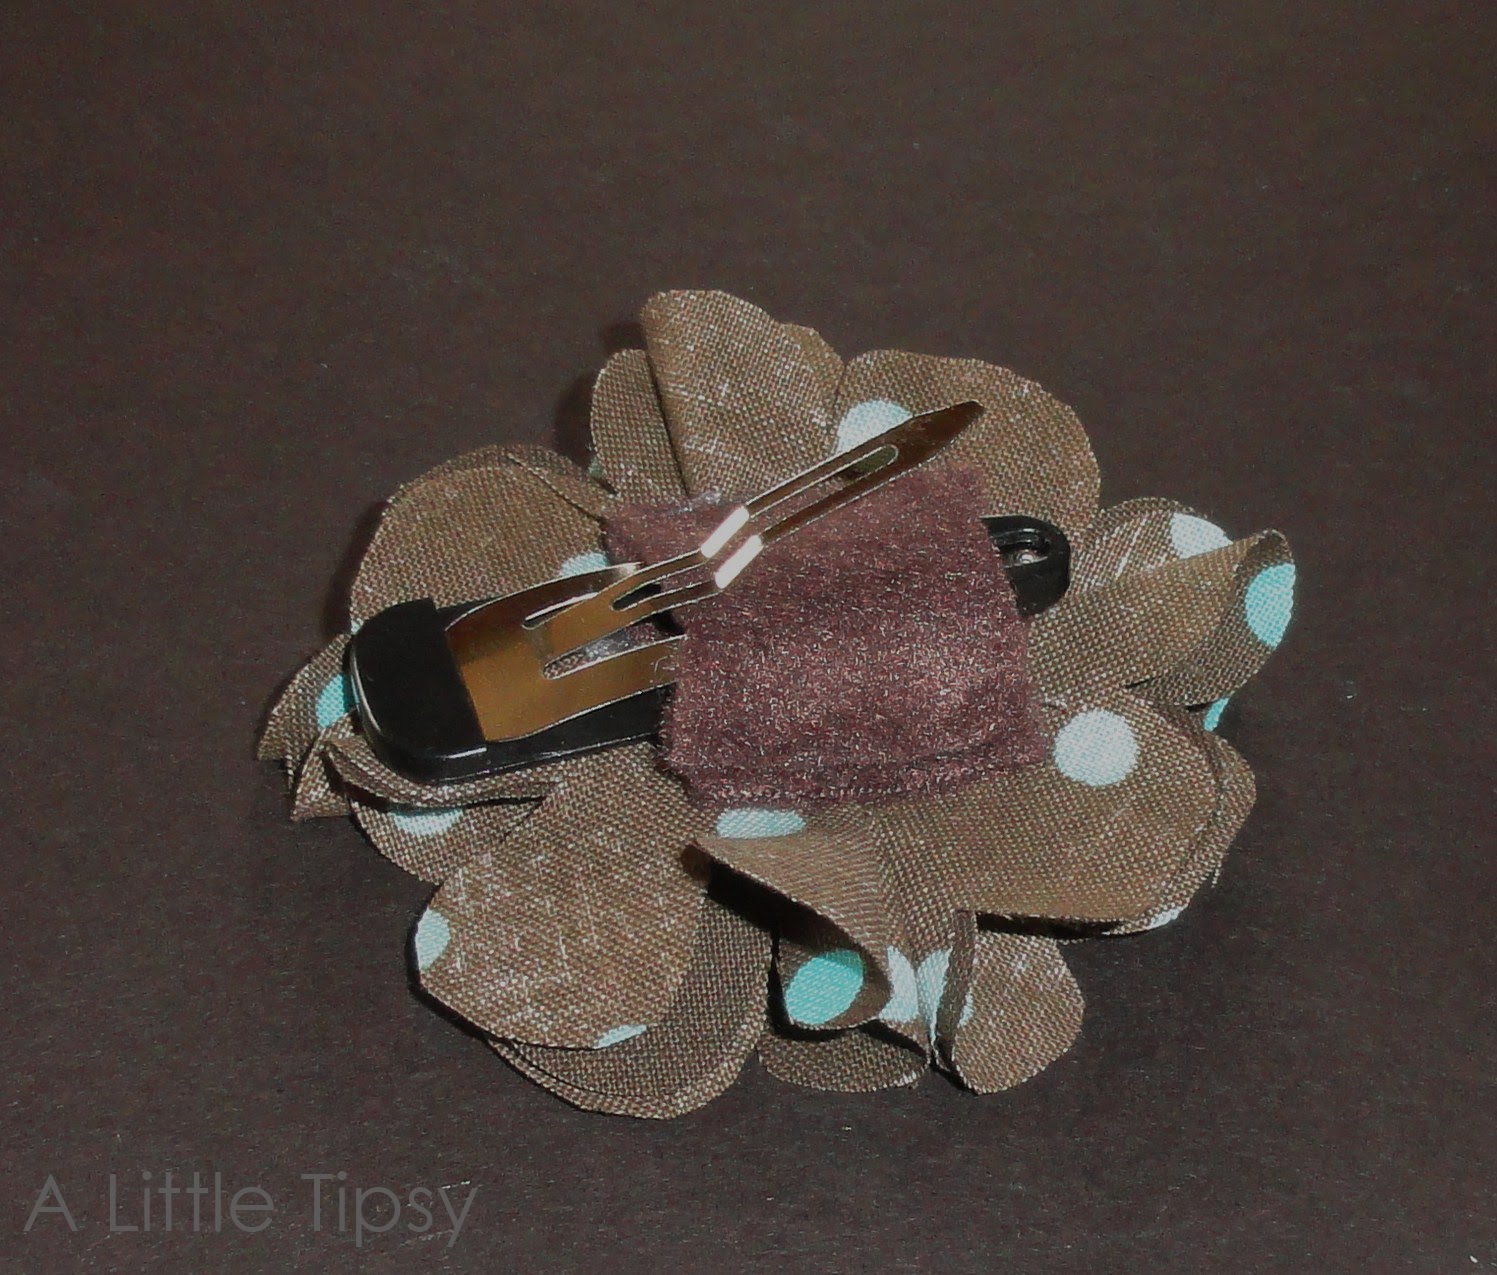
4. Glue an additional piece of cloth over the one the petals are glued to. I only glued two edges so I could slide it on a headband or clip and interchange the flowers.
I also made another type of fabric flower by cutting out circles instead of flowers and using the same folding technique. I did two layers of circle petals making he second layer a bit smaller.

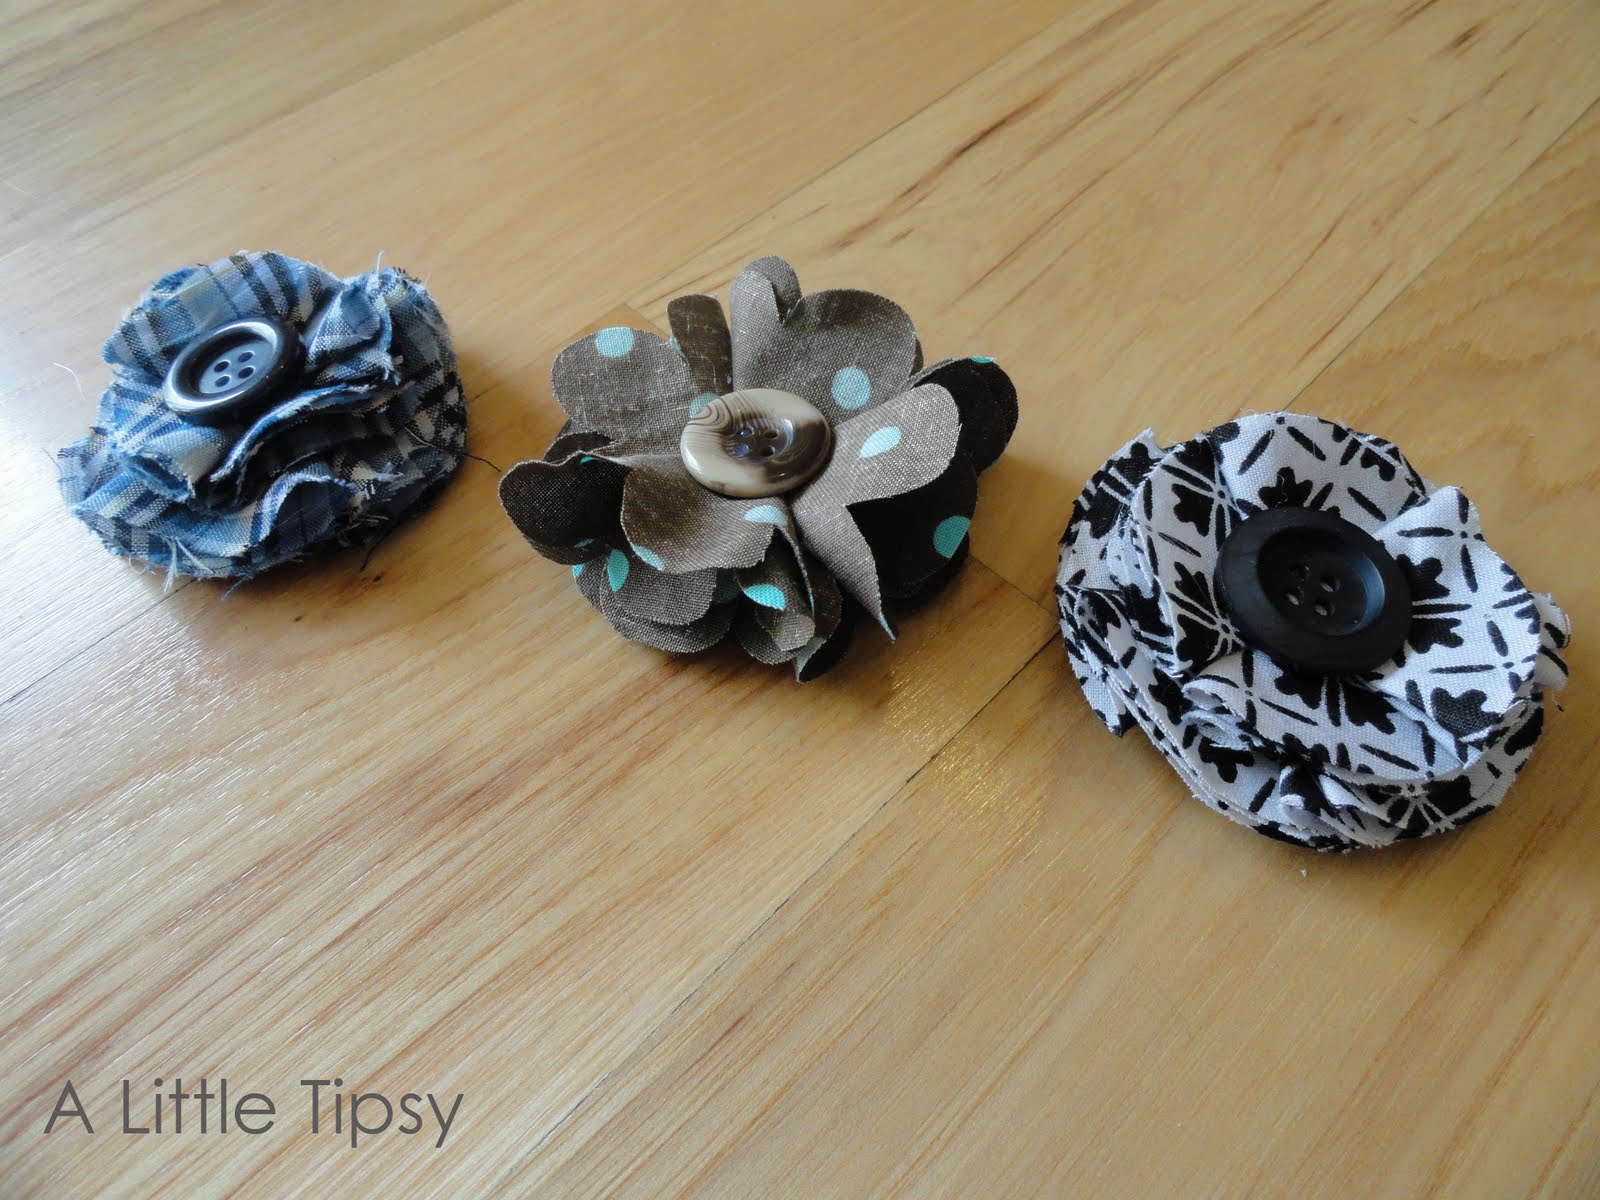
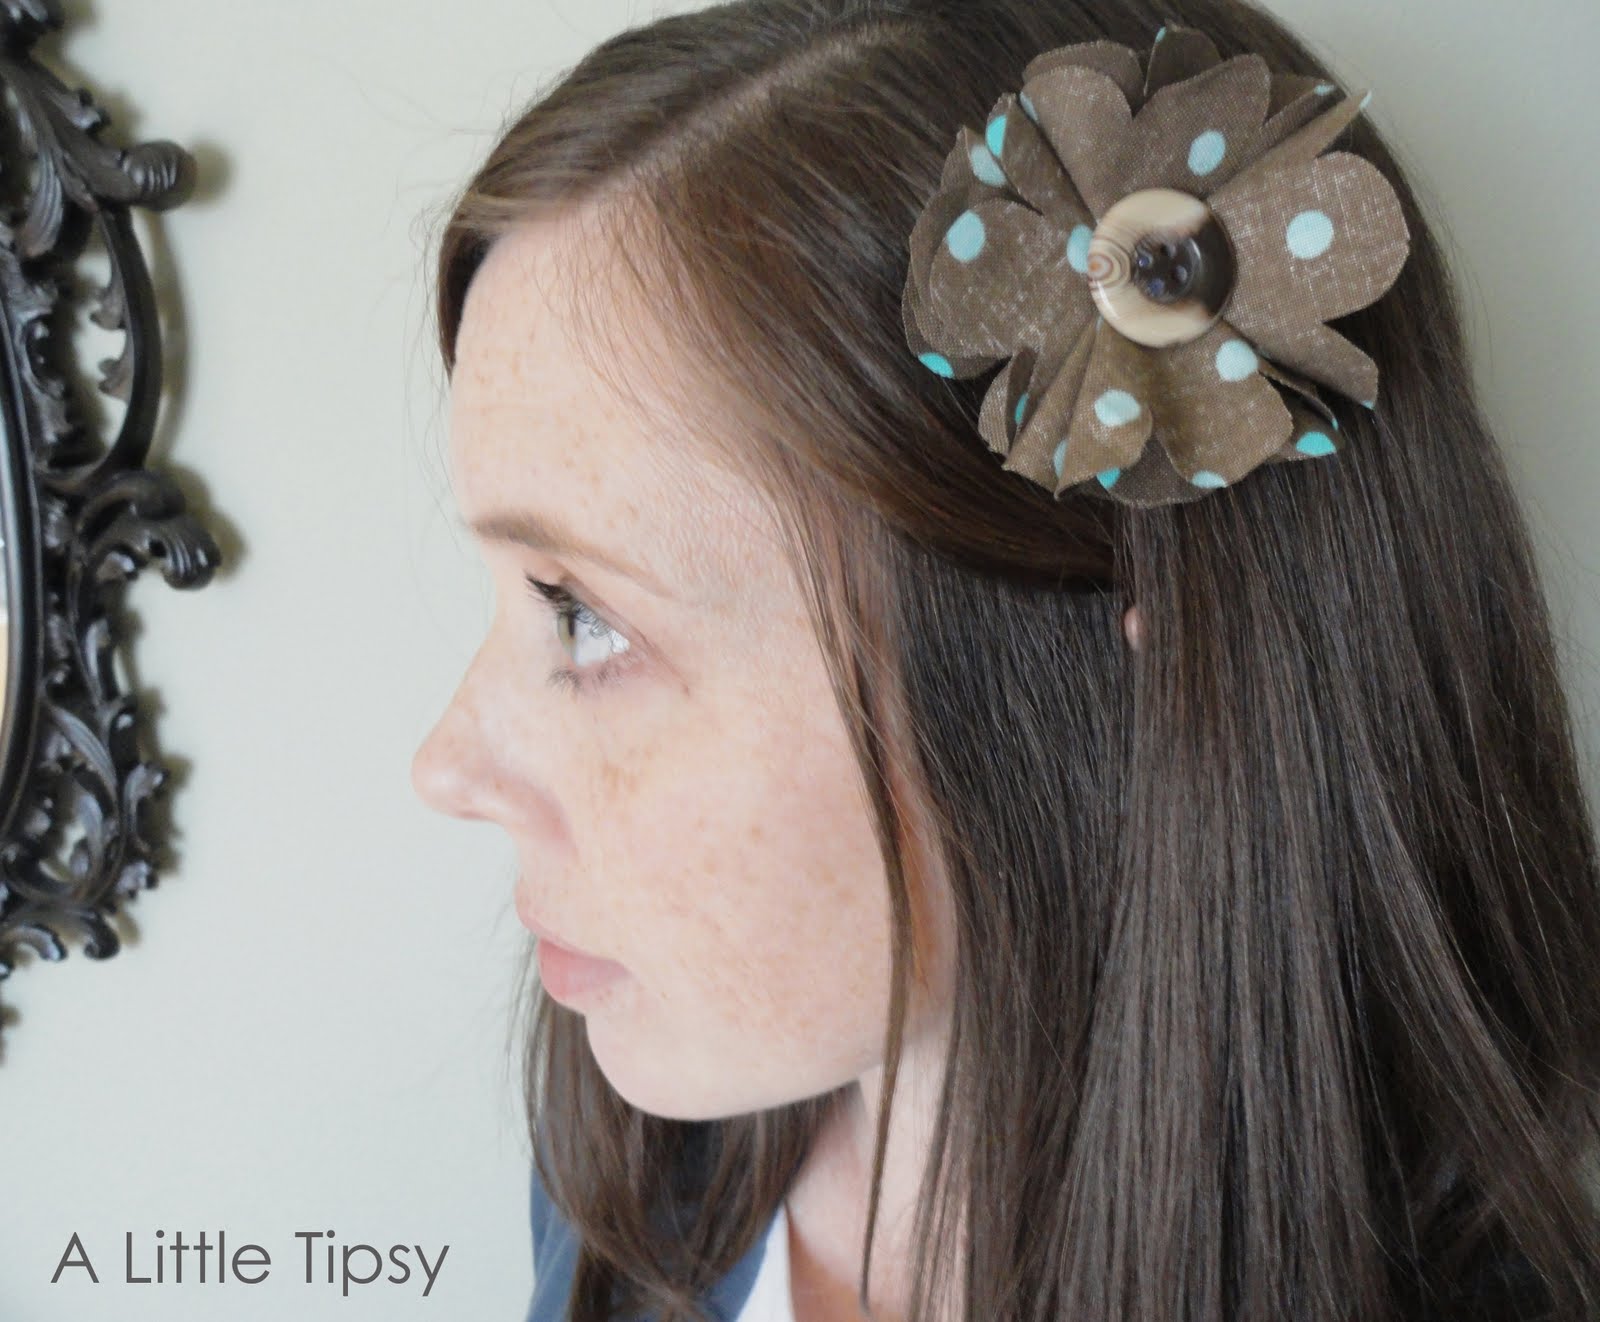
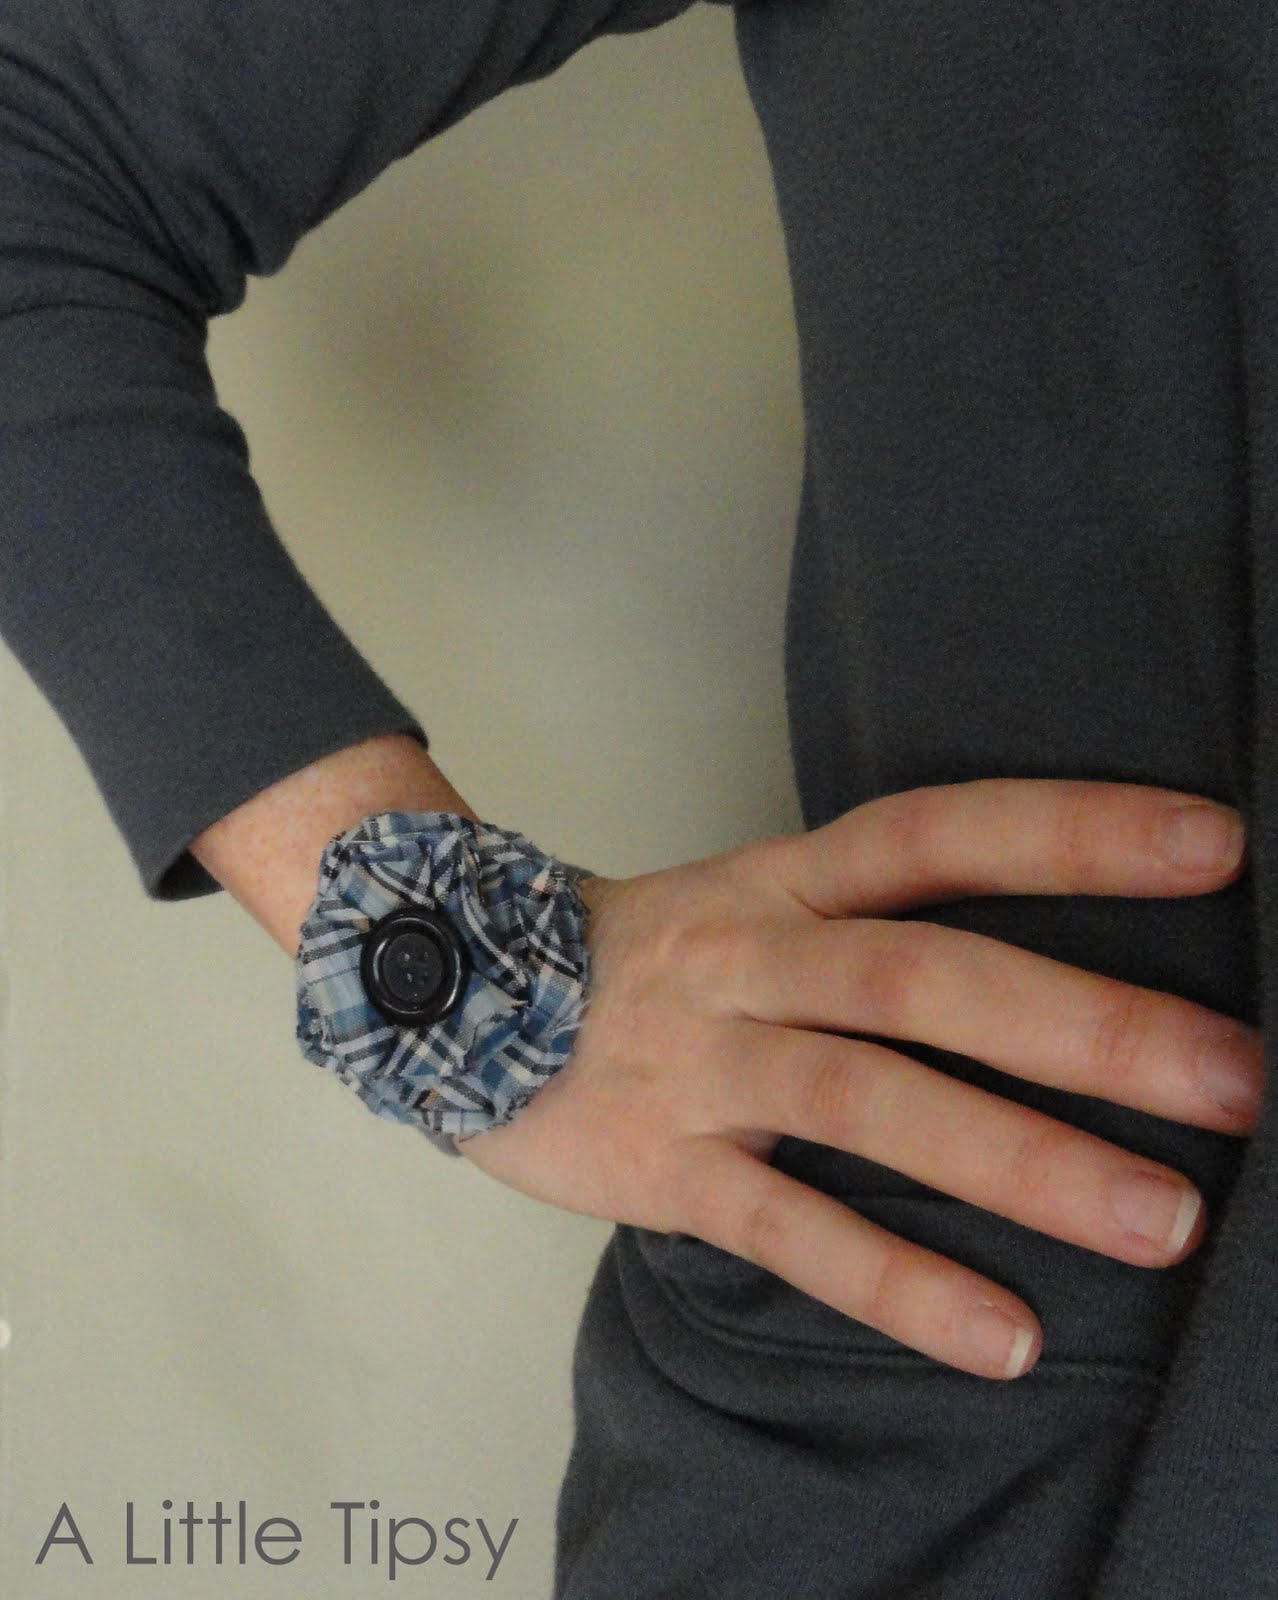
Wear them any way you like from head to toe!

In your hair…

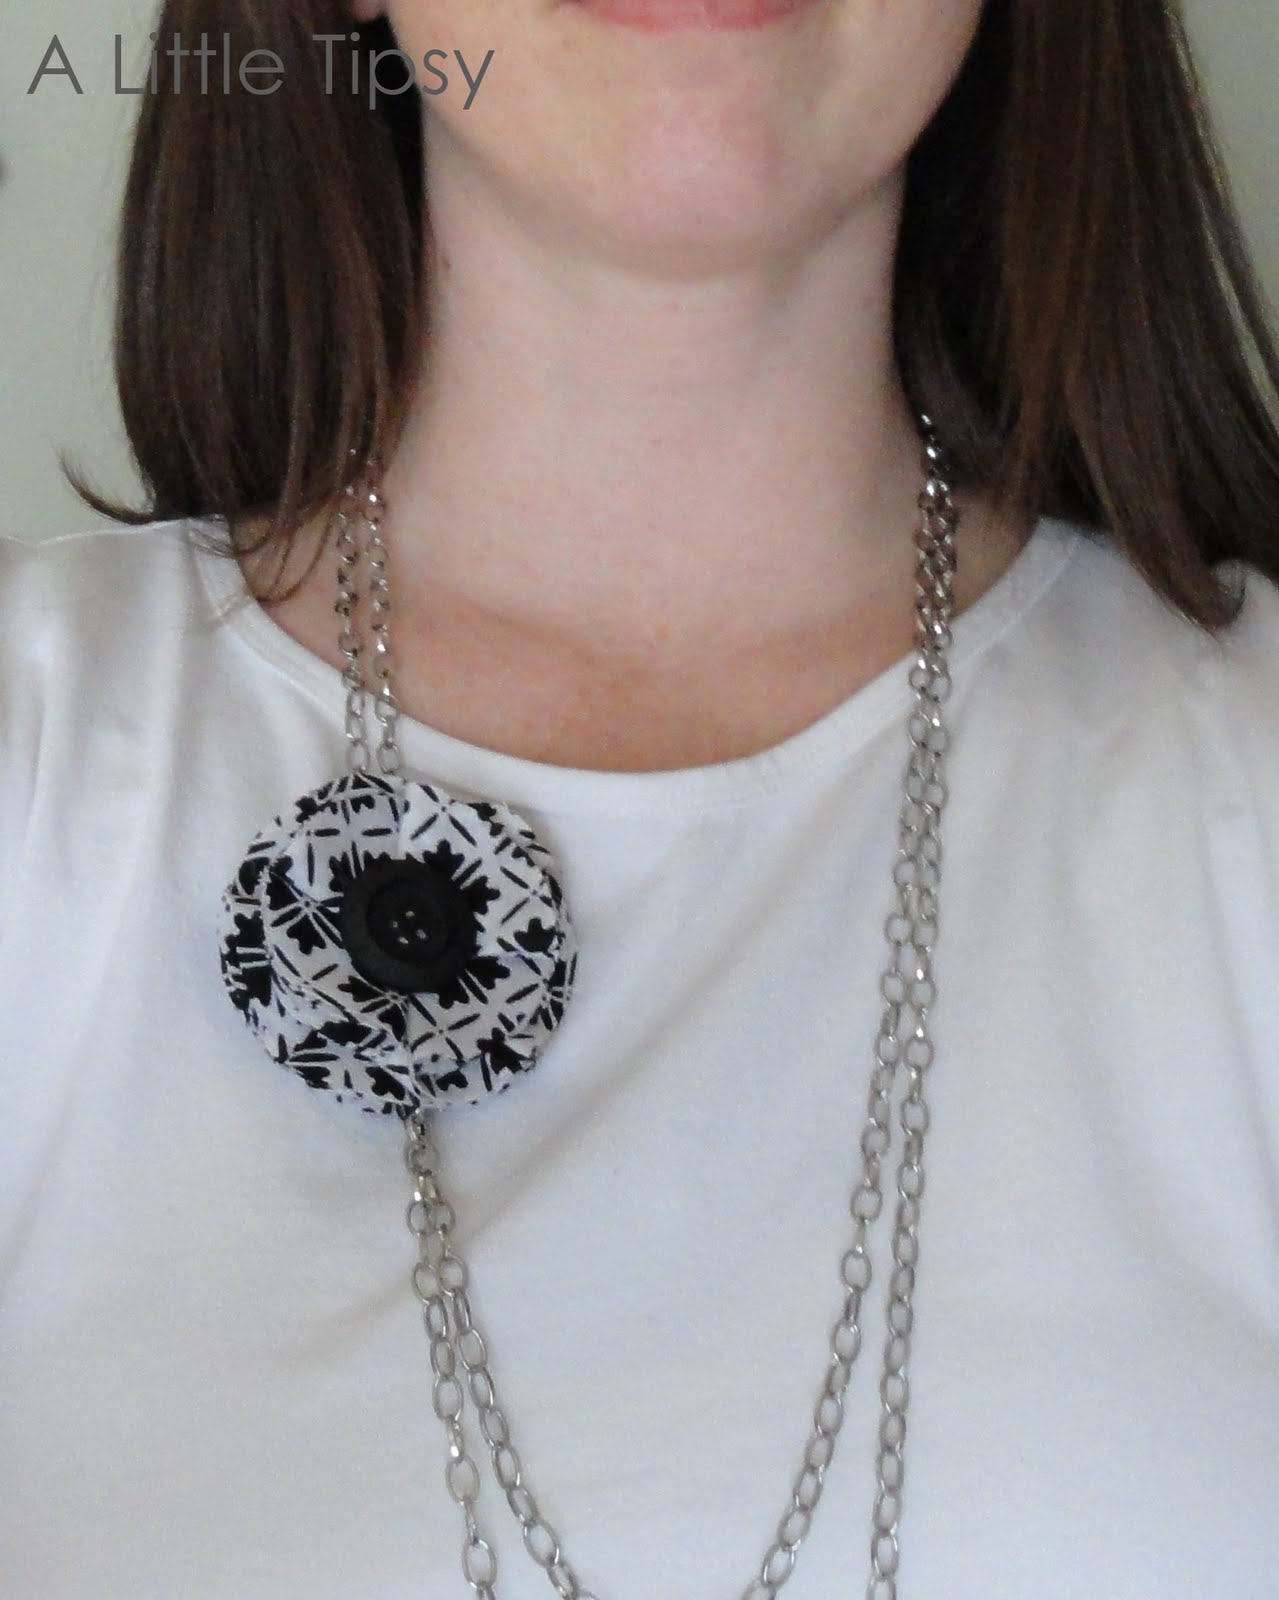
On a cardi or necklace…

or bracelet…

{The grey knit bracelet is actually the top of a sock from my cute bean bags from worn out socks project. Shhh. Don’t tell. Does this make me a certified hoarder? I knew I could use it for something someday.}
or on your shoes!

OK, so now it’s time to link up!!

Please remember:

  • Only link to your own projects that cost you $5 or less (price does not have to include items you had on hand)
  • You can link past projects that fit the dollar limit
  • Please link back so others can join the party

DIY under $5

——————————————————————————-
Linking Up:

Look What I Made
Whatever Goes Wednesday
Sugar & Spice & Everything Nice

The winner of the $50 to GiftCardRescue is…
The Sims Family!
Congrats!!

P.S. Don’t forget to sign up for free Tipsy updates via RSS or email.

We have decided to truncate our feed to help protect against stolen content. I apologize for any inconvenience. Please love us anyway. šŸ™‚

DIY Under $5: Flower Monogram Frame

March 16, 2011 By Michelle Barneck 15 Comments

I have a fun new series to introduce today!! We’ll be calling it
DIY Under $5.

Each week I will feature a project that was done for five dollars or less. I think this will be really fun and will showcase some super budget friendly projects! I am really excited about it and hope you will be too! I am also going to include a place for you to link up your $5 or less projects so we can all be inspired by each other! Get ready for some totally affordable fun! Now on to our first project!!

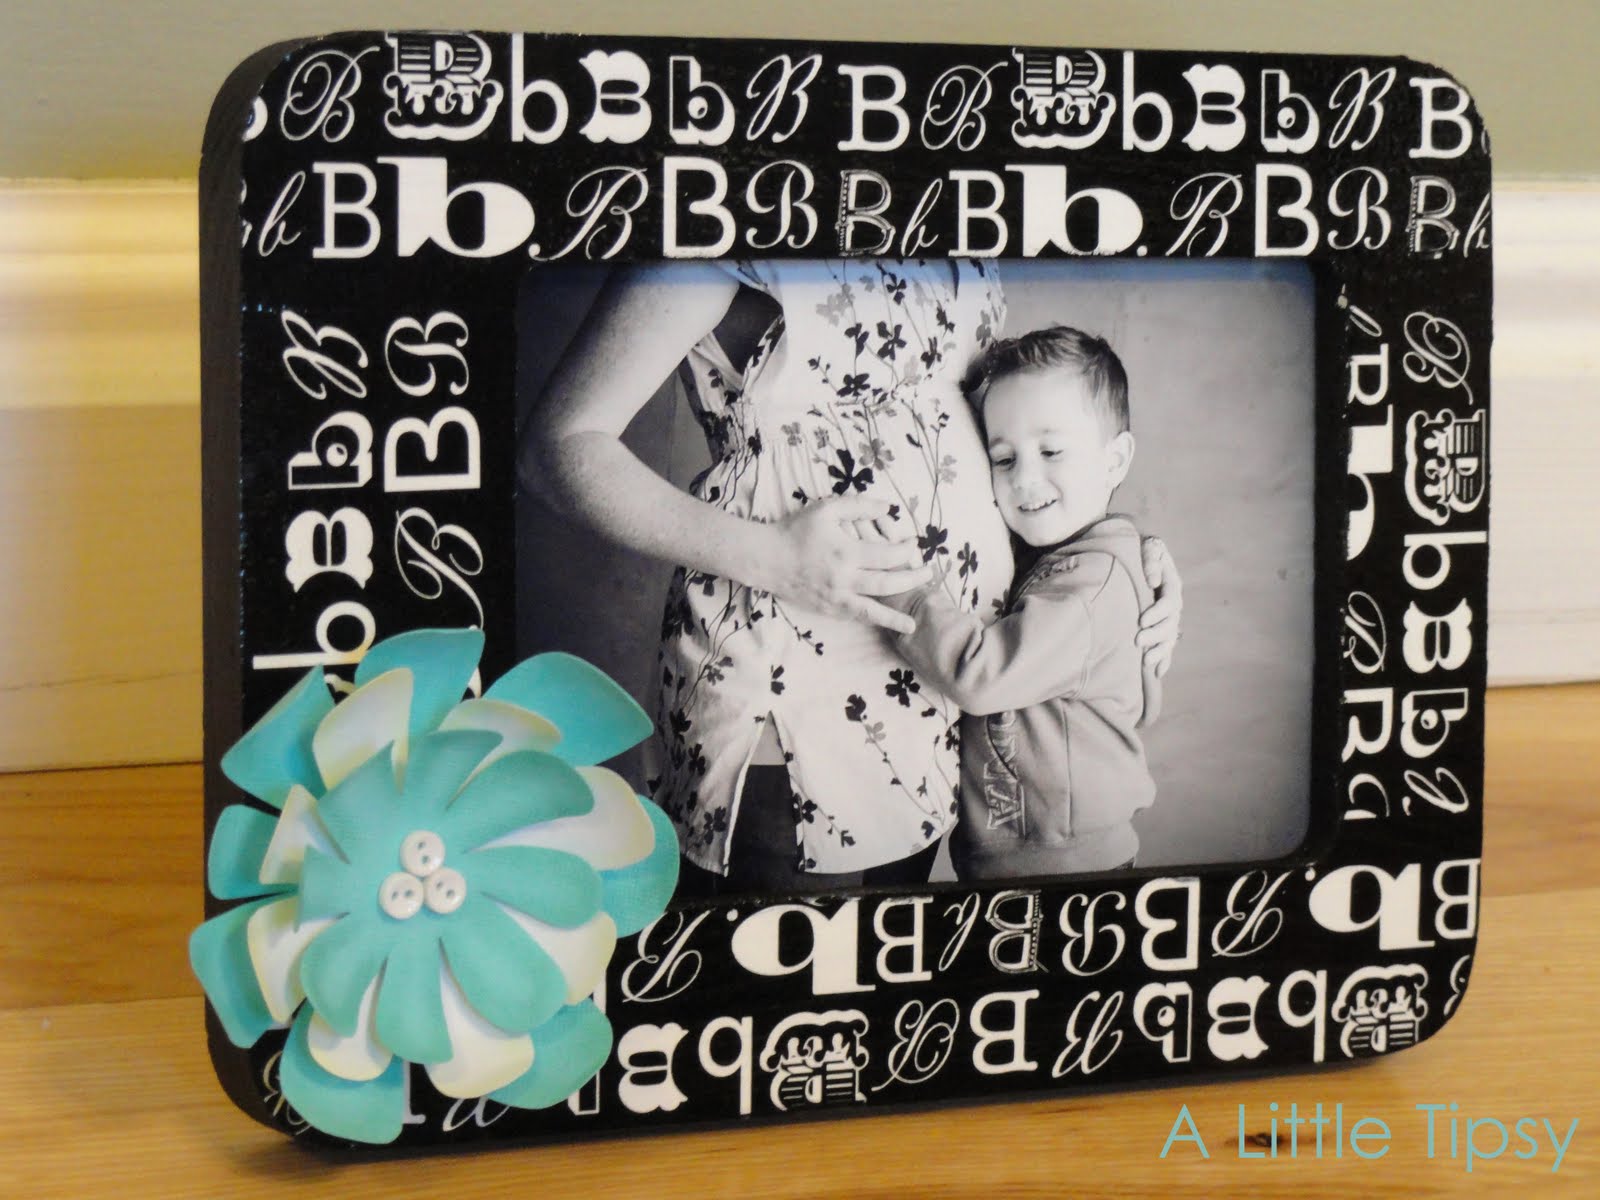
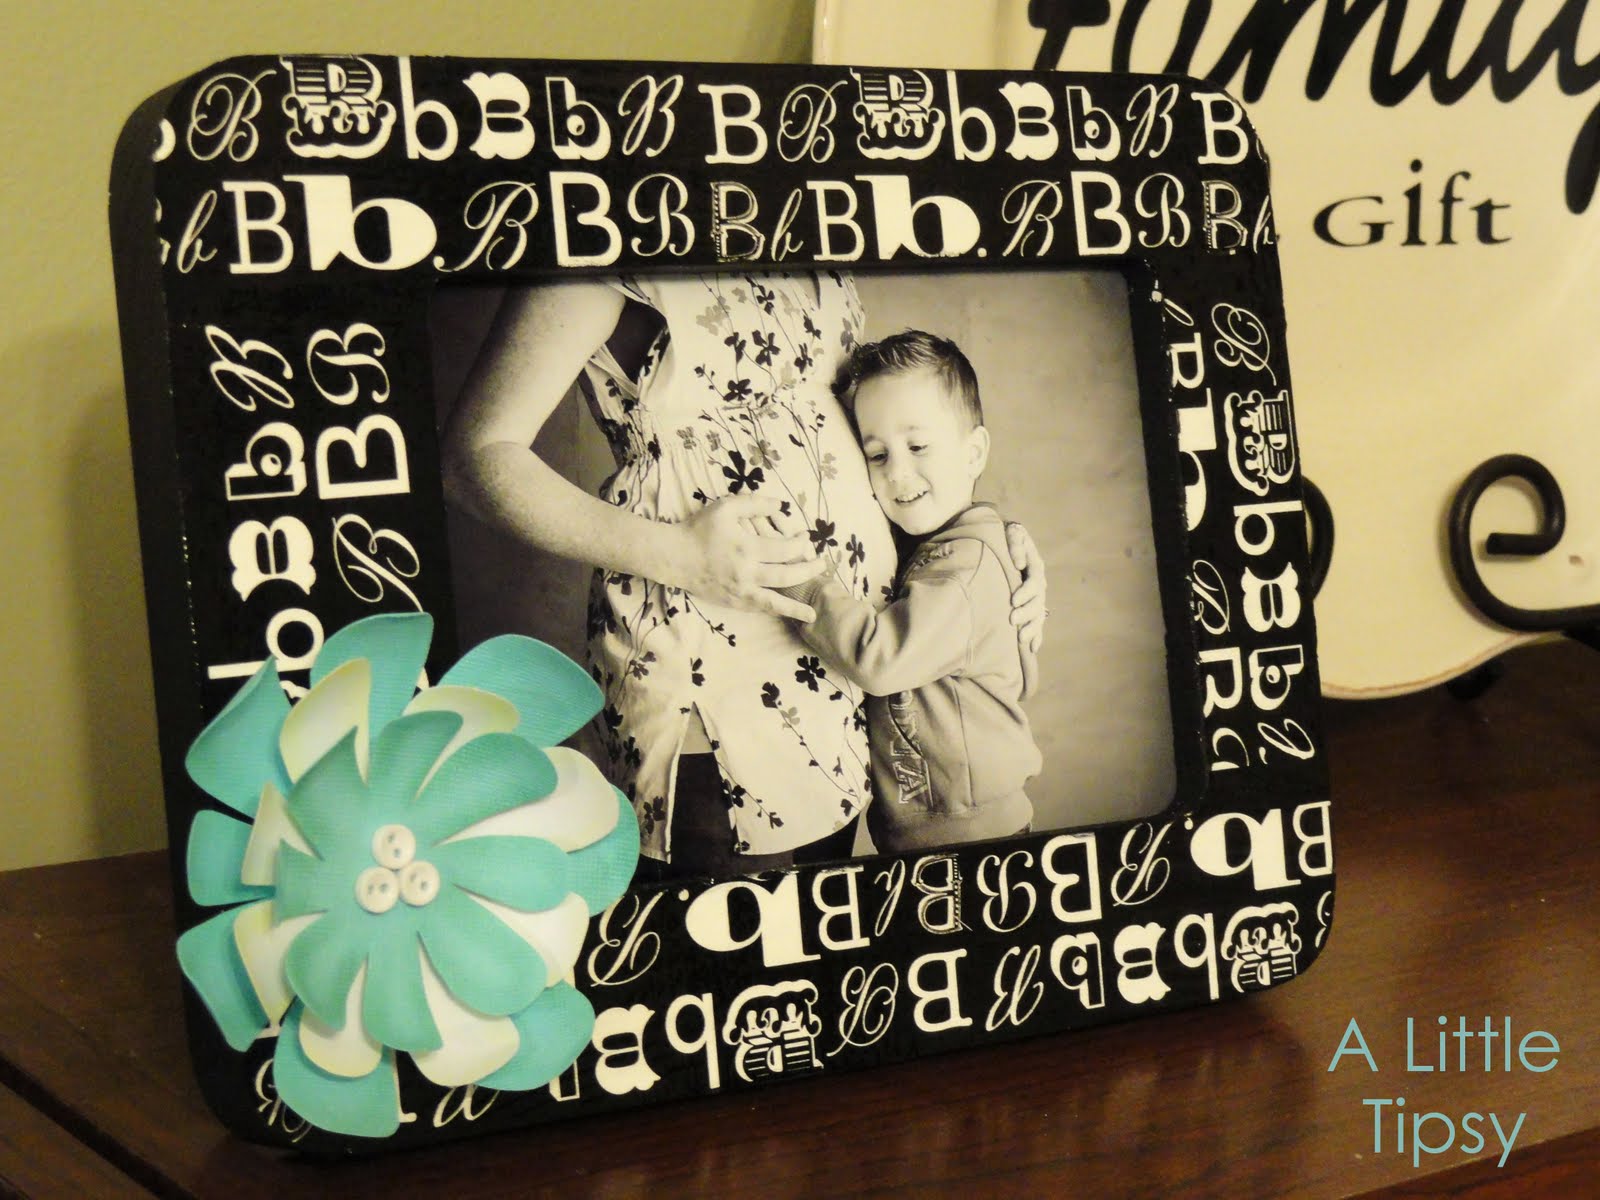
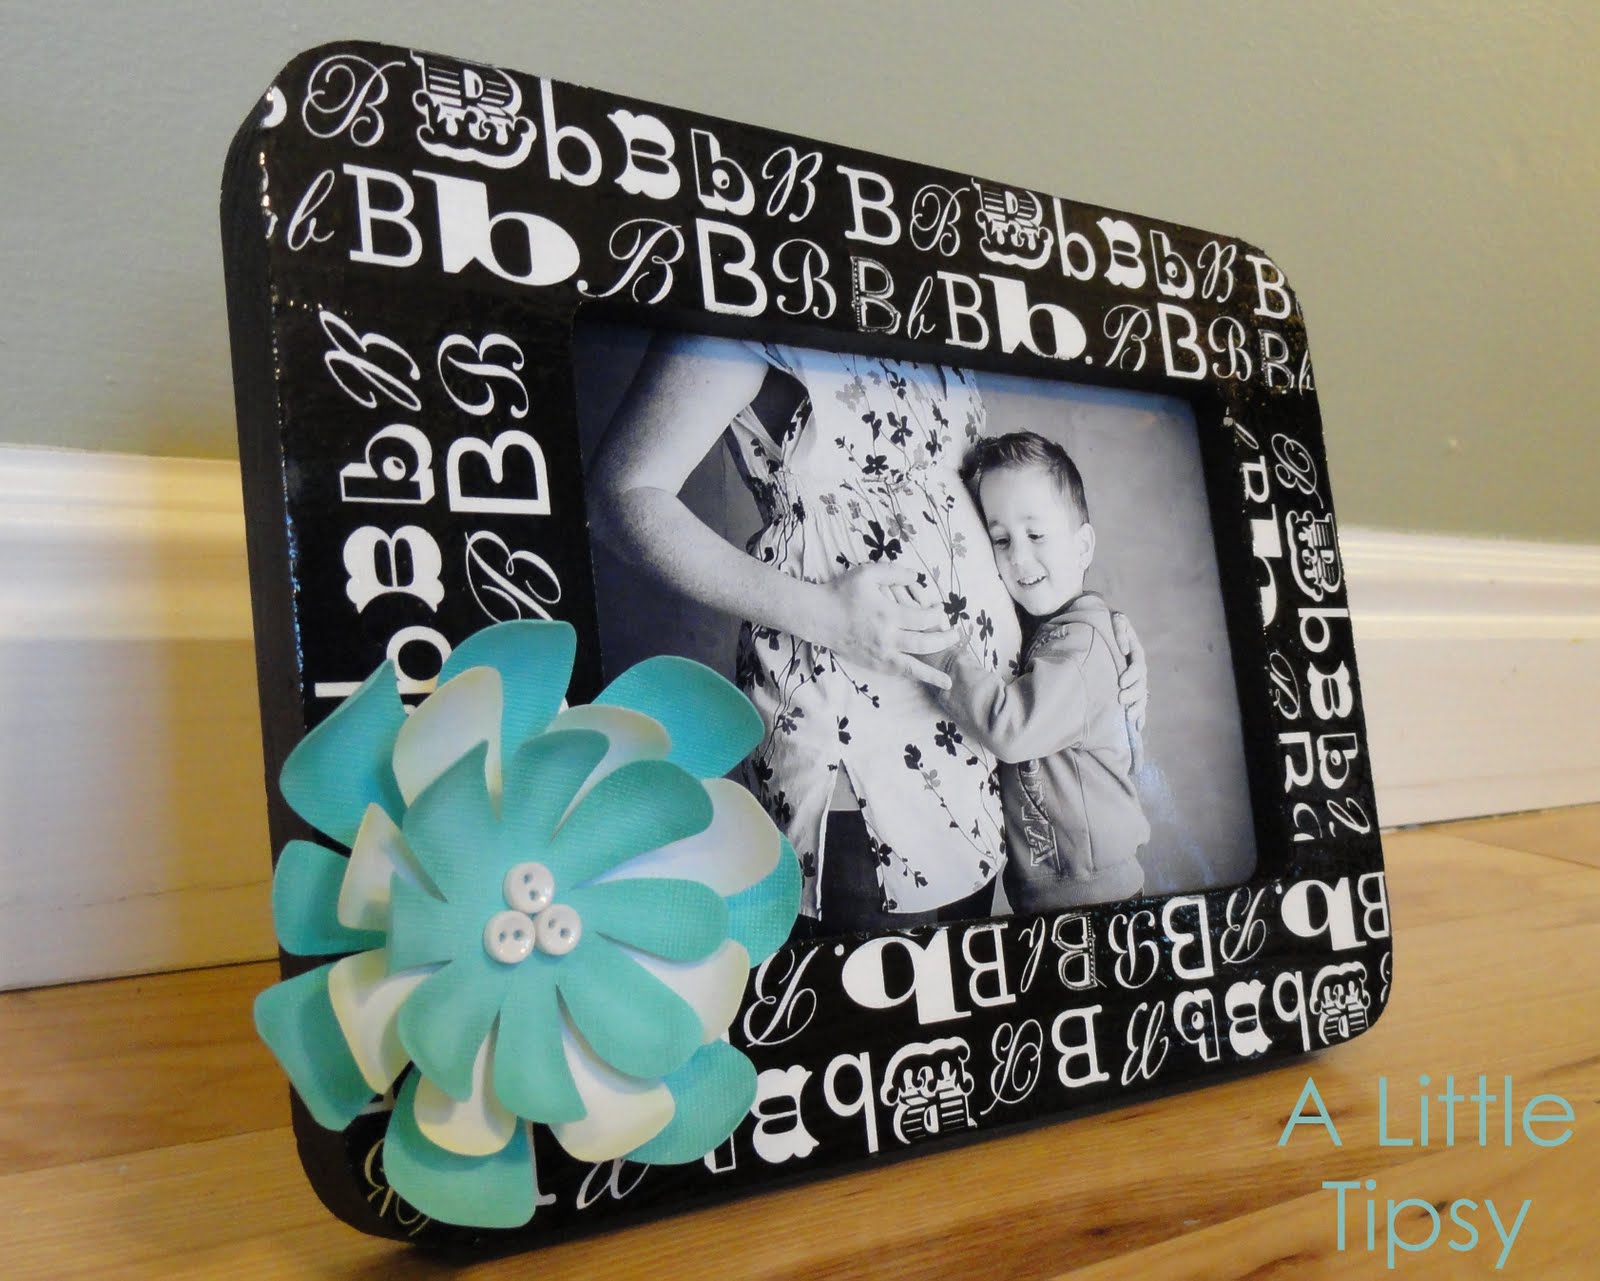
Flower Monogram Frame

Supplies:

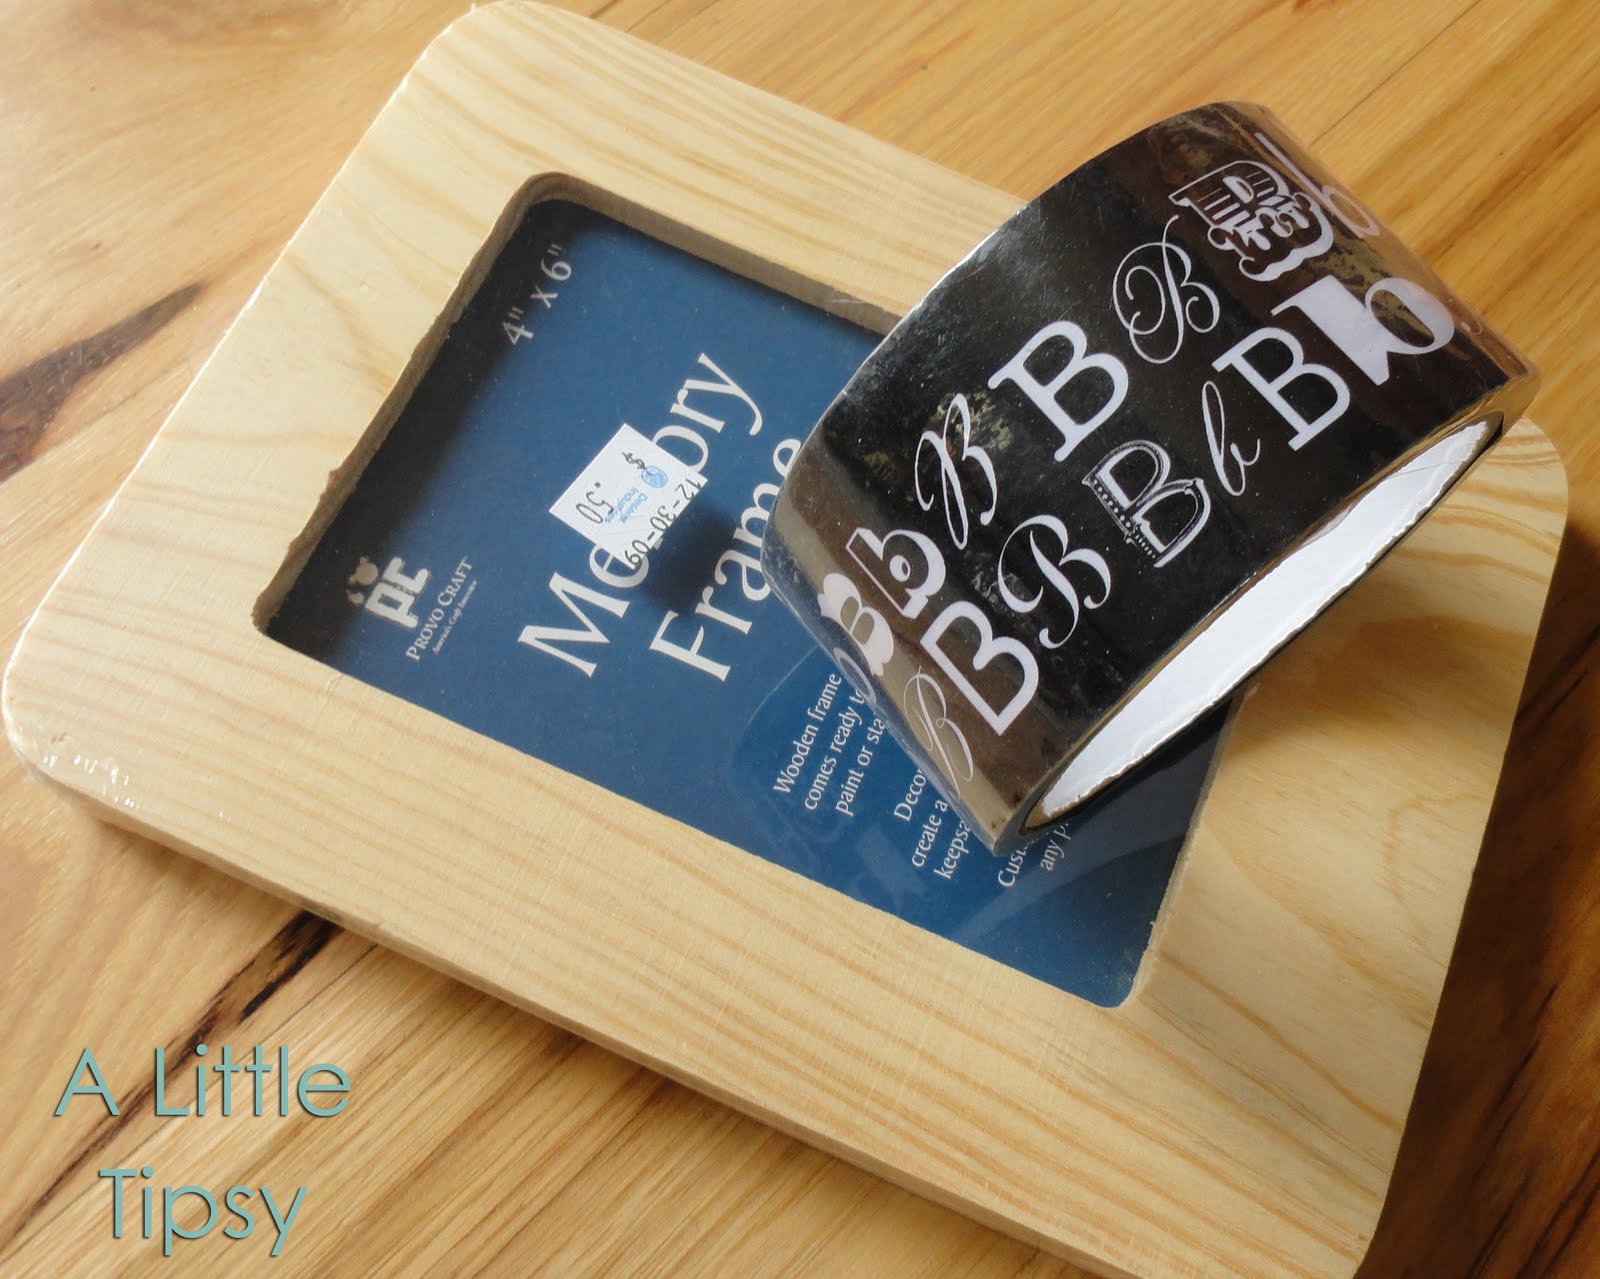
  • Wood frame (50 cents thrift store, easily found for $1 at craft store)
  • Decorative packing tape ($1 Michael’s)
  • White & Black Craft Paint
  • Exacto knife
  • Cutting board
  • Scrap paper
  • Chalk
  • Buttons
  • 3-D adhesive squares
  • Glue dots

Total project cost: $1.50

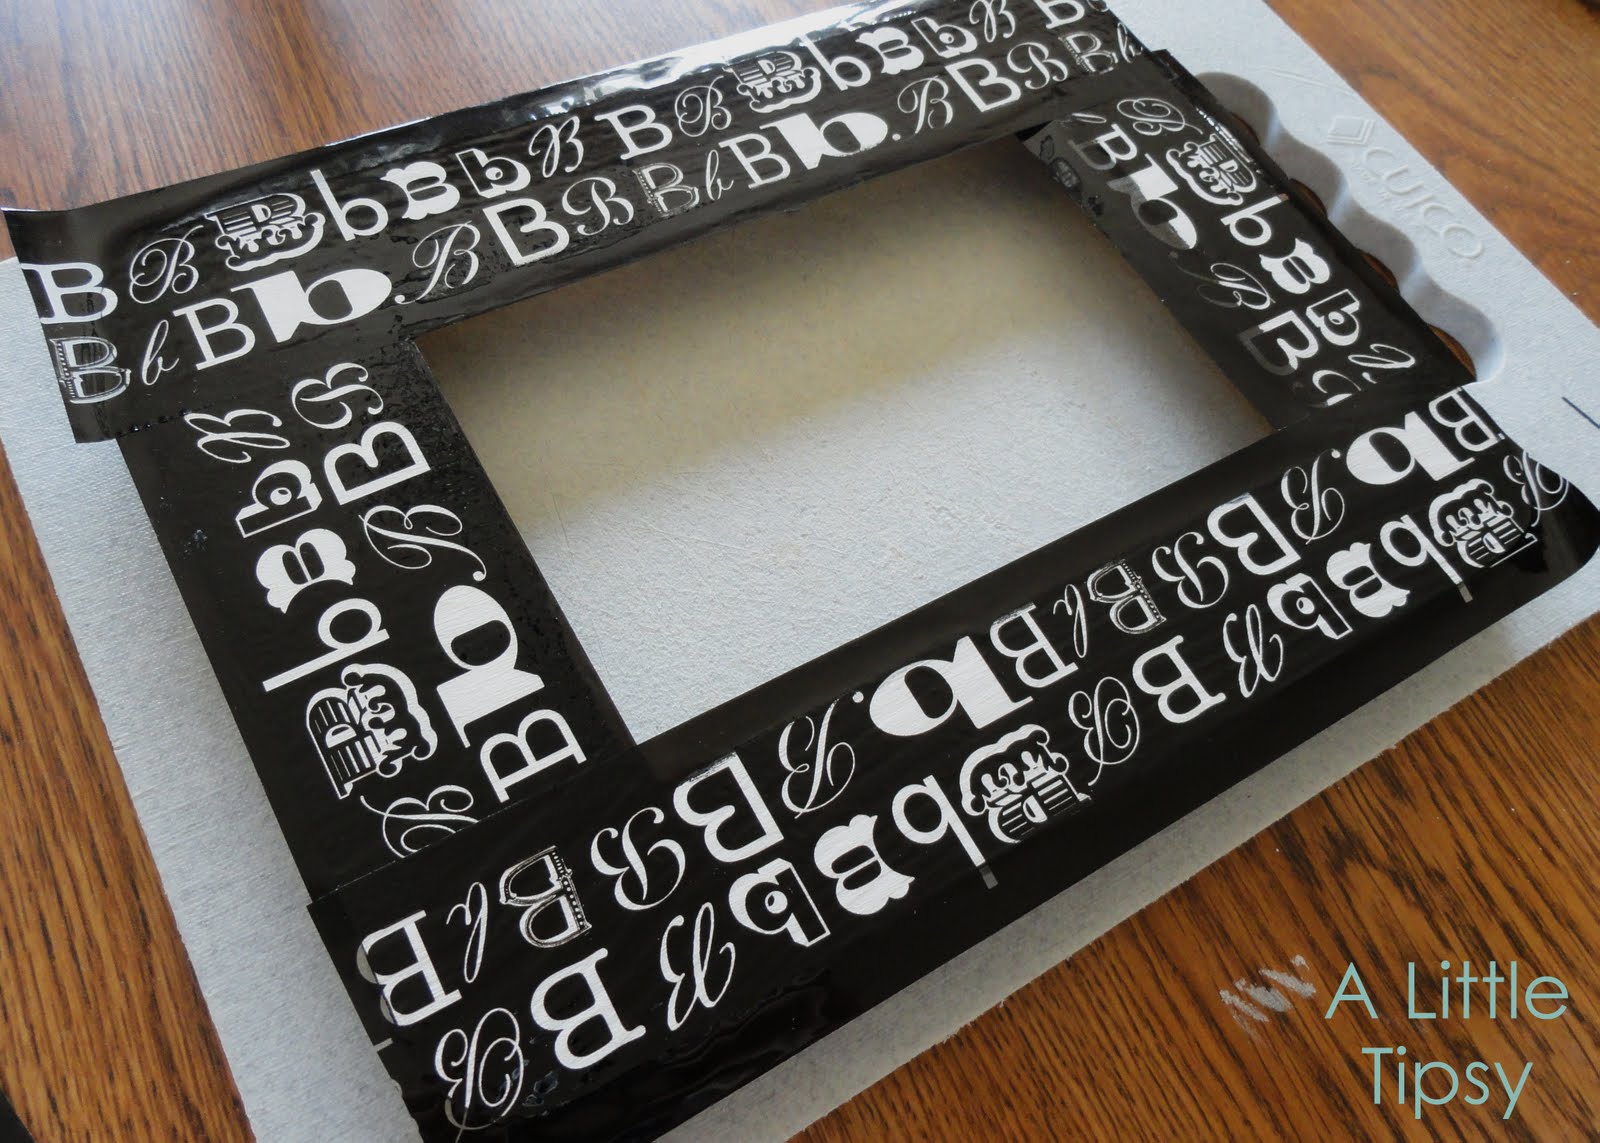
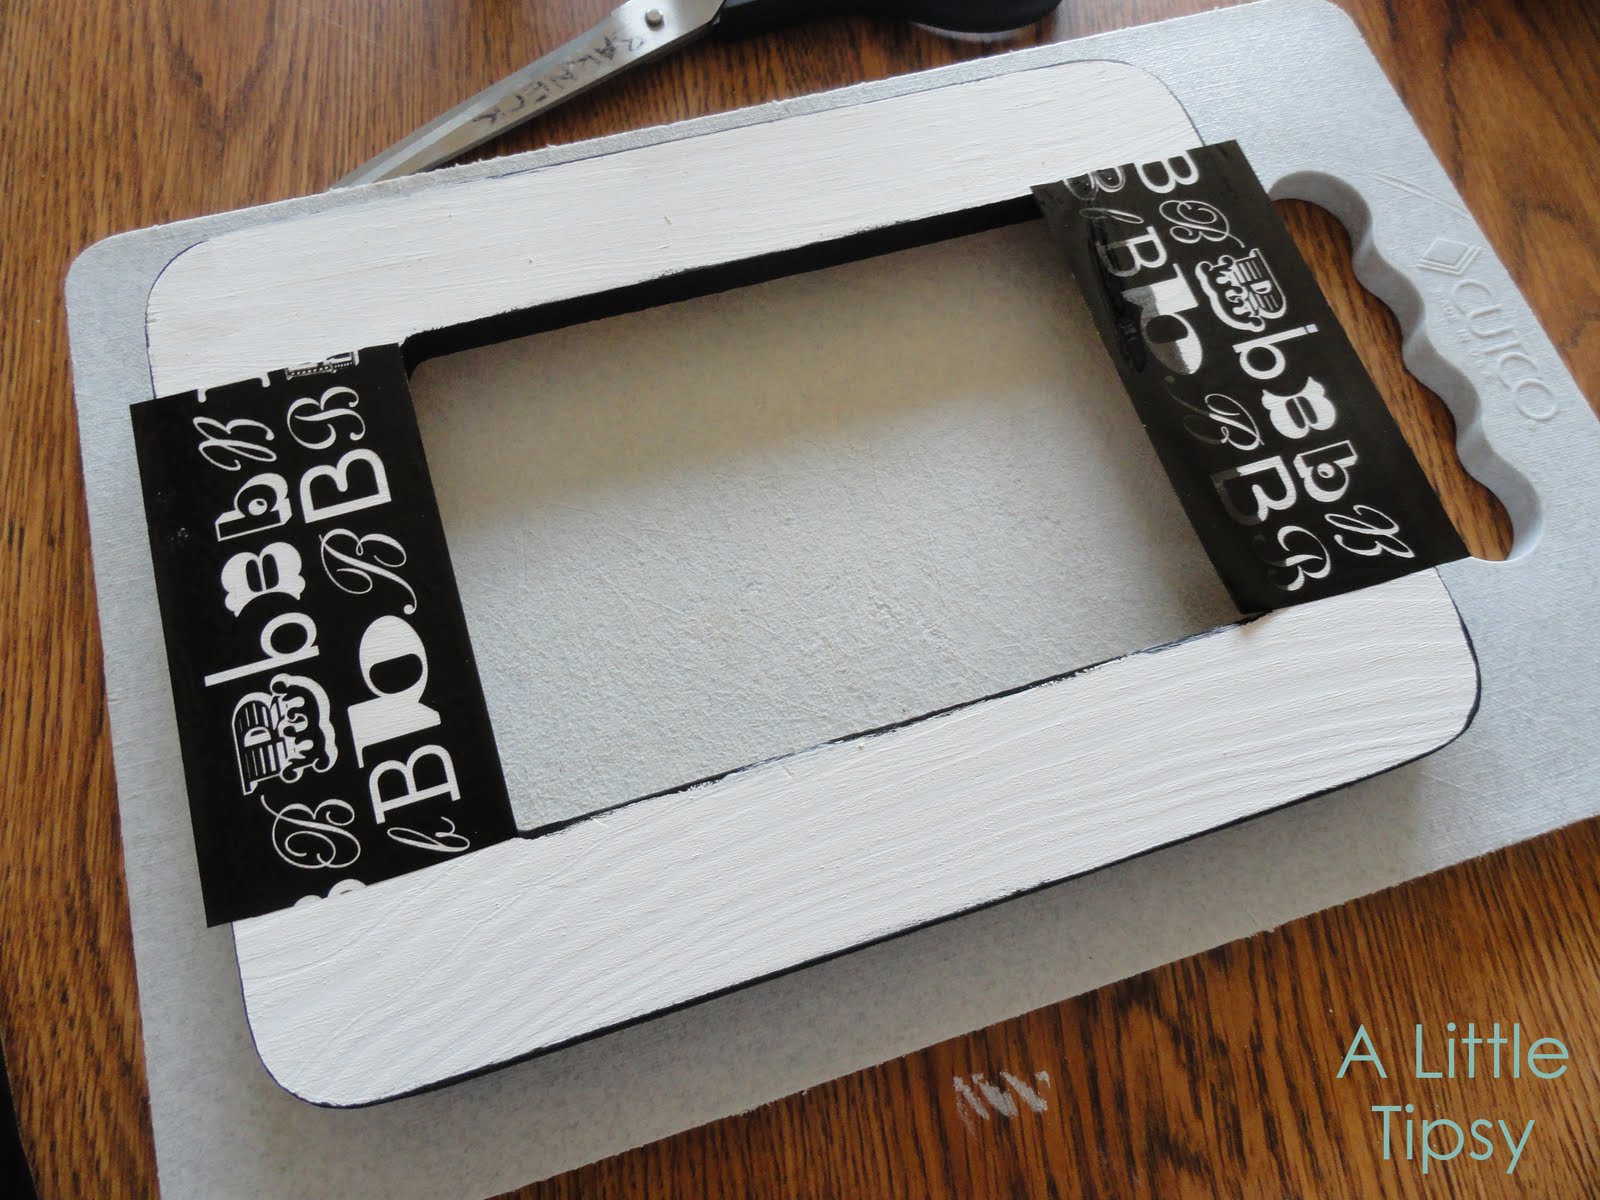
1. Paint the frame. I used black on the edges and white on the front because the monograms on my tape were clear and I wanted them to be white.

2. Cover the frame with tape. I placed mine with the bottom of the B’s always facing the center.

3. Place the frame tape side down on a cutting board and using an exacto knife trim the excess.

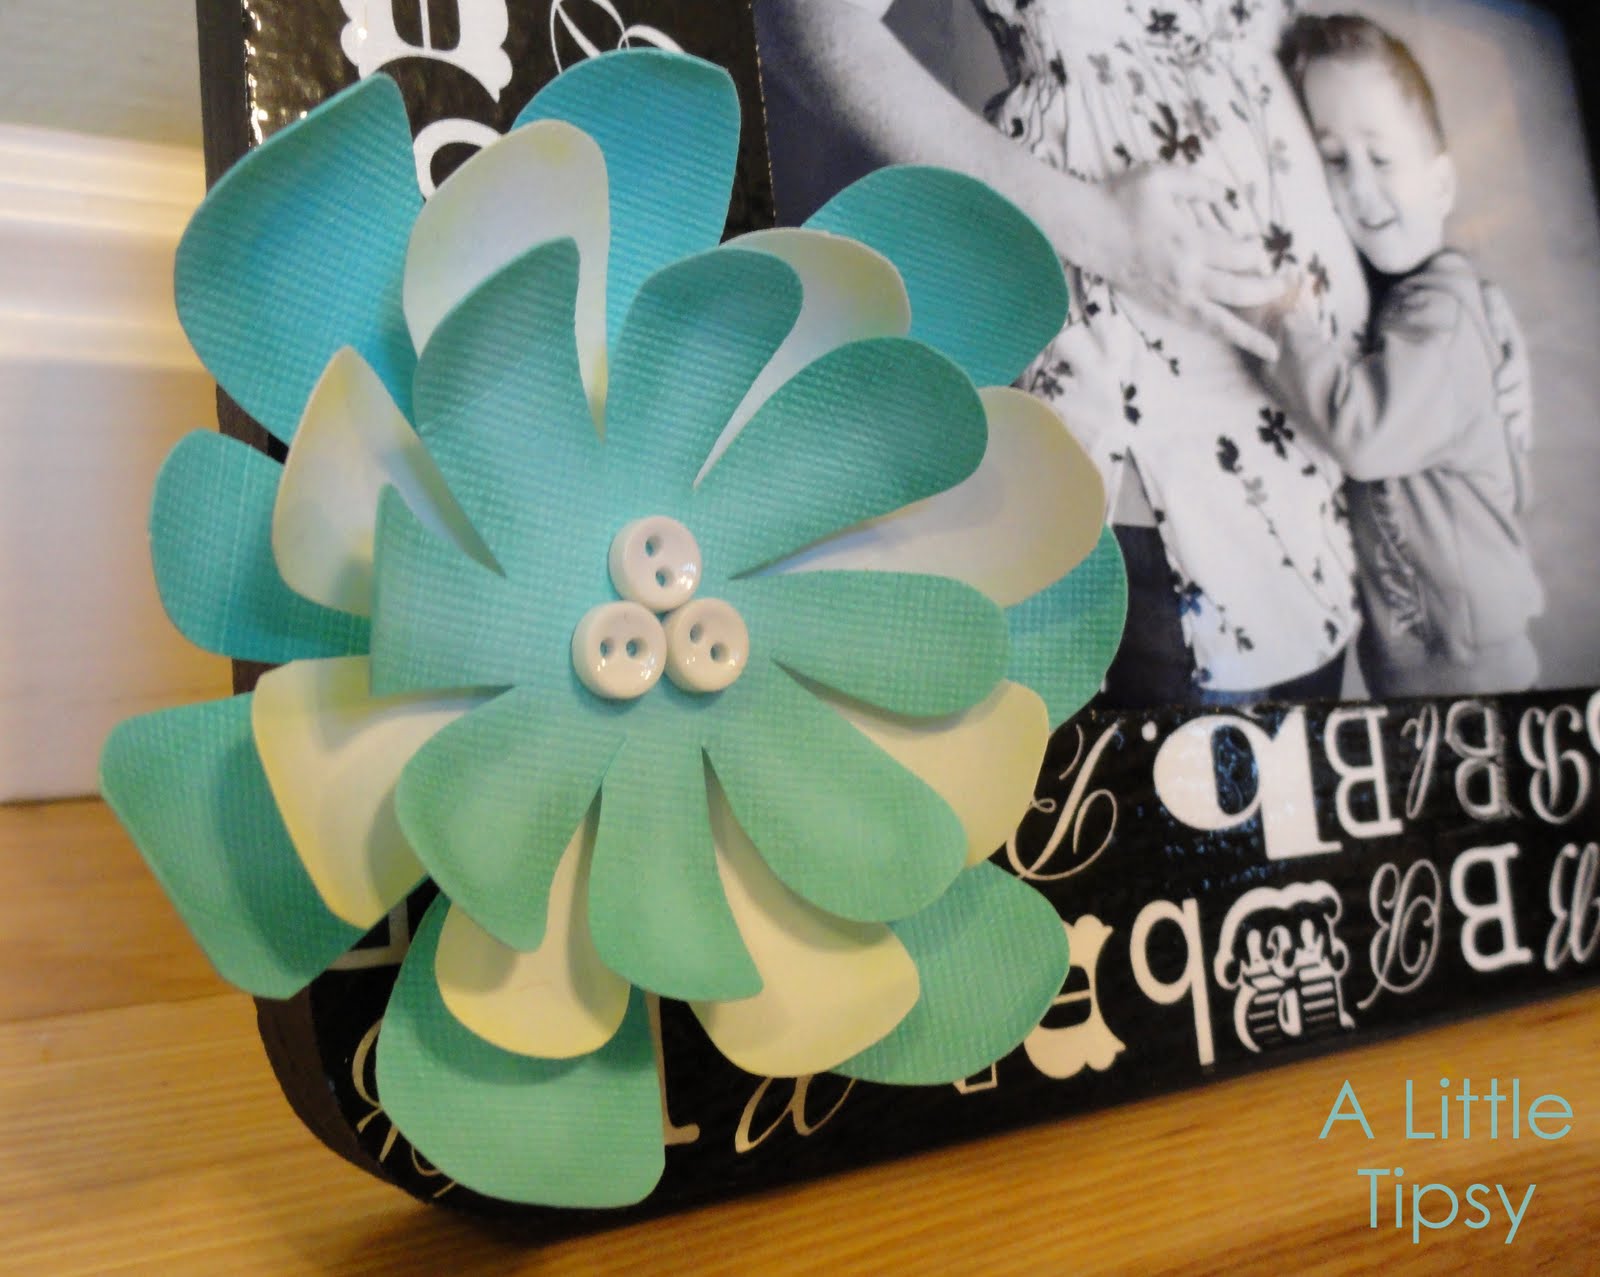
4. To make a flower, cut three paper squares that gradually get smaller. I did the biggest and smallest in turquoise and the middle in white. Cut a flower with 8 petals (a petal from each side and a petal from each corner make it super easy to gauge where to place them) from each square.

5. I added chalk around the edge of each petal to add more depth. Teal on the turquoise and yellow on the white.

6. Curl each petal around a marker to make it stand out a bit.
7. Assemble the flower, attaching the flowers with 3-D adhesive squares and the buttons with glue dots. Stick the flower to the frame with glue dots so you can change it out if you so desire.

OK, so now it’s time to link up!!

Please remember:

  • Only link projects that cost you $5 or less (price does not have to include items you had on hand)
  • You can link past projects that fit the dollar limit
  • Please link back so others can join the party

DIY under $5

Linking Up:
Look What I Made
Whatever Goes Wednesday
Sugar & Spice & Everything Nice

P.S. Don’t forget to sign up for free Tipsy updates via RSS or email.
We have decided to truncate our feed to help protect against stolen content. I apologize for any inconvenience. Please love us anyway. šŸ™‚

Actually Doing the To-Do List

March 9, 2011 By Michelle Barneck 1 Comment

Thank you to P&G’s Have You Tried This Yet? program and Kroger for sponsoring my writing about trying new things and breaking out of my everyday routine. Click here to find great savings on high-performing P&G products at a Kroger store near you. I was selected for this sponsorship by the Clever Girls Collective, which endorses Blog With Integrity, as I do.

Since having a baby four months ago I have found myself in a bit of a mind fog. I seem to constantly be bombarded by thoughts of tasks to complete and ideas to explore. I have this really awesome hereditary trait of a terrible memory so if I don’t write it down it is gone and floats through my memory at random clogging my poor brain with a flood of passing thoughts. Due to this jumble I have always been a big time list lover! I have a gazillion list pads (one for each holiday and season) to feed my compulsion.

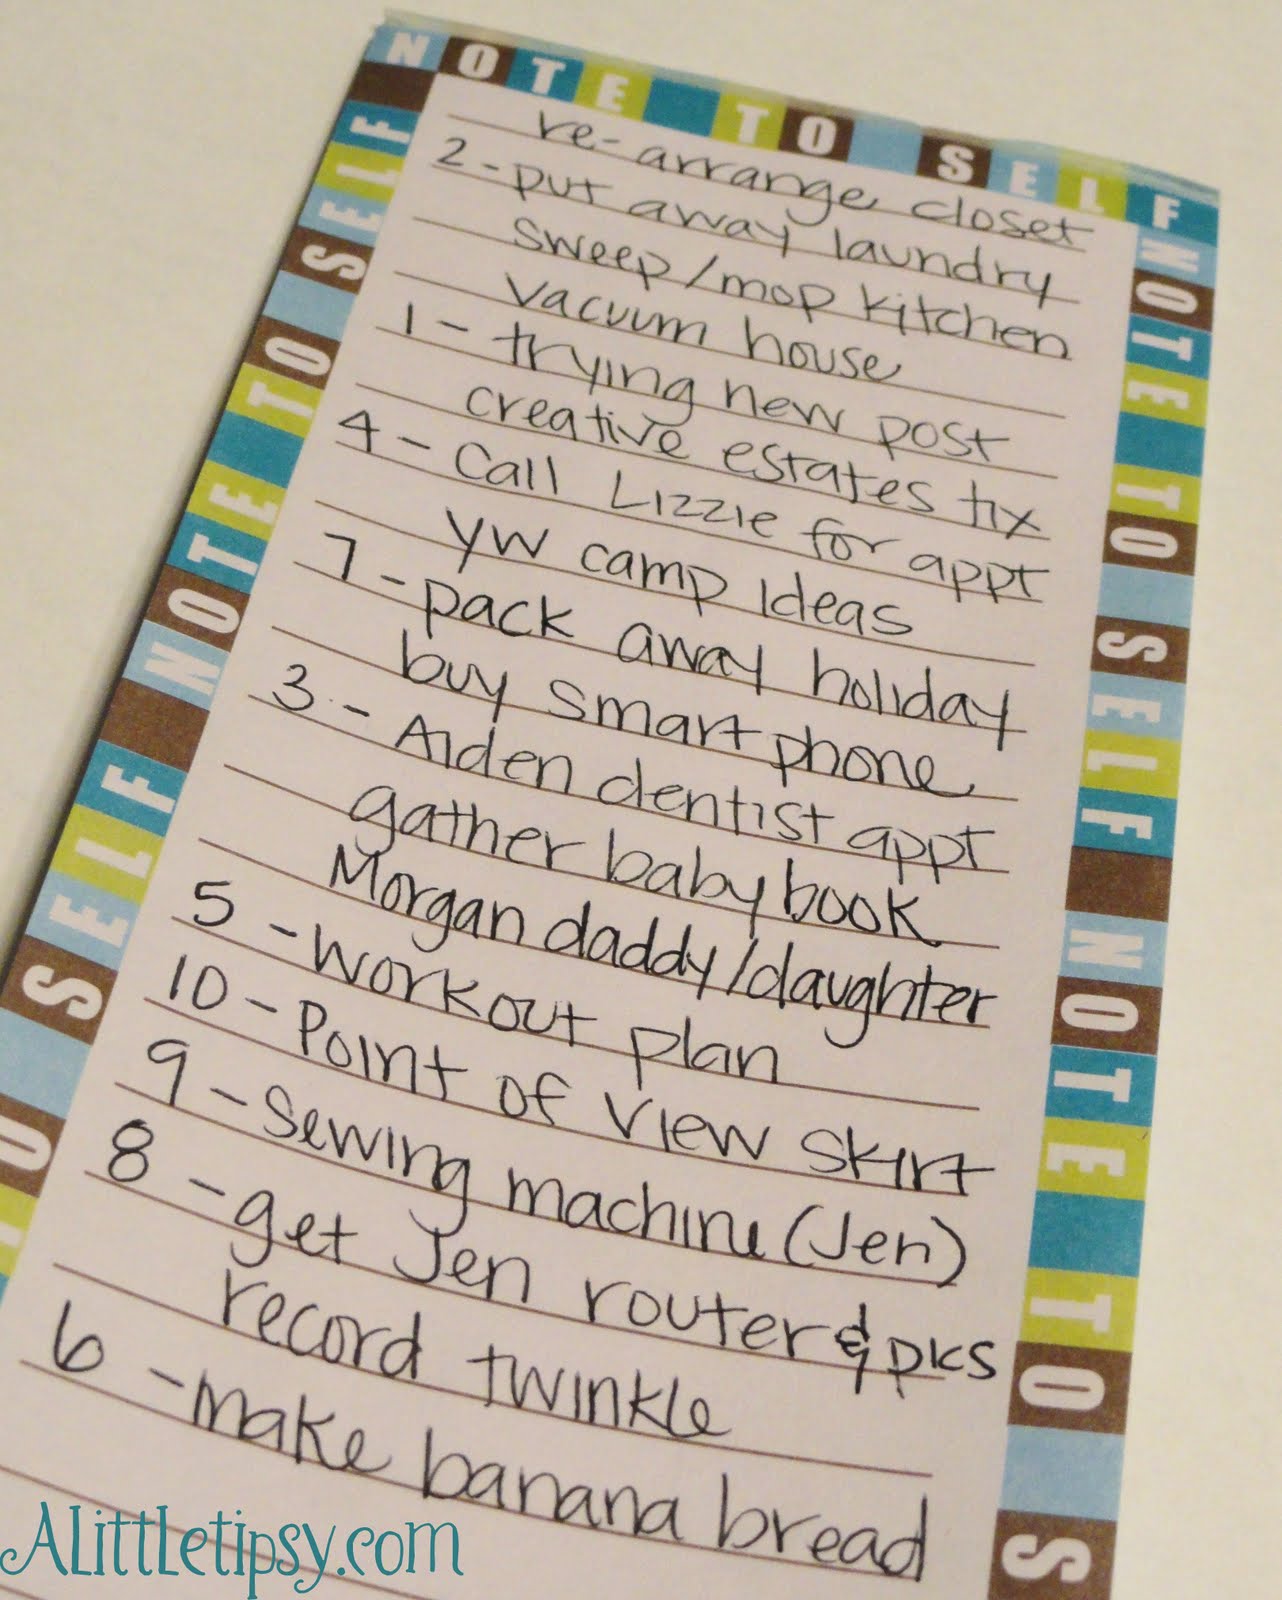
Recently, I tried something new with my To-do list that has done wonders for my time management and productivity! Instead of just having a list of tasks and looking through them to choose something when I find a moment, I have started a prioritization model (big words for I number them).

Each night I go through my tasks and make a dash next to the ones I want to complete the next day. Once I see the days tasks I number them one through ten in order of priority. Sometimes it also depends on timing, like I can’t go to some stores first thing in the morning, etc. When I wake up there is no confusion as to what I start with. I start with task one and cannot move on until it is complete. Then, I move on to task two, etc. until my list is complete! Each night I take the tasks that were not completed and they automatically go on the top of tomorrow’s list.

This has been so helpful to eliminate wasted time of standing in front of the list and deciding what to do. It is such a simple system, yet has been really effective for me! I am loving it! I usually get all ten tasks done.

Personal <span class=

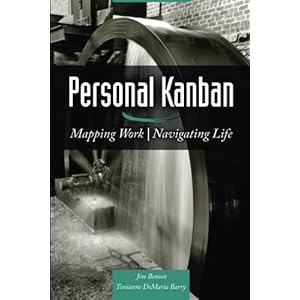
My husband has been using a system at work called Kanban. We got a book called Personal Kanban that we are reading together. It is a work prioritization system kind of like what I have started, but more visual. You can see the progress of all your tasks and the main concept is limiting your work in progress. I can’t wait to start another new system once we finish the book!!


What kind of “to do” system do you use?

P.S. Don’t forget to sign up for free Tipsy updates via RSS or email.
We have decided to truncate our feed to help protect against stolen content. I apologize for any inconvenience. Please love us anyway. šŸ™‚

Point Of View: a Creative Collaboration

March 8, 2011 By Michelle Barneck 3 Comments

I am excited to tell you about a new venture I will be taking part in. It’s called Point of View and it is a super fun monthly challenge to help us look outside the box!


The Creative Collaborators:

Stacie {Not Just a Housewife}
Jonie {Just Between Friends}
Amy {Ameroonie Designs}
Gwen {Gwenny Penny}
Camilla {Rosy Red Buttons}
& me :0)

Check them out, there is some real talent in this bunch!


How it works: Every month there will be a theme. The six of us will come up with a project and post the tutorial on our blog, thus showing our “Point of View.” Everyone has free reign as long as it some how fits within the theme.

When it happens: The 4th Friday of every month we will post our tutorial, as well as links to the others. The best part?? We want you to be involved too!! There will be a link party where you can link up! It can be a new project, or one from the archives as long as it fits the theme!

For March, the theme is SKIRTS. Use a pattern, make one up, re-fashion one, WHATEVER, it really doesn’t matter as long as it can fits the theme. Then, link up your tutorial on MARCH 25. This month the linky will be on Stacy’s site, Not Just a Housewife. So look for it over there!

I have some interesting skirt ideas floating around in my head, with two boys and meager sewing skills they have to be interesting. šŸ˜‰ I am excited for these challenges to push me beyond where I might think I can go!

Join us and get your creativity on!

Themes:

  • Skirts March 25
  • Spring April 22nd

P.S. Don’t forget to sign up for free Tipsy updates via RSS or email.
We have decided to truncate our feed to help protect against stolen content. I apologize for any inconvenience. Please love us anyway. šŸ™‚
« Previous Page
Next Page »

  • Bloglovin
  • Facebook
  • Google+
  • Instagram
  • Pinterest
  • RSS
  • Twitter

Hi there! I'm Michelle. Mother of three little boys and one little princess. Welcome to A Little Tipsy, a place for exploring creativity and sharing inspiration.

Follow on Bloglovin


Visit Michelle Barneck {A Little Tipsy}'s profile on Pinterest.

Tutorials by Category


15 Family Reunion Games

Family Reunion Games Collage

15 Sprinkle Party Ideas

Sprinkle Birthday Party
Creative Commons License

© Copyright 2014 A Little Tipsy · Site Designed by The Fairy Blogmother · Web Hosting by RFE Hosting

This website uses cookies to improve your experience. We'll assume you're ok with this, but you can opt-out if you wish.Accept Read More
Privacy & Cookies Policy