A Little Tipsy

Creative Tips & Ideas

  • home
  • About Me
  • the tipsy top
  • press
  • projects
  • contact me
[print_thumbnail_slider]

DIY Under $5: Easter Printables

March 30, 2011 By Michelle Barneck 33 Comments

I wanted something meaningful for my Easter display this year to remind us what that Easter is more than bunnies and baskets full of treats. I made this printable with the words to “I Know That My Redeemer Lives” a hymn written by Samuel Medley.

The best thing about printables is they are free! I made mine in dark purple as a part of a display I will be debuting soon, but I wanted to get this out there if you would like to use it! I printed mine to fit an 8×10 frame. Click the pic to go to photobucket to download.

Photobucket


Click the thumbnails above to print in
Black, Green, or Lavender.

So now it’s time to link up!

Please remember:

  • Only link to your own projects that cost you $5 or less (price does not have to include items you had on hand)
  • You can link past projects that fit the dollar limit
  • Please link back so others can join the party

DIY under $5

P.S. Don’t forget to sign up for free Tipsy updates via RSS or email.

We have decided to truncate our feed to help protect against stolen content. I apologize for any inconvenience. Please love us anyway. 🙂

Utah Bloggers Meetup

March 28, 2011 By Michelle Barneck 11 Comments

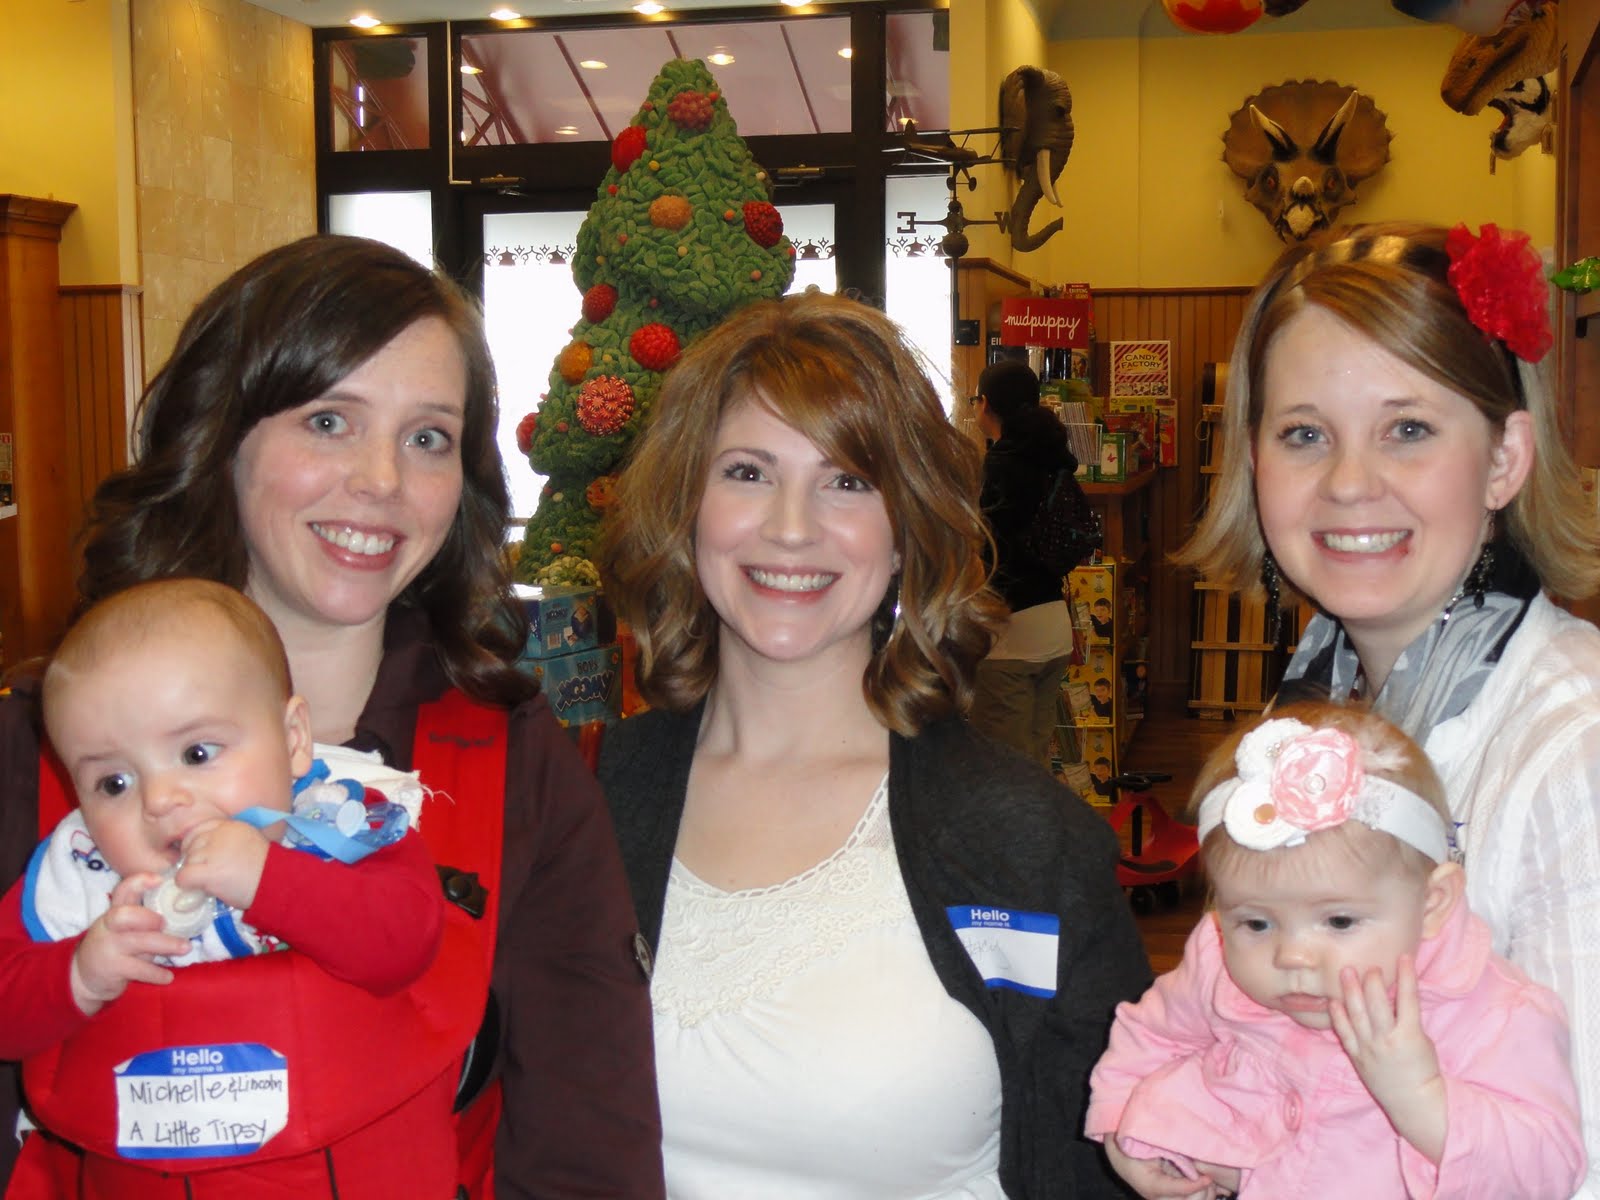
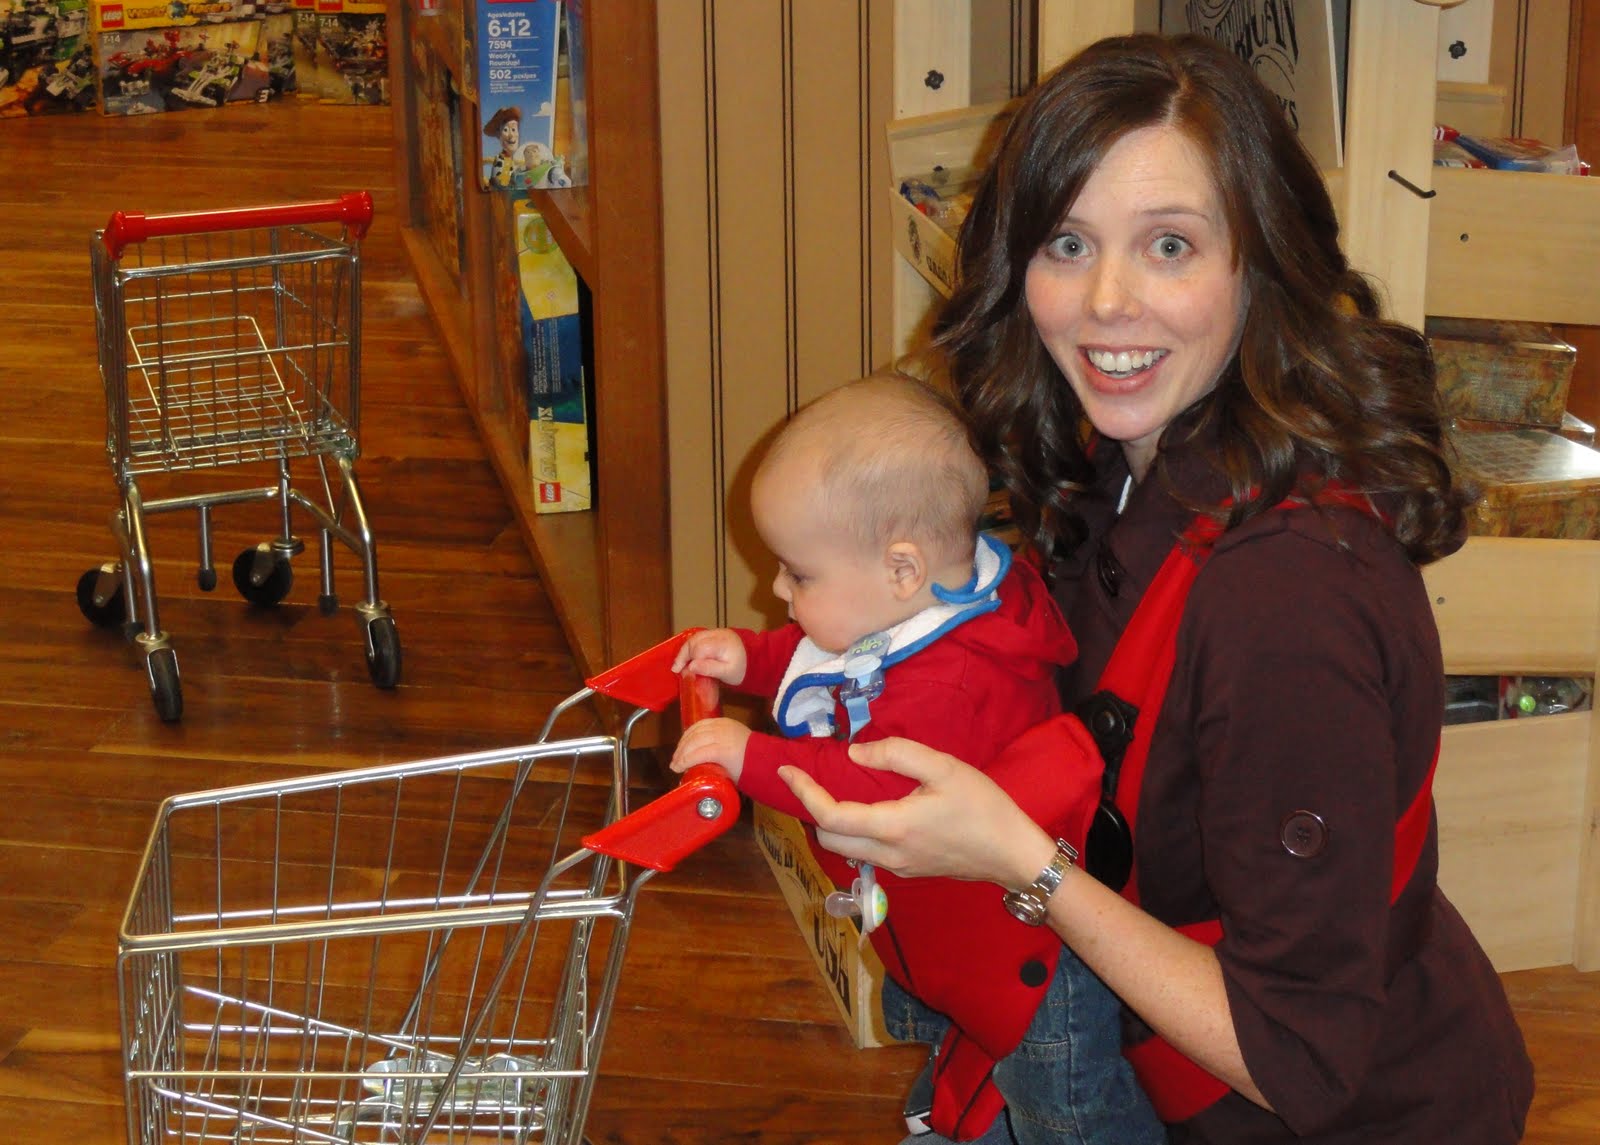
This weekend I got to attend a super fun event with the Utah Bloggers Meetup. It was held down at Blickenstaff’s down in Provo. I had no idea such a fun store existed! It was like the love child of Willy Wonka and FAO Schwarz!

I so need a wall mounted dinosaur head for my 3 yr old’s paleontology room and a car grill for our transportation nursery!

Everywhere you turned there was something fun to look at, play with or ride! Lincoln was going crazy. He thought he’d died and gone to heaven!


Oh, and did I mention the adult sized rocking horse?!

Stacy the horse riding pro looking calm and collected.

Amanda got on after she took my pic and said, “I’m going to get on and just smile, not be eccentric like you.”

What’s that supposed to mean?

Oh, that’s what that means. Kids, stay away from the crazy faced lady with 17 double chins.

All in all it was a great time. Amanda and I toted around our twin babies (ok so they’re not twins, but they were born on the same day). And Stacy and I raided the Juicy Pear Jelly Belly Bin because we all know they are the best!

It was great to see some familiar faces:
Camille, April, Pamela, Brittany, Kim, Lindsey, Carly

and also meet some new ones!
Carrian, Gayle, Mindi, Lindsey, and Heidi.

Thanks for the good times Blickenstaff’s and Aiden can’t get over the chocolate rocks!

P.S. Don’t forget to sign up for free Tipsy updates via RSS or email.

We have decided to truncate our feed to help protect against stolen content. I apologize for any inconvenience. Please love us anyway. 🙂
General Conference Coloring

March 26, 2011 By Michelle Barneck 5 Comments

Here’s a fun General Conference coloring page to add to your packet! I thought rain was appropriate for April.

Click on the image above to make it larger for printing.

Original image sources: Rain, Flowers & Bee

Here are some ideas you could use to make a General Conference packet.


Spring/Easter themed general conference coloring & activities

Salt Lake Temple Sewing Card
Temple sewing card and 1st Presidency coloring page

As always, Sugardoodle has a ton of fabulous general conference packets for all ages.

Even my girl Alison from Oopsey Daisy got in on the general conference packet action!

I just got back from the YW general broadcast and it was amazing as usual!
I can’t wait for next weekend!

——————————————————————–
Post sponsored by:

P.S. Don’t forget to sign up for free Tipsy updates via RSS or email.

We have decided to truncate our feed to help protect against stolen content. I apologize for any inconvenience. Please love us anyway. 🙂

Making a Bedskirt and DIY Toy Storage Pockets

March 25, 2011 By Michelle Barneck 16 Comments

Remember a while back when I told you I was part of a fun new group called Point of View who would be showing you our takes based on a theme? Well, it’s time!! Today is the day. The reveal if you will. This month’s theme was SKIRT. So take a look around, see which point of view matches yours and even link up your own! But, first, take a look at mine cause I am like a proud project parent just waiting to show what I have been working on.

One of these things is not like the other…

1. Amy {Ameroonie Designs}
2. ME & here you are for the tutorial!
3. Camilla {Rosy Red Buttons}
4. Gwen {Gwenny Penny}
5. Stacy {Not Just a Housewife}
6. Jonie {Just Between Friends}

You can link up your point of view on the skirt theme over on Stacy’s page!

Being the lack lustre seamstress in a house full of boys, here is my point of view on the skirt theme. Enter the no-sew bedSKIRT and DIY toy storage pockets upcycled from an old cargo SKIRT for my 3 year old’s room! See how I worked the theme in there. 😉

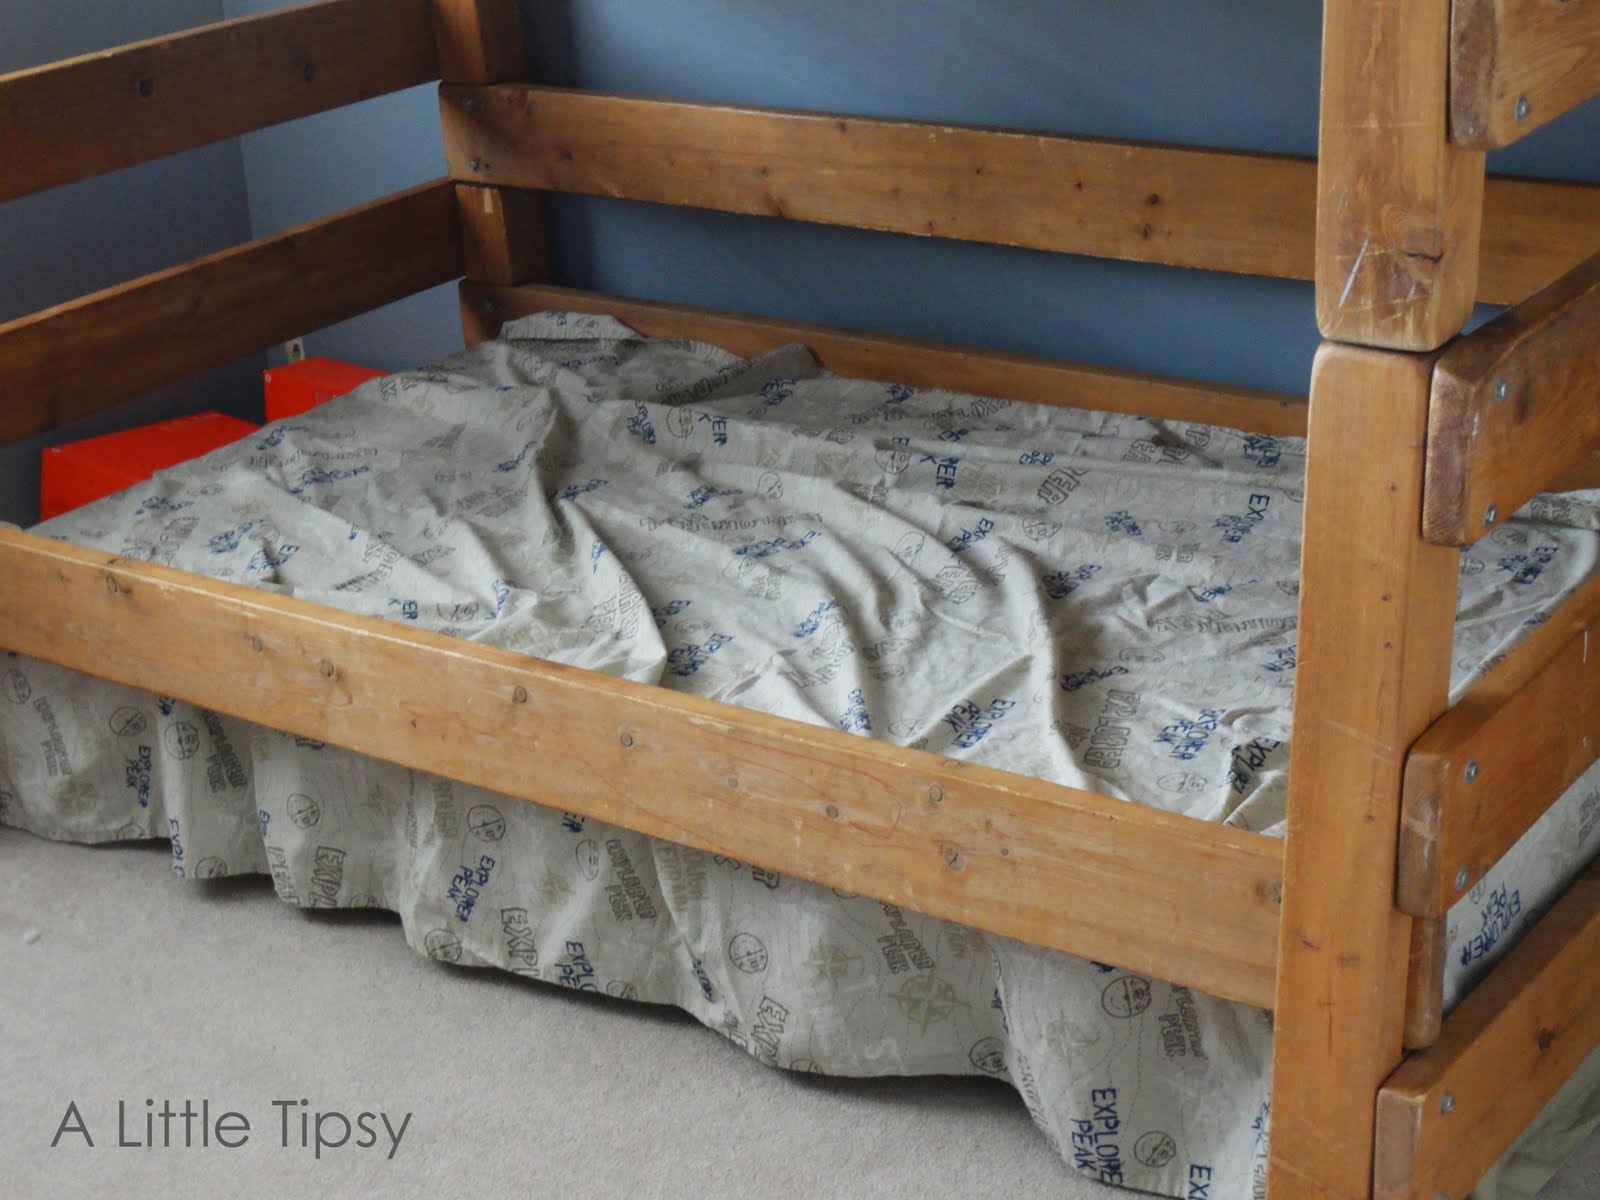
Let’s start off with making a bedskirt. Seriously, this is a no-brainer people. It took me all of 5 minutes and was, in true Tipsy fashion, FREE!

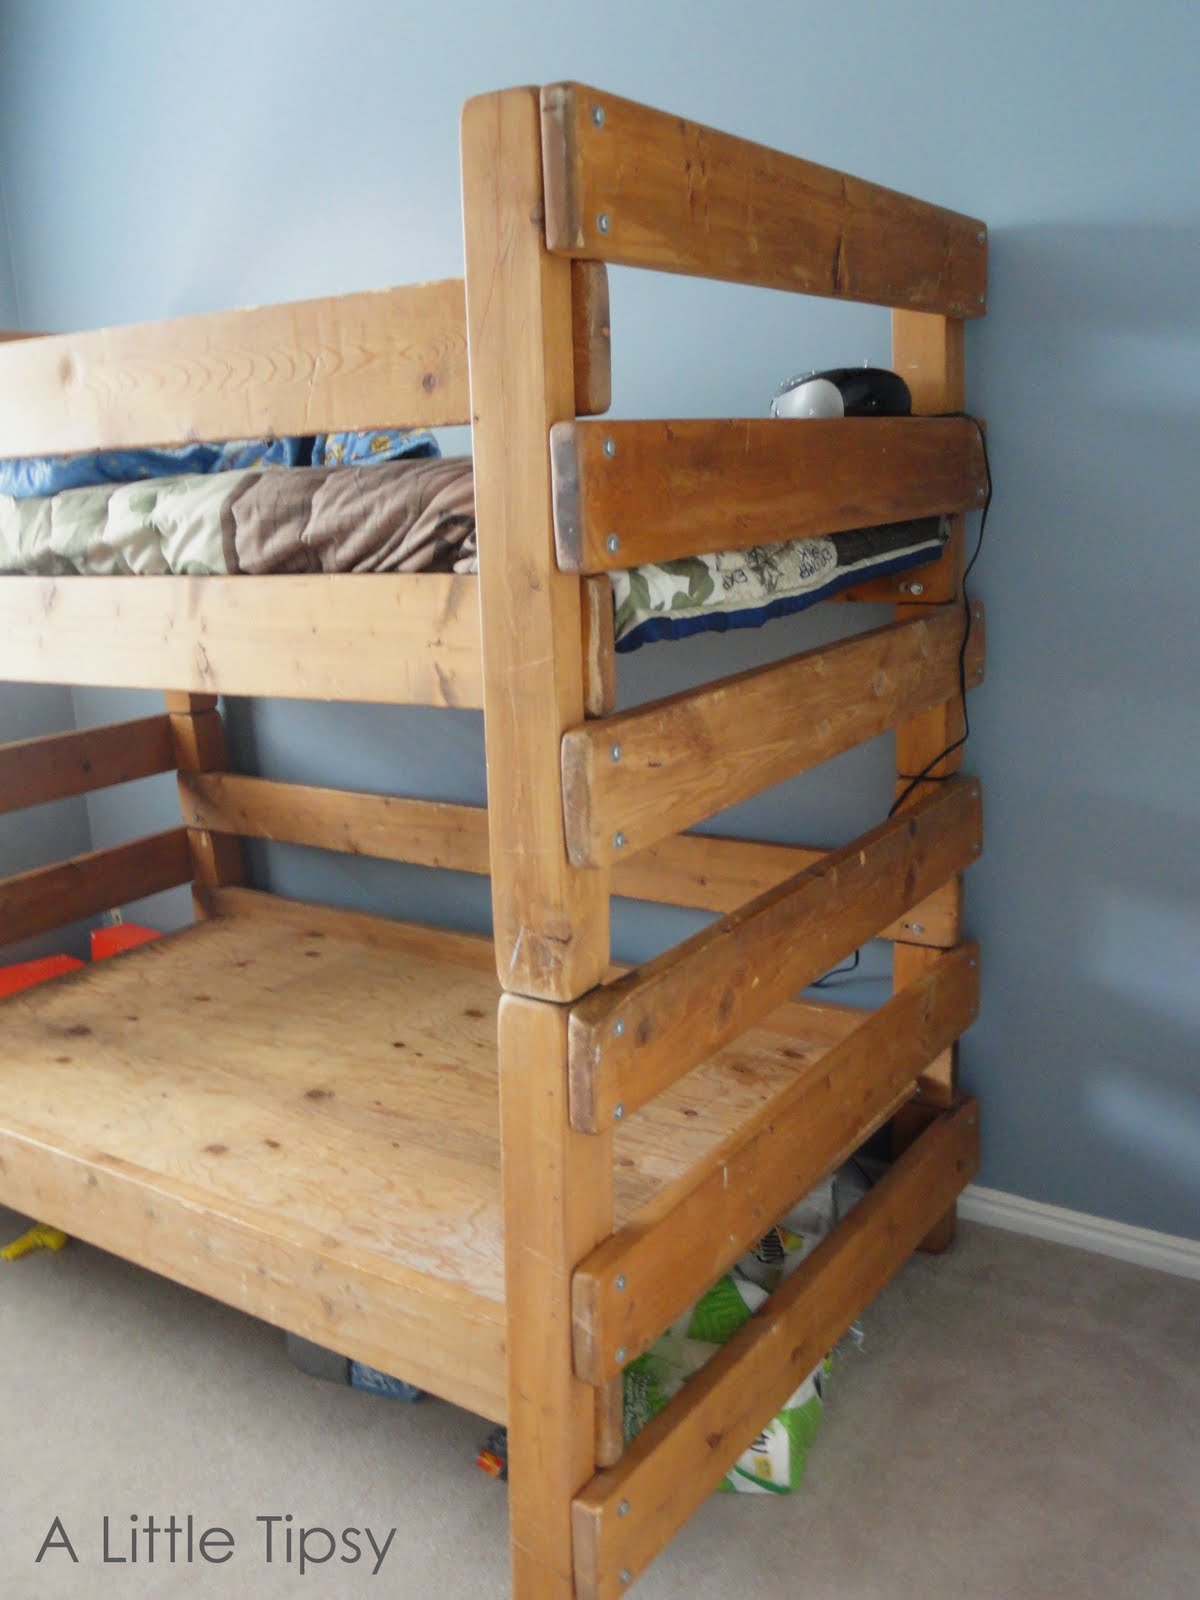
We have this bunkbed that my father-in law built and my husband grew up sleeping on. Sentimental, yet fun and rustic, perfect for the developing Paleontology theme (see more on that soon). There is always a collection of junk under there, some from my latest Costco run and some from the little guy hiding when I catch him awake during nap time. Either way, not pretty and full of clutter.

So here’s the kicker, grab the flat sheet (which my son refuses to sleep with anyway) drape it over the bed frame so it ripples a bit with the edges hanging to the floor.

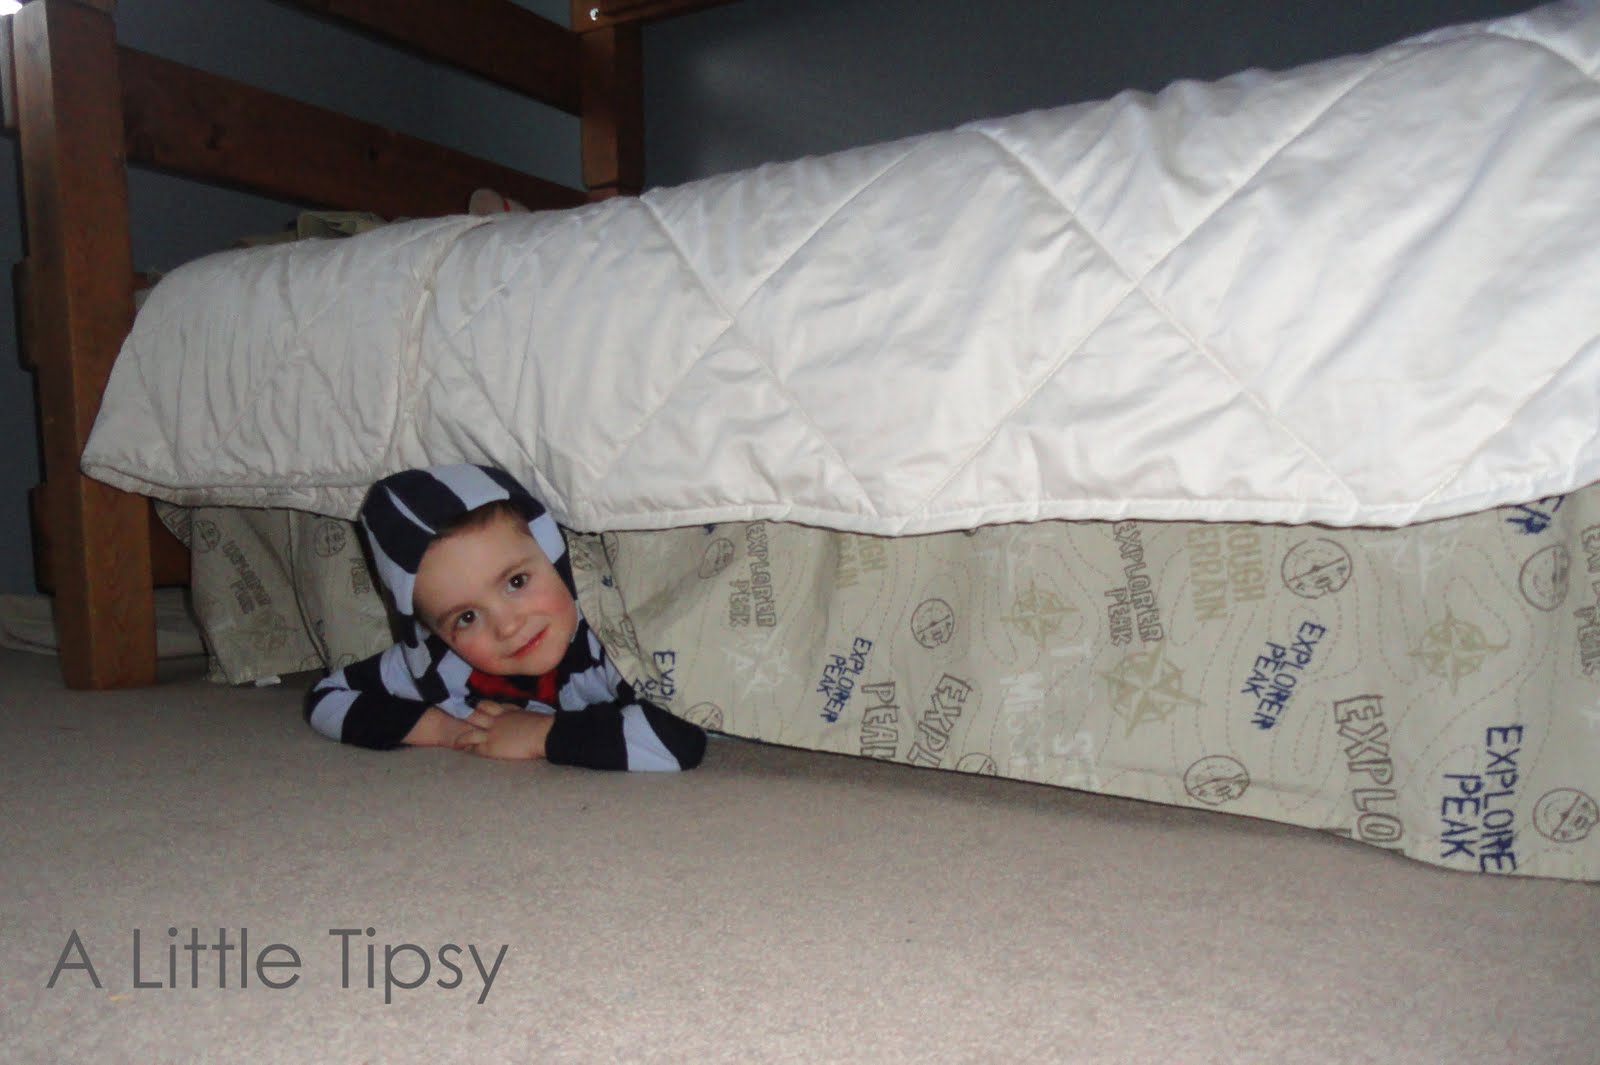
Plop the mattress and other bedding on and ta da, you’ve got a matching set!

And now it’s an even cooler hiding spot.

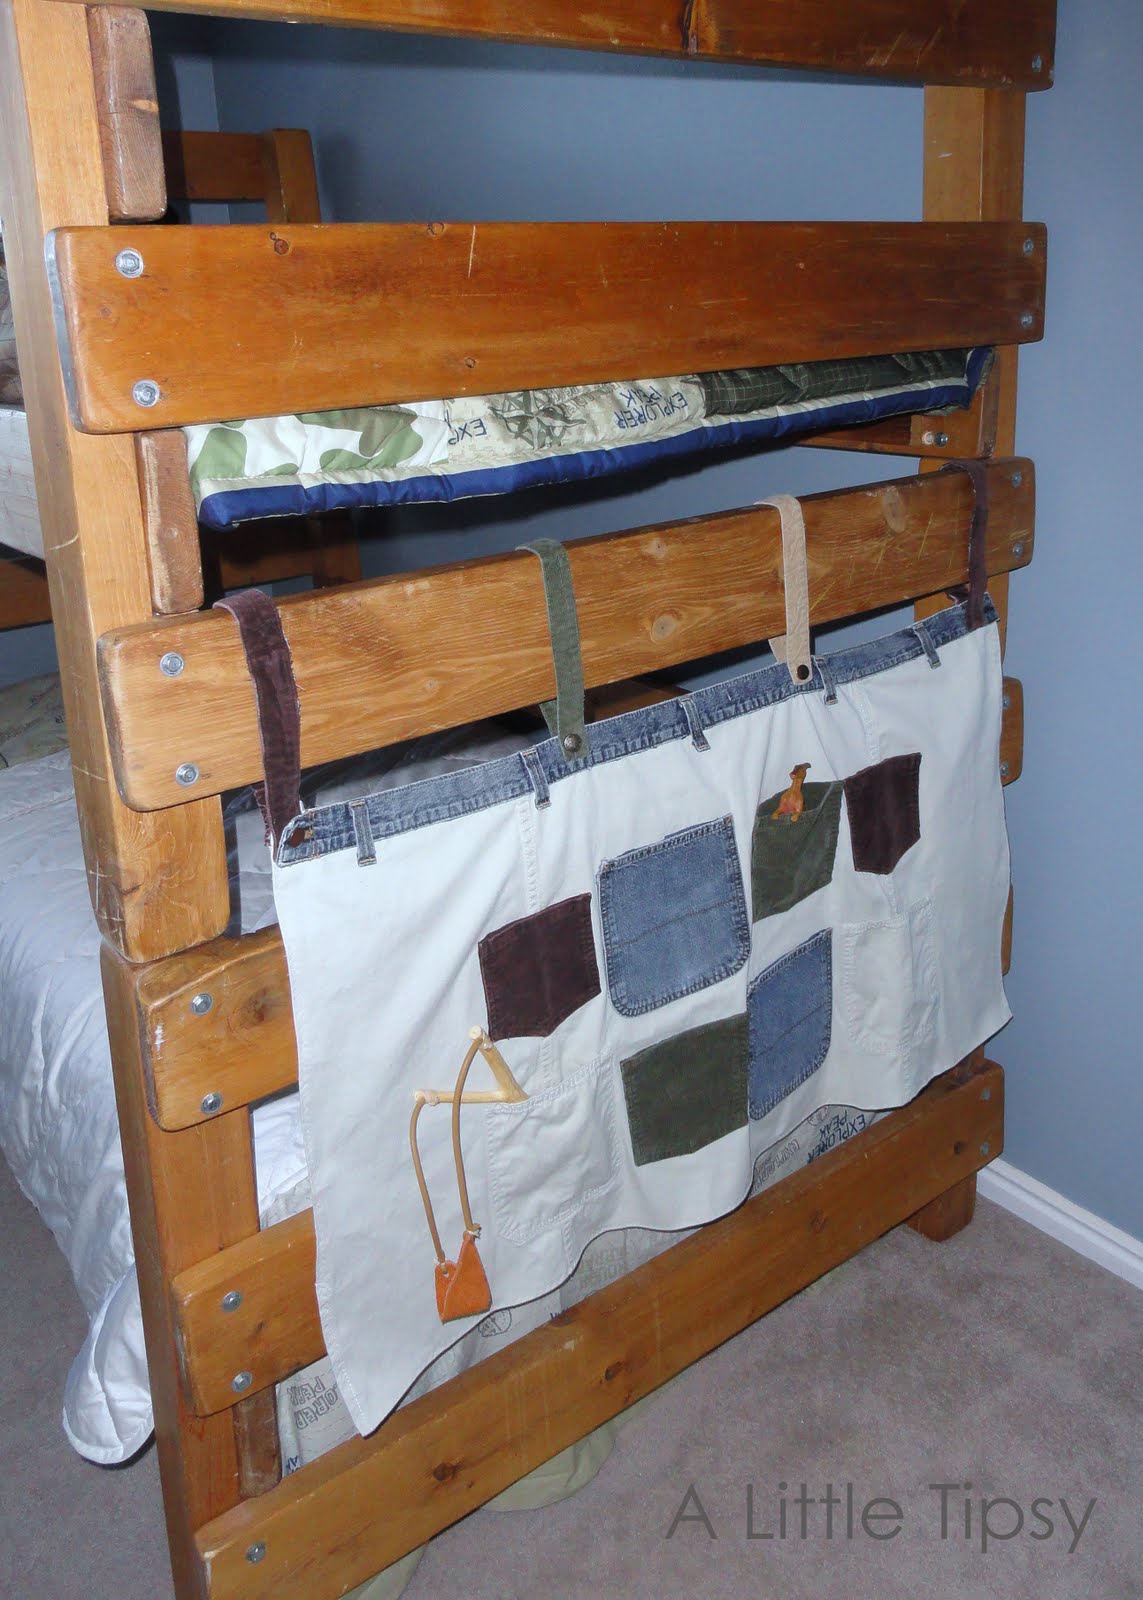
Now for the bare stair. My son always climbs the other side of the bed, so I thought it would be fun to make some DIY toy storage for him to keep all his little treasures. And get this, this project was free too! My husband is going to shout for joy!

It all started with this fantastical box of a cargo skirt that I have had for years and have not worn in well, years. Add to it the pair of hubs jeans that bit the dust recently (pretty sure he wore those in our engagement pics). Then, just for kicks take the pockets from a couple of corduroy maternity pants that were hand me downs from someone much shorter than myself.

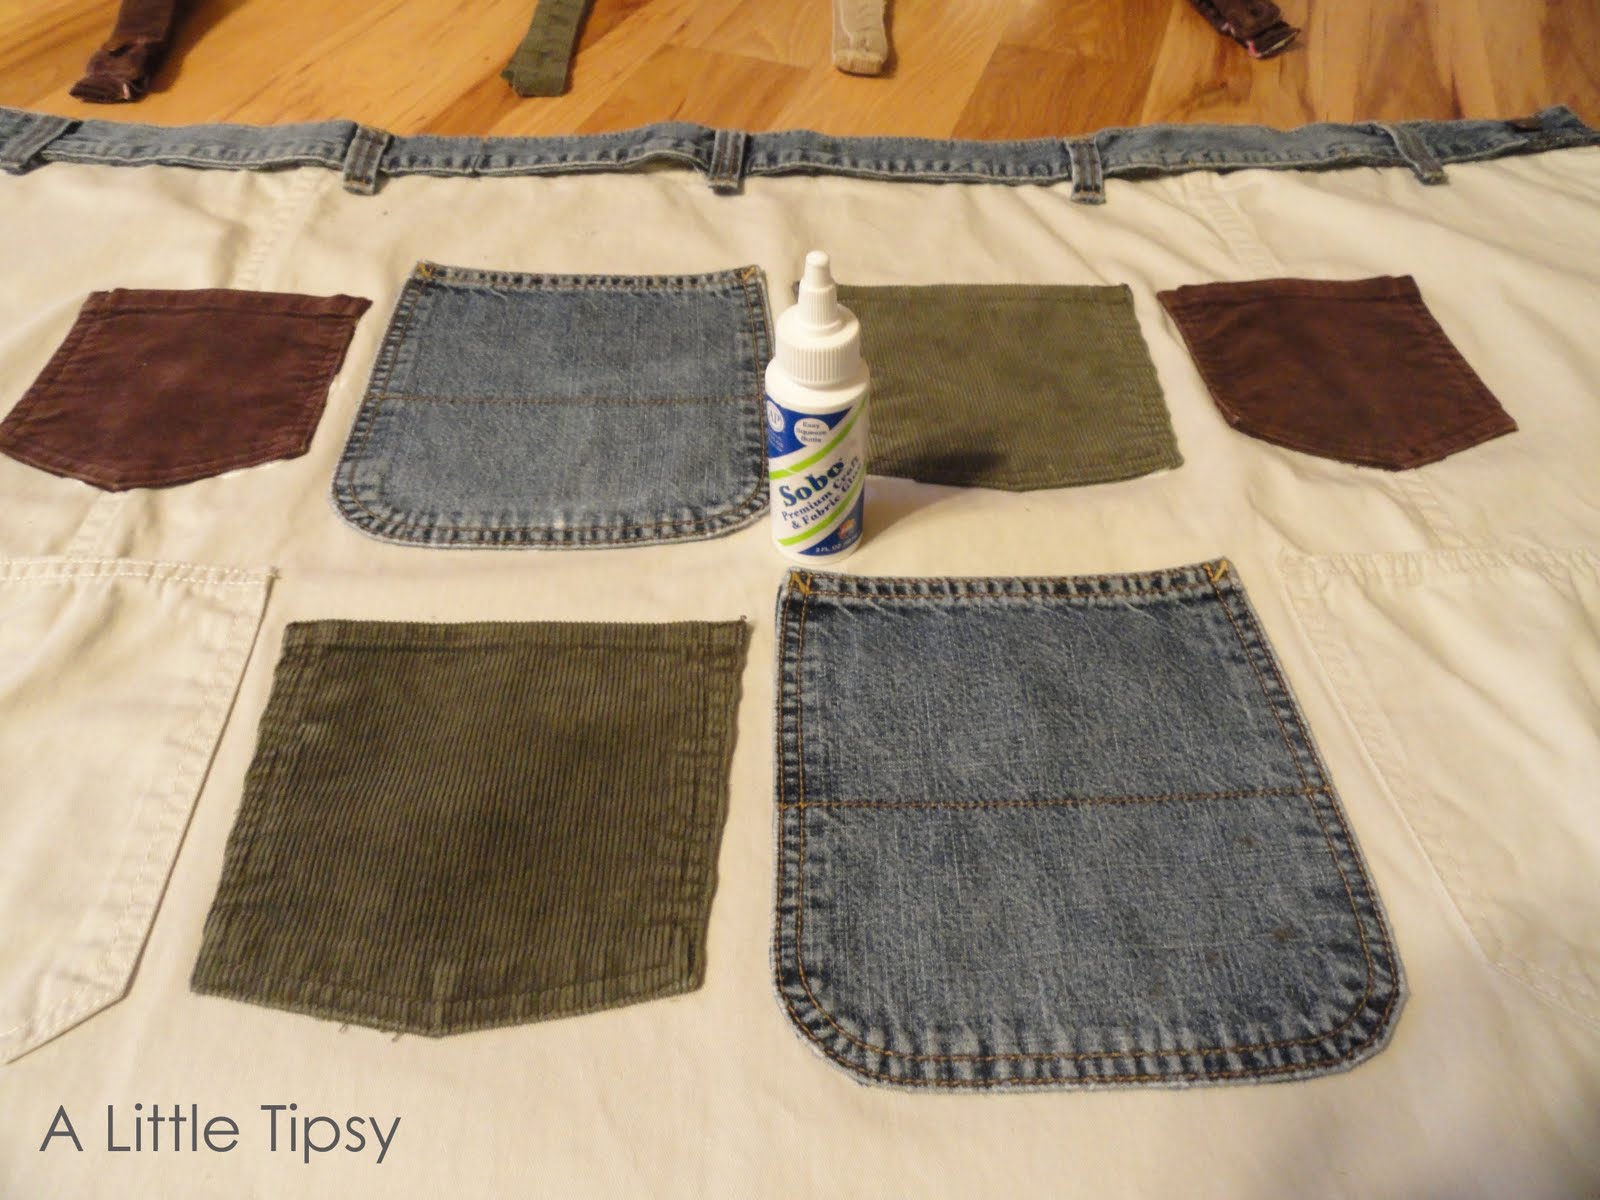
Slice and dice that baby right down the back seam so it’s a big open rectangle. Cut the pockets off the pants including the back fabric so it is a little envelope. This way the pocket is more durable


Grab your pockets and waistbands (used for hanging on to the steps) and play around with them until you get a placement that you like.

I wanted to keep it as no-sew as possible so I attached all the pockets with fabric craft glue.

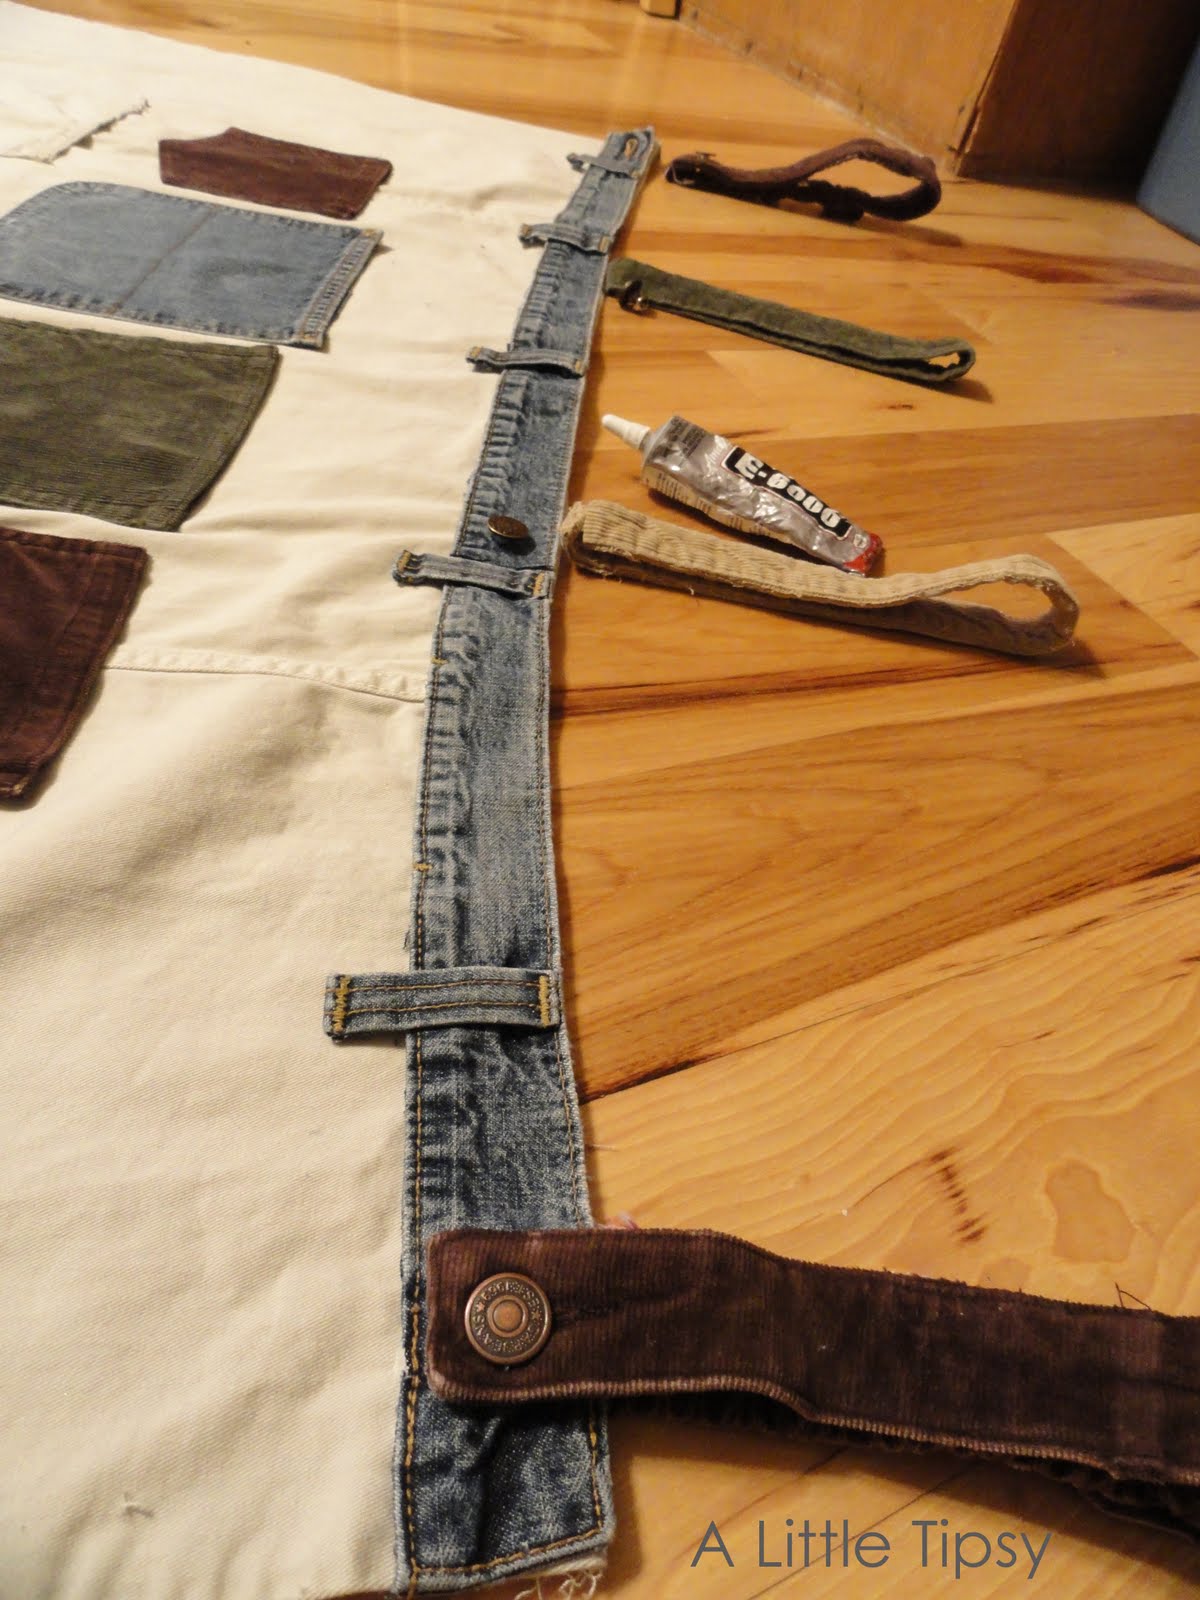
I wanted each of the loops to have a button and be removable so I could take the toy storage pockets off the bed. I glued the back of each loop between the denim waistband and the cargo skirt to secure it. Since I used waist bands from pants, I automatically had a button on one end and a button hole on the other. So I used the button hole on the loop’s waistband and the button on the other half of the waistband to make the two end loops.

In the middle, I glued a random denim button on and used velcro for the re-usable closure. On the other one I used a denim button pin (in a pack of pant waist extenders) I had from the Dollar Tree.

Let it all dry overnight so it is secure and then roll the edges of the skirt back to have a clean edge and zig zag stitch with coordinating thread.

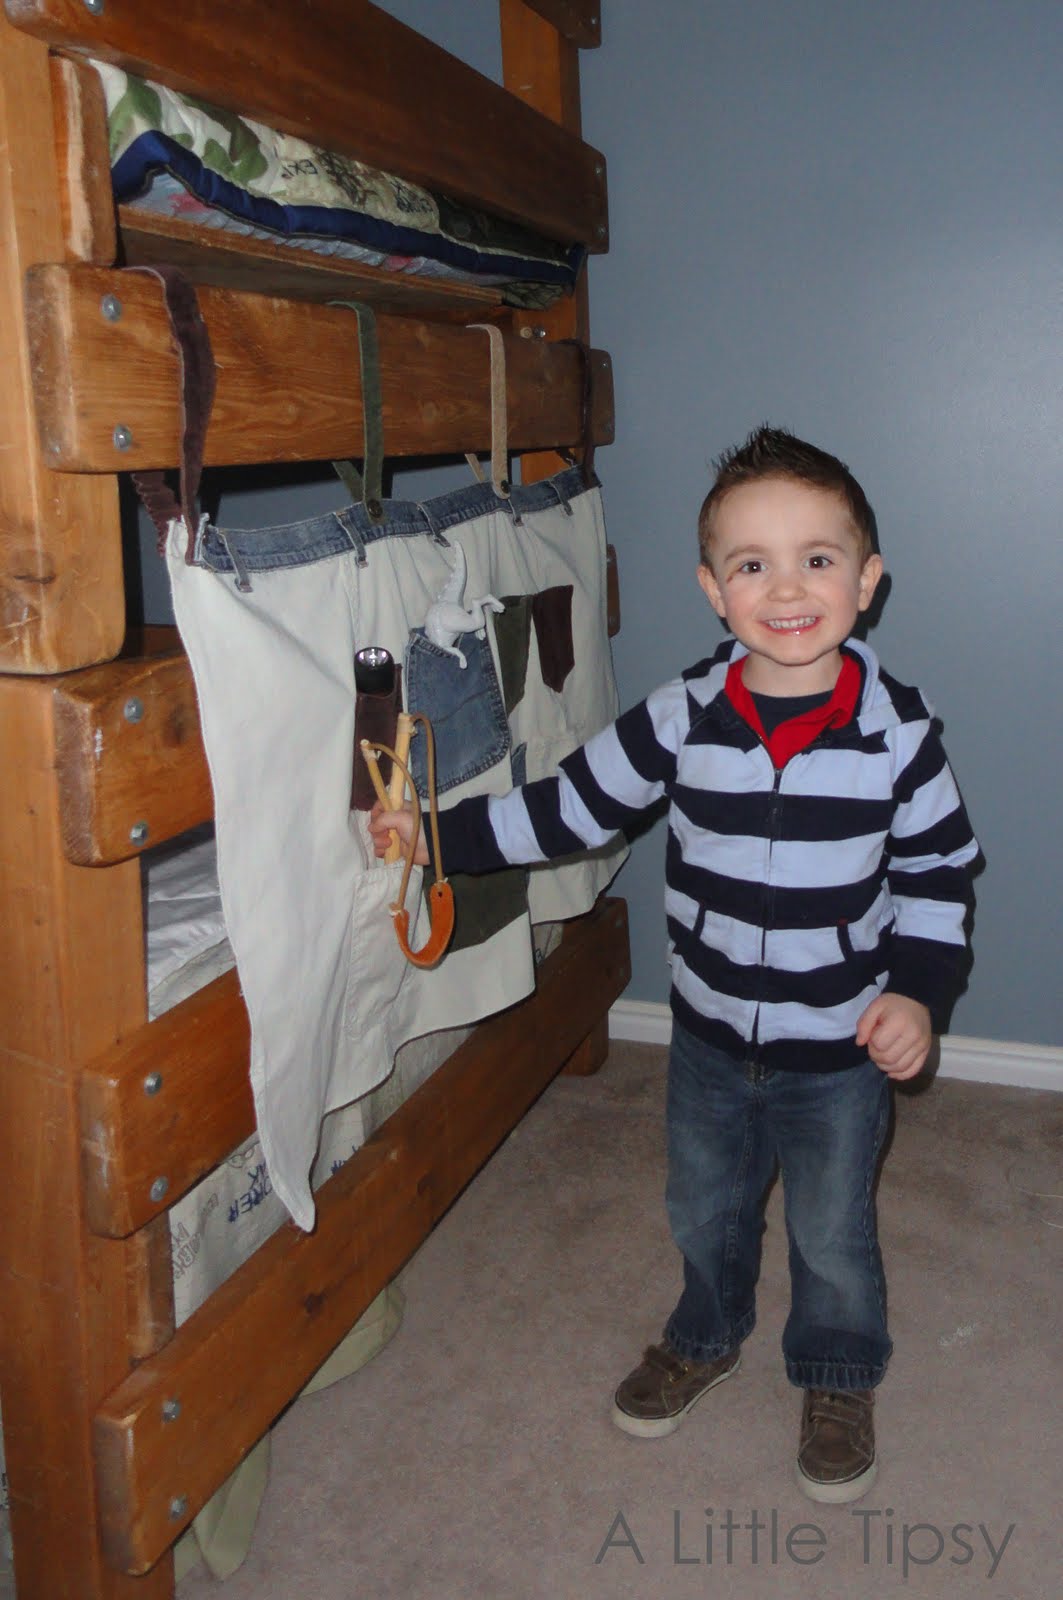
Hang your DIY toy storage pockets and let your little one fill them with their treasures!

The unveiling…

Now that you’ve seen my point of view on the SKIRT, go check out some of the others and link up your skirt if you have one! We’d love to see it!

P.S. Don’t forget to sign up for free Tipsy updates via RSS or email.

We have decided to truncate our feed to help protect against stolen content. I apologize for any inconvenience. Please love us anyway. 🙂
« Previous Page
Next Page »

  • Bloglovin
  • Facebook
  • Google+
  • Instagram
  • Pinterest
  • RSS
  • Twitter

Hi there! I'm Michelle. Mother of three little boys and one little princess. Welcome to A Little Tipsy, a place for exploring creativity and sharing inspiration.

Follow on Bloglovin


Visit Michelle Barneck {A Little Tipsy}'s profile on Pinterest.

Tutorials by Category


15 Family Reunion Games

Family Reunion Games Collage

15 Sprinkle Party Ideas

Sprinkle Birthday Party
Creative Commons License

© Copyright 2014 A Little Tipsy · Site Designed by The Fairy Blogmother · Web Hosting by RFE Hosting

This website uses cookies to improve your experience. We'll assume you're ok with this, but you can opt-out if you wish.Accept Read More
Privacy & Cookies Policy