A Little Tipsy

Creative Tips & Ideas

  • home
  • About Me
  • the tipsy top
  • press
  • projects
  • contact me
[print_thumbnail_slider]

Craftaholic of the Month!

May 28, 2011 By Michelle Barneck 1 Comment

I am totally honored to be Craftaholic of the Month over on

I am a HUGE fan of Linda and get this, we are from the same little town in Northern Utah. She has a million amazing ideas and projects like these…
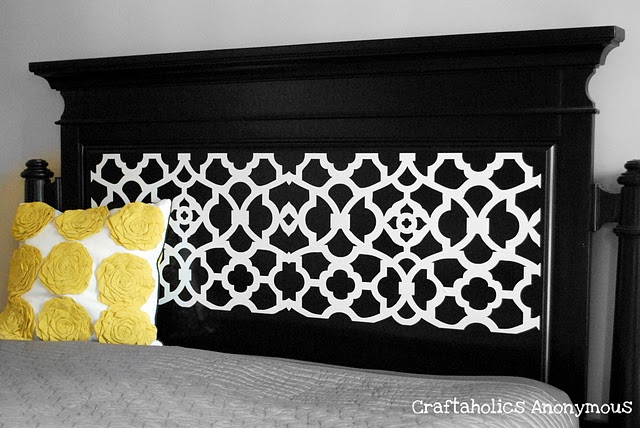
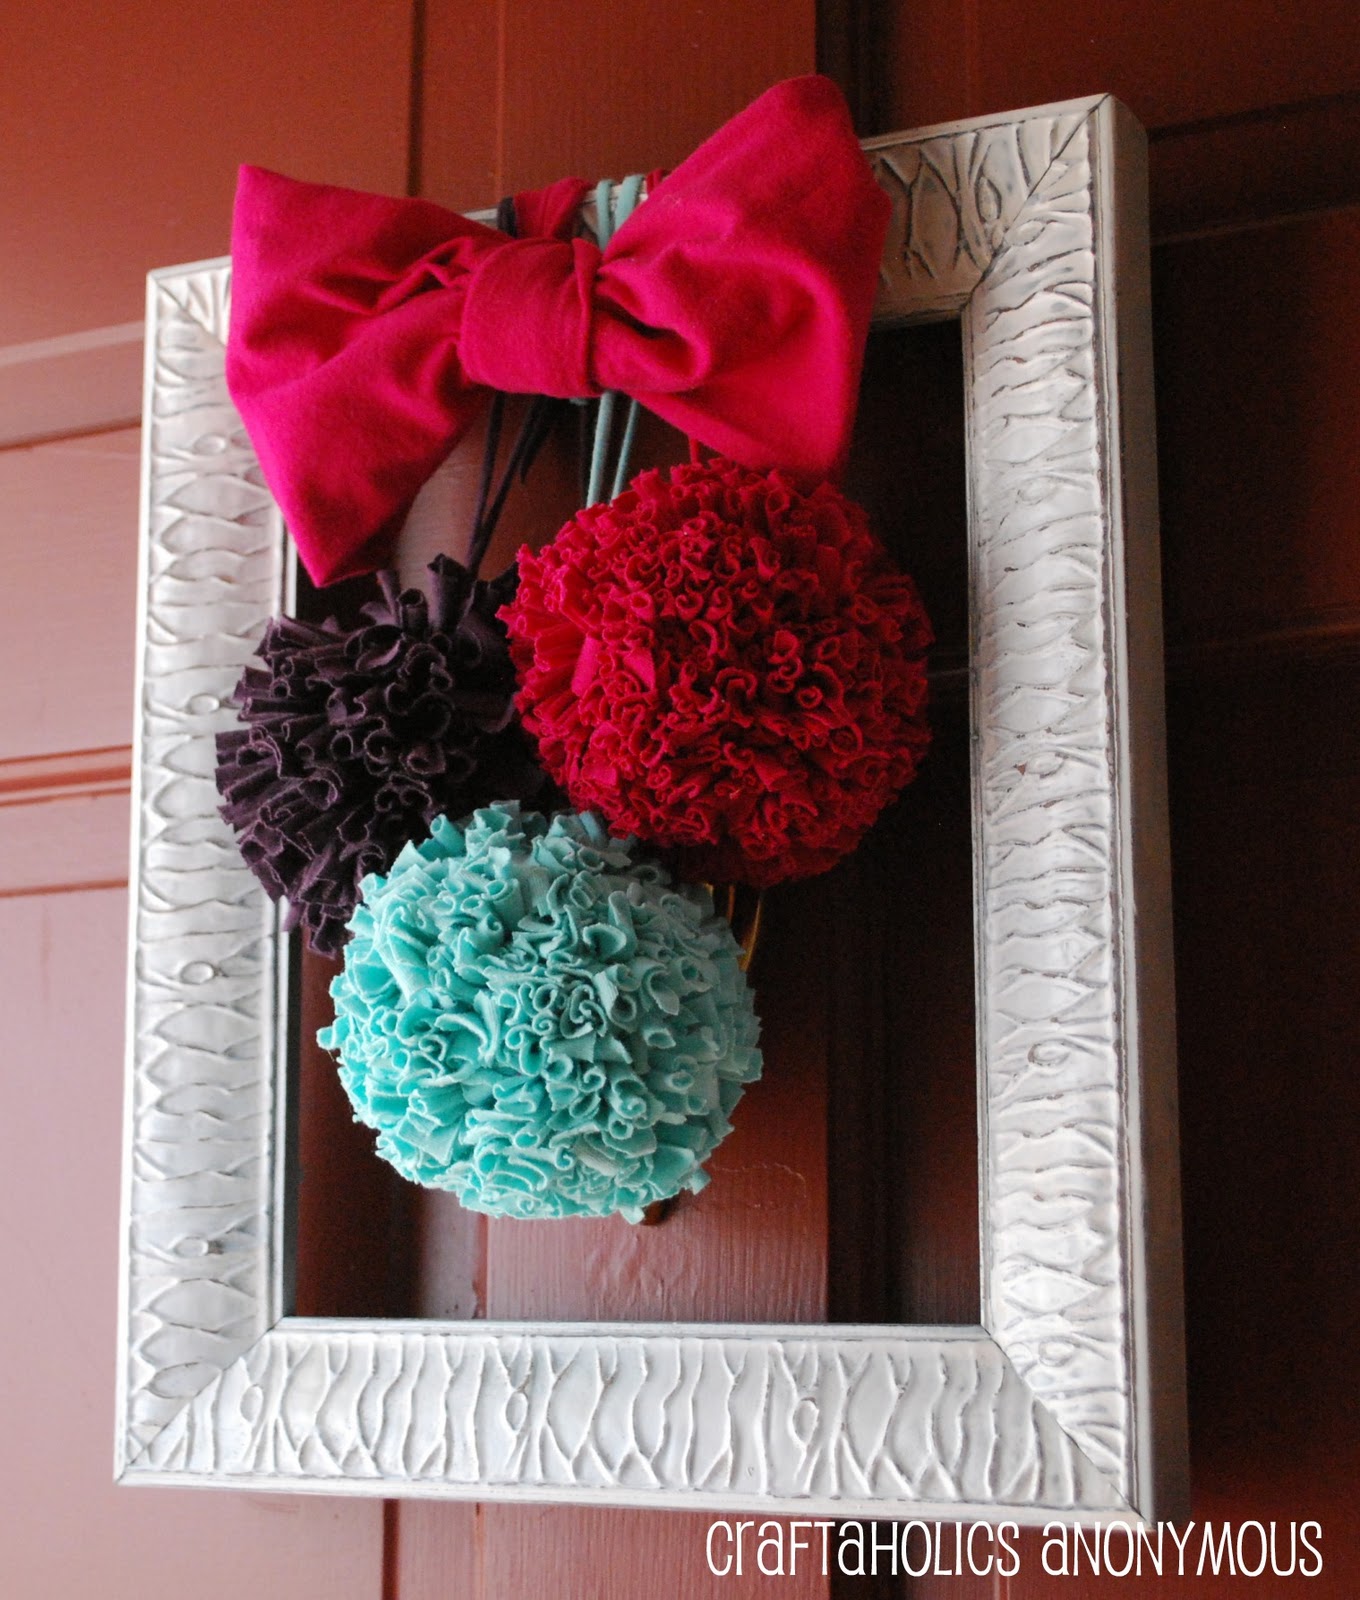
Headboard Makeover


T-shirt Pom Poms


Run over if you want to see my therapy session with her!

P.S. Don’t forget to sign up for free Tipsy updates via RSS or email.

We have decided to truncate our feed to help protect against stolen content. I apologize for any inconvenience. Please love us anyway. 🙂

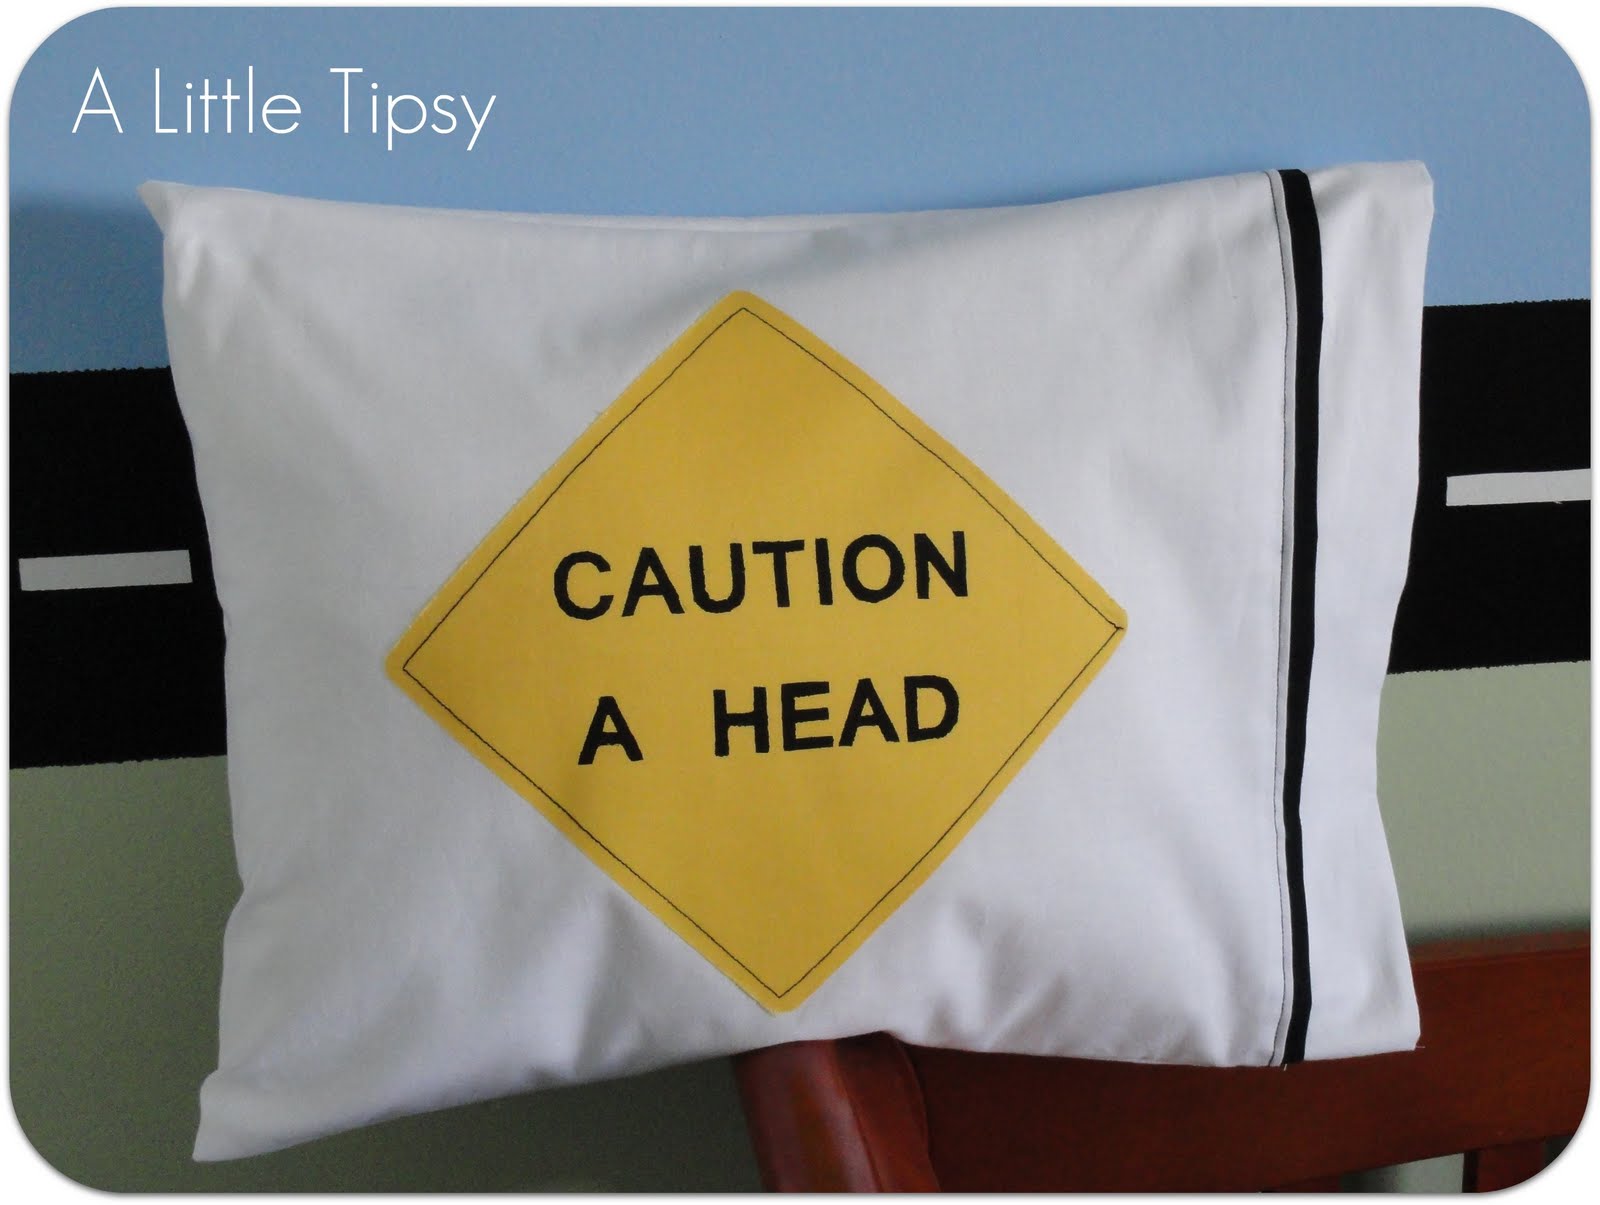
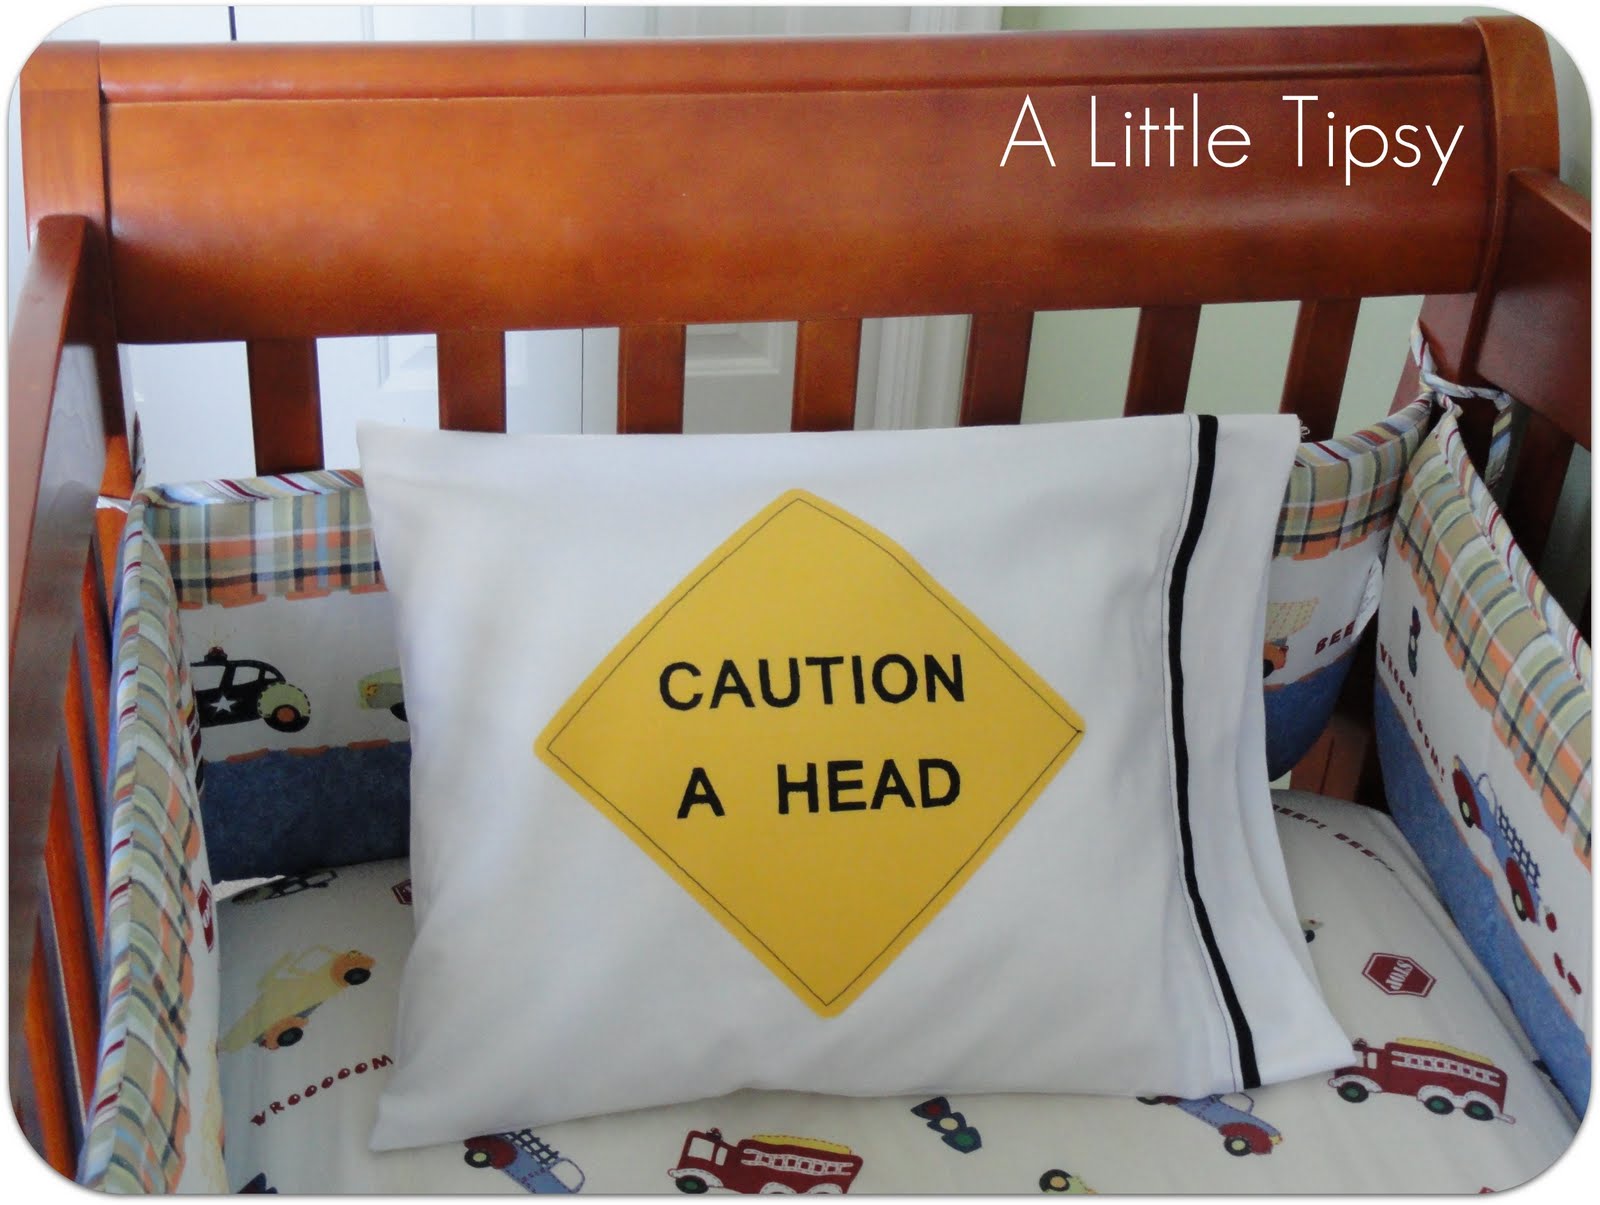
Point of View: Pillows {Caution A Head Pillowcase}

May 27, 2011 By Michelle Barneck 6 Comments

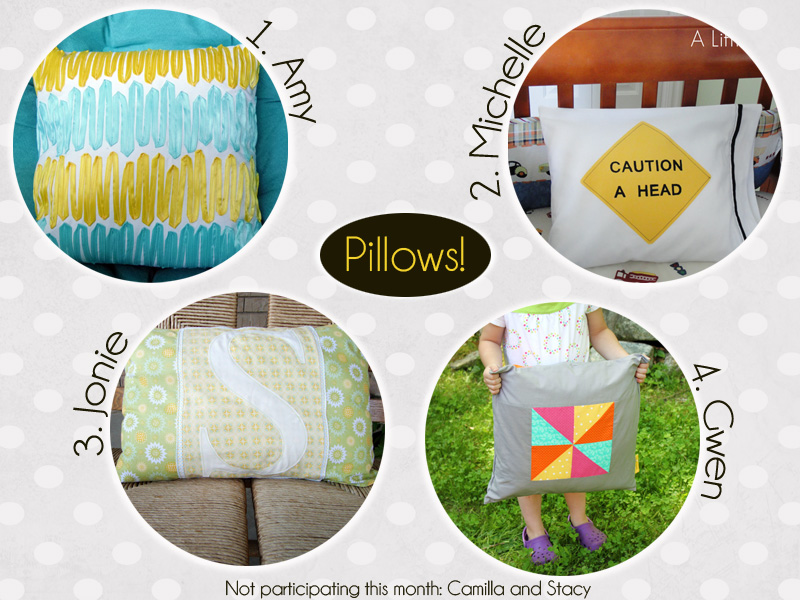
Welcome, welcome to another month of Point of View where, on the 4th Friday of each month, we each show you our takes on a particular theme. This month’s theme is PILLOWS. Take a look at the fun projects we have lined up for you!

1. Amy {Ameroonie Designs}
2. ME & here you are for the tutorial!
3. Jonie {Just Between Friends}
4. Gwen {Gwenny Penny}

I have been meaning to make this pillowcase for months. Like since my older son sleeping was in the transportation themed nursery, oh nearly 8 months ago now. I even purchased the supplies and had them in a bag starring me down any time I pass them. My recent girls craft weekend finally gave me the uninterrupted time and motivation to pull out the bag and get it done.

Why did I wait so long?! I adore this pillowcase!!!

It makes me chuckle inside every time I think about it.

So here’s the DL so you can make a pillowcase of your very own.

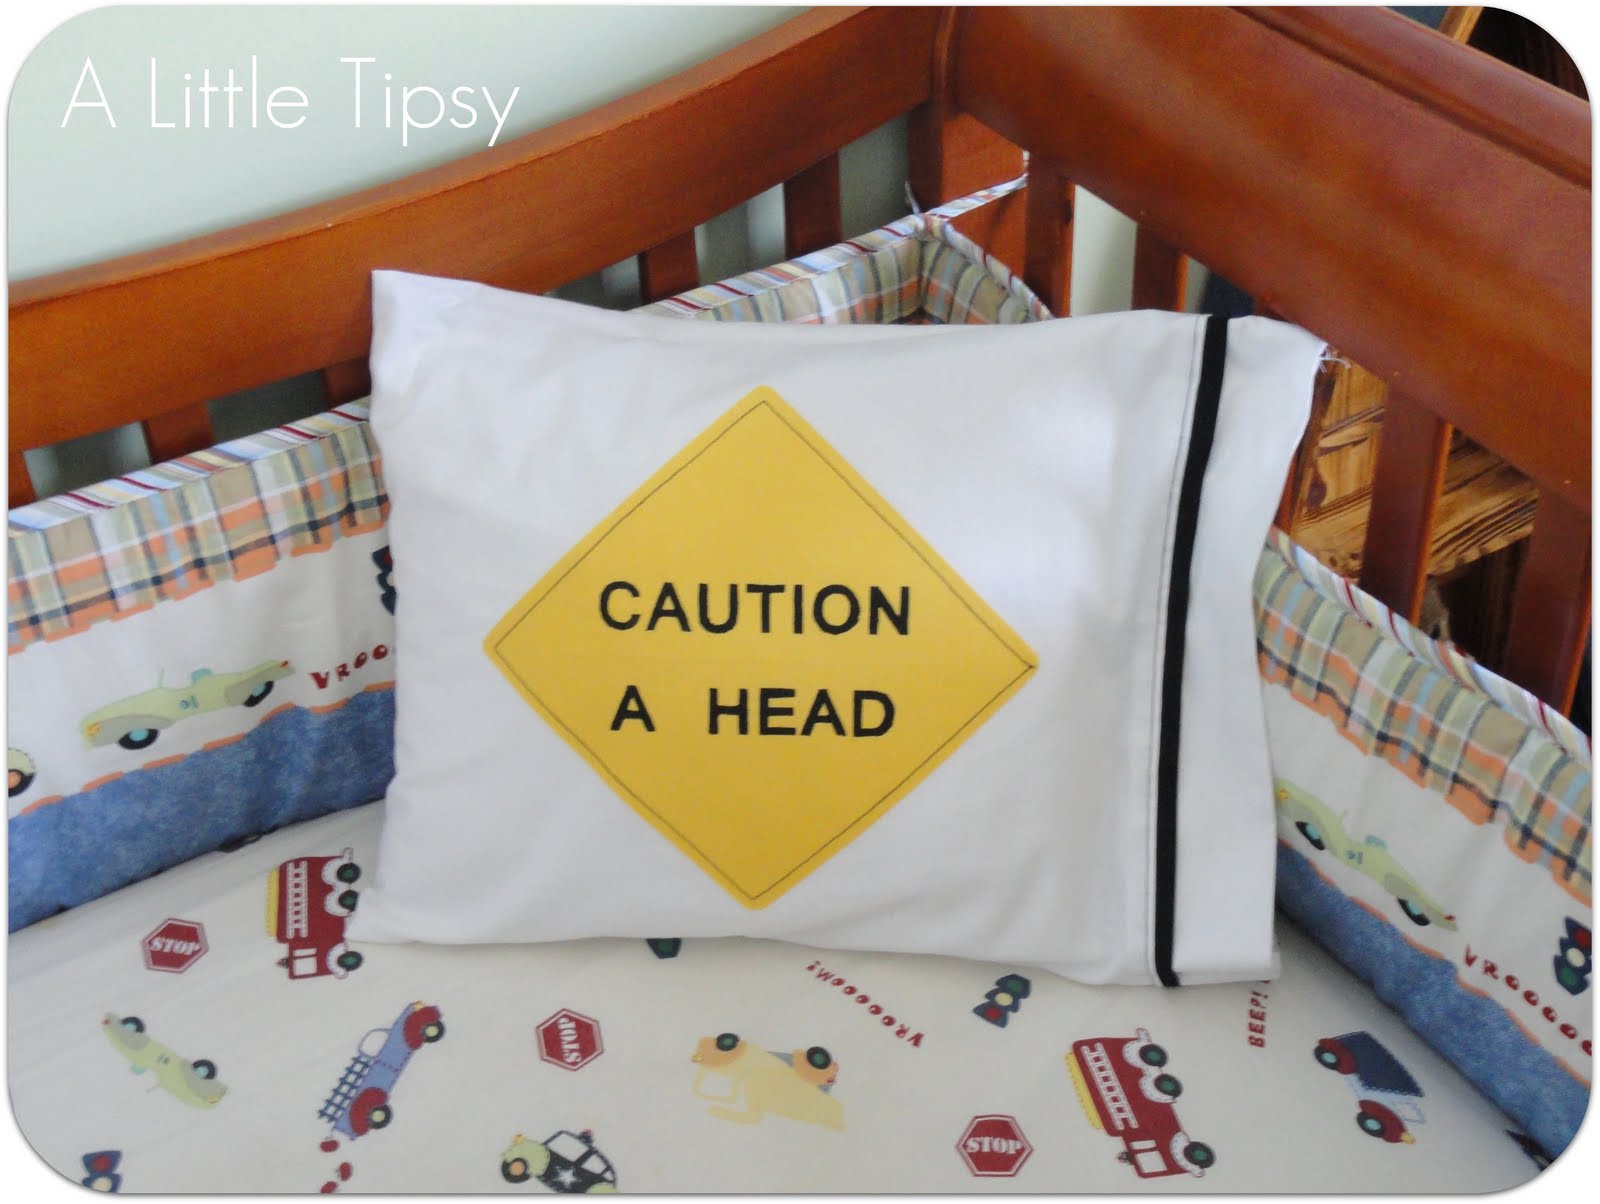
{CAUTION: A HEAD} Pillowcase

Supplies:
  • White cotton fabric
  • Yellow cotton fabric
  • Black cotton fabric
  • Black thread
  • White thread
  • Fabric interfacing
  • Iron
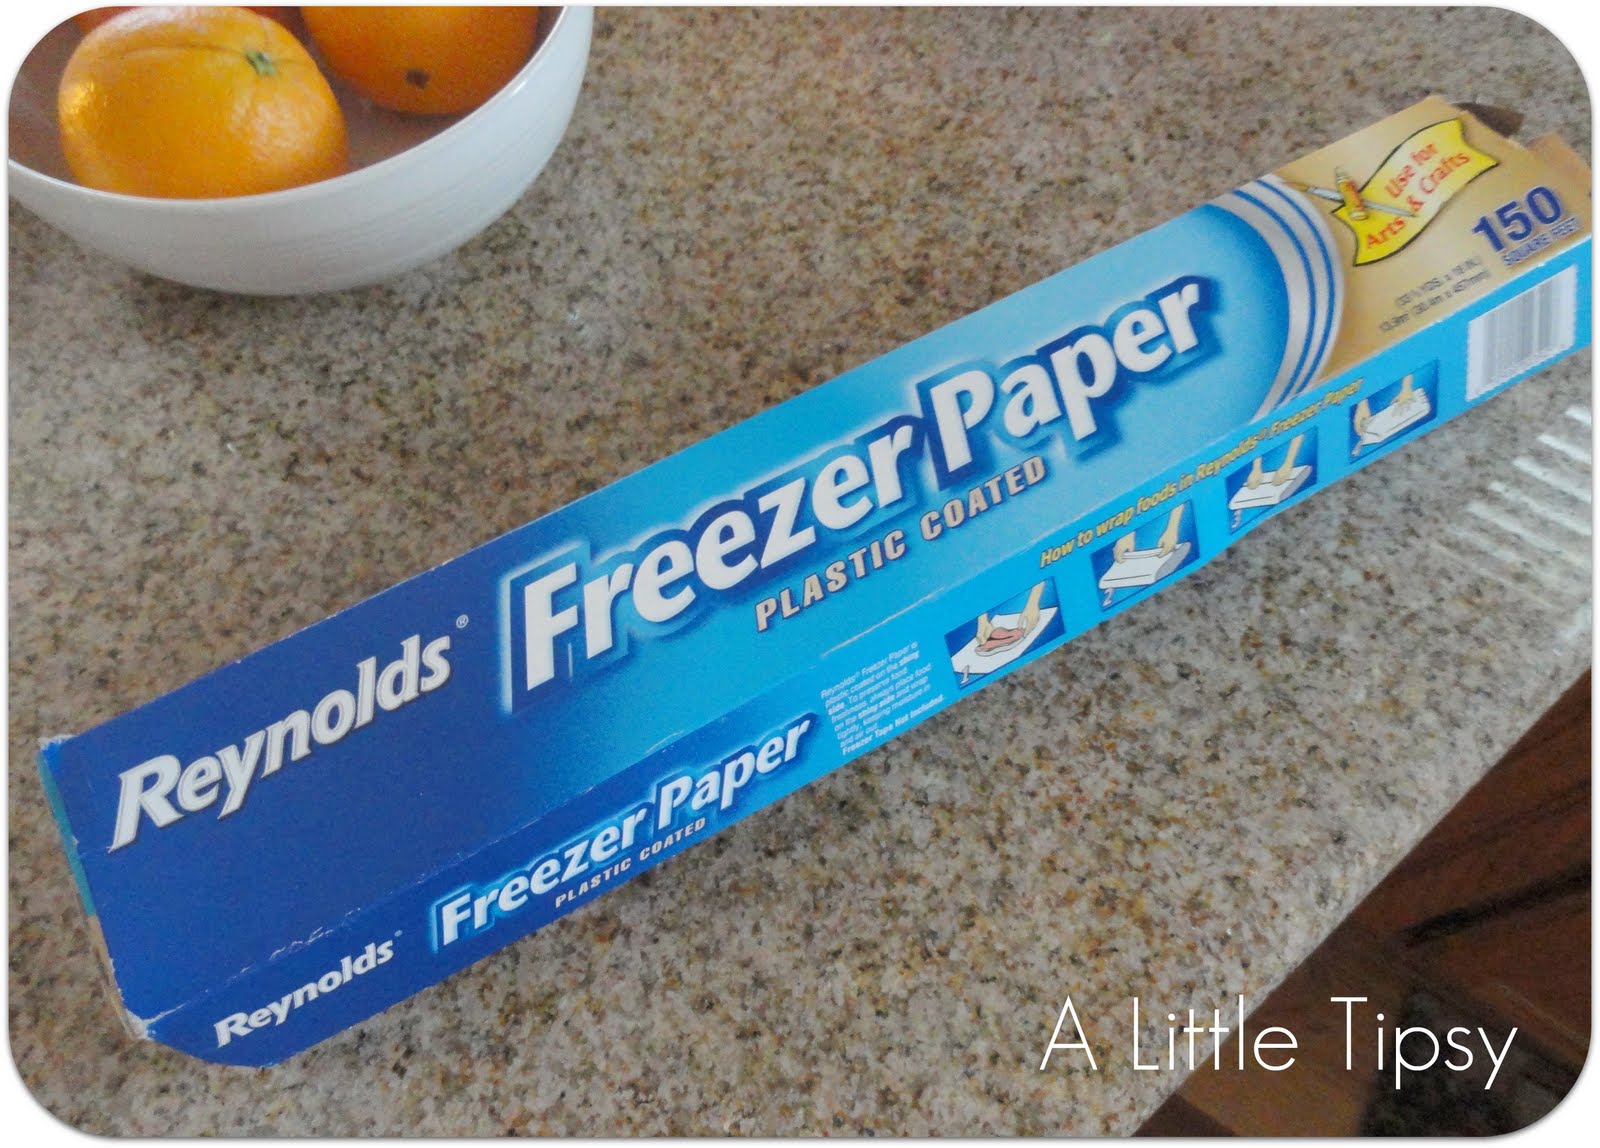
  • Freezer paper
  • Printer
  • Cutting board
  • Exacto
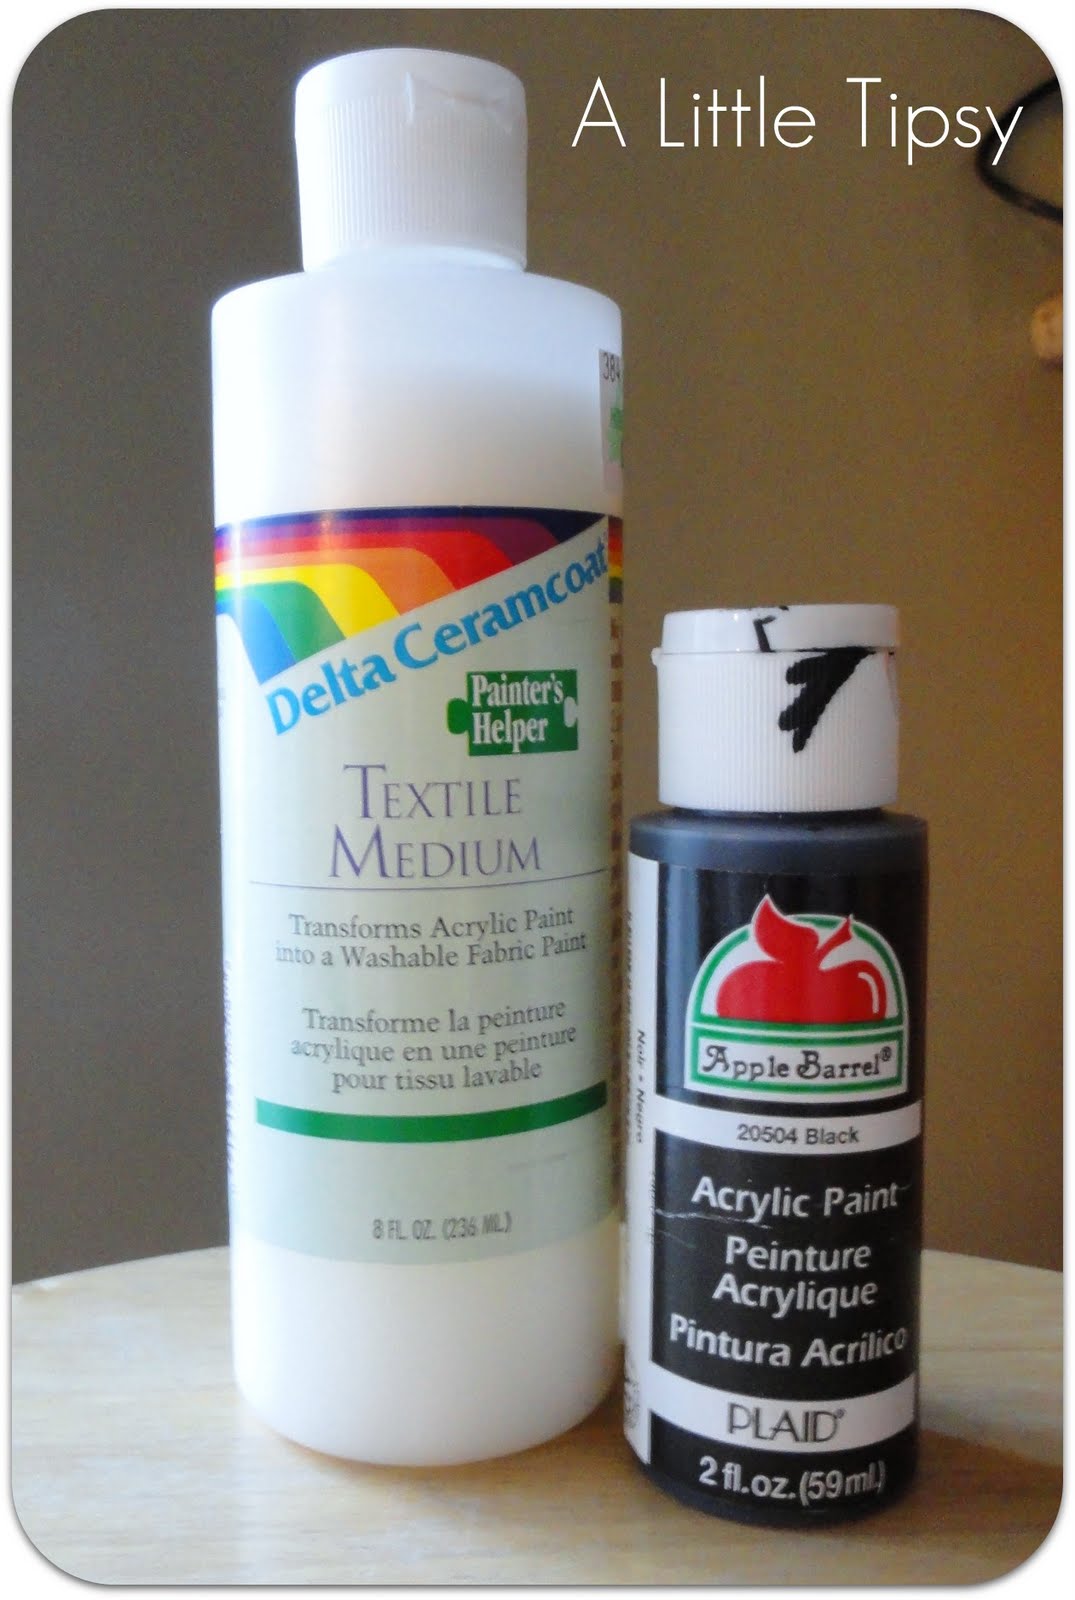
  • Textile medium (turns acrylic paint into fabric paint $5 at Hobby Lobby)
  • Black acrylic paint
  • Piece of cardboard
  • Foam brush

I made my pillowcase for a toddler pillow (travel sized pillow I got at a conference) so I will not give measurements because most people don’t have that exact pillow.

1. Cut a long rectangle of white fabric to fold and fit over the front and of back your pillow. I literally draped it around my pillow and left about and inch and a half on either side for roominess and seams and cut off the excess.

2. Cut two 1.5 inch wide strips of black material an inch longer than the length of the end of your pillowcase. You will fold these in half and iron flat for the pillowcase trim.

3. Cut two 3 inch wide strips of white material an inch longer than the length of the end of your pillowcase. You will fold these in half and iron flat to finish the pillowcase opening.

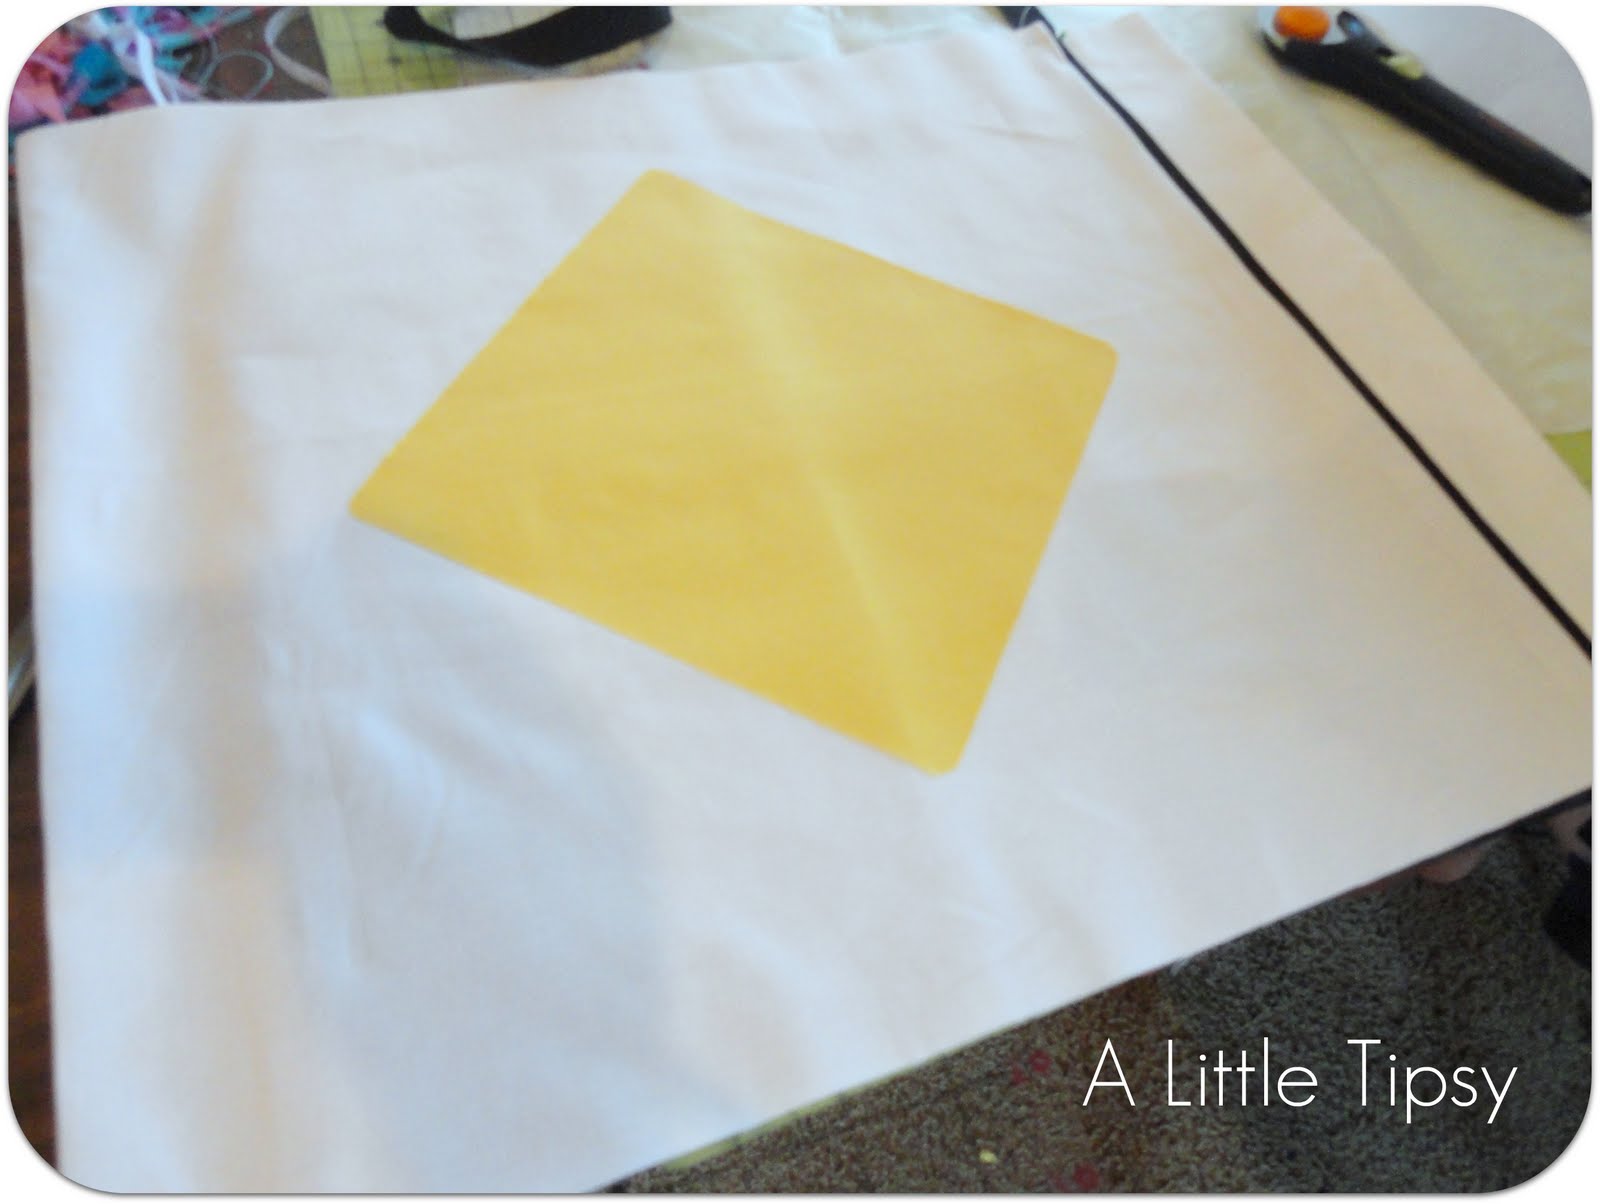
4. Cut a square out of the yellow and round the edges. You will turn it on point to make the diamond. Make it big enough to be 2 or three inches from the top and bottom edge of the pillowcase.

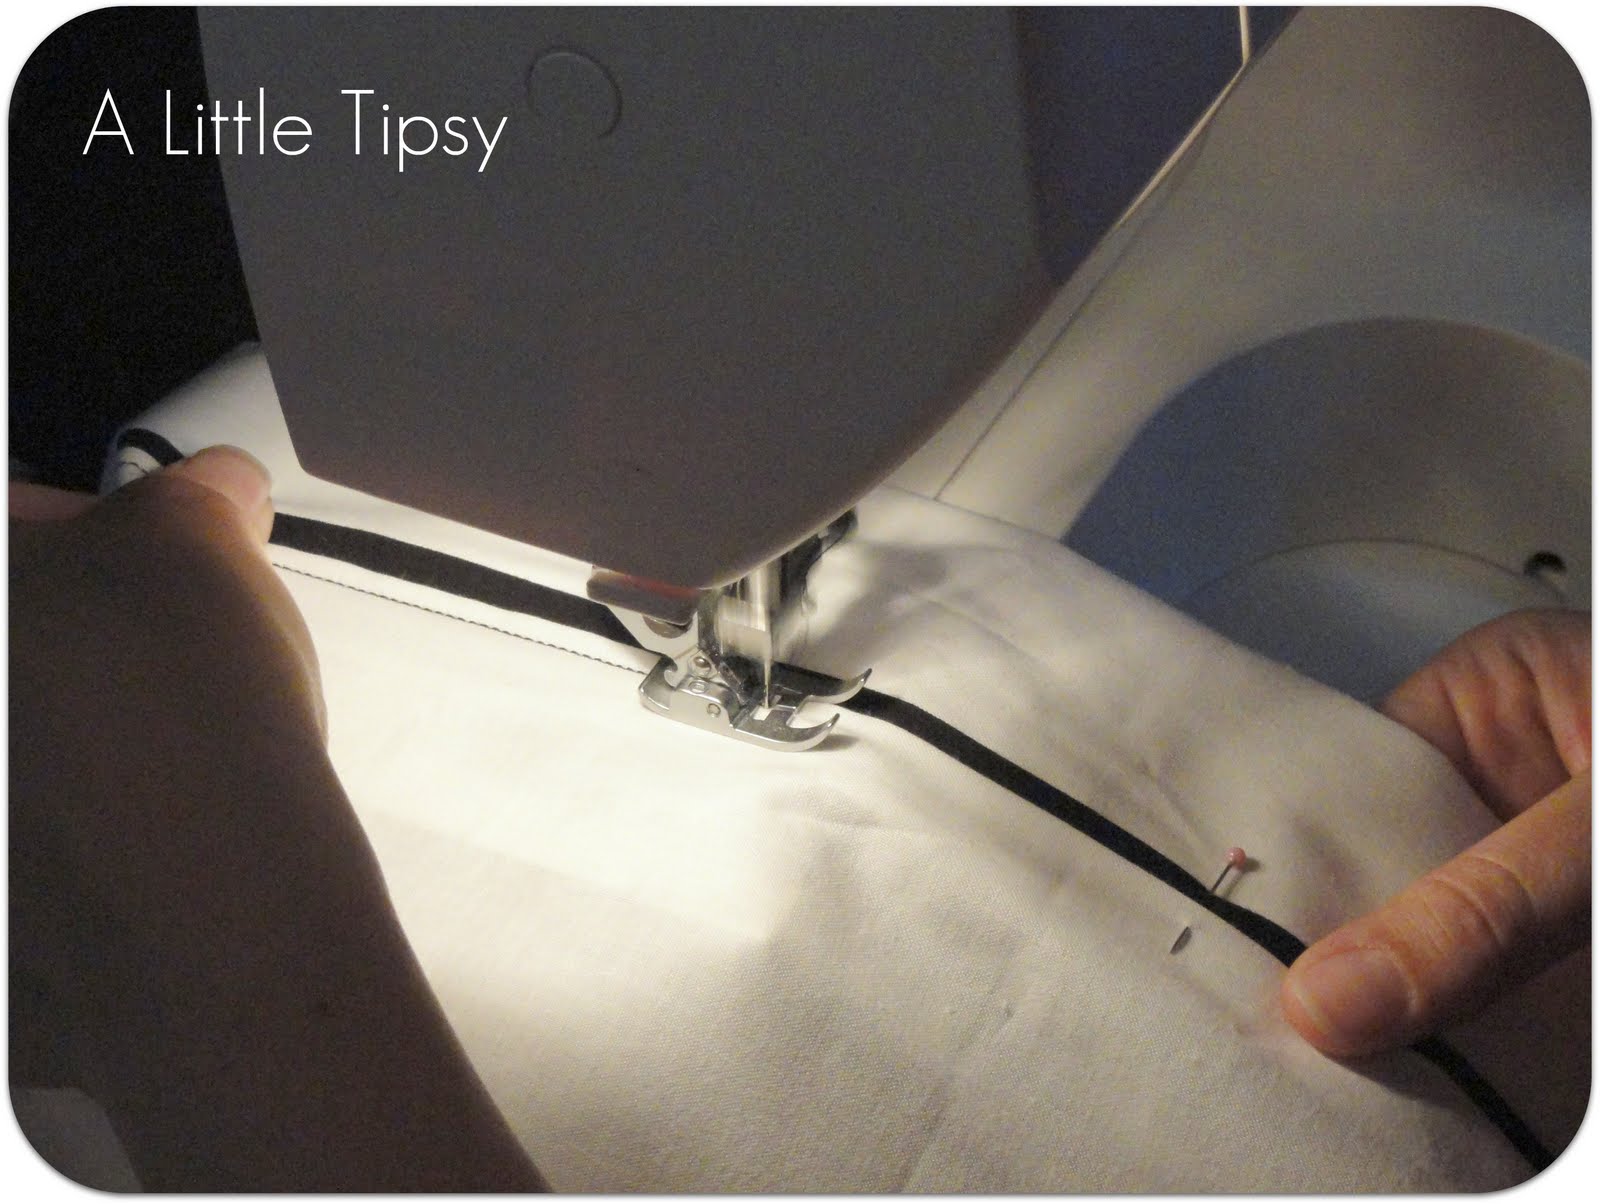
5. Layer the white and black pieces, folded white, folded black, then large white piece with the edge tucked and ironed under. Pin them together so that all pieces can be sewn in place with one seam. Do this on each side (back, front).

6. Sew layers together with black thread.

7. Lay the yellow diamond on the fabric interfacing and cut the interfacing to size. Follow the direction on the interfacing to attach the diamond to the pillowcase with your iron.

8. Stitch a straight line around each edge of the yellow diamond to secure and make it look more like a sign.

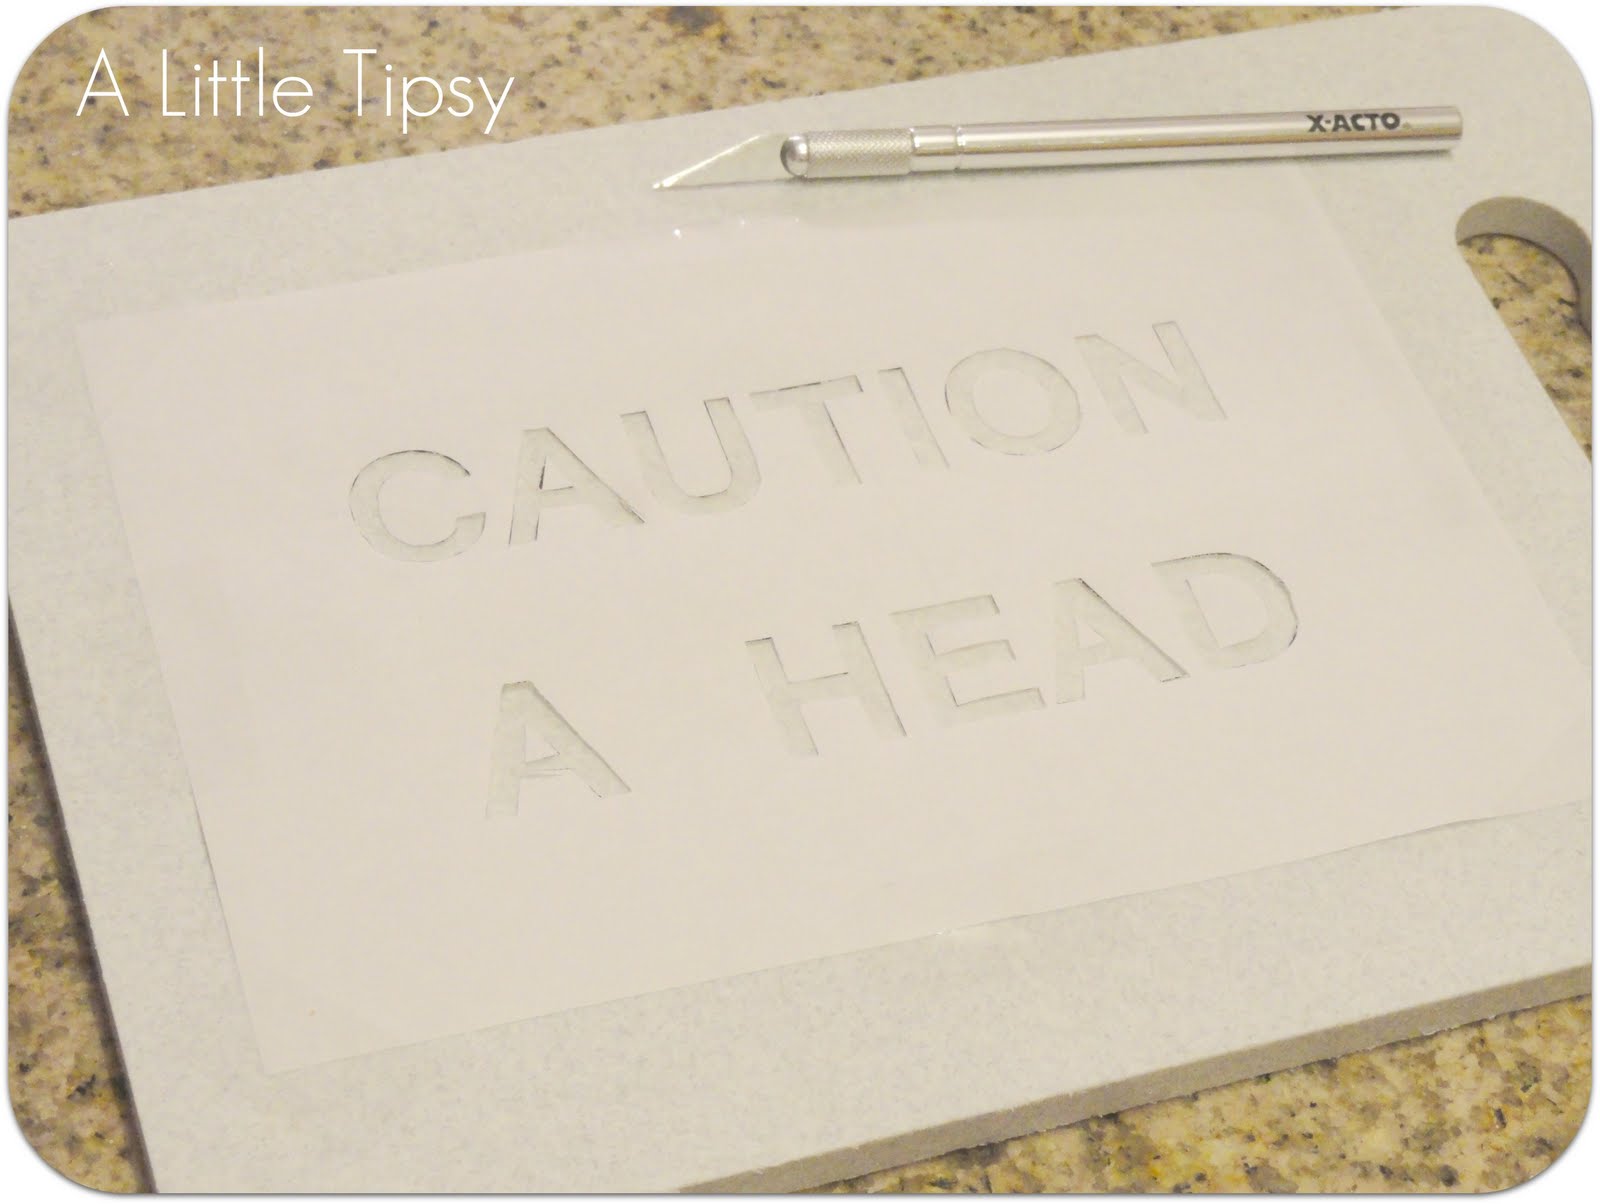
9. Find a font that looks like a street sign (I used Vrinda 100pt bolded) and size it to fit your diamond. Print a test sheet on normal paper. If it is the right size, cut your freezer paper to 8.5 x 11 and print on the matte side.

10. Tape freezer paper to a cutting board and cut out letters with an exacto knife. Be sure you keep the loose middle of the letters.


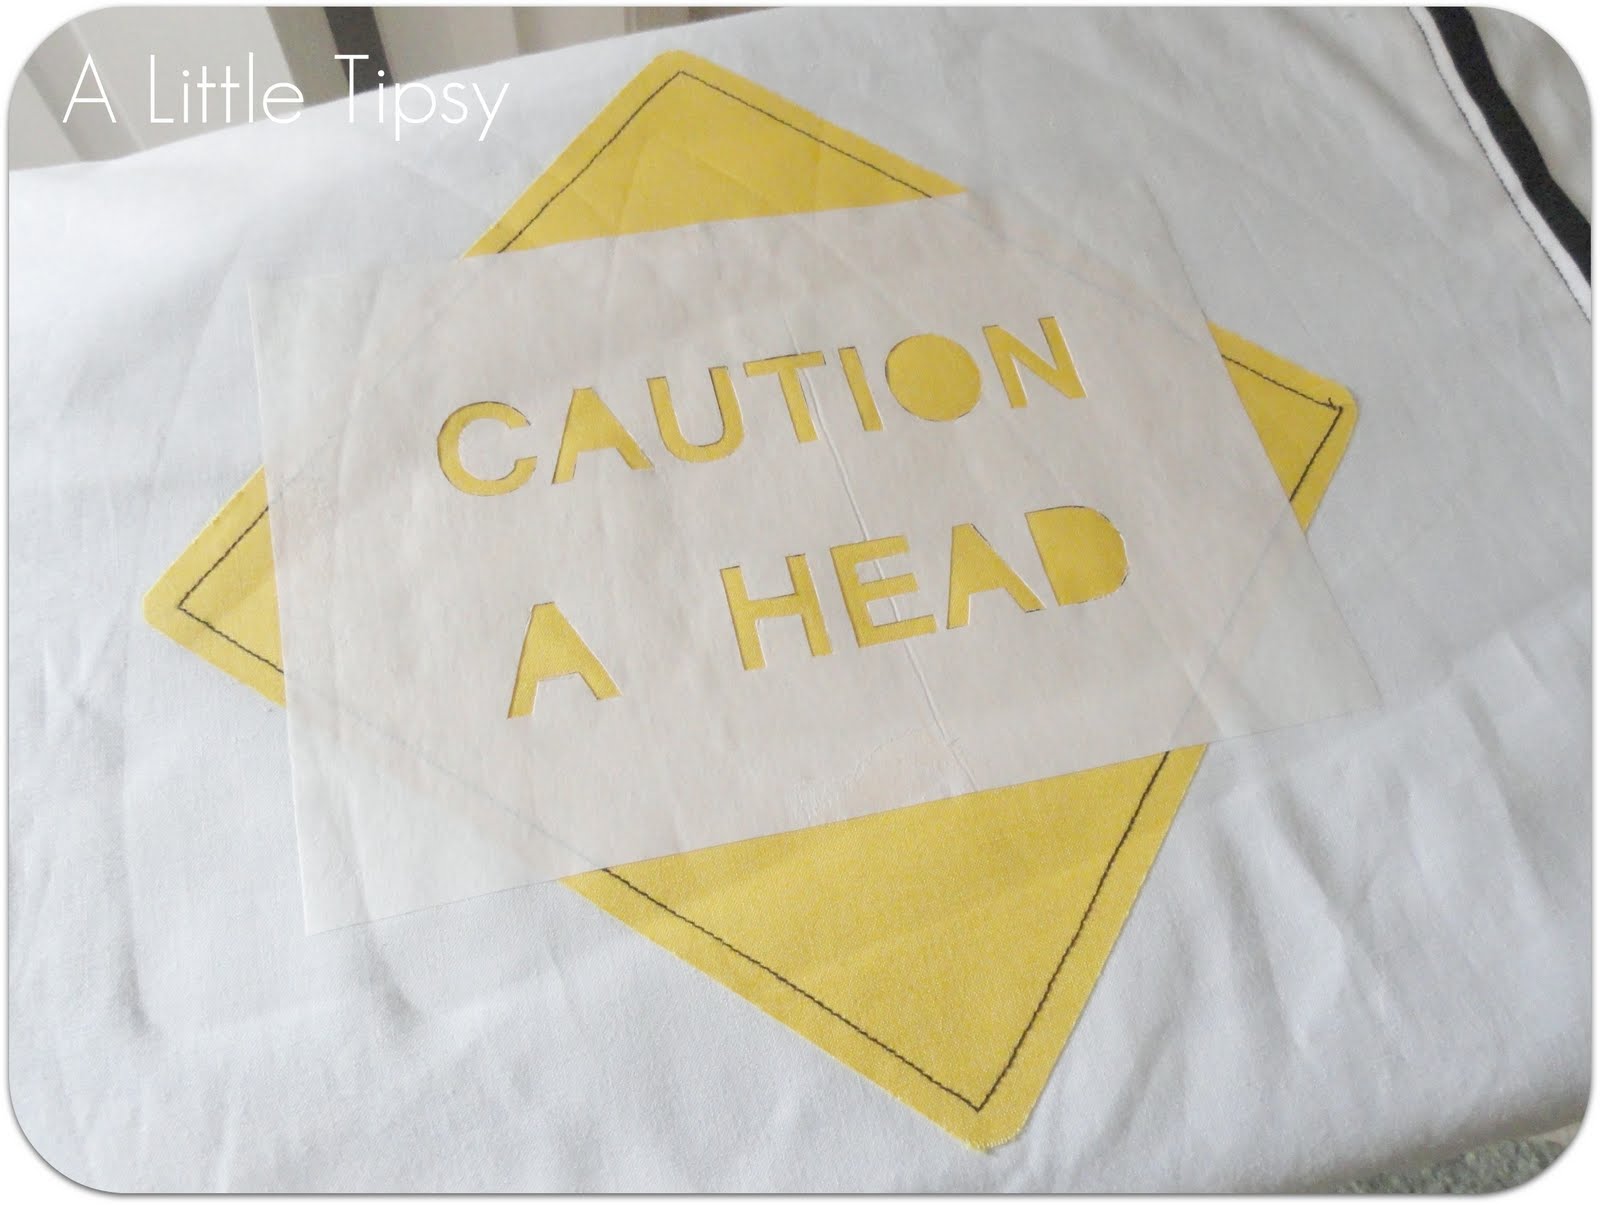
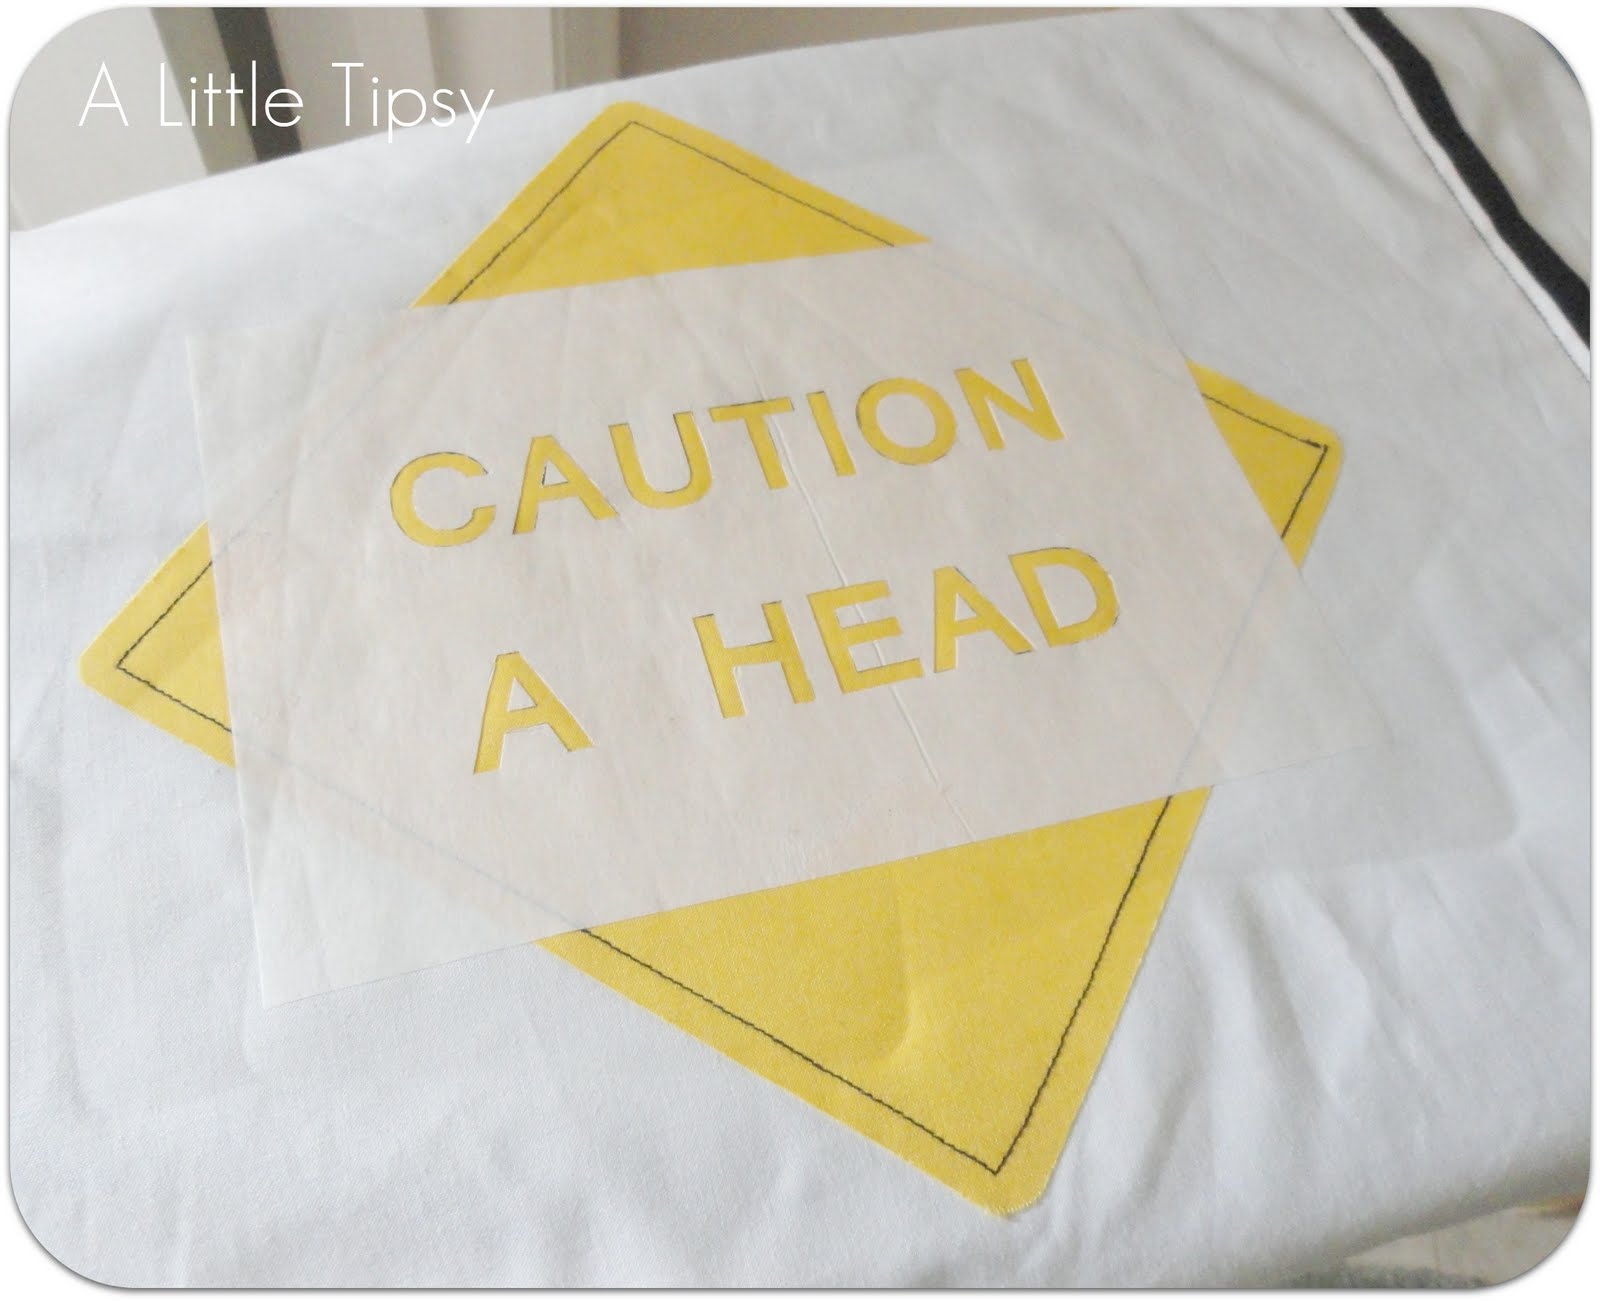
11. Now put the freezer paper in place on the yellow diamond and iron on. I used the cotton setting and ironed it without the letter middles first. Just press down and hold the iron in place for 15 seconds or so in each spot and lift to the next spot. Then, add in the middles and iron those in place. Don’t move the iron side to side, just press and lift or your middles could get misplaced.

First, without middles.

Then, with.

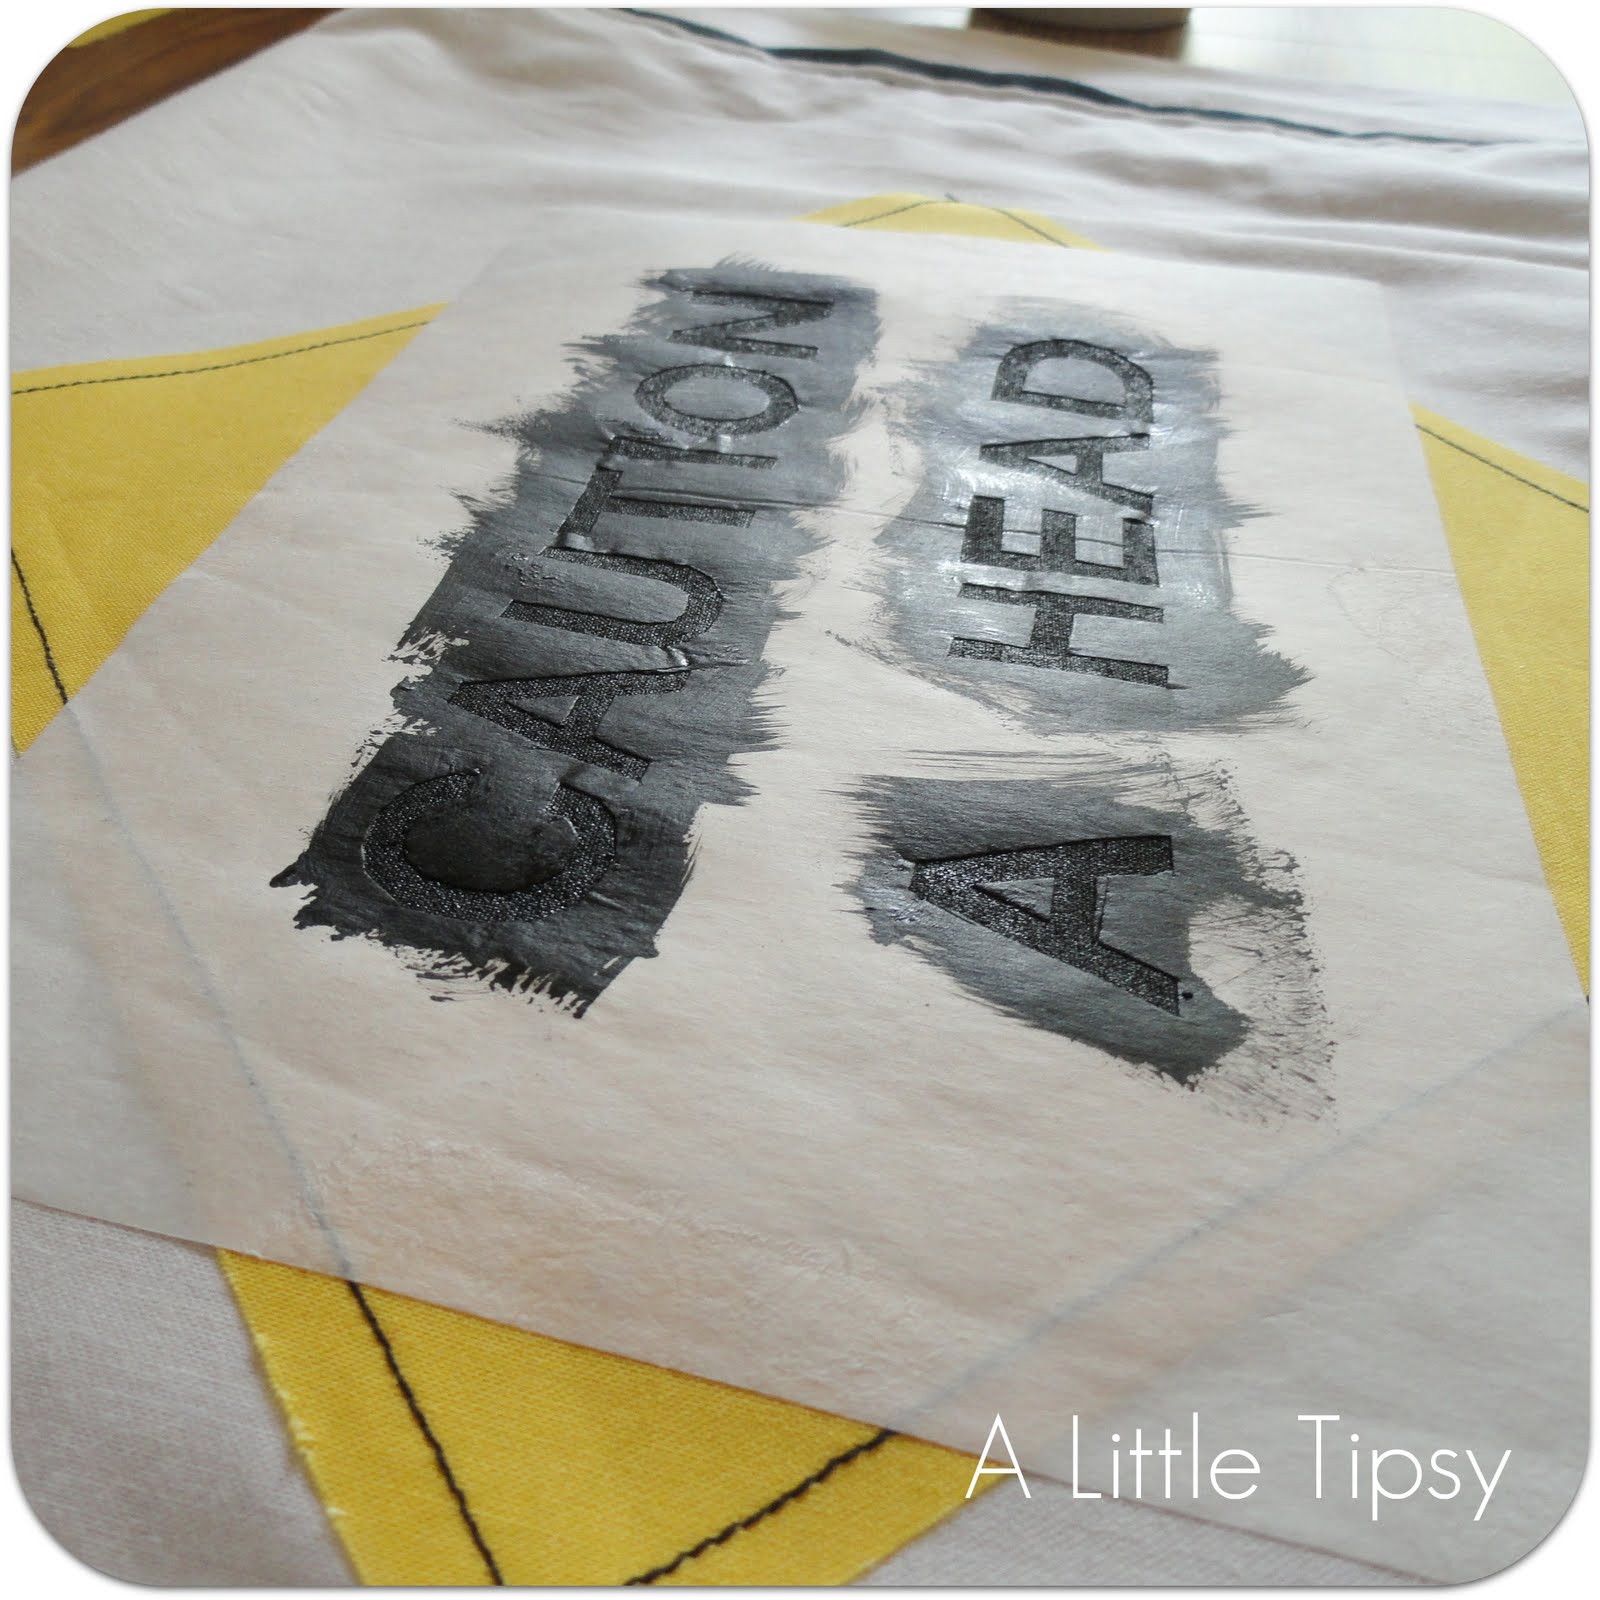
12. Follow direction on the textile medium to make acrylic paint ready for fabric. Place a piece of cardboard behind stencil to block paint seepage.

13. Paint a light coat over each letter making sure you get to the edges.

14. I let the paint dry, but I would pull the stencil off while it is still wet. I did that on my test run and the edges were crisper. When I pulled it off when it was dry they were a little furry.

15. Follow directions on paint to make it permanent and washable. I had to iron over mine and let it dry 7 days. It has dried one so far. 😉

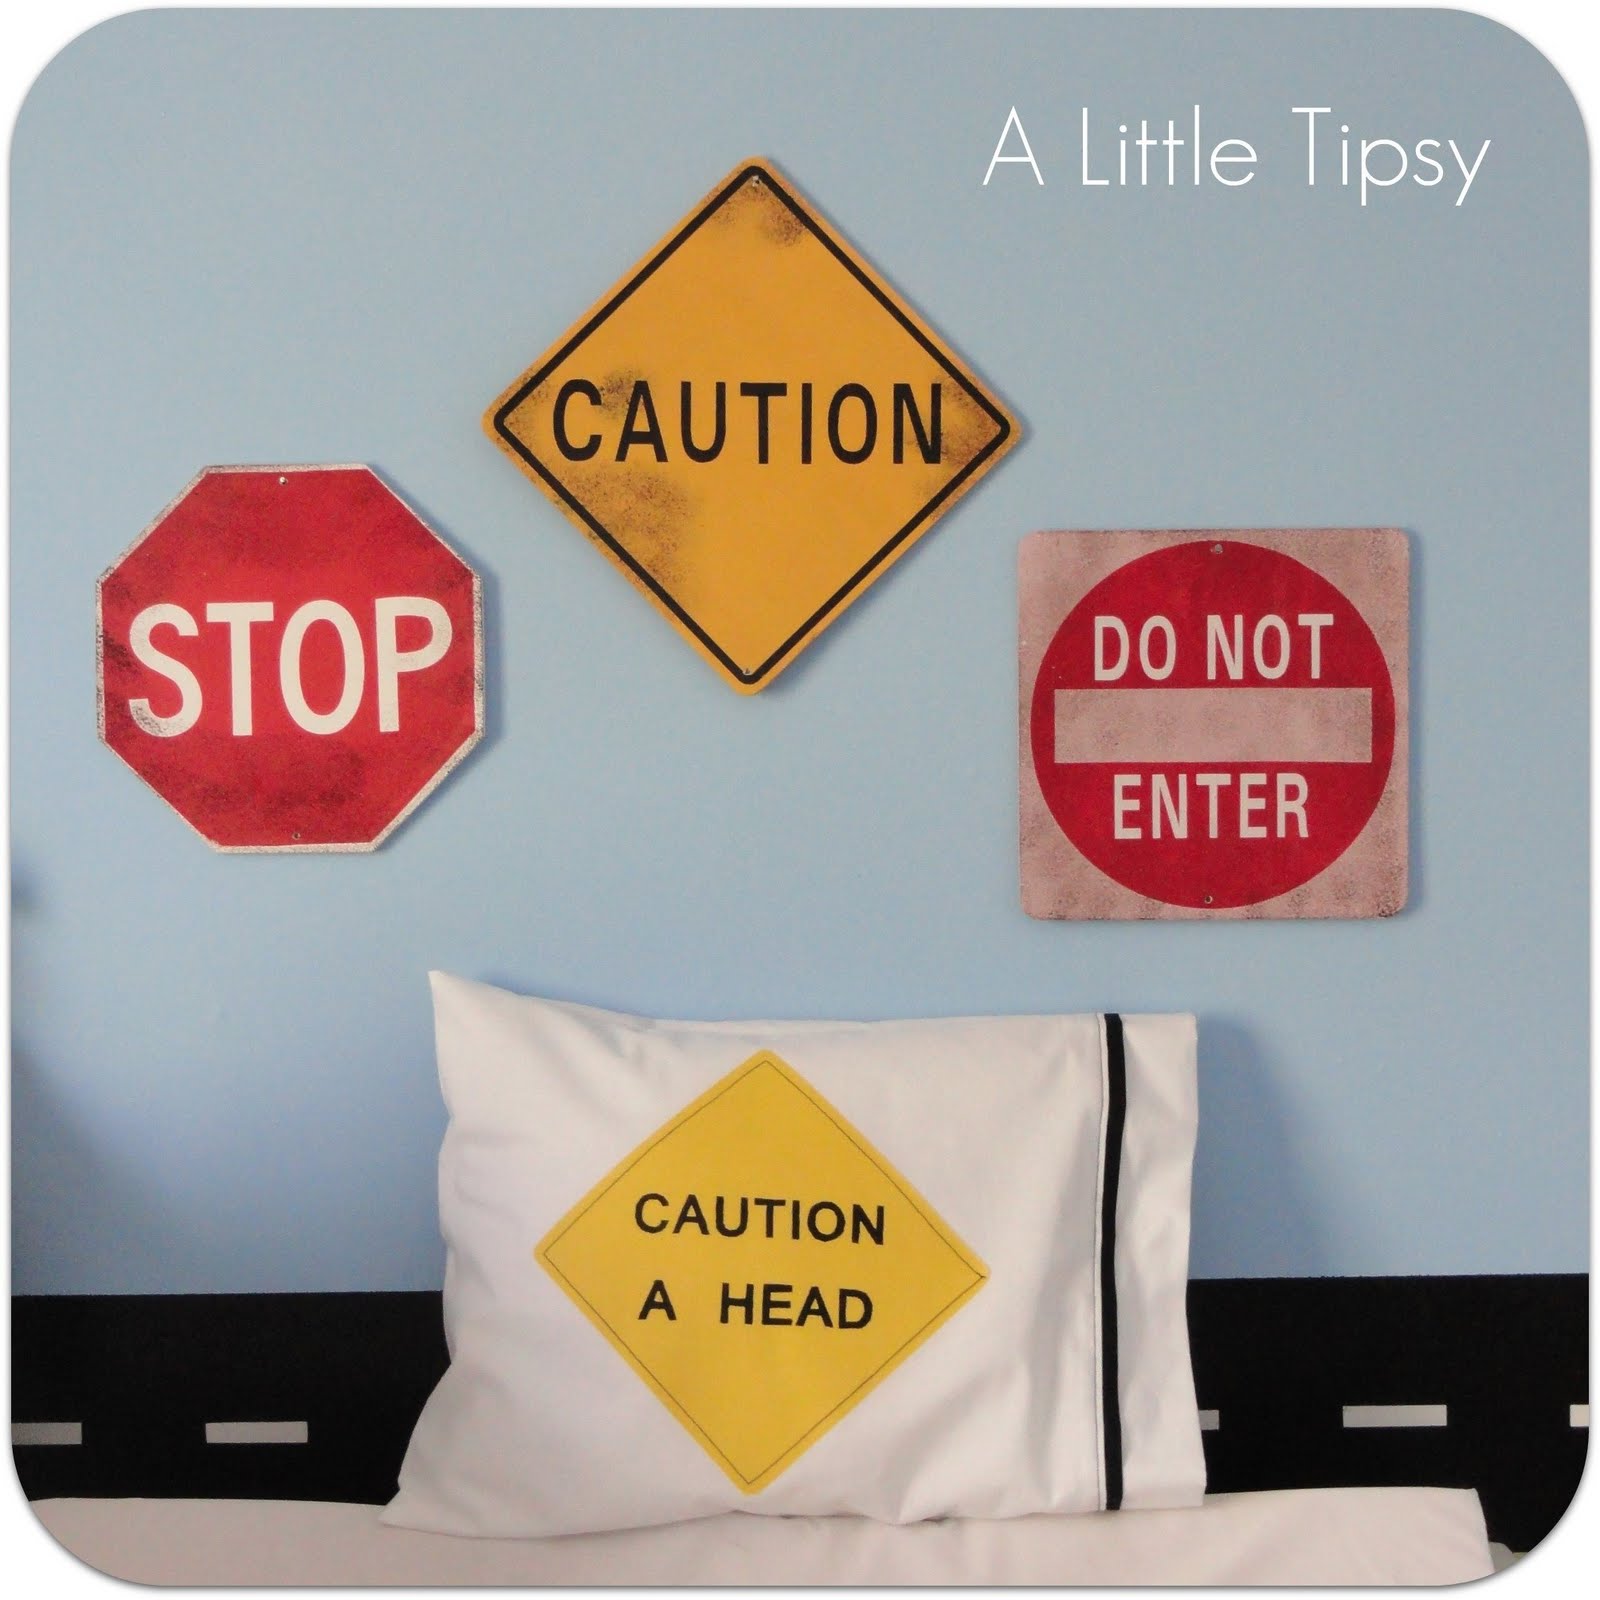
It is perfect for a planes, trains and automobiles room.


But, could also be really fun for a teen’s room!

Now go link up with the Point of View linky party over on Gwenny Penny so we can see your Point of View on PILLOWS! There are 5 creative collaborators, so you have 5 chances to be featured!

P.S. Don’t forget to sign up for free Tipsy updates via RSS or email.

We have decided to truncate our feed to help protect against stolen content. I apologize for any inconvenience. Please love us anyway. 🙂
DIY Under $5: Ruffle Tank

May 25, 2011 By Michelle Barneck 7 Comments

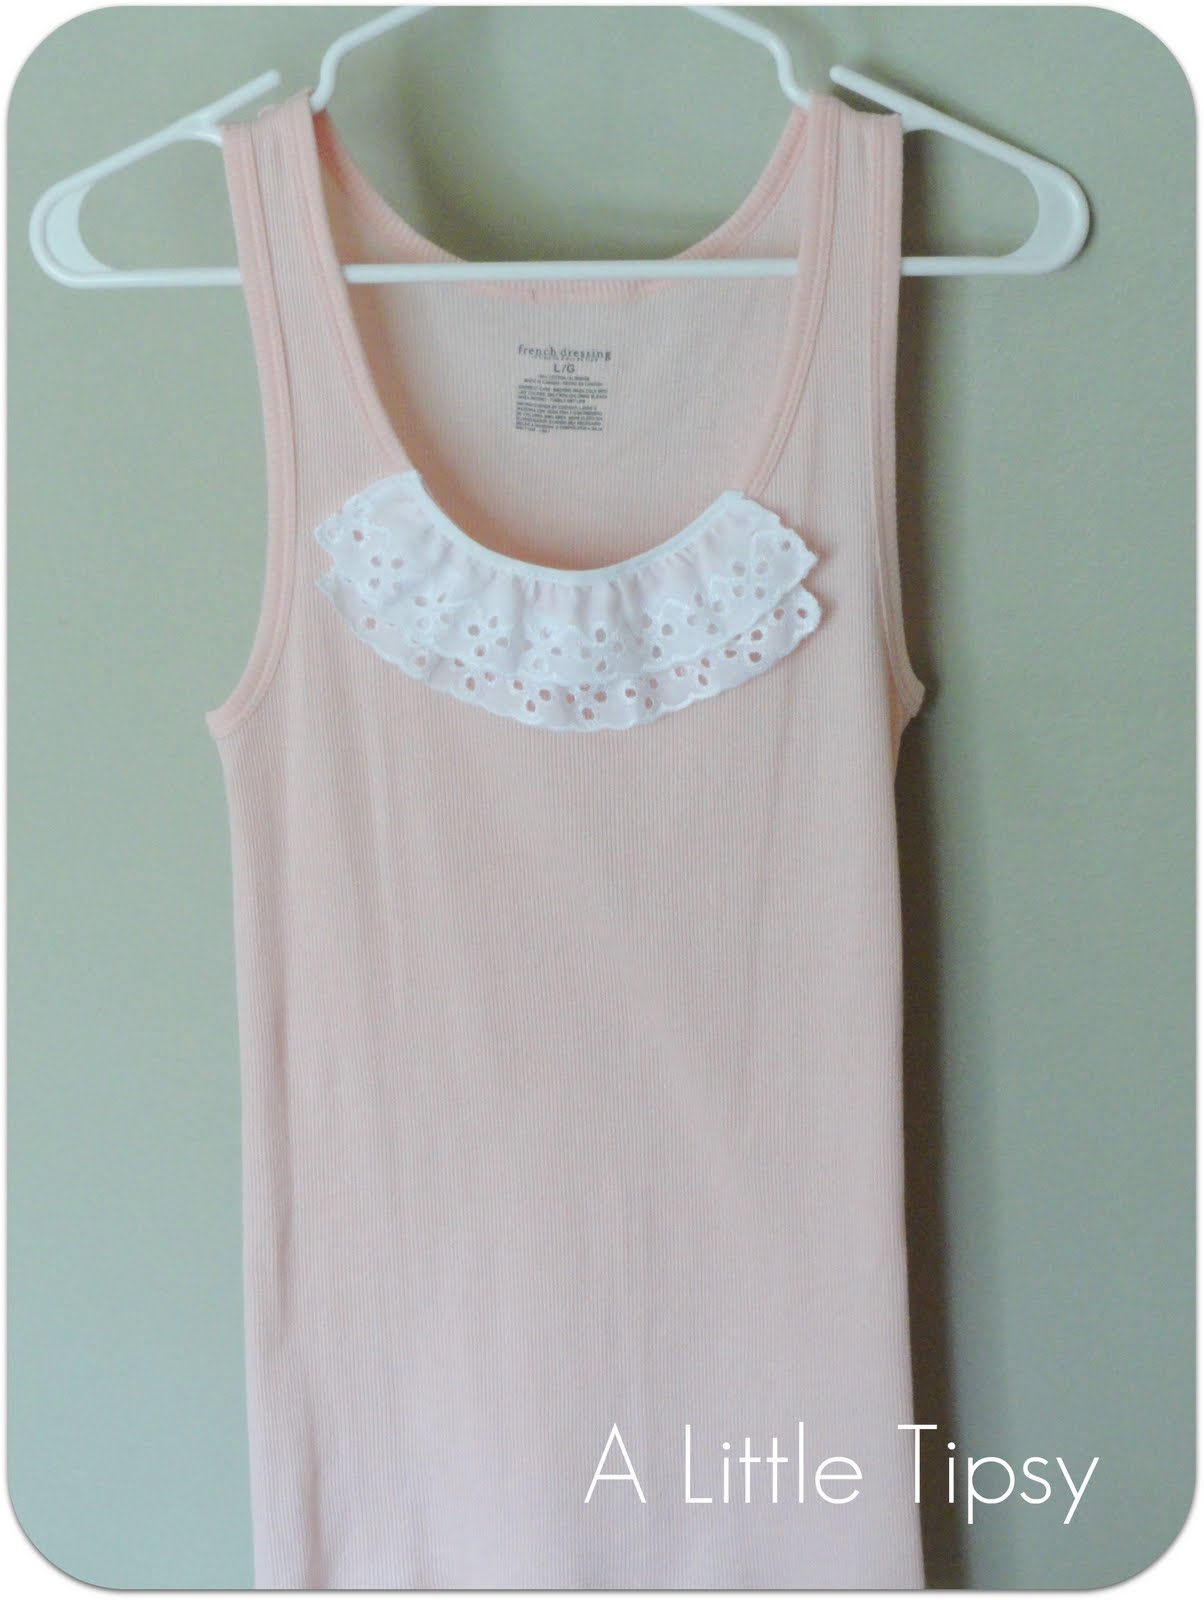
Welcome to another week of DIY under $5! This week I tackled a tank top that has been sitting lonely in my closet. I wore it maybe once a year to the lake. I felt bad for the poor thing and decided to spruce it up a bit. Hello cute, feminine, ruffly number perfect for spring.

A couple weeks ago before our girl’s craft weekend I went to Hobby Lobby and stumbled upon some trim remnant bags for 99 cents. These things are gold I tell you! Of course there were some totally weird and hideous bits in there, but there were also some fabulous pieces to be had.

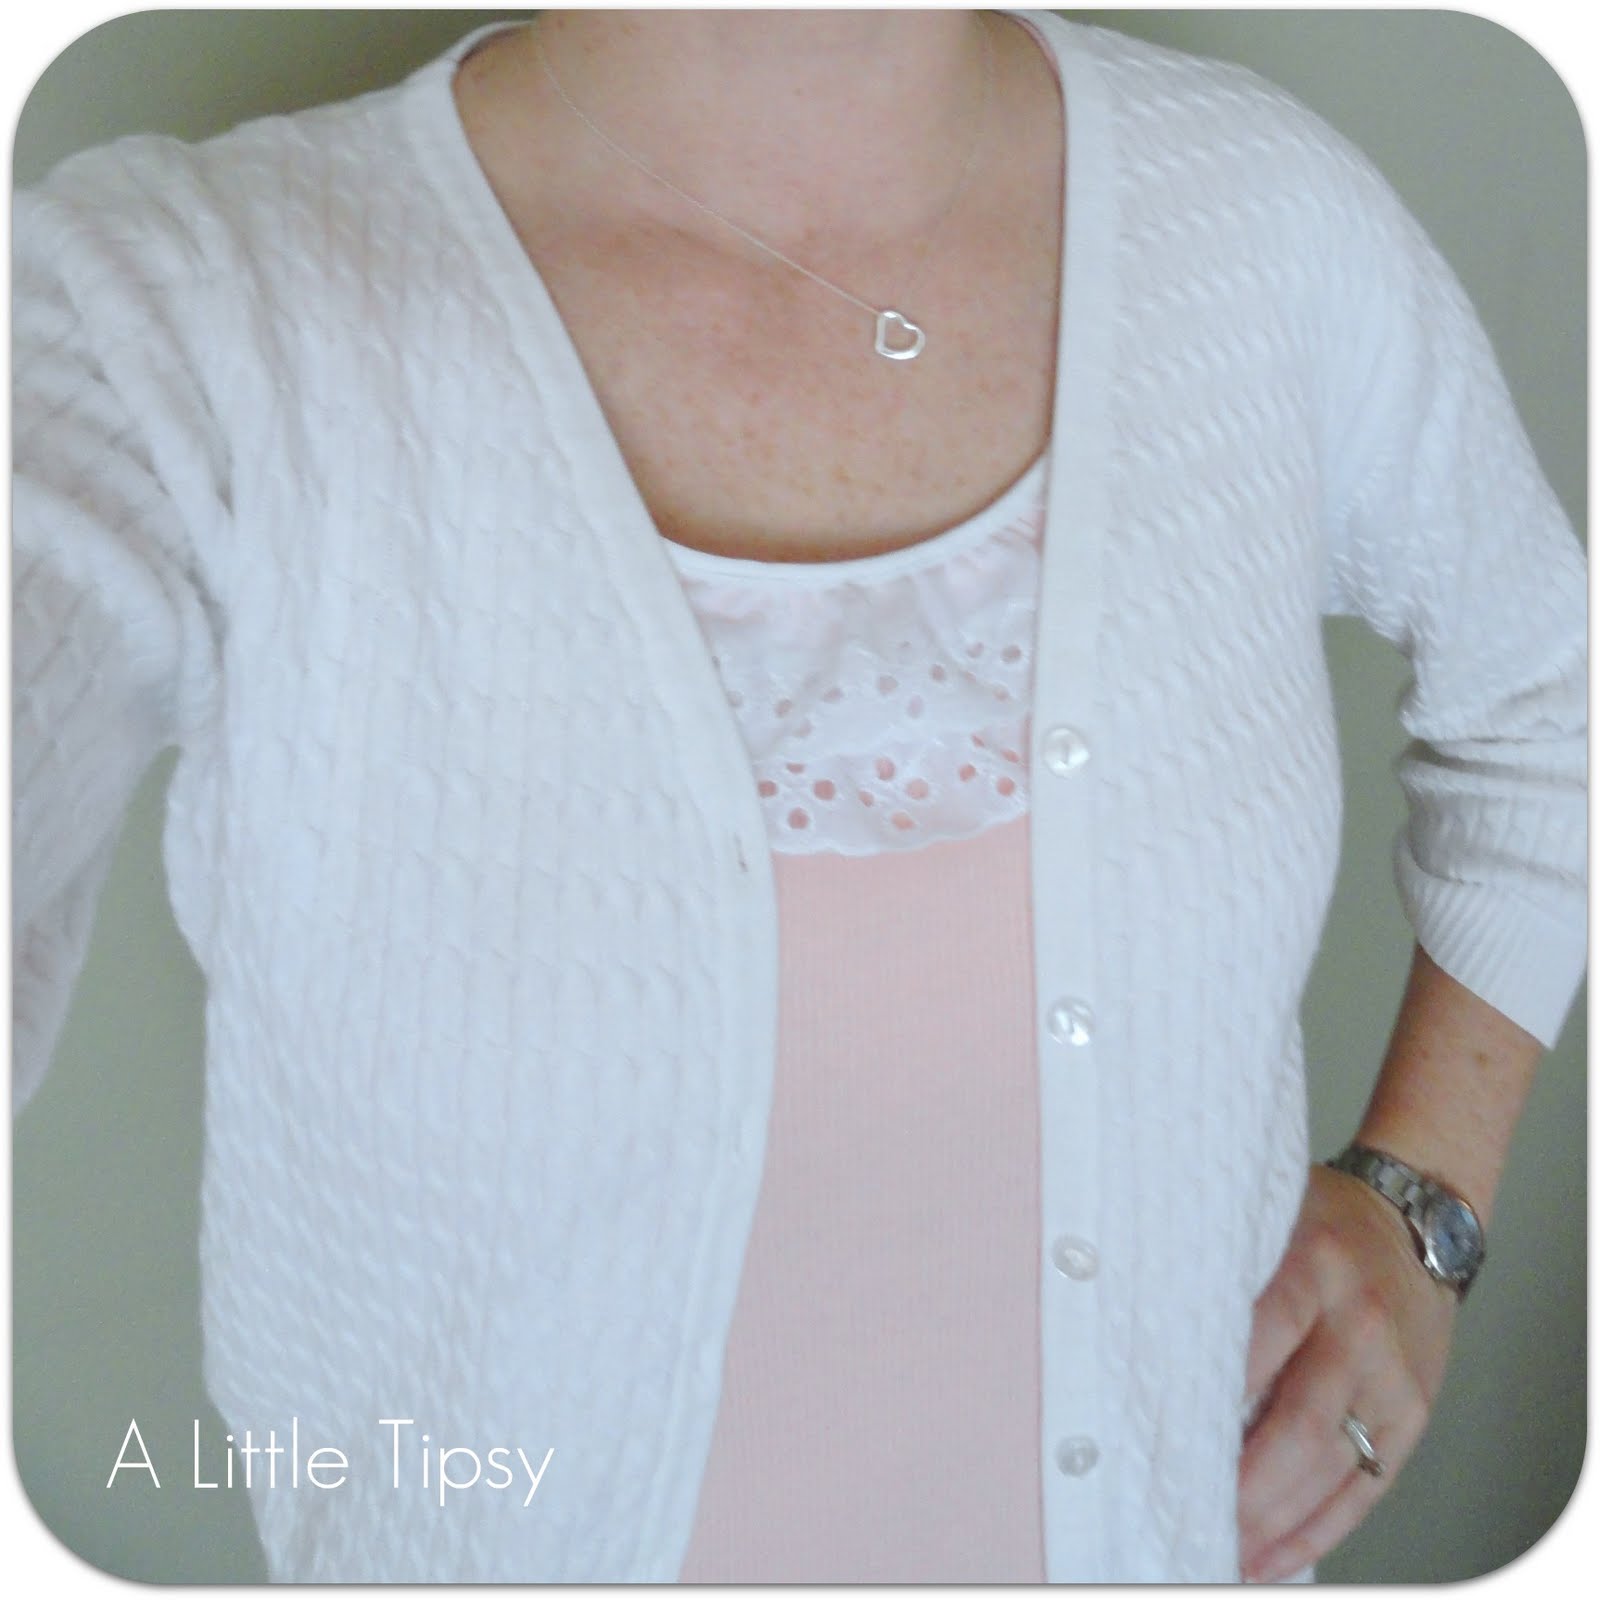
Honestly, when I first pulled out the eyelet ruffles I thought what in the world would I do with those? I have no daughters and I was not sure if a grown woman could pull off eyelet. I guess you can be the judge on that one, but I got the idea to cut it in two and sew it to my pink tank. I am actually quite pleased with how it turned out.

Tank: already had in closet
Eyelet trim: part of 99 cent trim remnant bag
Total cost: 20 cents

Now it’s time to link up your $5 projects!

Please remember:

  • Only link to your own projects that cost you $5 or less (price does not have to include items you had on hand)
  • You can link past projects that fit the dollar limit, but please only link each project once
  • No giveaways or items for sale
  • Please link back so others can join the party and so you have the opportunity to be featured on Saturday!

DIY under $5

Linking with:
Creative Creations Tuesday

P.S. Don’t forget to sign up for free Tipsy updates via RSS or email.

We have decided to truncate our feed to help protect against stolen content. I apologize for any inconvenience. Please love us anyway. 🙂
Make a Memory {New Monday Series}

May 23, 2011 By Michelle Barneck 1 Comment

I am thrilled to announce a new series called “Make a Memory” that I’ll be kicking off next Monday {Memorial Day}! I will be featuring some of my favorite bloggers sharing one of their family’s favorite traditions or ways to make a memory. This will give us some great ideas of fun family traditions we can start in our own families to create lasting memories.


I would love you to pick up the button and help spread the word!

Here is a line up of who is on the docket…

How Does She
Not Just a Housewife
504 Main
Organize and Decorate Everything
Whipperberry
Brown Paper Packages
My Insanity
Sugar Bee Crafts
Every Creative Endeavor
Oopsey Daisy
Sumo’s Sweet Stuff
Sew Dang Cute Crafts
Positively Splendid
Kiki Creates

Amazing right?! I can’t wait to get started and hope you will join us each Monday for a new way to make a memory!

P.S. Don’t forget to sign up for free Tipsy updates via RSS or email.

We have decided to truncate our feed to help protect against stolen content. I apologize for any inconvenience. Please love us anyway. 🙂
« Previous Page
Next Page »

  • Bloglovin
  • Facebook
  • Google+
  • Instagram
  • Pinterest
  • RSS
  • Twitter

Hi there! I'm Michelle. Mother of three little boys and one little princess. Welcome to A Little Tipsy, a place for exploring creativity and sharing inspiration.

Follow on Bloglovin


Visit Michelle Barneck {A Little Tipsy}'s profile on Pinterest.

Tutorials by Category


15 Family Reunion Games

Family Reunion Games Collage

15 Sprinkle Party Ideas

Sprinkle Birthday Party
Creative Commons License

© Copyright 2014 A Little Tipsy · Site Designed by The Fairy Blogmother · Web Hosting by RFE Hosting

This website uses cookies to improve your experience. We'll assume you're ok with this, but you can opt-out if you wish.Accept Read More
Privacy & Cookies Policy