A Little Tipsy

Creative Tips & Ideas

  • home
  • About Me
  • the tipsy top
  • press
  • projects
  • contact me
[print_thumbnail_slider]

How to Make a Flower Clip

May 22, 2011 By Michelle Barneck 4 Comments

I am really excited to be guest posting over on Someday Crafts today!

I am debuting these adorable little ruffly flowered numbers, so run over to see how to make a skirt. Now, see there in the picture the little circle on the right? It is a cute little hair clip to match, but as to not make my skirt tutorial abhorrently long I decided to do that piece over here.

How to Make a Flower Clip

Whilst making the skirt my sis trimmed off some scraps of the ruffles and tossed them aside. I grabbed them up knowing I could do something with them.

They were super skinny {varied between 1/2 and 1/4 inch} so I braided them together and wound them around to make a rosette.

Then, I cut some leaves out of the contrasting material and had my sis sew around the edges and down the middle to make them look even more like leaves.

I hot glued the leaves to a circle of material and then glued the rosette over the leaves.

Then just glue them to a snap clip and you’re done! {sorry, I forgot to take pics of the back and now my niece has it}

P.S. Don’t forget to sign up for free Tipsy updates via RSS or email.

We have decided to truncate our feed to help protect against stolen content. I apologize for any inconvenience. Please love us anyway. 🙂

DIY Under $5 Features

May 21, 2011 By Michelle Barneck 5 Comments

Another super week of link ups! Keep them coming. I love seeing all your projects. There were so many I wanted to feature this week. It was hard to narrow it down.

Link with the highest clicks:

Spring Flower Balls
from Happy Little Party

These are so cute and you’re gonna die when you find out what they are made from.

Ok, I have to tell you…
Wiffle balls!!

My faves:

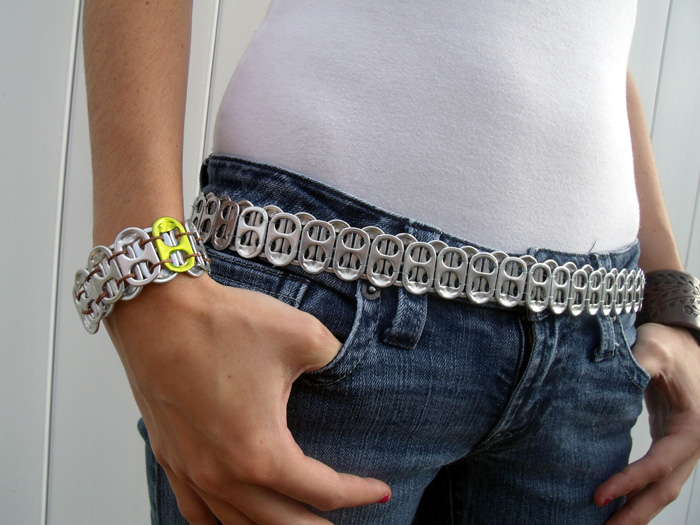
Can Tab Belt and Bracelet from Little Assembly Required

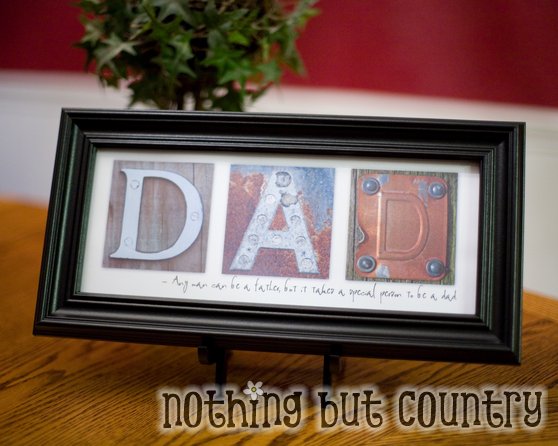
DAD frame from Nothing But Country

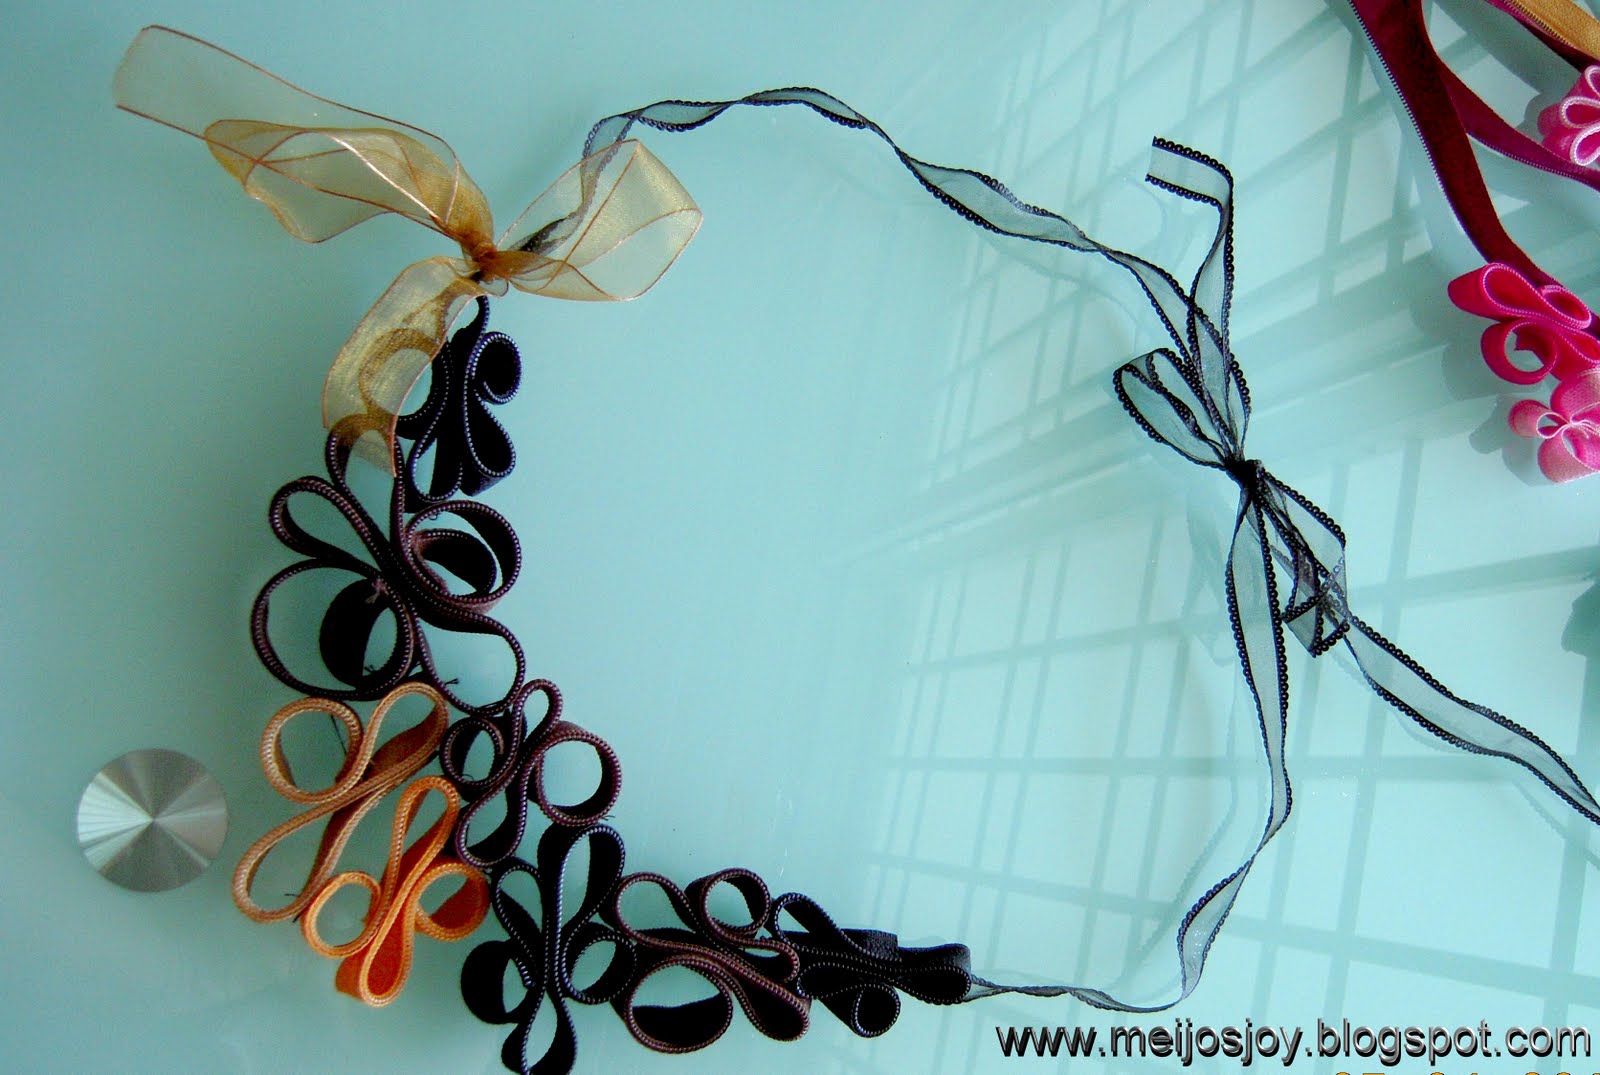
Zipper Scrap Bib Necklace from MeiJo’s Joy

Bean Balls from Love Sweet Love

Be sure to grab your A Little Tipsy featured button here.

P.S. Don’t forget to sign up for free Tipsy updates via RSS or email.

We have decided to truncate our feed to help protect against stolen content. I apologize for any inconvenience. Please love us anyway. 🙂
DIY Under $5 Bracelet Instructions & a Hair Bow

May 18, 2011 By Michelle Barneck 6 Comments

Today for DIY under $5 I will share with you some bracelet instructions and a hair bow. These little ruffly numbers are super easy and will add some style in a flash.

Bracelet instructions:

Supplies:
  • ruffle trim
  • snaps
  • needle and thread
  • button
I got the idea of using trim for bracelets from Blue Cricket Design. I loved her bracelets, but I saw the snaps in the same section as the trim and knew they would work for my ruffle bracelet. So, I saved myself a trip to the jewelry area and went with snaps.

1. Cut trim to be just bigger than your wrist. {hot glue ends under if needed for finished look}
2. Sew snaps in place on each end with needle and thread.
3. Sew on a button for a little added flair.

Use the extra bit of trim for a hair bow.

Supplies:
  • ruffle trim
  • houndstooth ribbon
  • snap clip (pack of like 10 at the dollar store)
  • hot glue
  • needle & thread
  • button

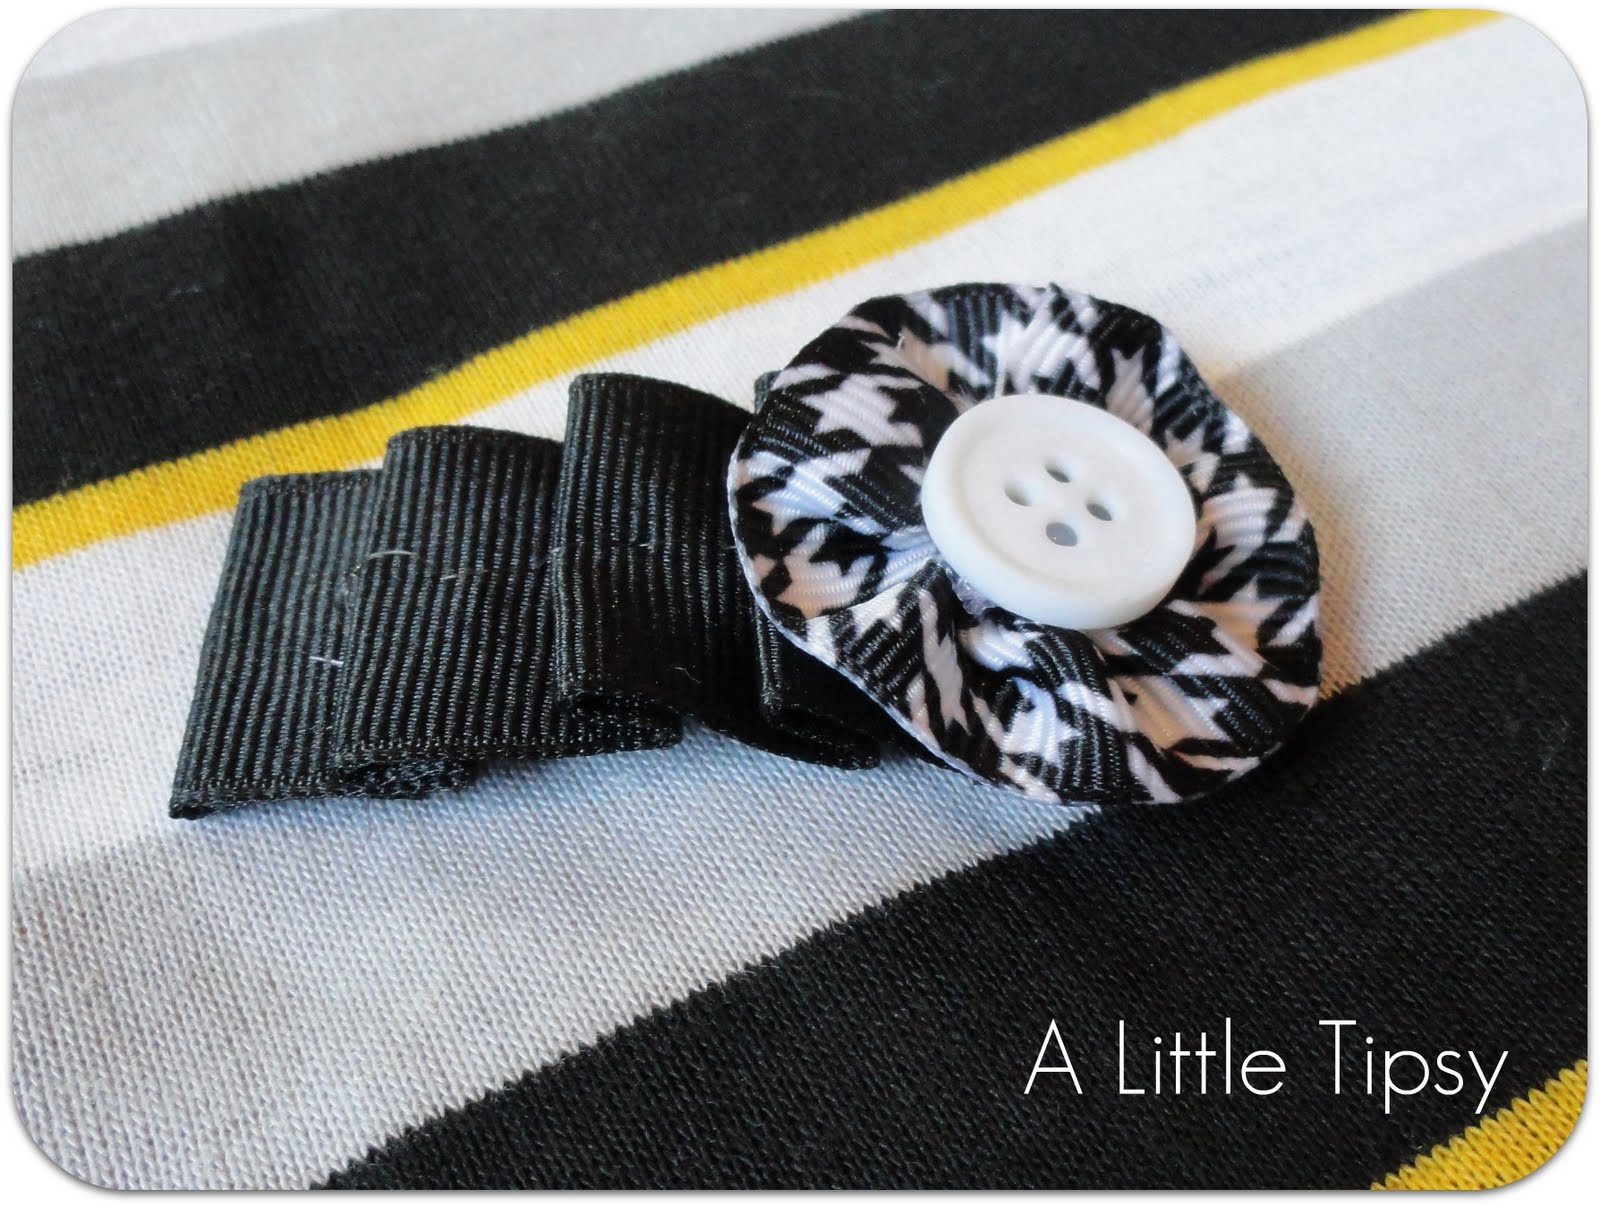
1. Glue a piece of trim to cover the entire snap clip.
2. Make a yo yo flower with your ribbon (you can follow steps 1-4 here, the glue will take care of the rest)
3. Glue the flower on the end of the trim and the button on the middle of the flower.


Don’t worry, that huge weird thing next to my cheek is a knot in the wood door.

I spent less than $4, but will have stuff left for another project. Trim was about 50 cents, snaps a dollar or two and ribbon $1.

Now it’s time to link up your $5 projects!

Please remember:

  • Only link to your own projects that cost you $5 or less (price does not have to include items you had on hand)
  • You can link past projects that fit the dollar limit, but please only link each project once
  • Please link back so others can join the party and so you have the opportunity to be featured on Saturday!

DIY under $5


P.S. Don’t forget to sign up for free Tipsy updates via RSS or email.

We have decided to truncate our feed to help protect against stolen content. I apologize for any inconvenience. Please love us anyway. 🙂
May Visiting Teaching Message

May 17, 2011 By Michelle Barneck 2 Comments

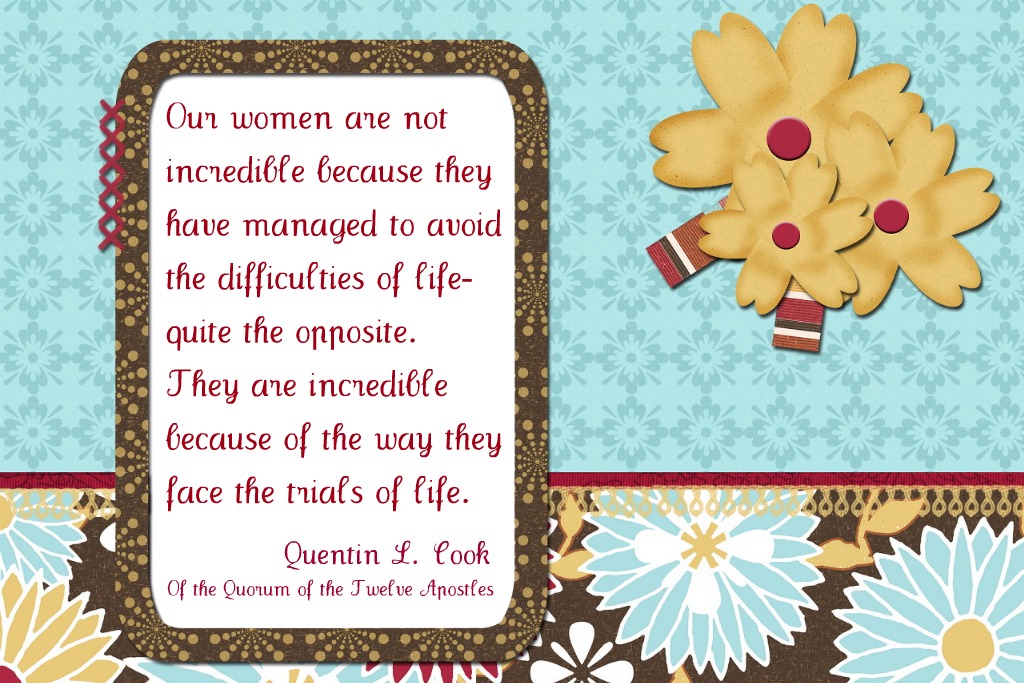
The May Visiting Teaching Message is your choice from the LDS General Conference Messages. I chose LDS Women are Incredible by Quentin L. Cook. I loved this talk and it was in the Saturday morning session so I figured some people may have missed it.

May Visiting Teaching Message Handout

I have had a lot of people asking how to print the visiting teaching handouts. It is really easy to right click the image and copy. Then, you can paste it in to word and re-size and copy as necessary for how many you want on a page. You can also right click and save, then open with Windows Photo Gallery which allows you to print choosing your paper size. I choose 4×6 and do them on photo cards.

All my software and digital scrapbooking materials went kaput with my laptop so I made this using Picnik. It was so easy! You could make your own visiting teaching handout if you want to use a different quote from conference.

P.S. Don’t forget to sign up for free Tipsy updates via RSS or email.

We have decided to truncate our feed to help protect against stolen content. I apologize for any inconvenience. Please love us anyway. 🙂
« Previous Page
Next Page »

  • Bloglovin
  • Facebook
  • Google+
  • Instagram
  • Pinterest
  • RSS
  • Twitter

Hi there! I'm Michelle. Mother of three little boys and one little princess. Welcome to A Little Tipsy, a place for exploring creativity and sharing inspiration.

Follow on Bloglovin


Visit Michelle Barneck {A Little Tipsy}'s profile on Pinterest.

Tutorials by Category


15 Family Reunion Games

Family Reunion Games Collage

15 Sprinkle Party Ideas

Sprinkle Birthday Party
Creative Commons License

© Copyright 2014 A Little Tipsy · Site Designed by The Fairy Blogmother · Web Hosting by RFE Hosting

This website uses cookies to improve your experience. We'll assume you're ok with this, but you can opt-out if you wish.Accept Read More
Privacy & Cookies Policy